
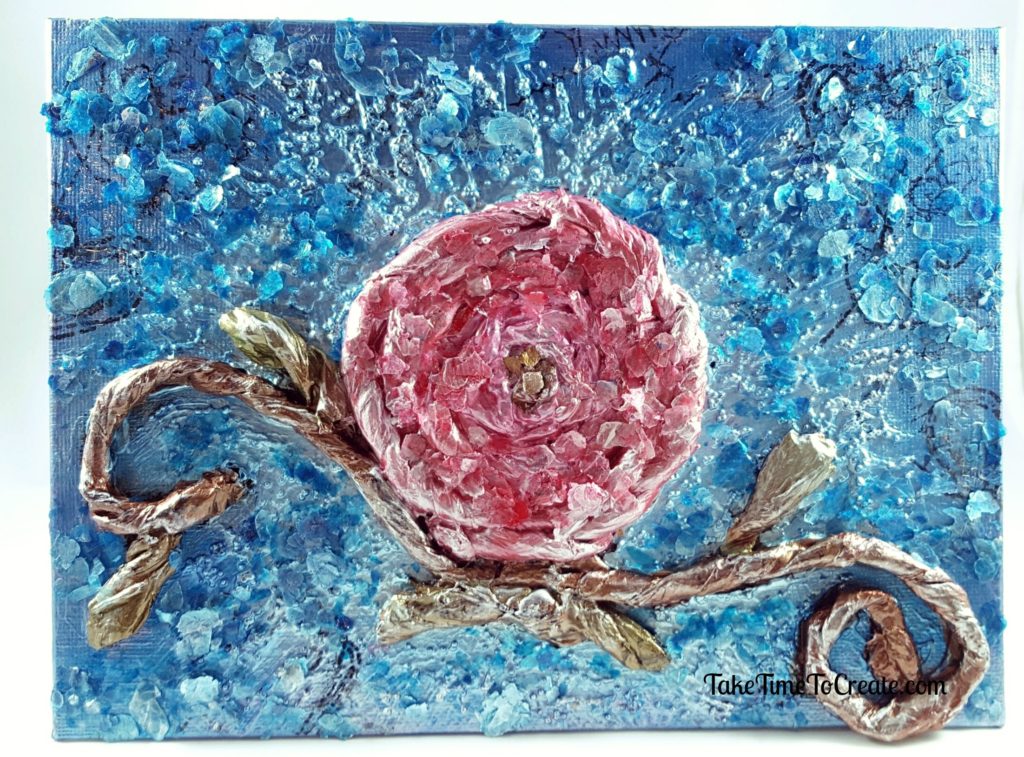
Tissue Paper Rose
Use the tissue paper in old patterns to create a beautiful tissue paper rose.
Hello Everyone!
Last weekend was my beautiful mother’s birthday! She is such an important part of my life and I wanted to express that with a handmade gift.
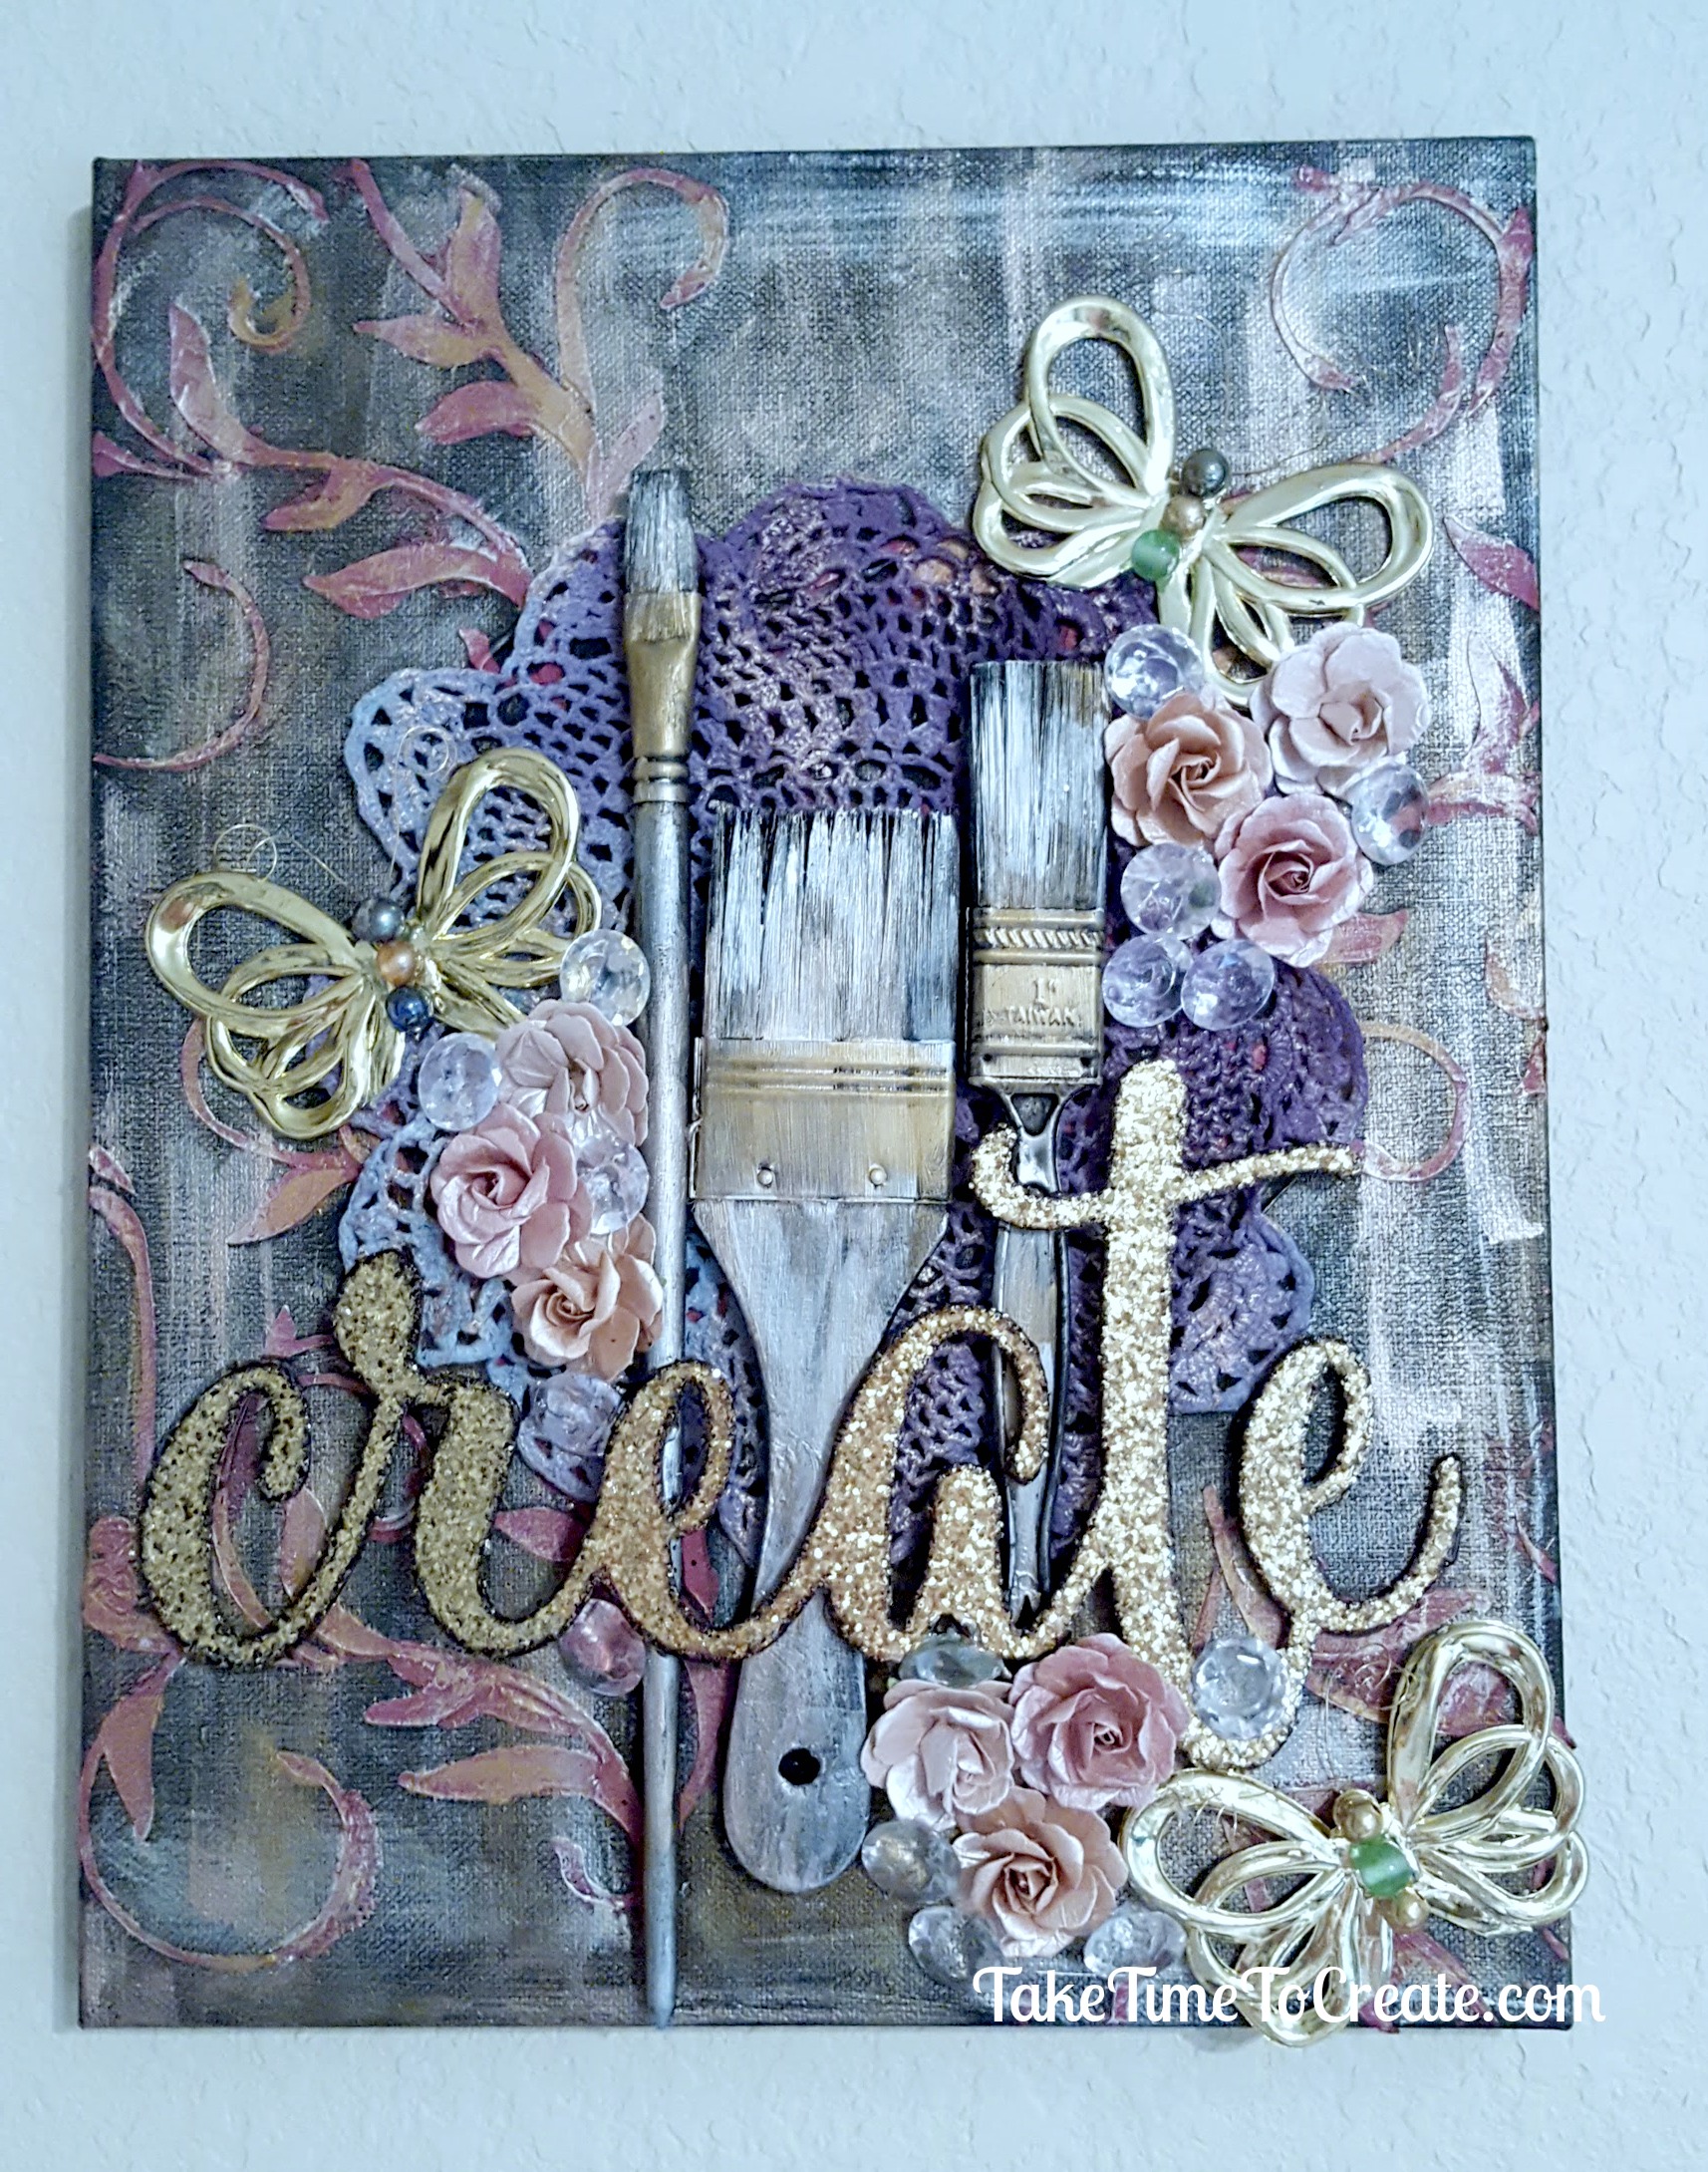
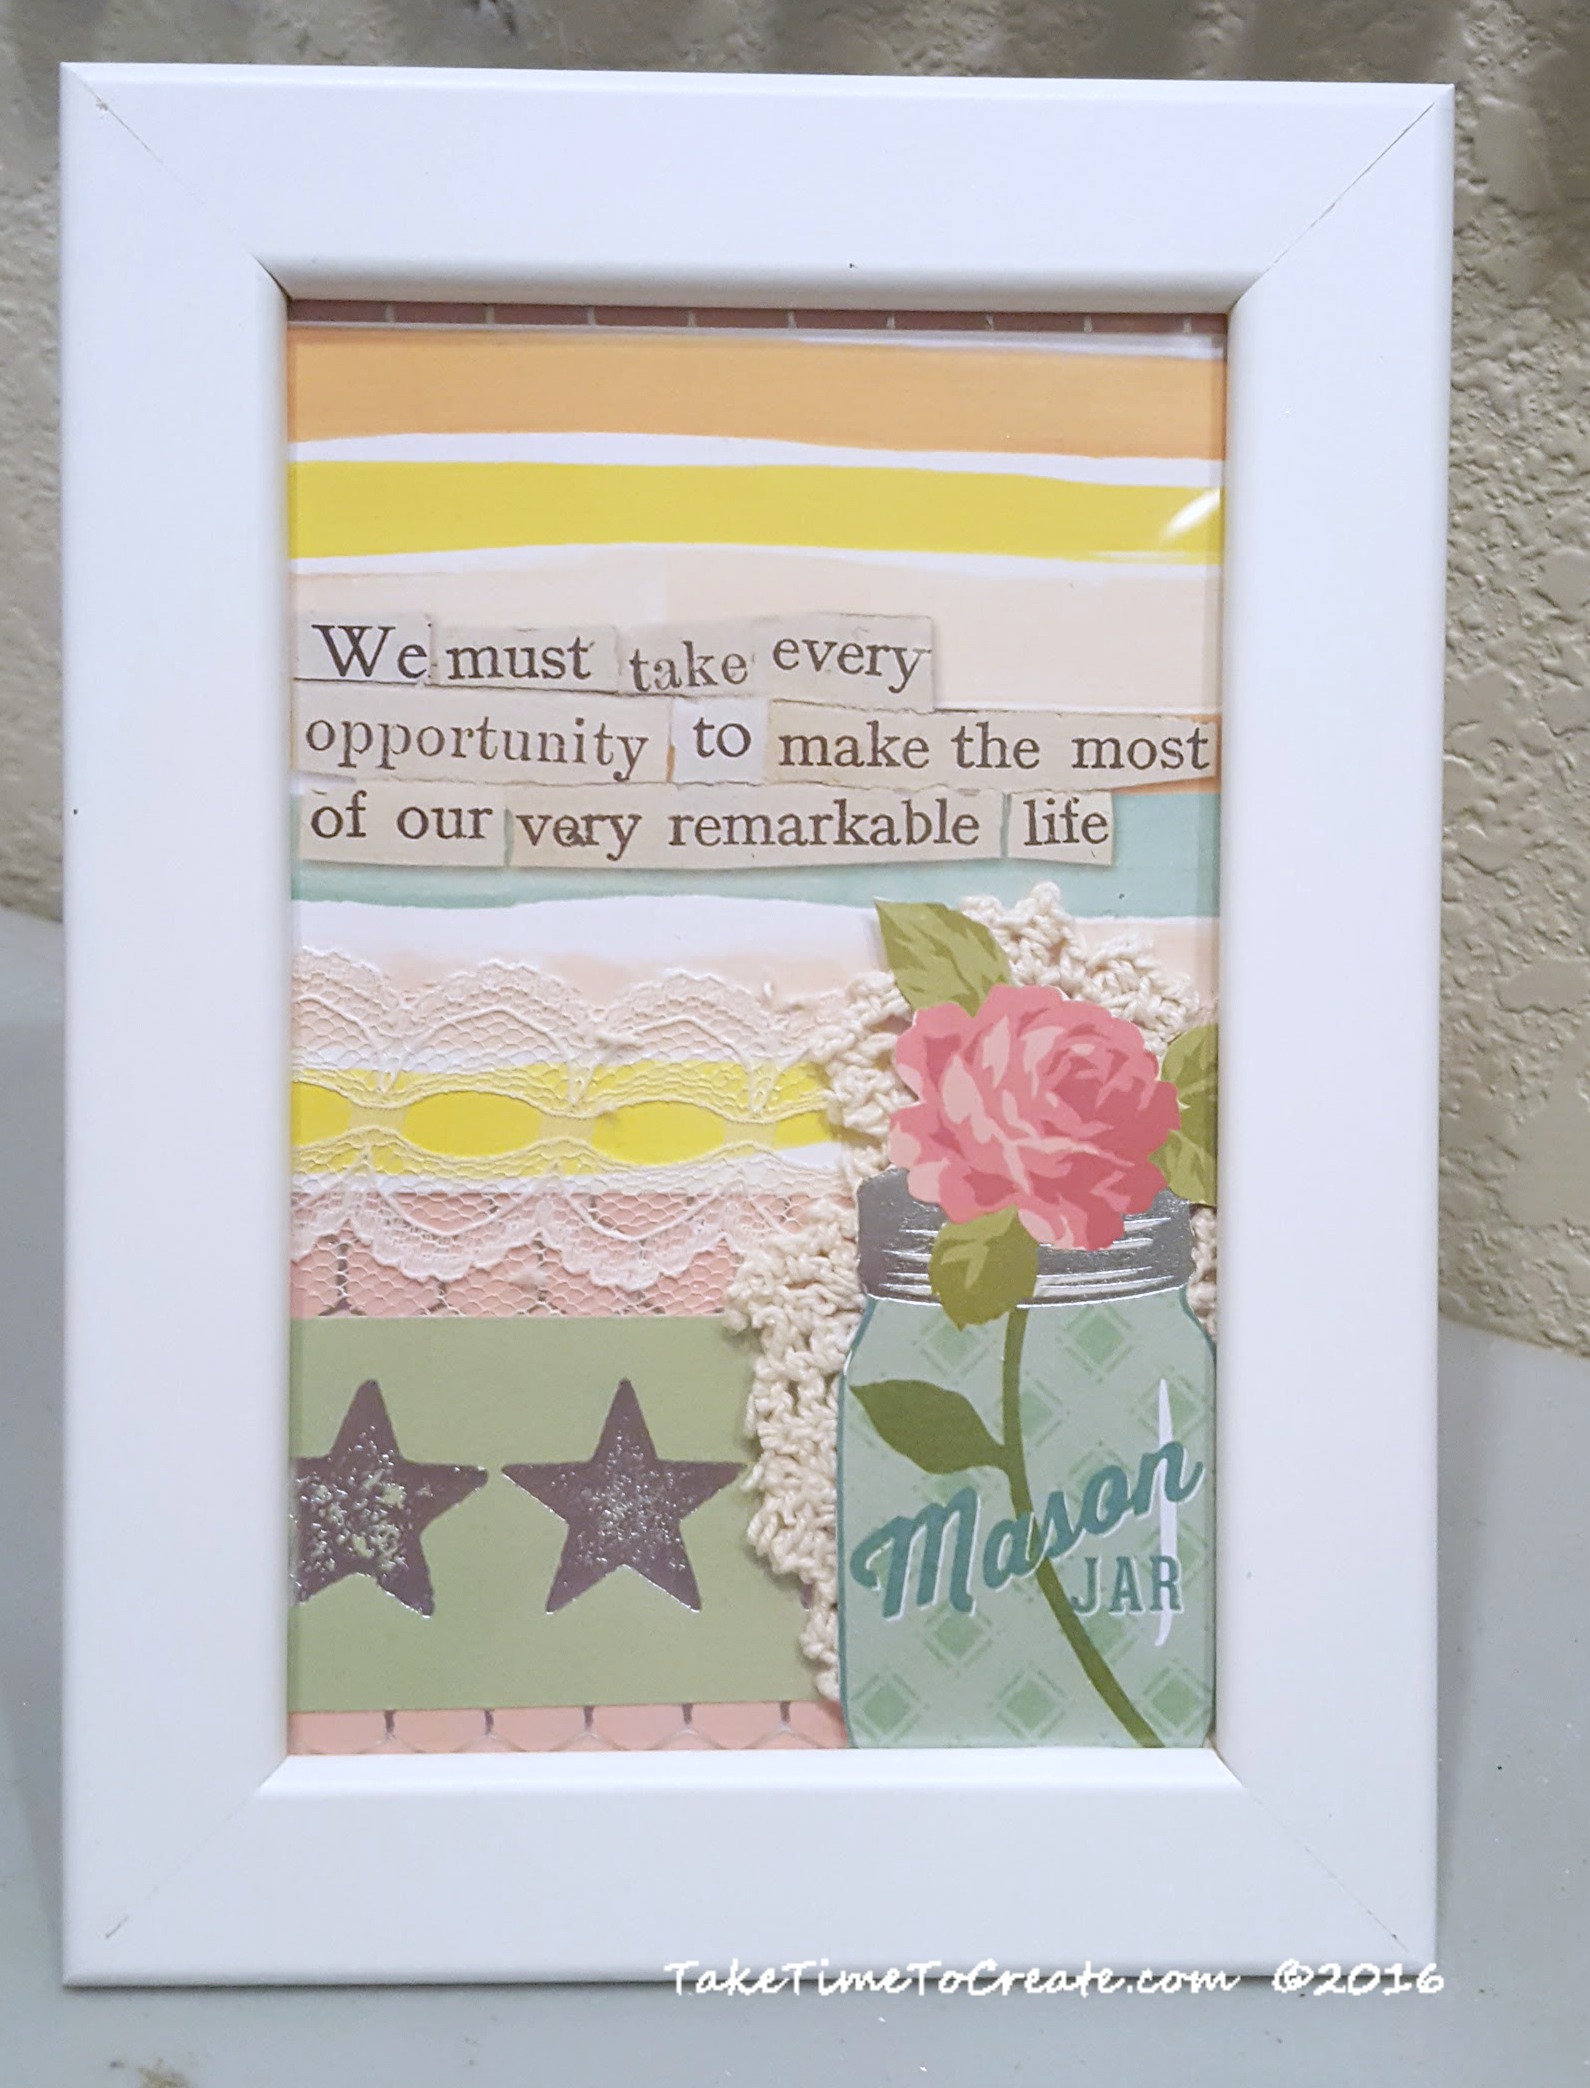
I created this tissue paper rose for her and gave it to her last weekend when we went to lunch and shopping to celebrate!
I created a video to go along with the tutorial, you can see that here: You Tube Tissue Paper Rose Tutorial
This was so much fun to create, and it was my first time doing something like this and I am happy with how it turned out.
Materials:
BTW this list contains affiliate links.
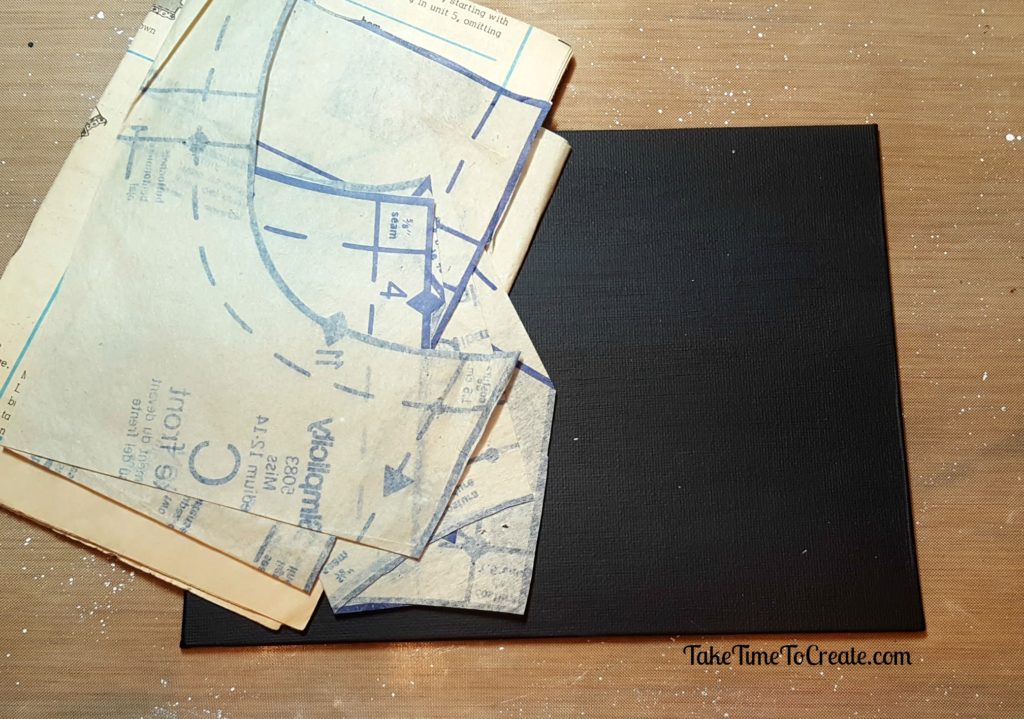
- Old patterns (I used the tissue paper inside for the rose, or you can use regular tissue paper)
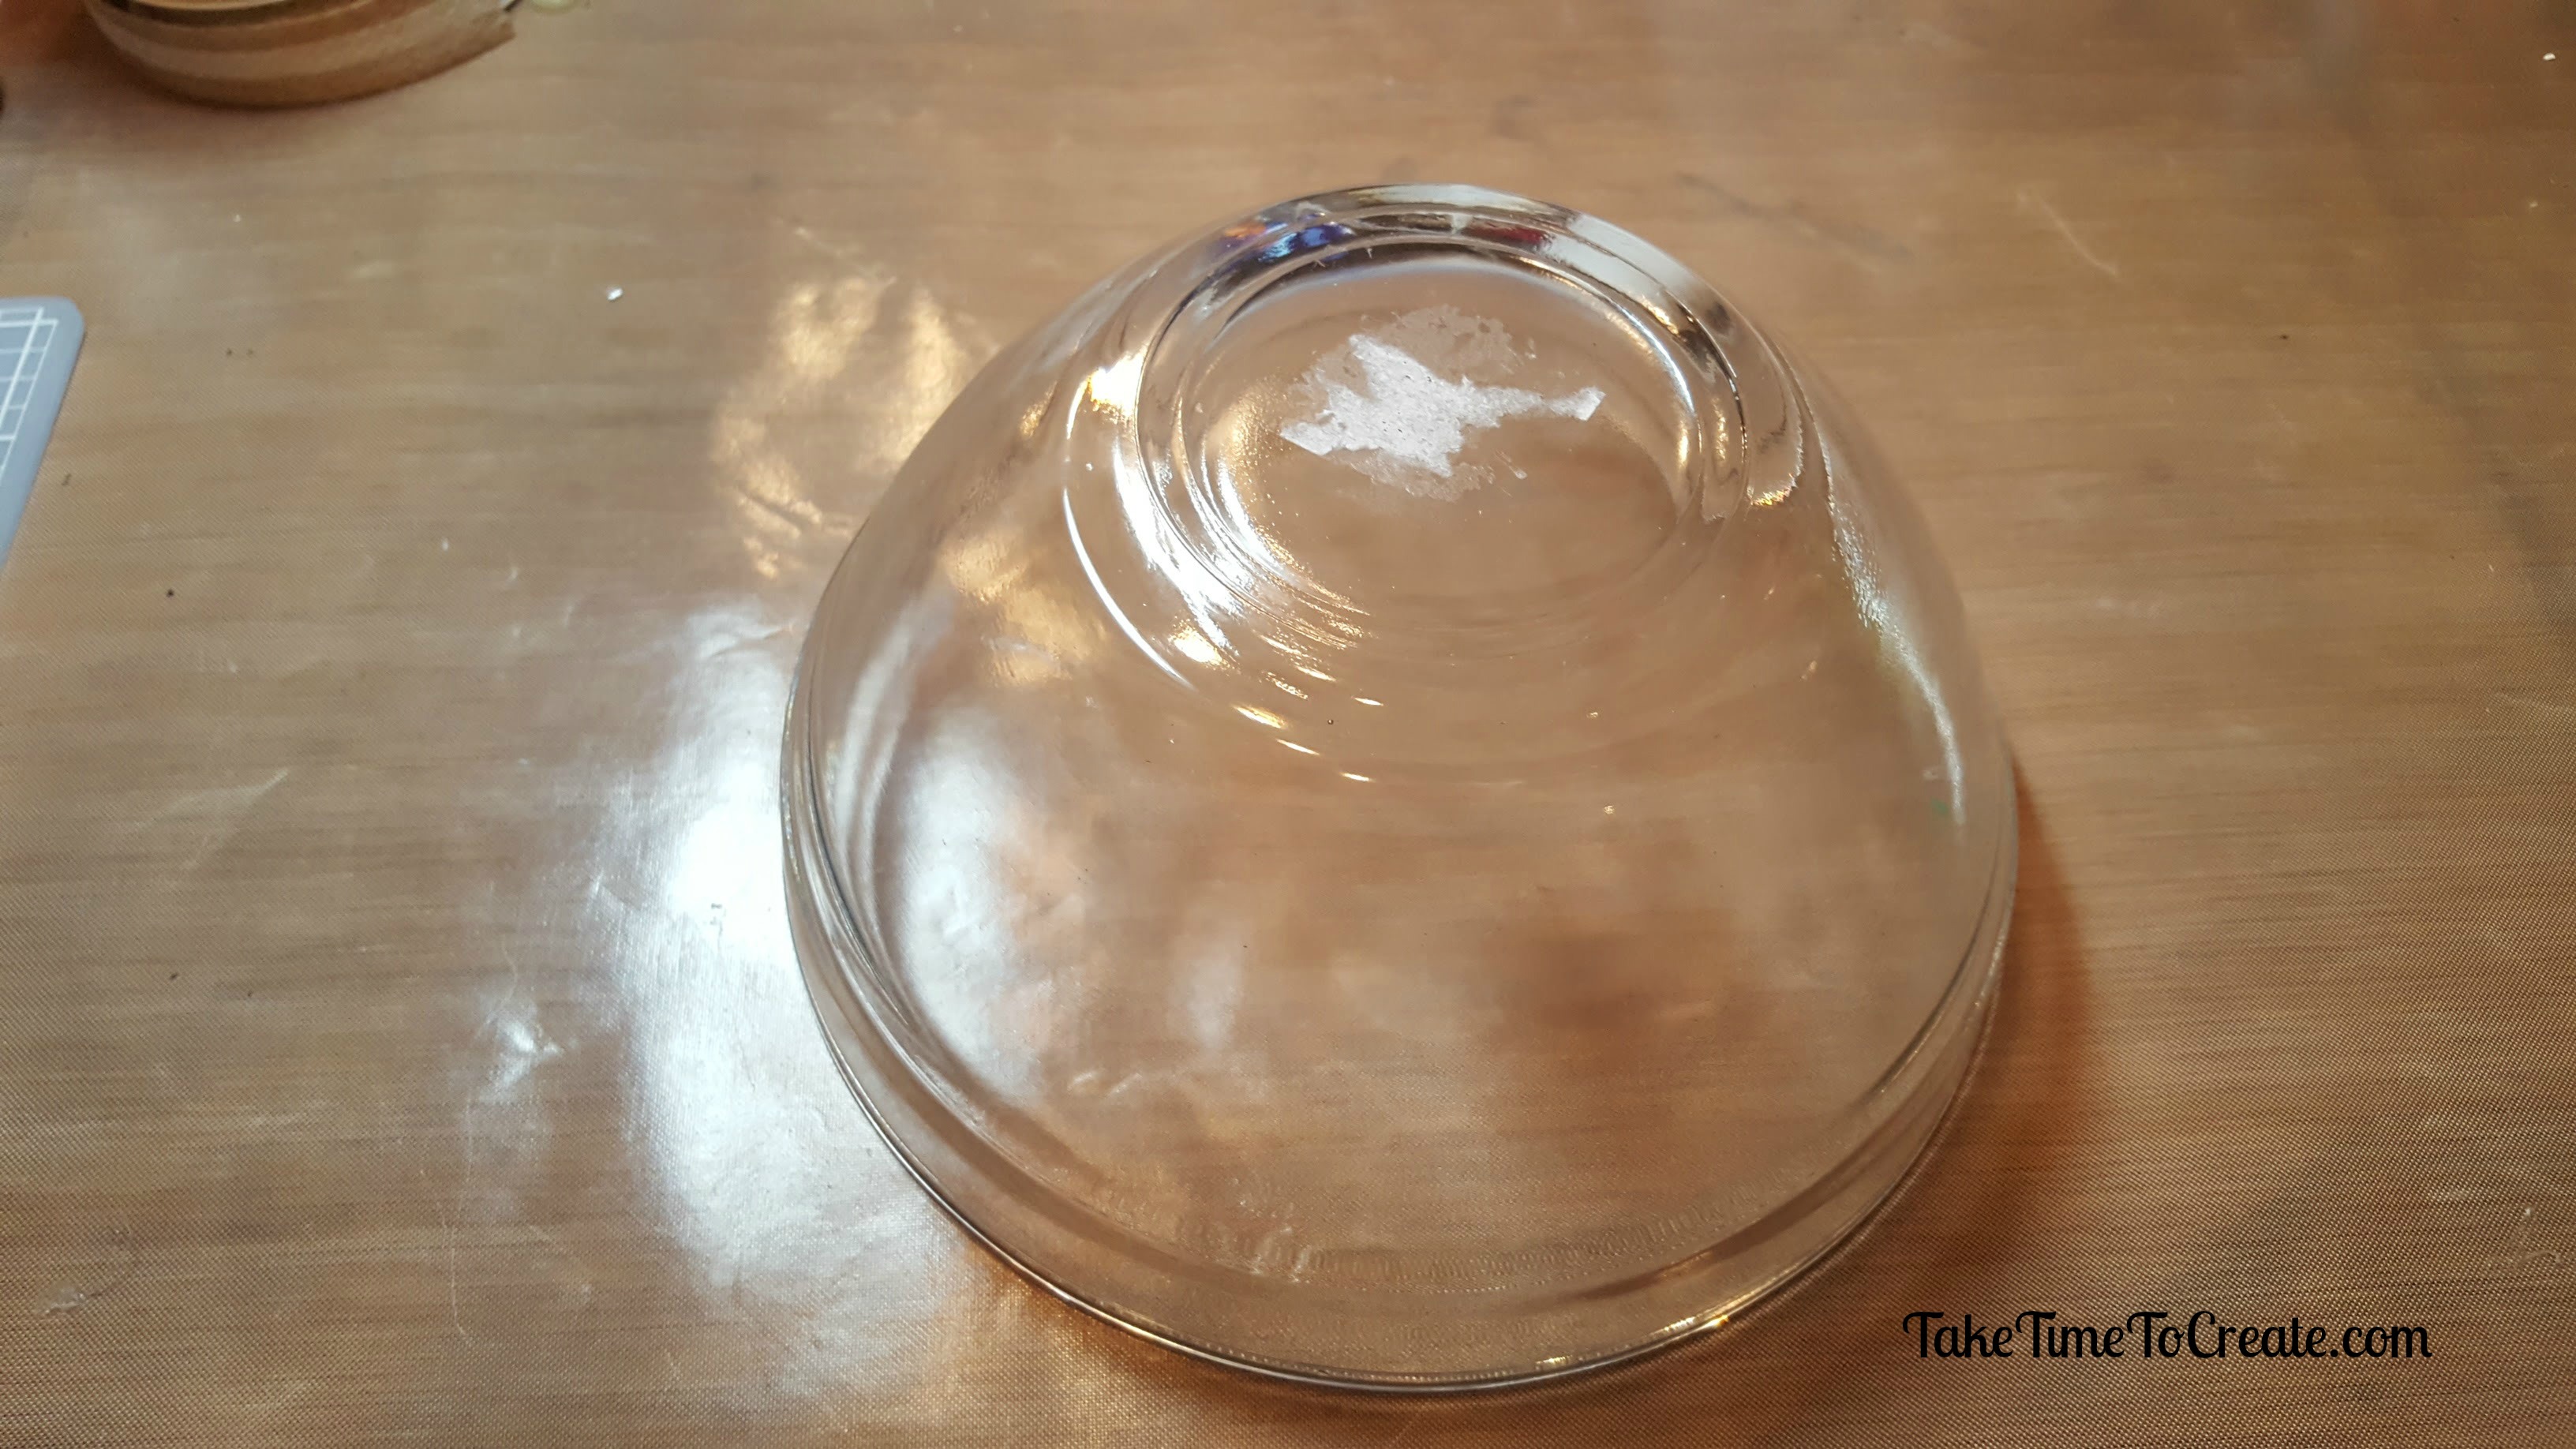
- canvas board
- hot glue
- metallic paints (or any acrylic paints of our choice)
- black and white gesso
- mica flakes
- spray sealer
- Mod Podge
Instructions:
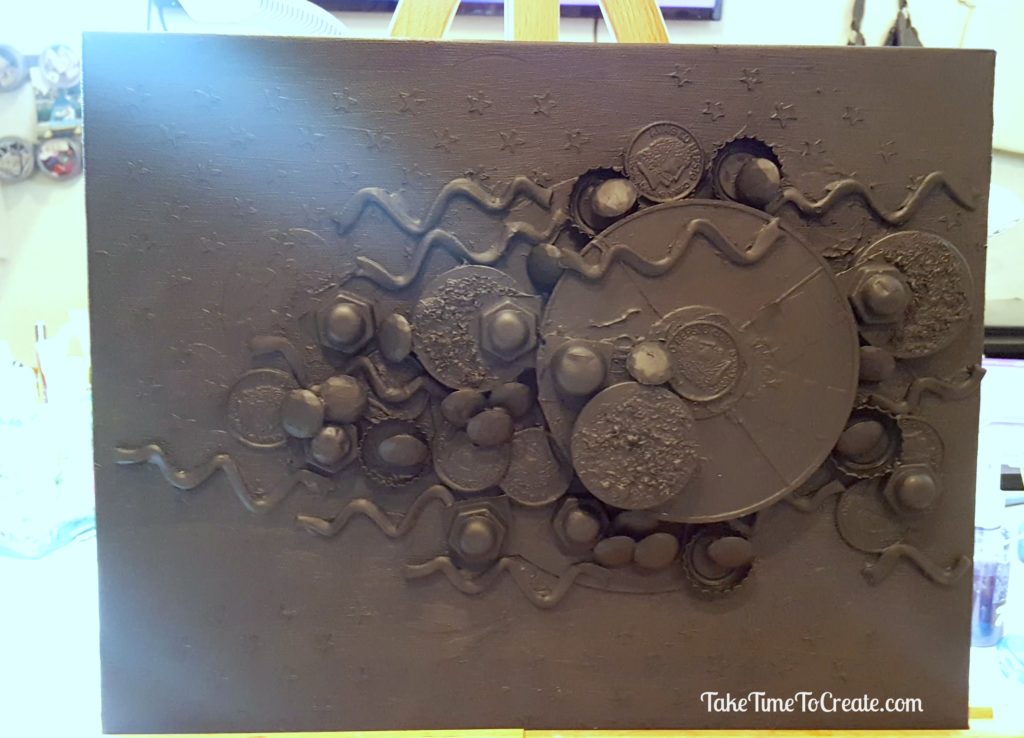
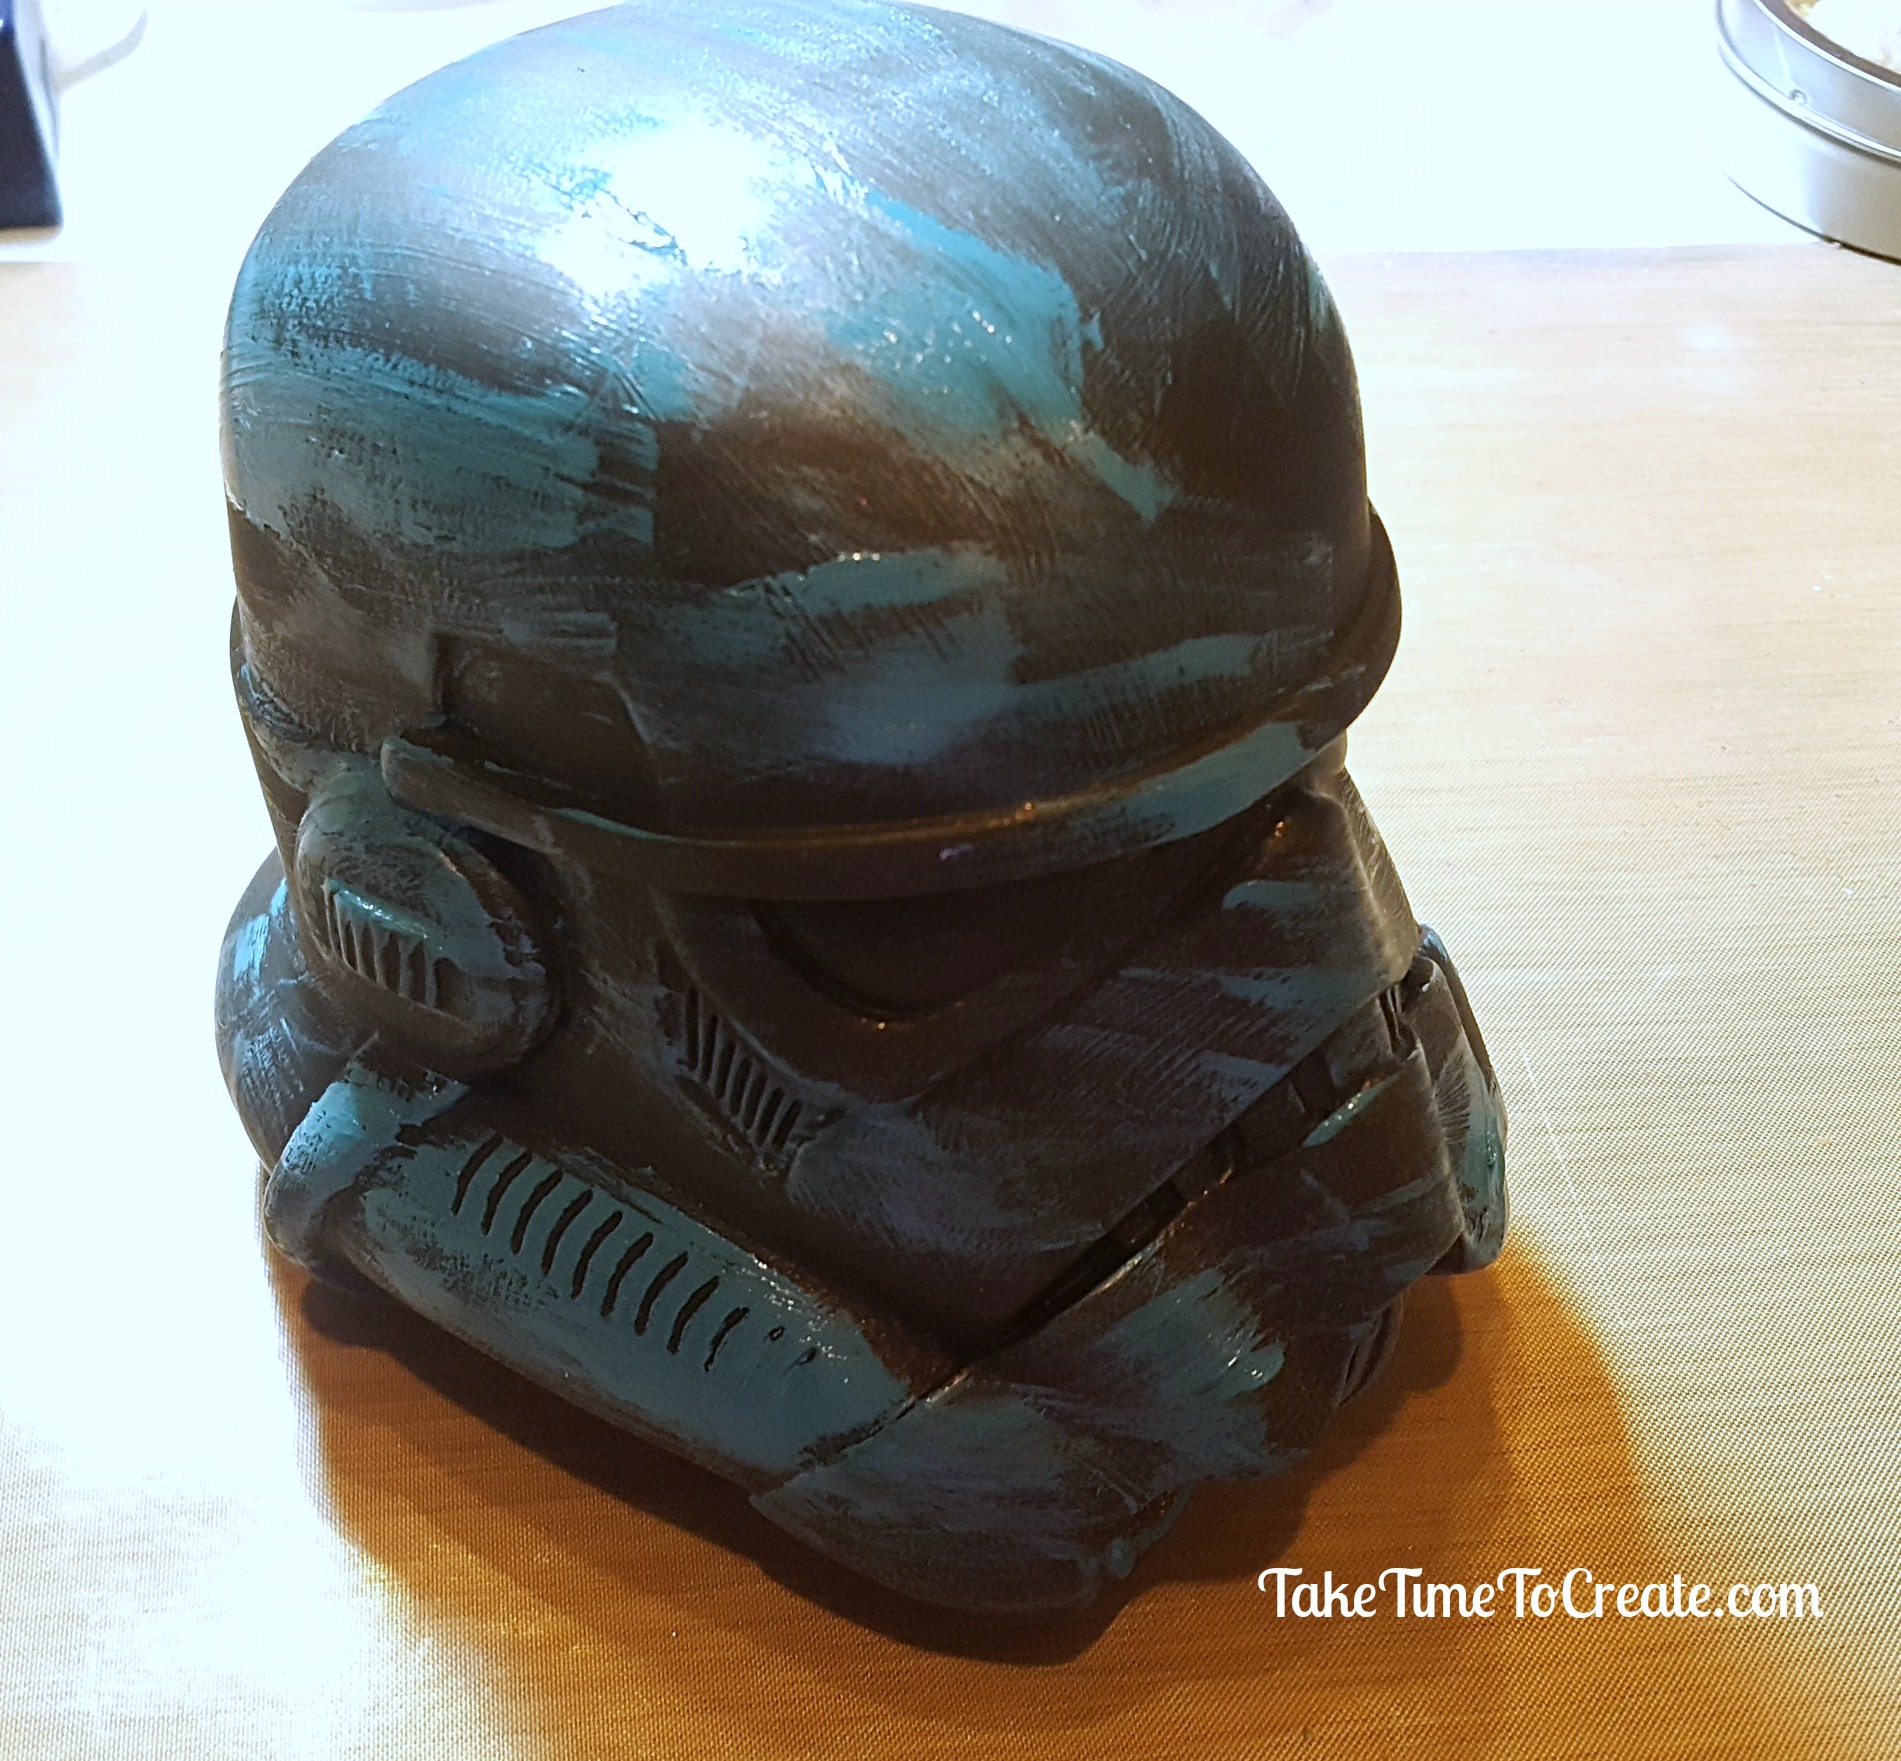
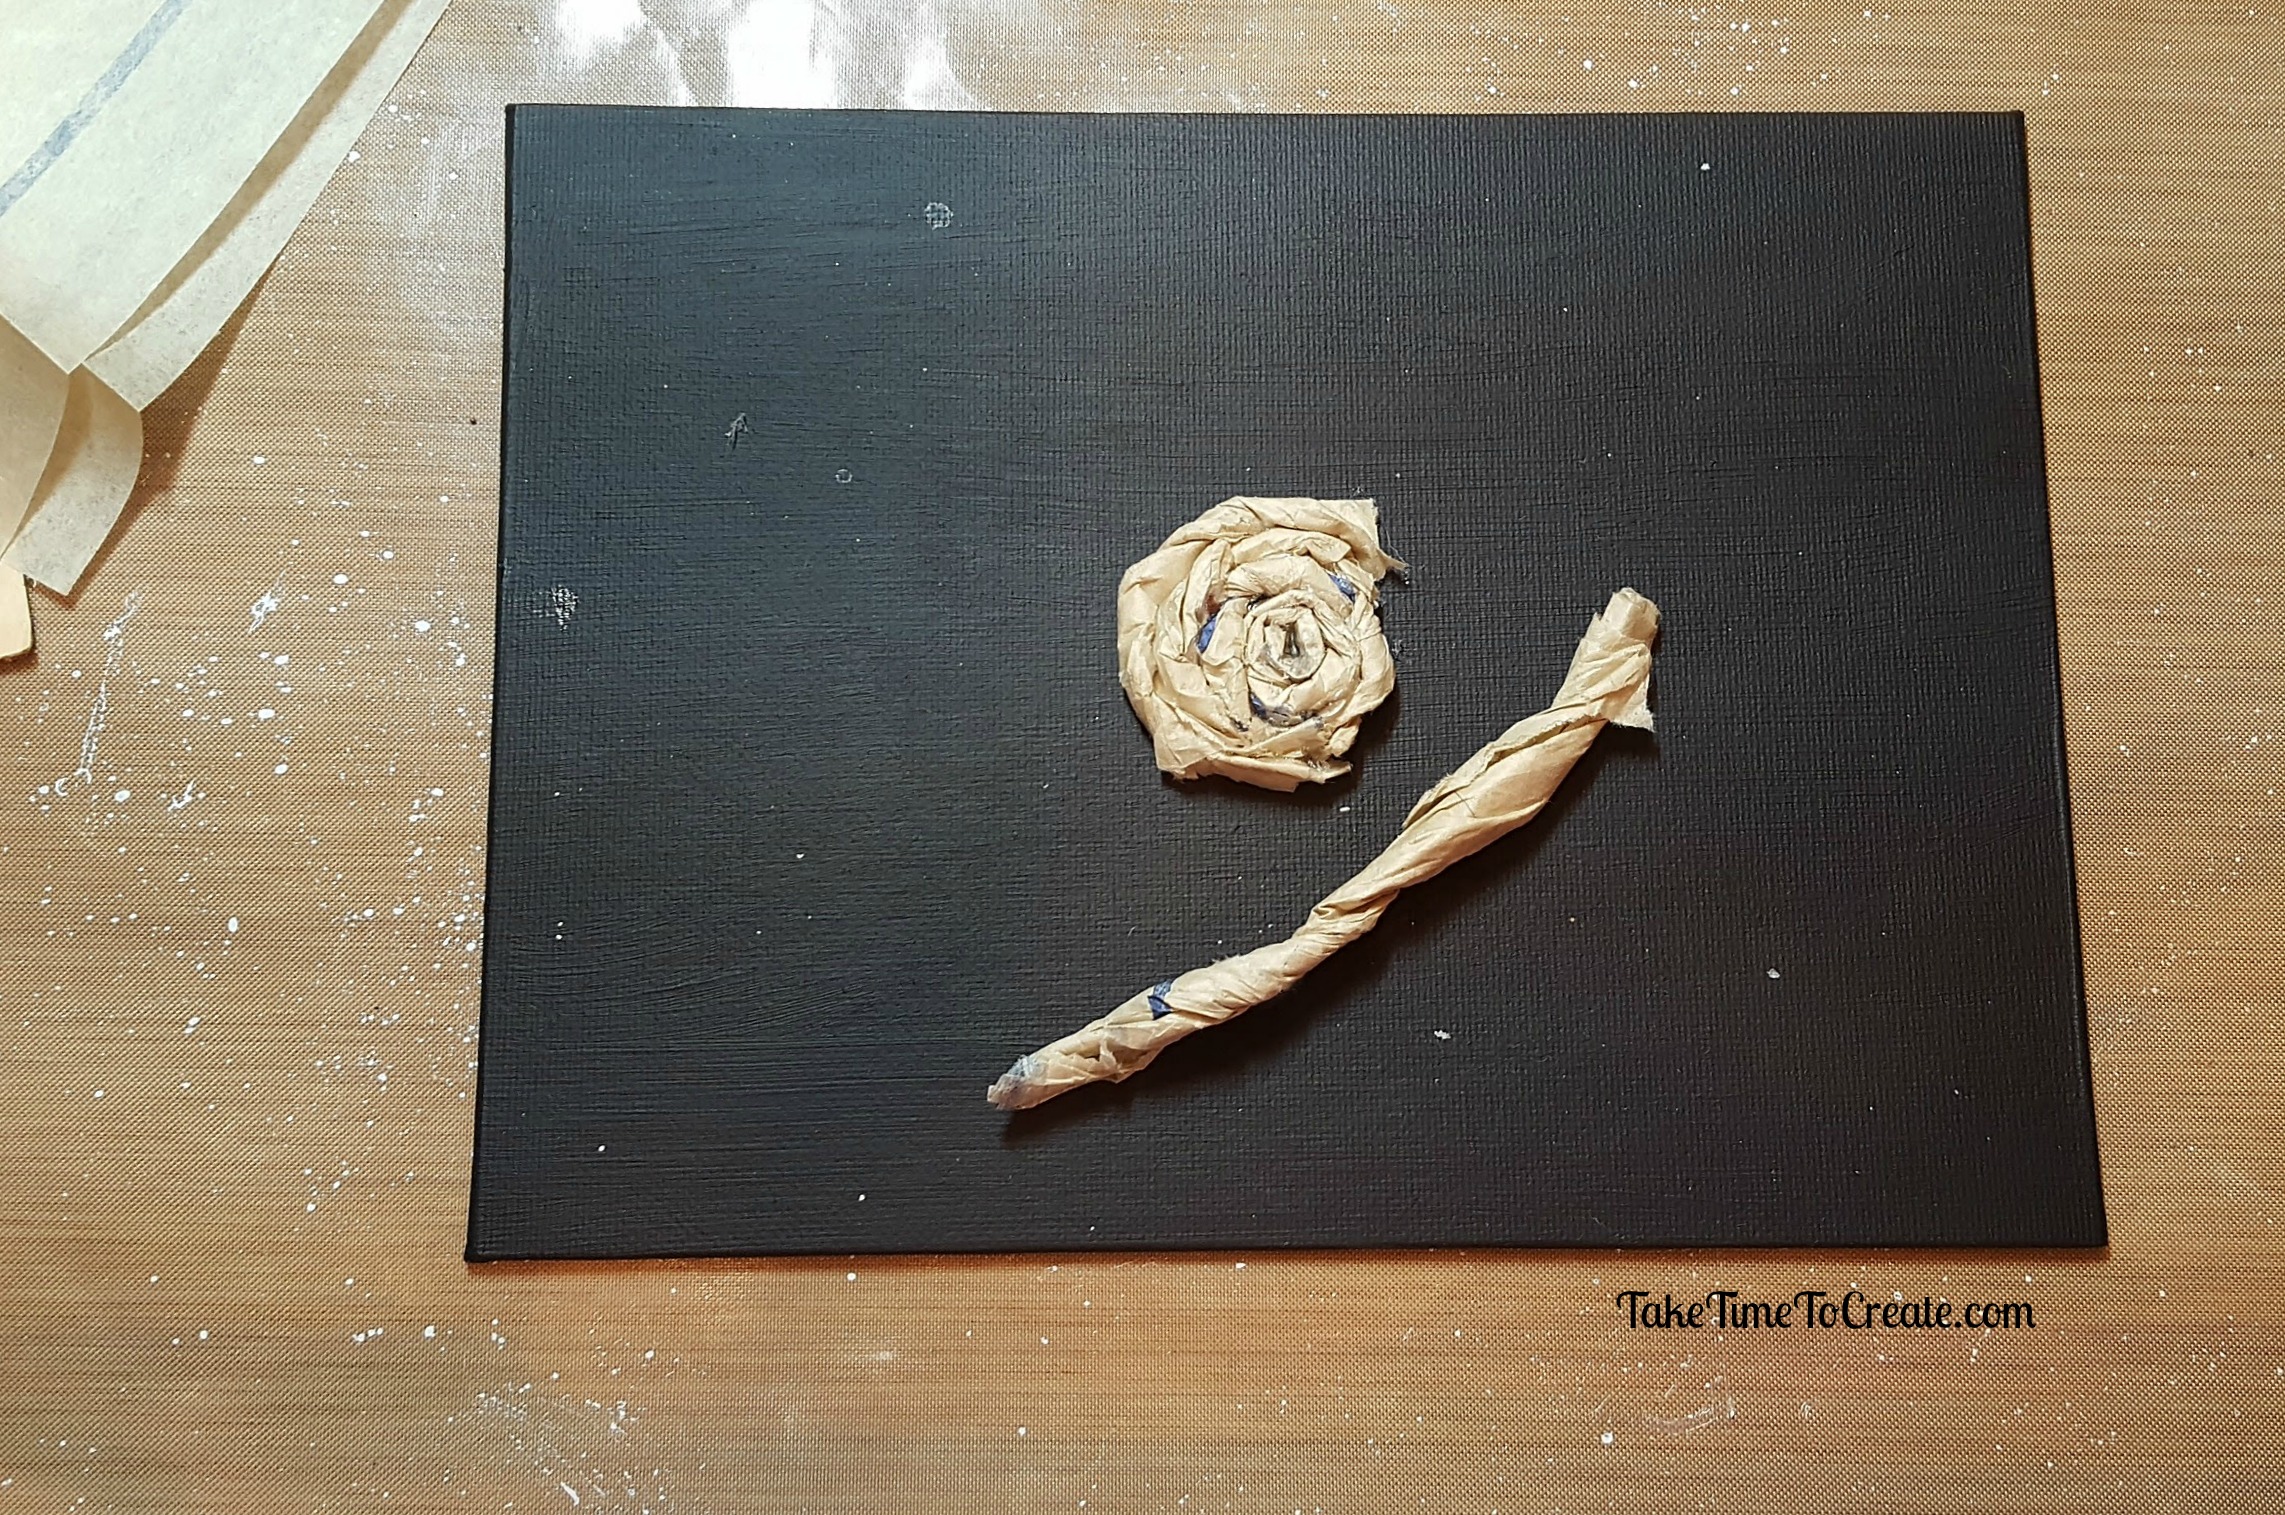
First prep the canvas board with gesso. I chose black gesso to give me a clean slate.
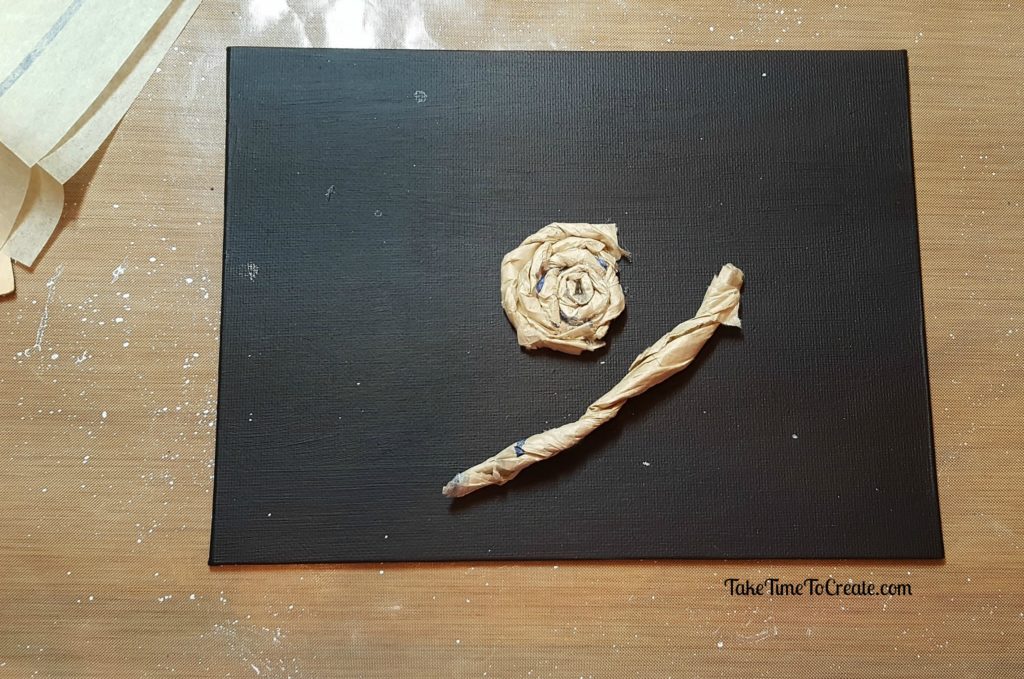
Get the tissue paper ready by ripping the tissue paper and rolling it into a tight strip.
Roll the strips into a tight circle and glue it down in a spiral. Try and keep it all tight and keep going until you get the size you like.
Make the stems by using the strips in a swirl motion. The leaves were made from a short strip with one end slightly trimmed in a rounded shape.
Next I put a layer of black gesso on everything.
No photo here: Then I decided that the black was too dark for the center of my rose so I painted over the black with white gesso
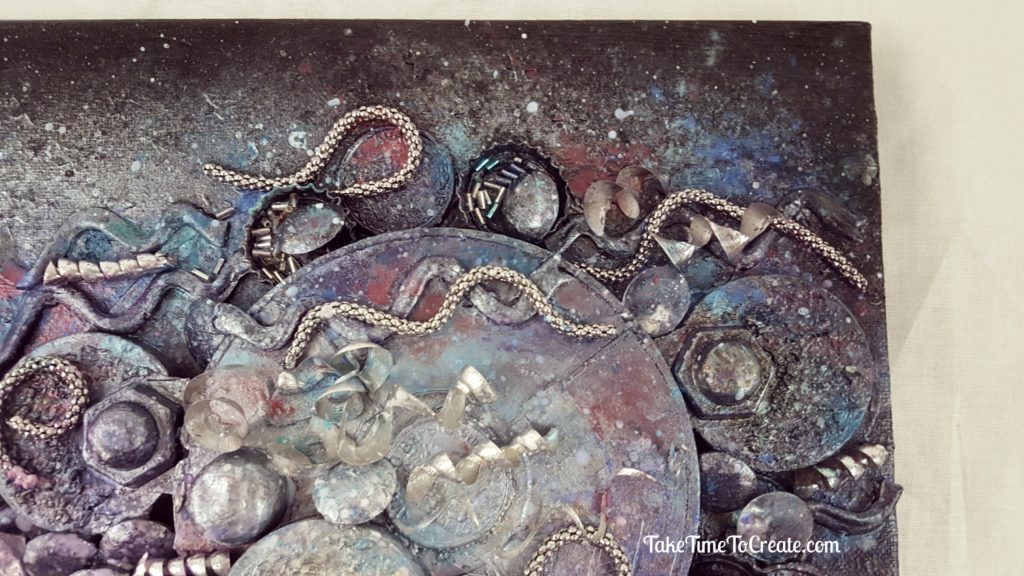
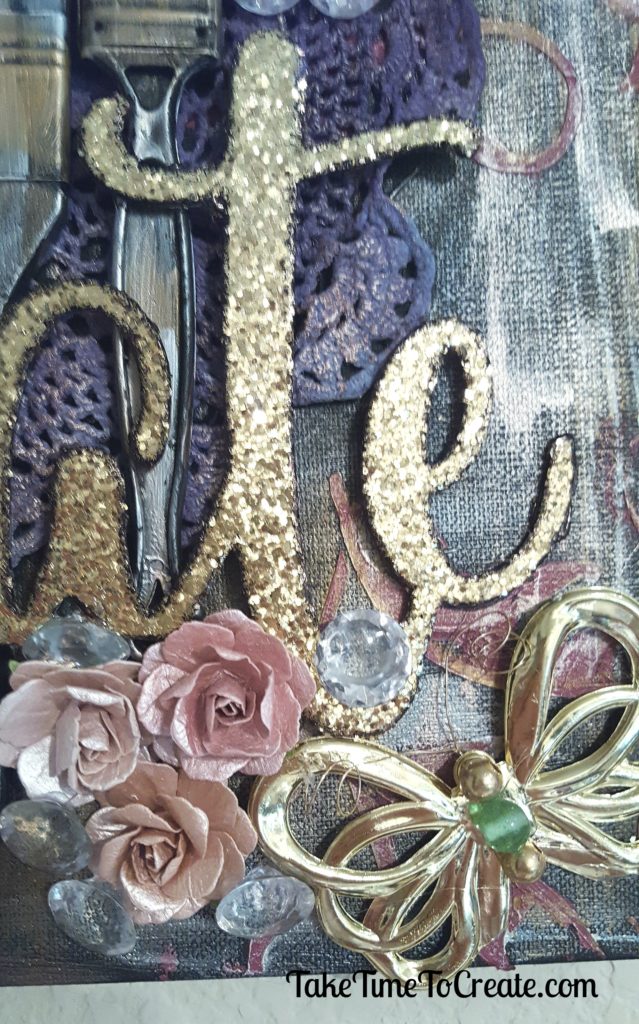
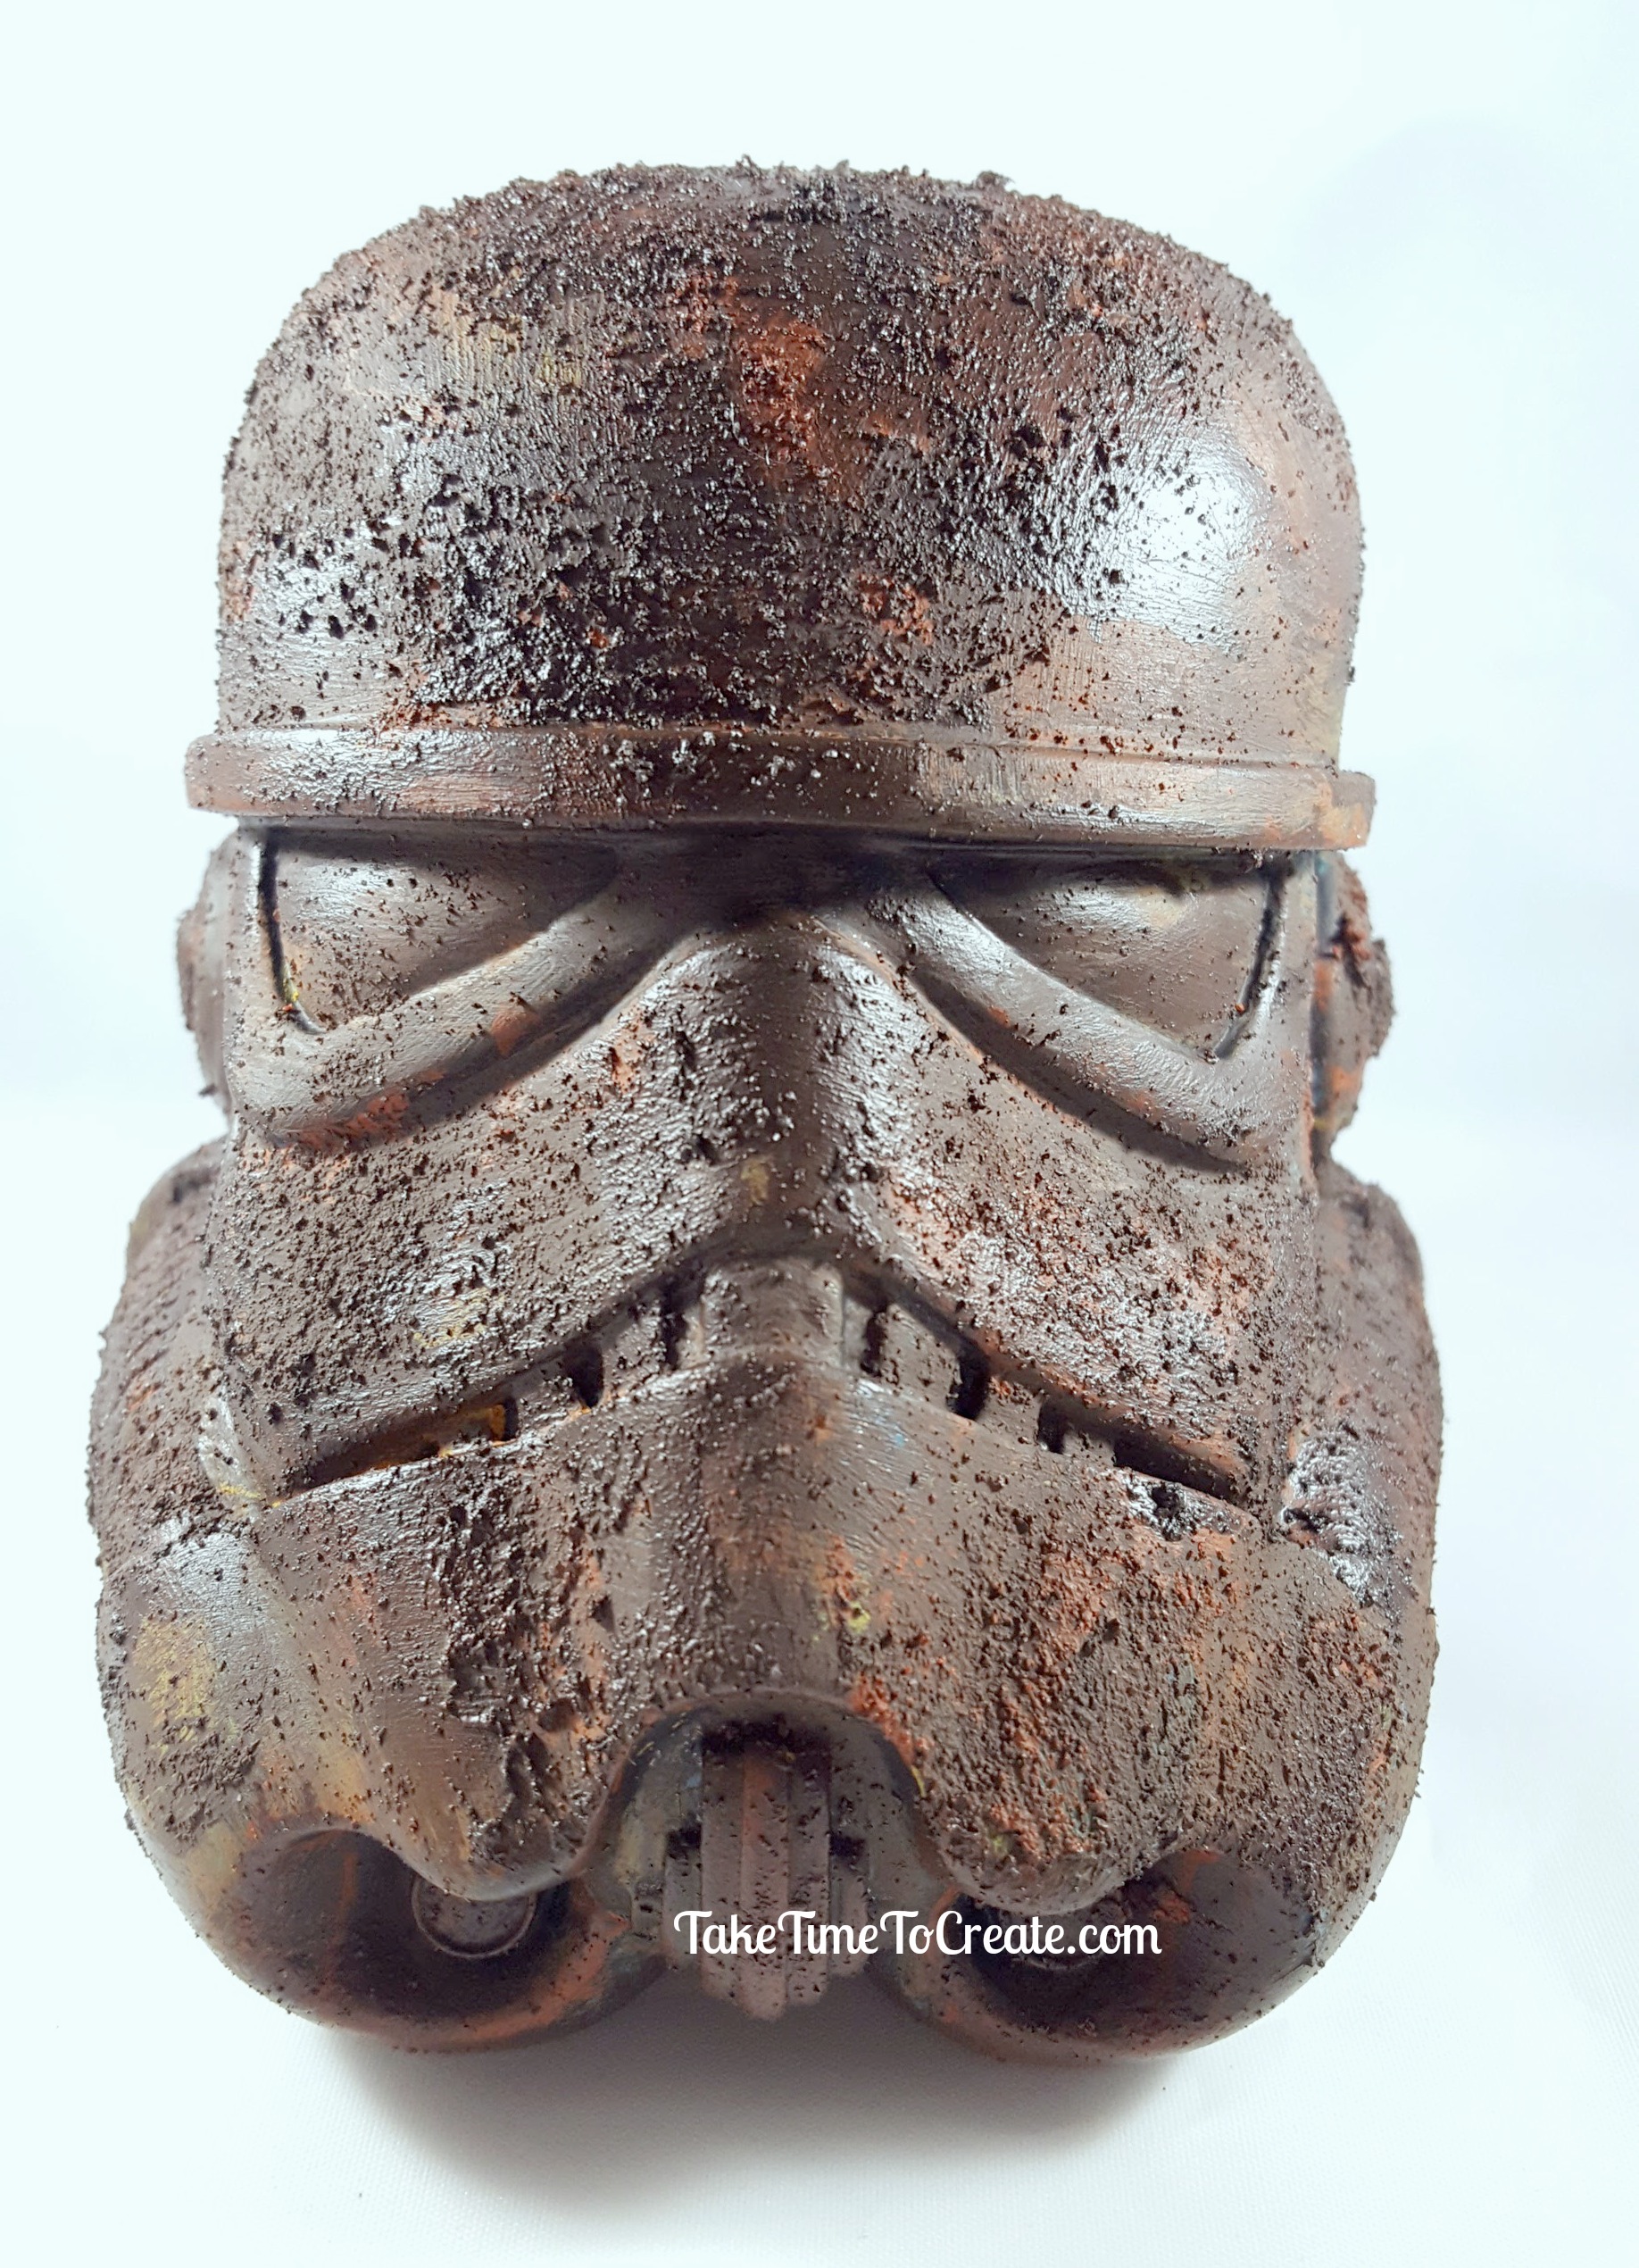
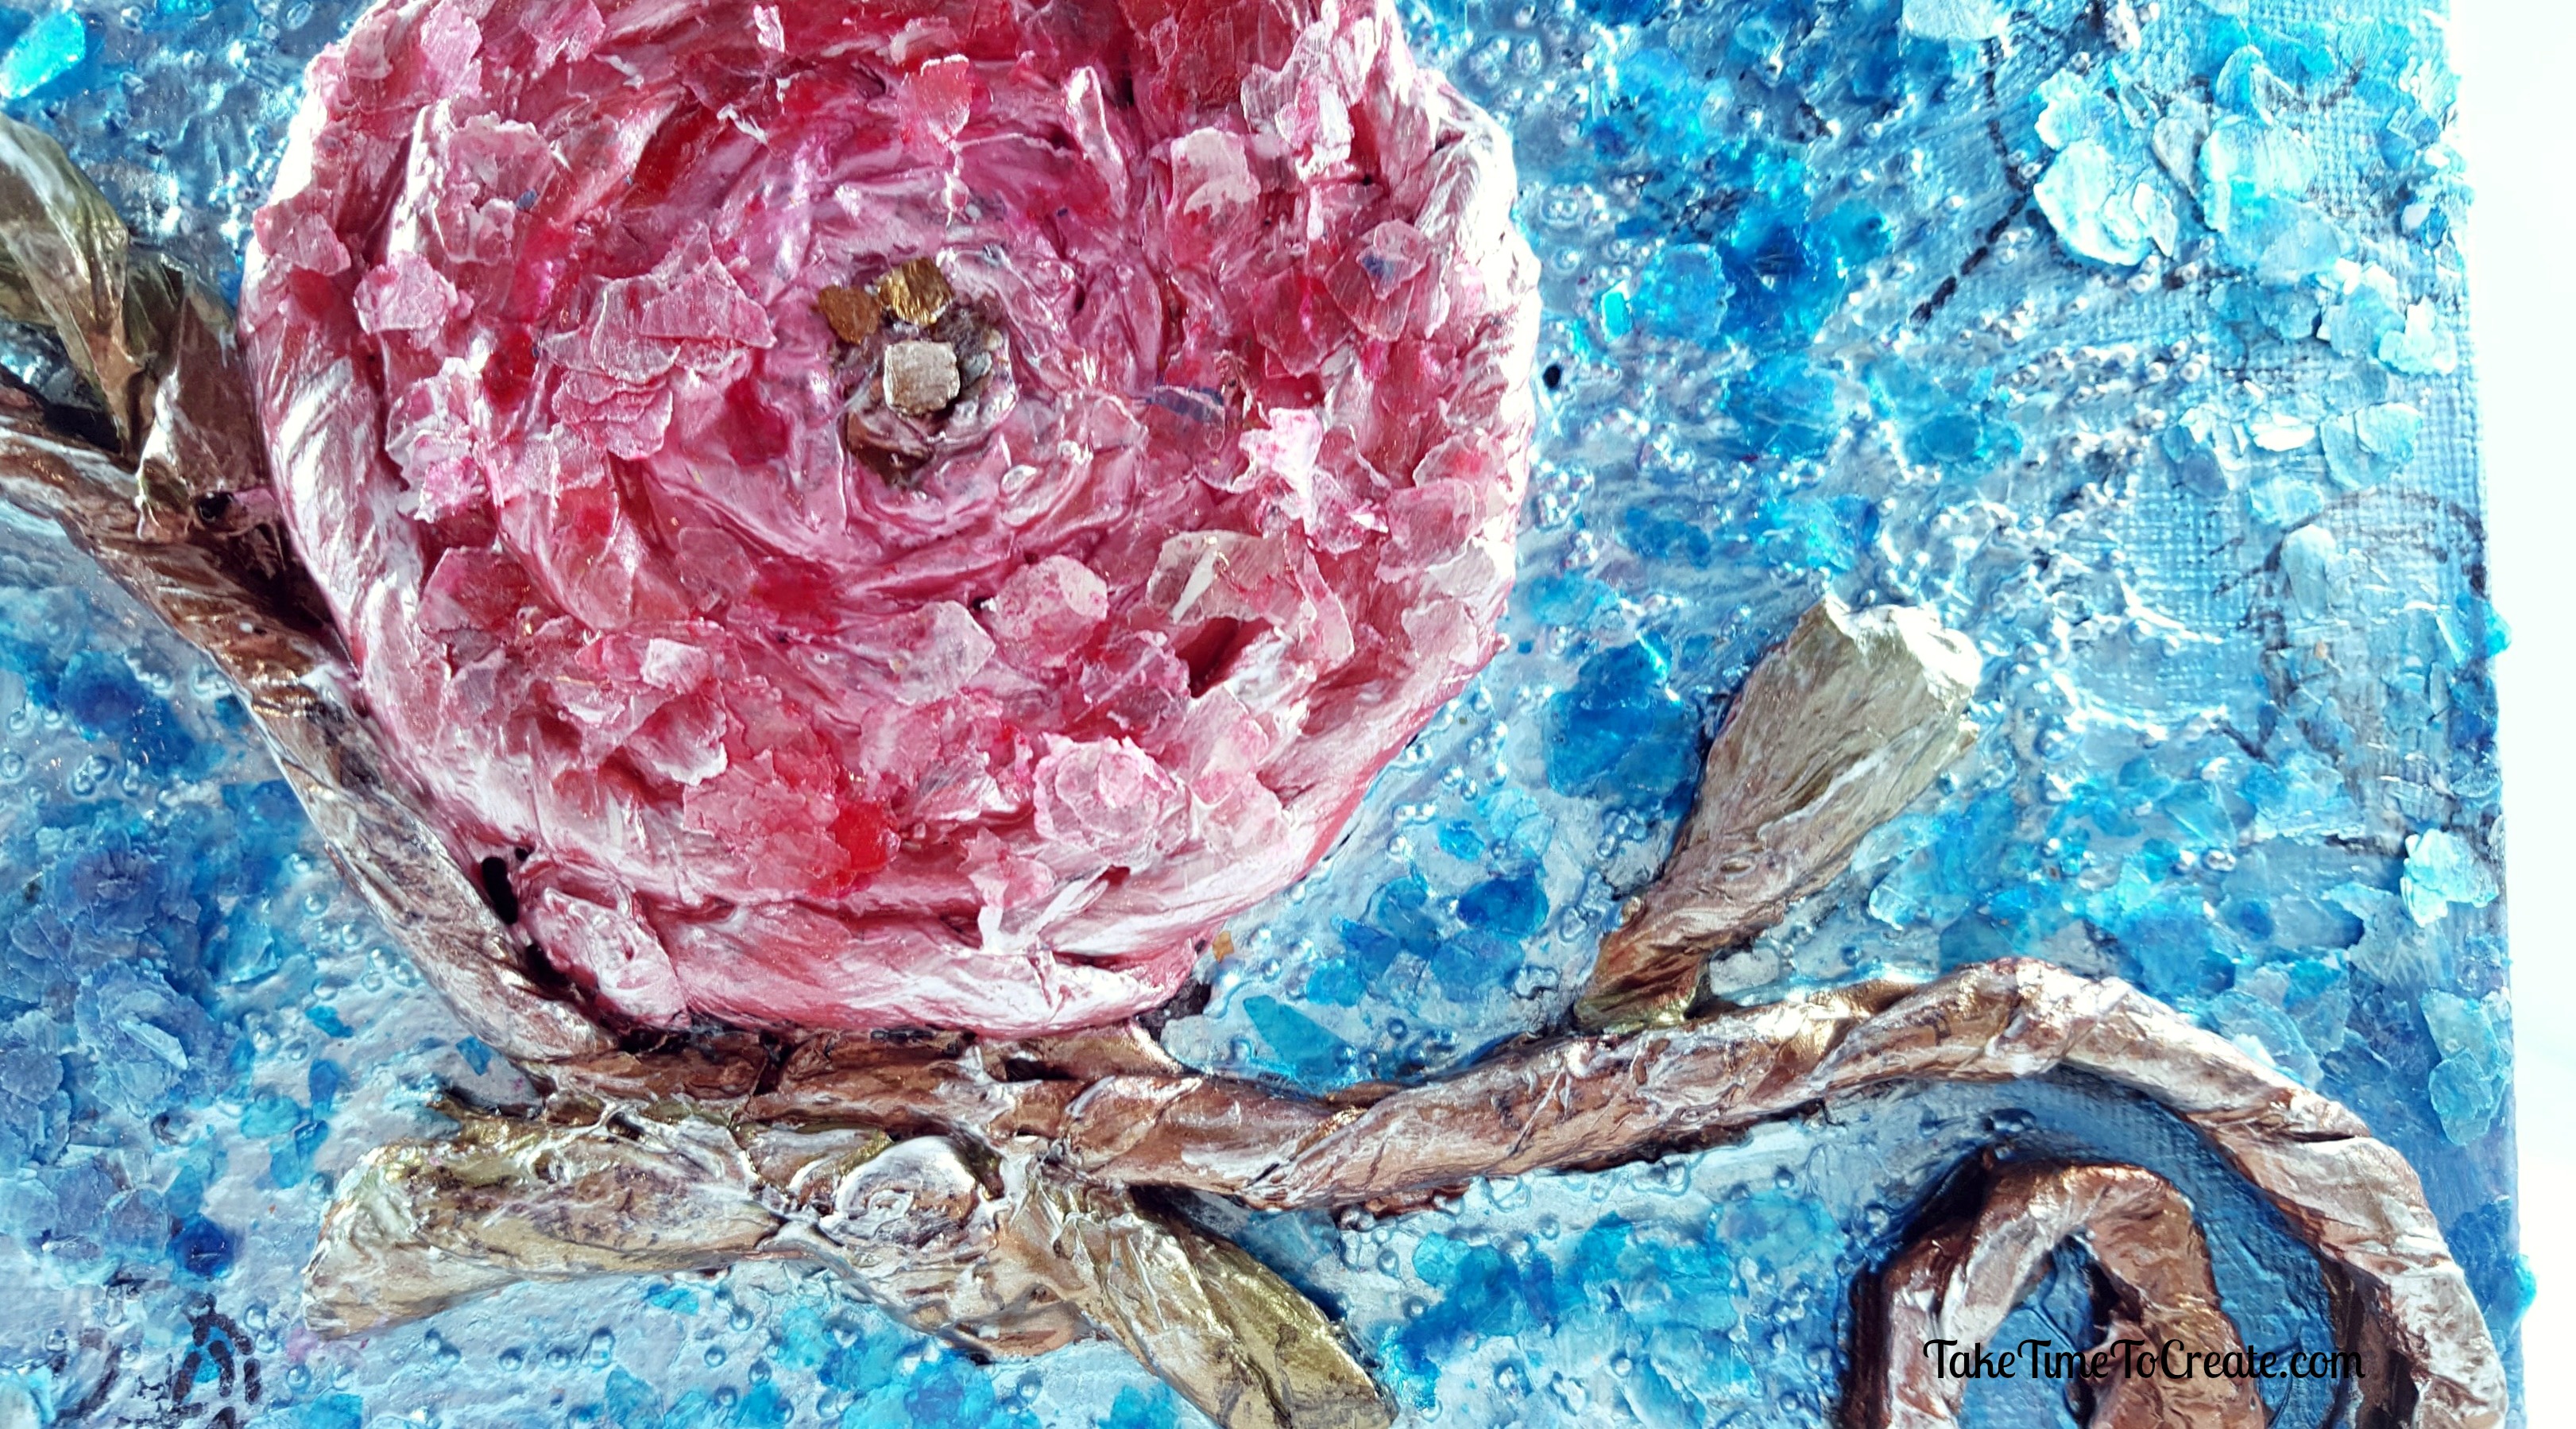
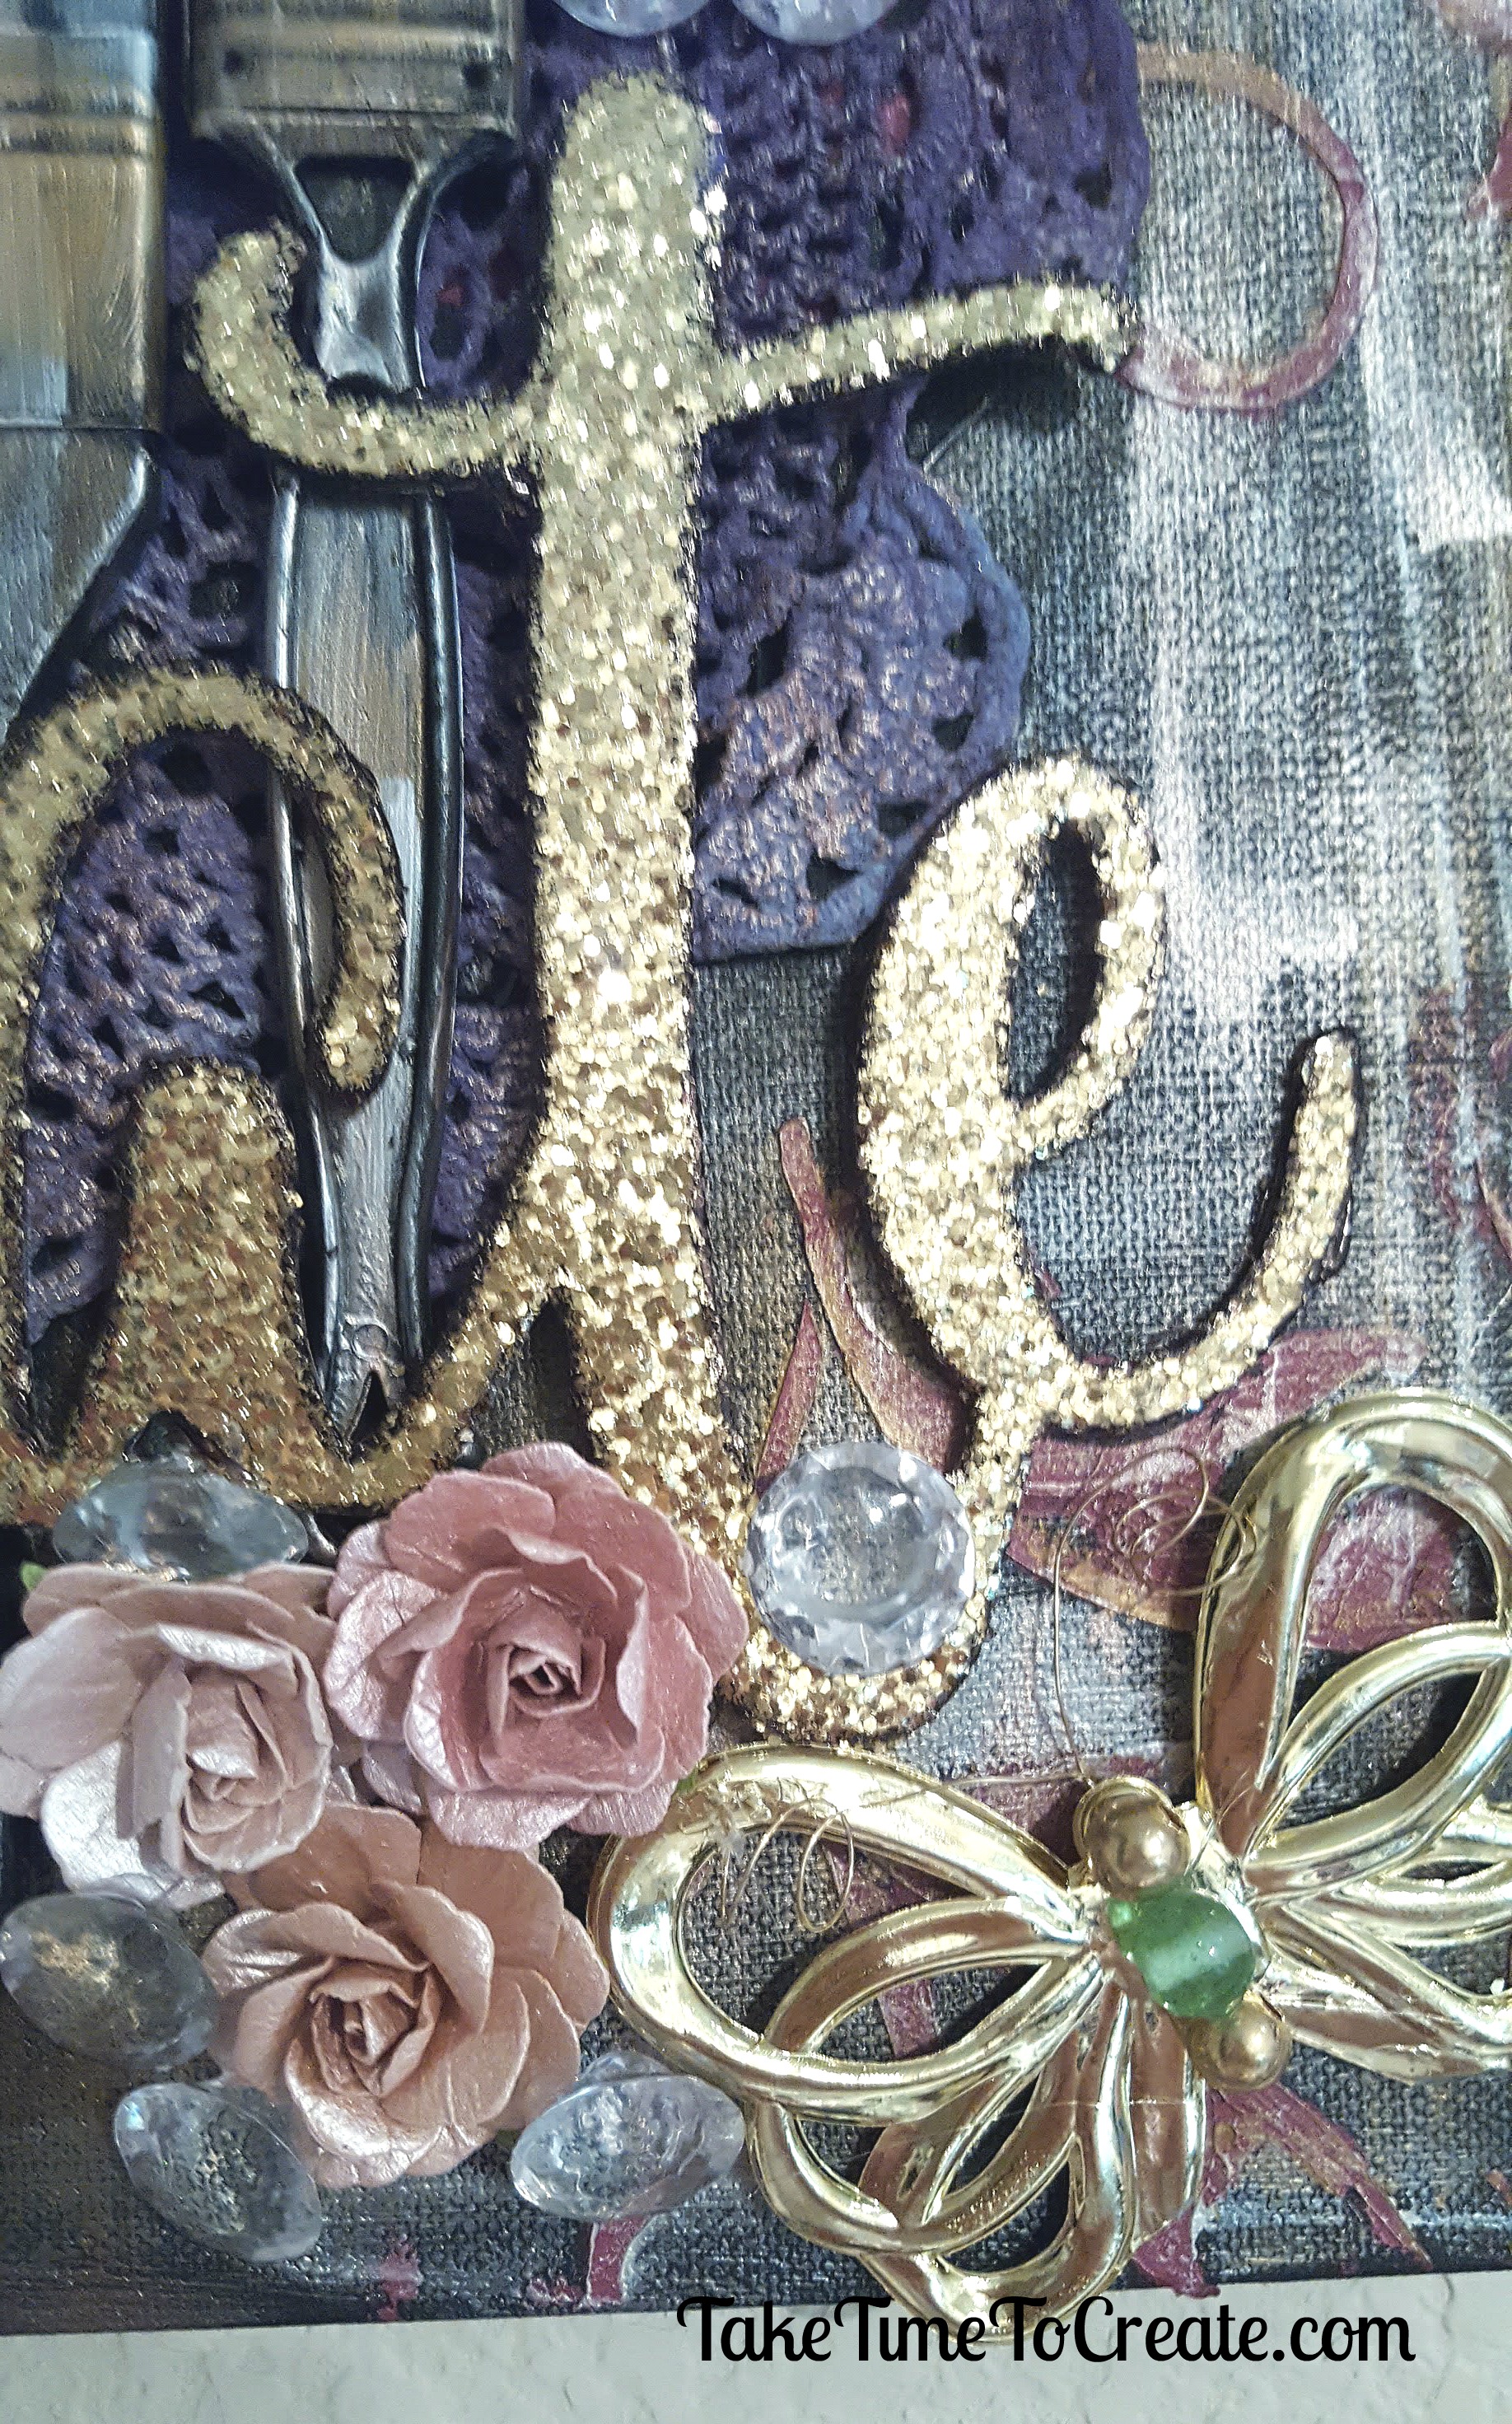
Then I added glass bead texture to the outside of the rose.

Here is where I got really bad at taking photos, lol. But you can see the process in the video
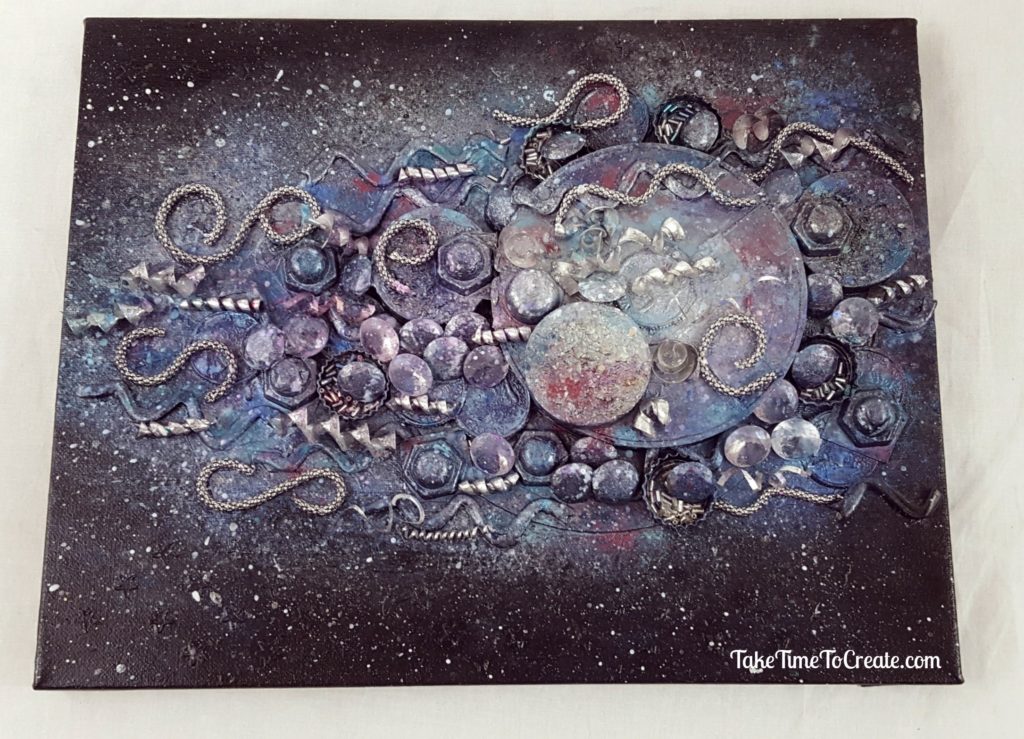
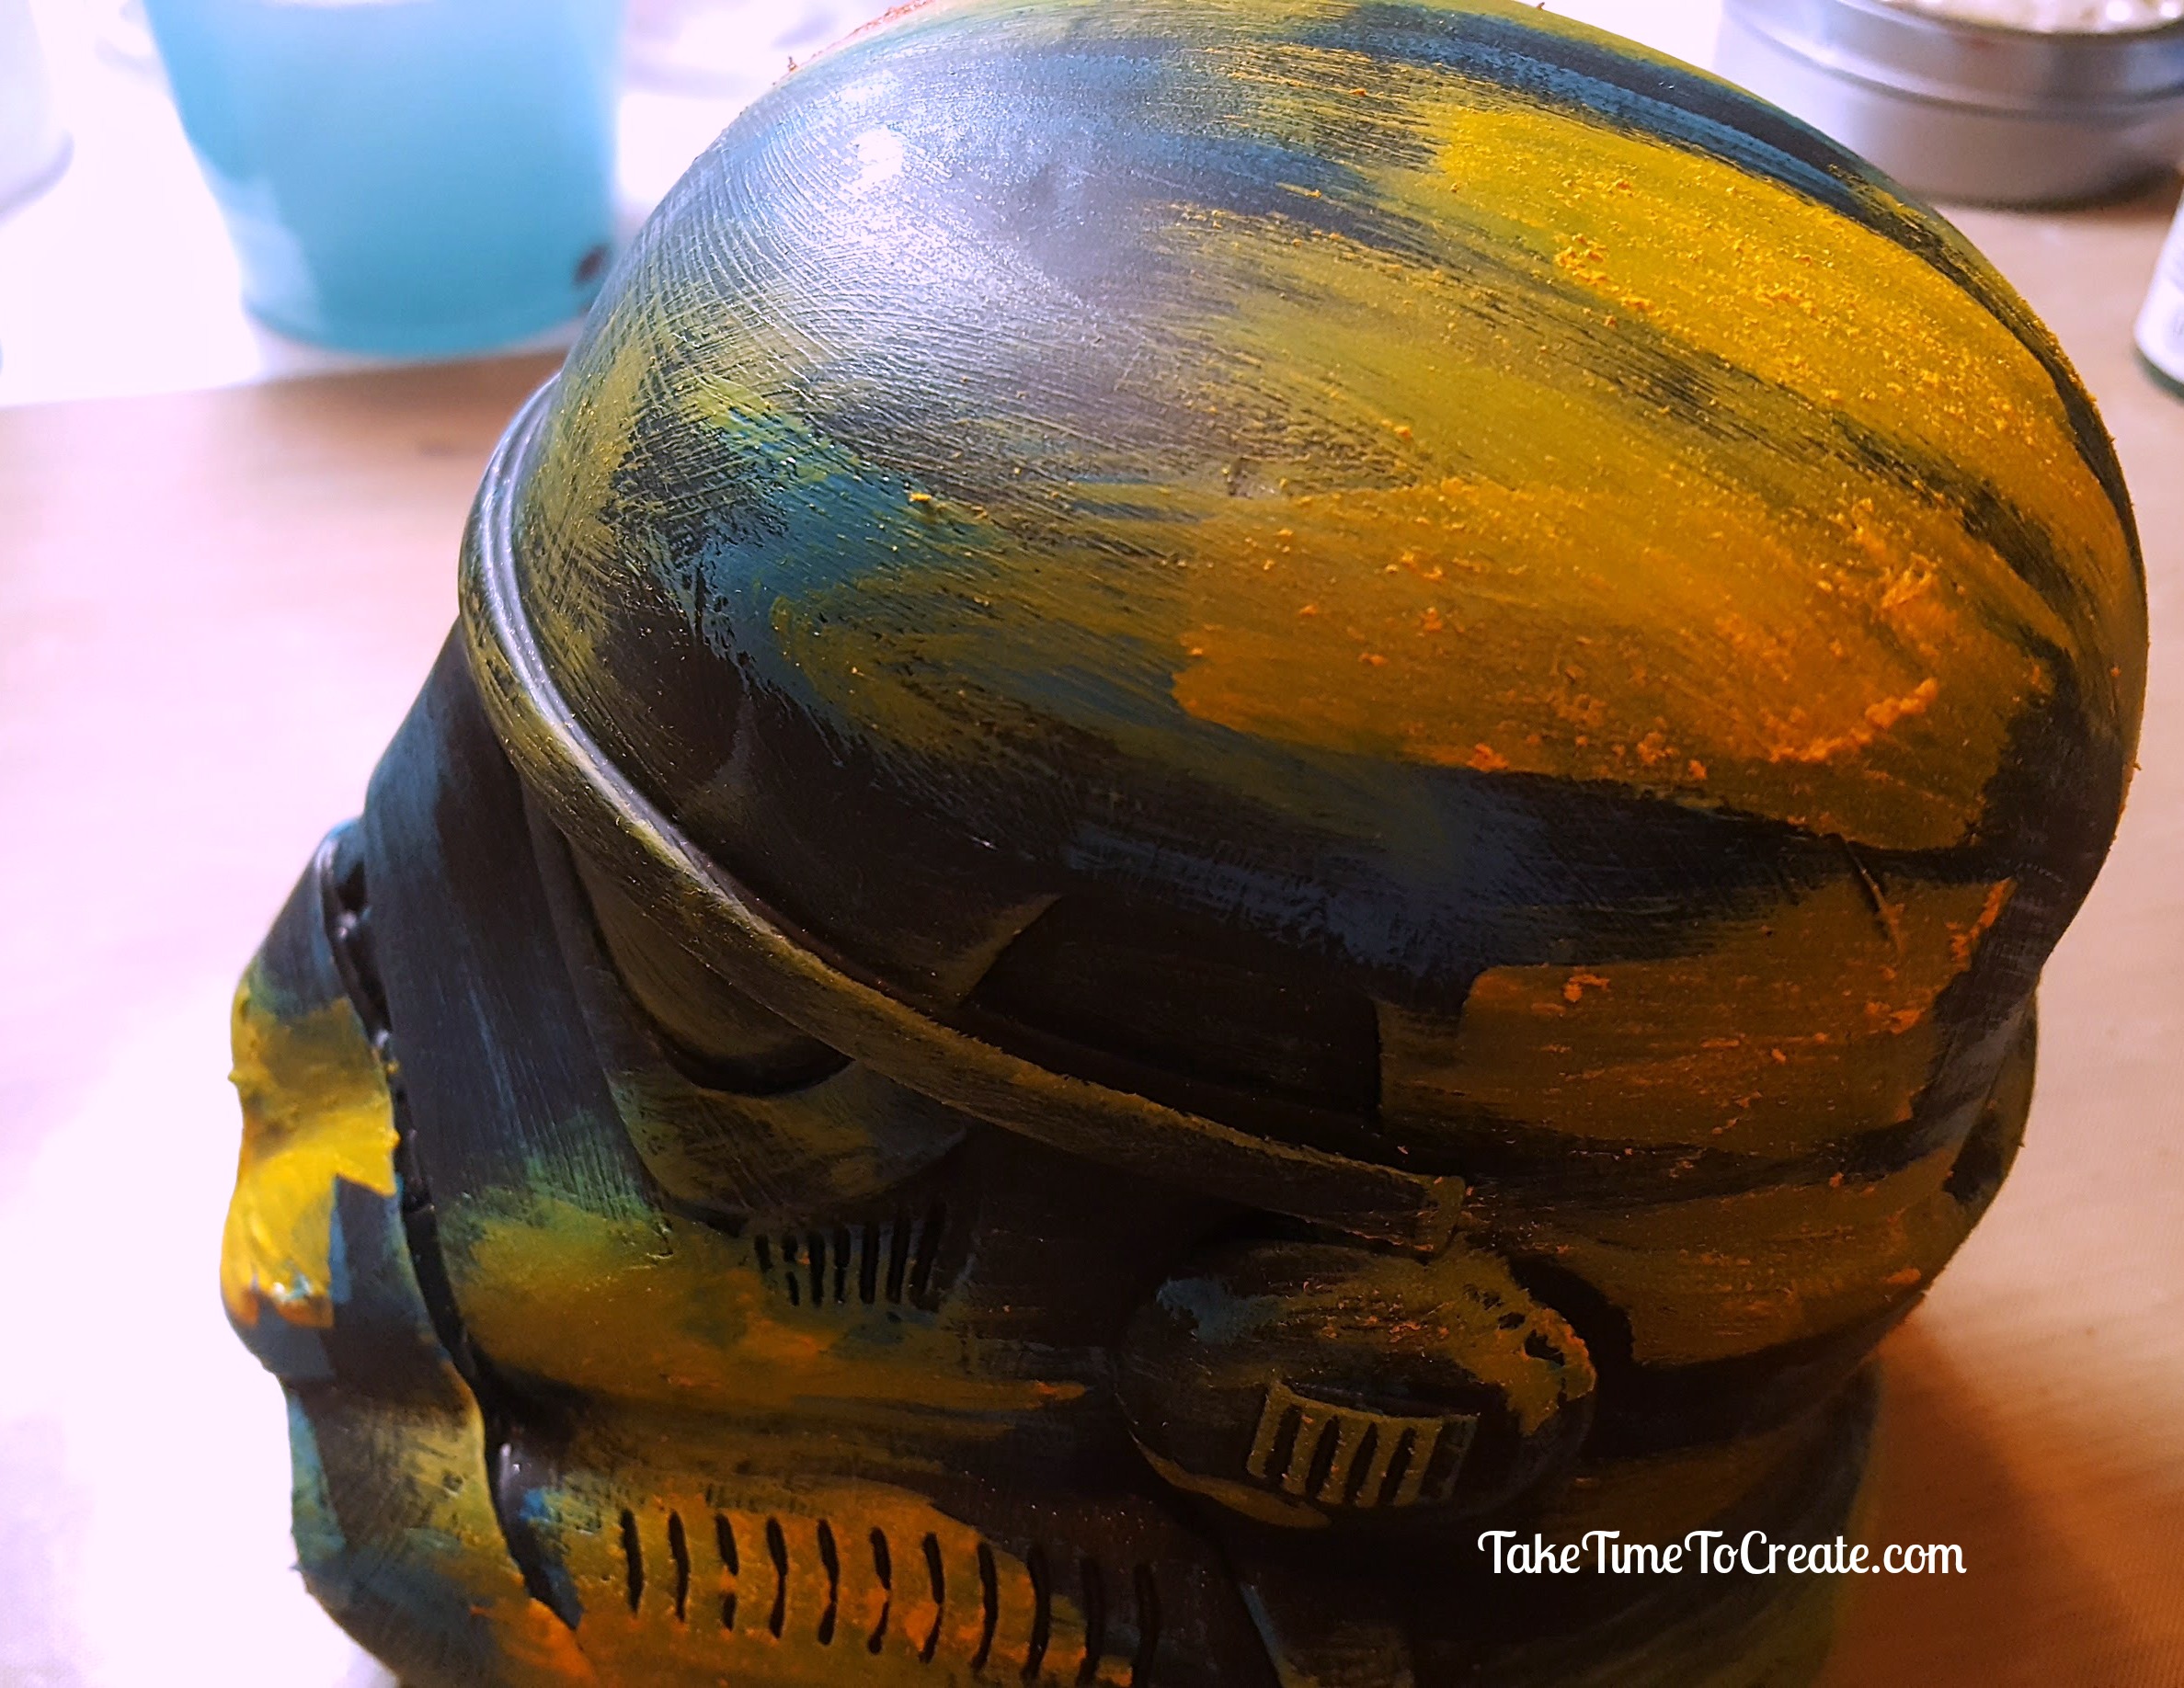
I painted the rose with 2 colors of pink and the background is a light blue to a dark blue to a purple.
I tried to stamp the background with some images but I didn’t love that so I mostly covered that back up.
Then add mod podge and adhere the mica flakes. The mica flakes add so much dimension and sparkle!

Dry brush a light shimmery white over everything and spray a sealer on when you are done.
It makes a wonderfully sparkly gift that was tons of fun to make.

The post Tissue Paper Rose appeared first on Take Time To Create.
This post contains affiliate links.


