Recently I realized that I ran out of card! I know, I know, how did that happen? So I need to make some new ones and I thought I would show you what I made.
I am still trying to use items in my stash, so I started with old dictionary pages and went from there.
handmade cards
I used paper from my stash and embellished with stamps, ink, washi tape, and stickles.
The result is 3 fun, and easy cards to make and to send.
I am excited to tell you that as of today the Dollar Tree will be selling Expression from Hallmark cards! Now, I usually like to make my greeting cards, but sometimes I am in a pinch and so I need a good place to purchase them, and the Dollar Tree really came through with these cards!
There are over 6,500 Dollar Tree stores nationwide and on August 30th every store will carry Expressions from Hallmark, $1 each and Heartline a Hallmark company, 2 for $1. With hundreds of new greeting cards to choose from, you can celebrate every moment with your friends and family without breaking the bank!
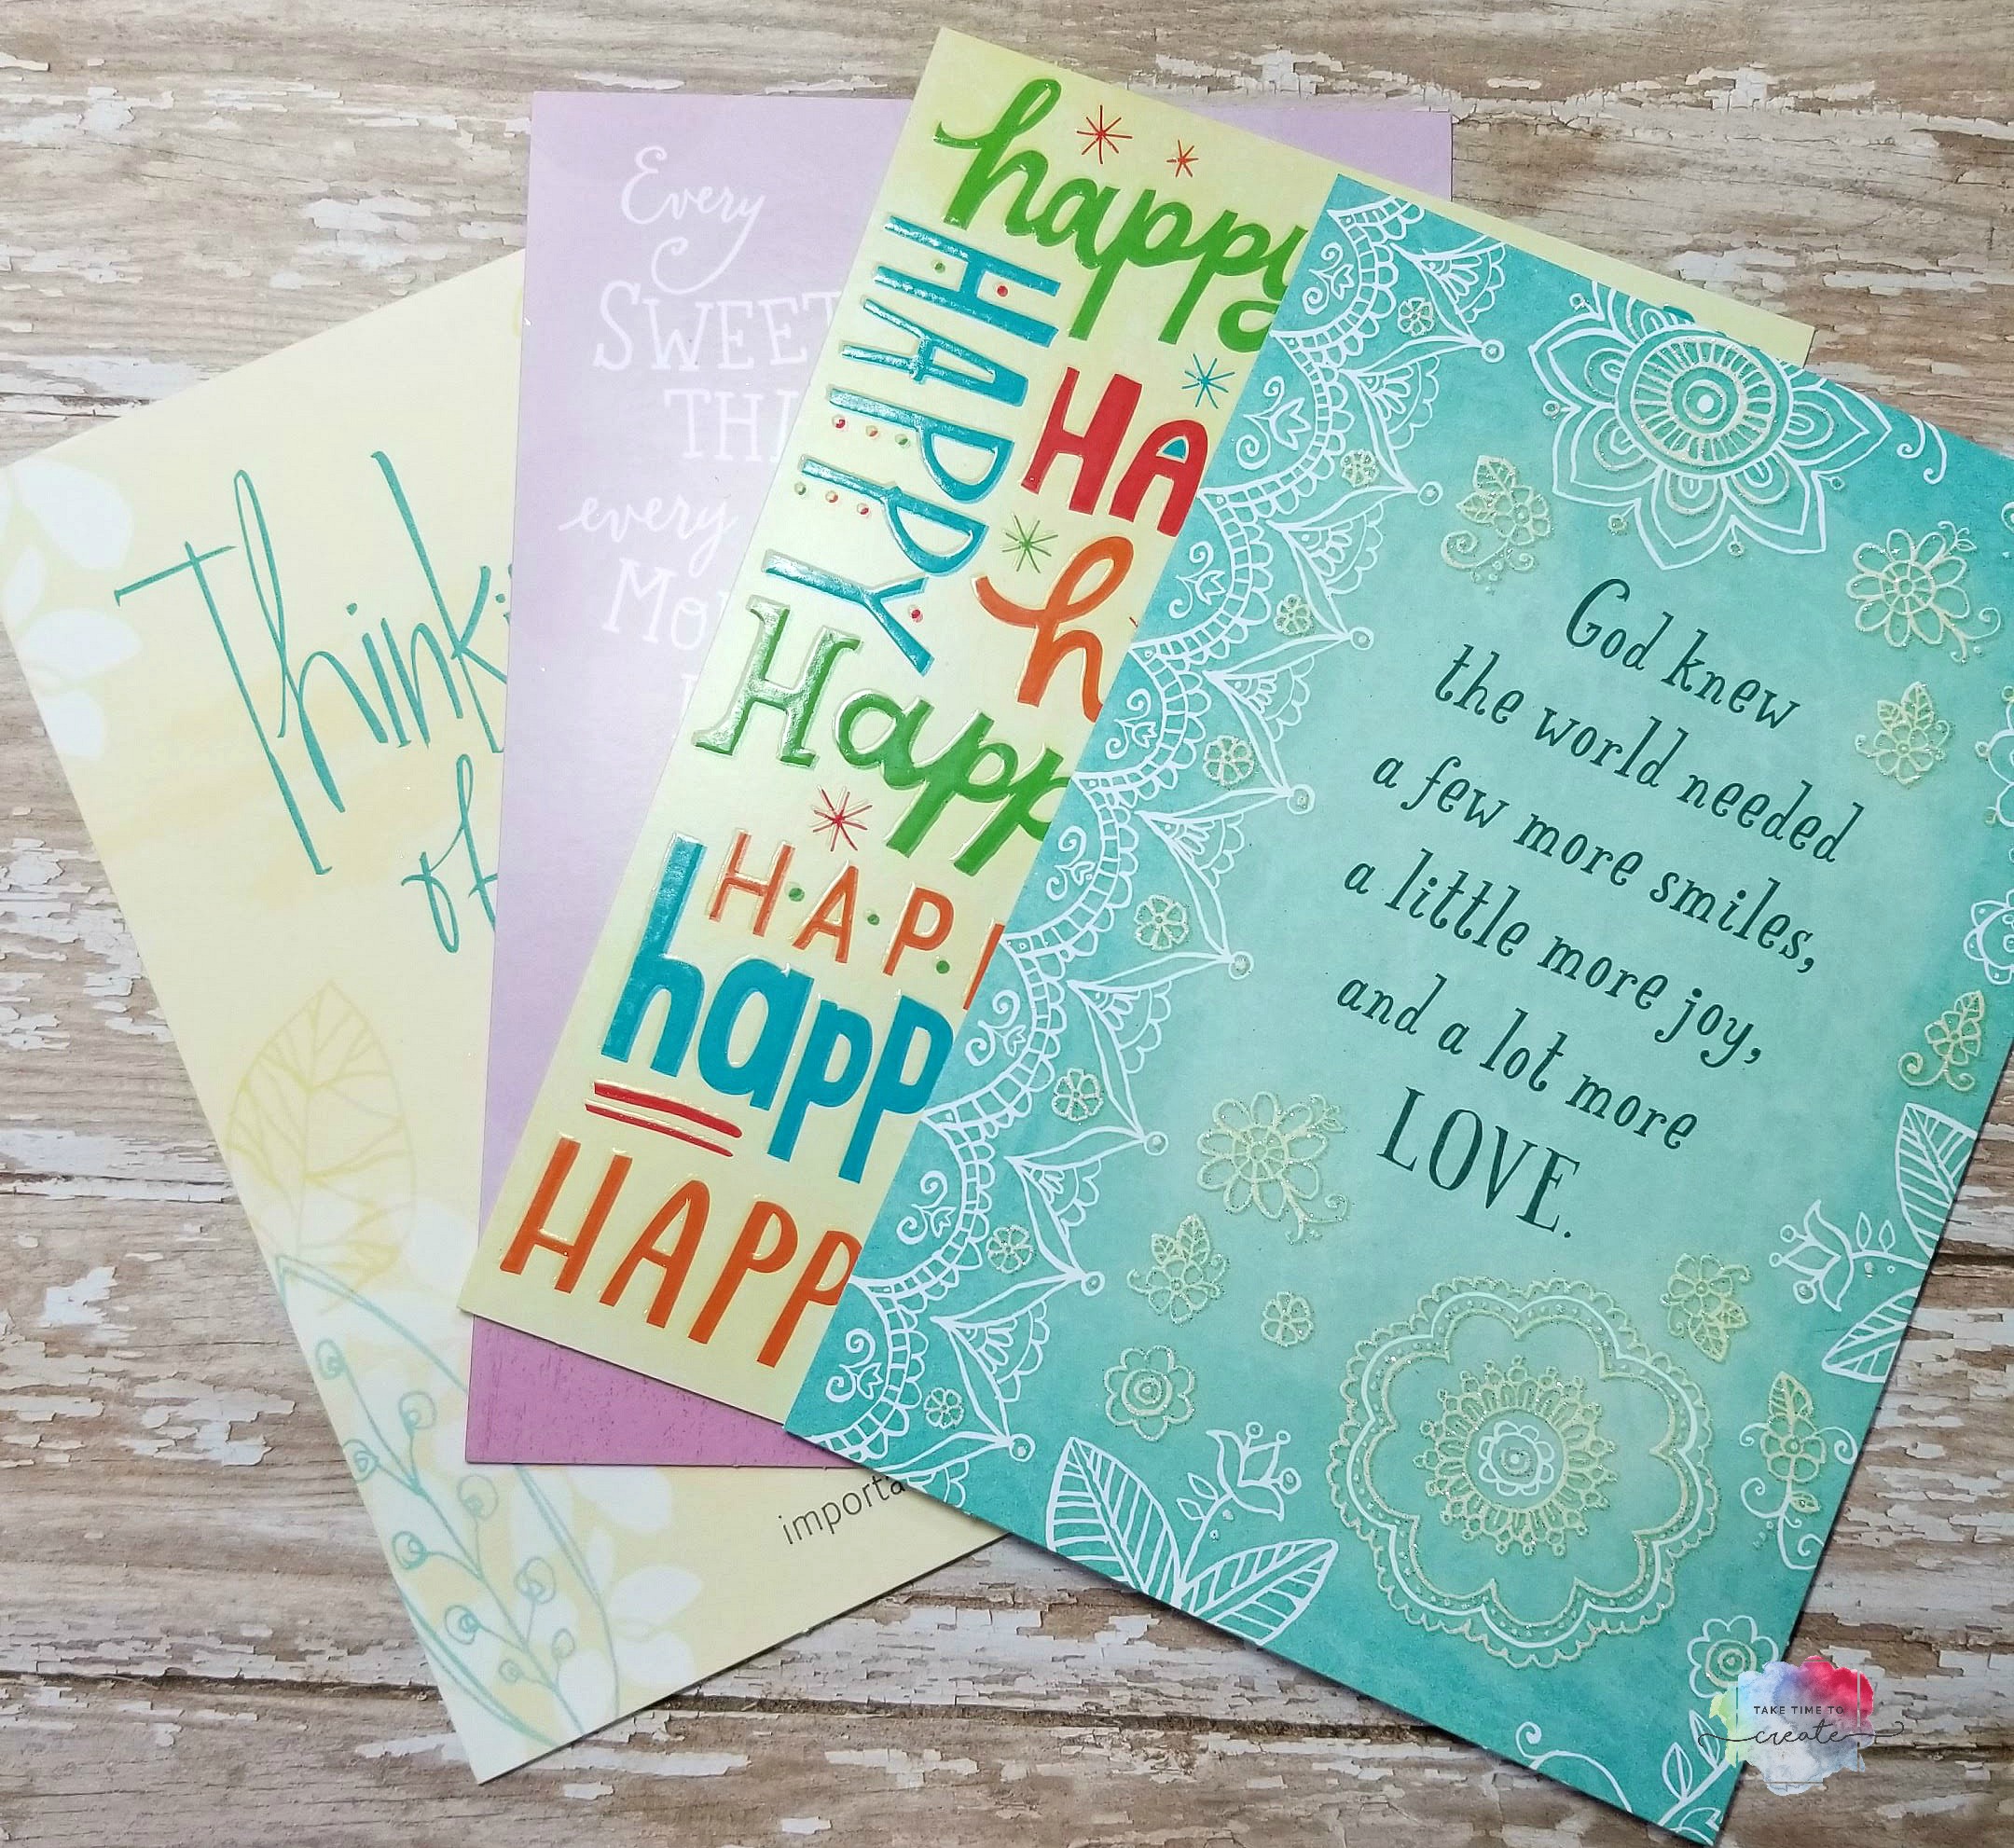
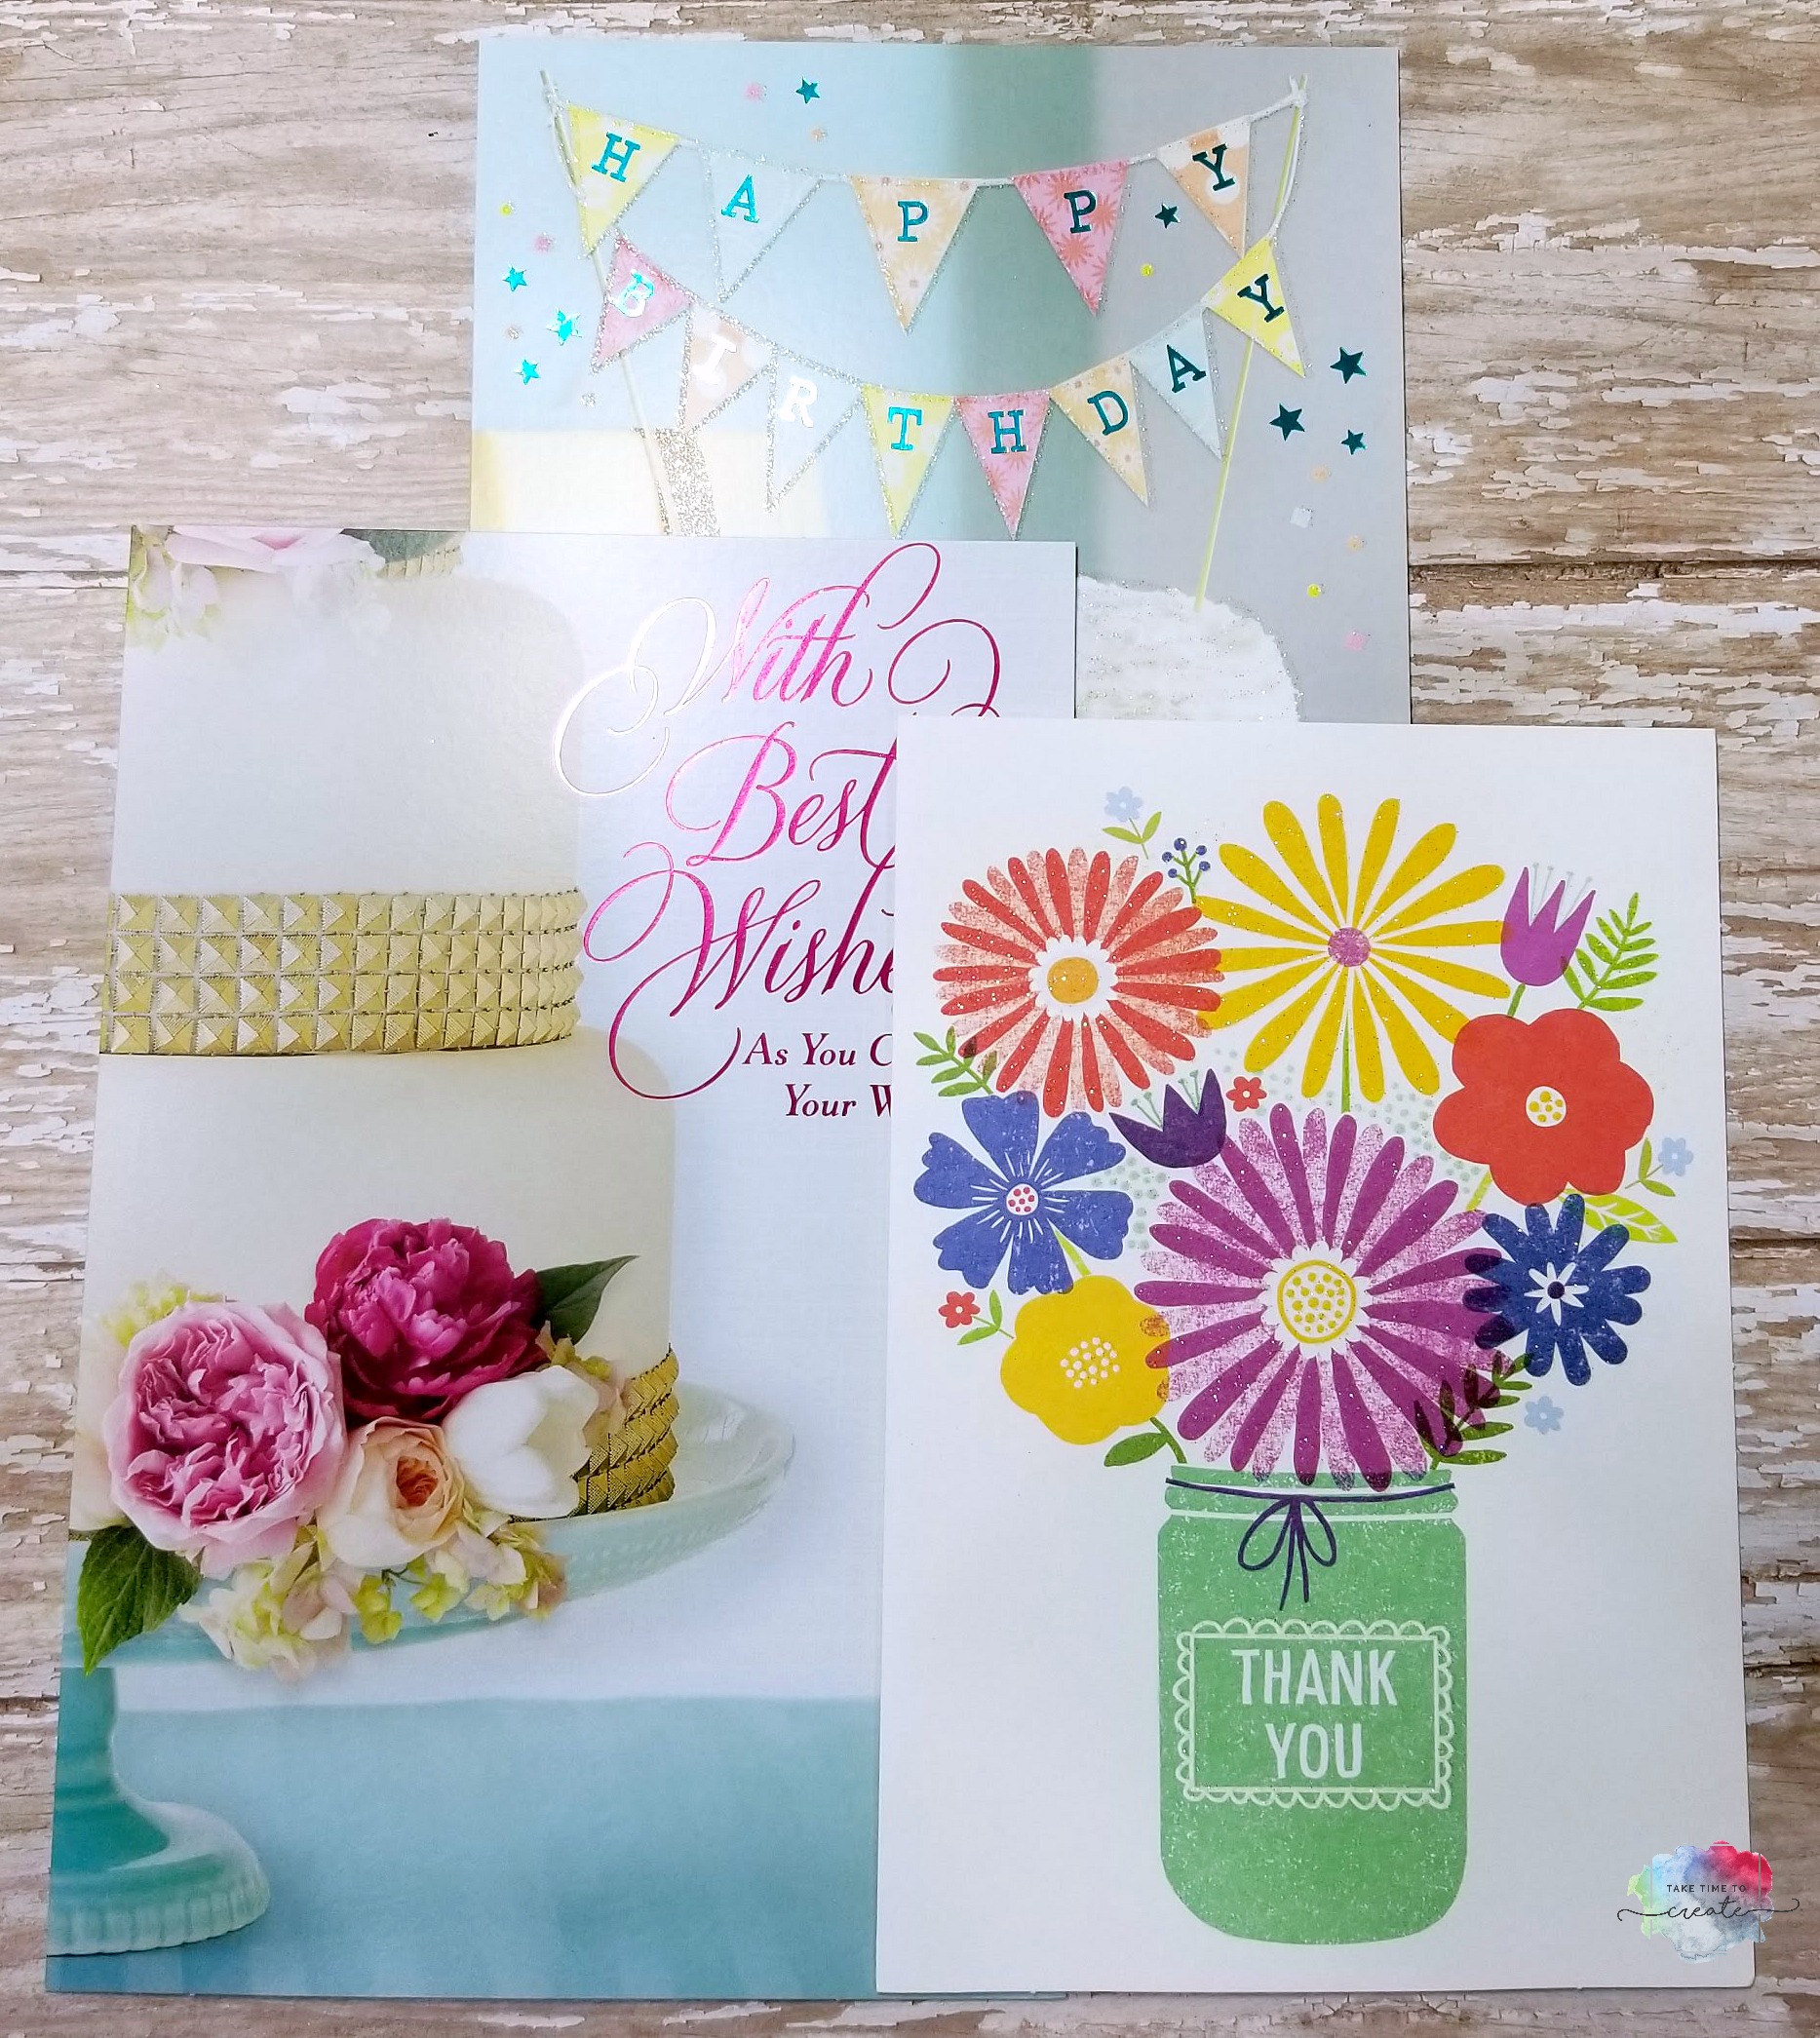
I received a pack of cards from the Dollar Tree and I have to say, they are wonderful. Great colors and designs and some glitter (of course I am a fan of glitter, lol) and they are printed on nice heavy card stock.
They a few different varieties, like the Joyfully Yours line (that is the teal one on the right in the above photo) Joyfully Yours lets family and friends express their faith in just the right way during holidays, special occasions, and moments big and small.
I was please with the selection and I am excited to use the cards. You all know I am a big fan of upcycling and repurposing items in my art. Since the cards are on nice paper it is easy to reuse them and make cards and tags from old greeting cards.
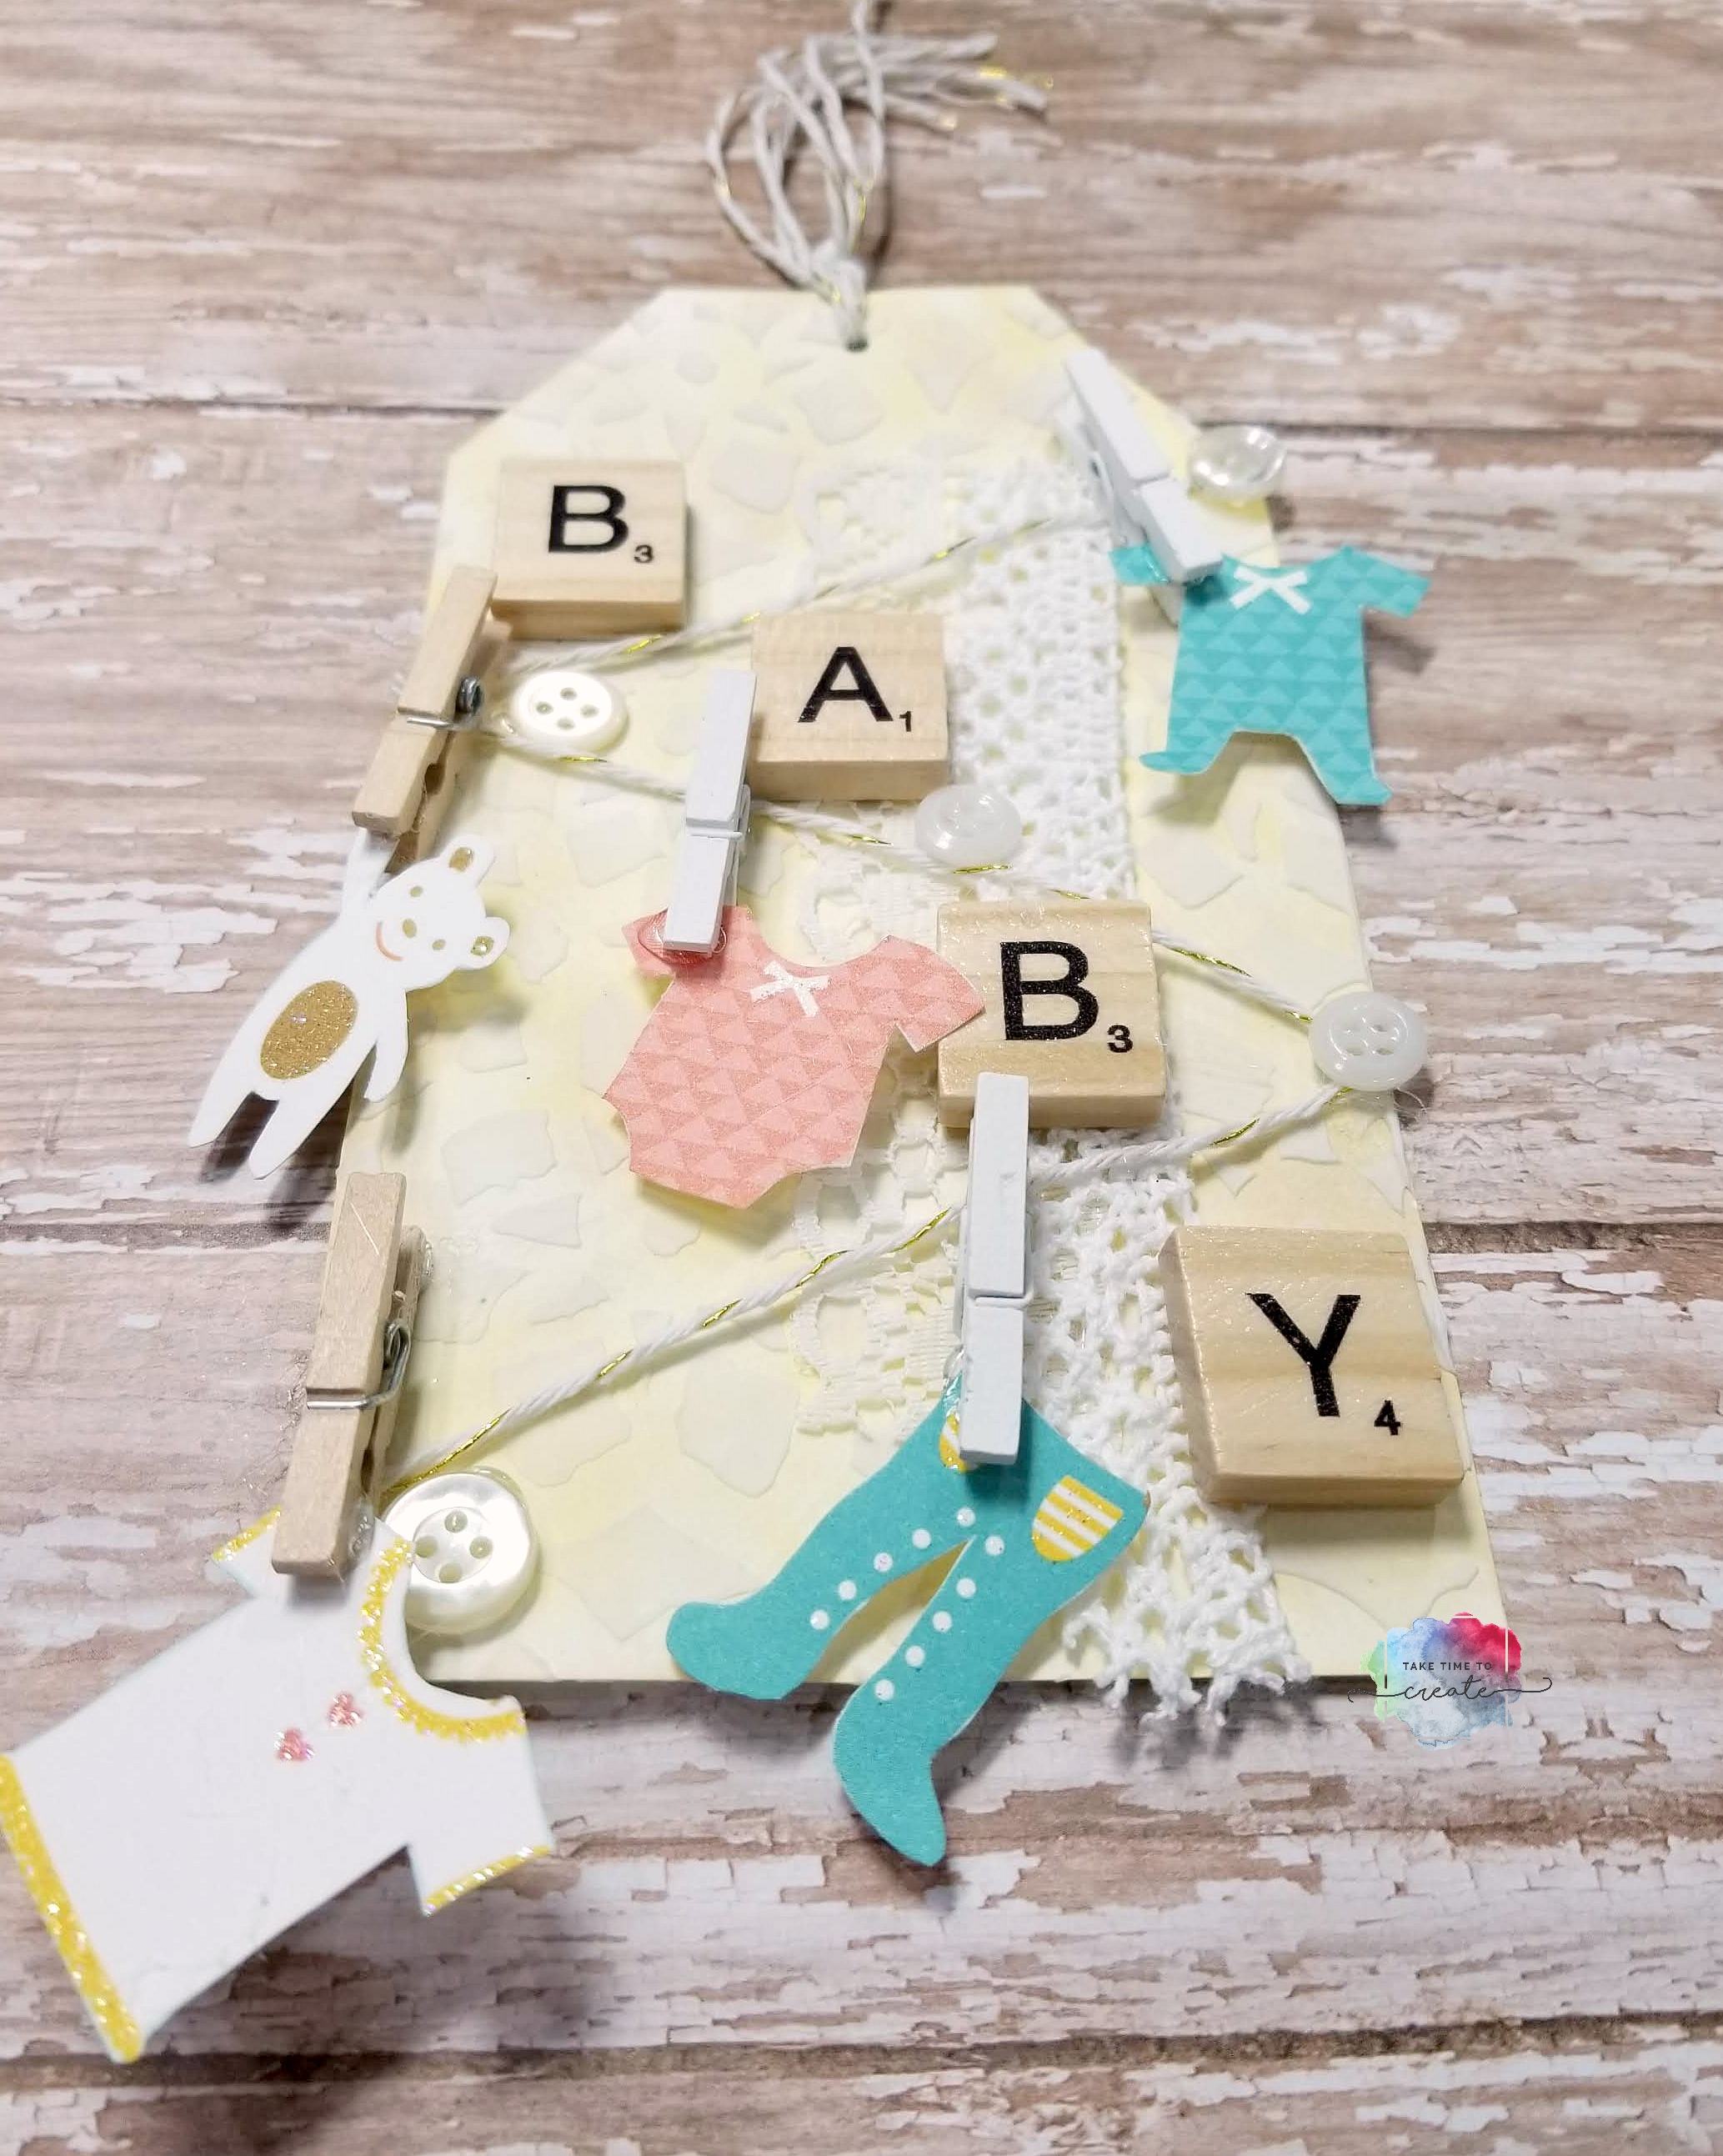
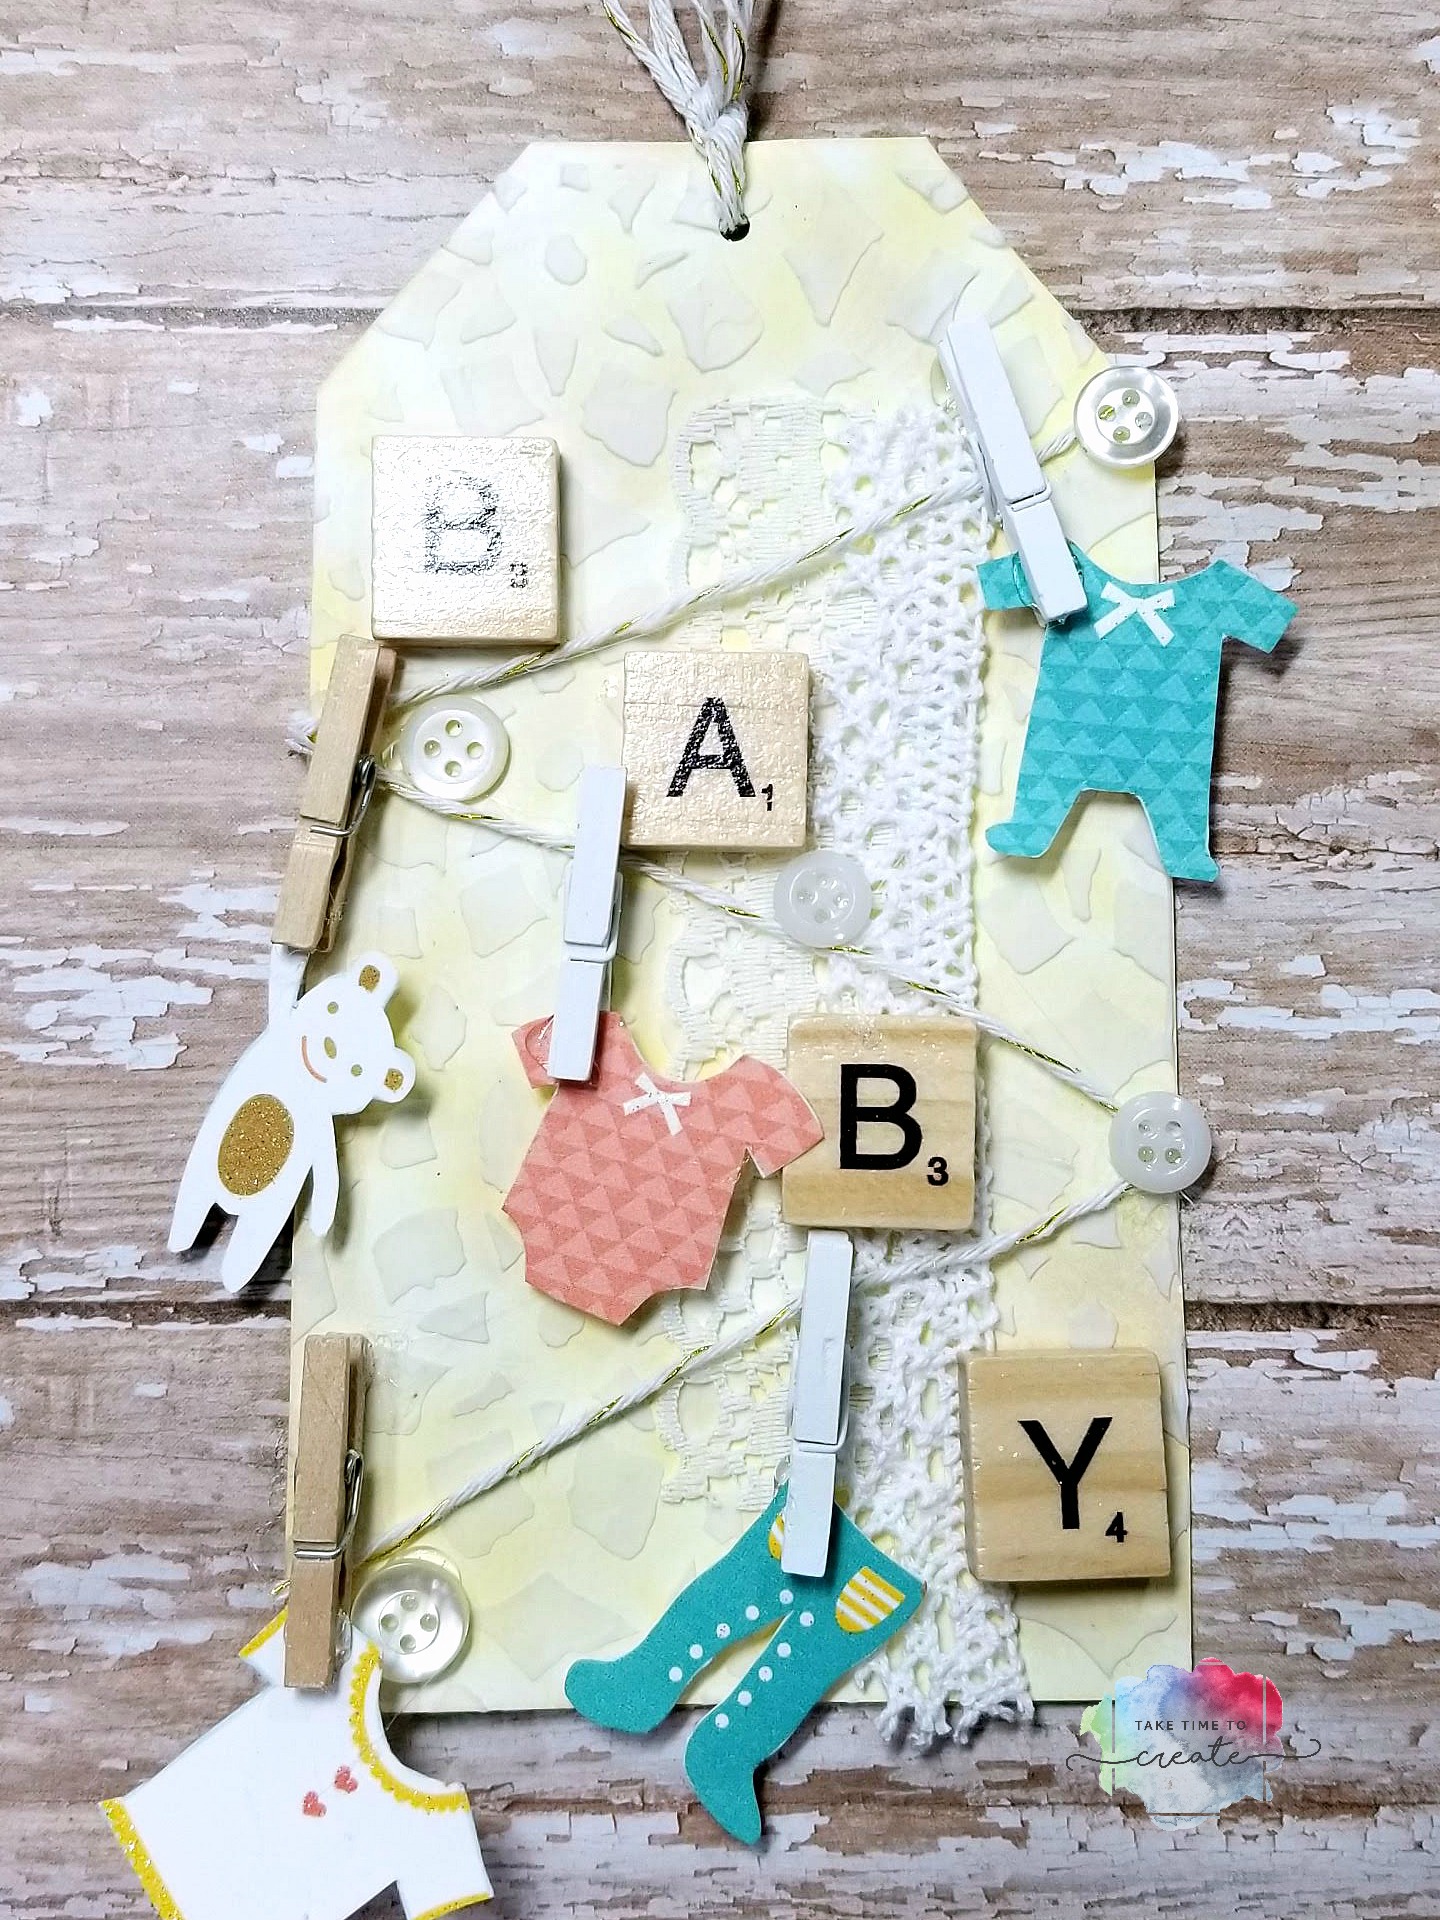
In the video at the beginning of the post I show you how to take the baby card and make this cute mixed media tag. I used some ink, stencils, scrabble tiles, bakers twine, and other elements.
Such a cute little tag and easy to make and have on hand. You can do this technique for any occasion!
I was compensated for this post. This post also contains affiliate links and I will be compensated if you make a purchase after clicking on my links.
I just love the summer! Bright colors, warm weather, and sunshine! So when I saw the Bo Bunny Summer Mood Collections I knew I had to make some summer greeting cards!
This post is sponsored by Scrapbookcollections.com, a one stop shop for an entire Scrapbook Collection! Perfect way to get everything you need all in one place.
Recently I have become pen pals with my sisters and I really like to make handmade cards to send them. Writing each other has helped us learn more about each other as adults and I have really been enjoying it!
You can create both of these cards with everything in the kit, you will just need to add a blank card, and adhesive.
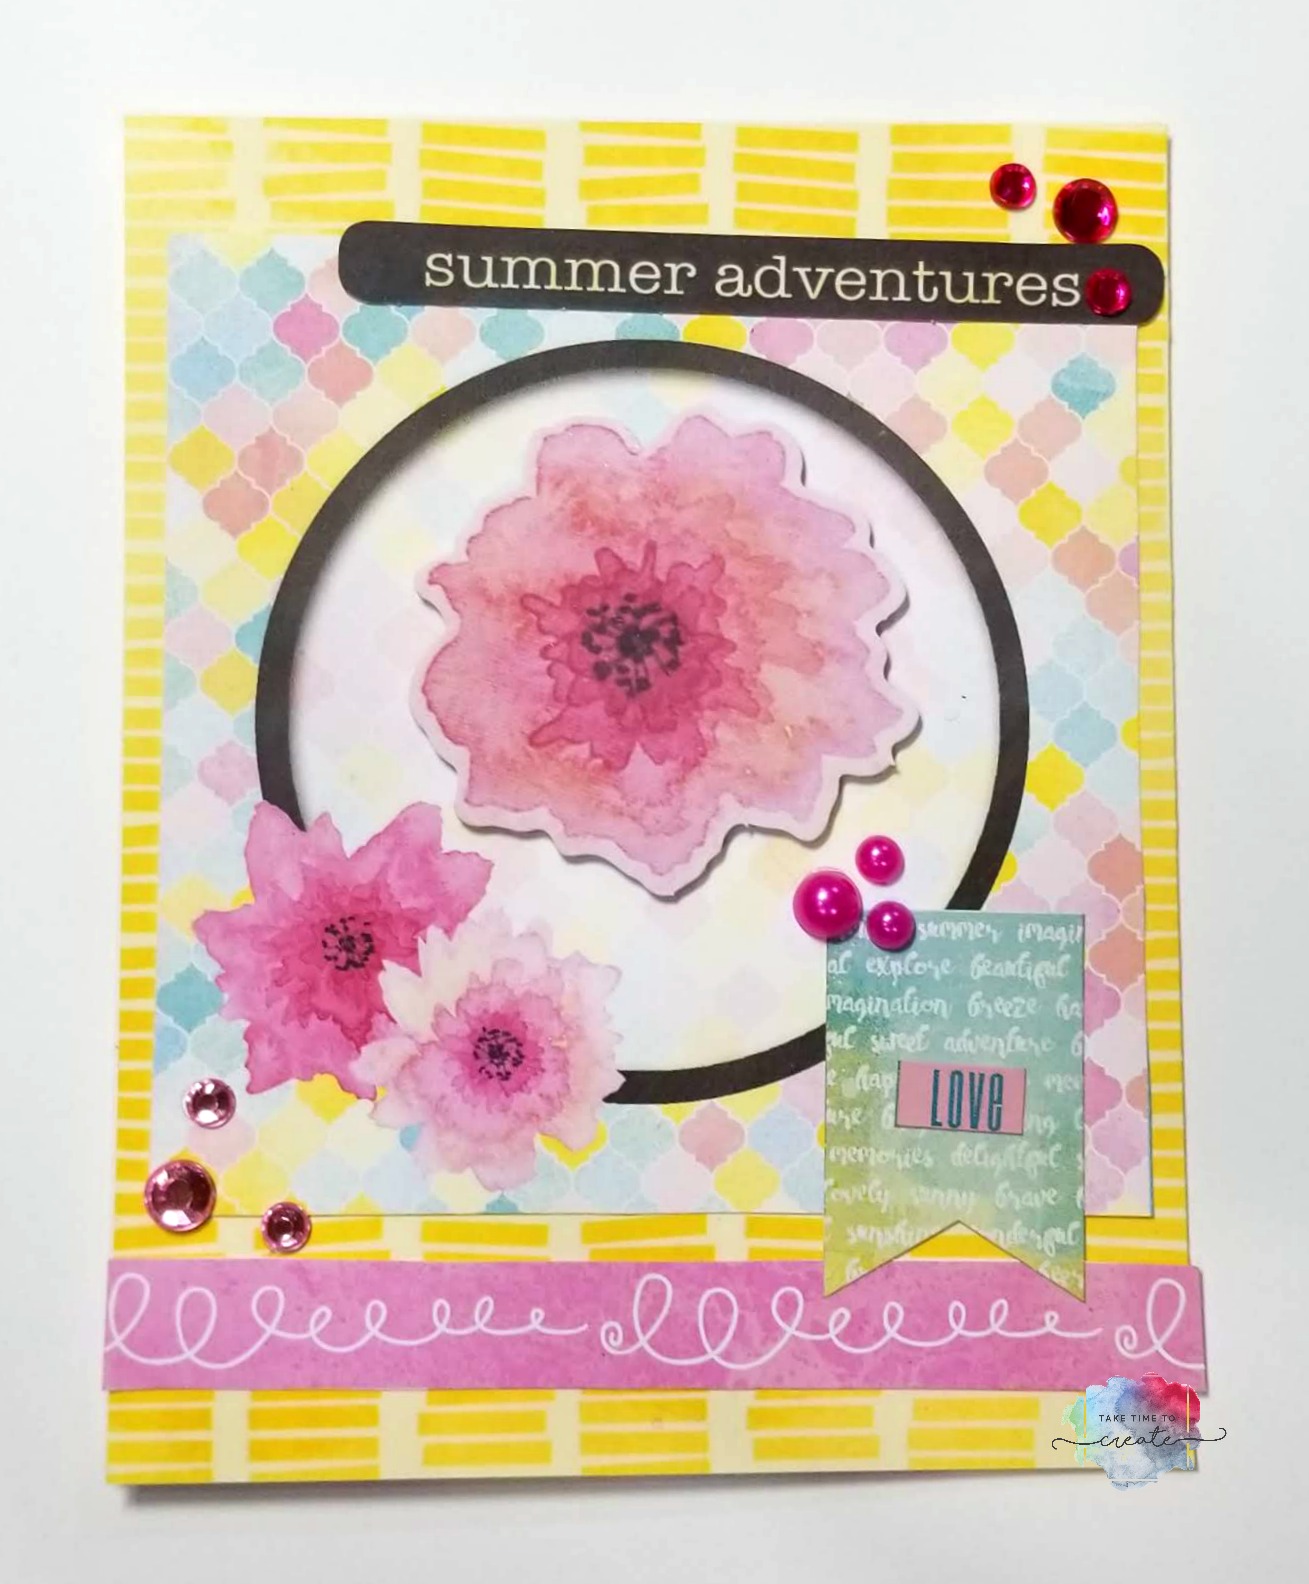
This first card I used the bright yellow paper for the background then added the pretty circle cut out in the middle.
I added accents and rhinestones to jazz it up and the flower in the middle is raised just a little bit with foam tape. You don’t want to add too many embellishments if the card is going through the mail, you don’t want it to arrive damaged.
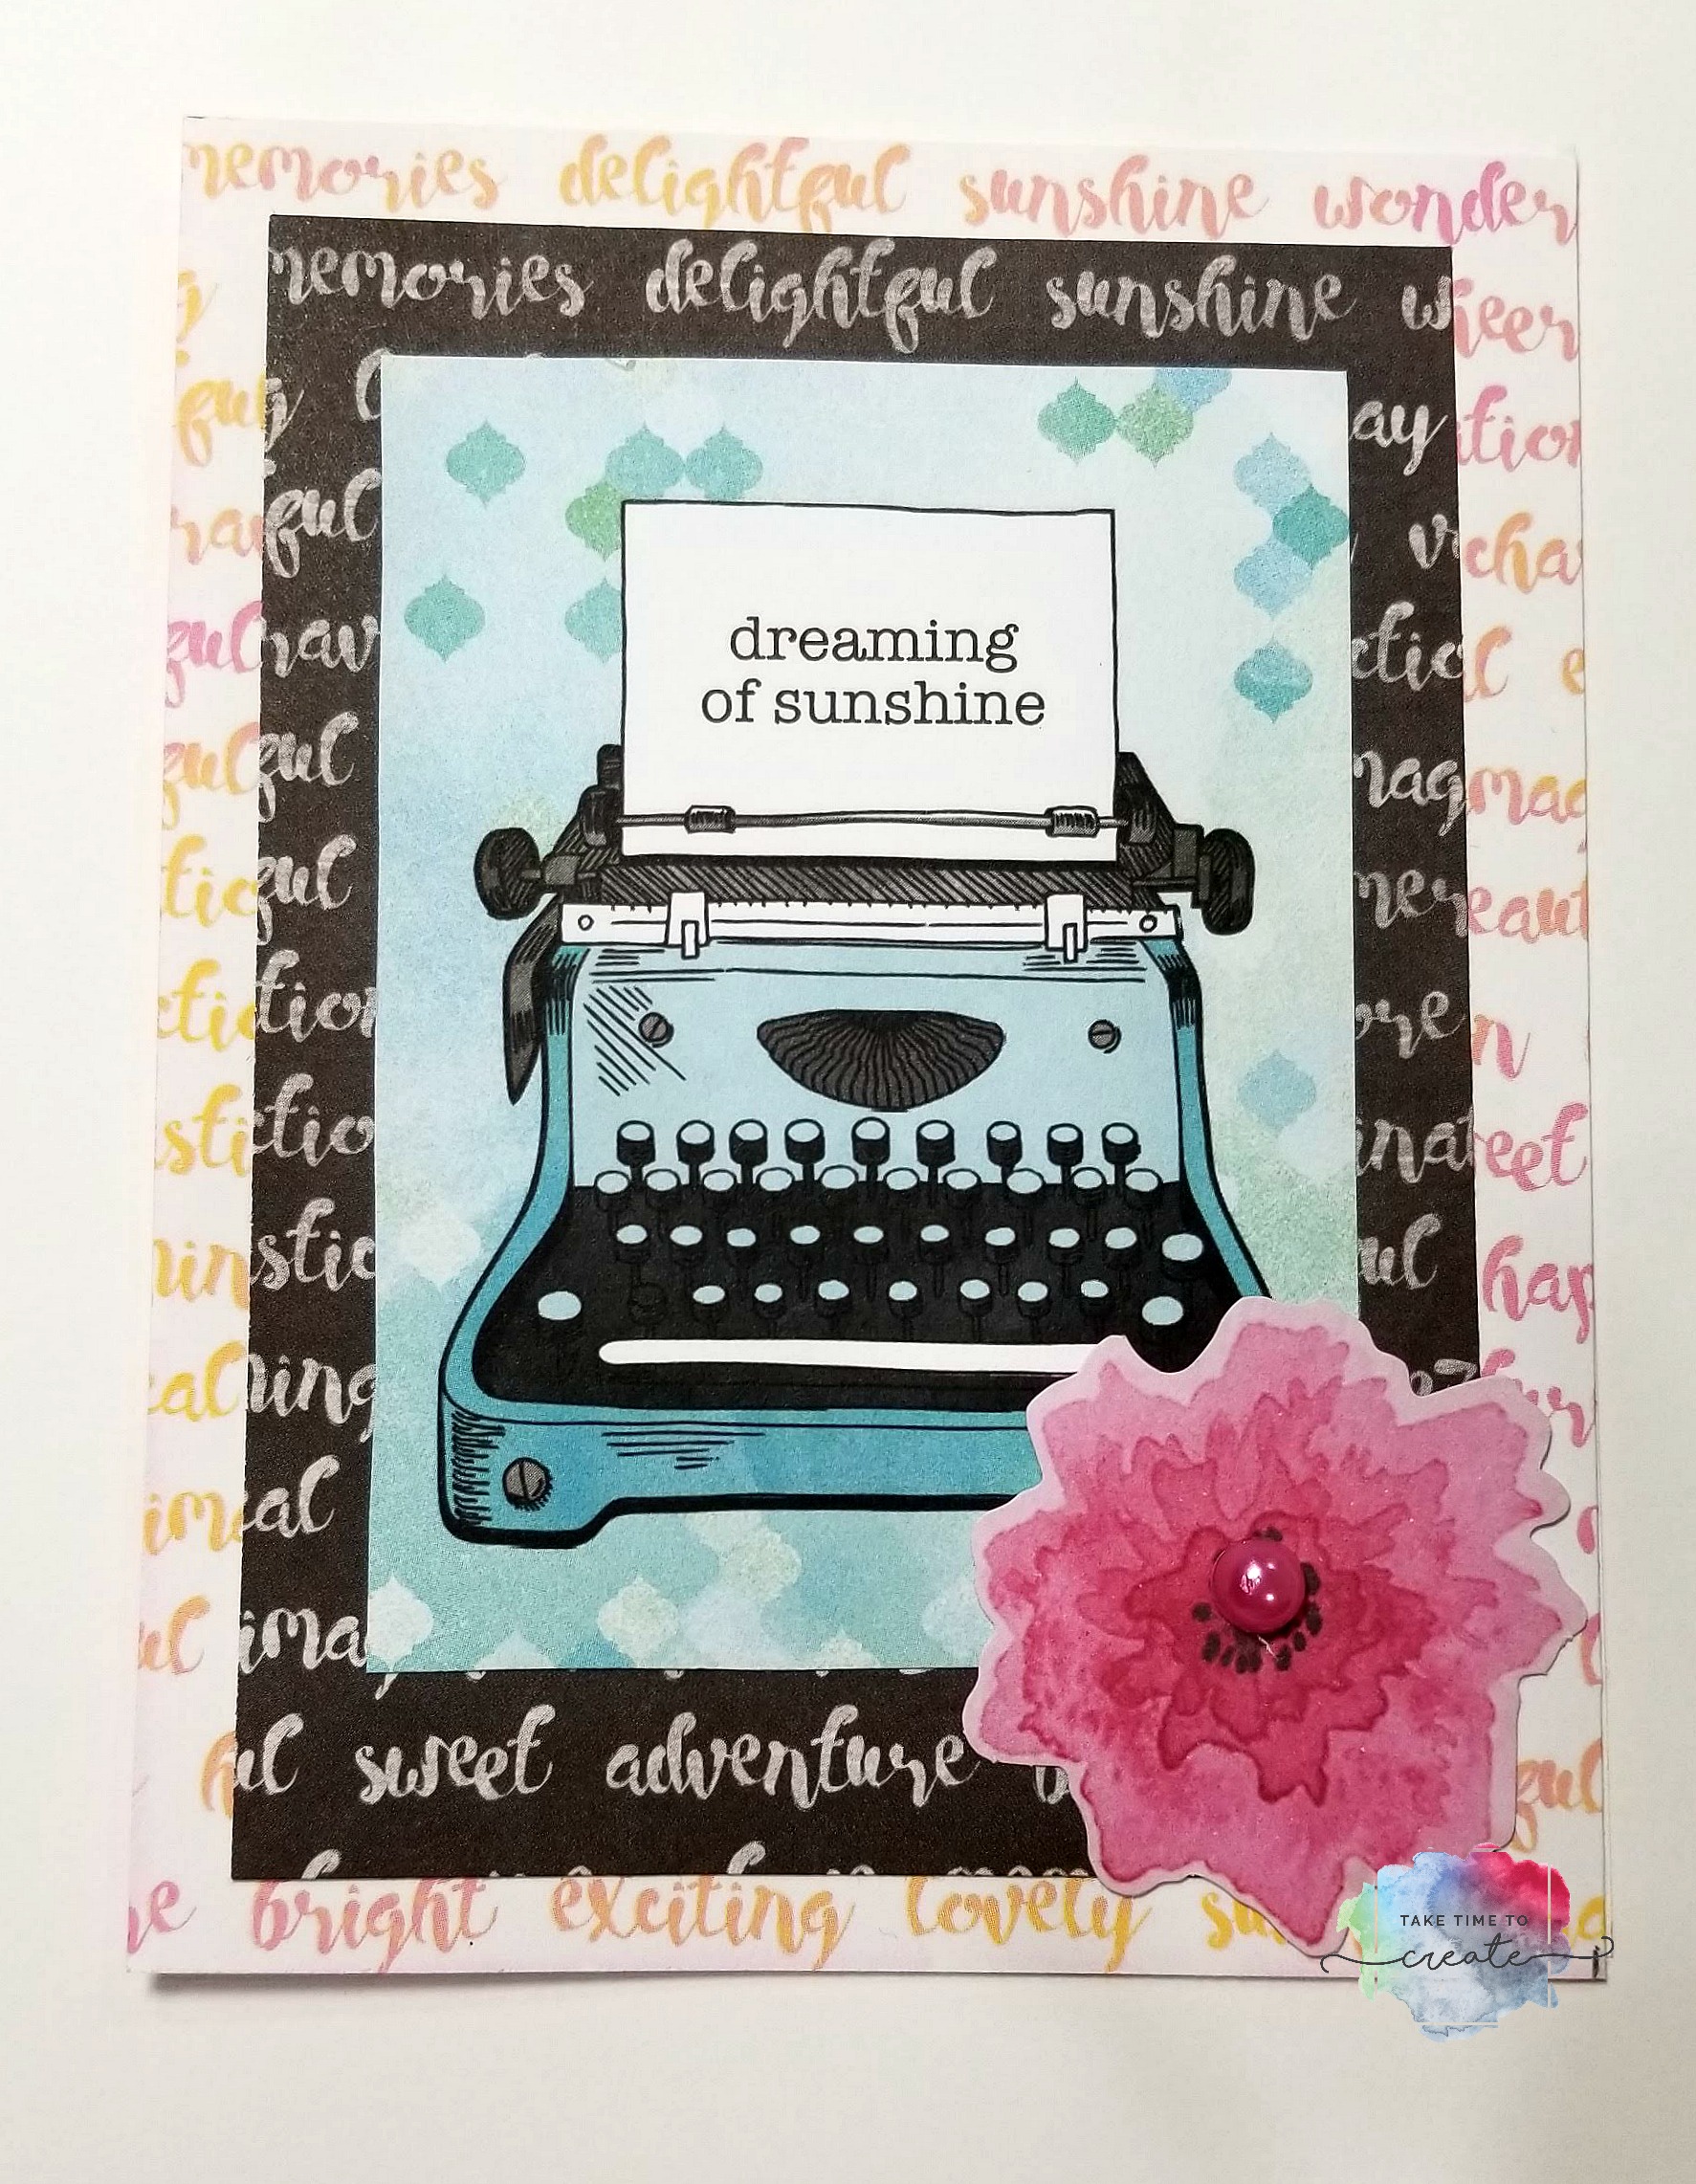
This second card is not featured in the video, it is a bonus for my blog readers.
I took 2 different paper backgrounds and layered them together, then I added the typewriter from the Noteworthy pack. Then I added the flower to the corner. This is a perfect card to send to friends or family for almost any occasion.
I think both cards turned out really cute and I am excited to send them to my sisters. And I am excited to create even more creations from this adorable scrapbook kit!
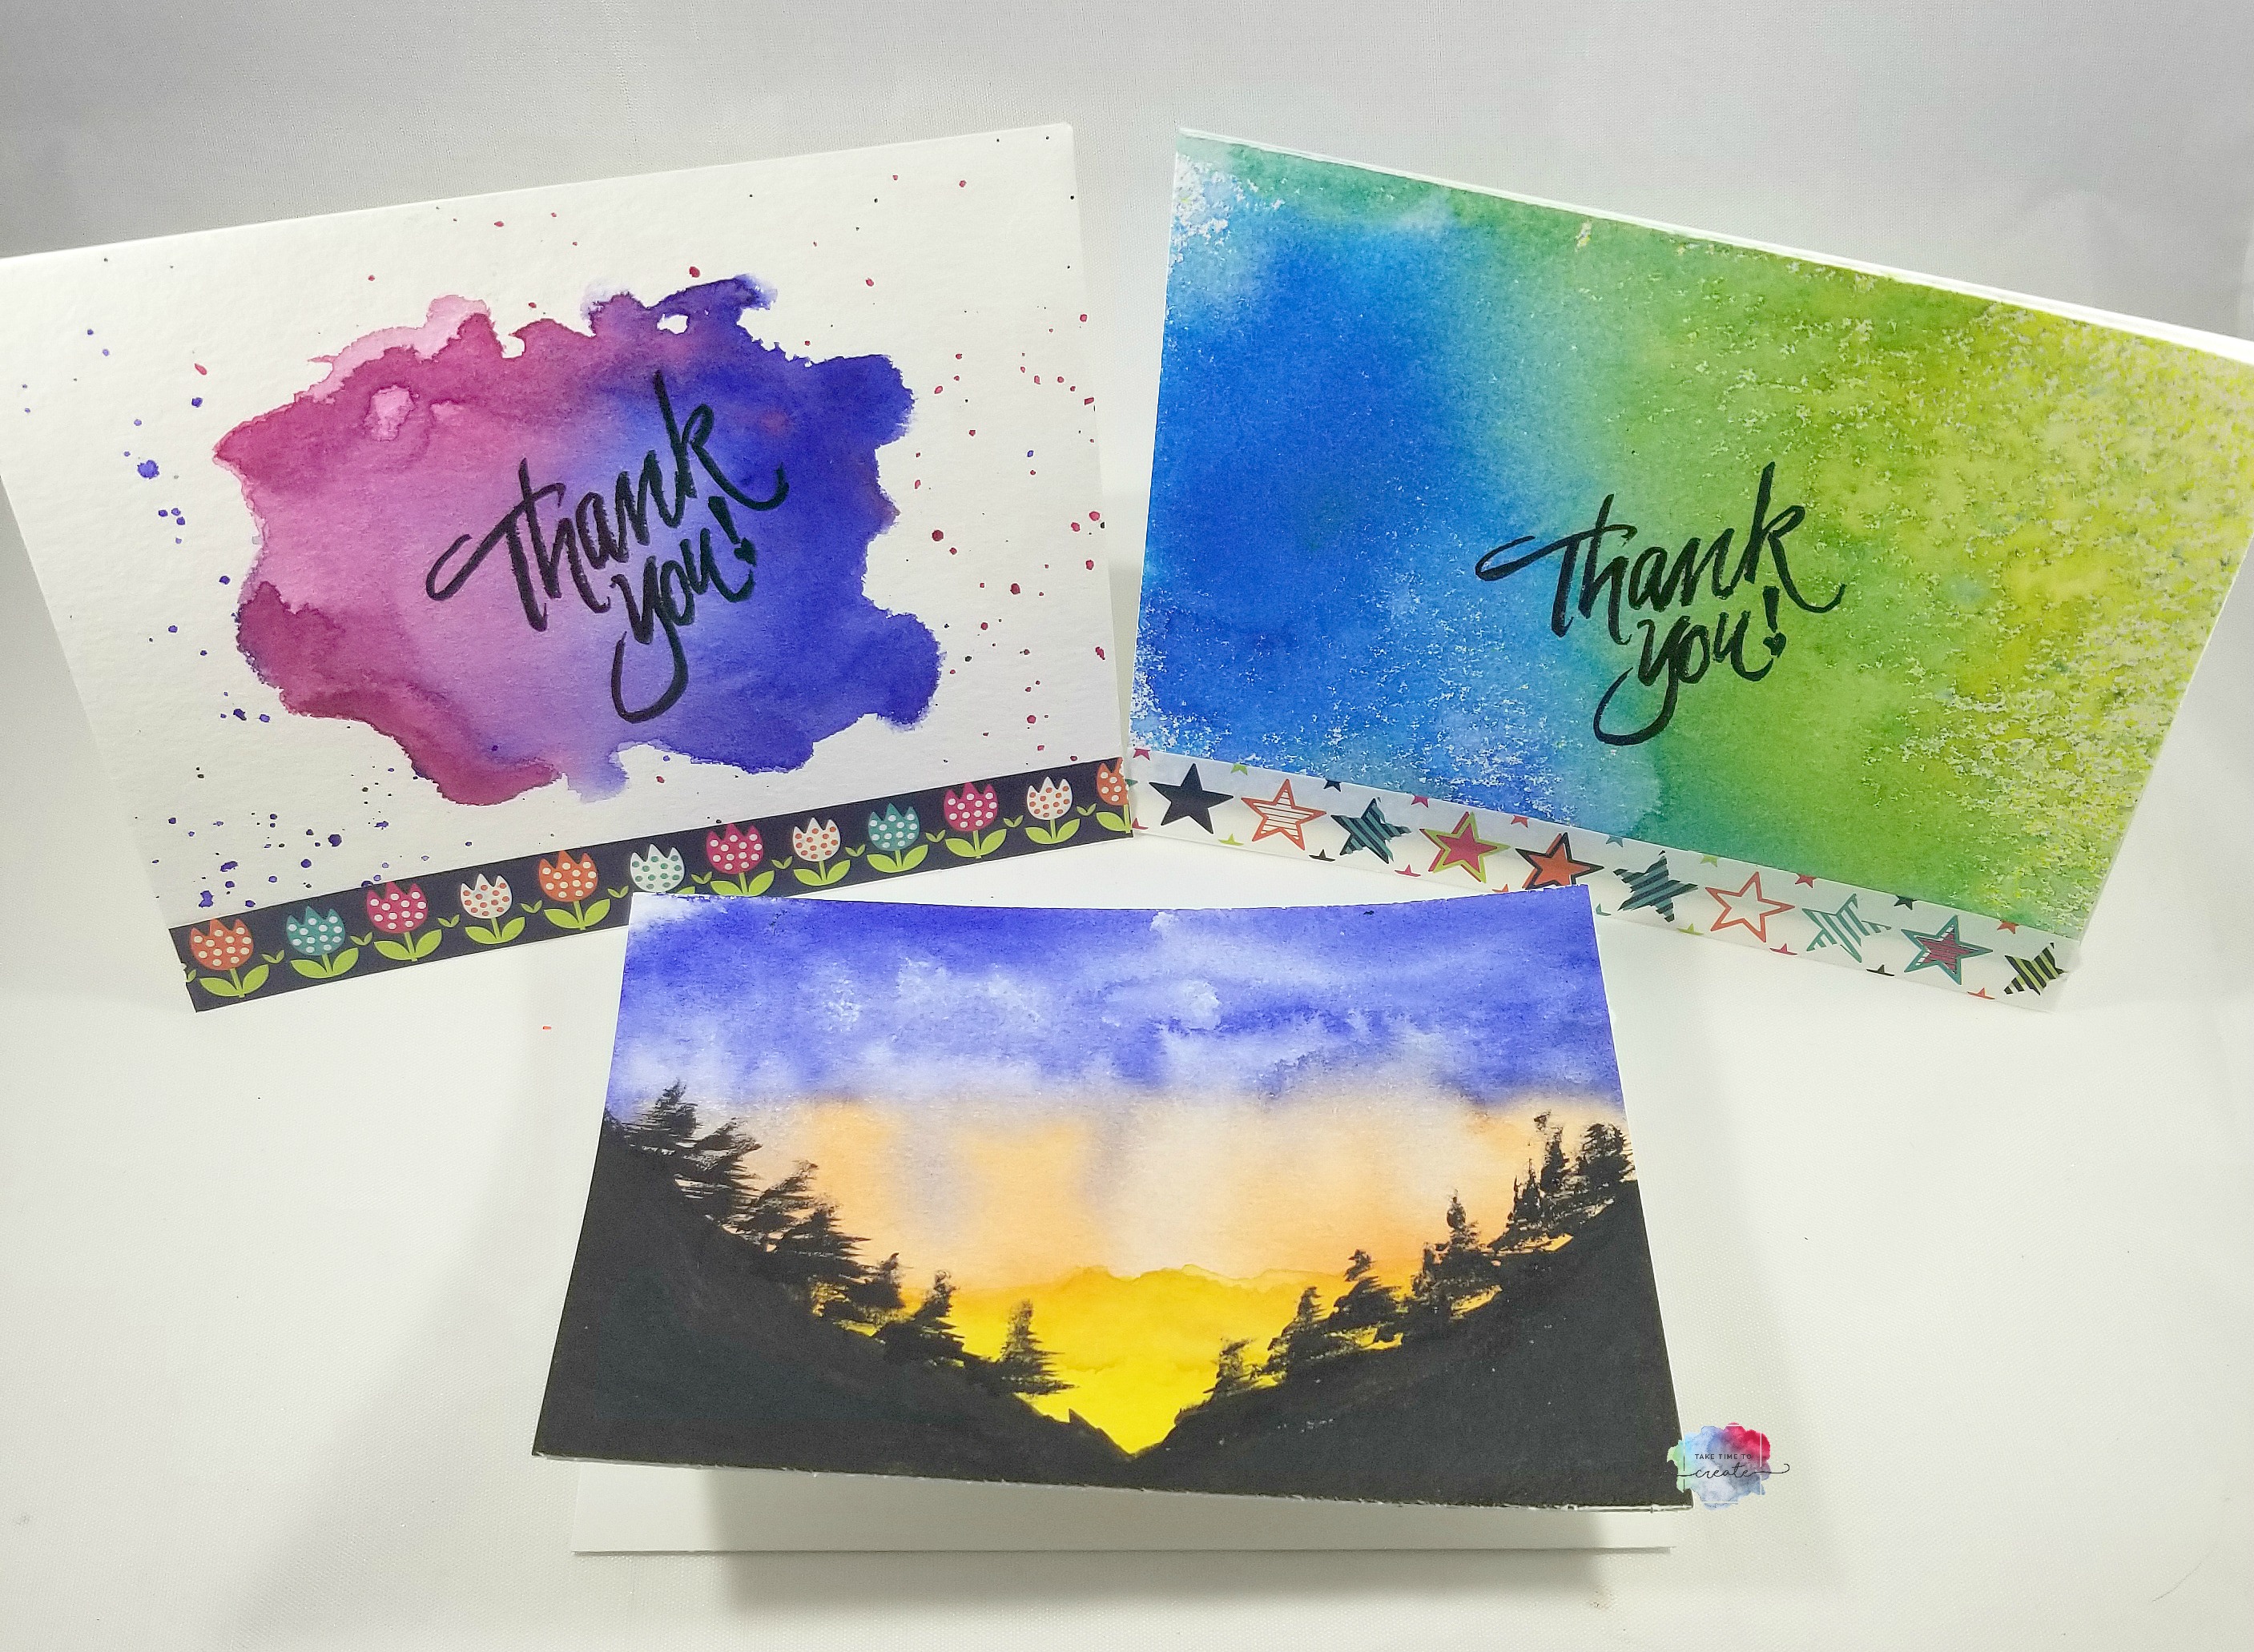
Thank you cards are something we all need to have and these easy DIY cards are perfect for almost any occasion. And since I am obsessed with watercolors, these are right up my alley 🙂
These would be great gifts for new homeowners, newly weds, or graduates.
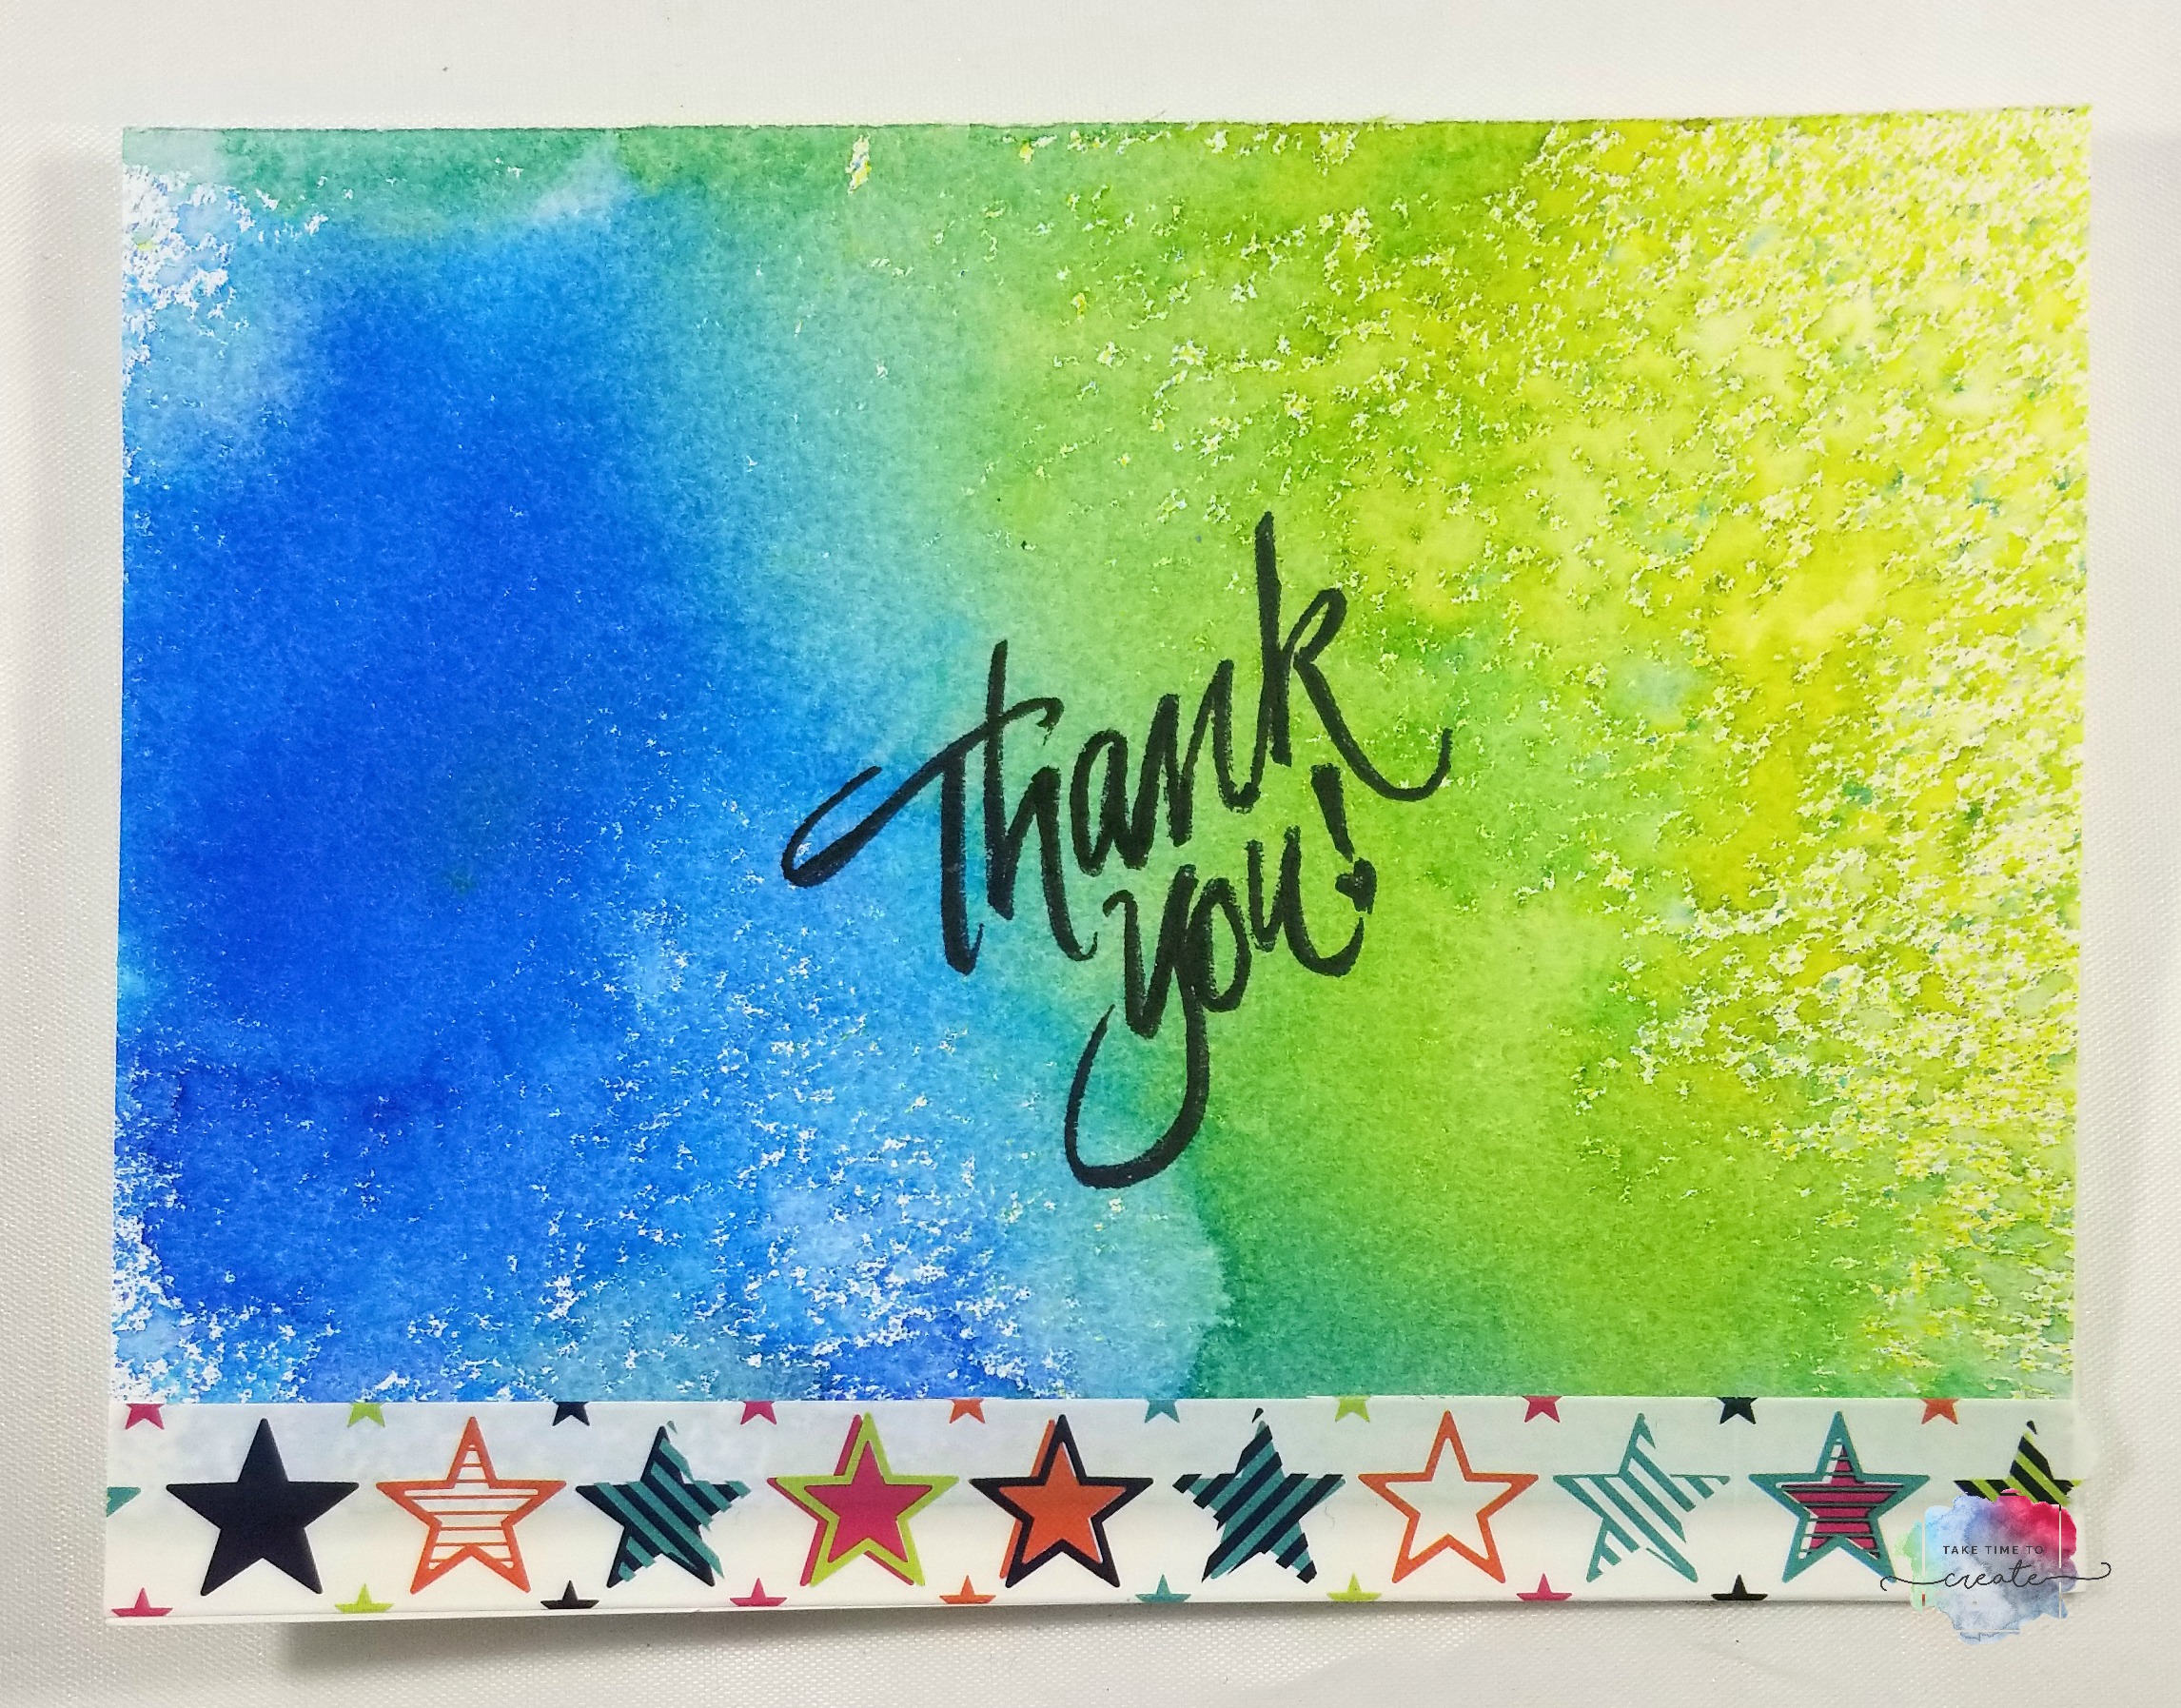
This first card is super easy and looks really cute. All you do is spritz the watercolor card with water and then lightly spray 2 different Dylusions ink sprays. Move the card to blend the colors in the middle, then add some washi tape at the bottom and stamp Thank You in the middle and you are done! Quick and easy and they look great!
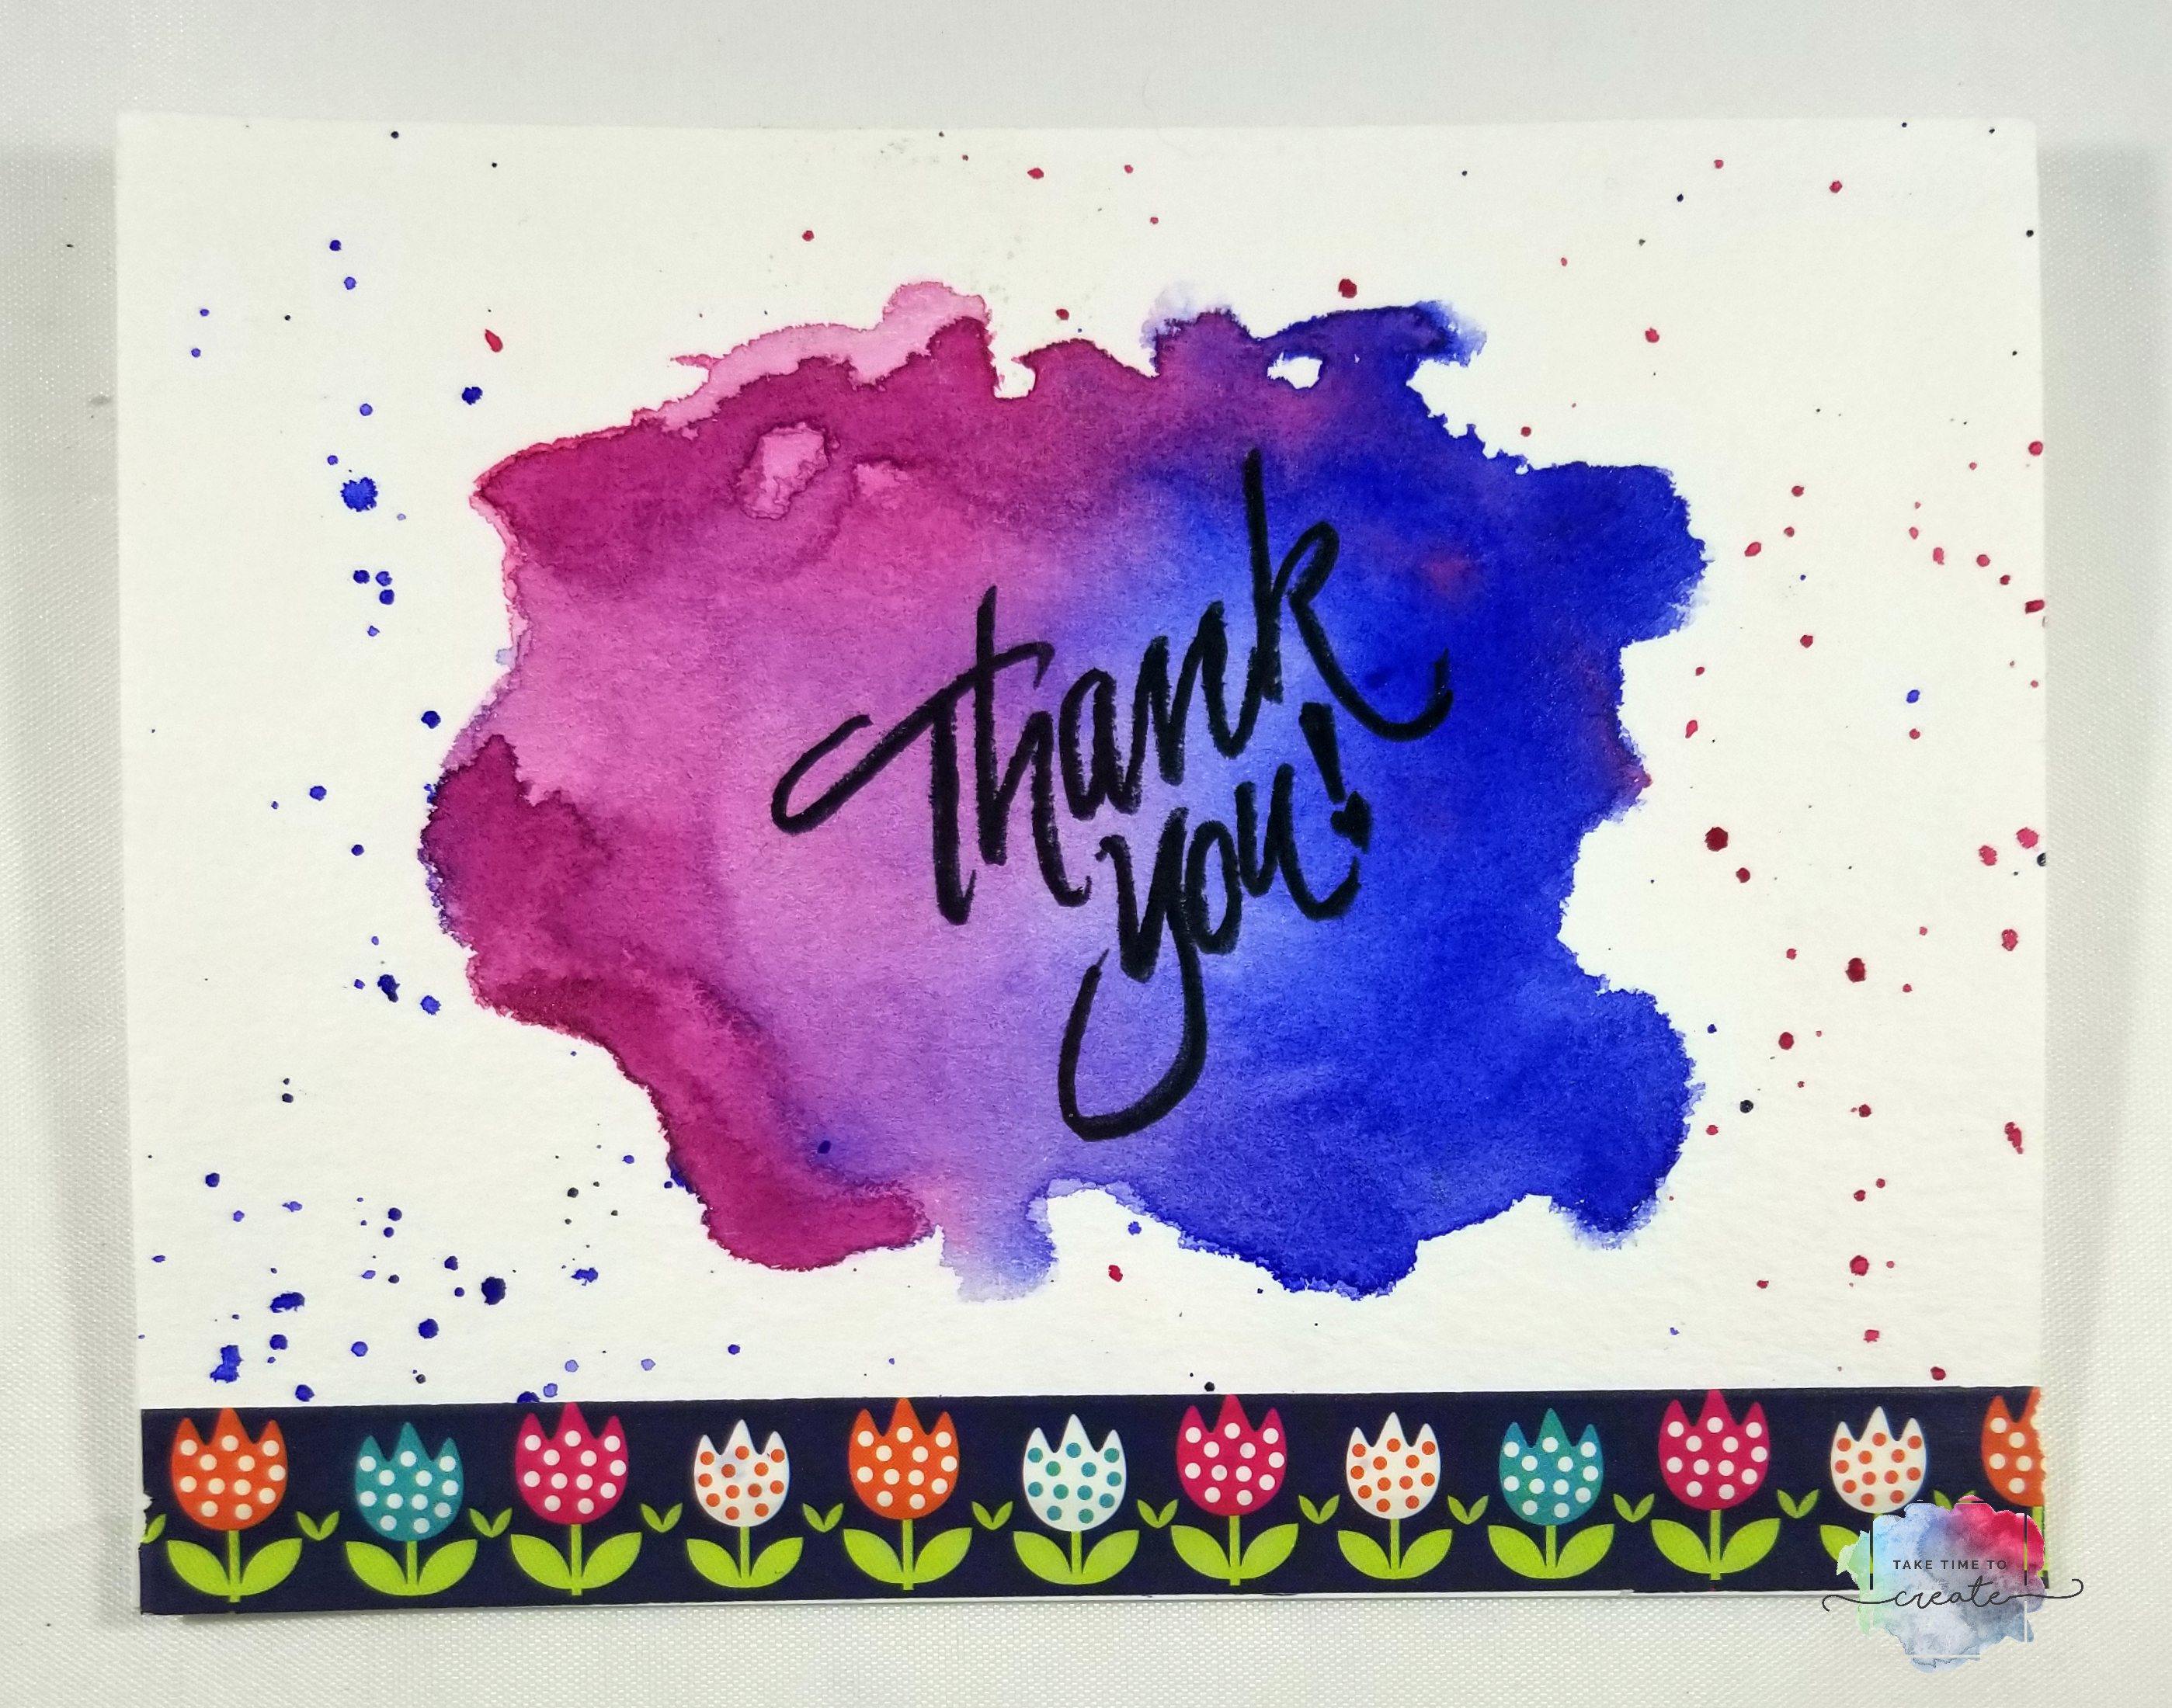
This next card is also super fun and easy to make. Which is great because you can make a lot of them ahead of time and have them ready! For this one take a wet paint brush and paint with water in a blob type shape. Then add some watercolors into the blob, you can mix the 2 in the middle and blend them together. Add splashes and a stamped Thank You to the middle and some washi tape on the bottom. Now you have another Thank you card for your stash.
This last card takes a little longer, but it is worth it. All you do is watercolor the sky, starting with the lightest color and work your way darker. Blend carefully, you don’t want to create mud. Once the sky is dry it is time to paint the mountains. I just used black acrylic paint to make the mountains and then I lightly drew in the trees with the same paint. Now you have a cute sunset card that is perfect for all occasions.
There you have it, 3 easy watercolor Thank You cards.
I love making handmade cards for the holidays, I think they add the perfect touch and a little something extra special for the recipient. I have a quick tutorial for a Christmas Card using Yupo Paper.
The video might be the easiest way to see the process, but I will do my best to describe the process.
Christmas paper (not the one I used, but it will work): http://amzn.to/2l39qii
Snowflake embossing folder (not the same one I used, but it will work): http://amzn.to/2kqPVwj
Christmas tree die cut (not the same one I used, but it will work): http://amzn.to/2AdU90U
Stickles: http://amzn.to/2iT3qVg
Rubbing alcohol
Instructions:
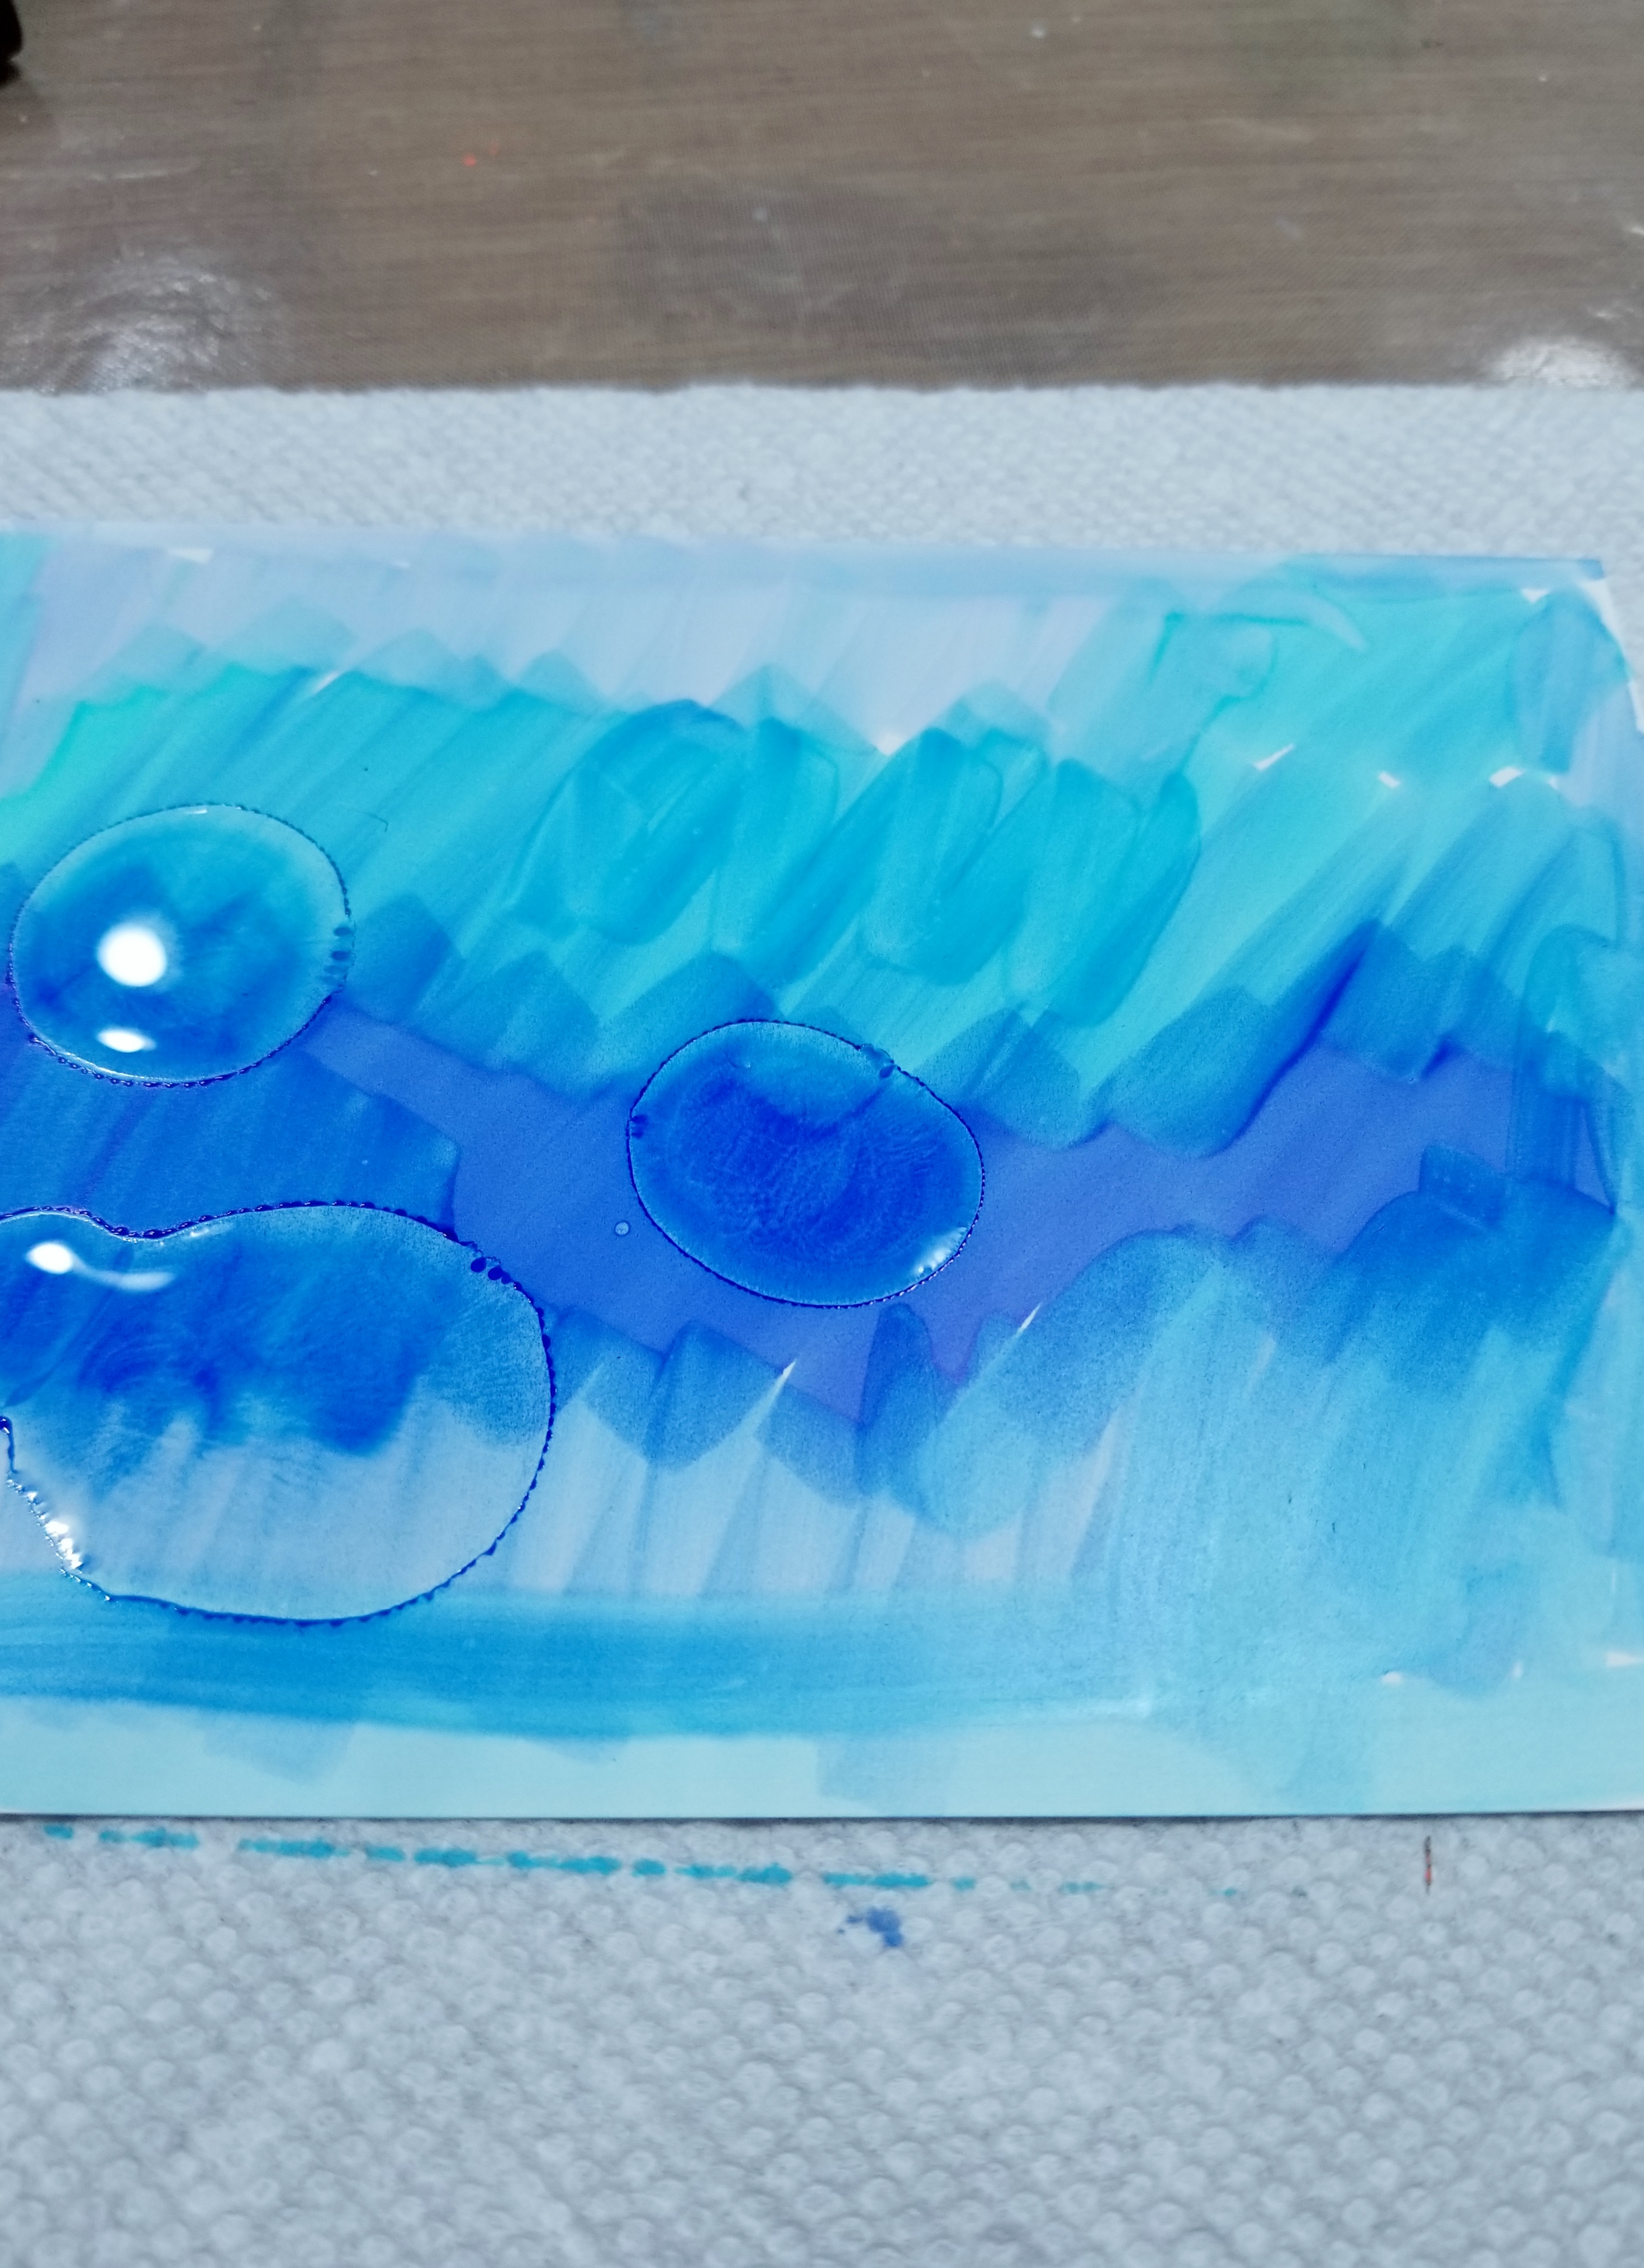
Start with Yupo Paper, what is that you ask? It is a wonderful synthetic paper that is perfect for alcohol markers and watercolors.
I am in love with synthetic paper, so be on the the look out for more tutorials using it.
For the blue background scribble blue alcohol markers all over
Then you take a pipet and alcohol and drop it all around. This will blend the colors and create a really wonderful effect. Play around with it and use more or less alcohol and try different colors.
Let this completely dry before using the embossing folder. I let it air dry over night, but you can use a heat gun if you are careful not to melt the paper, lol.
Once the background is dry use the embossing folder to create a snow flake background.
Cut out the trees using a die cut.
To assemble the card layer a coordinating background paper, then add the embossed, blue Yupo Paper, add the trees (I used foam tape for dimension), stamp the sentiment, and then I added stickles to the trees for detail.
That is it, a wonderful, handmade card that is perfect for everyone on your list.
Have you seen the WISH app? I have to say it is a bit addicting, lol. I recently found some cheap craft supplies and I thought I would test them out. Remember to be safe online and to make sure you are secure before ordering anything.
Some things have been a hit, while others have been a miss, but that is the way it goes sometimes.
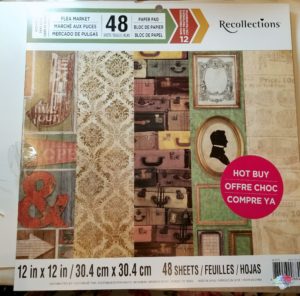
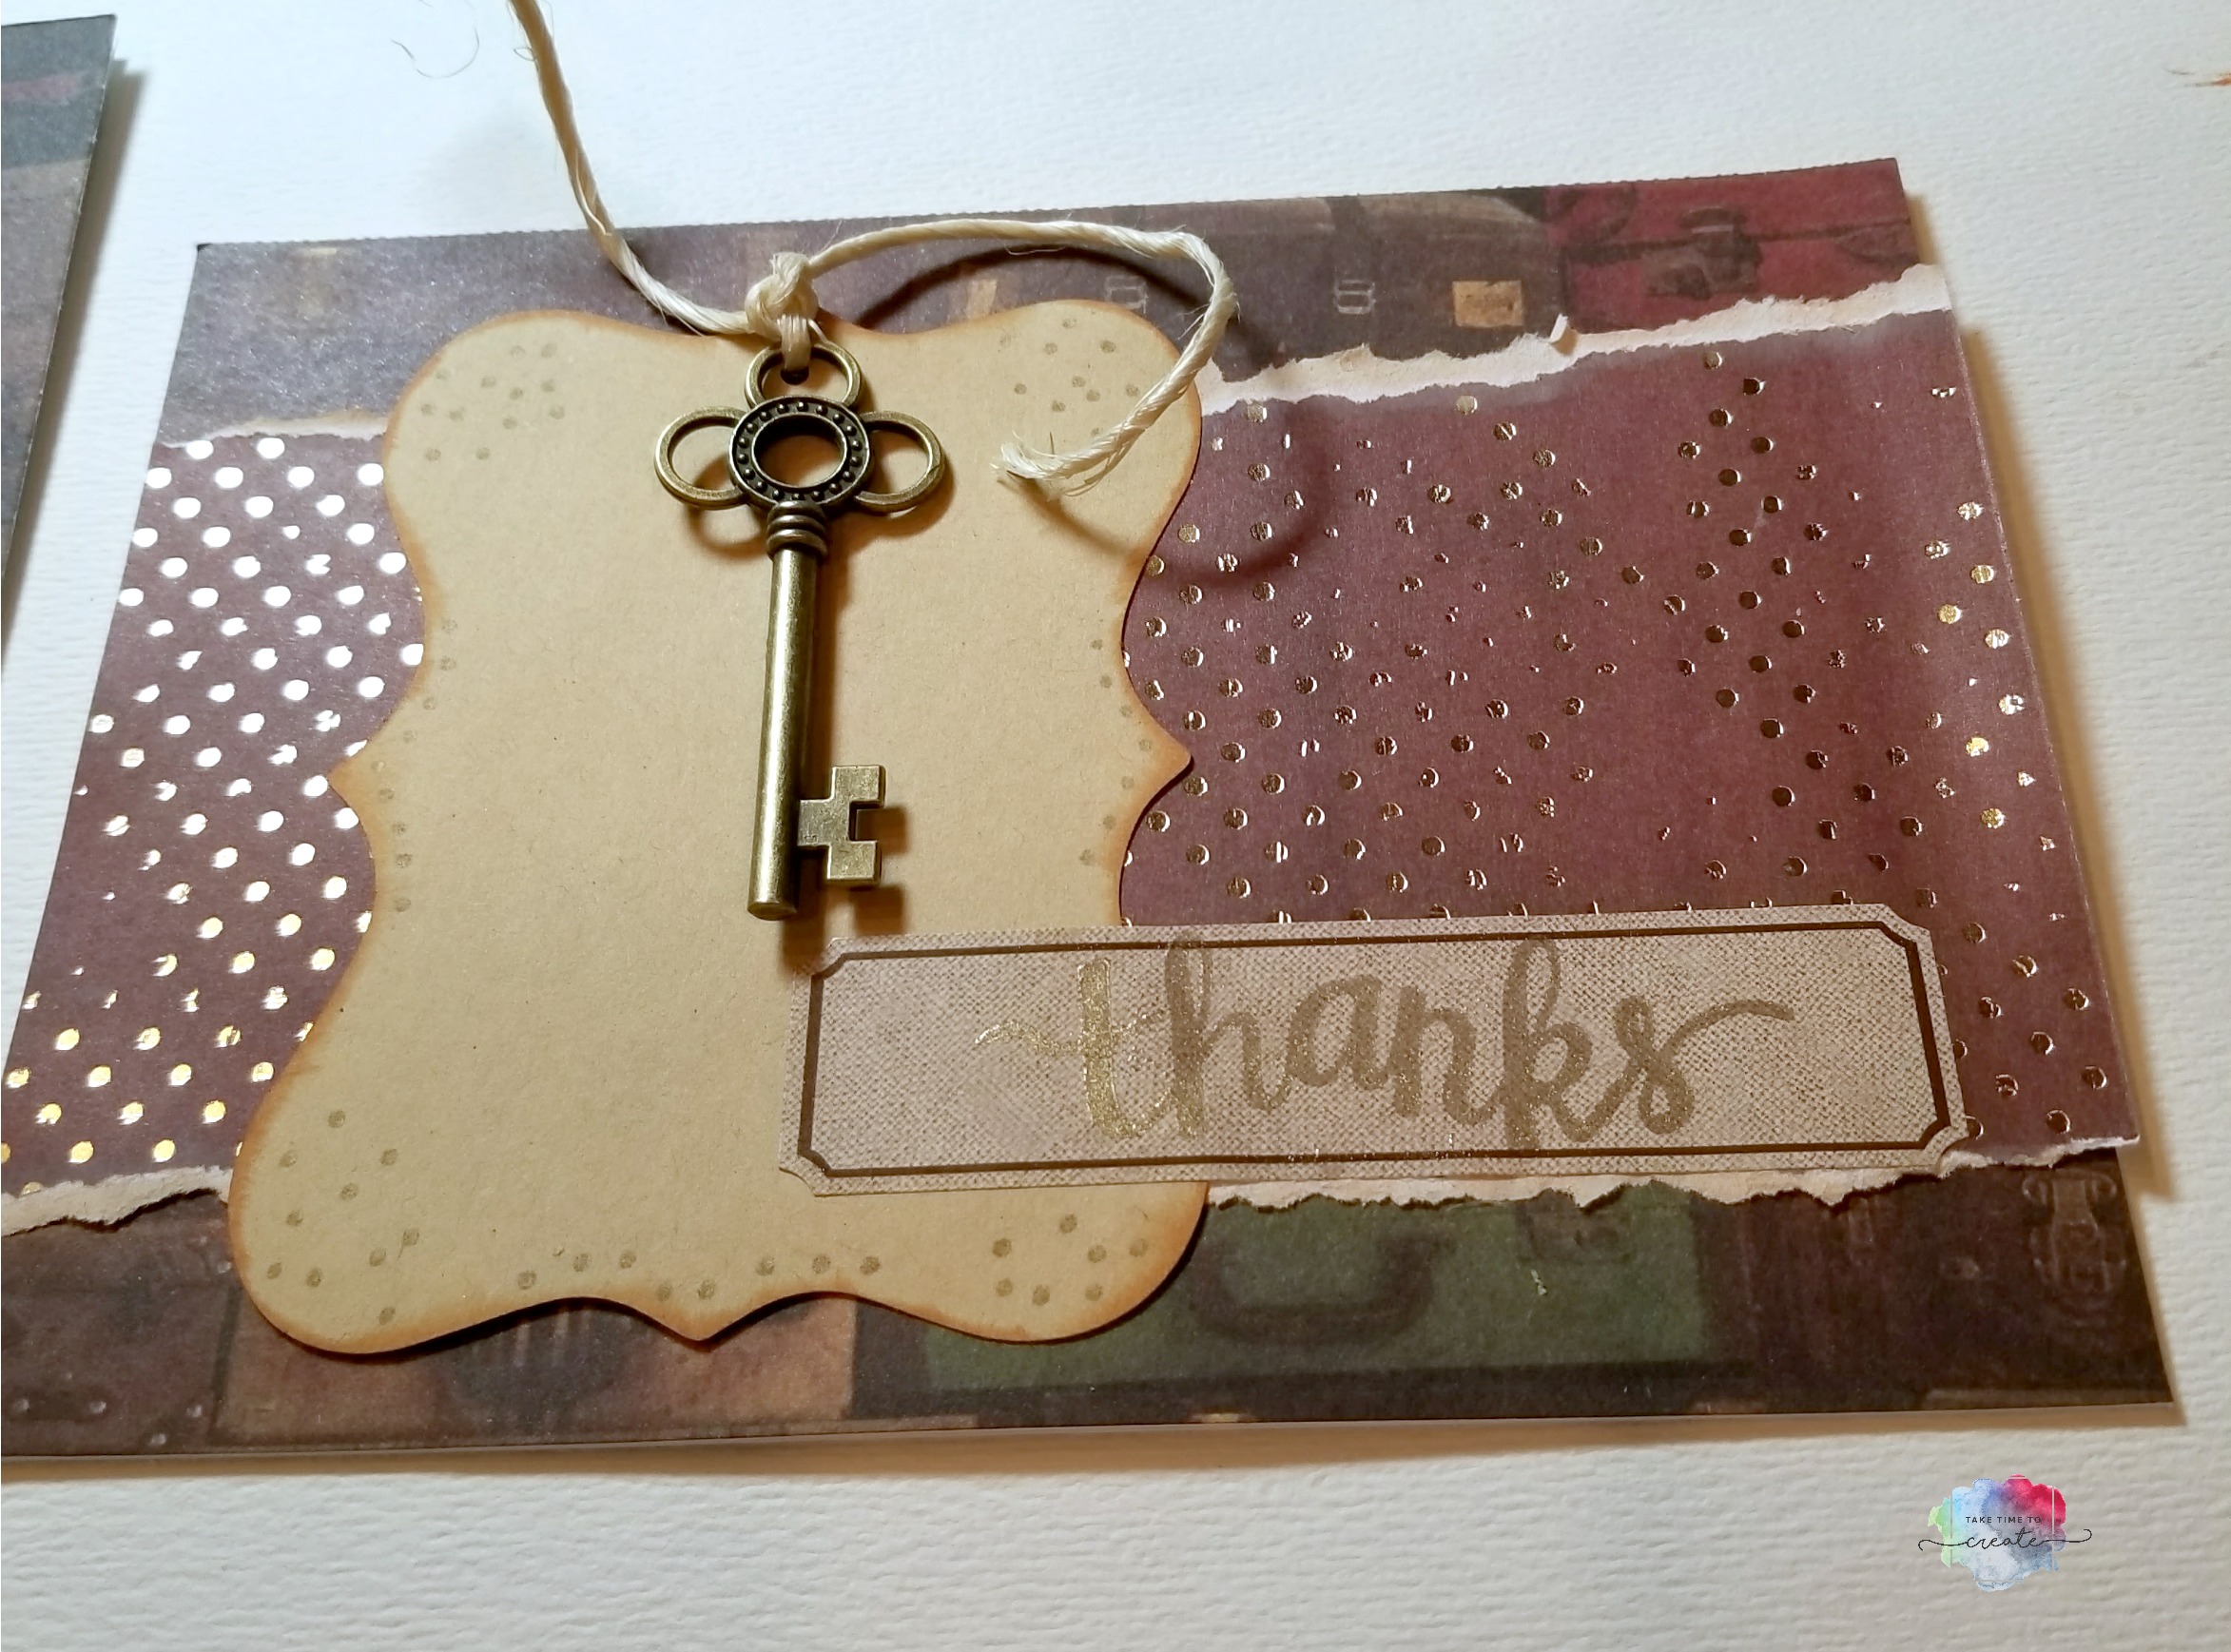
Find coordinating papers that will work with your keys. I used the Recollections pack- Flea Market. It is full of beautiful papers that are perfect for this card. I used the suitcases and the gold dots.
Cut the suitcase paper to size, then rip the coordinating paper to size. Ink the edges of the ripped paper. Add the tag, ink the edges and add the key. Adhere it all to the card. The ink will need to be heat set so it will become permanent.
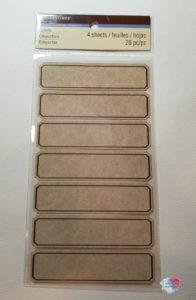
For the sentiment, stamp the image on the label in gold and set it with clear embossing powder.
I think I found some good craft supplies from WISH, but watch the prices and be patient, it will take a few weeks to get to you. And be safe when shopping online.
I think it turned out really cute. I am excited to see what other deals I can find on WISH.
What have you found?
All ideas and designs are my own and this is not a sponsored post.