Tag: home (page 5 of 7)

Elephant Applique Embroidery Mixed Media

Elephant Applique Embroidery Mixed Media

Hello Everyone!

An appliqued elephant makes the perfect focal point on any mixed media

Embroidery, when I think of embroidery I think of my grandmother or of delicate items, gifts to be given or received. It is not something that I have every really tried. I have little patience and embroidery tends to stretch my patience to the limit. But I like to try new things, so I signed up to take a year long embroidery class at my local fabric shop, the Loopy Ewe. I love this place, they have everything and they are so friendly and helpful.

Every month we have a class and we learn new stitches then we apply what we learn at home and bring in our finished pieces. Well, I tend not to do what everyone else is doing, lol.

This month we were supposed to create an embroidered piece (I did that part) but we were also supposed to sew a binder cover on. I don’t always get along with my sewing machine and this month I didn’t want to fight with it. So I did a mixed media binder instead.  I have to say, I really love how it turned out. It is perfect for me and now it is cut and ready for me to store my patterns.

Materials

  • Binder- I was proved a 2″ binder. This is one of the shorter binders
  • Embroidery- need applique item, thread, needle
  • For the mixed media- fabric, paper, lace and trims, beads, ink sprays.

Instructions

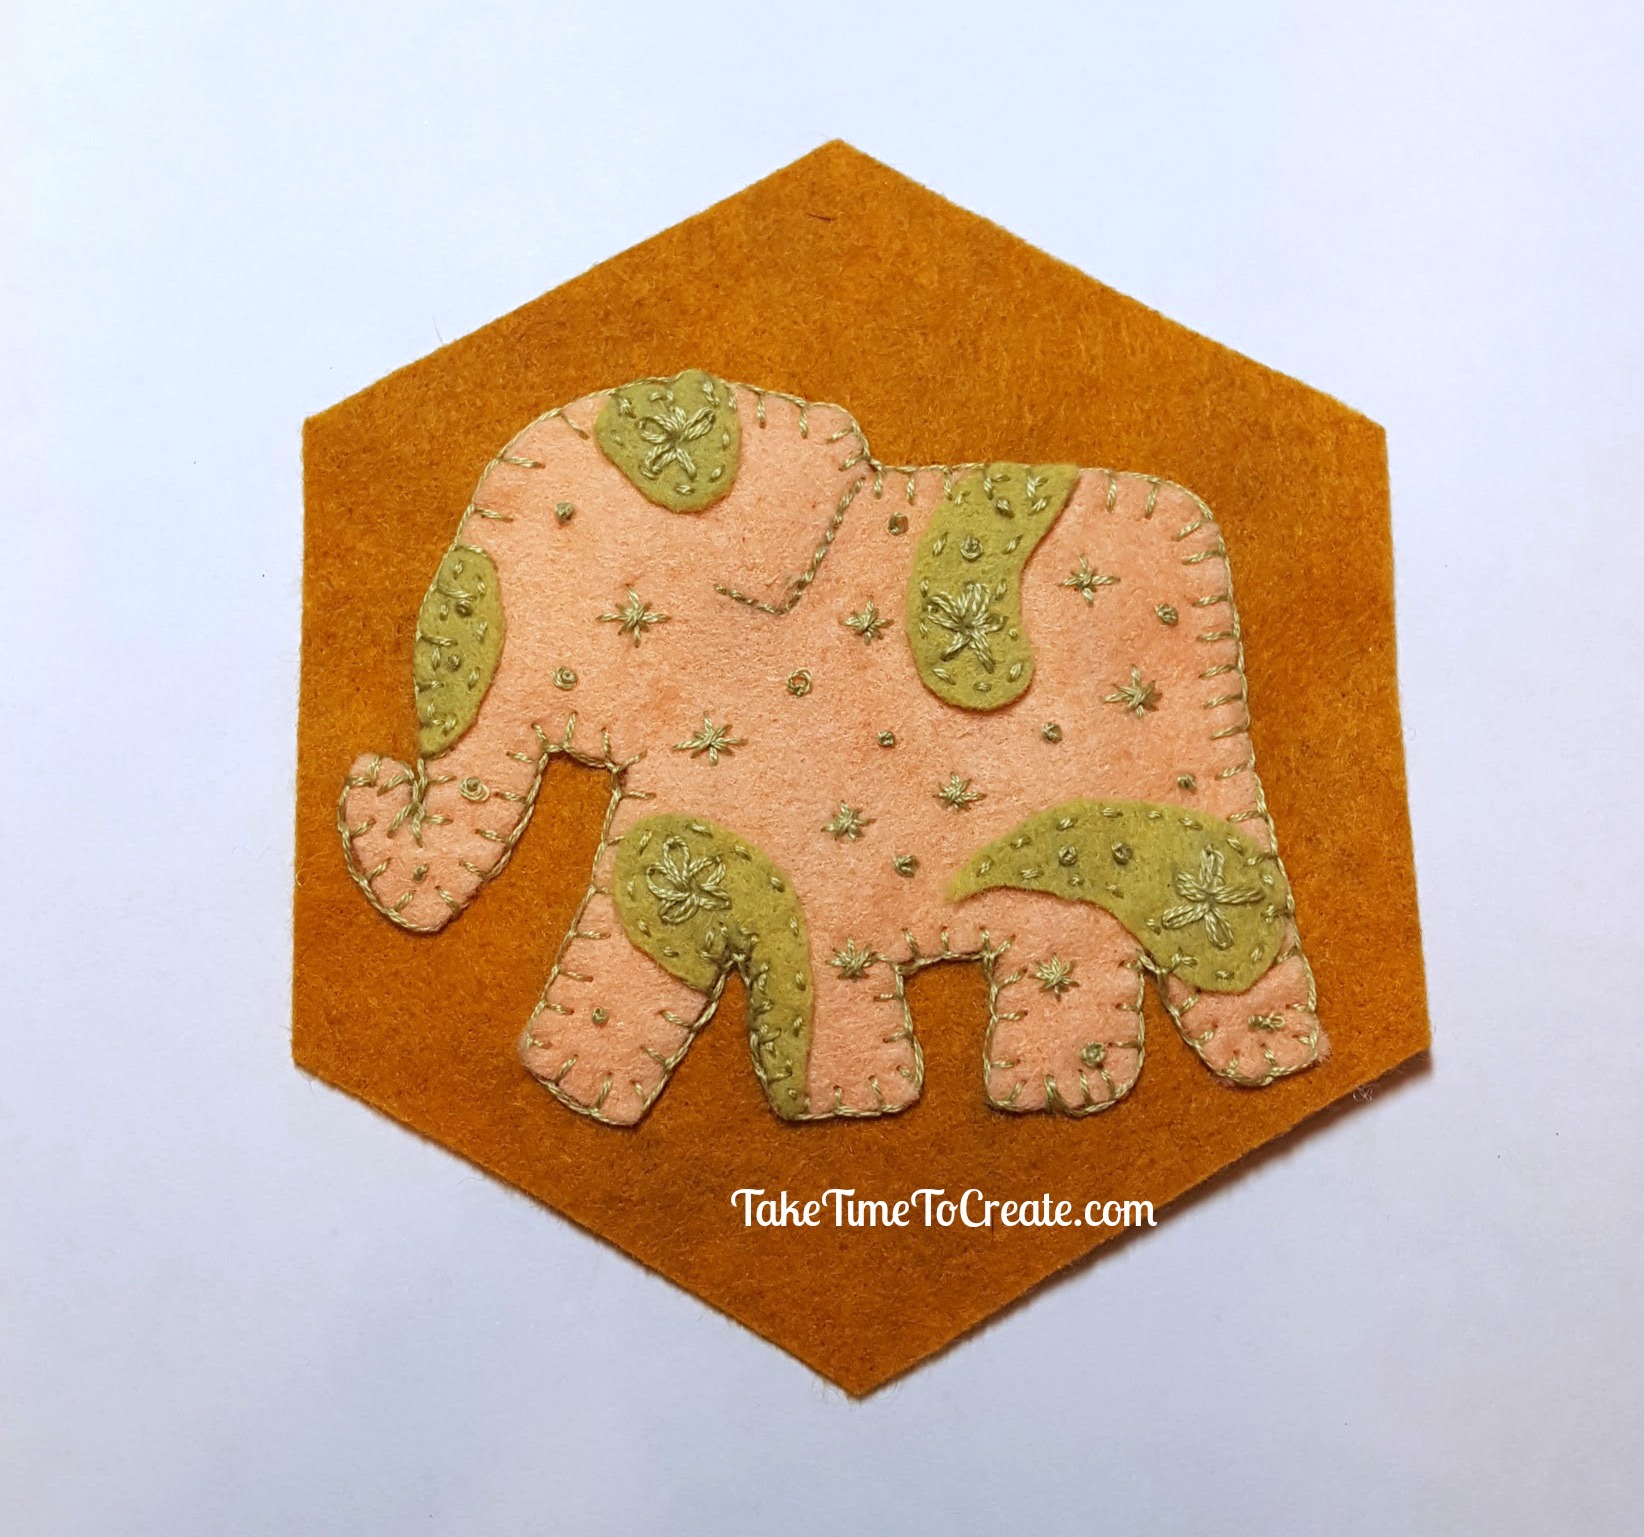
The first thing you do is cut your hex shape and elephant and paisley pattern.  Then stitch the elephant together. I won’t go into detail about applique embroidery because there are far better tutorials out there but I can tell you what stitches I used. I did a running stitch to secure the paisleys, a blanket stitch around the edge, colonial knots, and a lazy daisy for the flowers.

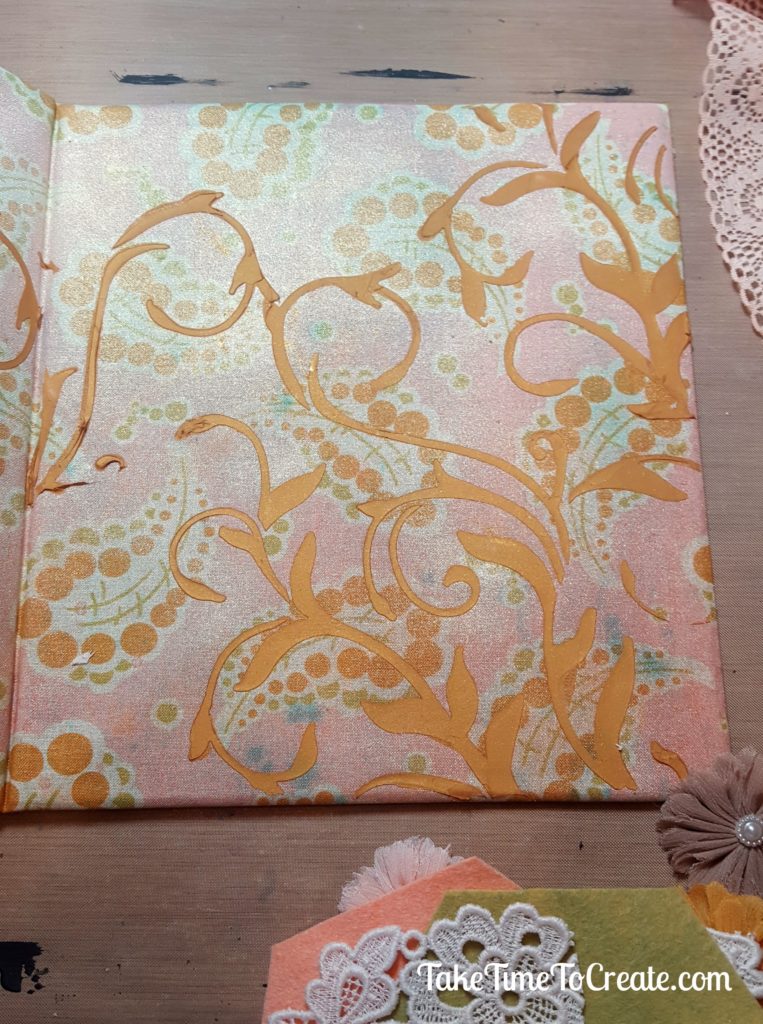
Once my embroidery was complete it was time to start on the binder. I covered the binder in this great fabric.

Then I sprayed ti with some ink sprays to give it interest. To add even more interest I stenciled this scrolling pattern on the cover and spine

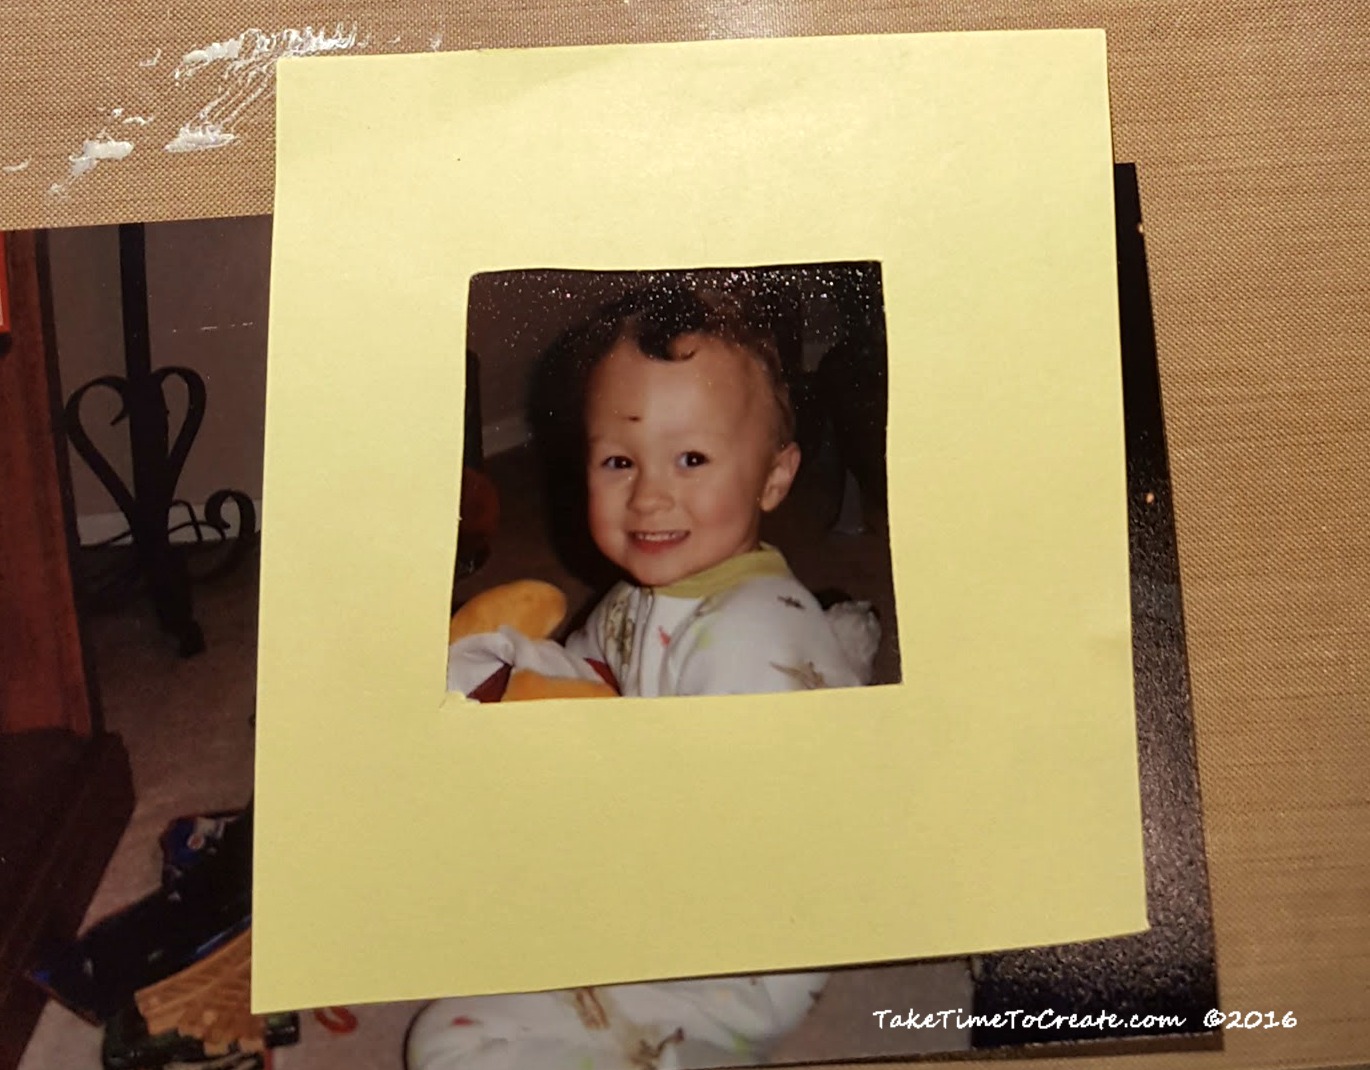
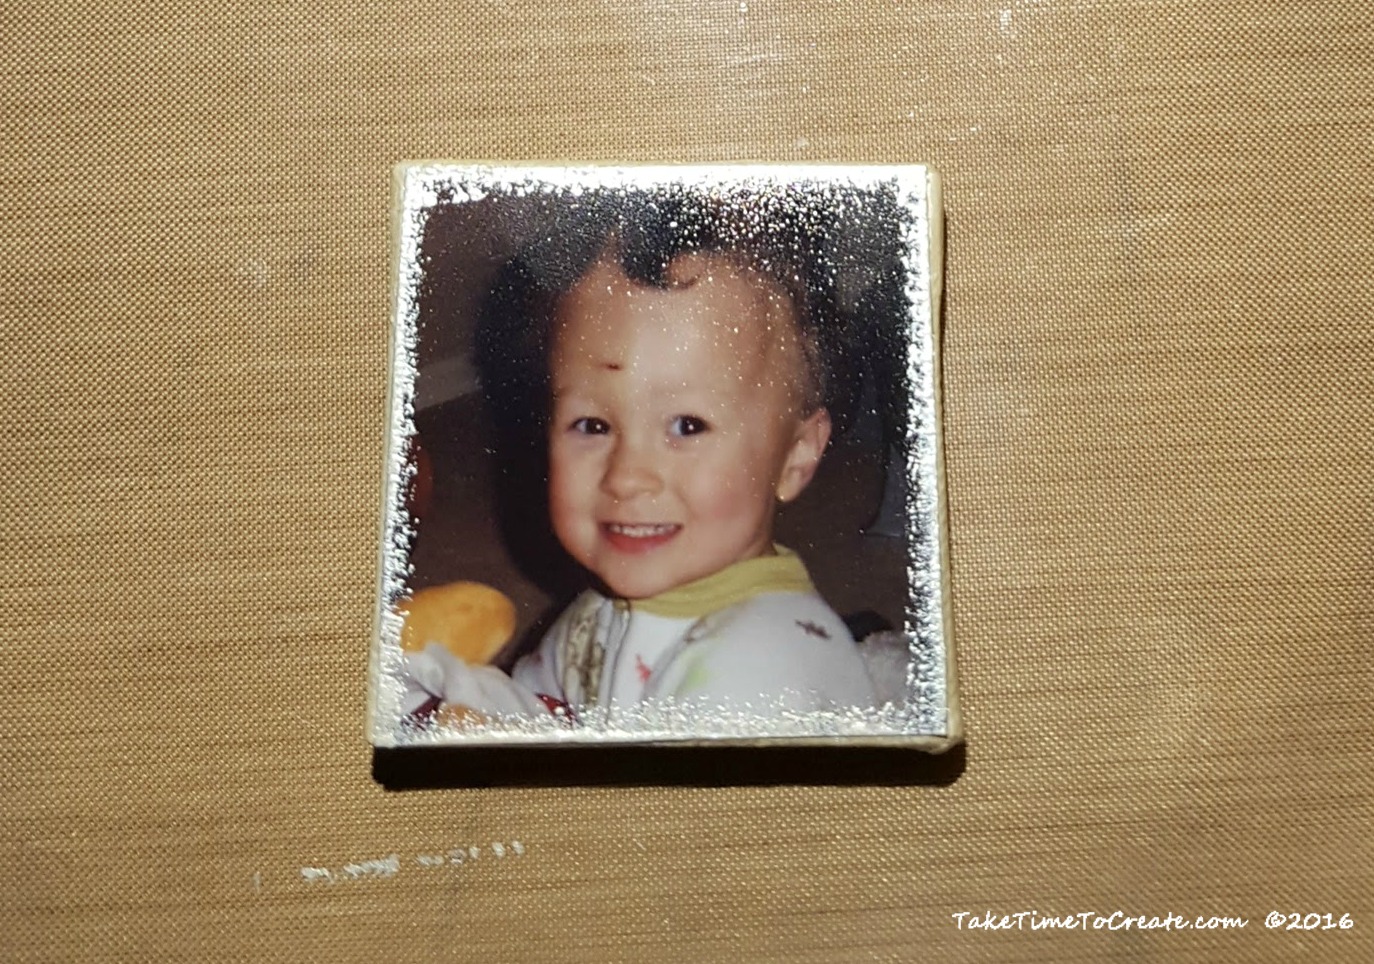
Then I started playing around with textures and fabrics to try and get a focal point that worked for me

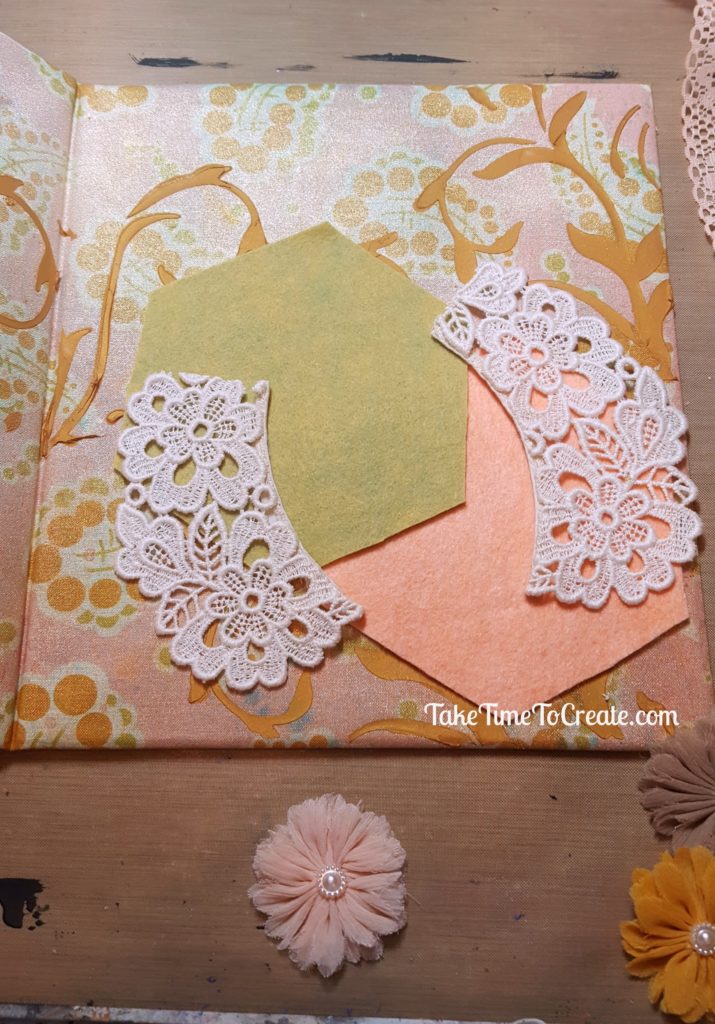
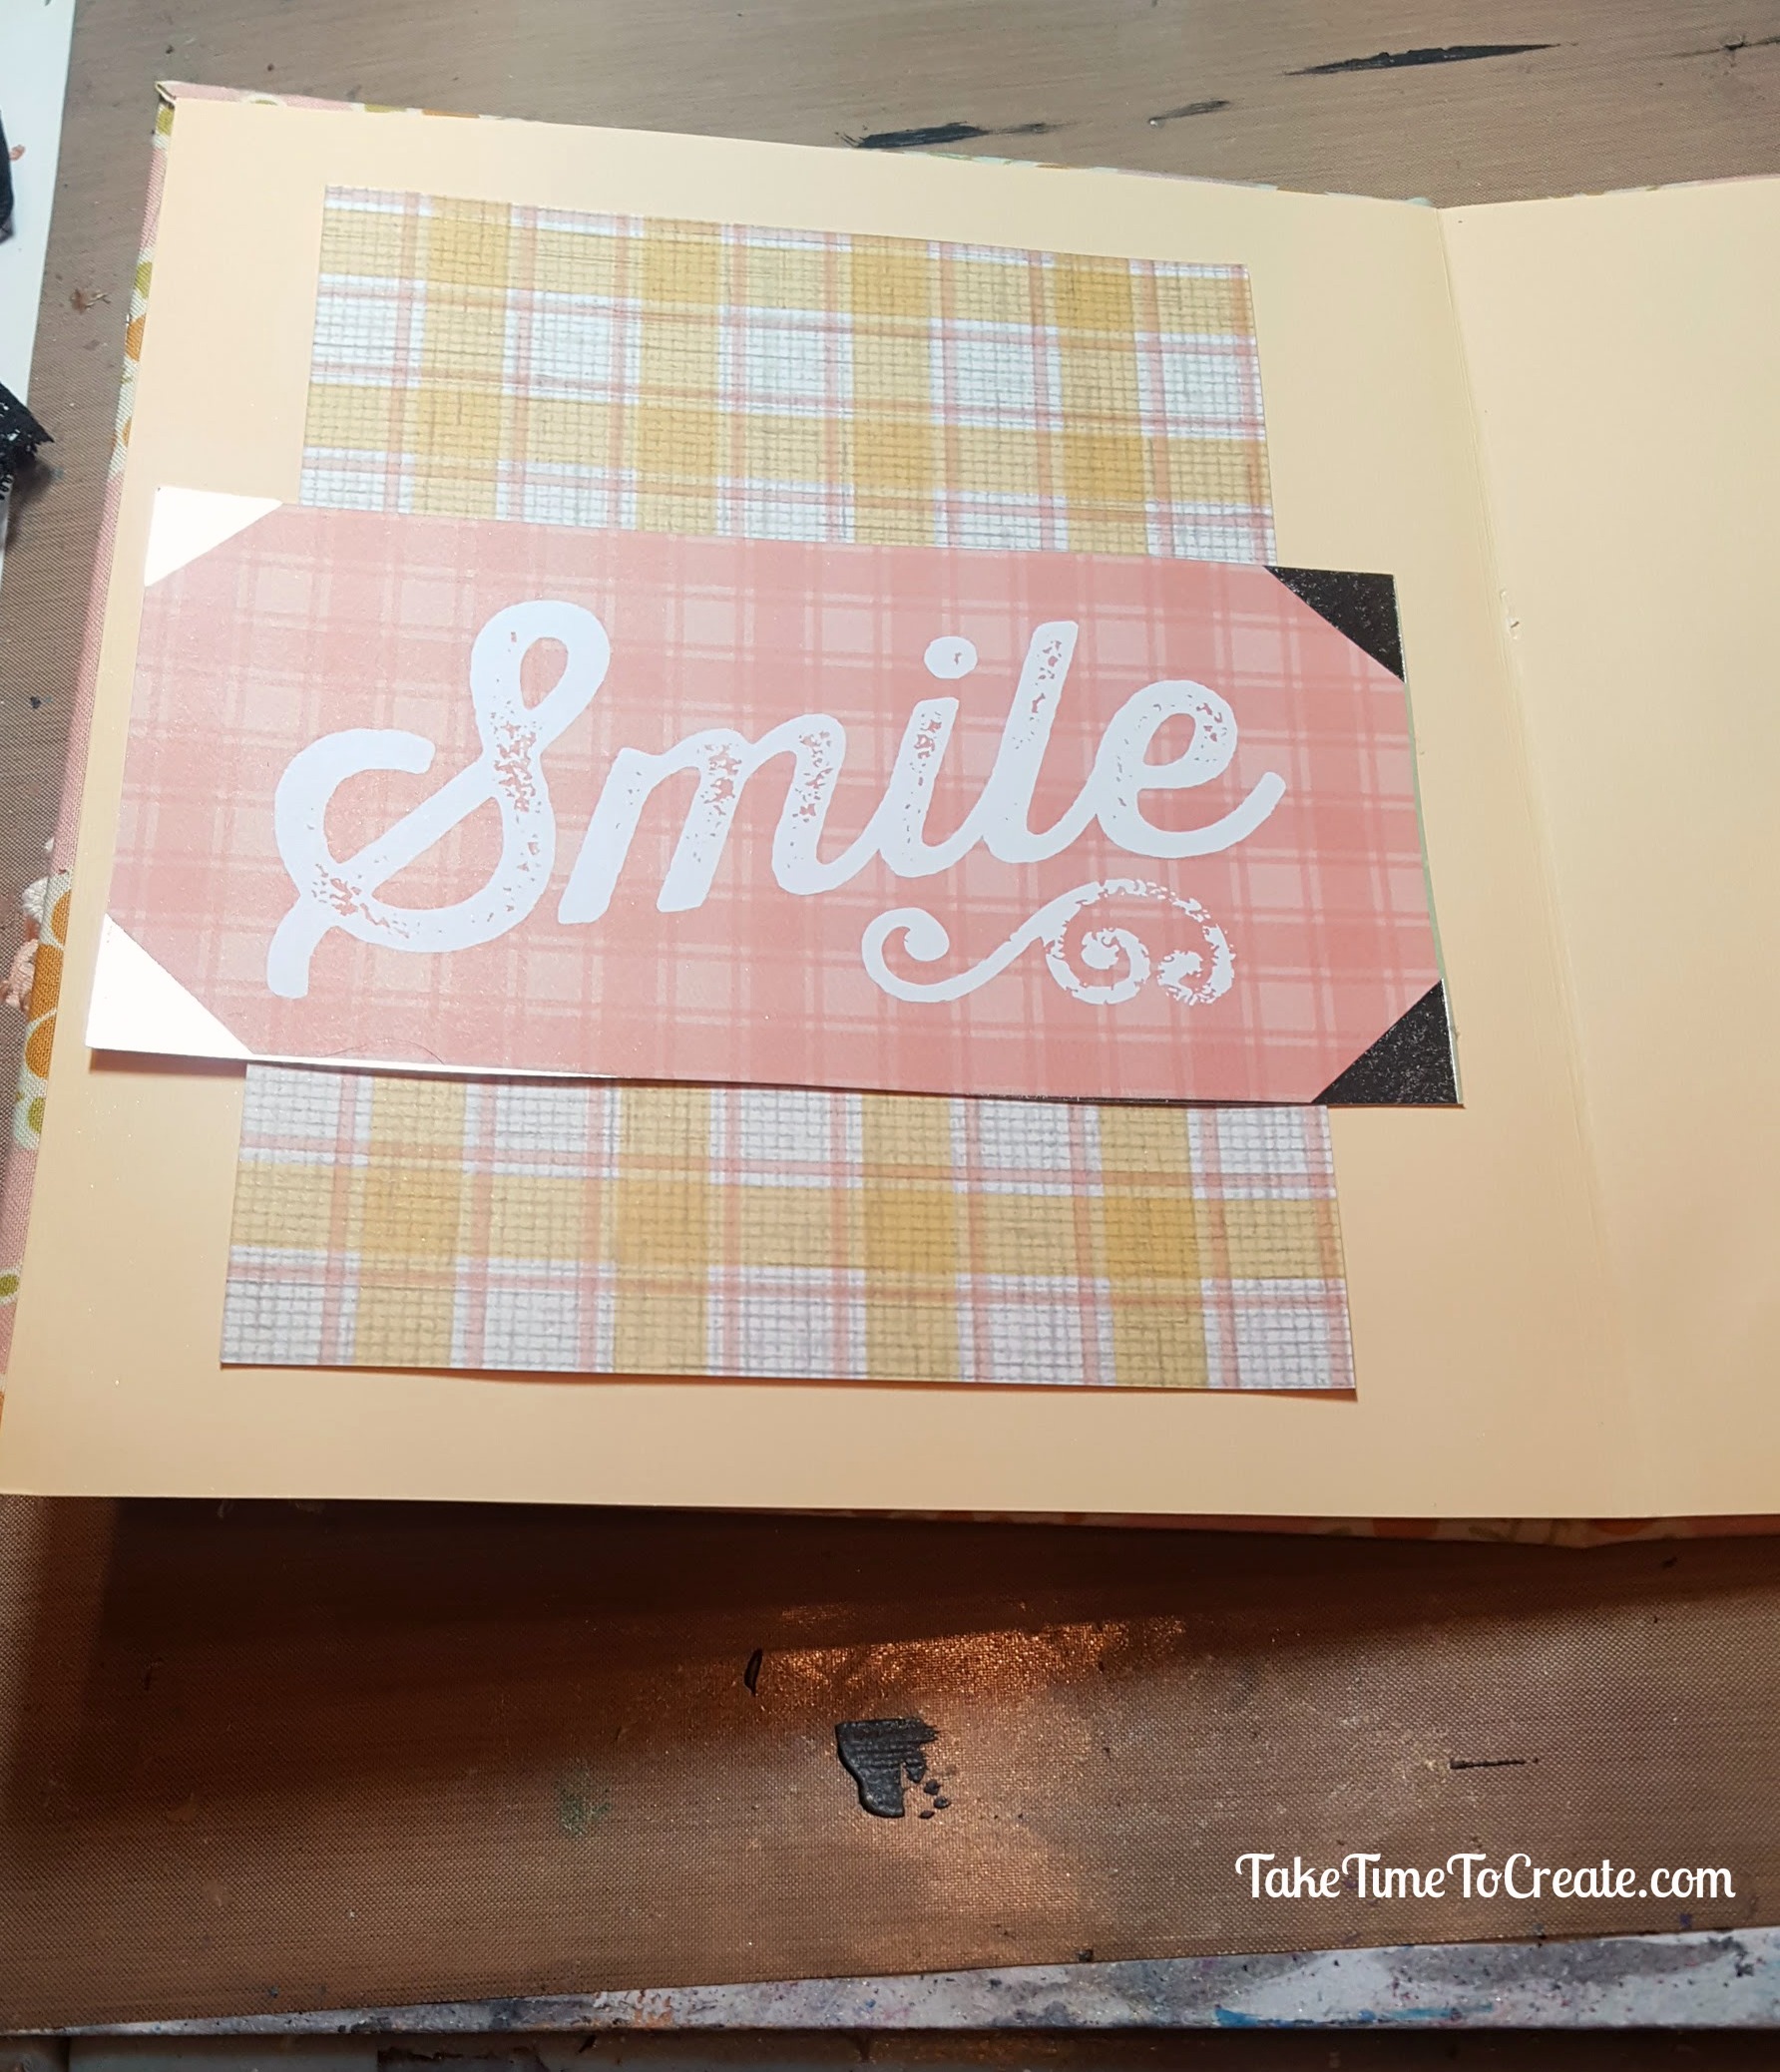
Then I added some paper to the inside, no boring inside for me. Everything must be decorated.

The completed outside of the binder has fabric, beads, Prima flowers, lace, and of course the Elephant Applique Embroidery.

I think this turned out so cute, and I am glad that I made it something that I will use and I made it in my own way, lol.

What have you created instead of following all the instructions? How did you make it your own?

The post Elephant Applique Embroidery Mixed Media appeared first on Take Time To Create.

Rust Painted Stormtrooper Helmet

Rust Painted Stormtrooper Helmet

These vinyl Star Wars Stormtrooper helmets look worn and old with a DIY rust paint technique.

Hello Everyone!

Welcome back! I have missed you guys! I hope you all had a wonderful holiday.

2017 is going to be amazing with all these new project I have for you!

The first is this rust pained Stormtrooper helmet. With the passing of Carrie Fisher I thought I needed to do a Star Wars inspired craft.

This time I did the rust painting a little differently than when I painted the Rust Angel. You can revisit that post here: Rust Angel

Materials:

  • Stormtrooper Vinyl Helmet- You can find it here: Helmet
  • Rust paints. I used some cheap teal colored acrylic paint I had on hand, some Folk Art rust paints, and Prima Marketing rust paste. You can find the Rust past here: Rust Paste
  • Brushes and spray sealer and black gesso

Instructions:

The first step is to paint a coat of Black Gesso. This is the primer and it will make it easier for the paint to adhere to the vinyl.

Then I added some teal paint I had in my stash. Add this in a random fashion, and not all over.

Then I added the yellow from the Prima Marketing rust paste paint pallet. Just a bit, to make it random.

Then I added the middle color of the Prima Marketing rust paste. Keep it random. It looks a little funky at the is point, but it gets so much better when you add the darker coats, believe me, lol.


Then I added the darkest of the Prima Marketing colors. I liked it, but it needed more, so I added some of the Folk Art rust paint that I used for the Angel. I did like how the Prima Marketing

Make sure you can still see the other colors peaking though making it look natural, like it has been left out in the forest for a long time.

When you are happy with your rust painting spray it all with a sealer to keep the texture on the helmet.


Such a fun project! I have a few more things to show you this year that are all rusty and old looking! I can’t wait!

The post Rust Painted Stormtrooper Helmet appeared first on Take Time To Create

This post contains affiliate links.

Merry Christmas and Happy New Year

Merry Christmas and Happy New Year

Merry Christmas and Happy new year to all  my wonderful followers. Because of you I have had a wonderful, fun year and I am excited for next year!

Hello Everyone!

As this year comes to a close I wanted to take a moment and say thank you for making this year pretty great. I had so much fun creating new thing and making tutorials for you enjoy.

I think every blogger says this, but in my case it is true, but I have the best followers! You guys are fun and supportive! Whether you follow me here on the blog or on my other social platforms you guys are just the best!

I will close this year with a pic of a collage that I have on my desk. I love this quote from Curly Girl (if you don’t know who that is  you have to follow her. Her designs are wonderful, I love them! You can find her here: Curly Girl Designs)

I took this quote from a planner, “We must take every opportunity to make the most of our very remarkable life,” and made a quick collage. I love having it near my work area as a perfect reminder that this is all pretty remarkable.

Have a safe holiday season and I will see you in the new year with new projects, ideas, and tutorials, and a You Tube Channel! Yikes, yes I am going to start a You Tube Channel to help demo even more things. (I will admit I am a little nervous about this, but it will be fun!)

So many new things for the new year! It is going to be amazing!

See you in 2017!

Linda


Easy DIY Gift Ideas

Easy DIY Gift Ideas

Need a last minute gift? Here is a list of easy DIY gift ideas that will help you check everyone off your list.

Hello Everyone!

Are you at a loss as to what to get or make some of the people on your list? I have the same problem, I get craft-blocked (kinda like writer’s block, but for crafting, haha) when it comes time to make a gift.

So I thought I would go back through my posts and compile and easy list for you reference, easy gift ideas at your finger tips. These gift are great not only for Christmas but for Birthdays, Easter, Weddings, House warming, and almost any occasion.

Just click on the link and it will take you the post with all the details you need to make your own DIY gifts.

  1. Button Magnets. Vintage buttons glued on a magnet make a really cute gift.
  2. Wood Burn Coaster. This gift is fun to personalize with initials or something they like. Just burn in the design, seal it and add felt and you have a gift that will be treasured.
  3. Gift Bag Art. There are a lot of wonderful gift bags at the Dollar Store. Just cut to size and frame and you have a gift that can fit almost any occasion
  4. Vases. Empty jars and beverage containers make wonderful gifts when they are all decorated with raffia, jute, flowers, and rhinestones. 
  5. Christmas Mason Jars. These jars are a very versatile gift just by changing out the flower on top, add candy to the jar and you are good to go. 
  6. Agate Coasters. These coasters are a beautiful addition to any home and are super easy. Just paint on the edge with a paint pen and add felt the bottom. 

The post Easy DIY Gift Ideas appeared first on Take Time To Create.

Christmas Craft Project

Santa Mixed Media Canvas

Christmas is almost here, and this Santa mixed media canvas is perfect for your holiday decor.

Hello Everyone!

Lately I have been inspired to make mixed media canvases, and with Christmas fast approaching I have the perfect subject for my art.

I had this beautiful paper and glittery star that became the focal point, the rest was just details.

Now I will be honest, I didn’t take any pictures of me actually doing the mixed media, but I think I can explain well enough and as always please ask if you have questions.

I really enjoy making mixed media canvases, all inspired by Finnabair.

Materials:

  • 12x 12 canvas (I got mine at Michaels, but you can always get one on Amazon here: Canvas)
  • Paper (I don’t remember where I got this beautiful paper by KaiserCraft, St Nicholas Collection, Papa Noel,  but you can find great paper just about anywhere)
  • Large star (I found mine at the Dollar Store. It was just so beautiful that I couldn’t pass it up. )
  • Large letter, glitter, beads, and other do-dads, stickles, acrylic paint, stencil
  • Mod Podge, modeling paste, Mica Powder, clear gesso, clear spray sealer

Instructions:

Trim your paper to fit your canvas and spread Mod Podge on the canvas.  Place your paper on the canvas, smooth out. I turned my canvas over and let it dry overnight.

santa on canvas

Starting with santa paper on canvas

The next day I covered my paper with clear gesso to give it some tooth. Then I applied modeling paste with a swirl stencil to add some detail (you can’t really see it, but it is there.)

Then I sprinkled on mica powered and spread it around.  (I am in love with these Prima Marketing mica Powders. You can find the colors I used here: Gold, Copper, Pale Silver)

mica Powders

I am in love with these Prima Marketing mica Powders

Once that was all dry I went to town. I added modeling paste to the star and glued it to the center.

I highlighted the stencil with painted and I painted around the edges with a shimmery white color.

Then I added the letters (they were pink, but I painted them and added glitter)

I added the large gems and small beads and micro beads with globs of modeling paste. Then I poured on lots of glitter to stick the the modeling paste (I figured that Christmas decor needs a lot of glitter)

santa mixed media canvis

Our santa mixed media canvis is coming together

I added rows of pearl beads, and key metal elements, and I added stick details to the star. Once everything is dry I sprayed it with a clear sealer, the mica powder is not adhered to anything and it will wipe away, so the sealer is necessary.

Christmas star close-up

a close-up of our Christmas star

I really like how this turned out. I think it is an interesting piece.

Christmas star

Close-up of our Christmas star

santa mixed media canvas

finished santa mixed media canvas

What holiday should I make a mixed media for next? New Years? Easter? Valentine Day?

This post Santa Mixed Media Canvas appeared first on Take Time To Create


If you enjoyed this post, make sure you Follow Take Time To Create so you don’t miss out on other great posts.

Follow Take Time To Create on WordPress.com


This post contains affiliate links

Painted Christmas Houses

Painted Christmas Houses

You can find these really cute ceramic houses just about anywhere, with just a little paint and glitter they are ready to be put on display. 

My finished Christmas houses on display

Hello Everyone!

December is rolling along and it is time for me to think about decorating. The tree is up, and if you follow me on Instagram you probably have seen our tree by now. (@taketimetocreate).

With any holiday I always feel the need to create some new items. This year I made some painted Christmas houses.  I found the unfinished ceramic houses at our creative reuse center Who Gives A Scrap (I love that place!) With a little paint and glitter they were ready to go.

Materials:

  • Ceramic House (You can get these at a creative reuse center, craft stores, and sometimes the thrift stores will have some unfortunutally painted ones that need an update)
  • Paint and glitter found at the craft store. I really liked this paint, it was white with a little pearl look to it. Perfect for Christmas.

paint-and-glitter

Instructions:

Take your plain ceramic house and paint on a layer of white paint. You can always spray paint the houses, but I just decided to hand paint instead.  This is what it looks like before the paint.

(btw, The houses did come with detailed instructions to paint the house in all the colors, but I did not want to take the time to do any detailed painting. haha. So white paint here I come. )

Painted Christmas houses before glitter

My Painted Christmas houses before glitter

Add the paint. This is what it looks like with the paint. Go over everything, all the little details. Don’t forget the inside of the windows.  Touch up where ever you forgot.

Painted Christmas houses before glitter

My Painted Christmas houses before glitter

Then I decided to add some glitter detail to the snow and trees. Just pick a clear holographic glitter that goes with your paint. I put a layer of mod podge on then sprinkled it with glitter.

add glitter painted Christmas houses

Adding Glitter to the painted Christmas houses

Once they are dry they are ready to be put on display.

I think they turned out really cute. You can put lights in the bottom, but I didn’t have any. So this weekend I will pick up some and then they will look even better!

painted Christmas houses on the mantle

Close-up of the painted Christmas houses on the mantle

painted Christmas houses

Here are the finished painted Christmas houses


Subscribe via WordPress


The Take Time To Create Crafting Blog RSS Feed

Subscribe via Email

Enter your email address to subscribe to this blog and receive notifications of new posts by email.


Other Ways To Follow


The Take Time To Create Crafting Blog RSS Feed

Subscribe to my RSS feed

The Take Time to Create Crafting Blog Facebook Page

Follow me as Facebook

The Take Time to Create Crafting Blog Etsy Shop

Check out my my Etsy Shop

The Take Time To Create Crafting Blog Pinterest Board

Visit my Pinterest Board

Other Ways To Follow


The Take Time To Create Crafting Blog Instagram

Follow me on Instagram

The Take Time To Create Crafting Blog Twitter Feed

Follow me on Twitter

The Take Time To Create Crafting Blog Email

Send Me an Email


Organization- Adding Metal Strips for easy organization

Hello Everyone! In any craft room organization is key. It is important to know what you have, and where it is so you can complete your projects easily with minimal headache. These metal strips will help you achieve your craft room organization goals.

Metal Strips for Craft Room Organization

My finished Metal Strips

I don’t know about you, but I have all these little odds and ends that are all over my crafting area. I use them all the time, but I didn’t have a good way to store them I wanted them close by, but out of the way.  I know, that sounds like a contradictions in terms, lol.  My strips are on the wall right above my work table. Perfect reaching distance.

Metal Strips for Craft Room Organization

Another view of my craft room organization

This is such an easy project, just grab some metal strips from the hardware store.

Drill holes so you can attach it to the wall. Secure the strips to the wall.

Add all your little bins!

Different containers for my craft room organization

Different containers on the metal strips

The little clear plastic tubs I found at the dollar store (you can see it online here) Just add a magnet to the lid and you are good to go. Just make sure the glue dries overnight before hanging it full of stuff.

The metal tubs I also found at the dollar store (here) They are great! With a clear lid and lots of space they are perfect for your metal strip. Just make sure the paper sticker of off the magnet, it will attached better without the sticker.

I added magnets to some of my other odds and ends like wire and micro beads.

Round containers for my craft room organization

Round containers for my craft room organization

Now I have everything on hand, but it is out of the way.

I think this is a great solution for all these little bits and pieces. Now it is time to add some more strips for the rest of my do-dads.

What is your favorite organizational technique?

This post Organization- Adding Metal Strips for easy organization appeared first on Take Time to Create


This post contains affiliate links

Subscribe via WordPress


The Take Time To Create Crafting Blog RSS Feed

Subscribe via Email

Enter your email address to subscribe to this blog and receive notifications of new posts by email.


Other Ways To Follow


The Take Time To Create Crafting Blog RSS Feed

Subscribe to my RSS feed

The Take Time to Create Crafting Blog Facebook Page

Follow me as Facebook

The Take Time to Create Crafting Blog Etsy Shop

Check out my my Etsy Shop

The Take Time To Create Crafting Blog Pinterest Board

Visit my Pinterest Board

Other Ways To Follow


The Take Time To Create Crafting Blog Instagram

Follow me on Instagram

The Take Time To Create Crafting Blog Twitter Feed

Follow me on Twitter

The Take Time To Create Crafting Blog Email

Send Me an Email

DIY Ornaments from Magic Towels!

Hello Everyone! With the holidays right around the corner it is time to start thinking about decorating. And since we are on a crafting blog, this post is about DIY Ornaments. This is an easy project that takes magic towels and turns them into ornaments and it is fun to do with the kids. 

DIY Ornaments - Dory

My Finished Dory DIY Ornament

I hope you had a wonderful relaxing Thanksgiving holiday. We had a great time, we went to Florida for the week and it was perfect. Stay tuned, I will do a travel journal about the resort we stayed at.

With Christmas right around the corner I thought I would start doing some holiday crafts and today’s is a DIY ornament.

Materials for your DIY Ornaments:

  • Magic Towels (I used a Dory one and an Avengers one, and I got both from the dollar store)
DIY Ornaments - Magic Towel

We start with a simple magic towel.

  • Ribbon
  • Stuffing
  • Hot glue gun and glue sticks

Instructions:

Cut around the shape that you want to make into an ornament. And cut out that same shape in a plain colored wash cloth.


Cut out magic towel

Next, we cut out the parts we want to turn into ornaments.

Then you start gluing. Glue the pom-pom ribbon ) around the edge and then glue the black ribbon to the top.  I used hot glue for all my gluing, but if you are doing this with kids then you might wan to use fabric glue. You can also sew these together, but me and my sewing machine are not getting along right now, so my hot glue gun came to the rescue.

Then glue the plain wash cloth to the back, but make sure you leave a little gap so you can add stuffing. Add a little stuffing and glue the gap closed.

The ornament's backing

Then, add ribbon and glue together.


And that is it. These are great for kids and easy to do. Kids will like having their favorite characters on the tree.

Avengers ornaments

Here are the finished ornaments.

This post DIY Ornaments from Magic Towels appeared first on Take Time To Create


Subscribe via WordPress


The Take Time To Create Crafting Blog RSS Feed

Subscribe via Email

Enter your email address to subscribe to this blog and receive notifications of new posts by email.


Other Ways To Follow


The Take Time To Create Crafting Blog RSS Feed

Subscribe to my RSS feed

The Take Time to Create Crafting Blog Facebook Page

Follow me as Facebook

The Take Time to Create Crafting Blog Etsy Shop

Check out my my Etsy Shop

The Take Time To Create Crafting Blog Pinterest Board

Visit my Pinterest Board

Other Ways To Follow


The Take Time To Create Crafting Blog Instagram

Follow me on Instagram

The Take Time To Create Crafting Blog Twitter Feed

Follow me on Twitter

The Take Time To Create Crafting Blog Email

Send Me an Email


Guest Post-DIY Sugar Scrub

Guest Post By Kim- DIY Sugar Scrub

Today we have a great DIY for your dry skin. This is a great way to replenish the moisture and exfoliate at the same time. 

Once again I have my sister, Kim, doing a guest post, which I love!! She is sharing a diy Sugar scrub, which is awesome. When I read this post I giggled because it is similar to the recipe that I use all the time. You can tell that we are sisters, haha.  I will post my version at the end.

It has been a while since I have done a guest post, you can read my last guest post here. I have a few in progress but this is one that is a great gift idea for the holidays. Also with so much focus on politics something to pamper ourselves is good.

The finished product

This is what it will look like when all is said and done.

First let me give you a little background on beauty products. Many exfoliating skin care products contain microbeads for the abrasive properties. These are plastic spheres that are less than 5mm in diameter. These are rinsed down the drain and cannot be captured by water treatment plants thereby they make it into waterways and interfere with fish and other wildlife. President Obama did sign a ban on these but it will not take effect until at least mid 2017 and only covers beauty products You can read about that here. They can also be found in cleaning products but that is another post.

I wanted to share with you one way that you can stop using micro beads right now and have great skin.

Disclaimer: I am not a dermatologist and have no skin care training. I just know this works great for me and I love how it leaves my skin.

About a year ago I started to switch out some of my beauty products for more natural versions. I wanted good results but to be friendly to my skin and the environment. I have some issues with skin sensitivity so I am careful what I use.

Here is what I started doing for an exfoliate.

A sugar scrub with coconut oil. I love it and it leaves my skin hydrated and soft. I use it 1-2 times a week I like to rub it on my face and neck right before my shower and then rinse it off in the shower.  If you use this route you need to be careful because some of the oil can stay on the floor of the shower and be a little slippery. I have also used this as a full body scrub and it is great on feet and elbows.

I have used to different recipes and I have provided links to them here. Also I have pinned a bunch more on my “Go Natural” and “Skin Deep Beauty” boards on Pinterest.

The first one I tried was very basic as I wanted to see how it would work. Just 2 parts regular sugar and 1 part Coconut Oil. You can read about it here.

I don’t have any pictures but it was great and now I am excited to try different scents and combinations. Maybe a salt scrub also.

Next I tried another recipe for vanilla scented. You can read about it here.

This was a good recipe but I found The ratio to be off and I needed to add more sugar. I do love the vanilla scent when I use it. A better quality vanilla would probably have a stronger scent but I wasn’t going to use my good vanilla for a scrub and this was plenty for me.

The materials

These are the materials you will need.

Be sure that you melt the coconut oil before mixing with the sugar but you don’t want the oil too hot. I live in a warm area of the country so I only needed 10 seconds in the microwave to completely melt the coconut oil.
Midway through the process

After mixing your ingredients it might look like this.

Then mixed together you can see that there is a lot of oil. So I added more sugar and the vanilla.
Looking good!

A less oily mixture.

Next time I will be using the first recipe but adding vanilla or whatever oil or extract i am in the mood for. Also Coconut Oil is great as it doesn’t go rancid quickly. I had my last jar in the shower for a couple of months and it was still fresh and great to use to the last bit I could scrape out of the jar.

As we approach the holidays and the craziness of the end of the year remember to take time for you.

Linda’s version:

I love doing sugar scrubs. Here is how my version is slightly different than Kim’s

  • I don’t use any vanilla, I like the scent the way it is
  • I don’t even melt it, lol. (I try and stay out of the kitchen as much as possible, lol)
  • I just dump equal amounts of coconut oil (I don’t melt it before hand because coconut oil melts in your hand and I am lazy as well, haha) and granulated sugar and brown sugar. I used brown sugar as well because if I use too much granulated sugar it is too rough on my skin.   (I usually make up my scrub as I wait for the water in my shower to warm up)
  • Then in the shower I just take a scoop and smear it all over, but be careful it does make the shower slippery.

Enjoy!


Subscribe via WordPress


The Take Time To Create Crafting Blog RSS Feed

Subscribe via Email

Enter your email address to subscribe to this blog and receive notifications of new posts by email.


Other Ways To Follow


The Take Time To Create Crafting Blog RSS Feed

Subscribe to my RSS feed

The Take Time to Create Crafting Blog Facebook Page

Follow me as Facebook

The Take Time to Create Crafting Blog Etsy Shop

Check out my my Etsy Shop

The Take Time To Create Crafting Blog Pinterest Board

Visit my Pinterest Board

Other Ways To Follow


The Take Time To Create Crafting Blog Instagram

Follow me on Instagram

The Take Time To Create Crafting Blog Twitter Feed

Follow me on Twitter

The Take Time To Create Crafting Blog Email

Send Me an Email


Gift Idea- Mini Canvas Photo Magnets

Gift Idea- Mini Canvas Photo Magnets

Hello Everyone!

Can you believe that Christmas is right around the corner? With Christmas so close I thought I would start showing you some easy DIY gifts.

Today I am going to show you how to make these really easy, really cute, mini canvas magnets. These are perfect for Grandparents, aunts and uncles, friends, and even for your self, lol.

mini-canvas-photo-magnets

Materials:

  • Mini canvases
  • Mod Podge, brushes, scrap paper, magnet, glue
  • Paint, photo

Instructions:

First pick up some of these adorable mini canvases. I couldn’t resist, they are so cute. At just 2″ x 2″ they are perfect for magnets.

mini-canvas

After you are finished admiring the cuteness of the canvas paint is all in a neutral color, including the sides.

paint-canvas

Now it is time to cut out your picture. To help with this make a template by cutting out a square in some scrap paper the size of your canvas. Then use that template to find the best image for your magnet.  You may even discover that the picture you chose won’t work because it is too big or too many details get lost.  (on a funny side note when my teenage son saw me doing these magnets the other day he laughed and said that he was freshly dented in that pic. He still has the scar to this day. ahhh kids, they do keep us on our toes)

make-a-template

Then glue the picture down using Mod Podge. You can add a layer of Mod Podge to the top if you wish. Then I sponged some of the same paint color I used previously to add a nice boarder. Glue a magnet to the back an you are done. A great gift that can be done in 10 min.

Are there any gifts that you would like me to do a tutorial for? Let’s make this a DIY holiday season!


sponge-around-edges-of-canvas

This post Gift Idea- Mini Canvas Photo Magnets appeared first on Take Time To Create.

« Older posts Newer posts »

© 2024 Take Time To Create

Theme by Anders NorenUp ↑

Follow

Get the latest posts delivered to your mailbox:

%d bloggers like this: