
Hello Everyone!
I was compensated for this post. This post also contains affiliate links and I will be compensated if you make a purchase after clicking on my links.
Christmas is just around the corner and I am getting excited! I love to make my own decorations, the glittery the better, lol.
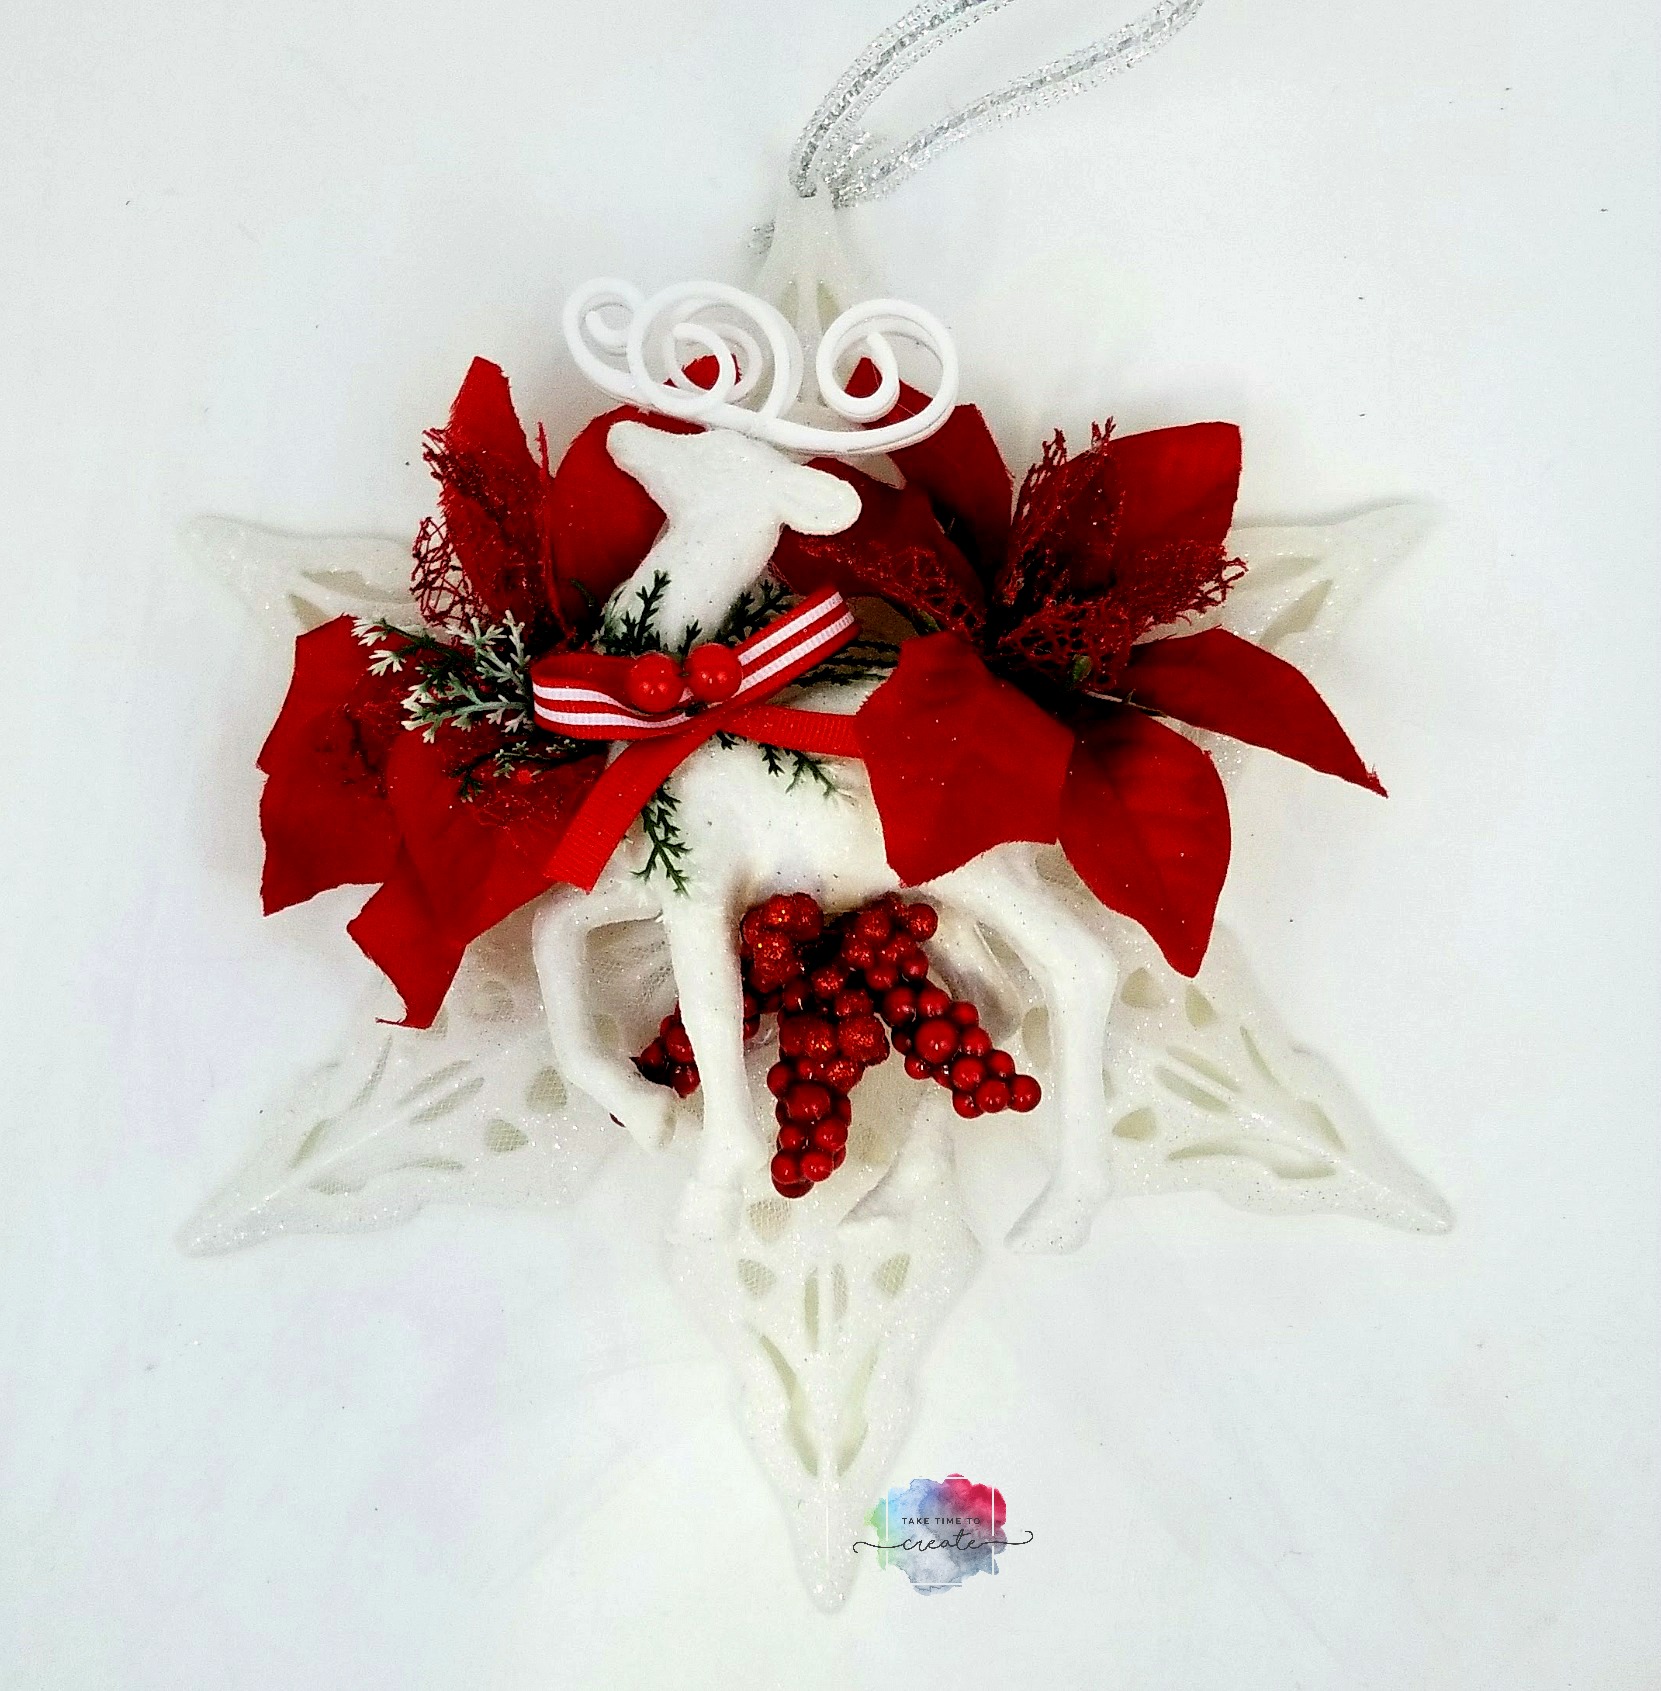
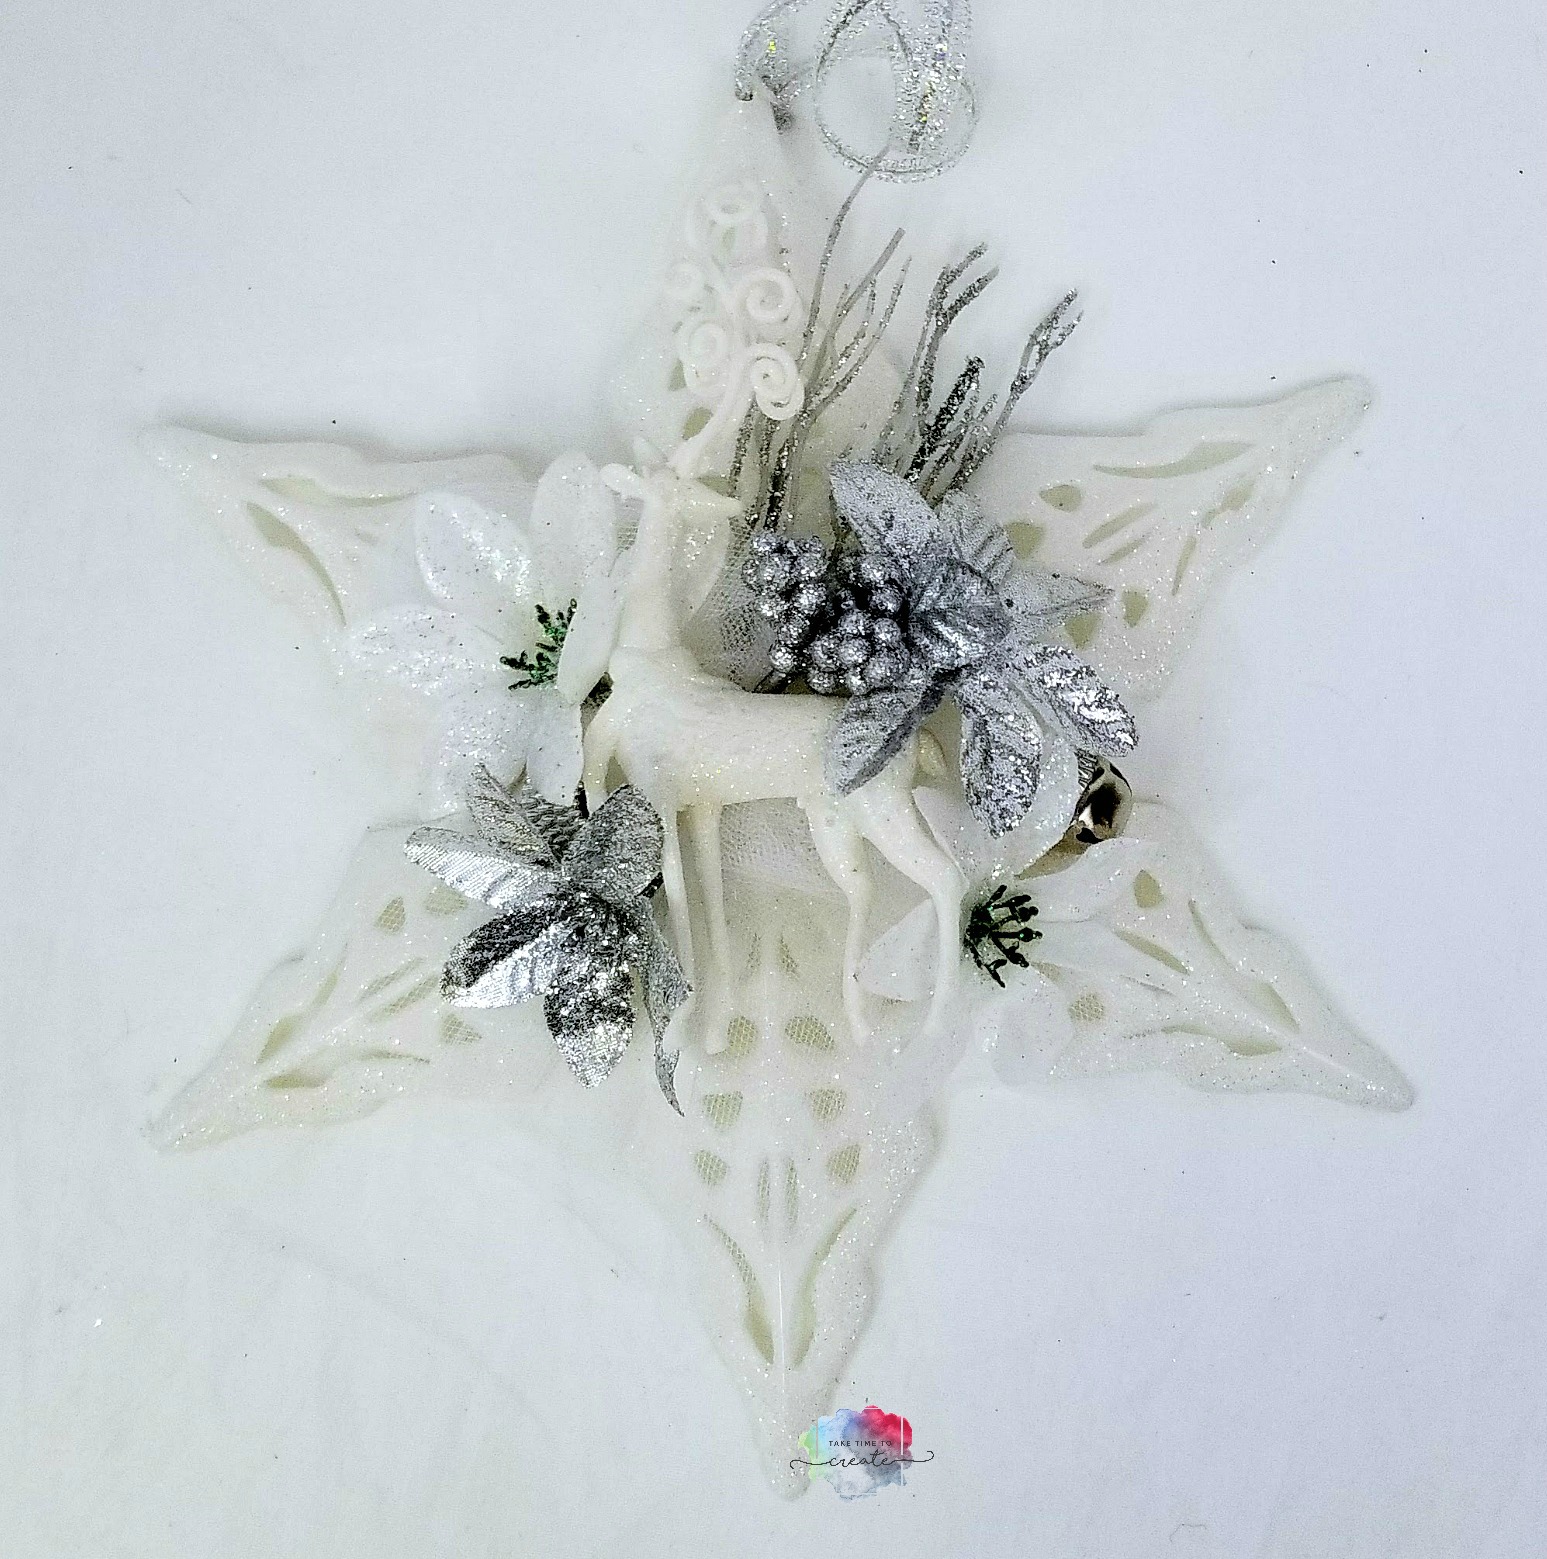
Dollar Tree is the perfect place to get supplies to make your own decorations, like these Snowflakes I made.
These snowflakes are so easy to make and they look so cute hanging on your wall.
Materials Needed (affiliate links):
-
- Large Glitter Snowflakes https://goo.gl/WrxYig

from: DollarTree
- Large Glitter Snowflakes https://goo.gl/WrxYig
- Tulle (or you can use Glitter Mesh from Dollar Tree) https://goo.gl/PrmGRS
- Poinsettia Flowers: https://goo.gl/J3Q9gr

Bulk 5-Stem Christmas House Glittered Poinsettia Bushes, 13 in. atcom
from: DollarTree
- Winter Hat: https://goo.gl/fW7Qkr
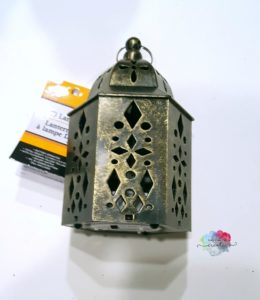
- Christmas Lantern: https://goo.gl/HQYmNa
- Glittery Church: https://goo.gl/vAq8B5
- Christmas Present: https://goo.gl/RtZsbd
- Glittery Angel: https://goo.gl/u5zWyn
Instructions:
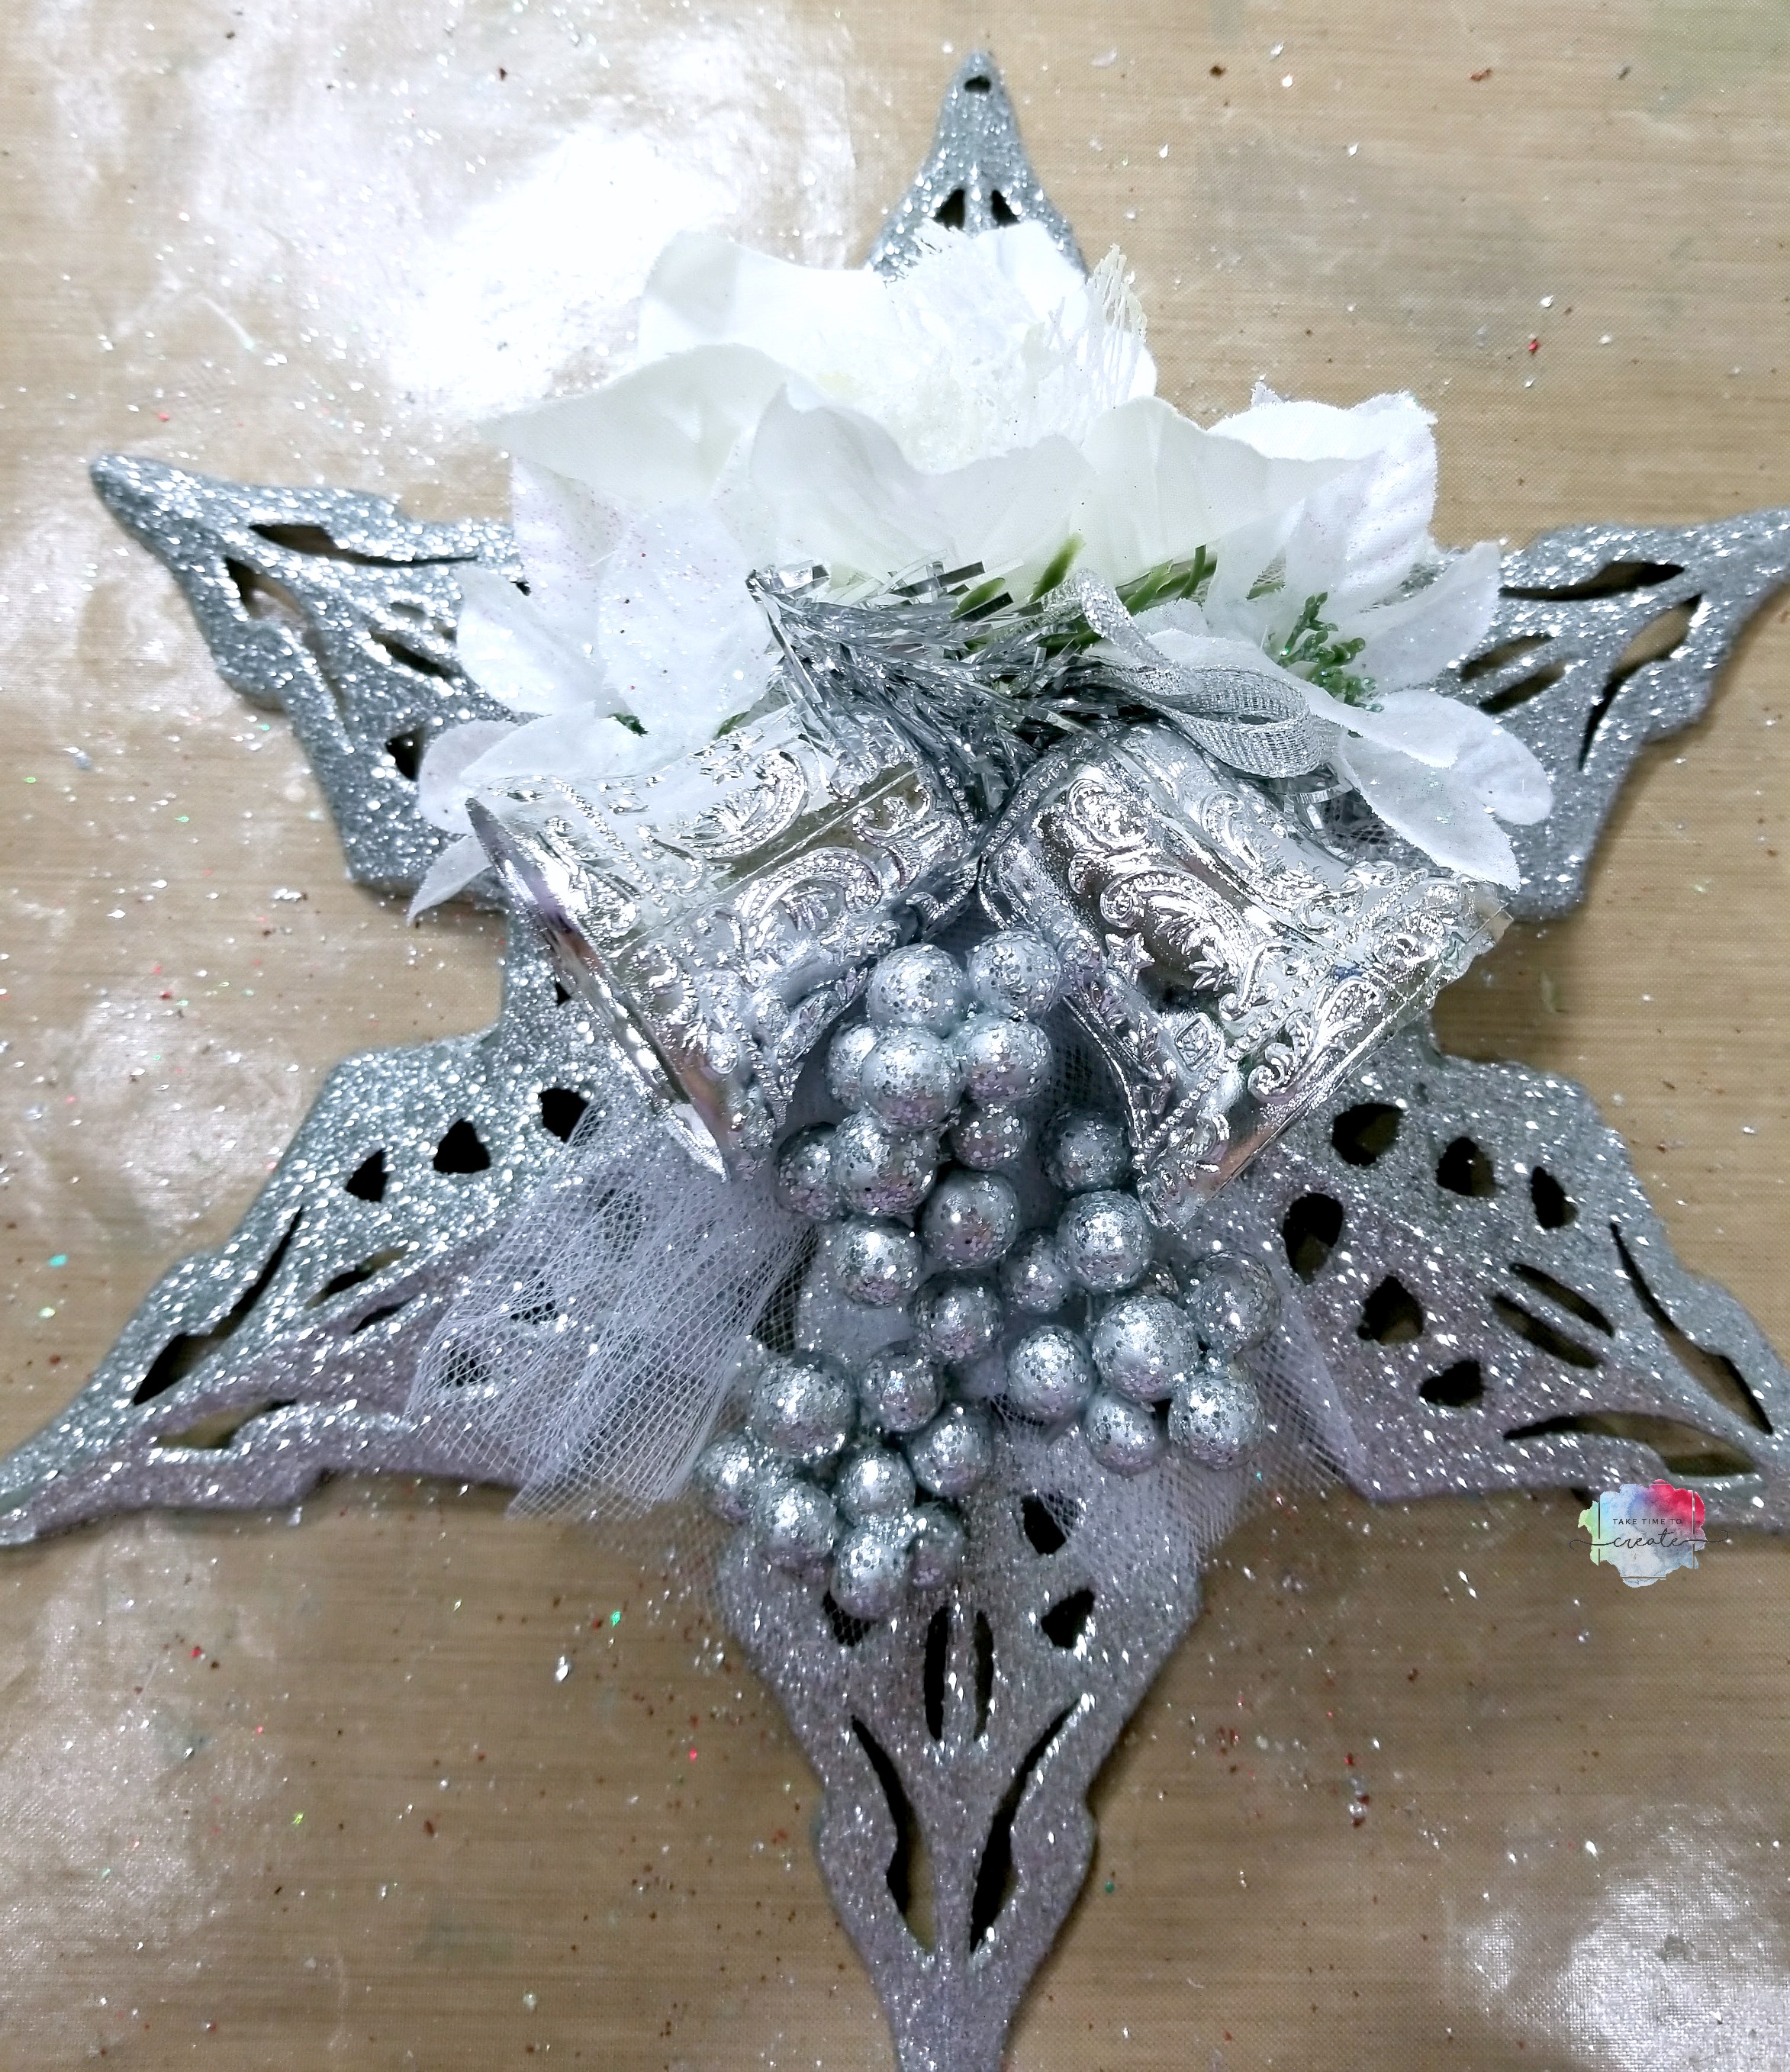
Start with your glittery snowflake and add some tulle as a base layer. Or you can add glitter mesh, or ribbon, or lace, anything really. You just want to make sure you have an anchor for your focal point. Glue the tulle on with hot glue.
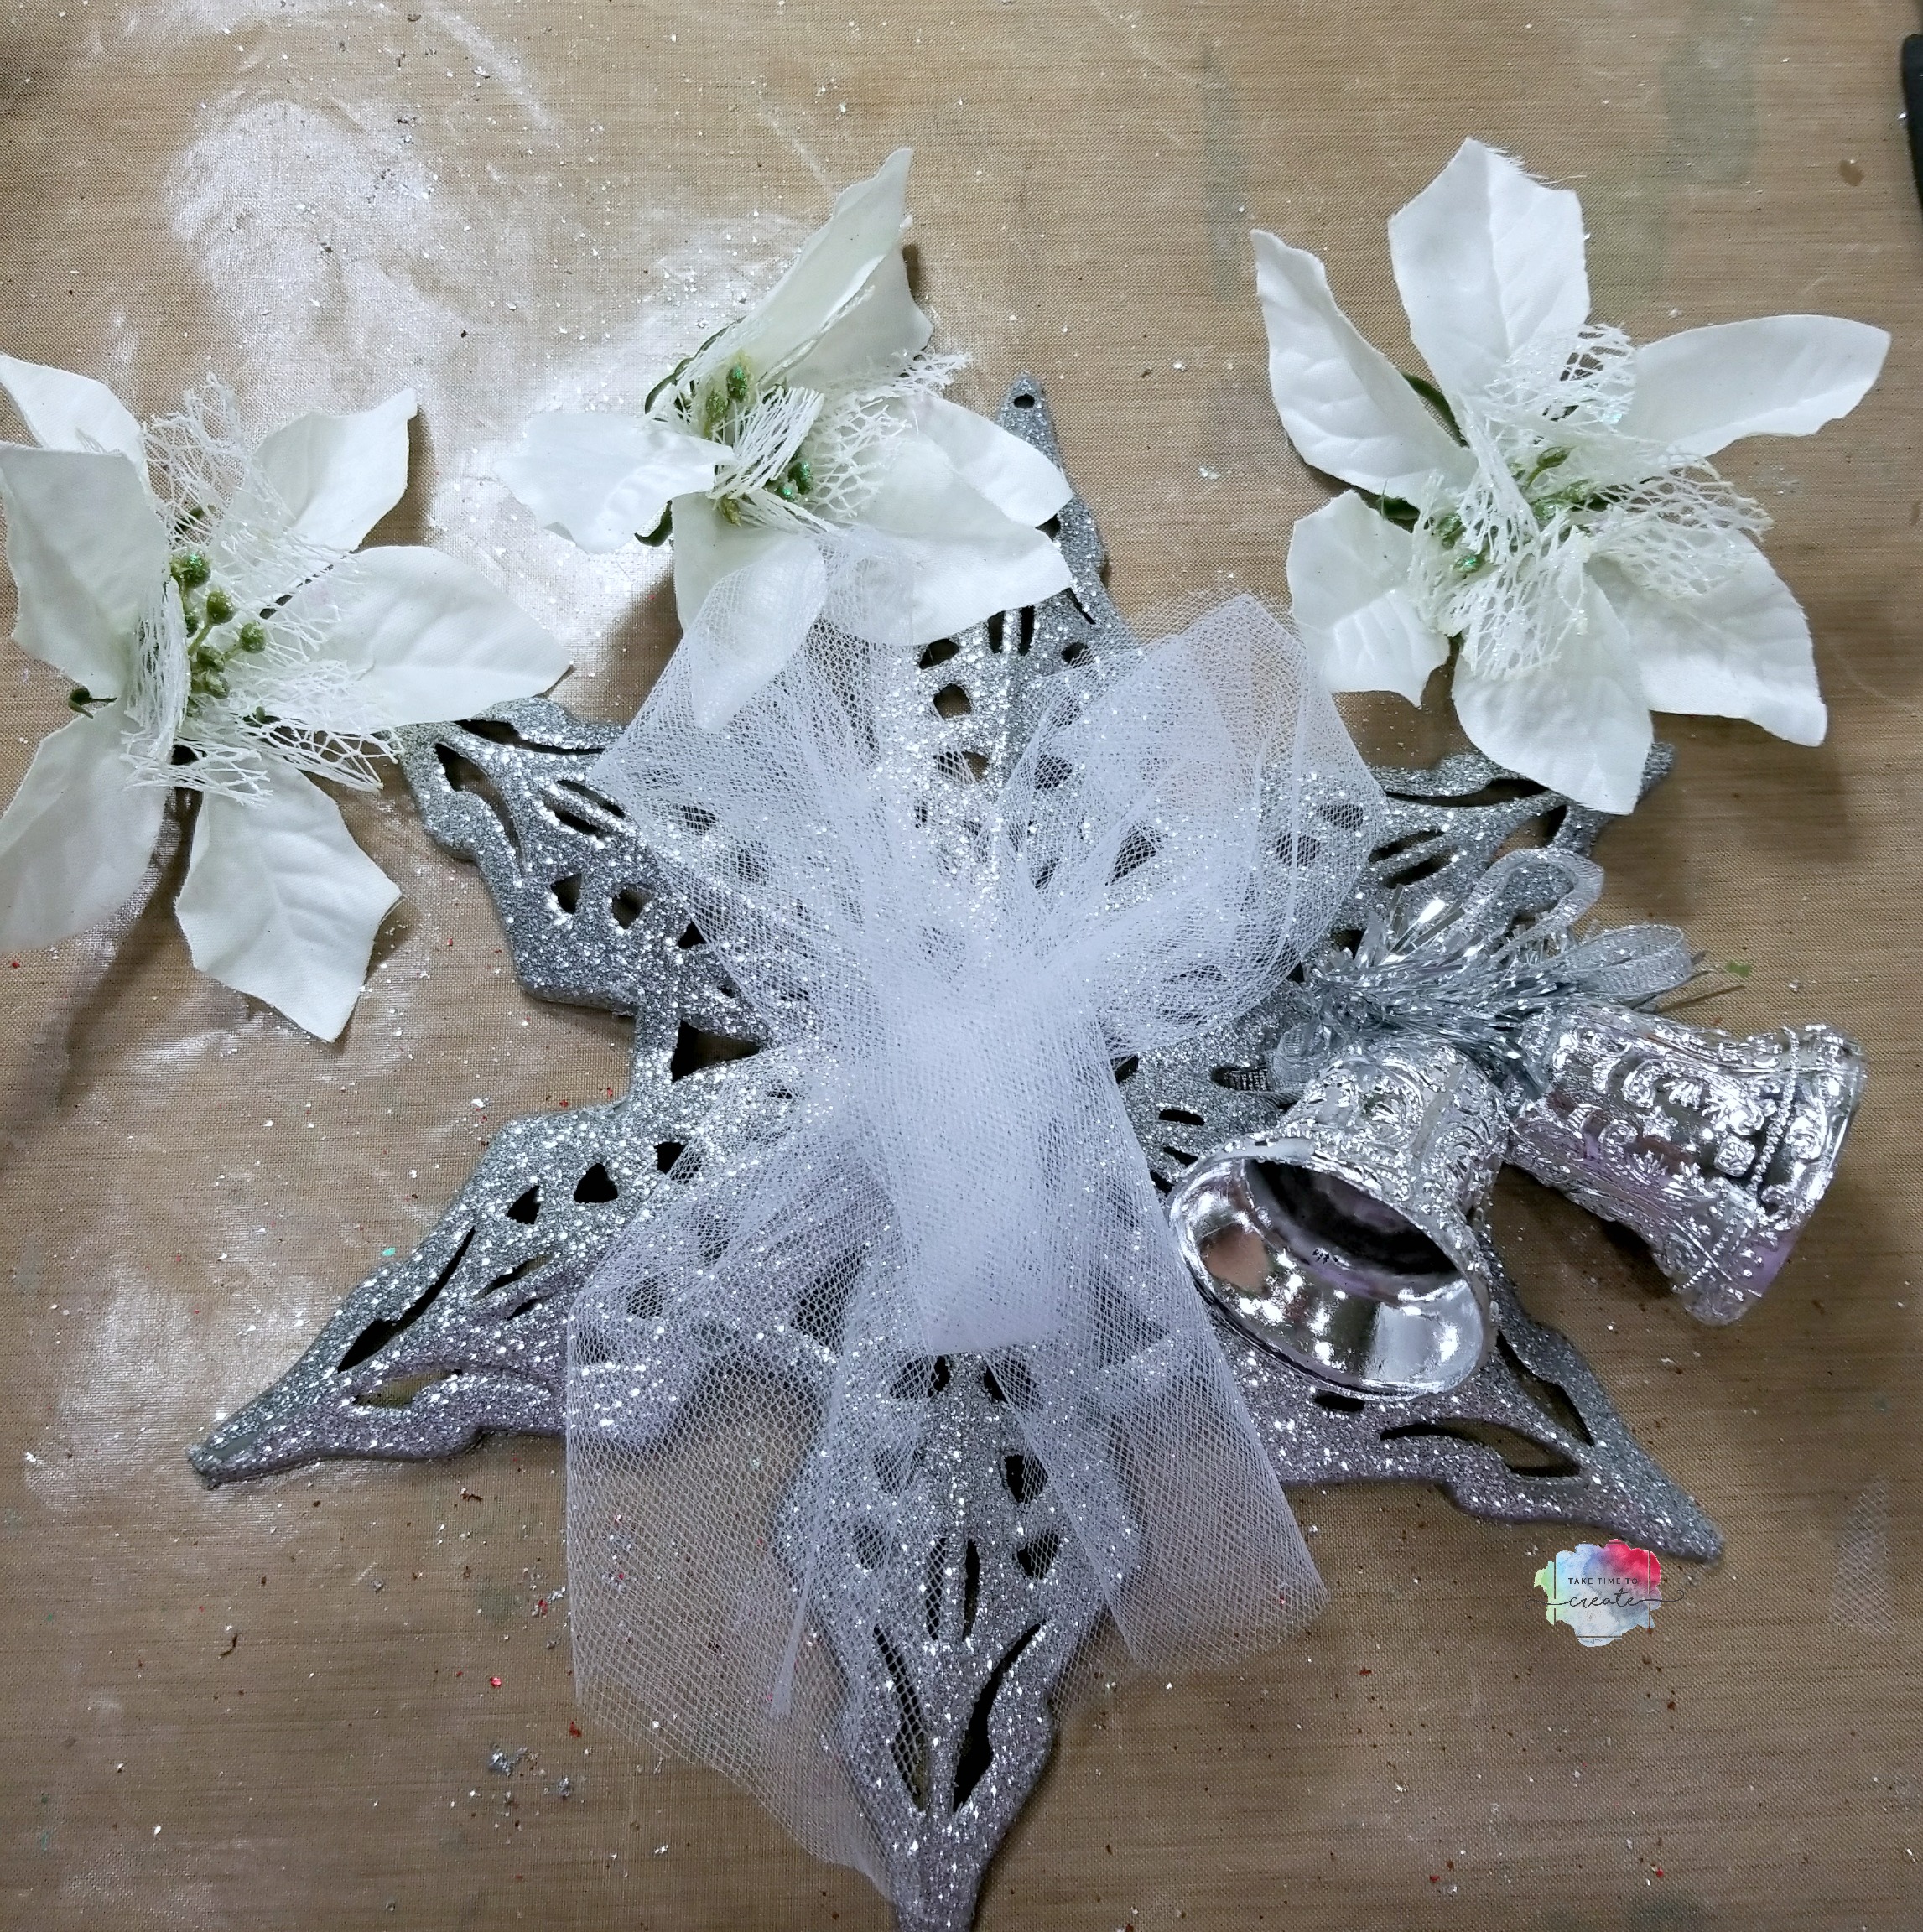
Then you want to glue on your focal point to the center of the snowflake
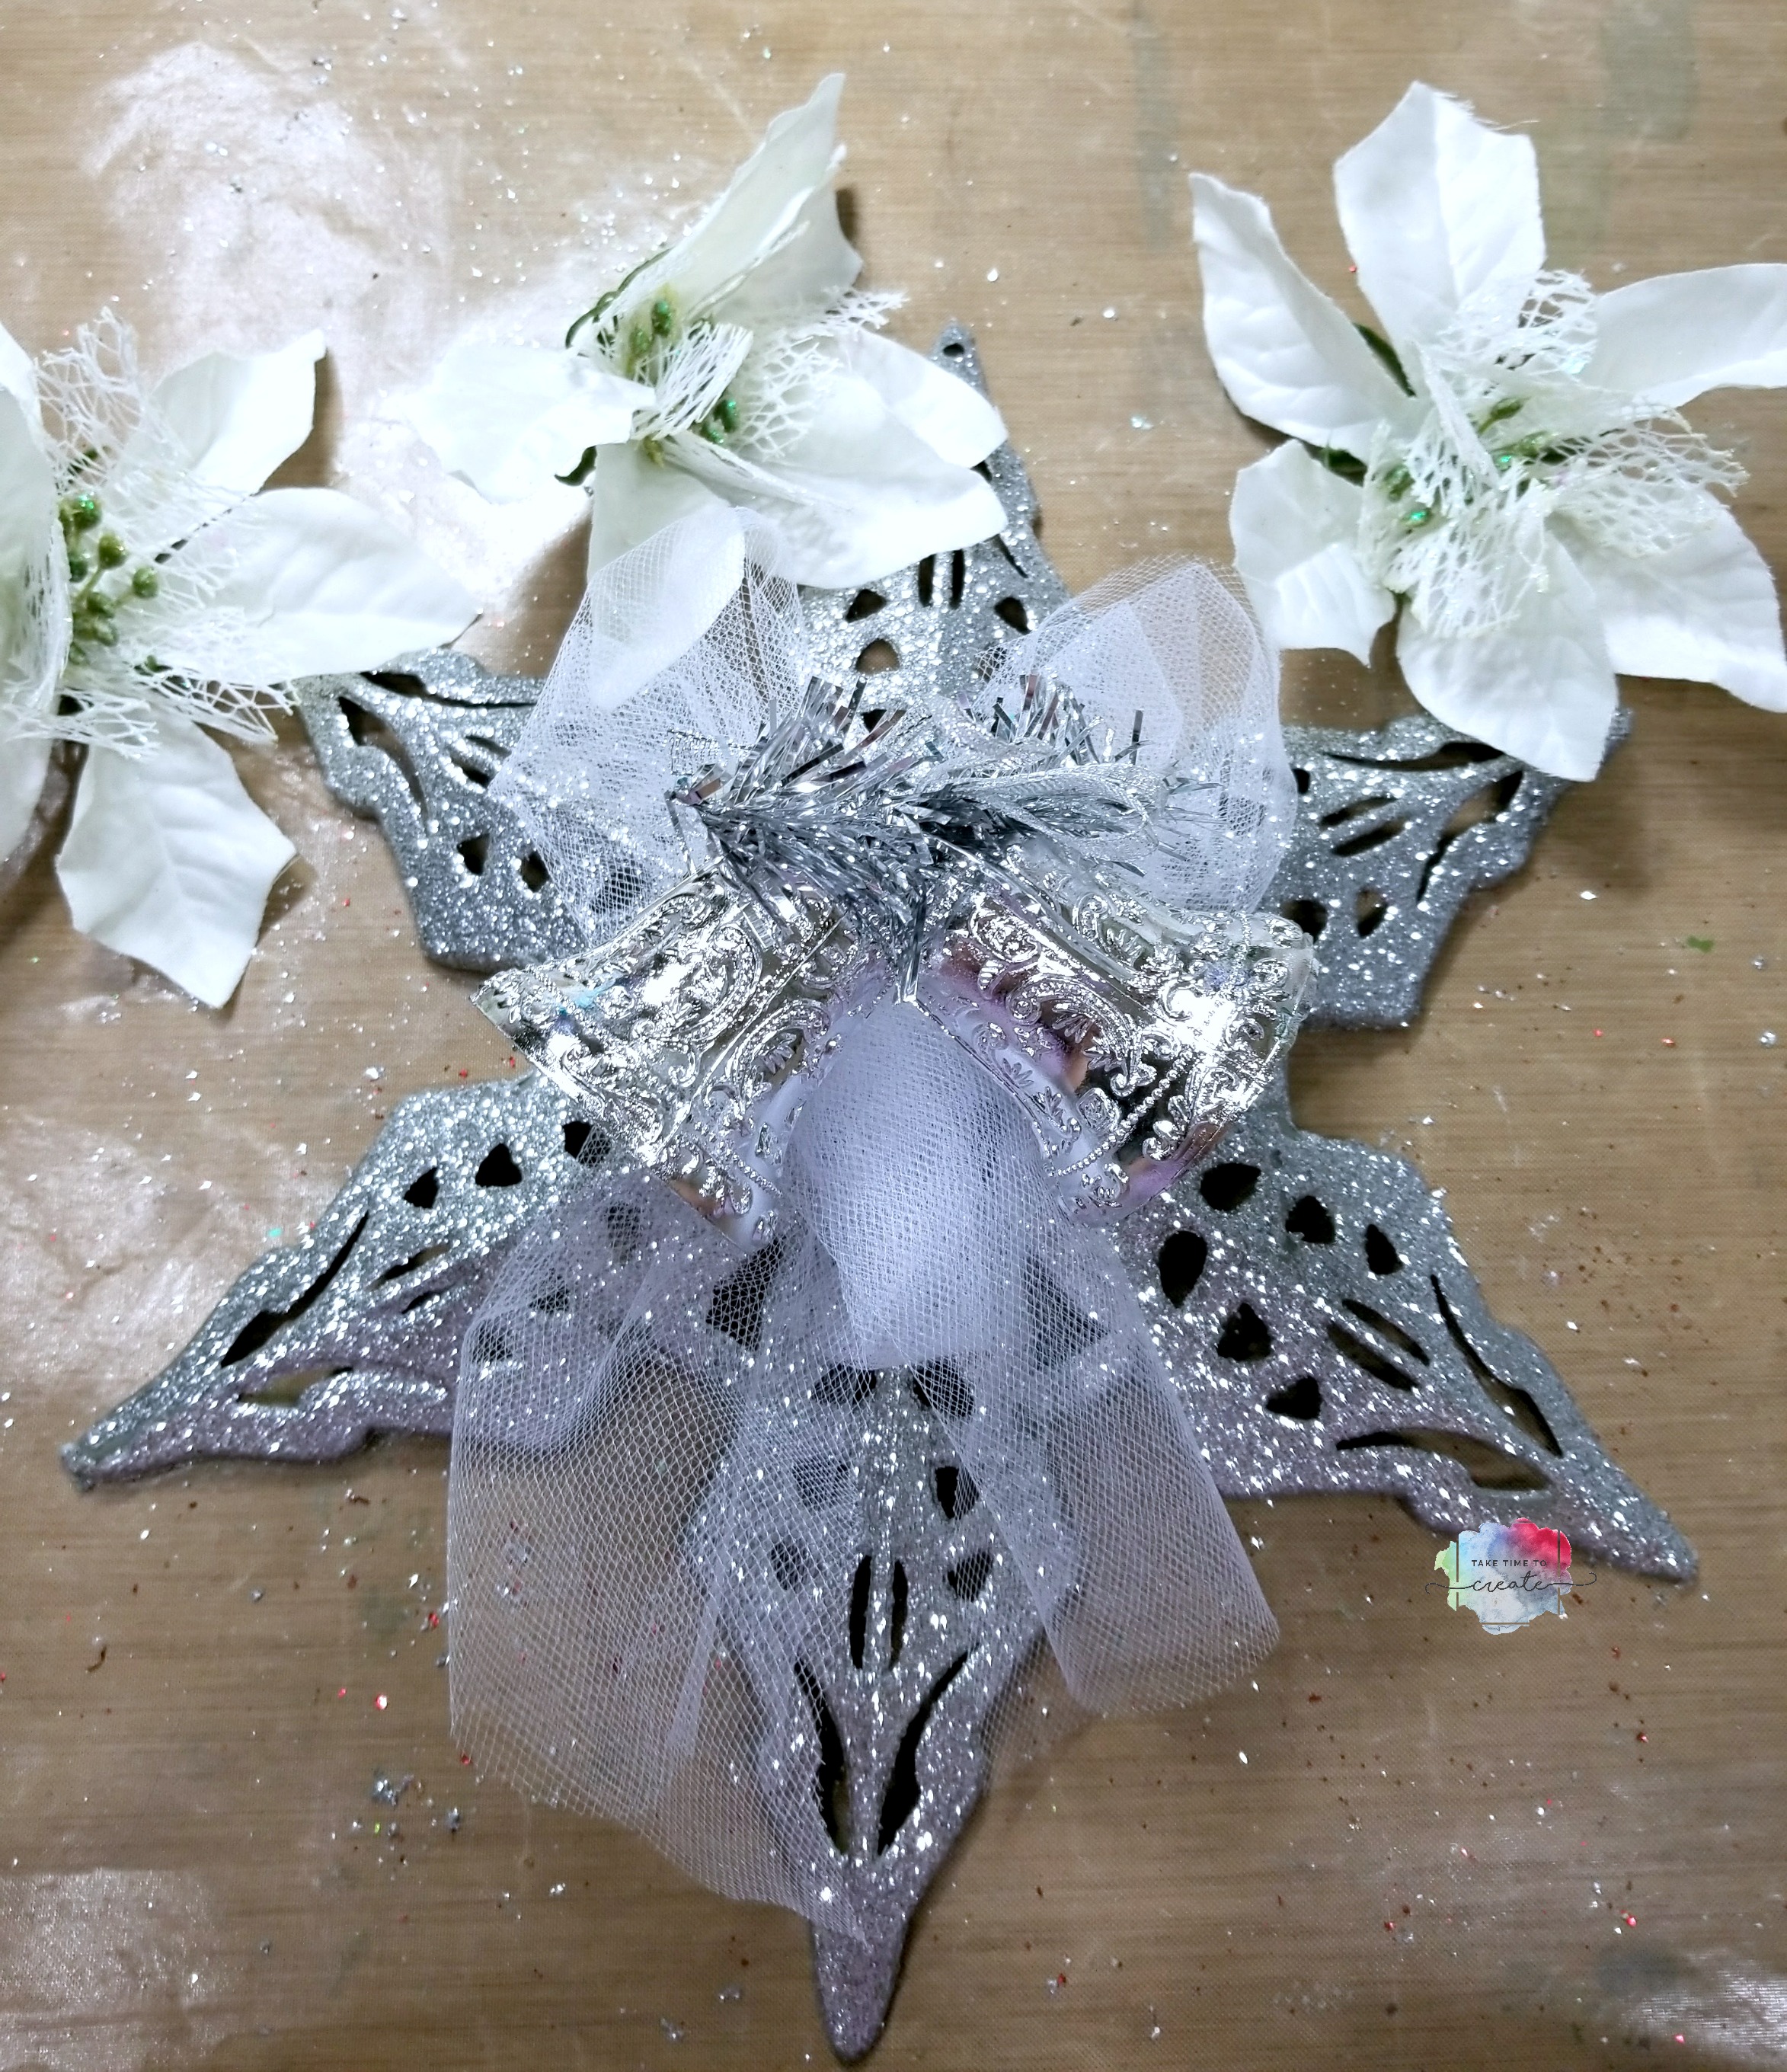
Then you glue on accents and decoration all around your focal point. Poinsettias, floral picks, beads, jingle bells, and small ornaments work great for this step. Anything will work, you just want to fill up the empty spaces and make it full and festive.
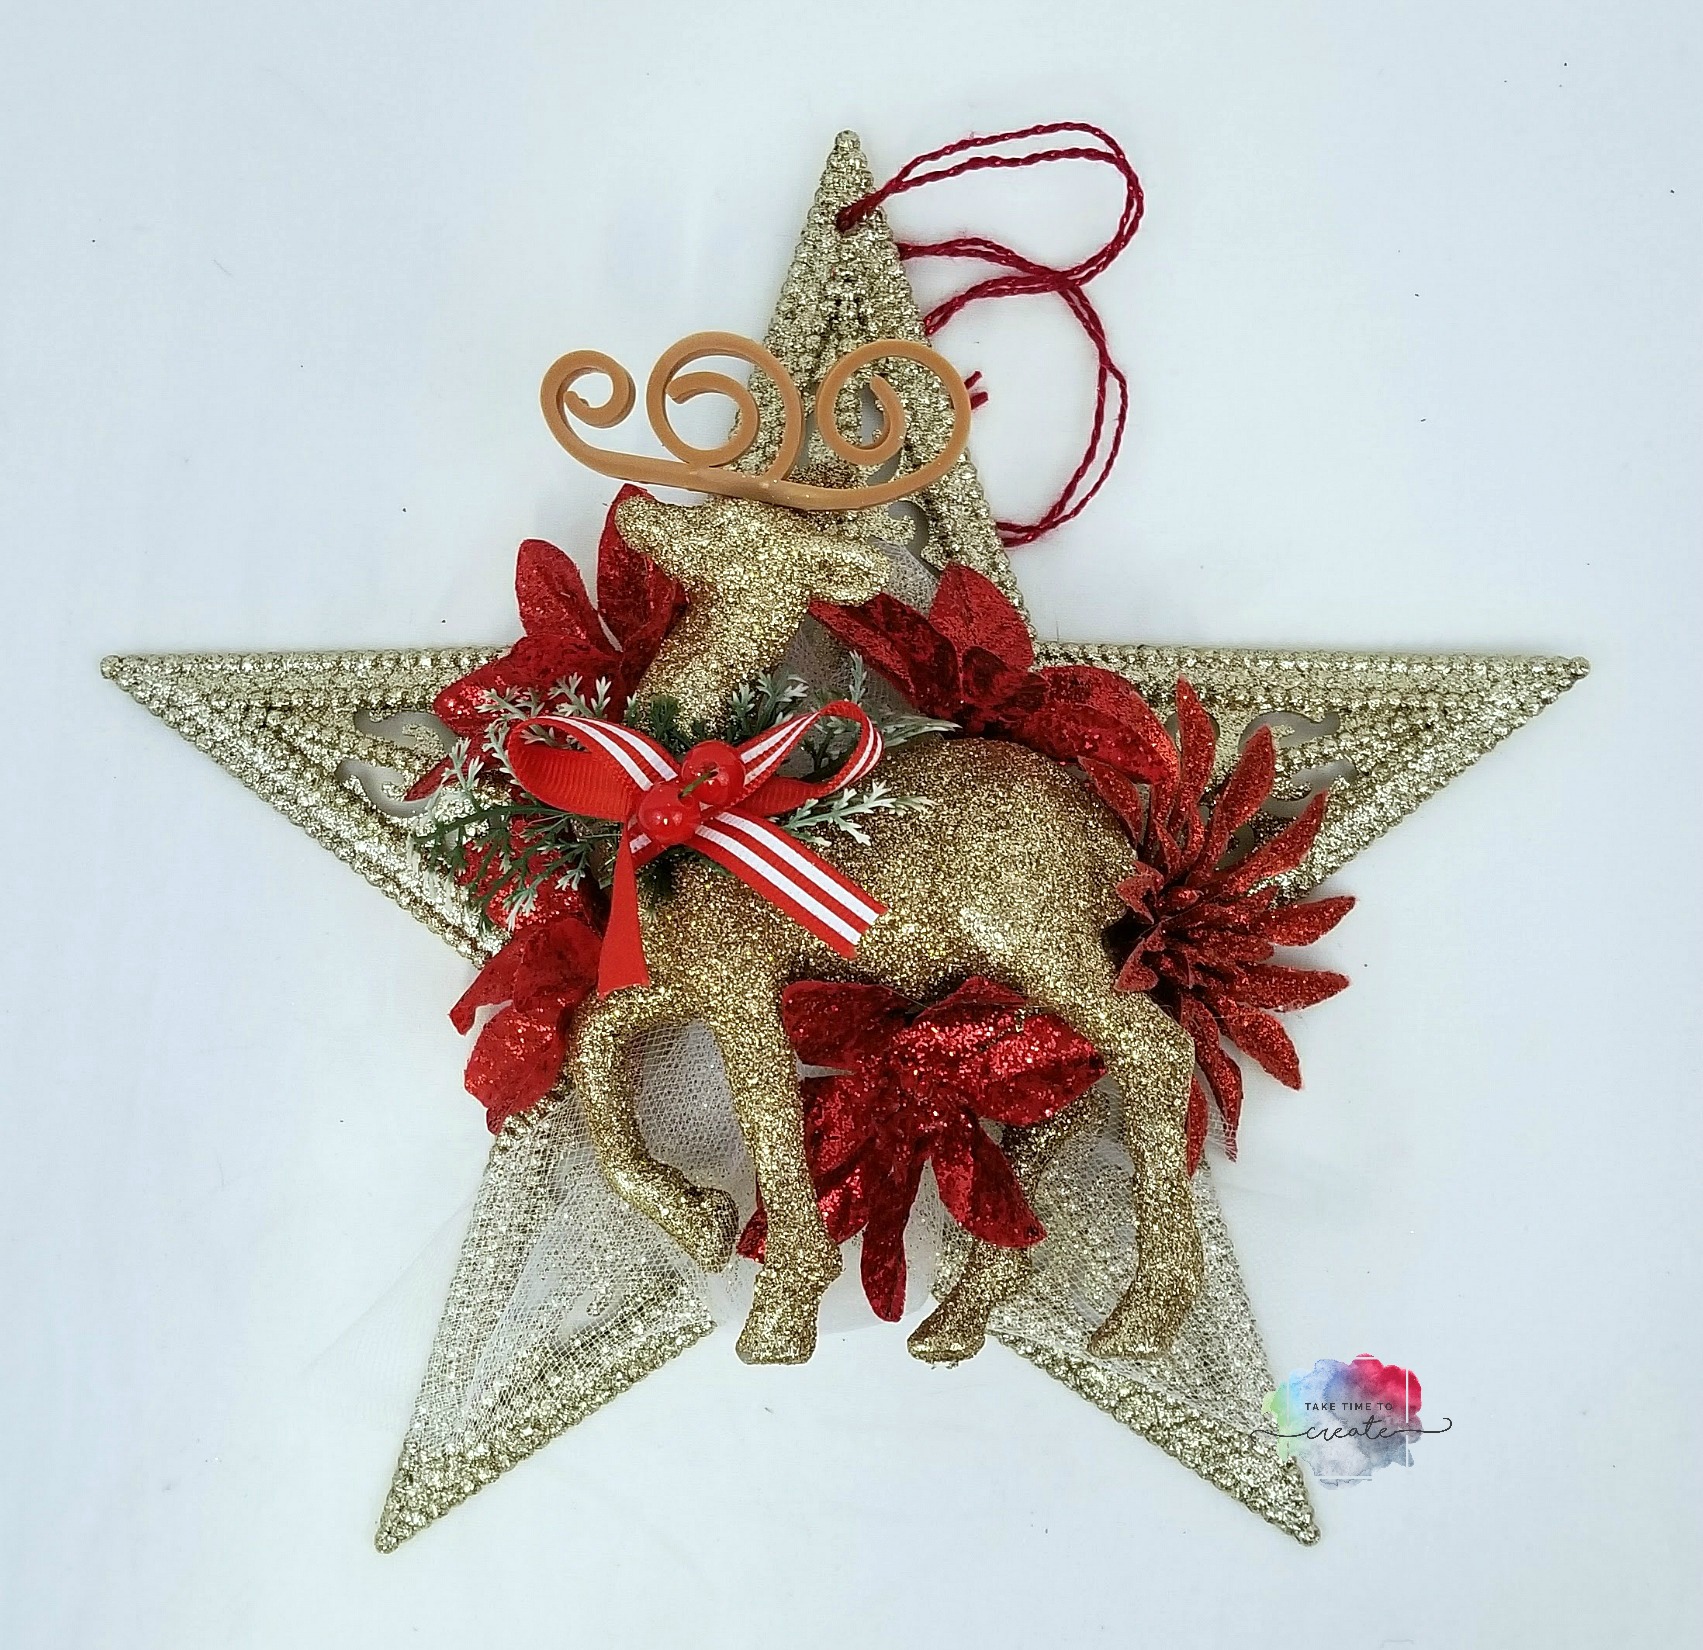
There you go, nice and easy and they looks so festive and glittery. A grouping of the snowflakes would look really great on a wall, or it could be the perfect gift!
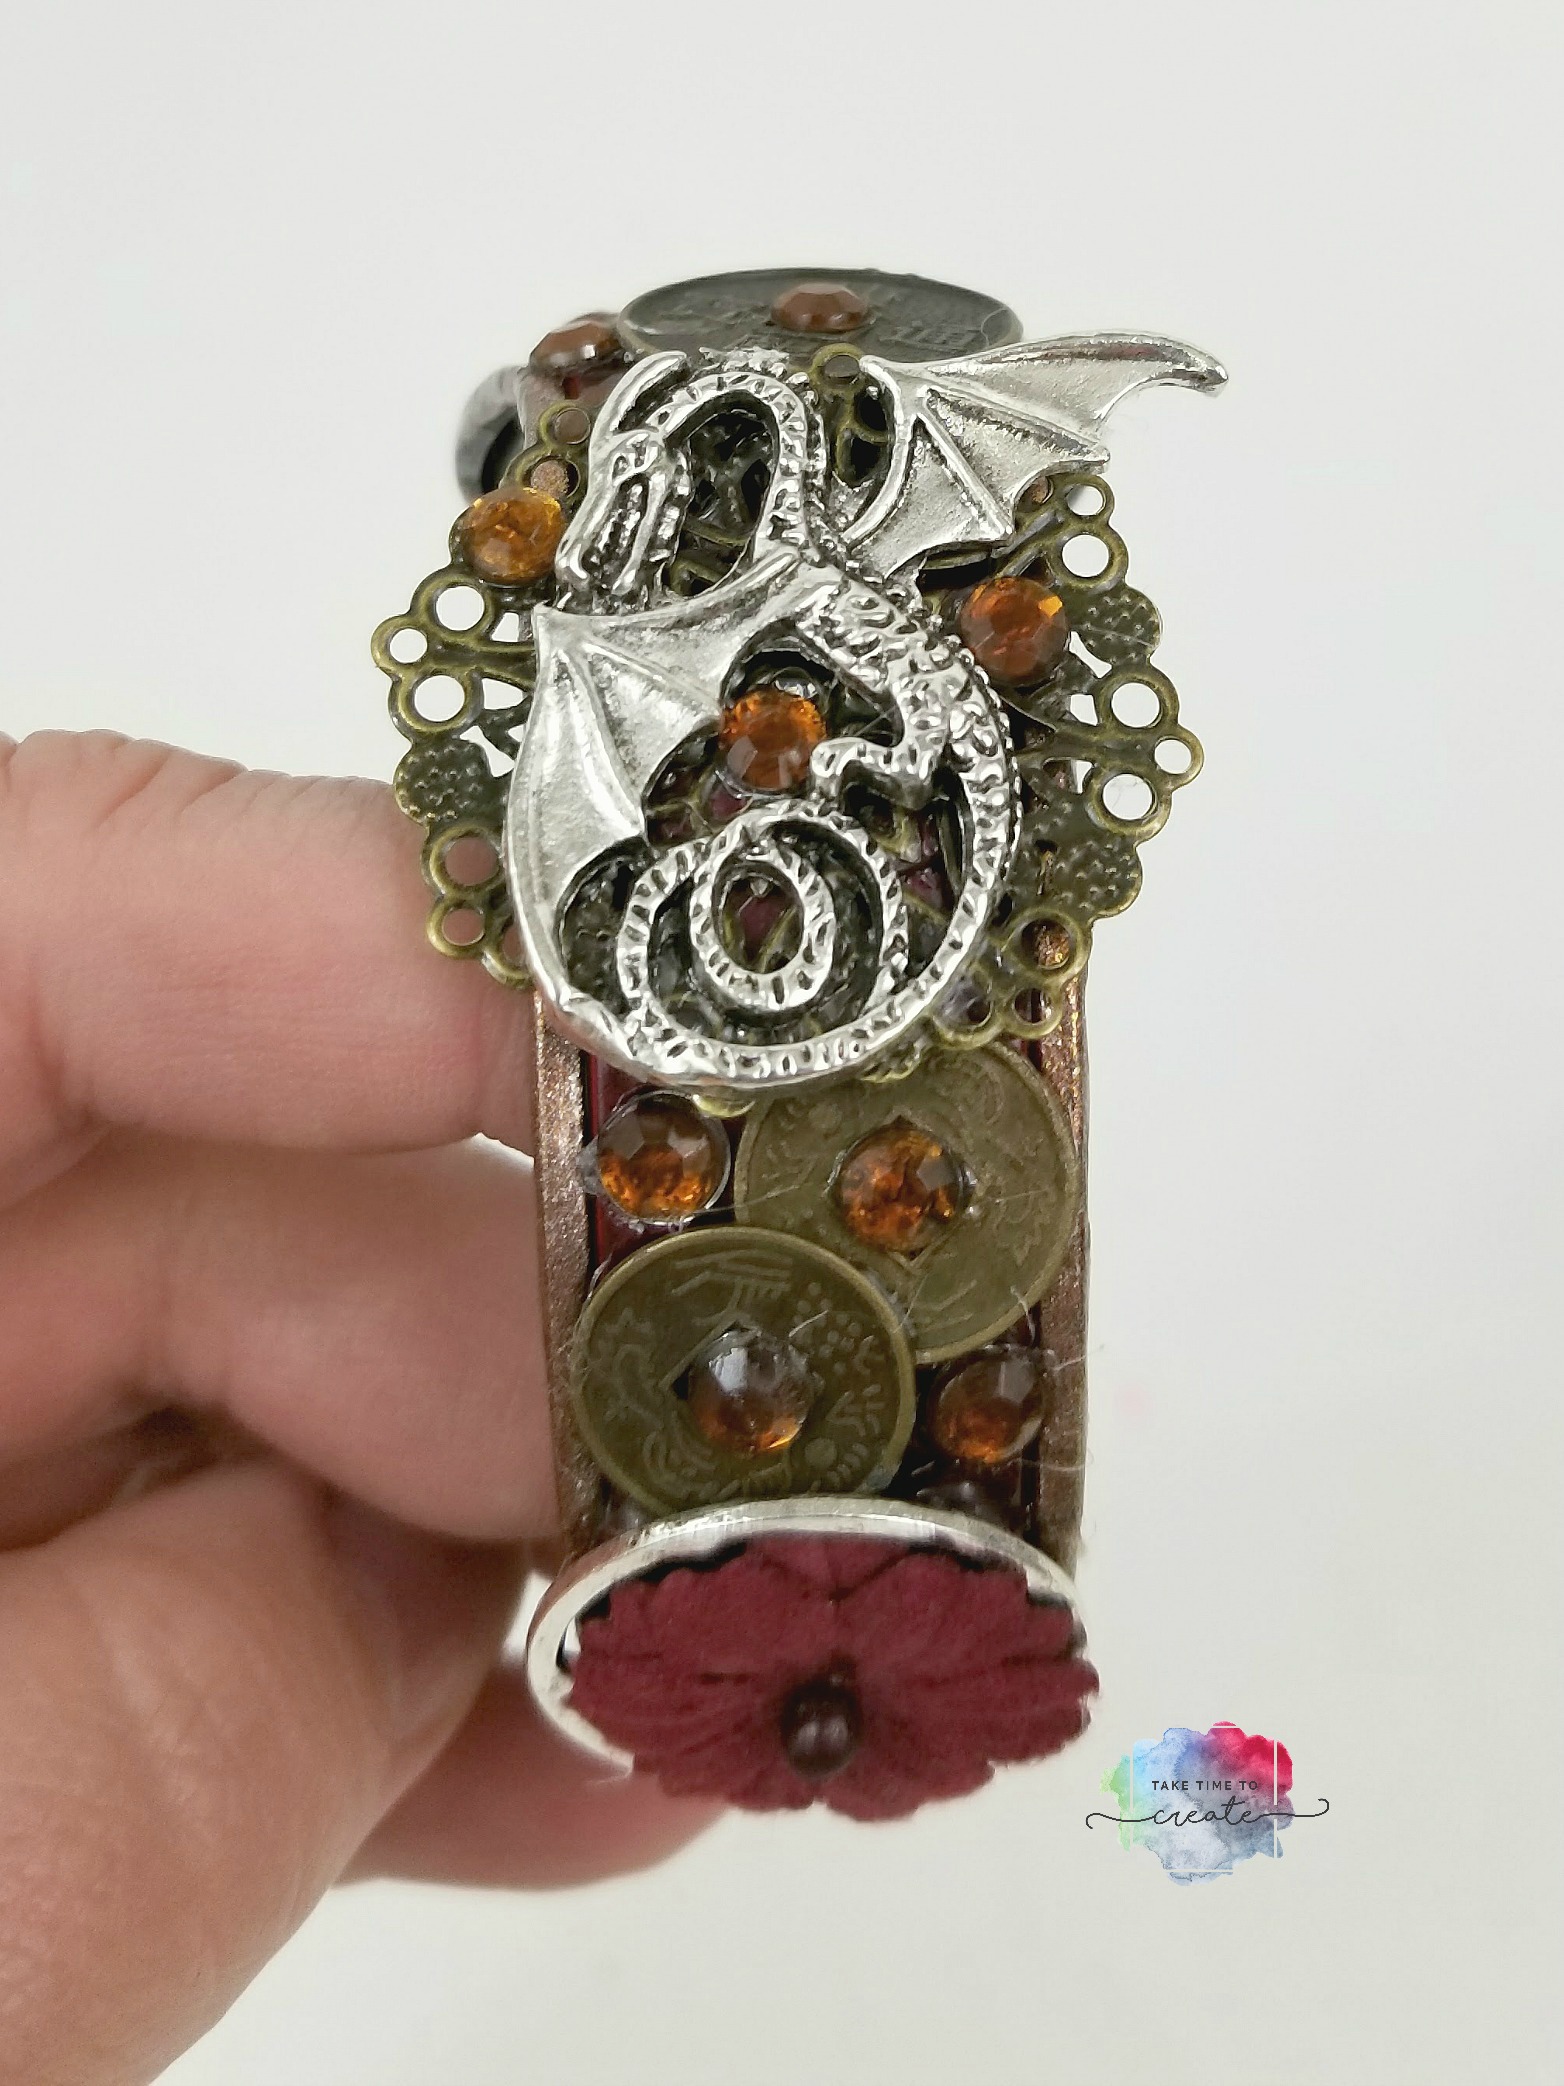
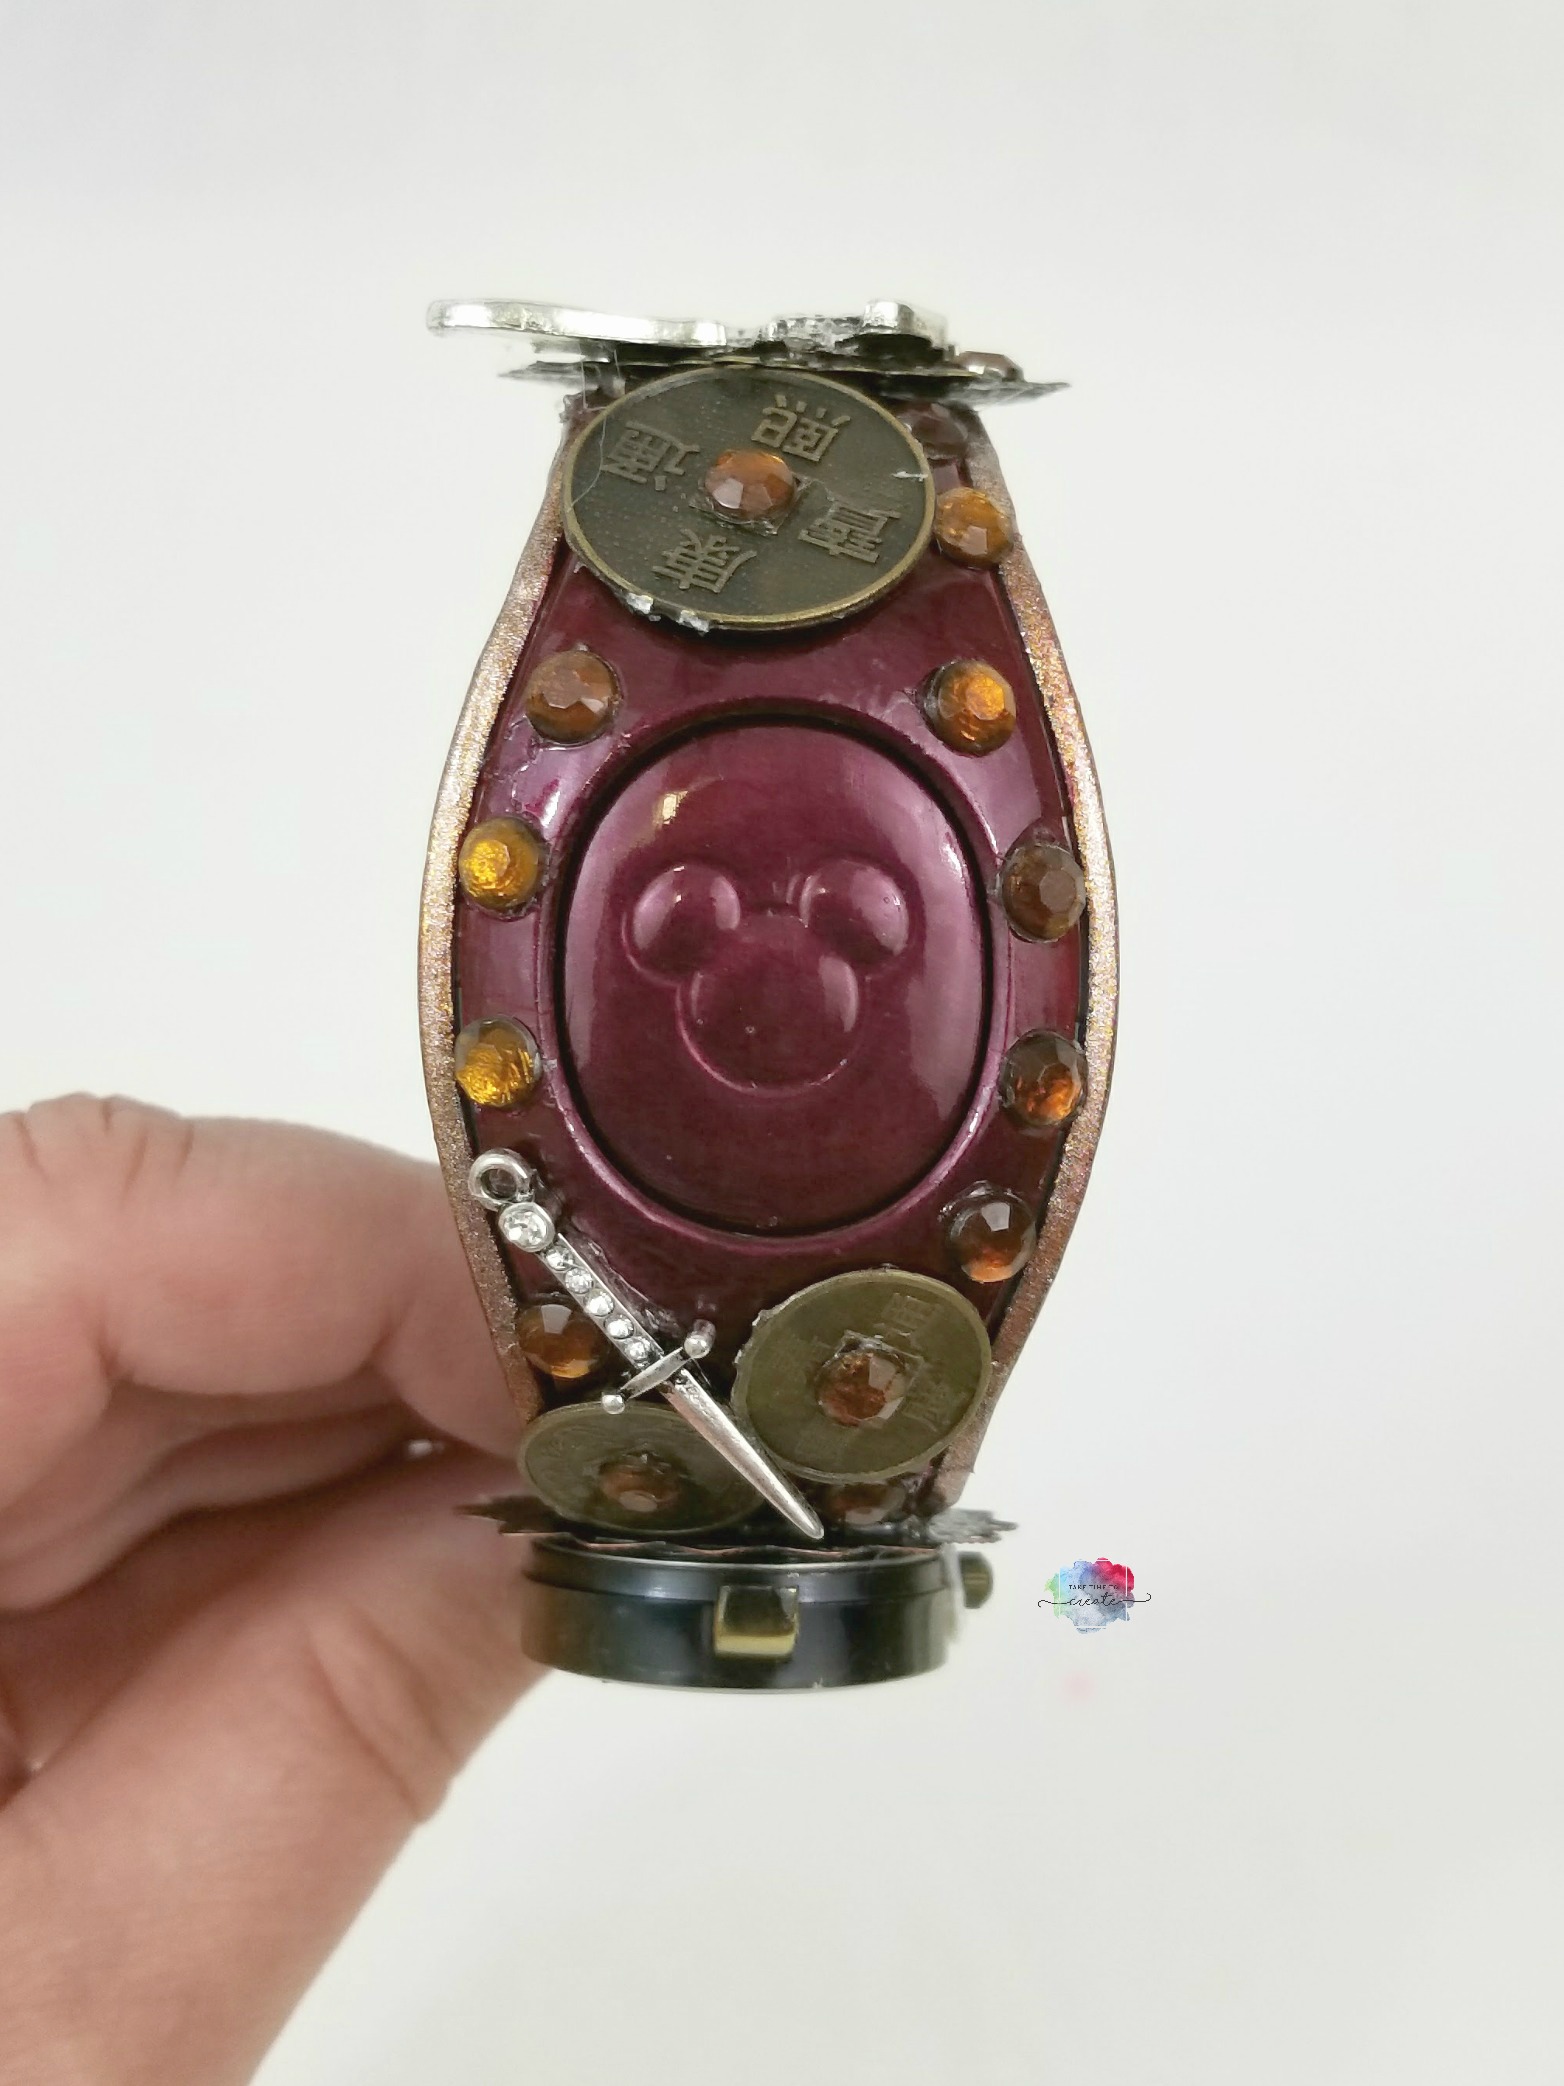
I thought it would be fun to show you some other variations I created. I just love making these, I can’t seem to stop, lol
What Christmas decorations do you make?
The post DIY Dollar Tree Snowflake Christmas Decoration appeared first on Take Time To Create.


