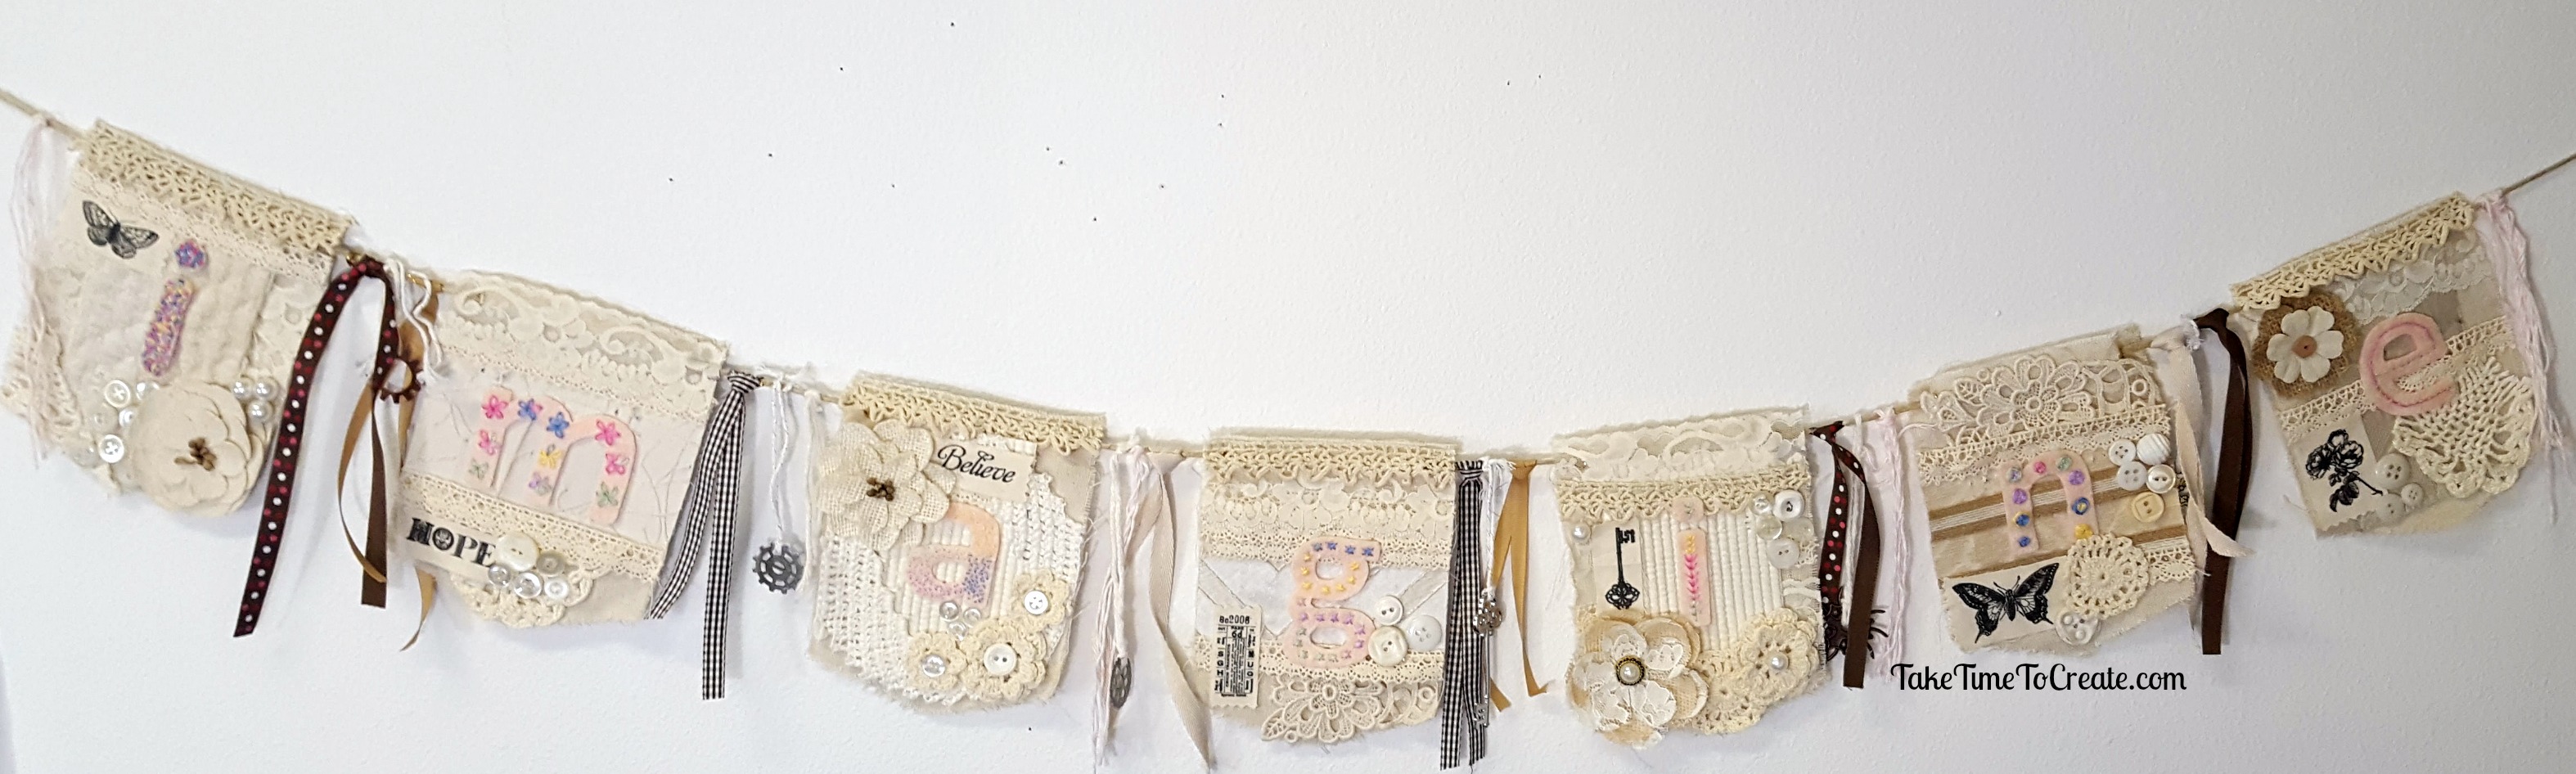
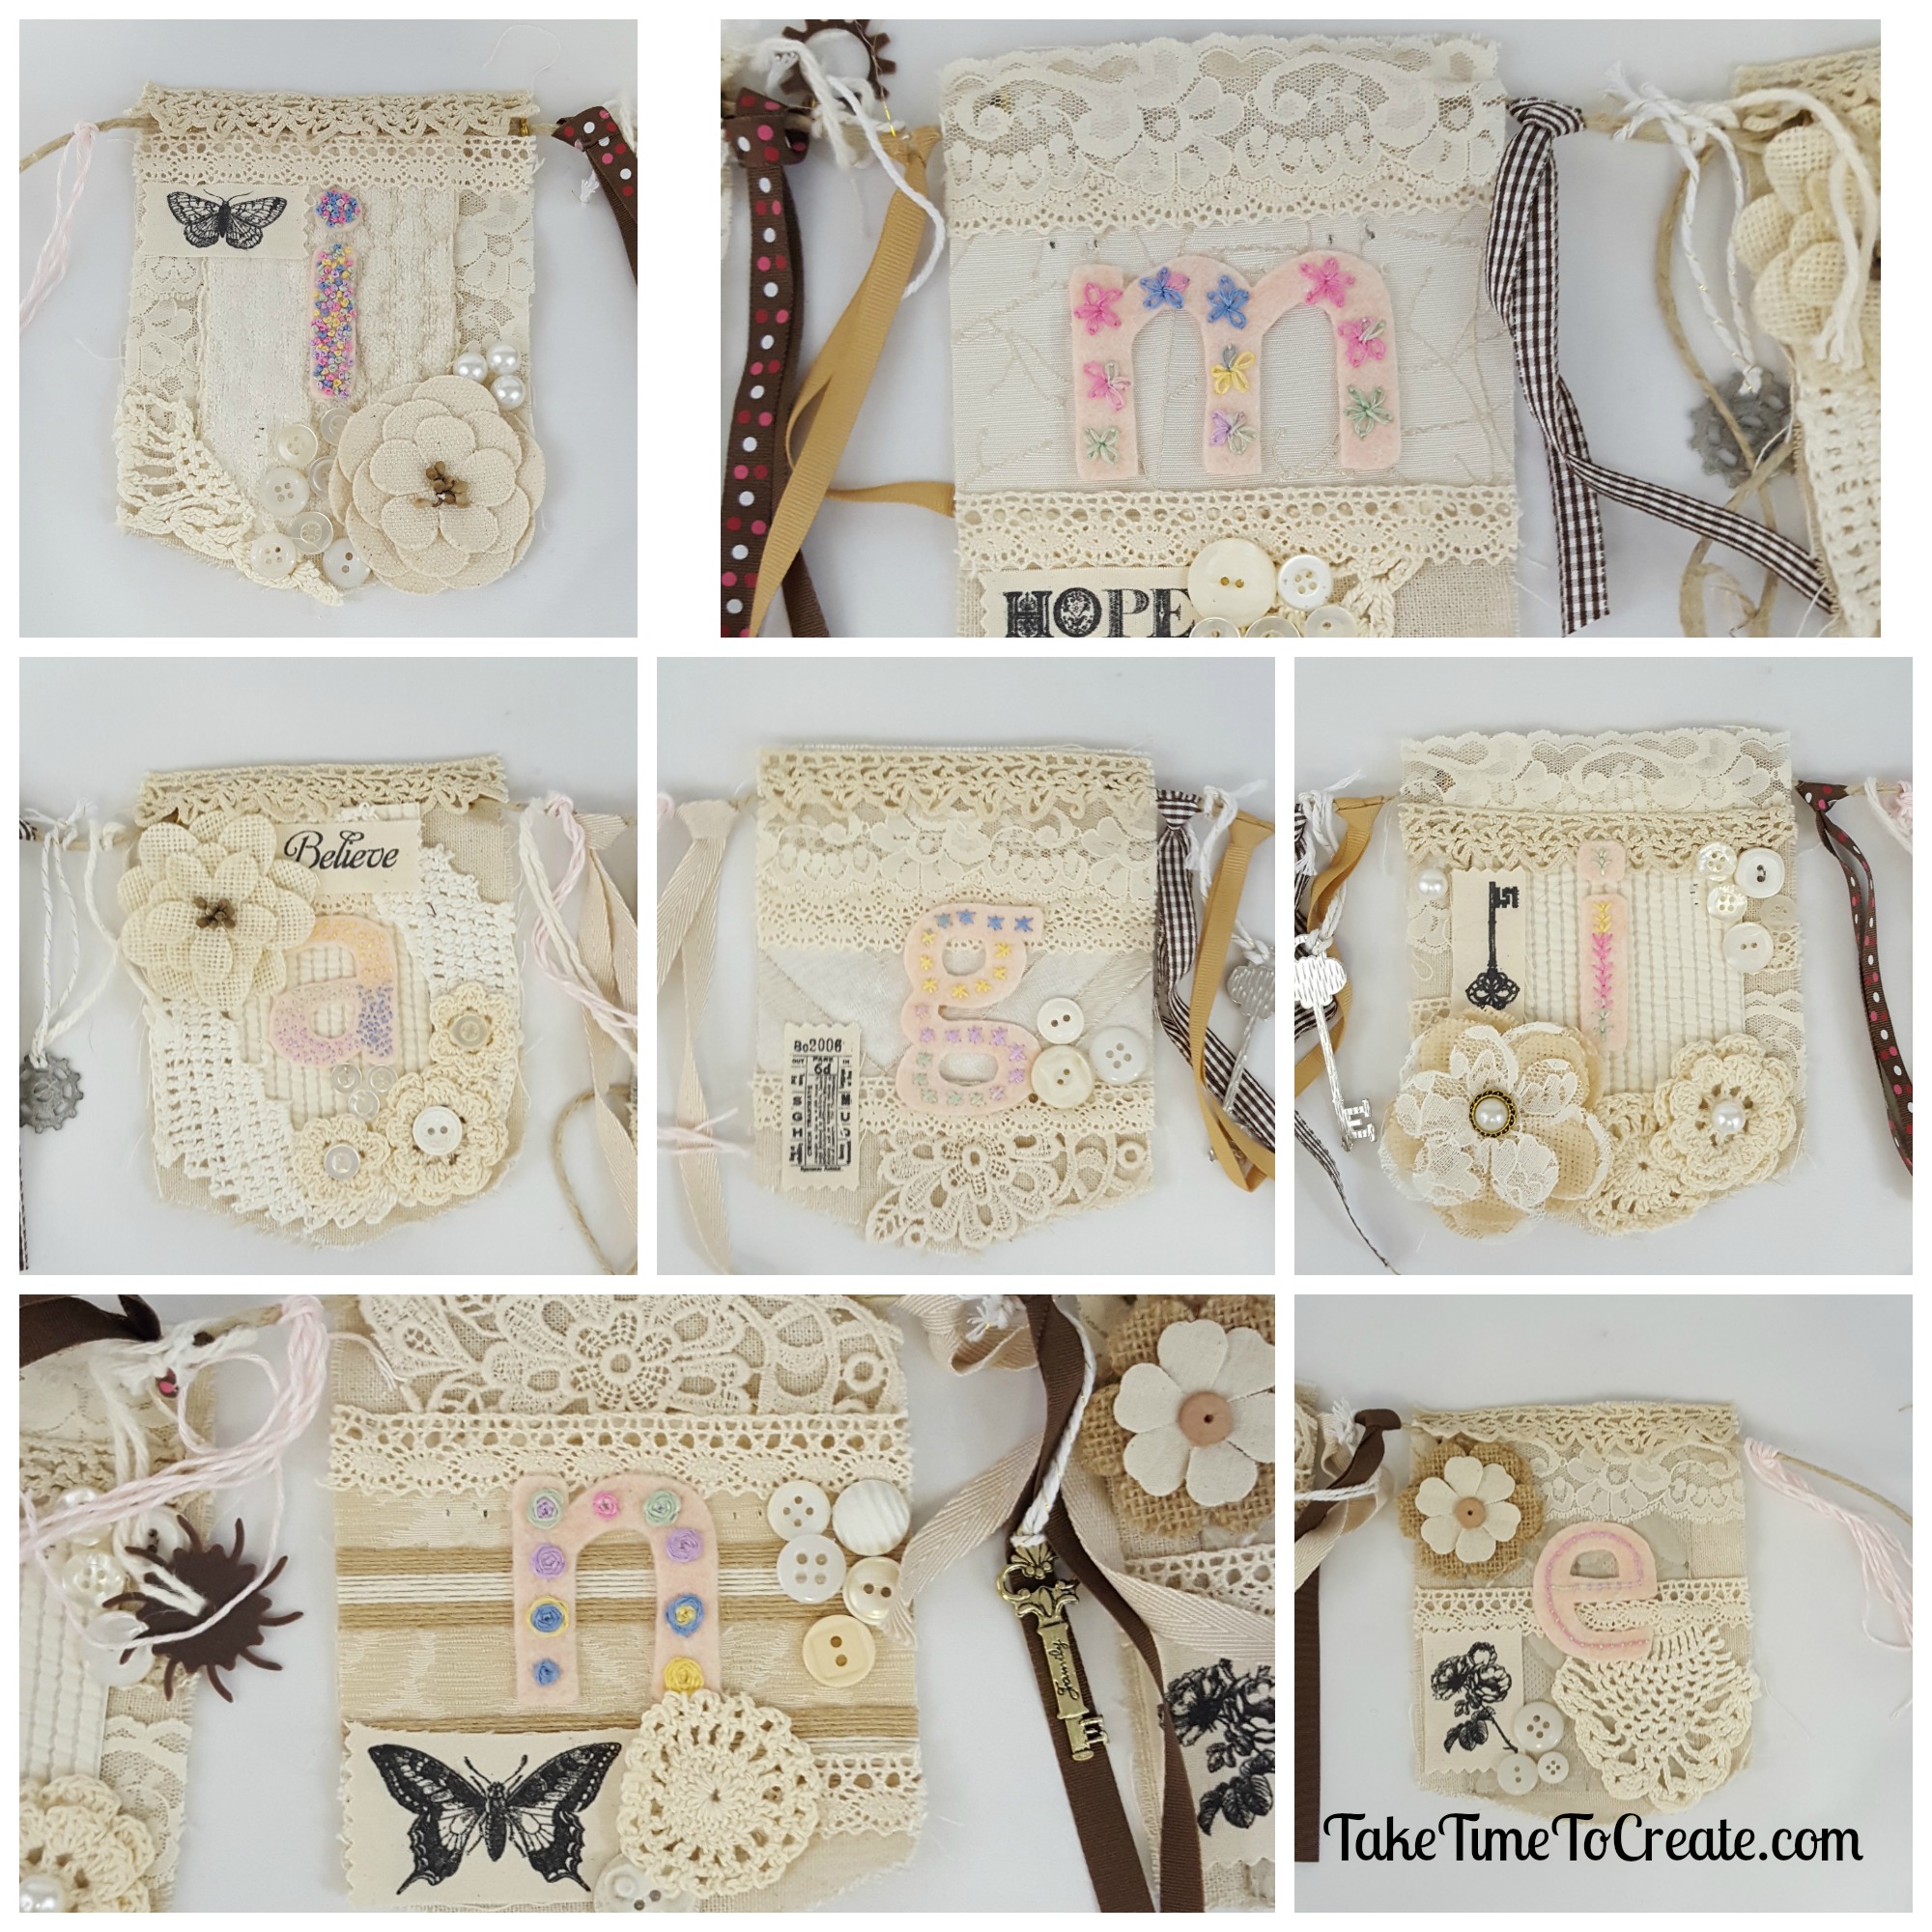
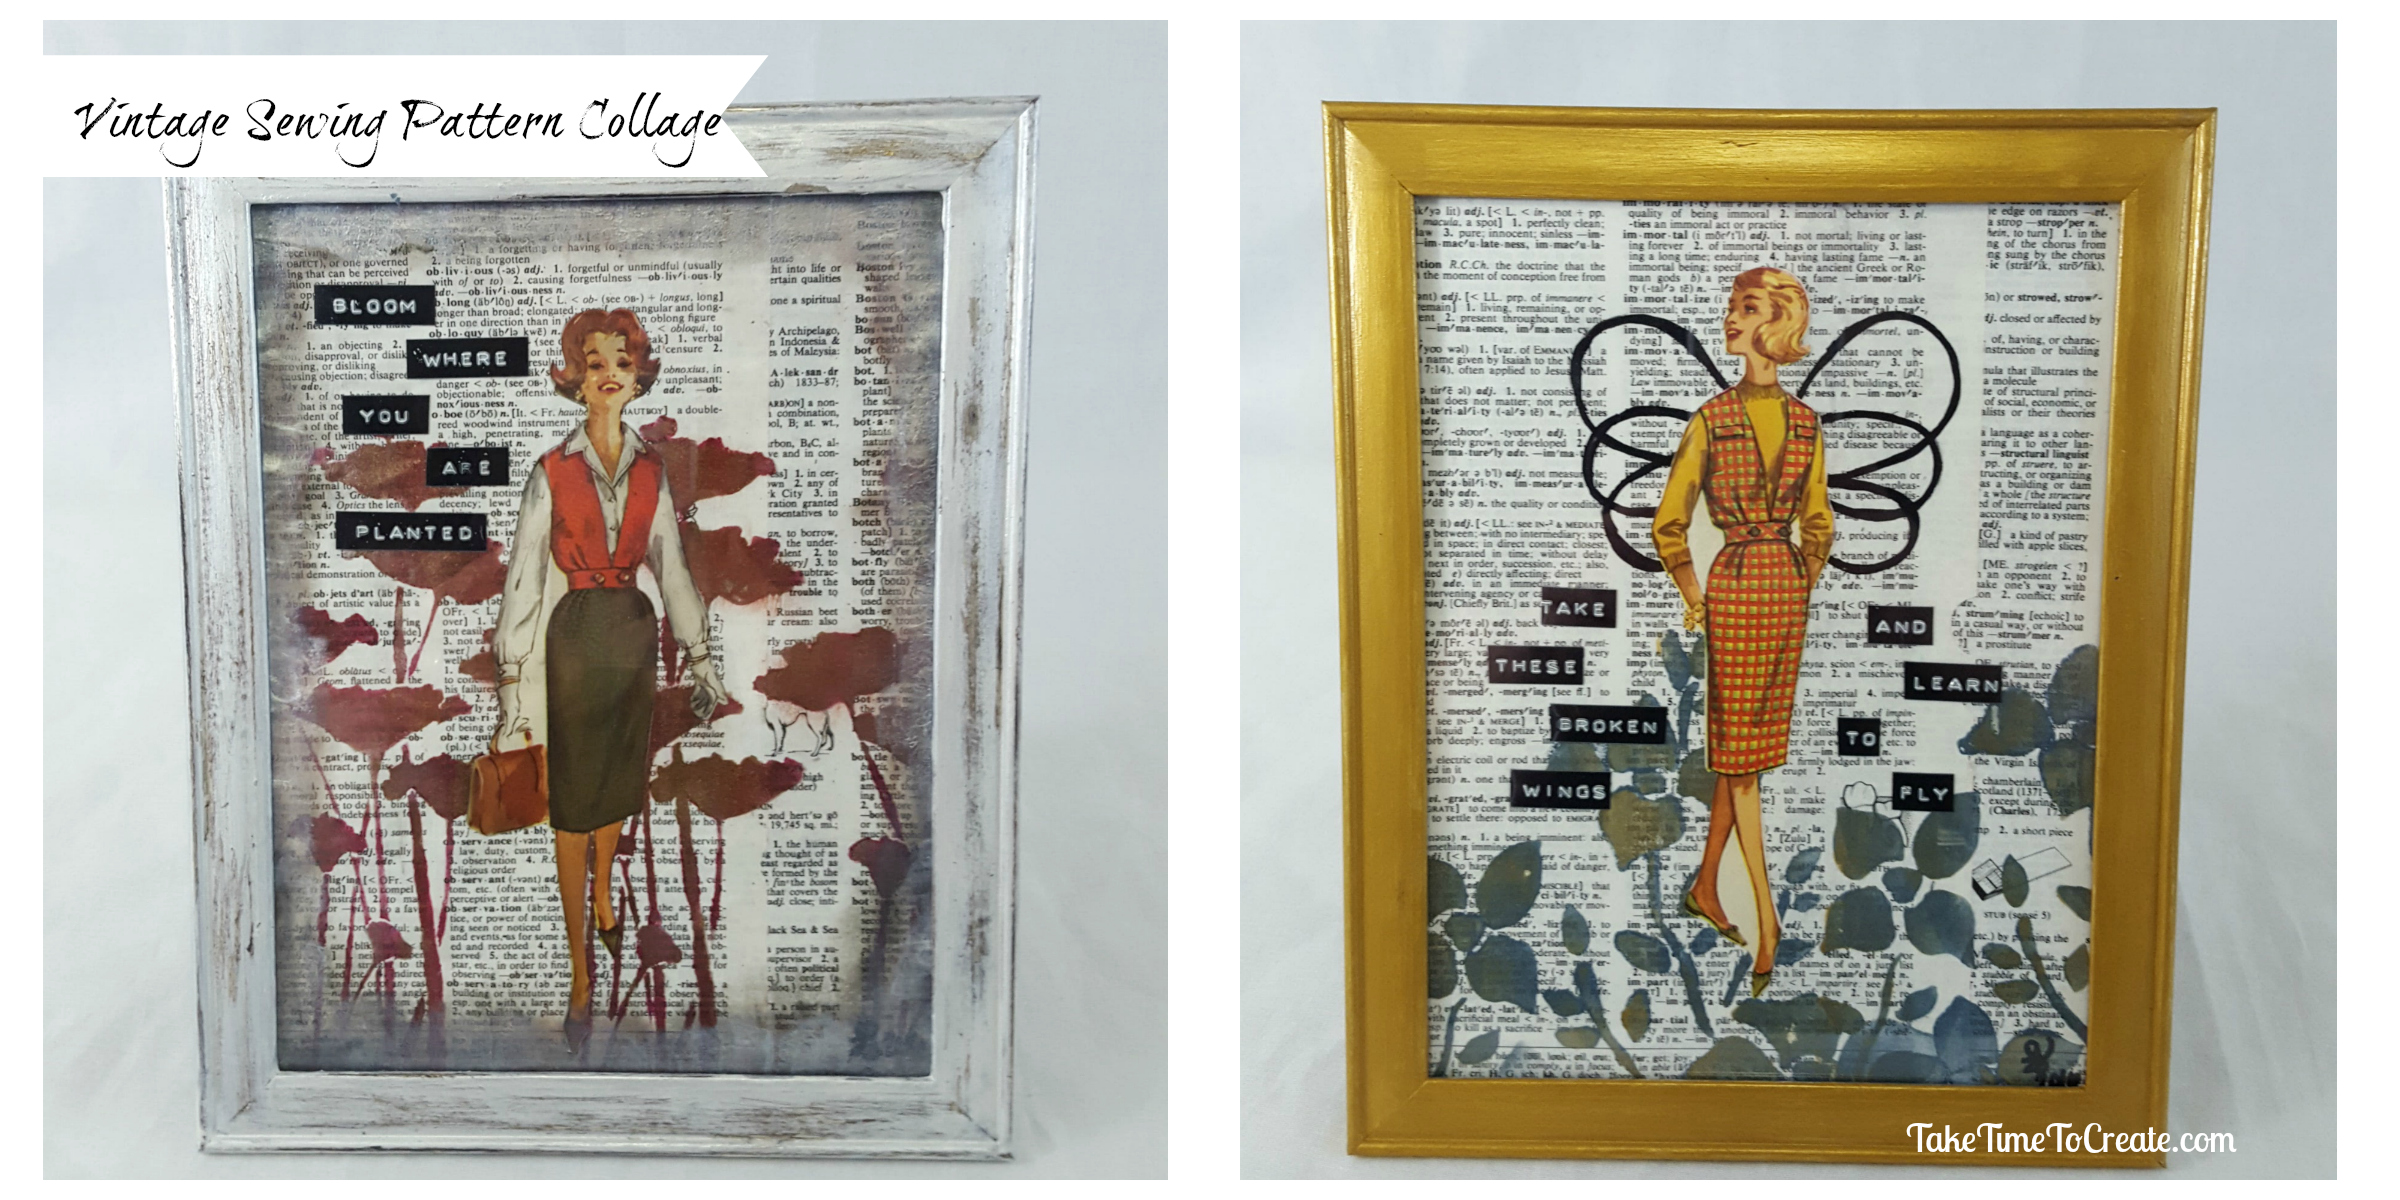
Vintage Sewing Pattern Collage
Hello Everyone!
A vintage sewing pattern collage is a wonderful way to display an old sewing pattern. The patterns are fun to look at and alter for any of you crafts.
I just love looking at old patterns. The pictures are great, with wonderful colors! Recently I found some terrific patterns at my local creative reuse center, Who Gives A Scrap, and I ended up getting about 10 or so, lol.

The pattern covers are perfect for a collage and the tissue paper on the inside work great for textures in mixed media. (I will show you how to do that later)
Materials:
- Frame ( I found mine at the dollar store)
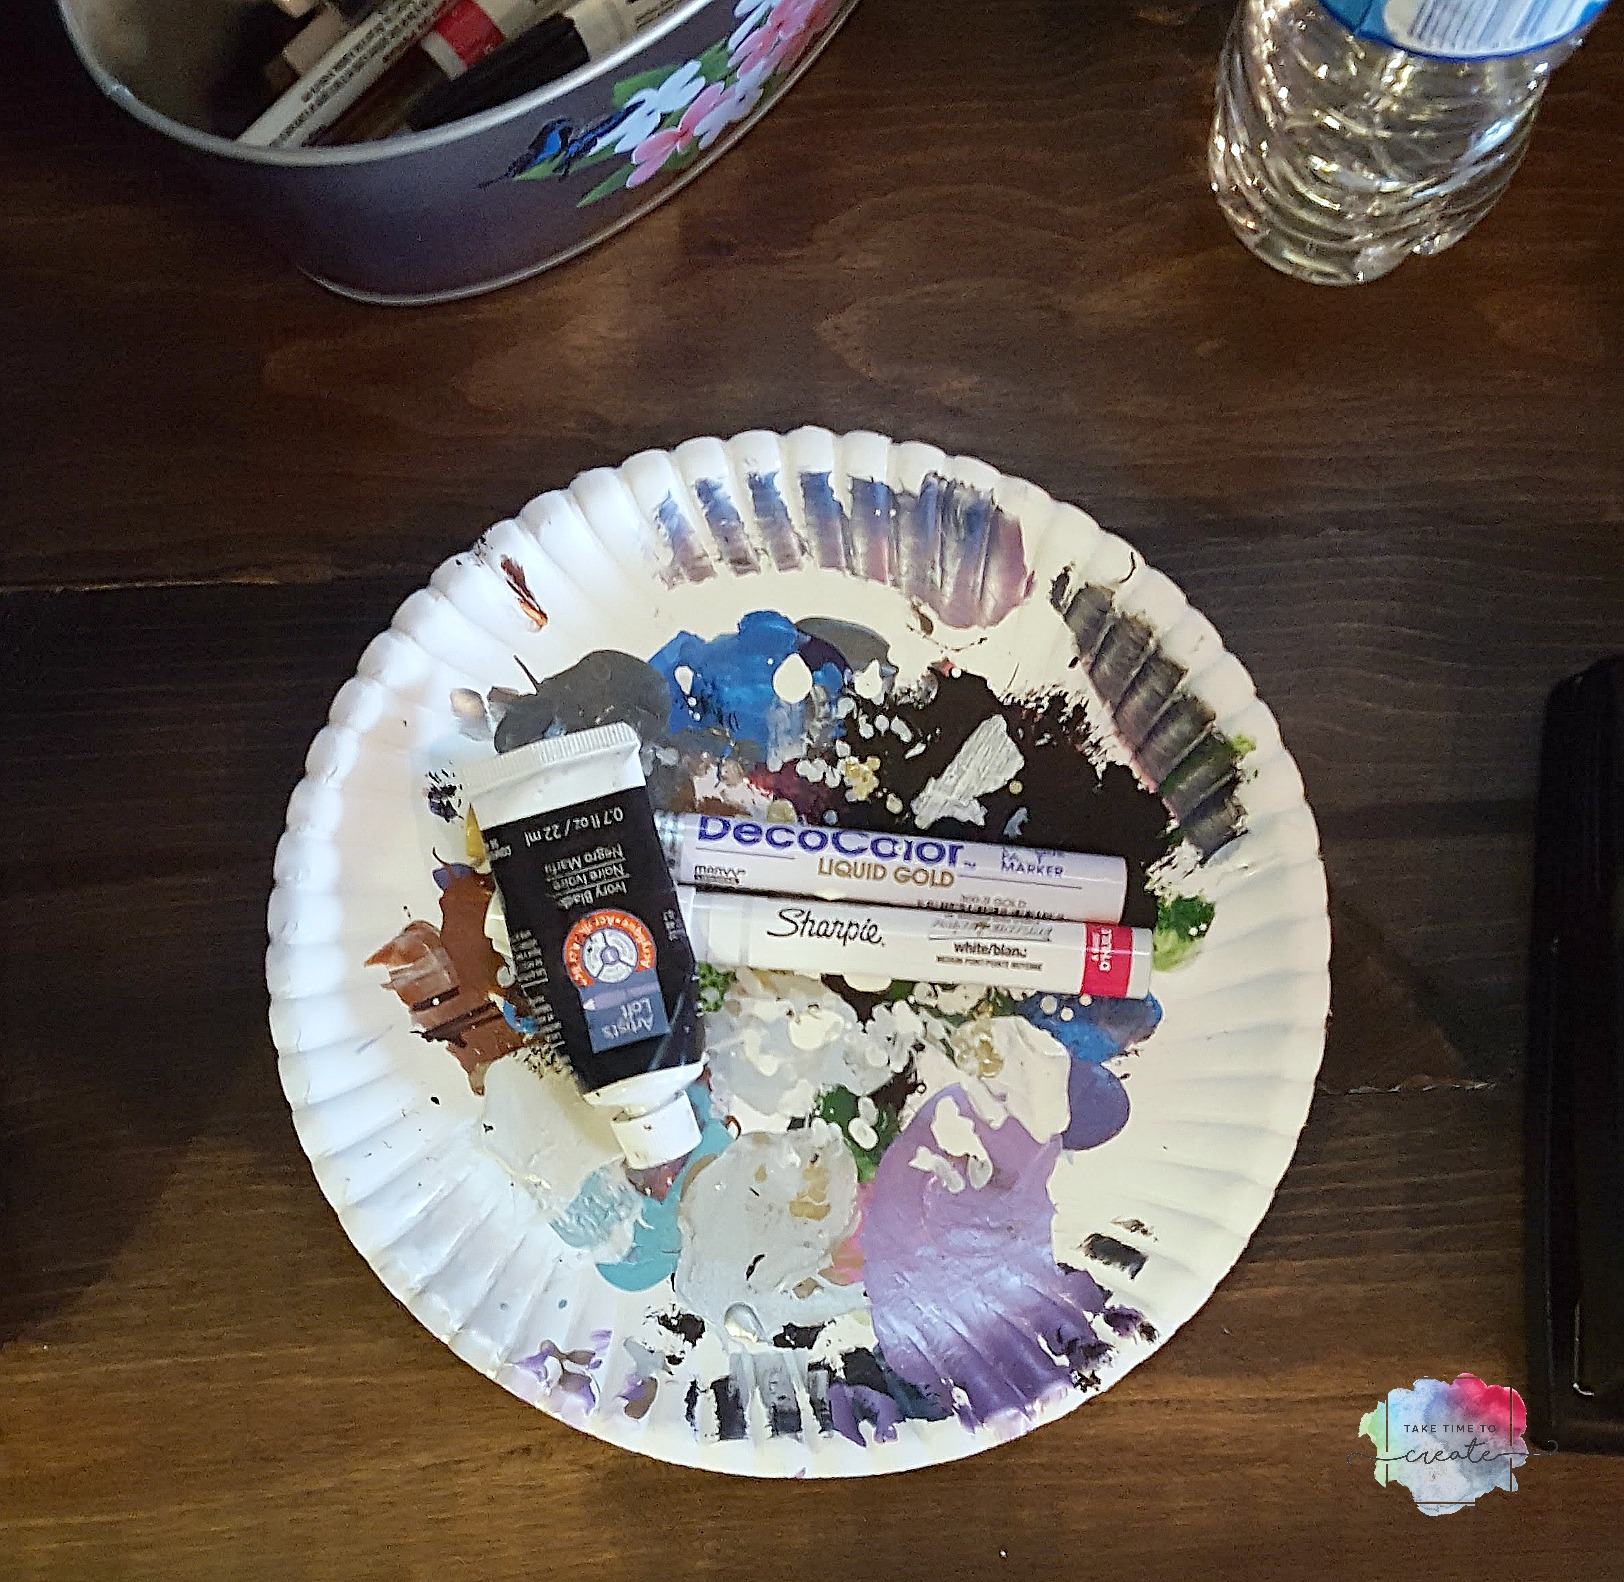
- Sewing patterns, dictionary paper, stencils, paint, label maker
- Mod podge, brushes
Instructions:
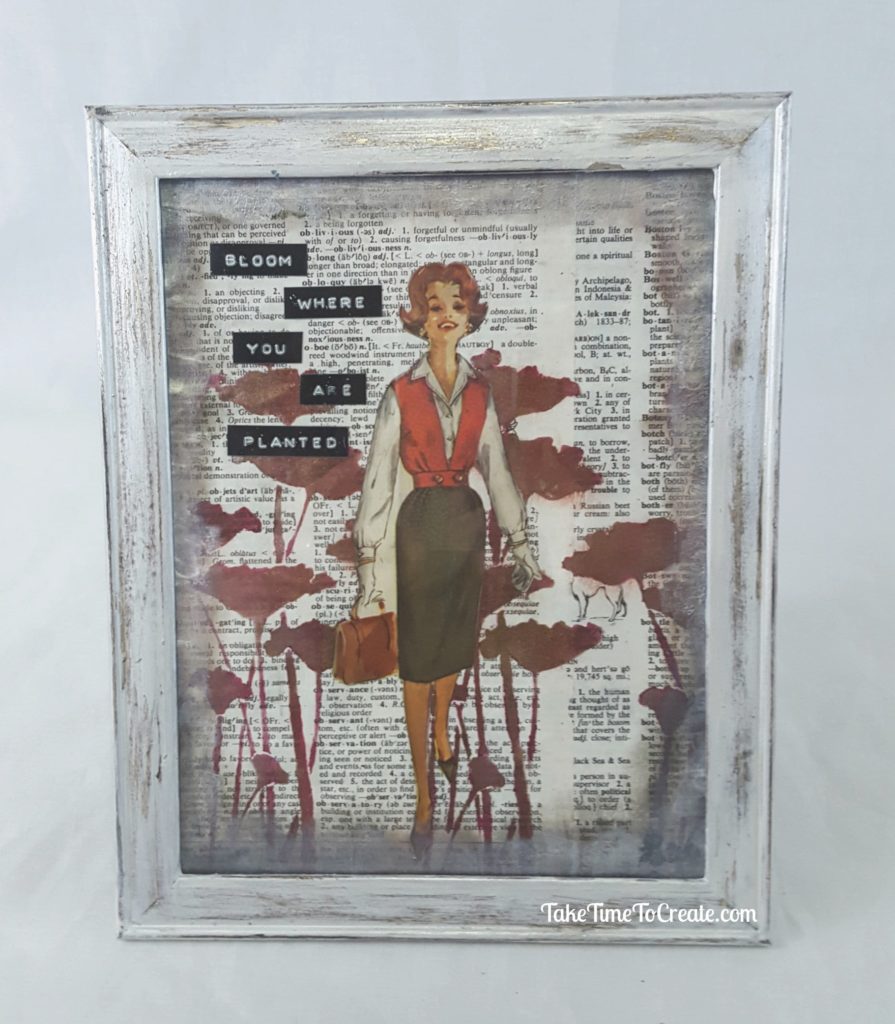
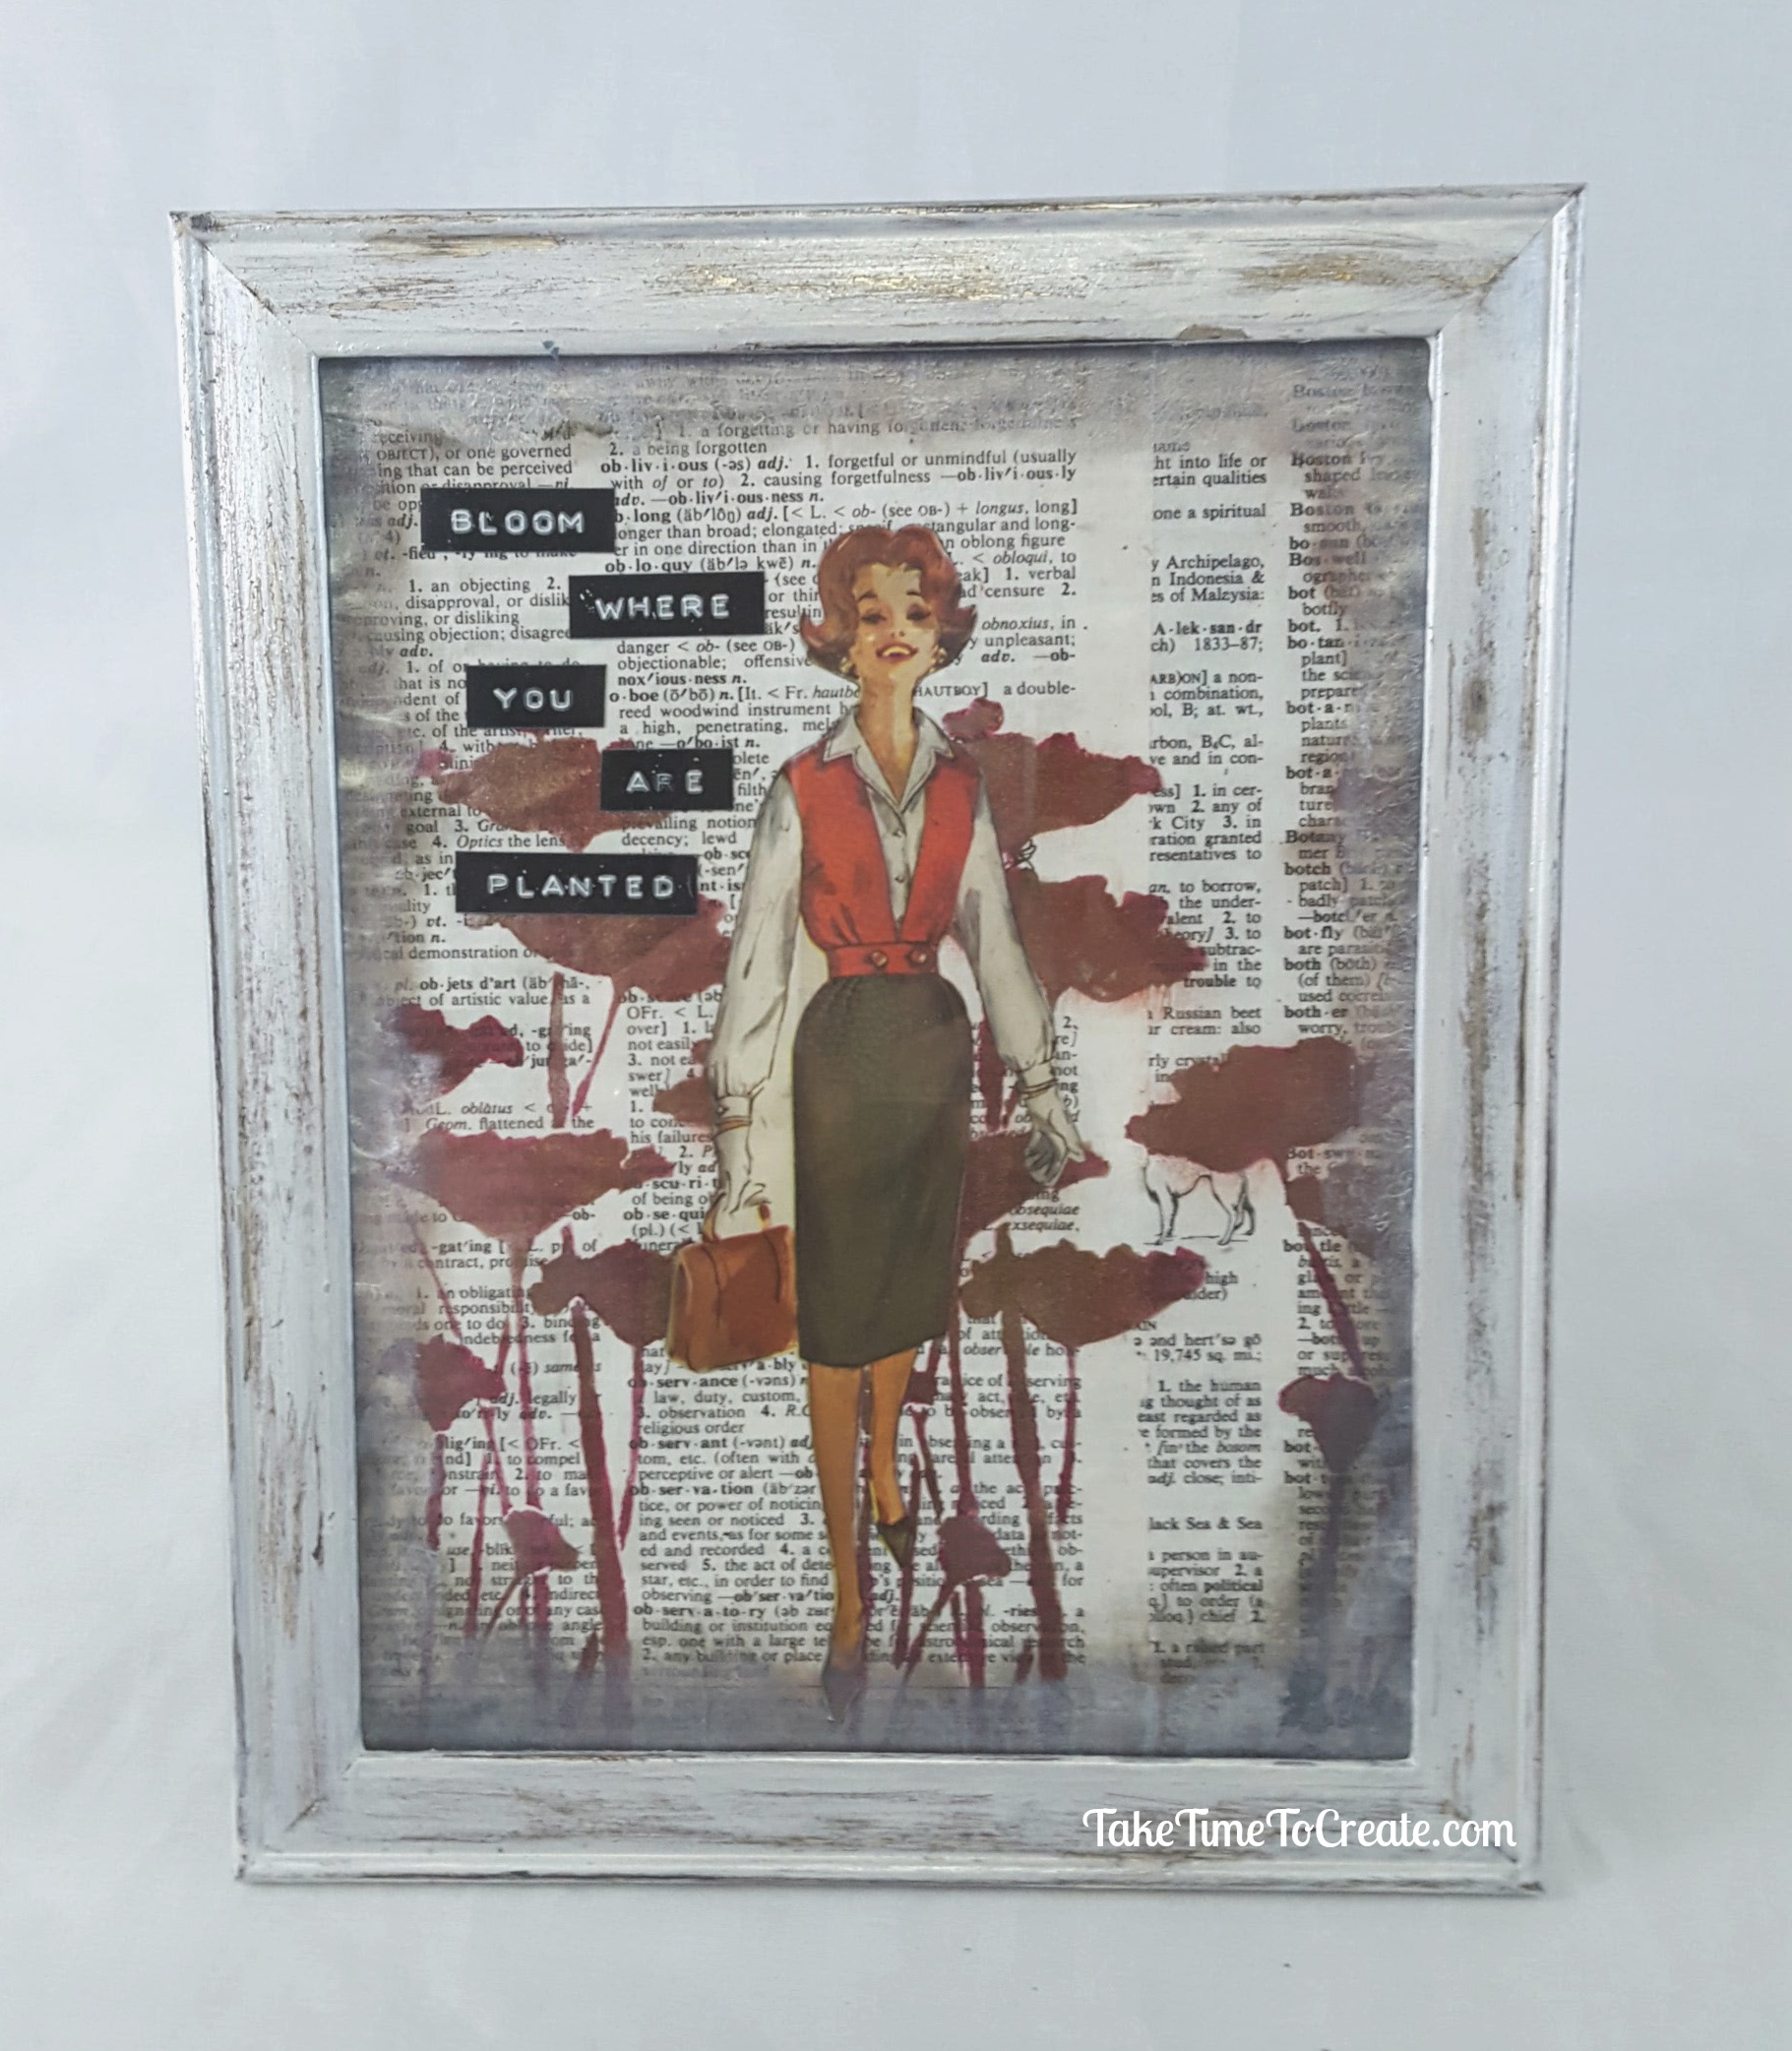
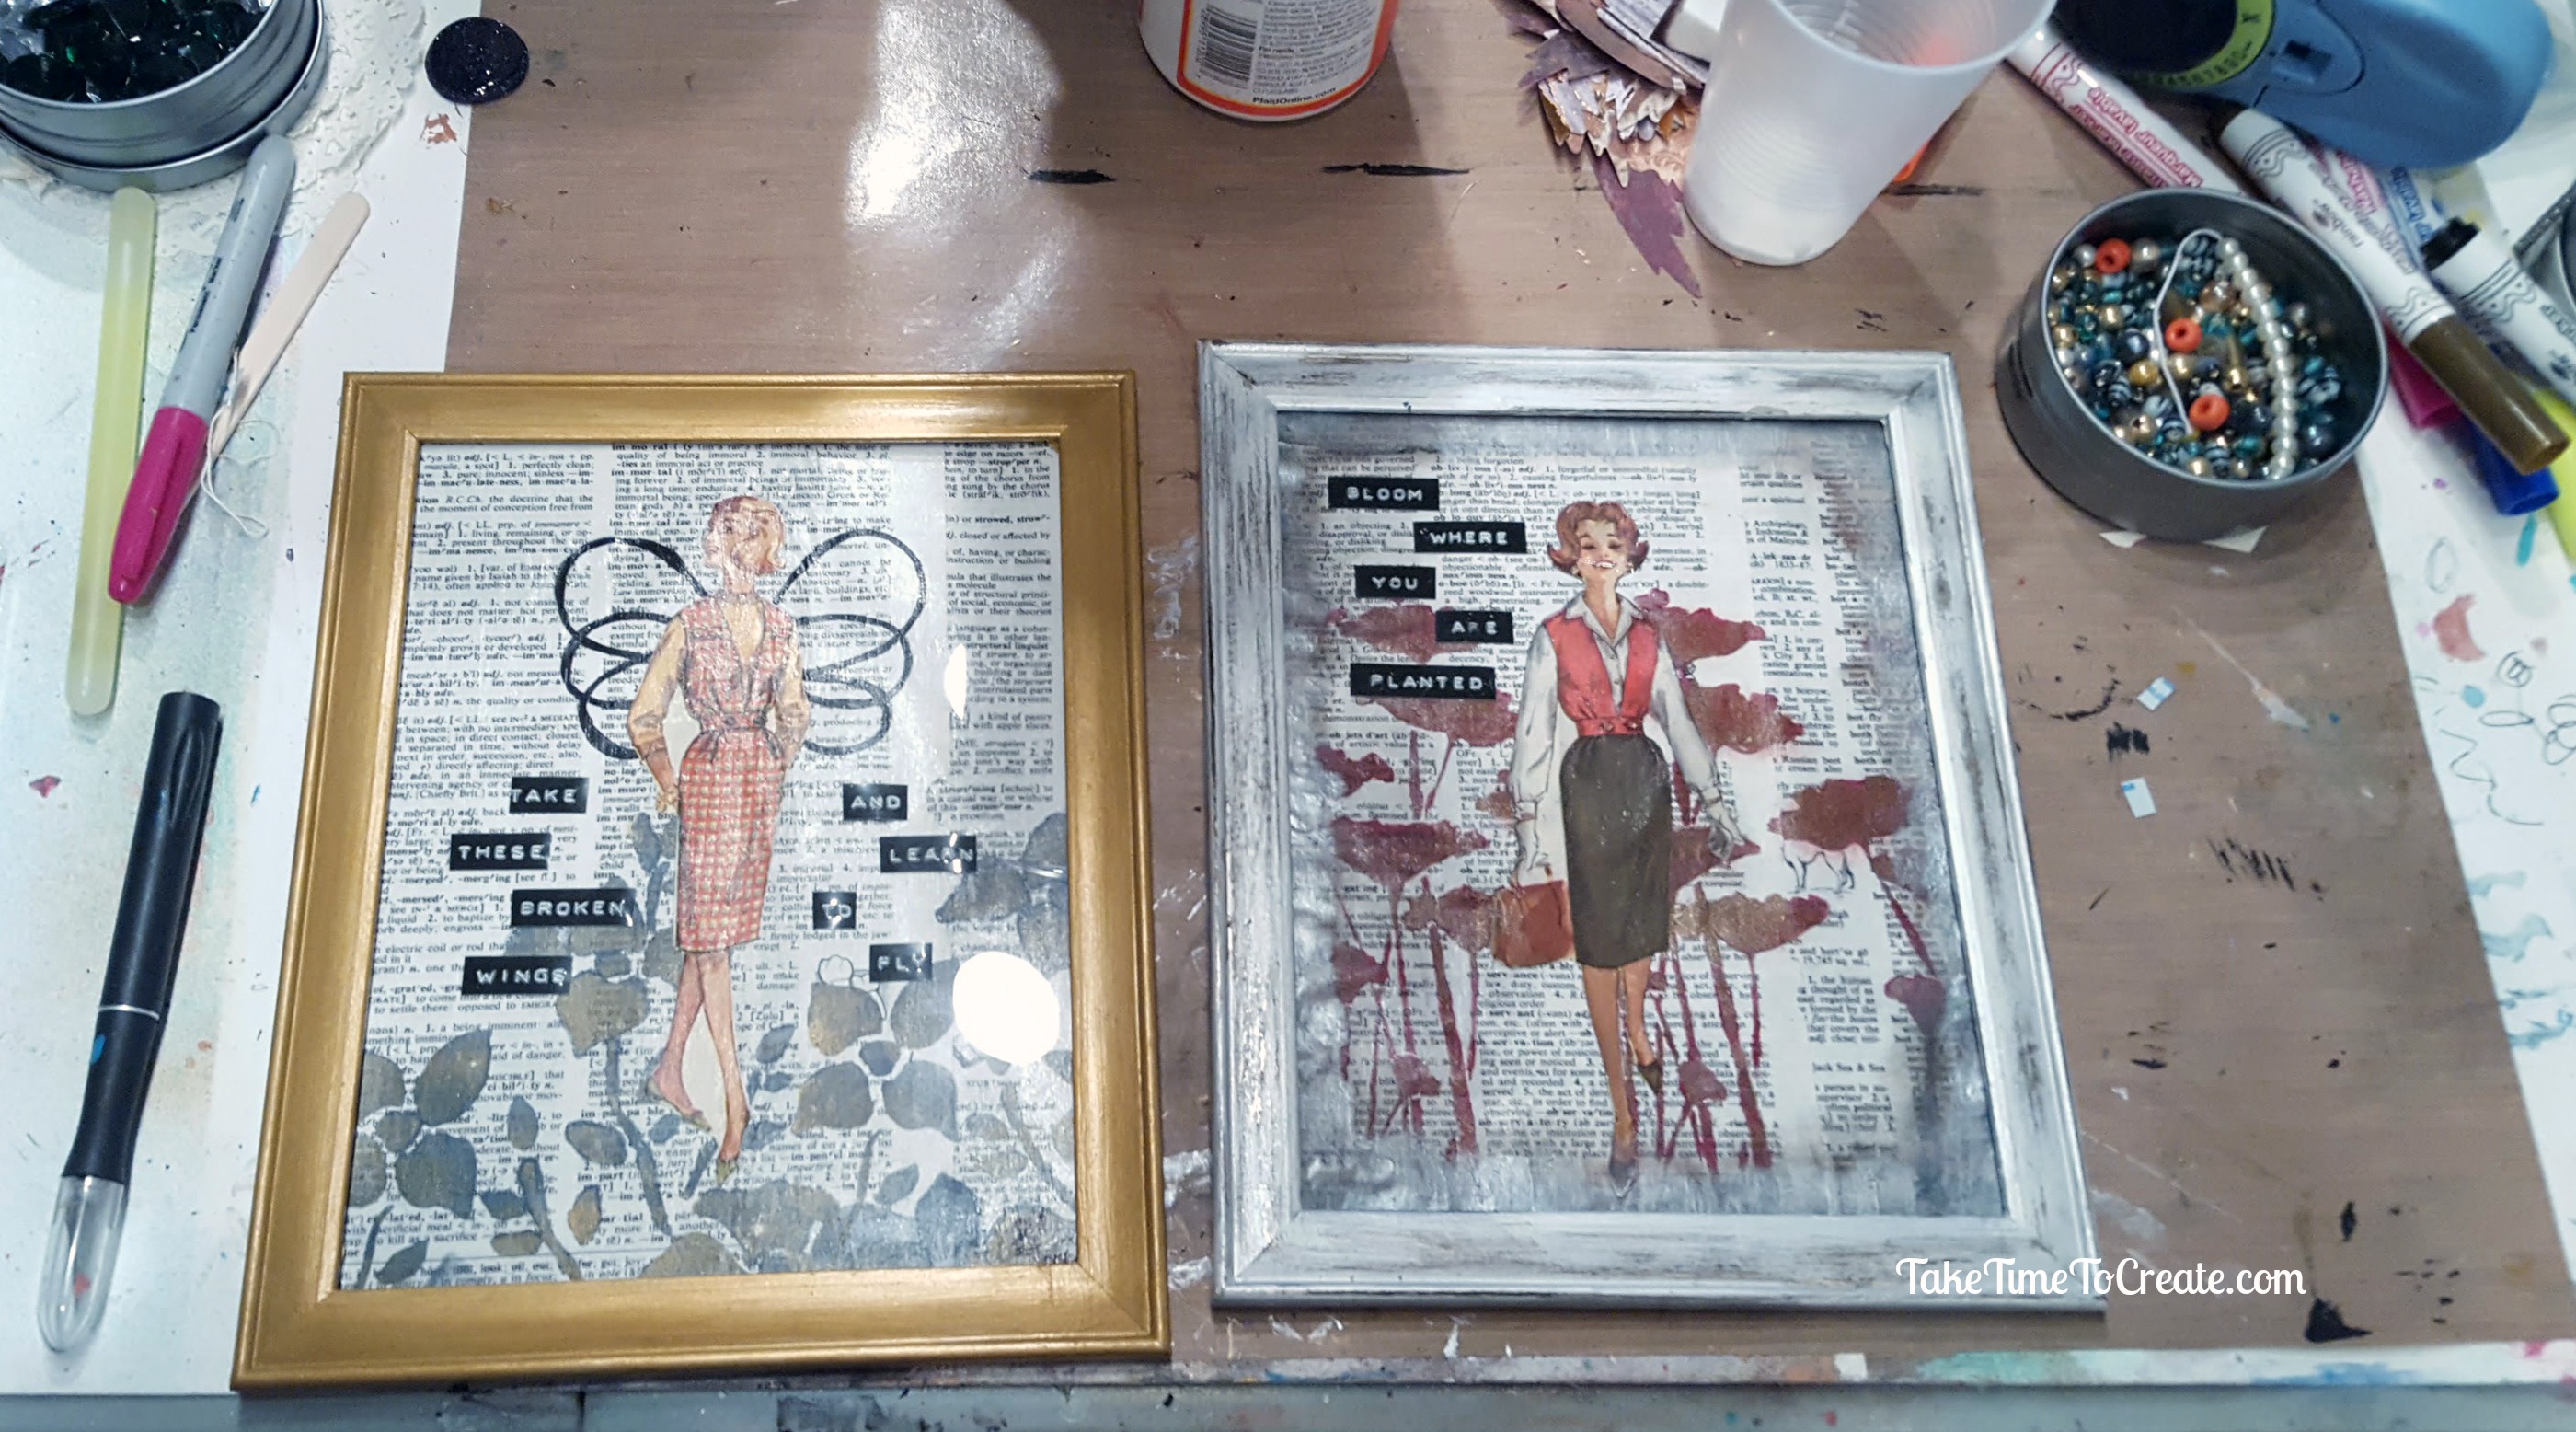
Bloom Where You Are Planted:
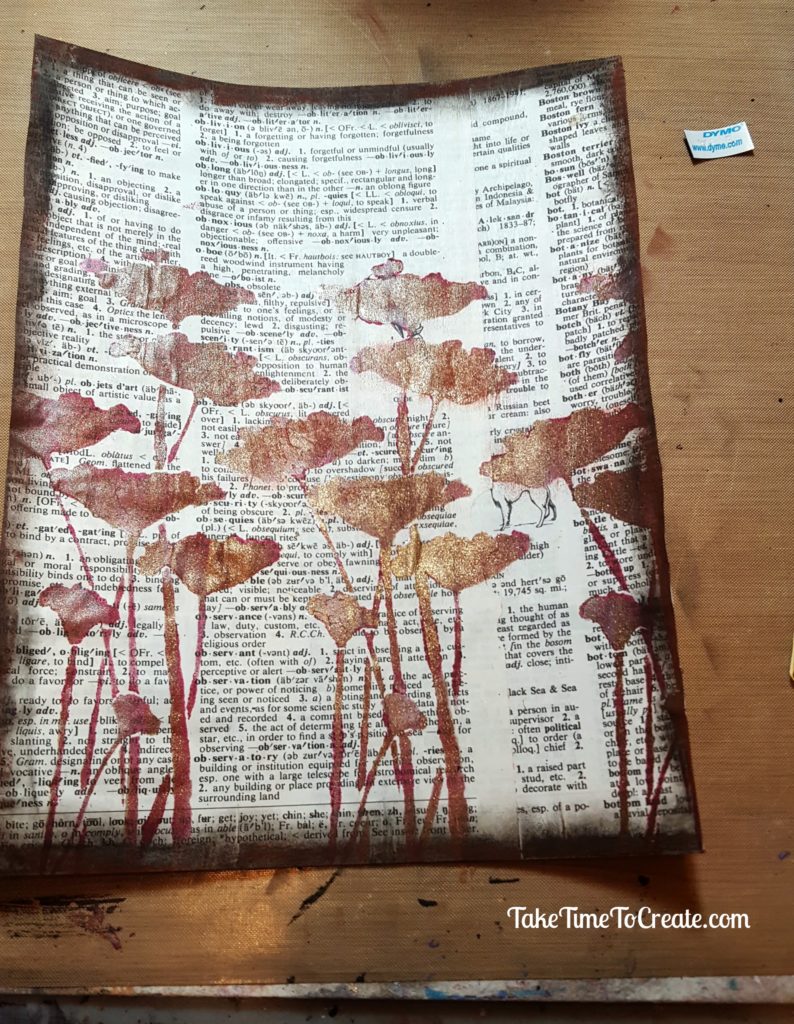
This one was a lot of fun! I adhered 2 dictionary pages with Mod Podge to a piece of paper that fit the frame.
Then I stenciled the flowers (I stenciled in 1 color then I went back and added another color on top).
After stenciling add the cut out girl from the pattern.
For the edges I painted some darker colors and then lightened it up afterwards. I wanted it to look like a mat in the frame.
The frame was super easy. I painted the silver frame in a gold color, once that was dry I painted over it in a pearl white color.
When everything was dry I sanded it to create a shabby chic look. I think it turned out super cute.
Before I added everything in the frame I used a hand held label maker to print the quote.
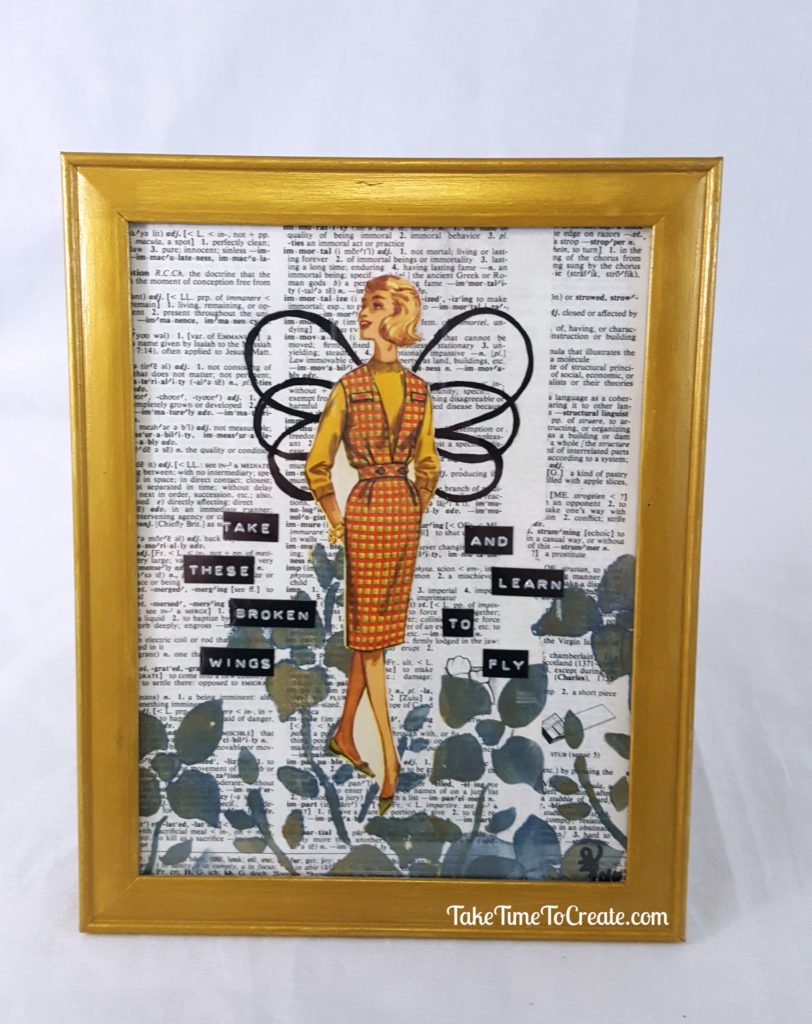
Take These Broken Wings and Learn to Fly
This frame is essentially the same except I used a different stencil, but I still used 2 colors to give it dimension.
I didn’t add any colors to the edges, I thought with the wings I would look too busy.
I drew on the wings before attaching the girl.
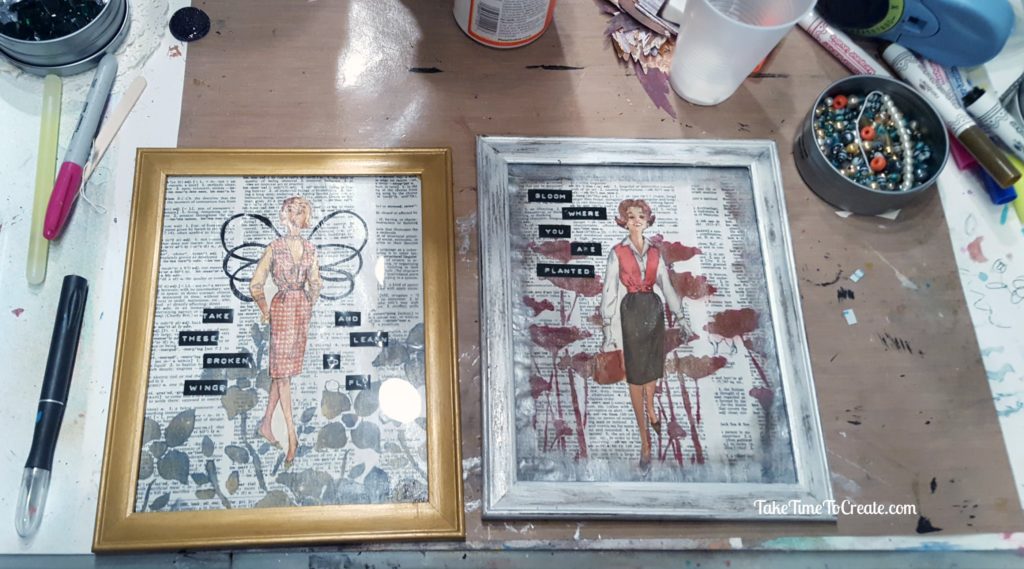
This frame was easy as well. I just painted the silver frame gold to match a little better.
These are such easy collages to do, I think they would make a great gift!
The post Vintage Sewing Pattern Collage appeared first on Take Time To Create.
Like this:
Like Loading...

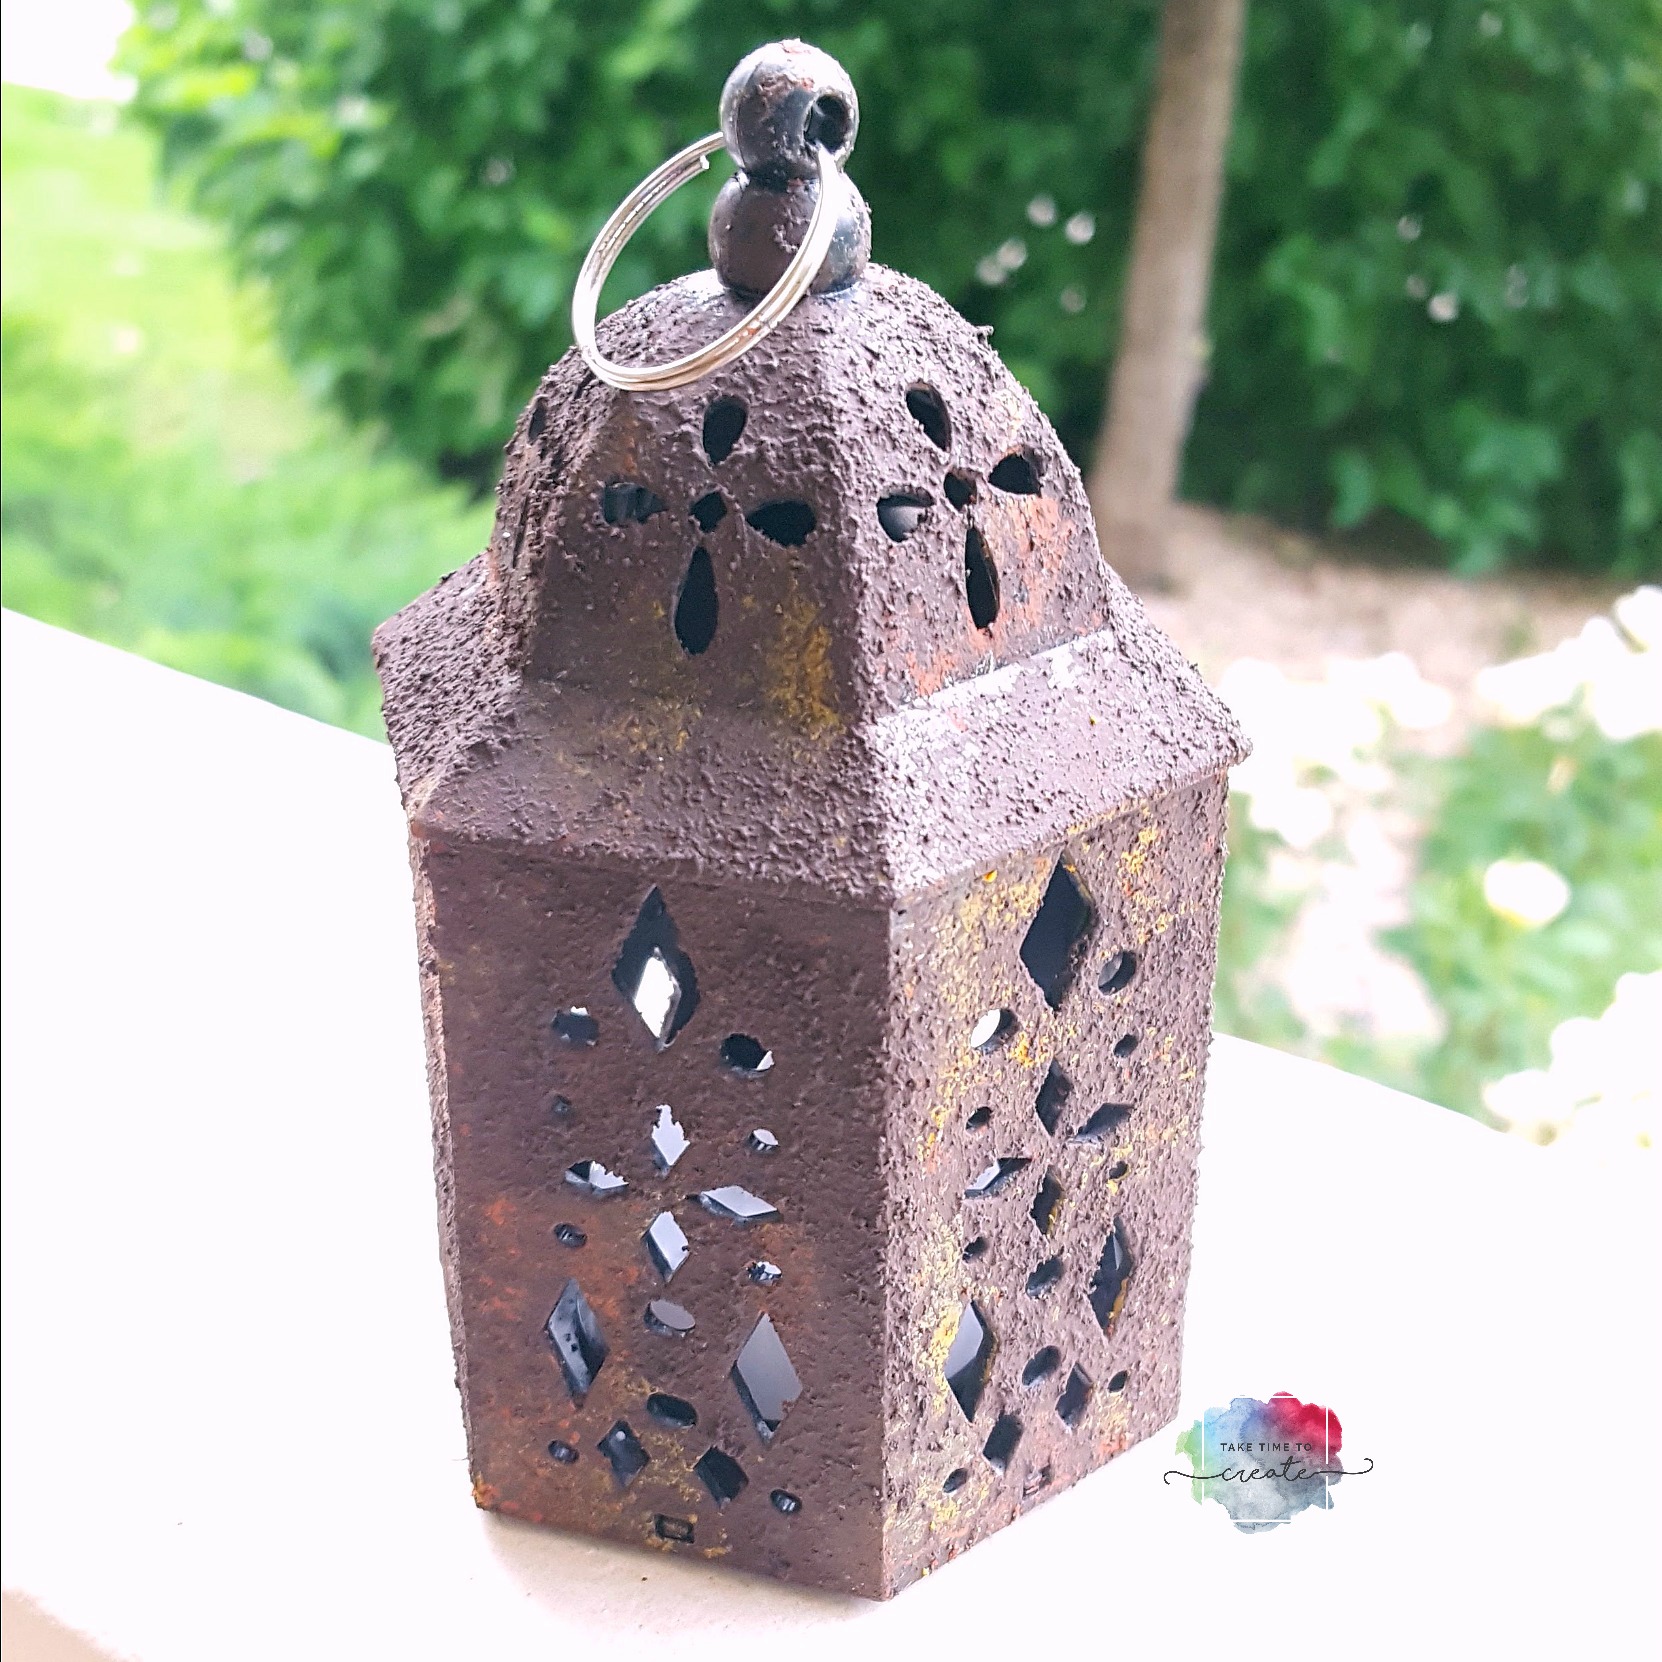
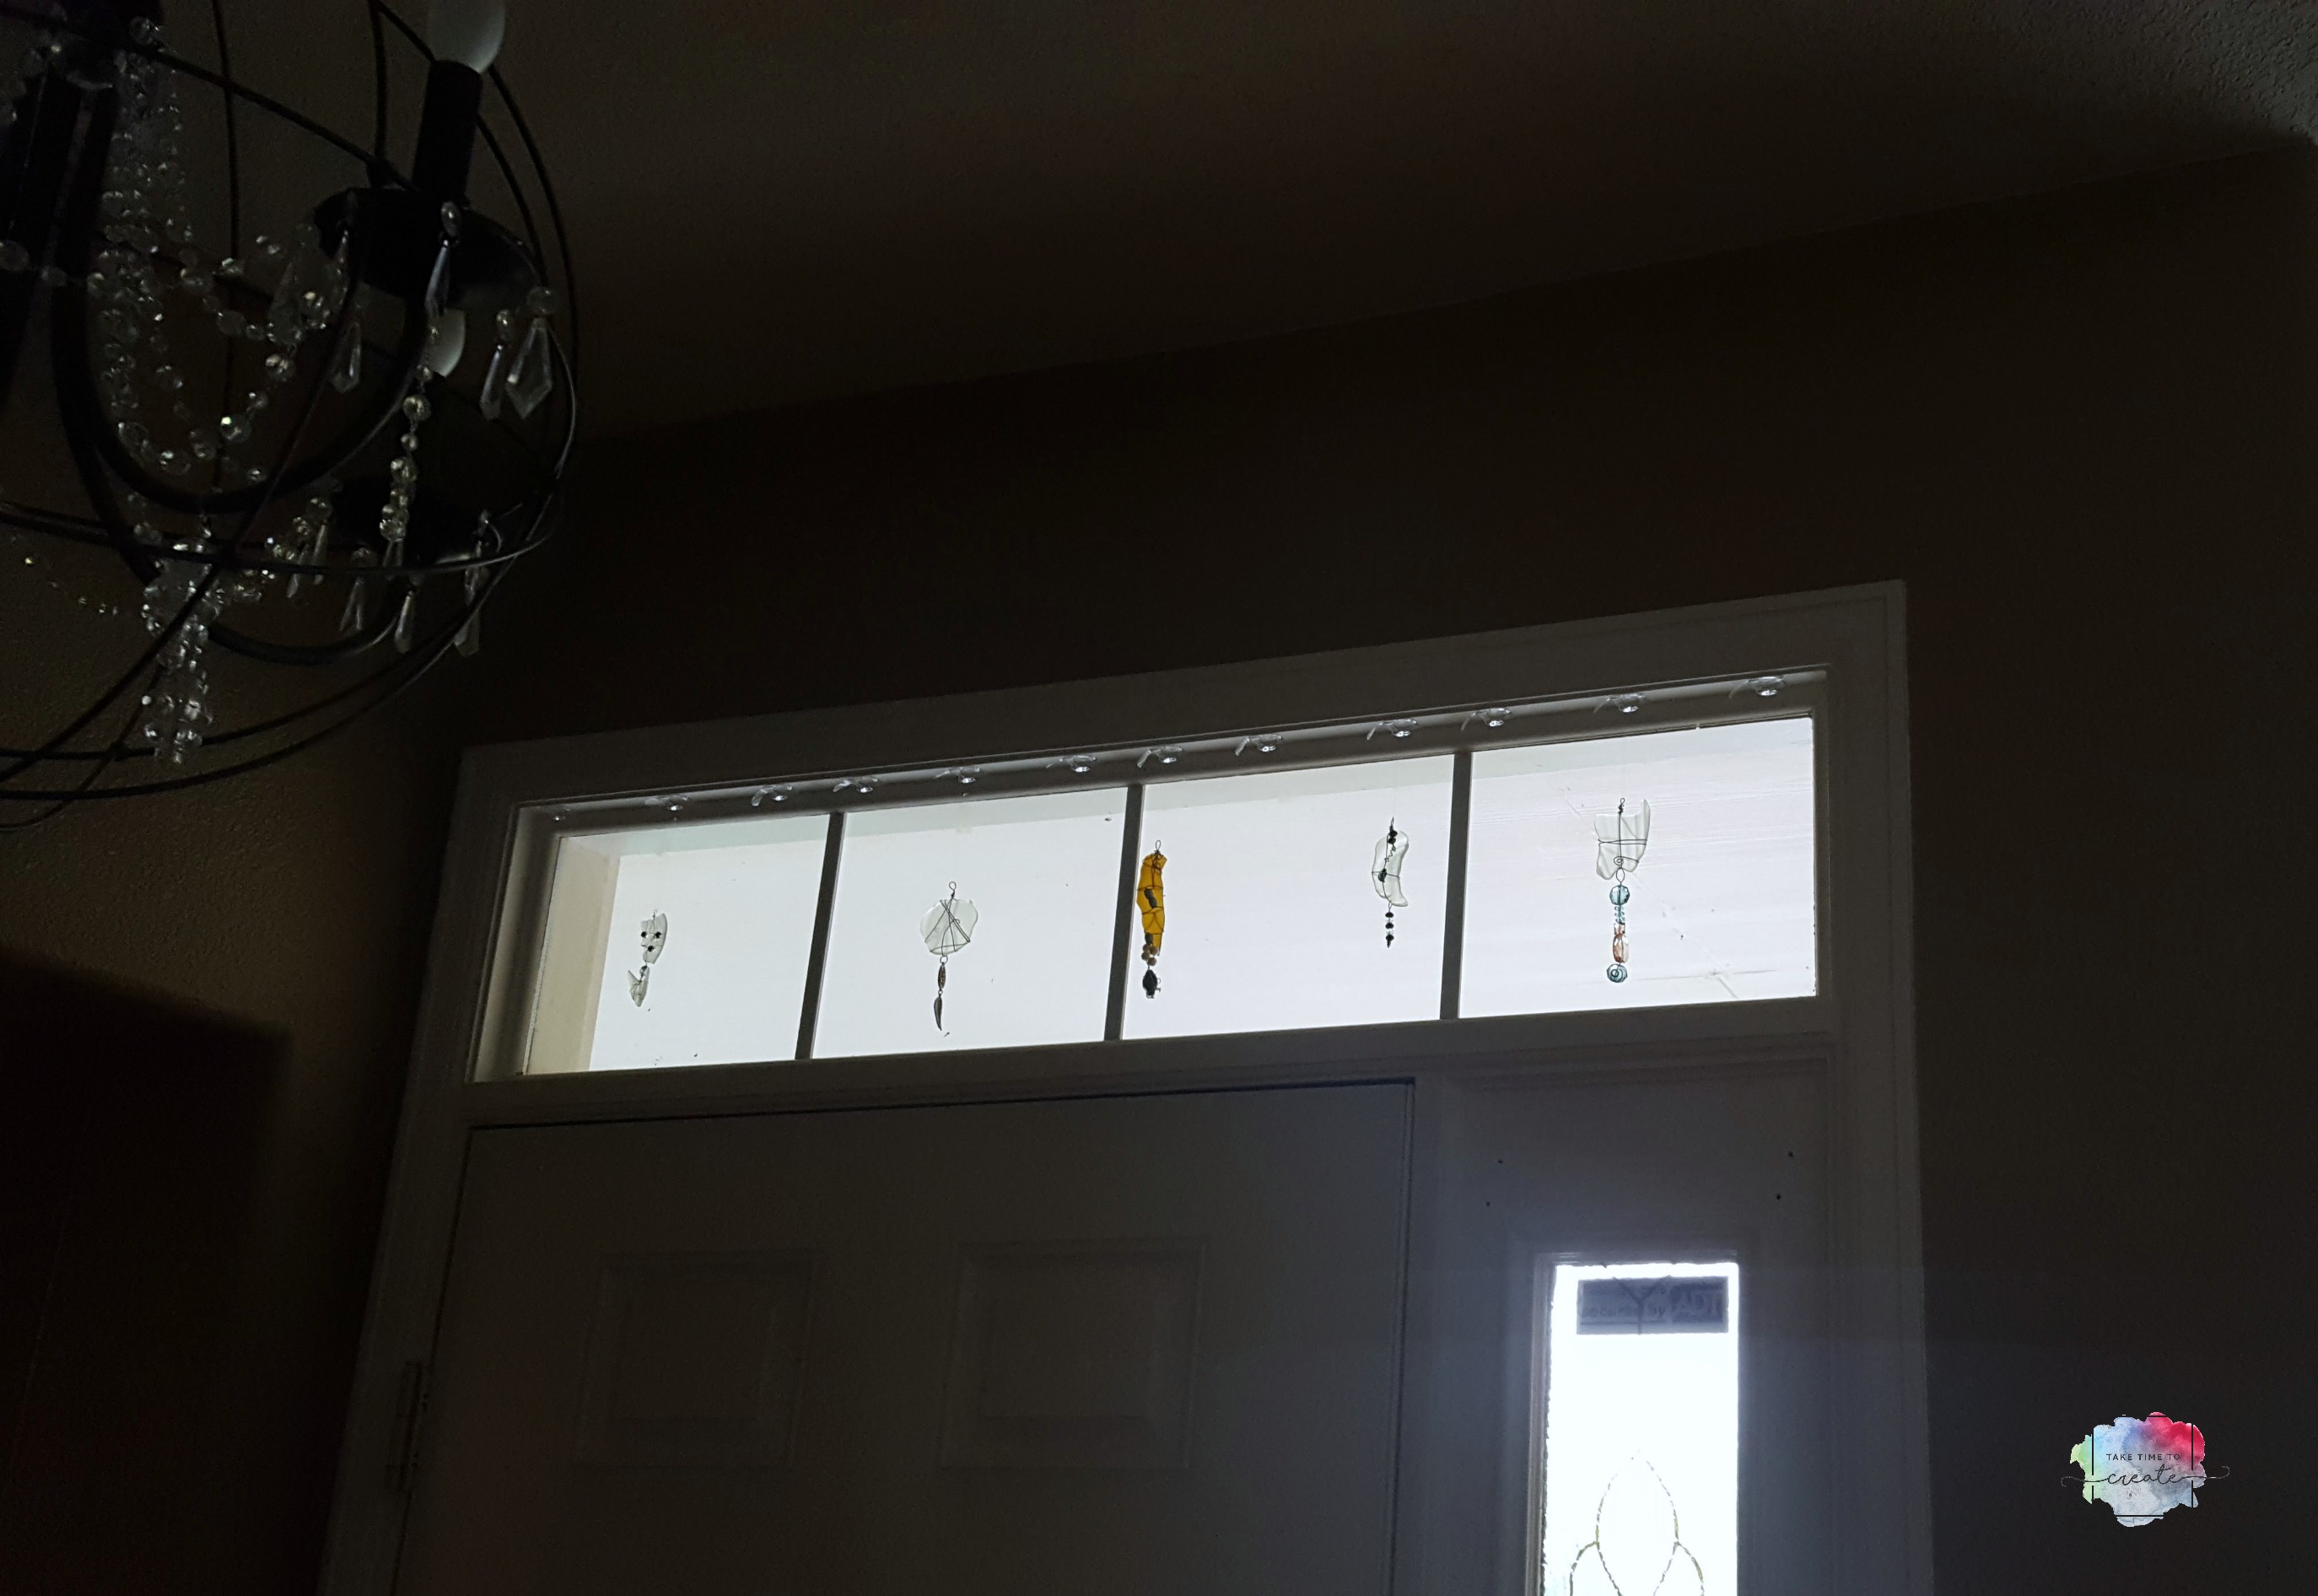
 I decided that I needed to wrap them with wire and add beads and old pieces of jewelry to make window dangles. (I will post a tutorial on how I made these)
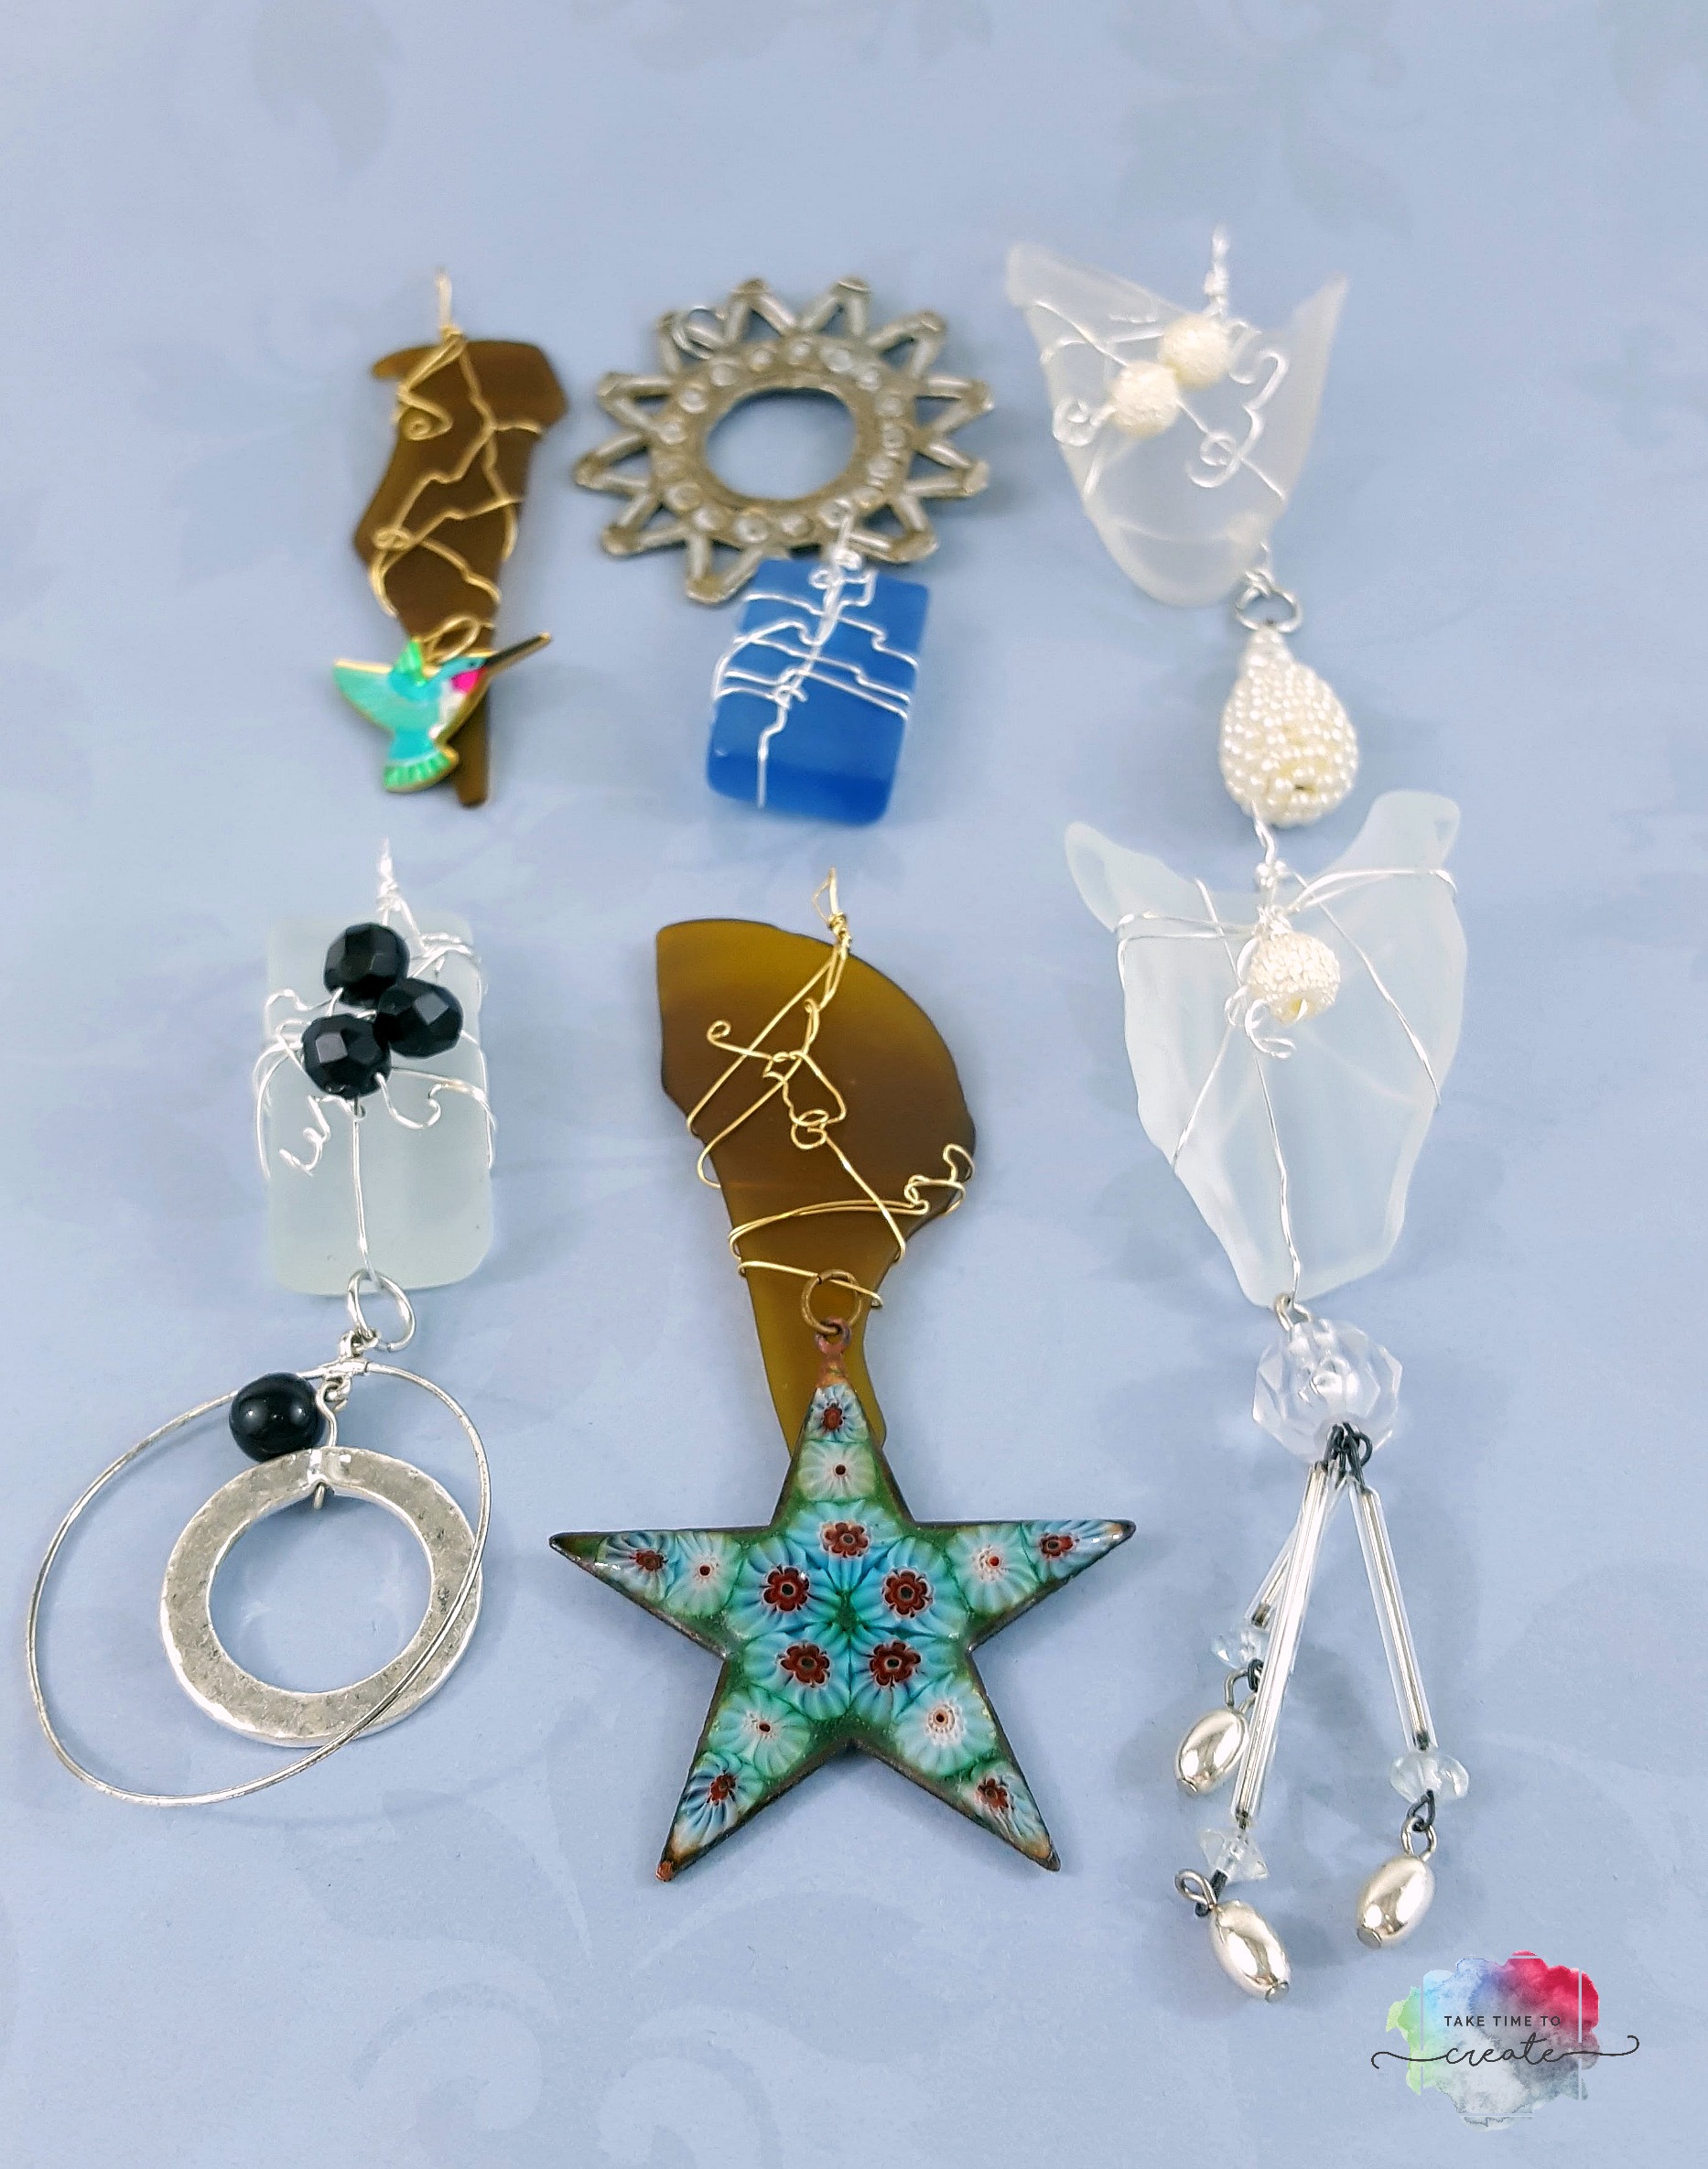


