Tag: accessories (page 1 of 2)

Easy Fabric Frame DIY

Hello Everyone!

Today I have a fun, easy fabric frame project for you. I am still on a fabric kick, I have so many ideas using fabric and I can’t wait to share them with you.


For this project I used fabric I got from Annie’s Fabric Club. This is not sponsored, but I really like the fabric I got, and I am looking forward to next month’s fabric.  Here is the link to the club if you are interested in joining: https://www.creativequiltersfabricclub.com/

This is such a fun, easy project that only takes a few materials

Materials (with affiliate links):


Instructions:

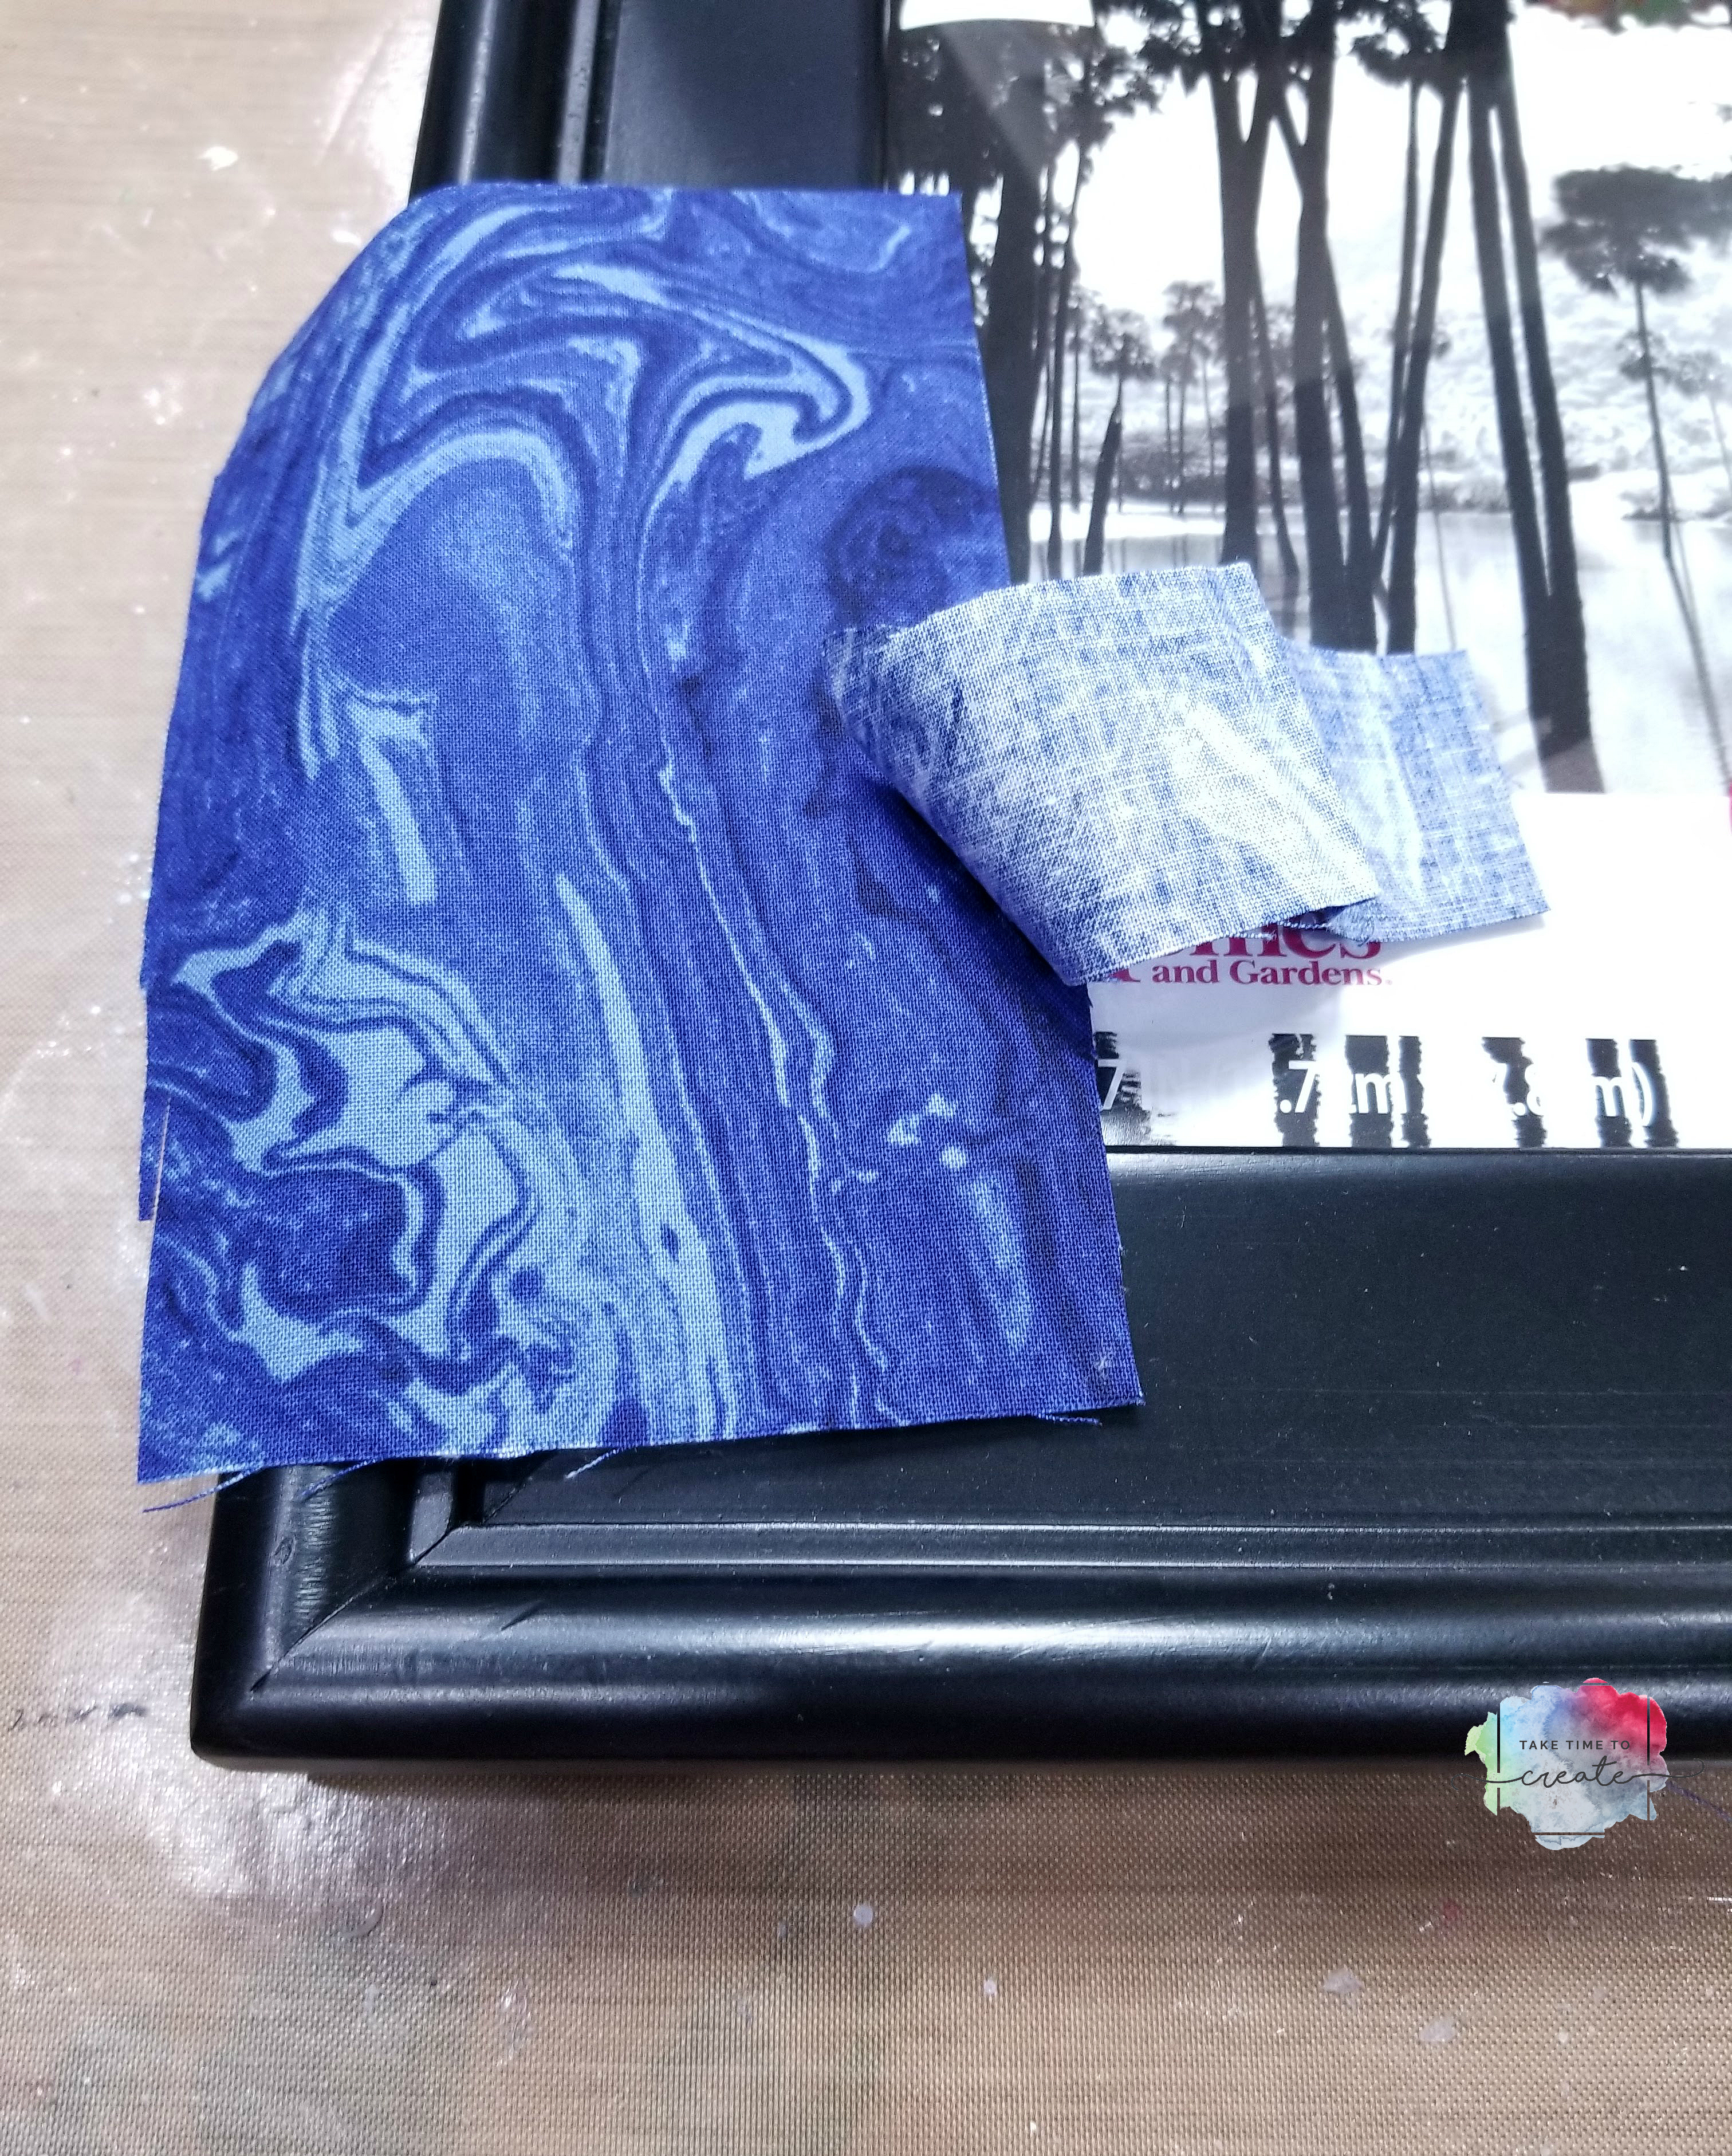
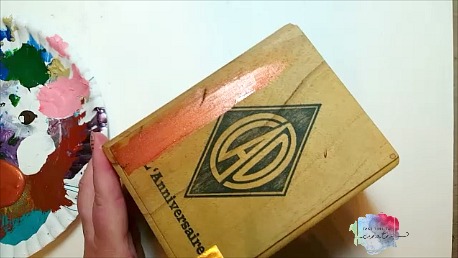
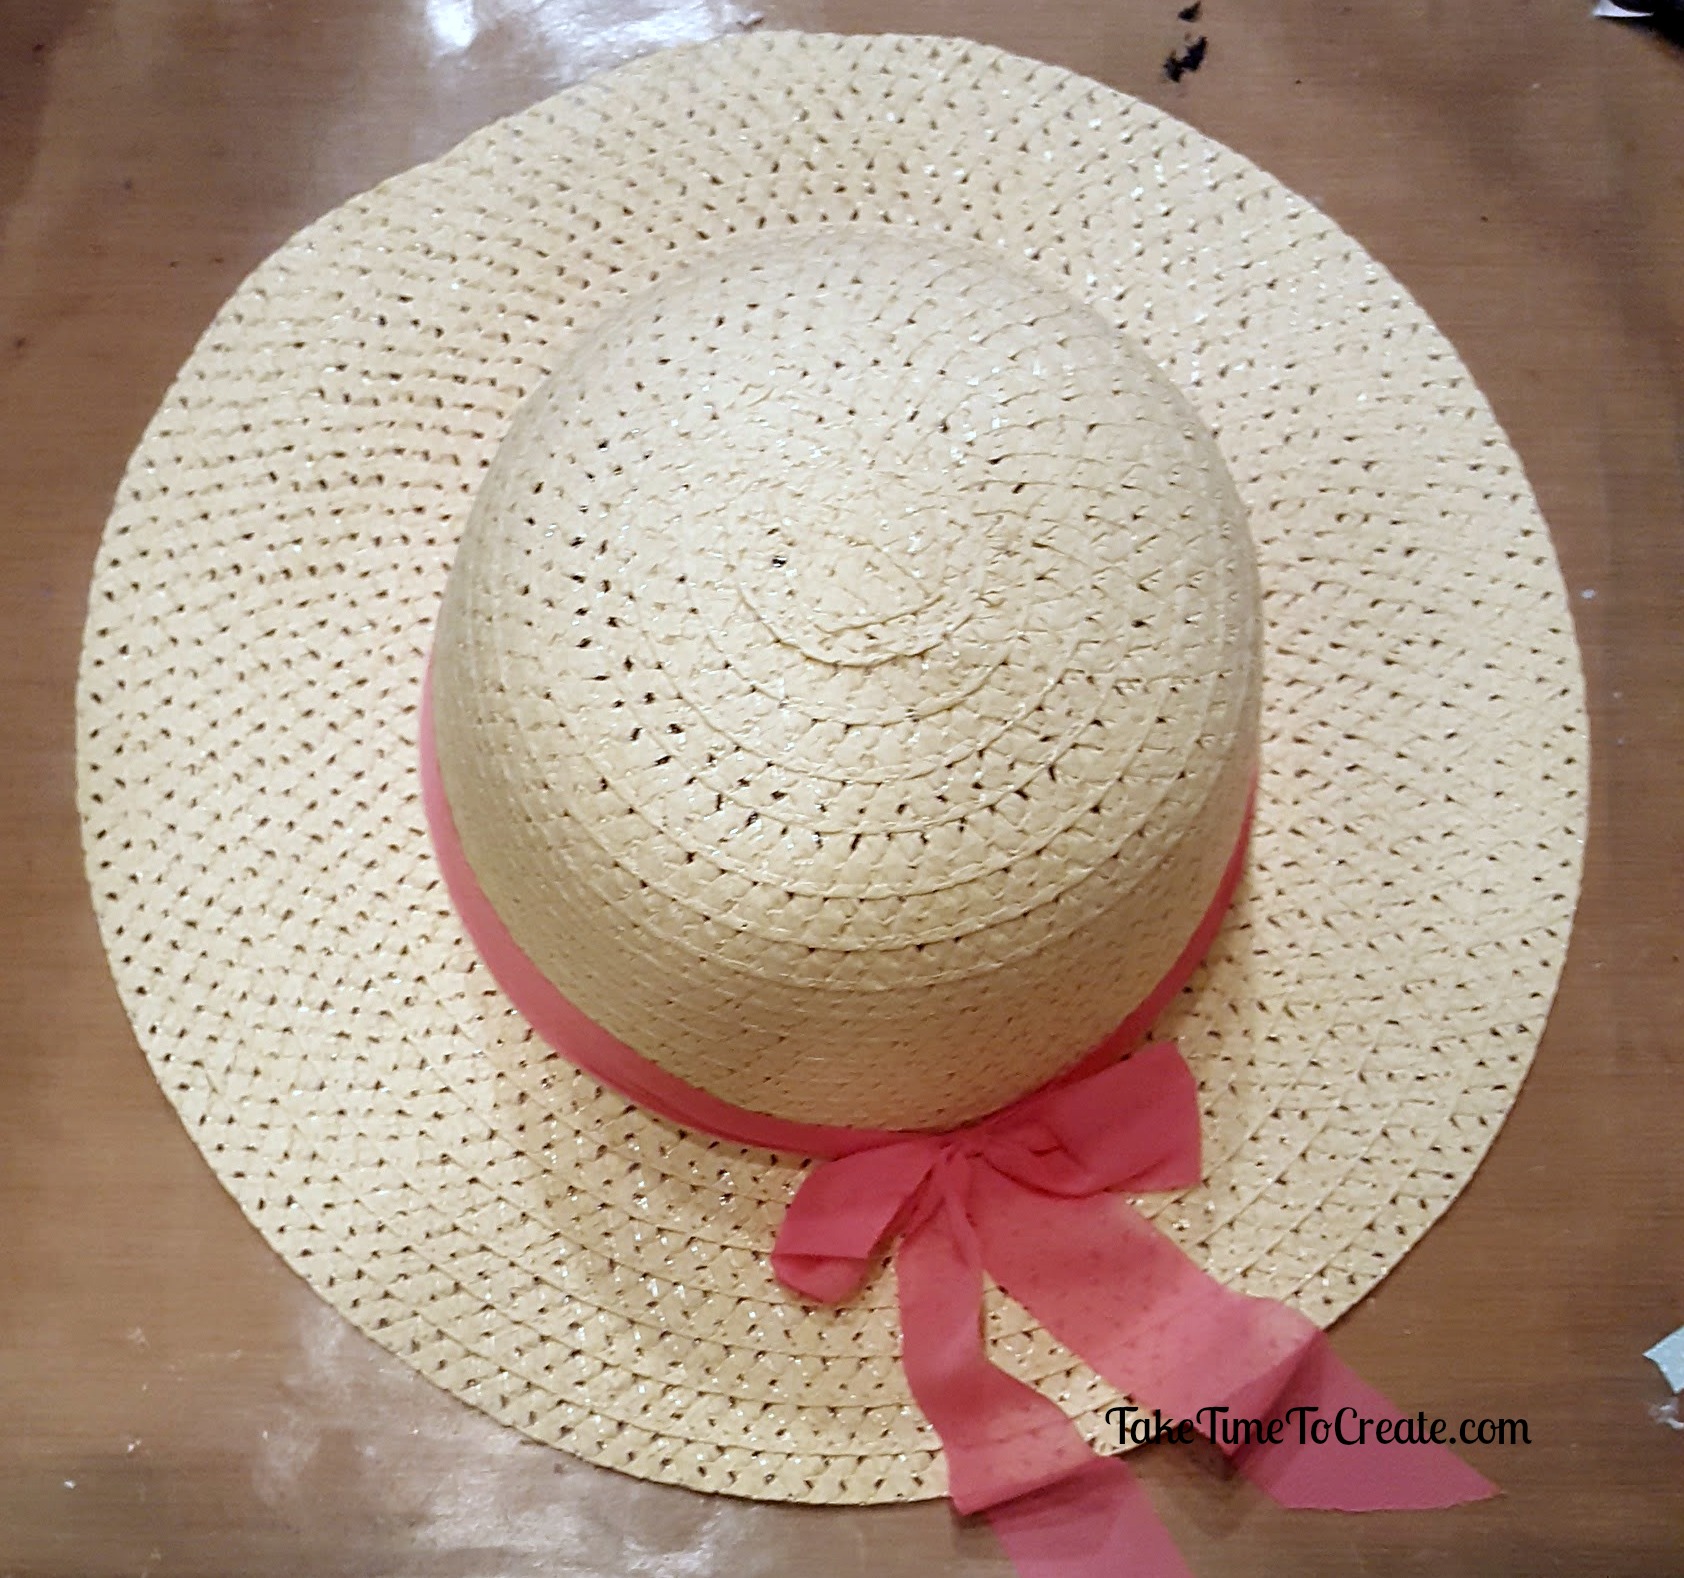
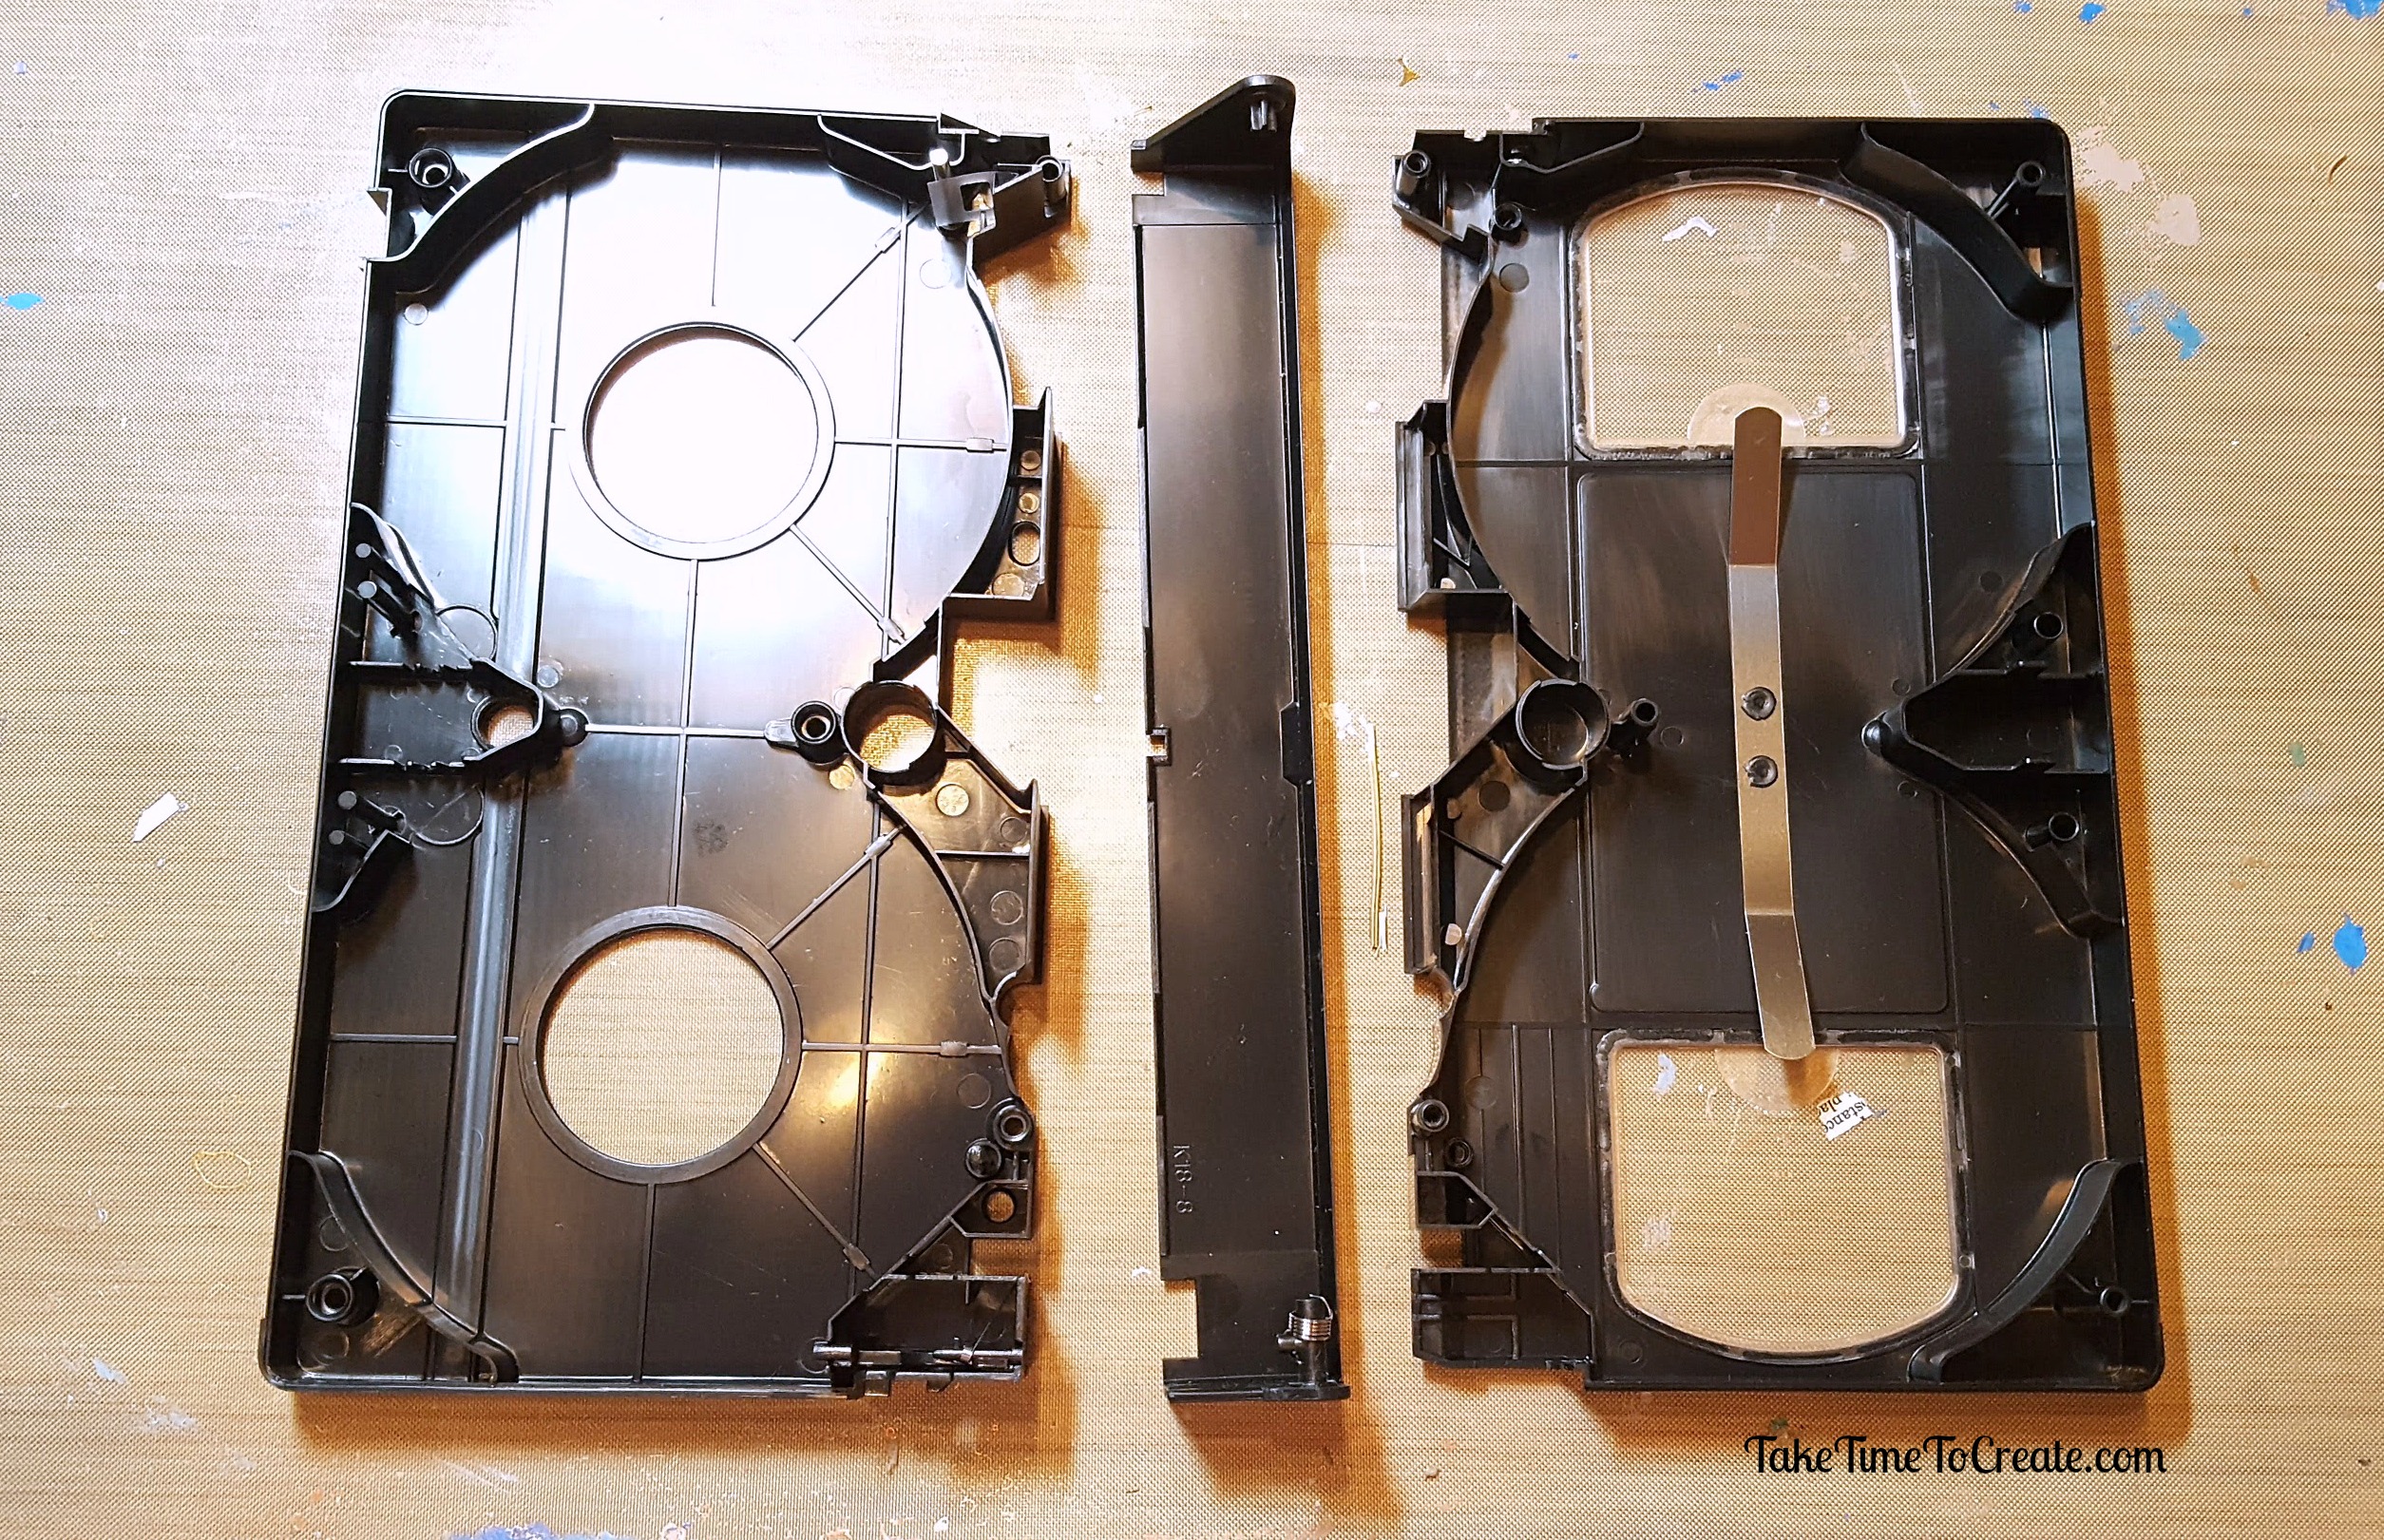
Gather all your material including the fabric and your frame. The frame should have a wide enough border that gives you plenty of room to add fabric. The color of the frame doesn’t matter a lot because you will be covering it in fabric.

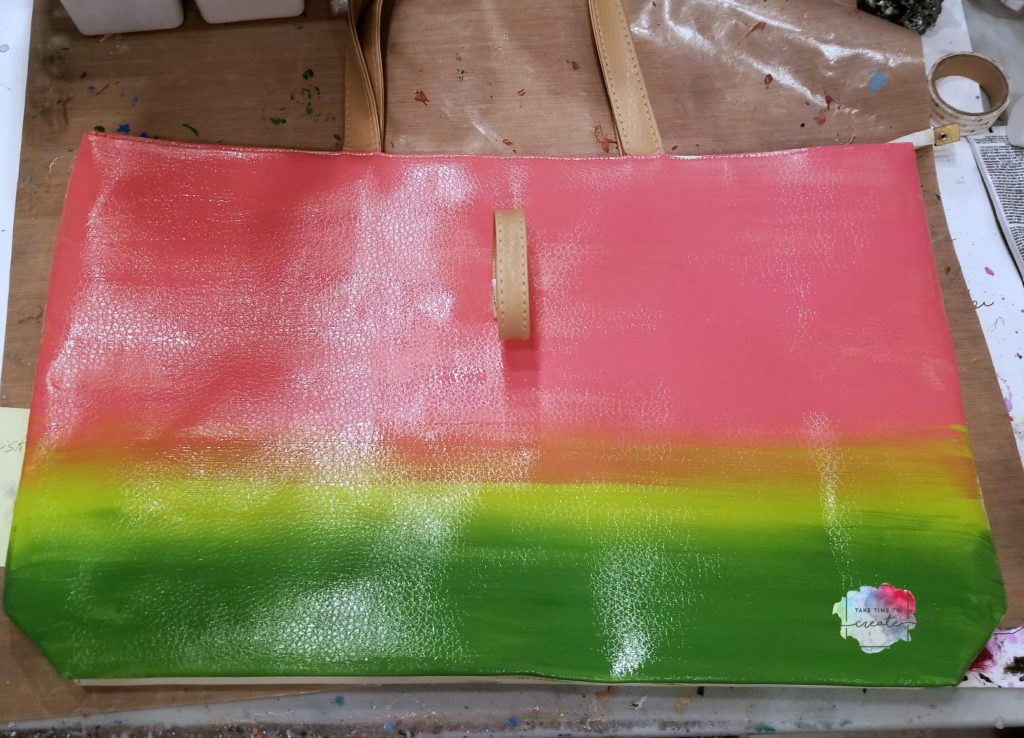
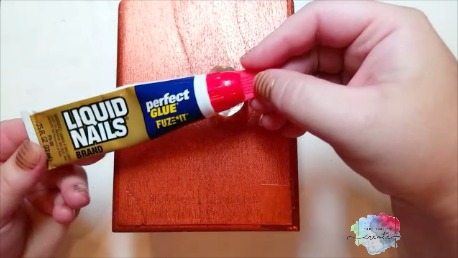
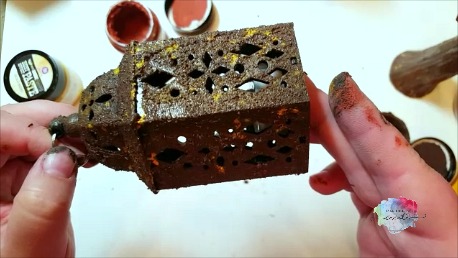
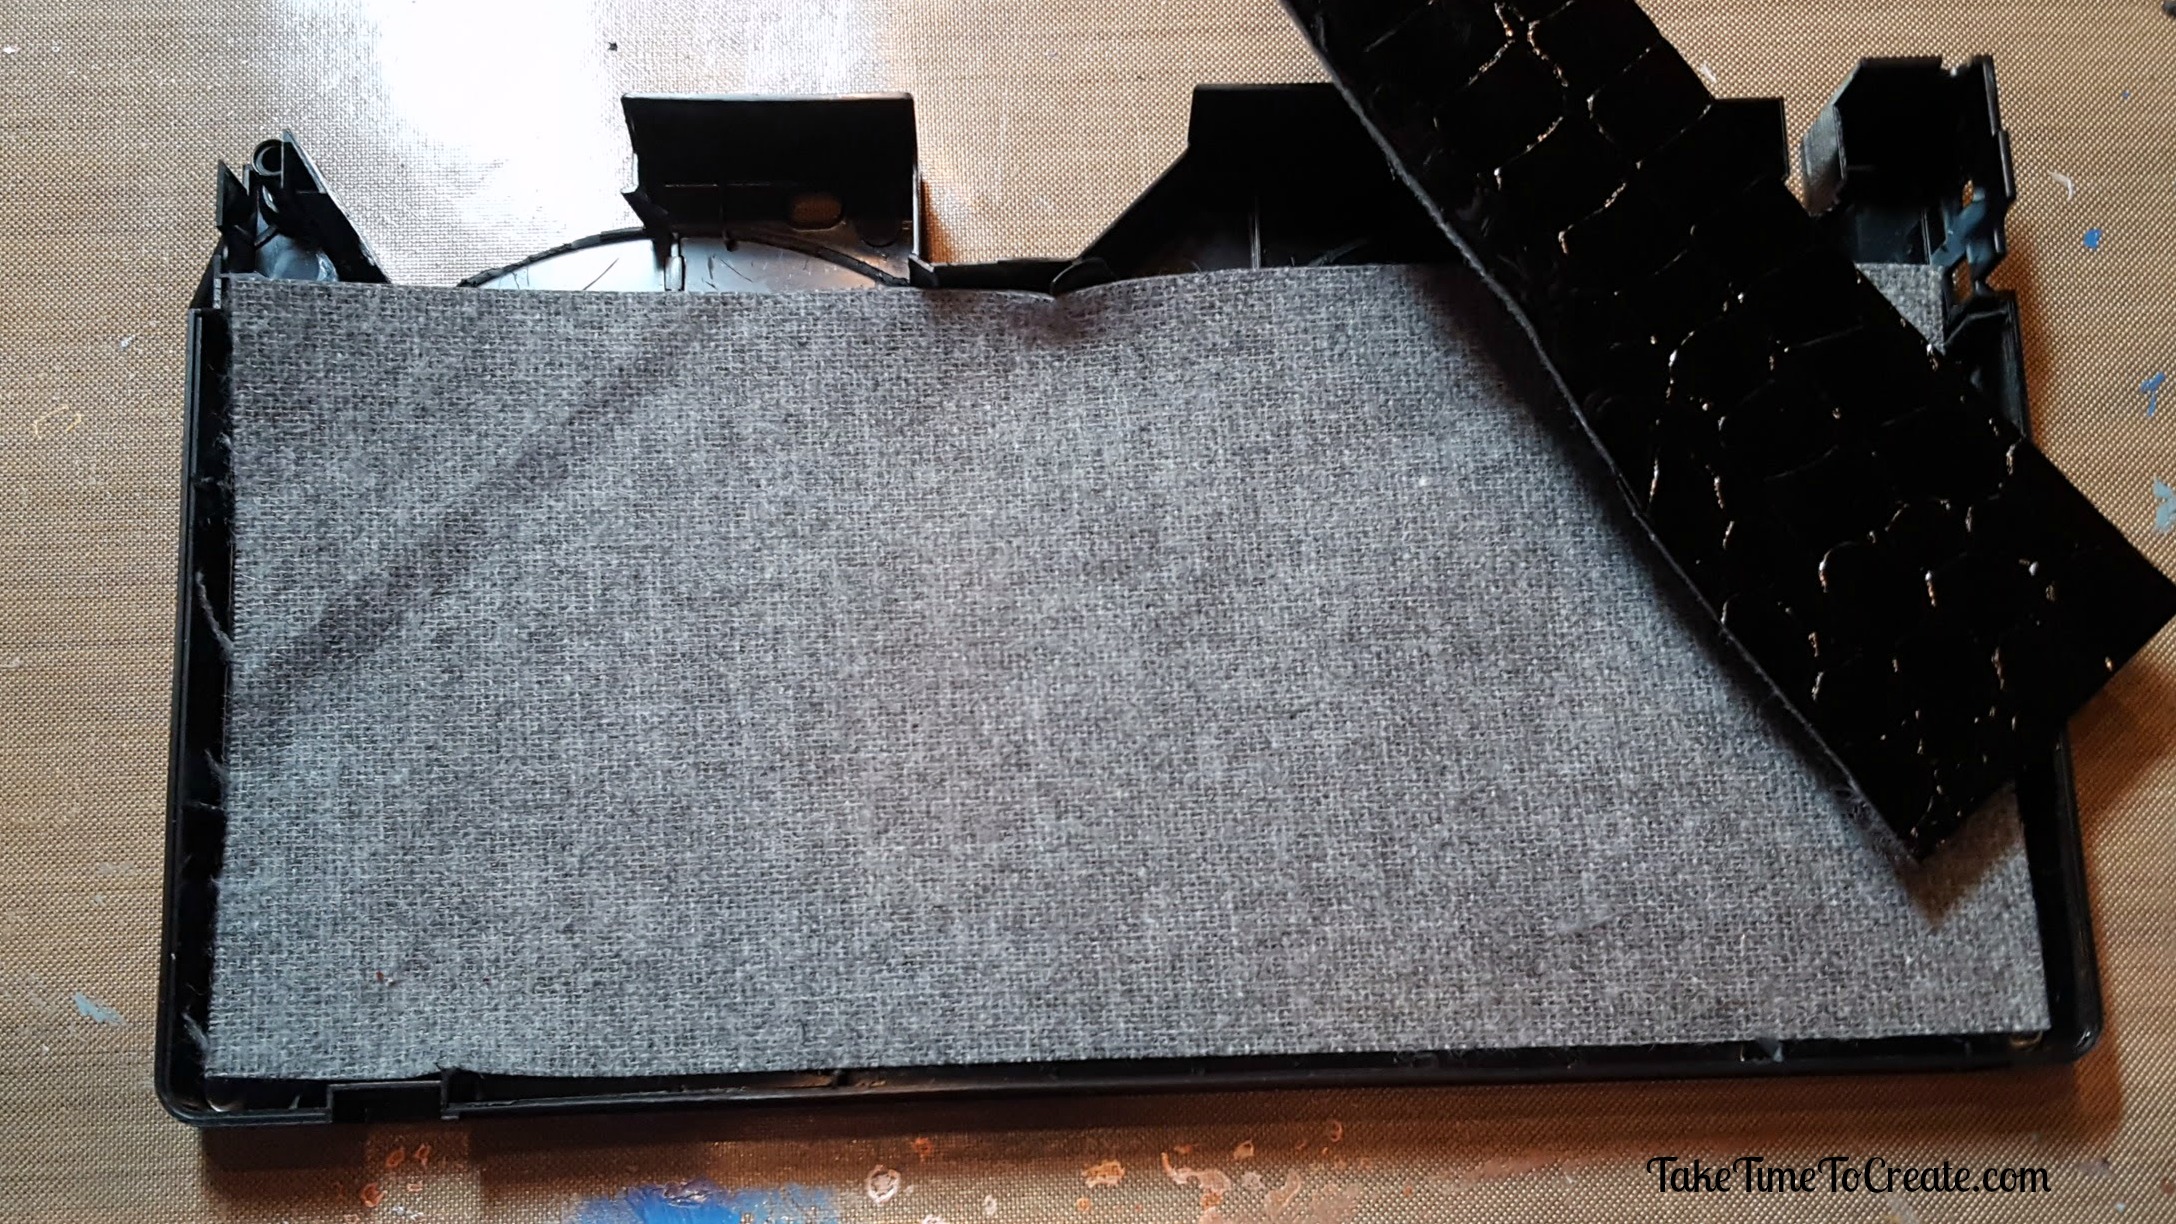
To get started cut your fabric in strips that are a little wider than your frame. Spread heavy gloss gel on the frame. Coat your fabric strip in Gloss gel and add to frame, crinkling it up as you go. While everything is wet take the time to get all the wrinkles and texture you are wanting.

Fabric Frame

Take your time and make sure it looks like what you are going for. Before you let your frame dry clean up the edges and back with a baby wipe. Let the frame dry. Once dry you can leave it at this step if you want, or you can go on to the next step which is adding paint.

Fabric Frame

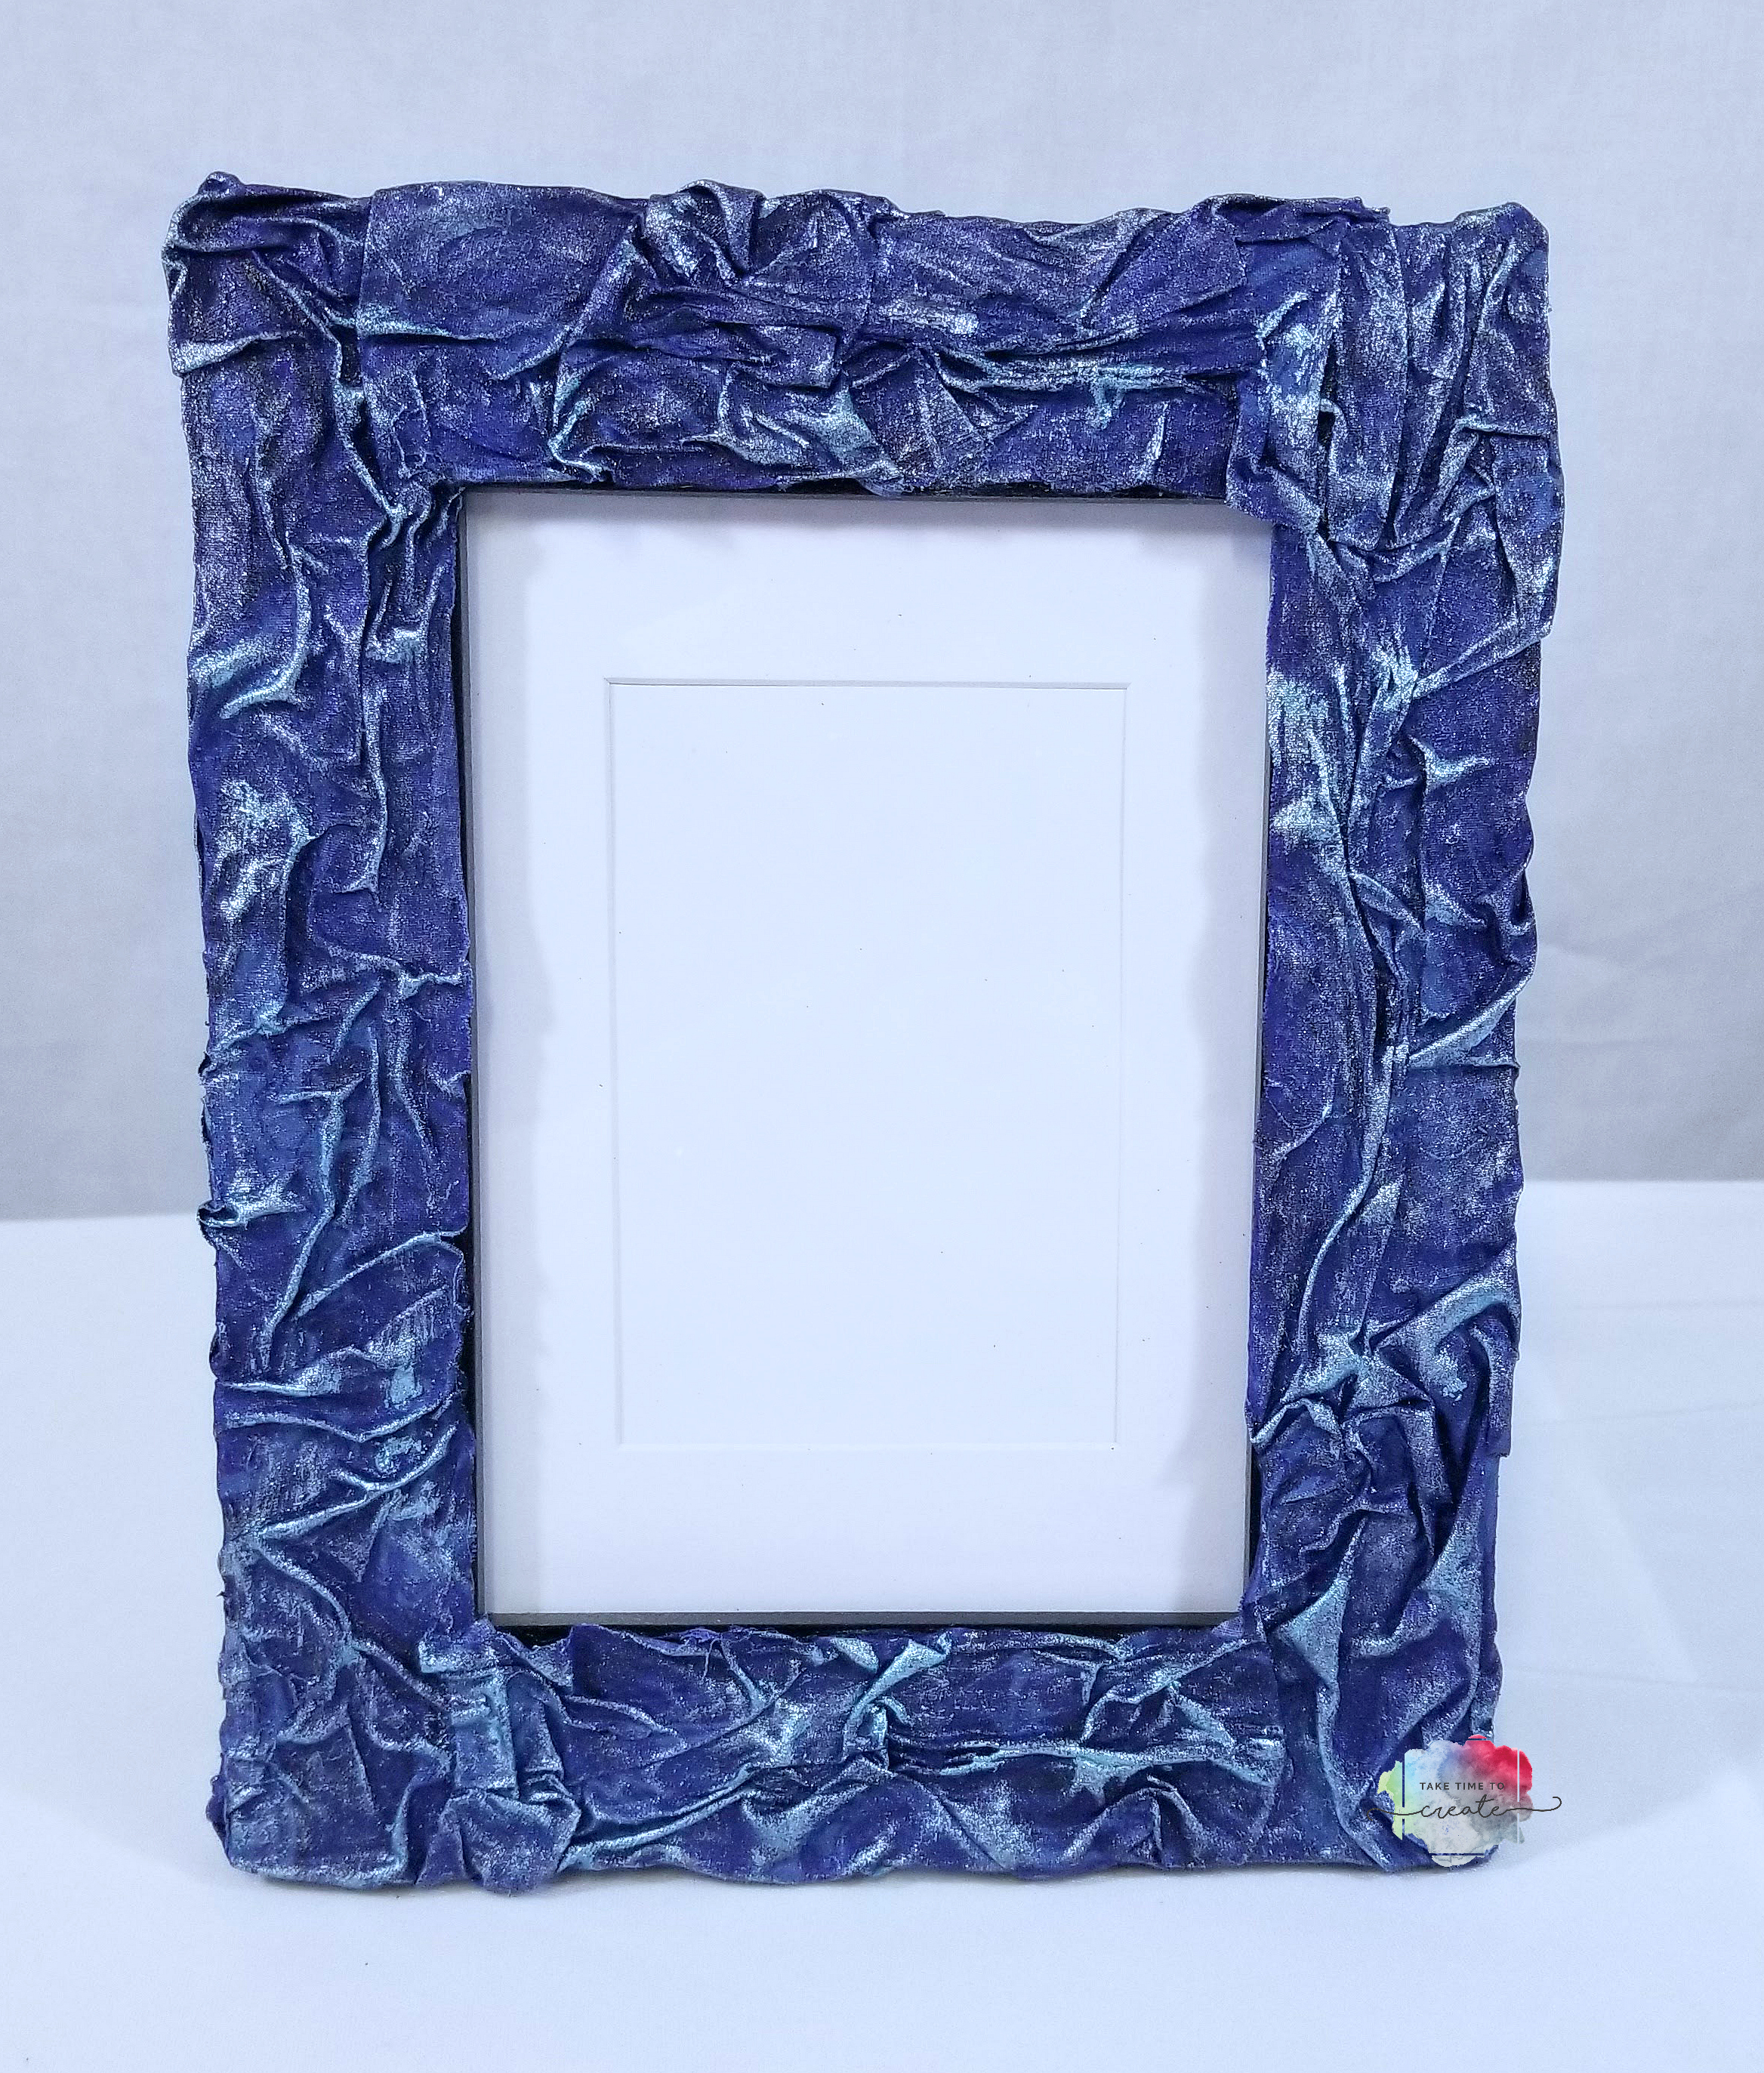
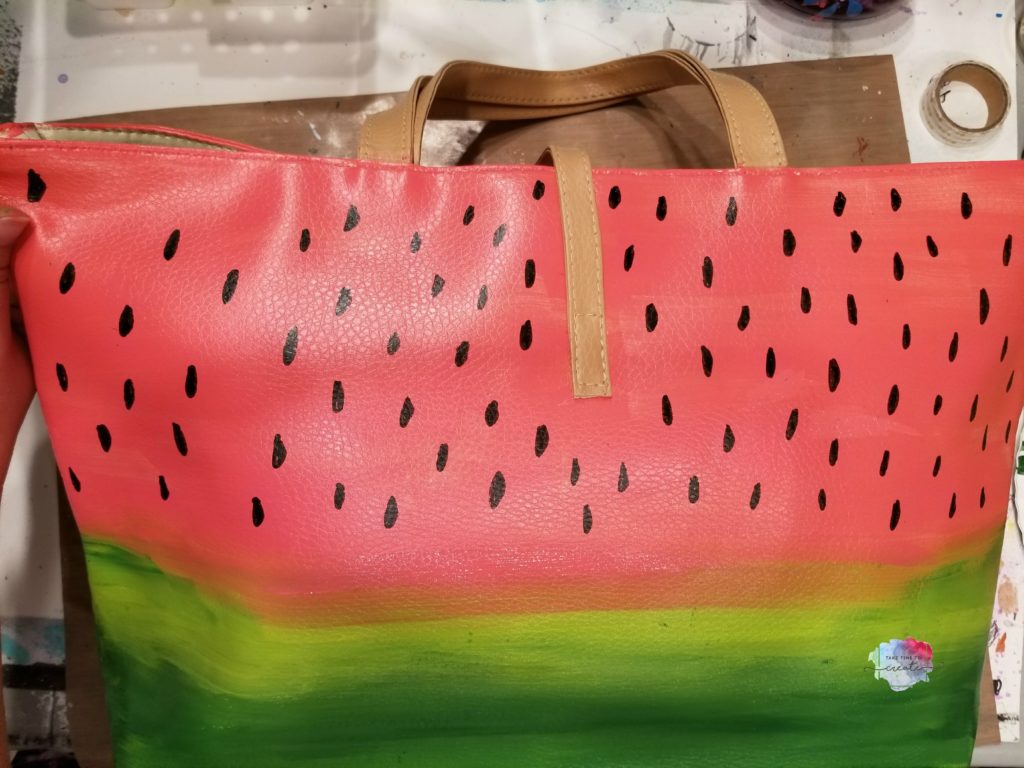
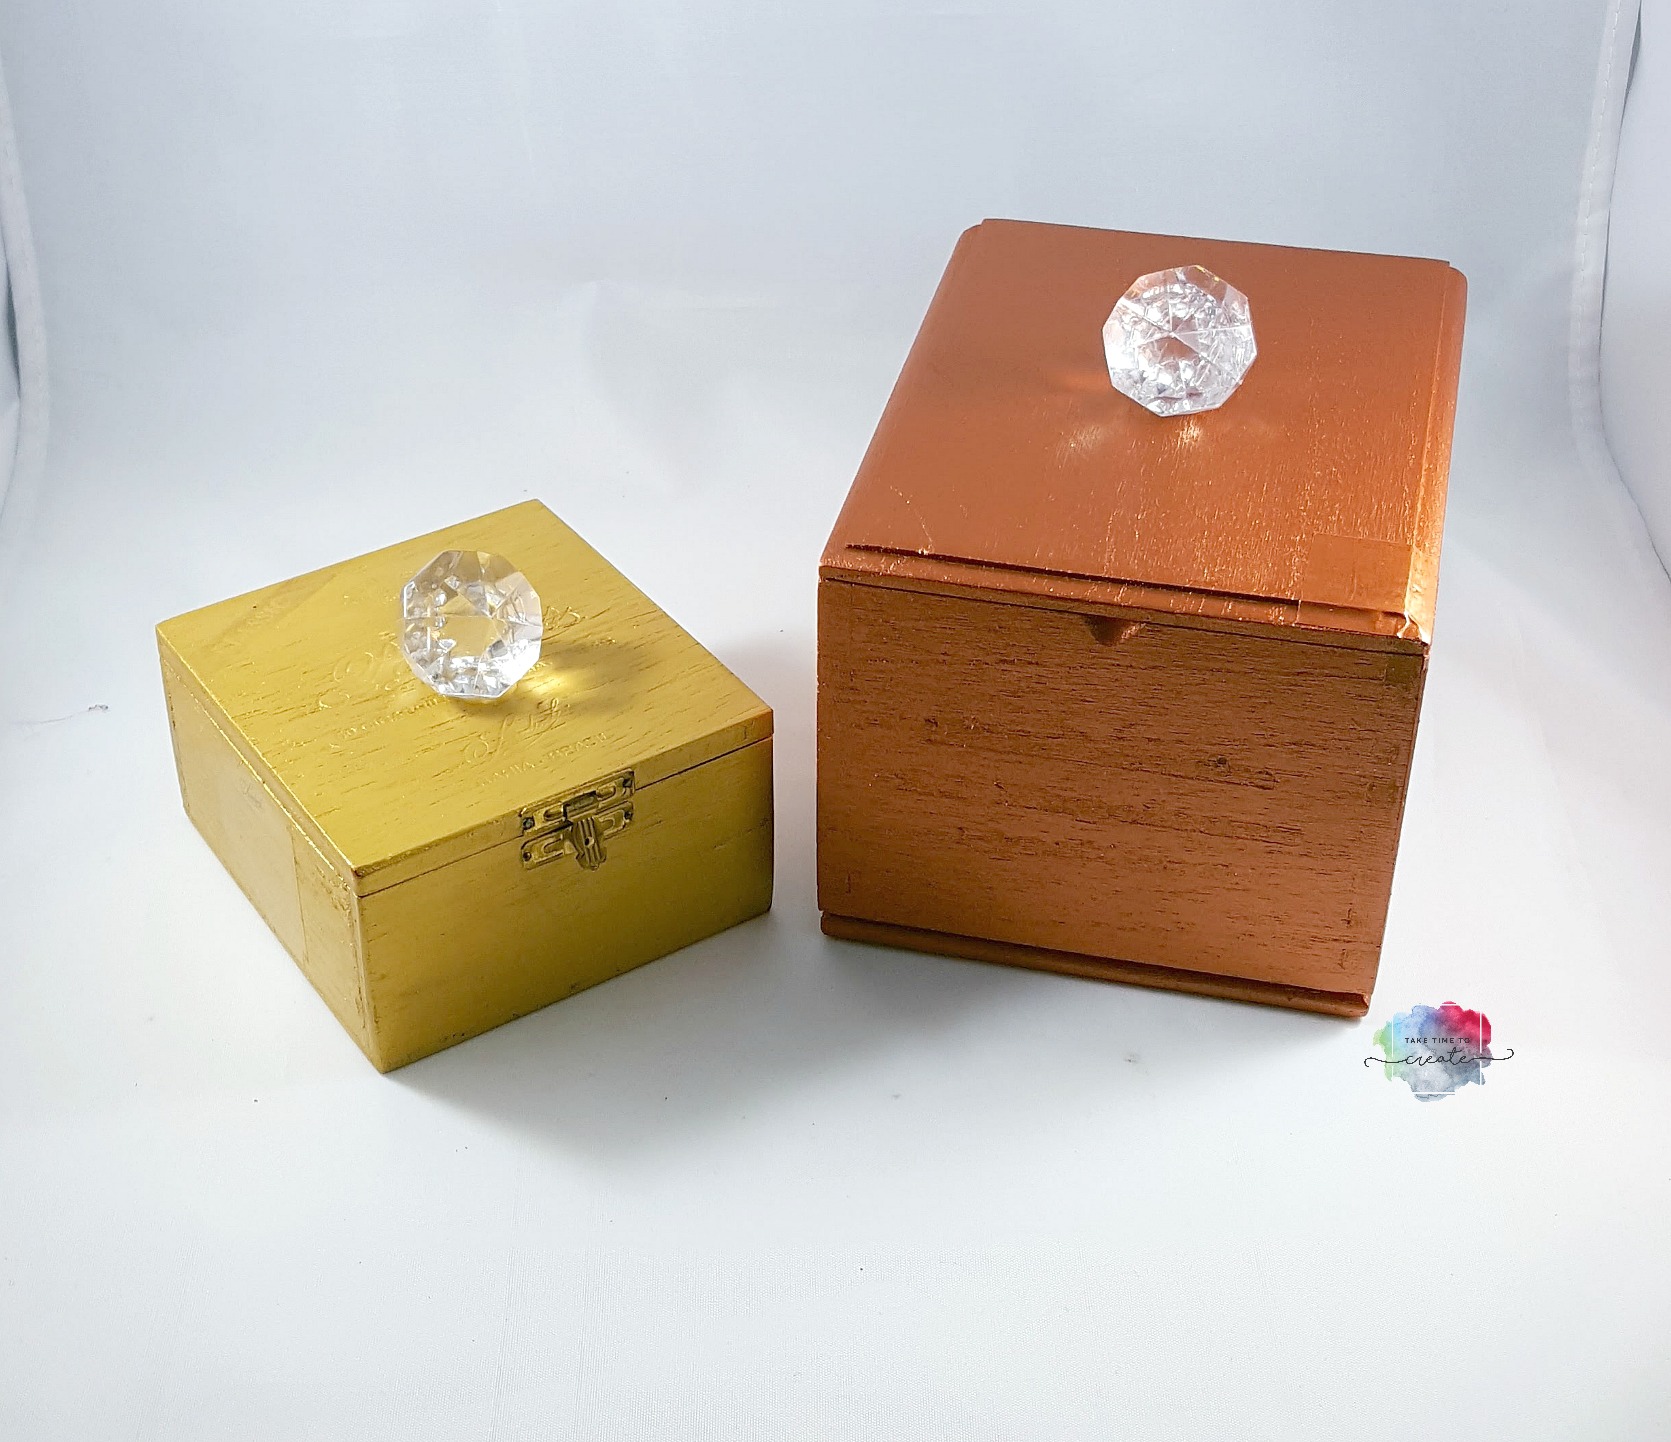
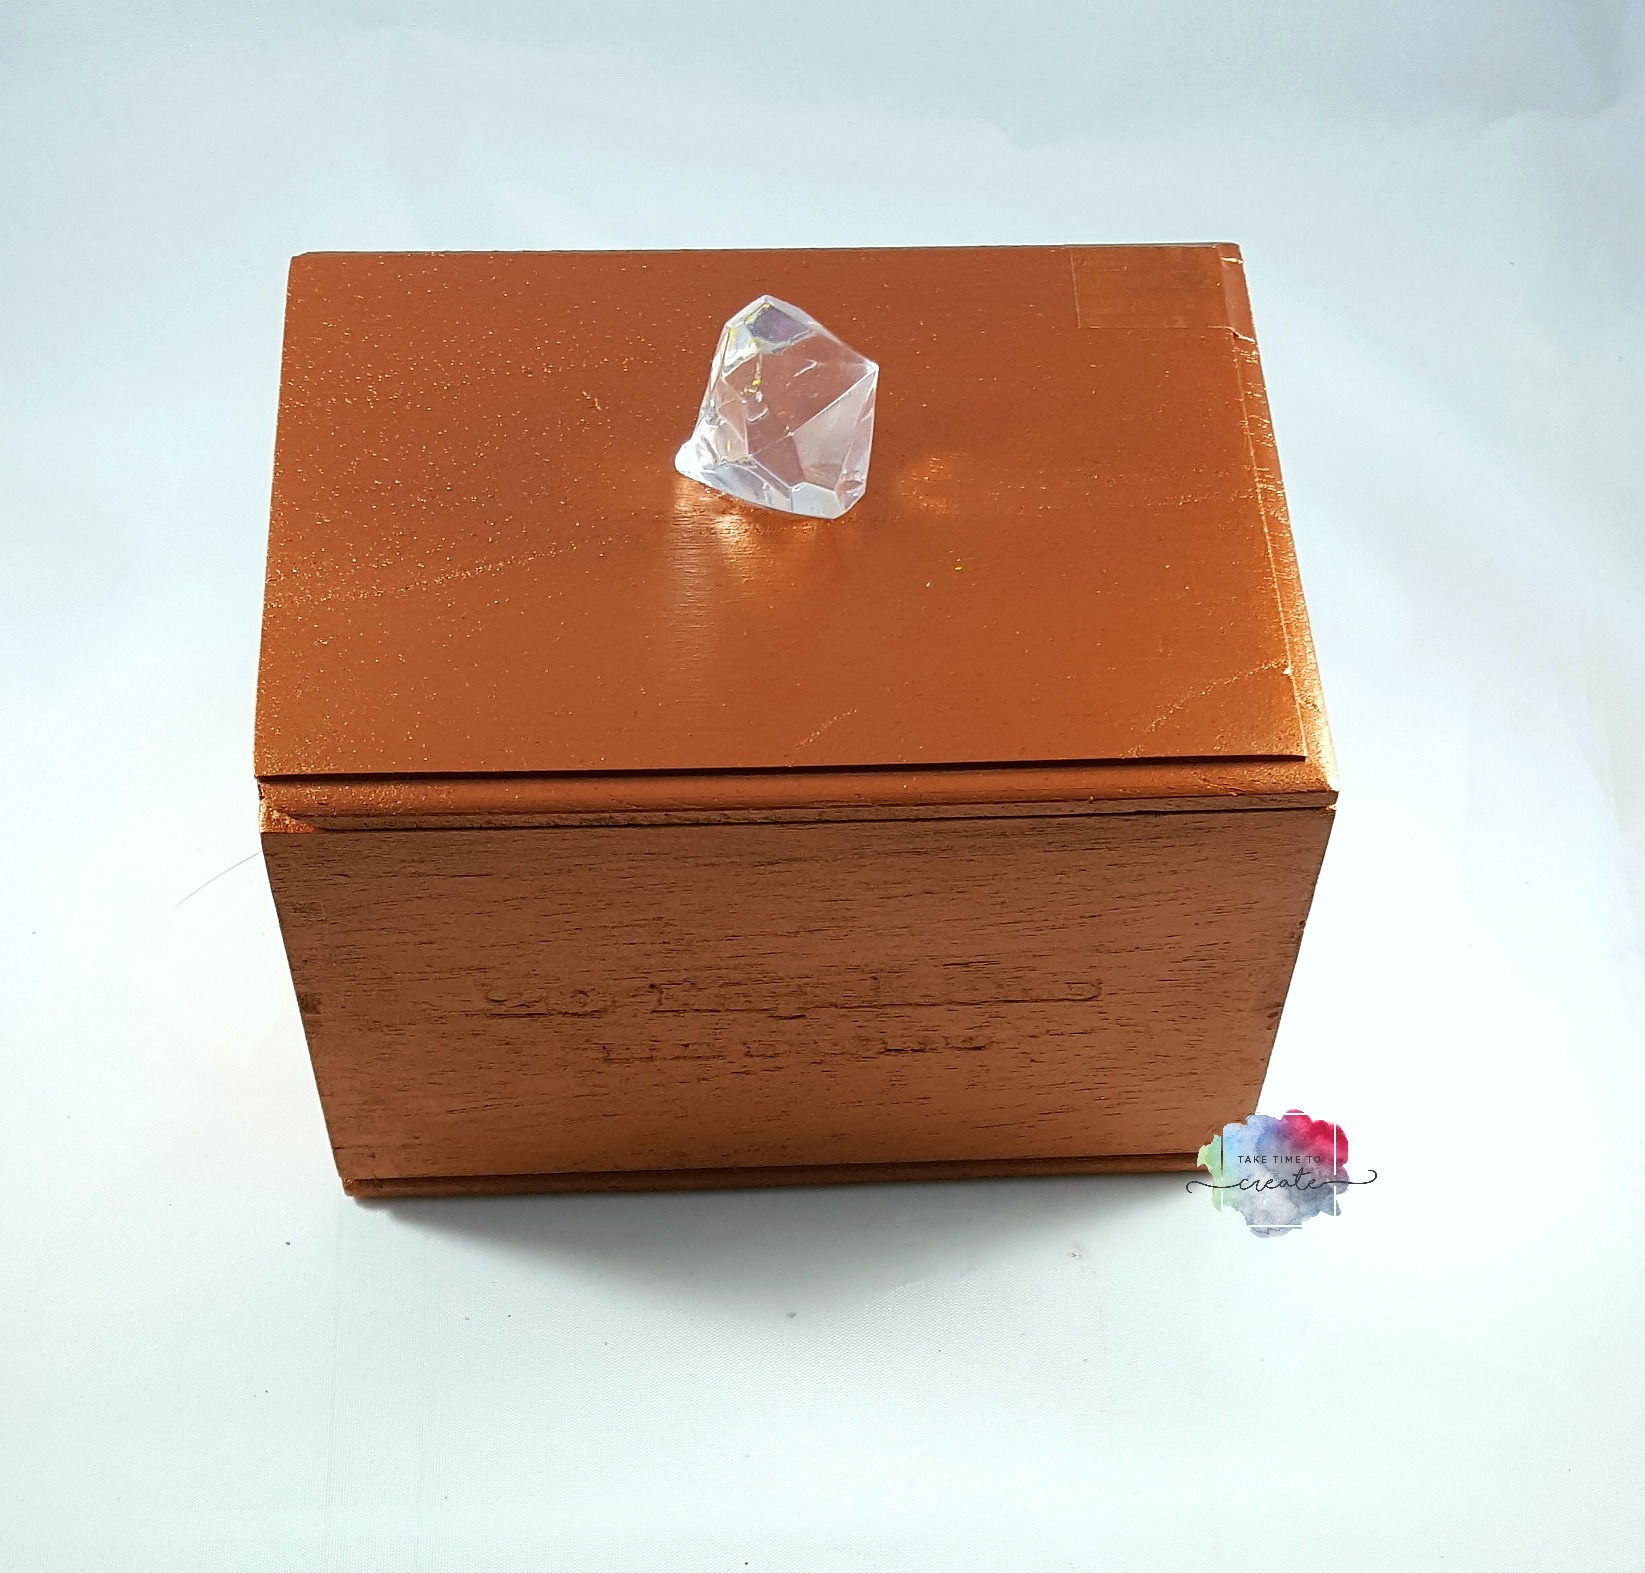
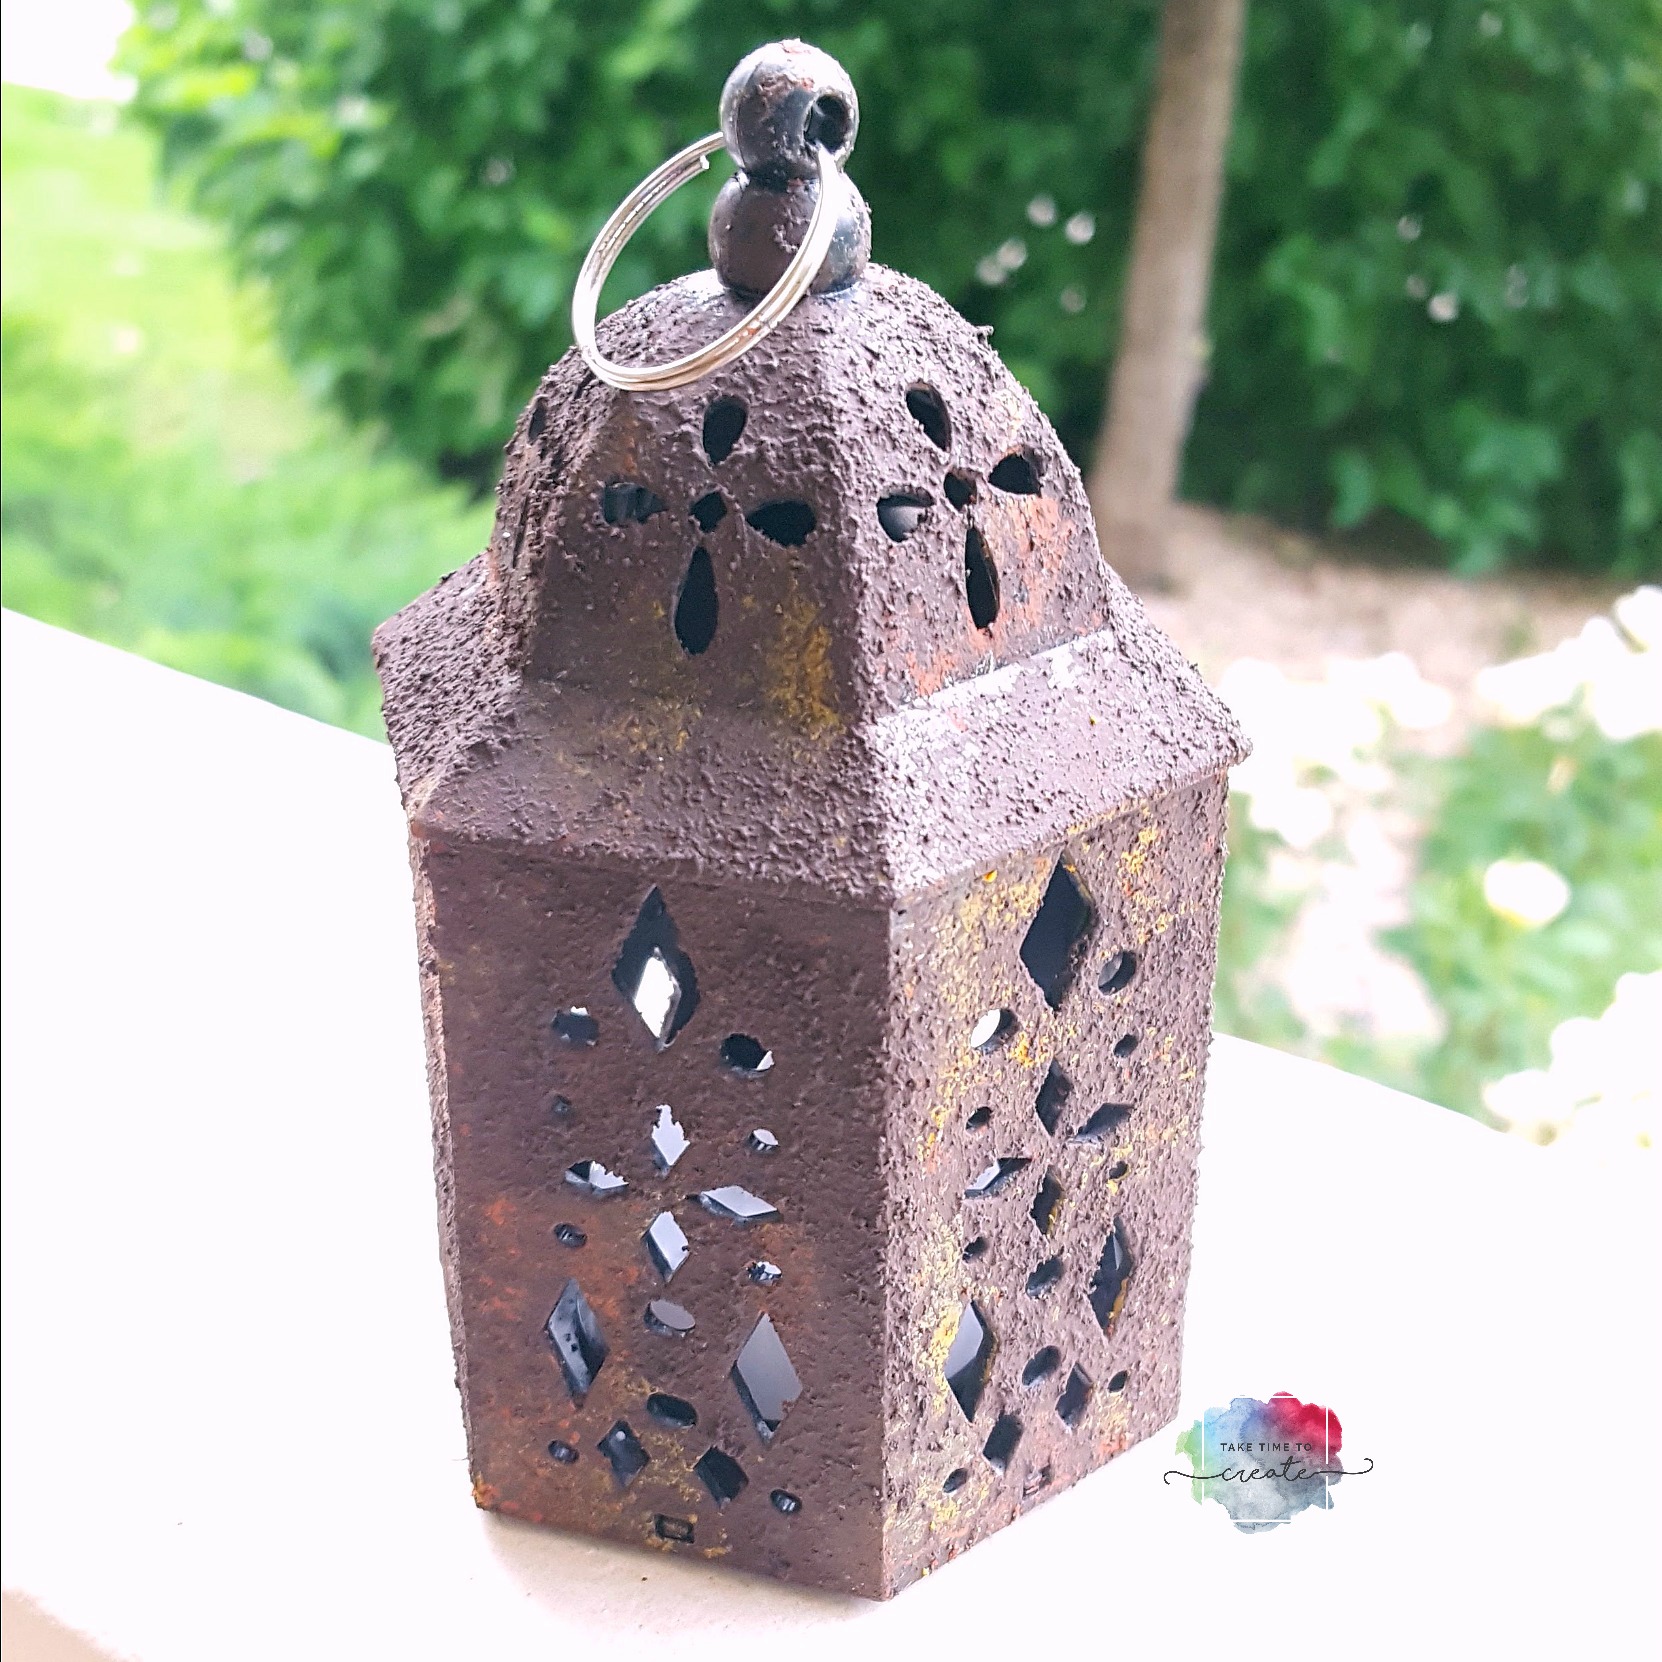
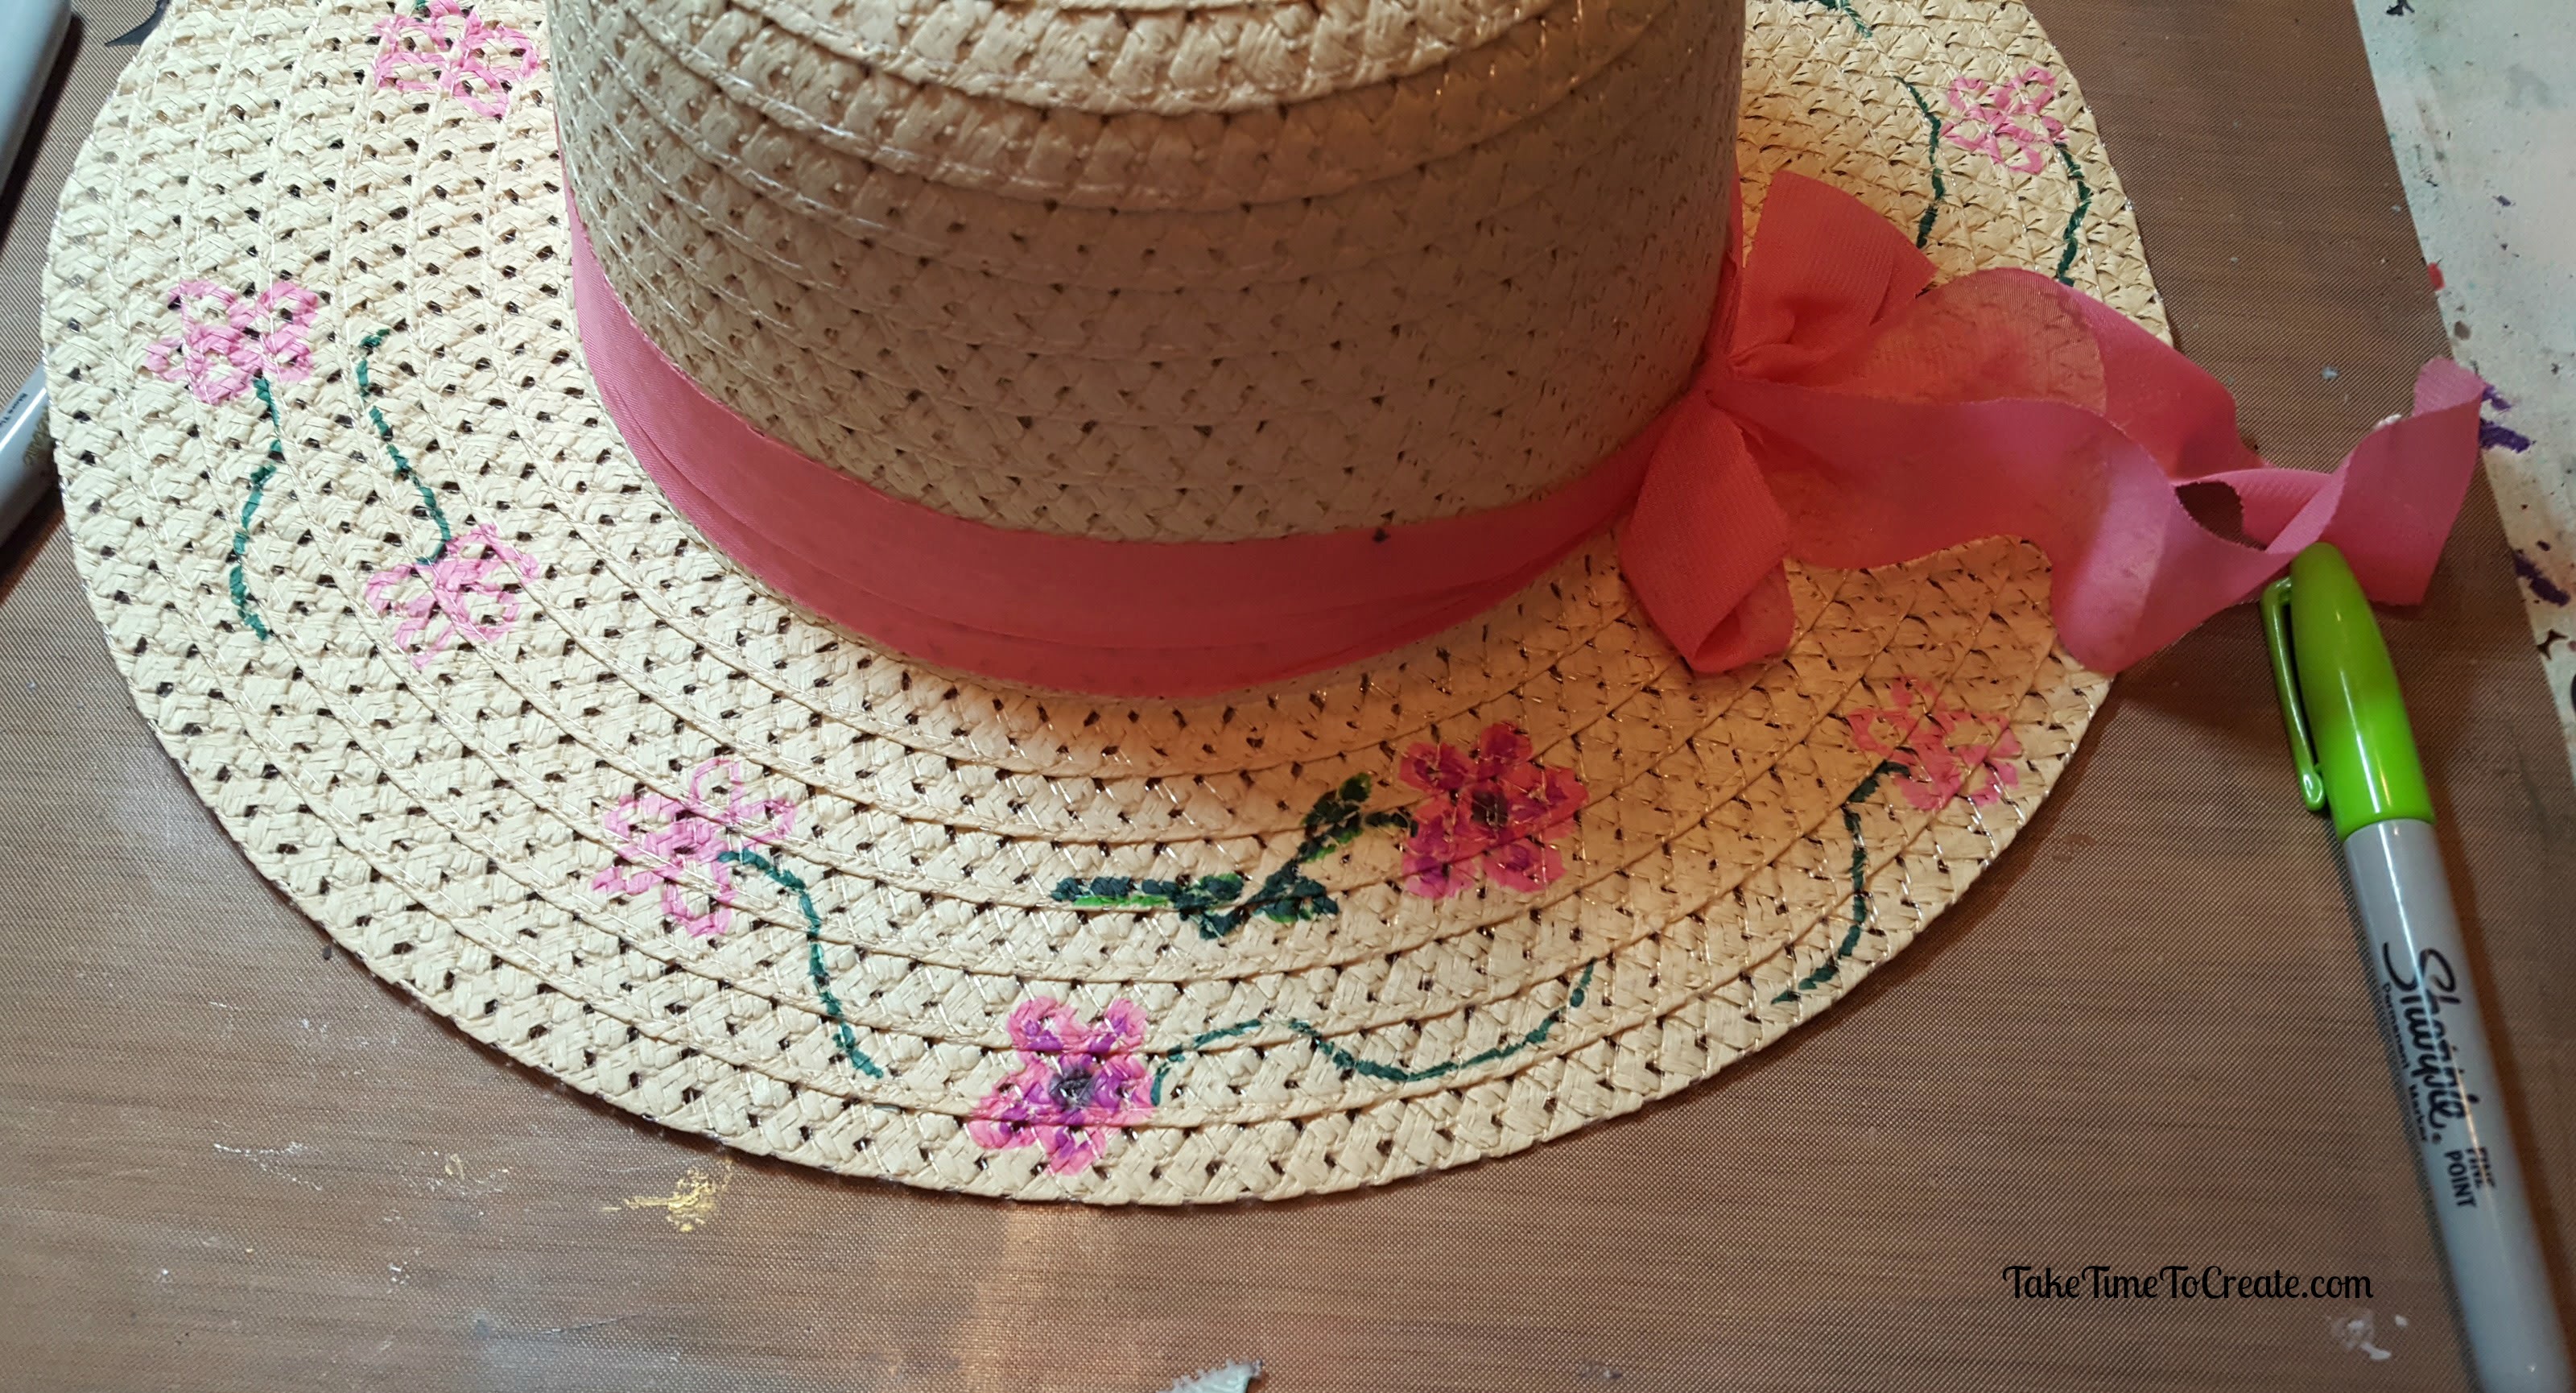
After the fabric dried (leaving it over night is best) I dry brushed on a Finnabair Metallique and a Finnabair Sparks paint to add some detail and sparkle. I really love her paints and they add that bit of interest that I am looking for. .

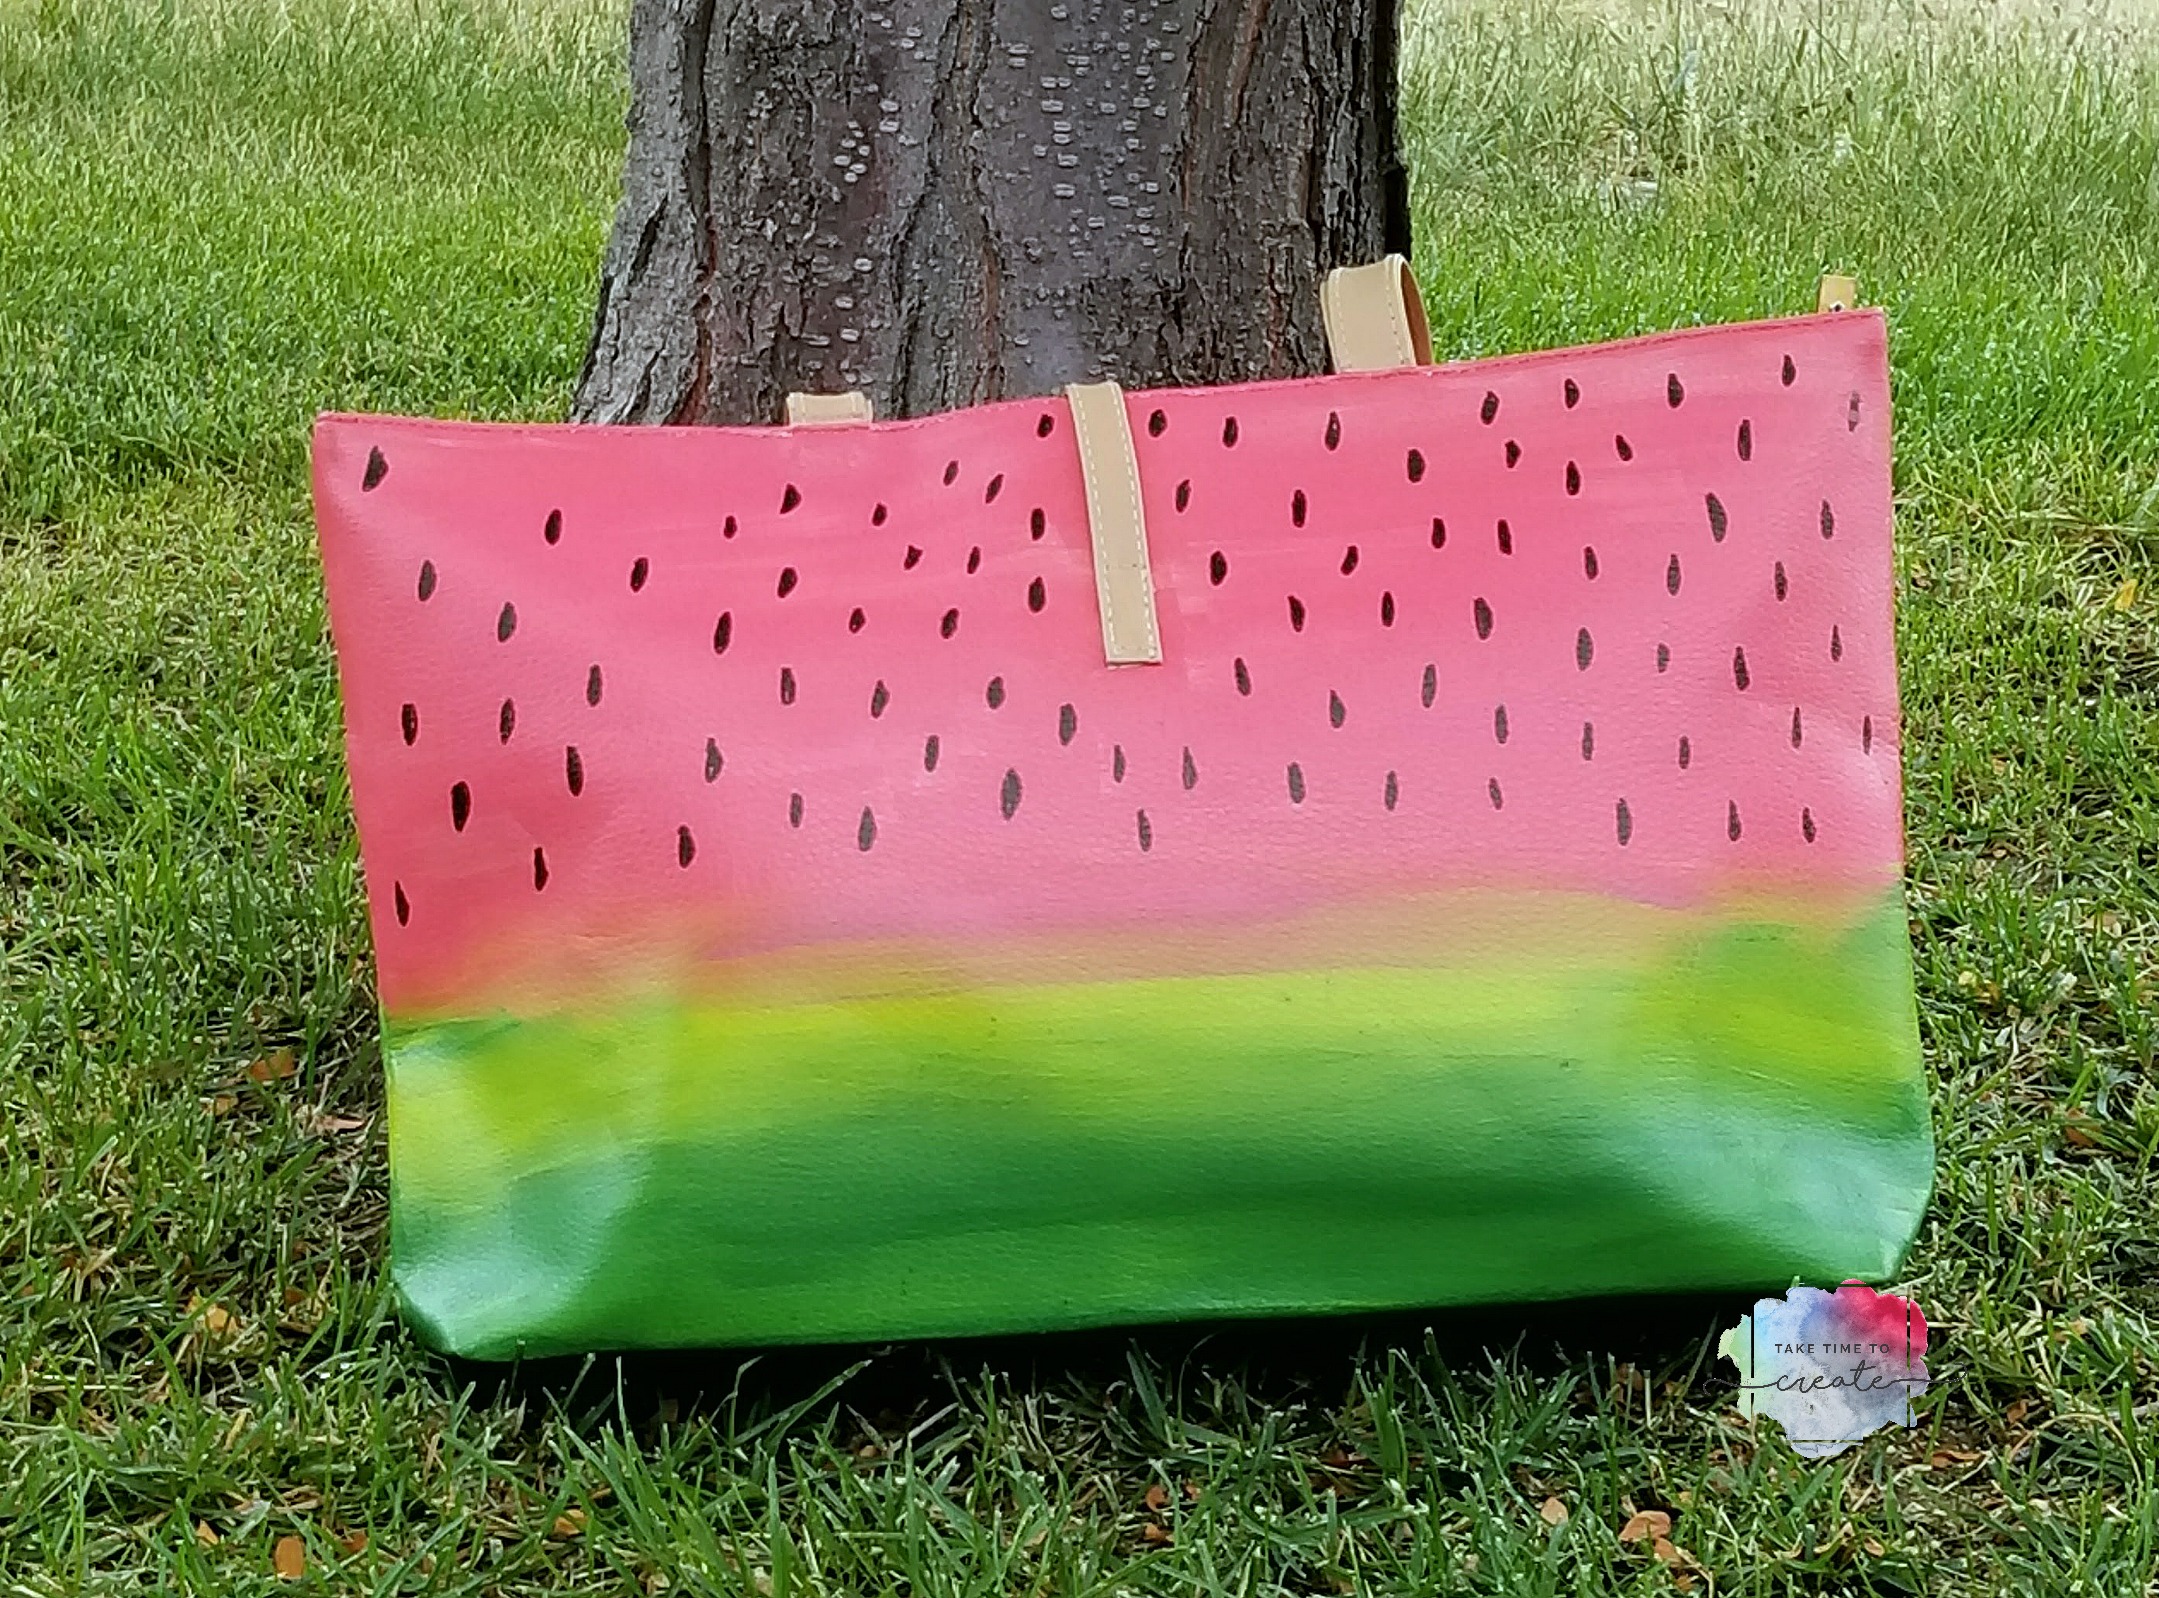
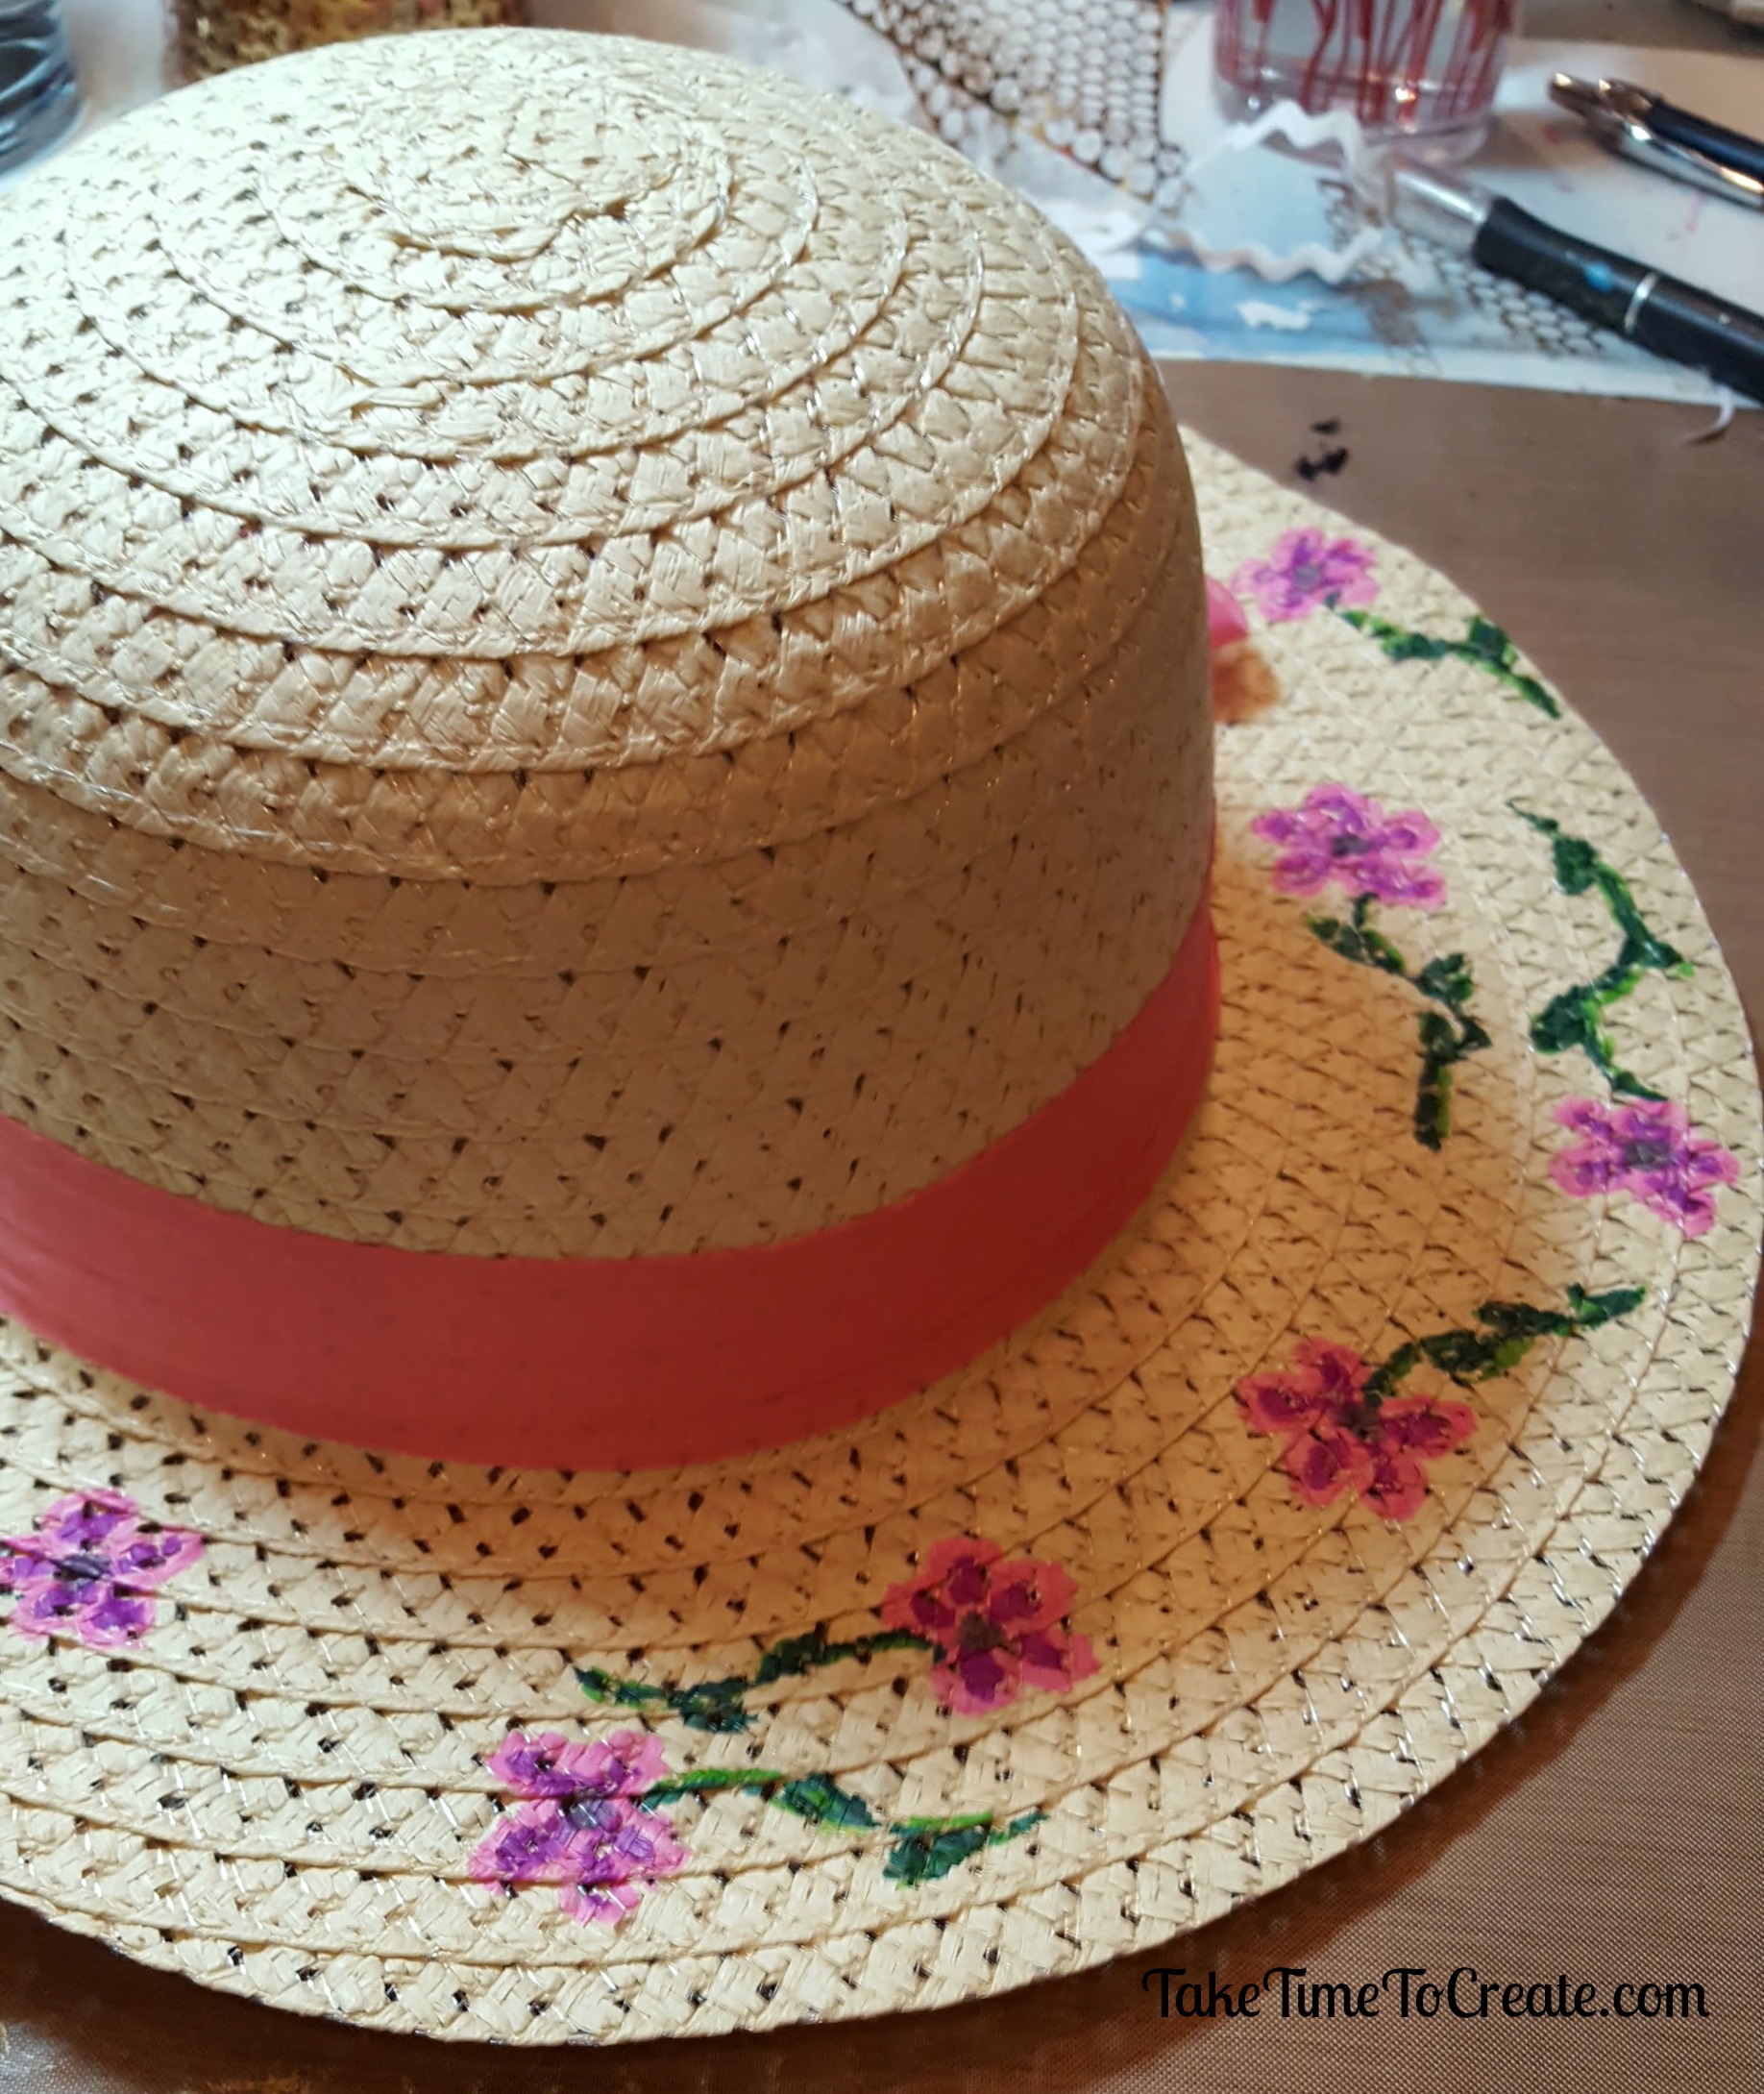
And that is it, the frame is done! These are so much fun and easy to make, I think I will be making a lot more as gifts this year.


The post Easy Fabric Frame DIY appeared first on Take Time To Create.


Altered Bottle for Bath Soaks

Hello Everyone!

With the holidays approaching it is important to take time to relax and a bath is perfect for relaxing! I made these altered bottles for bath soaks which look great in your bathroom!

They are easy to make and they can also make a perfect handmade gift, or you can sell them at a craft fair.


For this project find a really great bottle. I found mine at Who Give a Scrap. It is on on the larger size, that worked perfectly for me.  Make sure it has a lid and that you clean it thoroughly.

altered bottle for bath salts

Once the bottle is clean and dry add your embellishments. I added burlap and lace around the bottle to start.

altered bottle for bath salts

Then I added a lot of flowers and beads to create the look I was going for. You can add flowers, buttons, keys, and found objects. Anything would look great on the bottle.

altered bottle for bath salts

Once it was all decorated I added the bath salts and the cork. Now I have a great gift, or even something for me.

altered bottle for bath salts

How do you try and relax during the holidays?

The post Altered Bottle for Bath Soaks appeared first on Take Time To Create.

DIY Watermelon Bag

Hello everyone!

This post contains affiliate links

One of my favorite summer treats is watermelon! I am convinced that it is the perfect food, sweet, juicy, messy, and pink, lol.

So I decided to make my very own watermelon bag to wear and show the world my love of watermelons.

diy watermelon bag

Materials:

  • Bag- I got mine from Sammy dress about a year ago, but here is a similar one on Amazon: Bag
  • Paint- I used Folk art acrylic paint, but any acrylic paint should do the trick: Paint
  • Paint pen- for drawing the seeds: paint pen


Instructions:

Here is the bag before any painting. It is a good bag and just fine the way it is, but I was determined to have a watermelon bag, lol.

diy watermelon bag

I found these 3 great colors from Folk Art in Pink Melon, Citrus Green and Classic Green. I thought they were the perfect watermelon color!diy watermelon bag

but before you start to paint measure your bag. You to make sure that you have about 2/3 of be bag in pink and the rest in green. But this is just a guess, use your eye to make a good judgement as to how much of each color.

diy watermelon bag

Then start painting. I started with the pink then went on to the greens. I painted in broad strokes and left the strokes in each of the colors as I painted. I didn’t want it too blended, I was going for a casual vibe. You can always blend more if that is  your style.

diy watermelon bag

You can leave it with out the seeds, but I thought the bag needed them. I just painted them on using a paint pen.

diy watermelon bag

I am loving how it turned out! What fruit bags are you going to make this summer?

diy watermelon bag


The post DIY Watermelon Bag appeared first on Take Time To Create.


DIY- Restoration Hardware Inspired Box

Hello Everyone!

This post contains affiliate links.

Today I have another Restoration Hardware Inspired project!

As many of you know, I love RH, they have amazing home decor items! I did a chandelier inspired project a few years ago, you can find that here: Chandelier


I found these beautiful metallic boxes on the RH website. I love the wood and the beautiful gem on top. But the price is a little out of my reach right now.

But it is easy to make one! My is not exactly the same… but that is all part of the fun in doing an inspired project.

Materials:

  • Box. I used a wooden cigar box, but any wooden box will do. The cardboard cigar box probably won’t work as well, but if that is all you have then just paint the printing with white paint first then it should work ok.
  • Metallic paint. I used the Folk Art paint I had in my stash, but use what you have
  • Gem. I had this giant plastic gem that worked great. Of course I got my box and gem from Who Gives A Scrap, lol.
  • Glue. Use a glue that will work on wood and plastic, I used Loctite glue.

Instructions: 

Pick your color and paint 2 coats on the box. I used a gold and a copper paint that looked really cool. If you want to make it look more like the RH box you can sand it first and use a wood filler it you want to cover up the writing.  I wanted the rustic finish with the metallic and gems, a little contrast that I like.

RH Inspired Box

Once the outside and inside are completely dry then glue your gem on with your glue. I liked the gem on the top, but you can place it anywhere that looks good.

RH Inspired Box

Once the glue has dried overnight you can add a spray sealer if you want. I wanted to protect the paint so I did add a gloss spray sealer.

RH Inspired Box

And there you have it, a RH inspired box. So very cute and it is great to give as a gift, or put the gift inside and use it as the wrapping.

RH Inspired Box


RH Inspired Box


RH Inspired Box

What companies inspire your DIY projects?

The post DIY- Restoration Hardware Inspired Box appeared first on Take Time To Create.

DIY Rusty Lantern

Hello Everyone!

I seem to really love making everything all rusty and old, lol

I have another item that I made look rusty and worn, using the same techniques that I did earlier.

Here are the other posts about the rust technique:

For this project I used a lantern that I got at the dollar store (these are super cute just like this, but I just had to add my own touch to the lantern)

rust lantern

Then you just start dabbing on your paints with a make up sponge. I used the Finnabair Rust Pastes and I do like them! They add the right colors and texture to make it look like something rusted naturally.

rust lantern

Dab all around until you are happy with the the end look.

rust lantern

rust lantern

Here is the final product. I love this technique and I can’t wait to make something else rusty!
rust lantern

Also, I made a video of the process of making a rusty lantern if you want to check that out.

The post DIY Rusty Lantern appeared first on Take Time To Create.

Decorate Your Flip Flops

Hello Everyone!

This post contains affiliate links

Don’t you just love summer?  Long days, swimming, and flip flops. And you all know how much I love to decorate things and make them my own.

Today’s tutorial is on decorating your flip flops!

You can check out the You Tube video here:

This is an easy diy that you can do with friends or kids, or you can make them all for your self, lol

Materials

  • Flip Flops (here is a link to get them from the Dollar Store) but you can get them almost anywhere
  • Glue (I used this Loctite plastic glue. You can get it here: Glue)
  • Flowers, pom poms, stickles, feathers, or anything else you want to attach to your flip flops.

Instructions

As you can see in this pic I have the flip flops numbered. I did a terrible job of taking pics while was filming, lol, but I think you can get the idea of what I did from the pic. I used the loctite plastic glue on all the flip flops.

diy flip flops

Flip Flop #1

I did want to take away from the pretty design, just enhance it. So for his pair I just glued on some pom-pom trim.

Flip Flop #2

Feathers! This is such a cute, boho idea. Just glue one a pile of feathers, I got mine from the dollar store, but you can get them from almost any craft store.

Flip Flop #3

This is a fun free form design using stickles. Just draw your design and let it dry and you have a fantastic pair of flip flops

Flip Flop #4

Take a large flower and glue it to the top of the shoe. To help keep the flower in place while it was drying I used some clothes pins to keep it in place.

Flip Flop #5

For this pair I disassembled an old statement necklace and glued the pieces on to the flip flop. Just make sure you rough up the metal so it sticks to the plastic.

There you go, 5 different ideas on decorating your flip flops.

What other things do you used to decorate your flip flops?

diy flip flops

The post Decorate Your Flip Flops appeared first on Take Time To Create.


Create a Purse from an old VHS Tape

Create a Purse from an old VHS Tape

What do you do with all those old VHS tapes? Why you create a purse! Perfect way to add some interest to your outfit!

Hello Everyone!

I am almost embarrassed to admit, but I still have a lot of VHS tapes laying around my house. I hate to toss them, but I have no way of playing them (I don’t even own a VHS player…) So what do I with this pile of tapes? I decided to create a purse!

I will admit that is project did not turn out exactly how I envisioned it. But it did turn out cute and the next one will be better! In the instructions I will tell you what I did and how I will make it better next time, that way you can create it at home with out all my struggles, lol

create a diy vhs purse

Materials:

  • VHS tape
  • screw driver
  • cutters
  • fabric, buttons, trim
  • super glue

Instructions:

create a diy vhs purse

First you find an old VHS tape. If you no longer have one in your stash you can find them at thrift stores, or ask around I am sure someone has one somewhere.

create a diy vhs purse

This is the fun part. Unscrew all the screws and open the tape. Take out the innards and safe them, they will work great for a mixed media project. Next you want to cut off the plastic bits that are sticking up. This is one area that I messed up, I cut too much off the bottom and it doesn’t seal (there is a tiny hole in the bottom. Just be careful and you should be good.

Then I glued some faux leather fabric on one side, in hindsight I probably should have glued it to both sides, but I wanted to see the clear windows still. I think I can make this a little better next time.

create a diy vhs purse

Glue hinges so that you can open and close your purse. Try not to glue your fingers to the tape, lol (I may or may not have done the, lol) Also try not to glue the hinge shut, it takes a lot of careful prying if you happen to glue the hinge (once again I may or may not have done the, lol)

create a diy vhs purse

Then I added a decorated bottle cap and some string to secure the purse closed. Next time I will use elastic, but this works. Also next time I will add fabric to the sides so the tape doesn’t lay flat when open, it will help keep everything contained. Add a strap, I wanted mine to look a little funky so I added pom-pom trim.

create a diy vhs purse

create a diy vhs purse

Overall I am happy with how this turned out, and I am excited to make improvements to version 2.  What are you doing to up cycle your VHS tapes?

The post Create a Purse from an old VHS Tape appeared first on Take Time To Create


DIY Straw Flower Hat

DIY Straw Flower Hat

With spring approaching a new straw hat is what everyone needs. And with a few markers you can personalize the hat and add just the right amount of flair.

Hello Everyone!

It has been a while since I did a Dollar Store project and an accessory project, so I thought I would combine the 2 into 1 project.

I have a terrible case of Spring Fever and when I saw these cute straw hats at the Dollar Store I knew I had to get one and decorate it.

diy straw flower hat


The project is simple enough and can be completed in under an hour.

Materials:

Instructions:

Find a super cute straw hat that you are willing to draw on.
diy straw flower hat


I didn’t want to spend a ton of money, so I thought a dollar was perfect. I also wanted to make this an easy project that could be completed quickly. And I accomplished that as well.

diy straw flower hat


Find a design that you want to draw and go to town. I thought pretty pink flowers were perfect for spring.

diy straw flower hat


Straw is a little harder to work on, but not impossible, just take your time and you will be fine. Pick a design that doesn’t have a lot of detail or it will get muddy on the hat.

This would be a great project with a group or for a girls weekend or with kids.

How are you handling your Spring Fever?

This post contains affiliate links

The post DIY Straw Flower Hat appeared first on Take Time To Create.

DIY Harry Potter Drawstring Backpack

DIY Harry Potter Drawstring Backpack

A trip to Universal Studios isn’t complete with out this DIY Harry Potter Drawstring Backpack!

Hello Everyone!

Next month we will have the opportunity to go to Universal Studios Hollywood!!!  I am so excited! In great anticipation I decided to make a Harry Potter drawstring backpack that will be perfect to carry my wallet, camera, and sunglasses.  I decided to use this simple design that I found on the internet. Everyone know what book this is in reference to without being to obvious, lol

I have made drawstring backpacks before, you can see that post here: Cinderella backpack

My son is such a good sport being my model, lol.


diy harry potter drawstring backpack

Materials:

  • backpack (you can find a similar one here: bag)
  • Gold Sharpie (you can find it here: sharpie)
  • Graphite paper (you can find it here: paper)
  • Clip art from internet

Instructions:

The first thing you do is find an image that you would like to trace (just about any image will do) and print it in the size you need.

Spread out your bag and decide where you want your design.


diy harry potter drawstring backpack

Place the graphite paper on the bag then place the image over the graphite. Trace the image with a pencil so that the image will show up on the bag. Press hard and do over it a few times if needed.

diy harry potter drawstring backpack

Once you like the image take the papers off and set them aside.

Put a piece of cardboard in the bag to prevent the sharpie from bleeding to the other side

Now it is time to start drawing the image with a sharpie.

diy harry potter drawstring backpack

Fill it all in  and clean up the edges. Now you are ready to rock your new bag, and you don’t have to wait to wear it at Universal, this is a bag that can be worn all the time!


diy harry potter drawstring backpack

The post DIY Harry Potter Drawstring Backpack appeared first on Take Time To Create.

This post contains affiliate links, thank you for your support!

DIY Christmas Tree Earrings

DIY Wire Christmas Tree Earrings

Make the holidays merry with these easy DIY wire Christmas Tree earrings.

Hello Everyone

Do you ever dream about crafts, or is that just me? The other night I was dreaming about making wire Christmas Tree earrings, I know a little random but since I dreamt it I just had to try to make them.

Now the funny thing is is that I have never made anything like this before. I don’t usually work with wire, but I found that I love this technique and I have more ideas to make more jewelry.

Christmas tree earrings

I just love how my Christmas tree earrings turned out

Materials

  • Thin Wire- You can find it on Amazon here: Artistic Wire
  • French Hooks- You can find it on Amazon here: French Hooks
  • Star beads- I found mine at Oriental Trading- link here: Star bead, but the local craft stores might have something similar
  • Pliers and clippers and round objects in various sizes (this is to wrap the wire around)

Instructions:

You need to have a variety of round objects in various sizes. I started with a large marker and started wrapping, then I went to smaller marker then a pencil

Starting to wrap my Christmas tree earrings

I am starting to wrap my Christmas tree earrings

A smaller wrap for my Christmas tree earrings

Switching to a smaller wrap

The whole idea is to make the tree get smaller as you wrap it around. I wrapped it around each object about 3 times.  The wire I used was a bit thin, but it is a nice dainty look, but next time I think I will use a wire that is a bit heavier duty. This wire likes to bend a bit too easily for my liking. but I did like how it turned out.

Once I finished wrapping I added a french hook. Then I spent some time adjusting the wire to make sure it looked like a tree. I hind sight I probably should have used green wire, but I didn’t have that in my stash, so gold it is, lol.

When I looked at it I thought it was a bit too plain, so I thought I would add a star bead to the top.

I think the star bead is just what the trees needed! These earrings will be perfect the holiday parties this year.

Christmas tree earrings

The finished Christmas tree earrings


If you enjoyed this post, make sure you Follow Take Time To Create so you don’t miss out on other great posts.

Follow Take Time To Create on WordPress.com


This post contains affiliate links. Thank you for your support.

This post DIY Christmas Tree Earrings appeared first on Take Time To Create

« Older posts

© 2024 Take Time To Create

Theme by Anders NorenUp ↑

Follow

Get the latest posts delivered to your mailbox:

%d bloggers like this: