Hello Everyone!
If you are like me then you probably have about 800 million mason jars in your home. And all those wonderful crafts on Pinterest have inspired me to start using them!
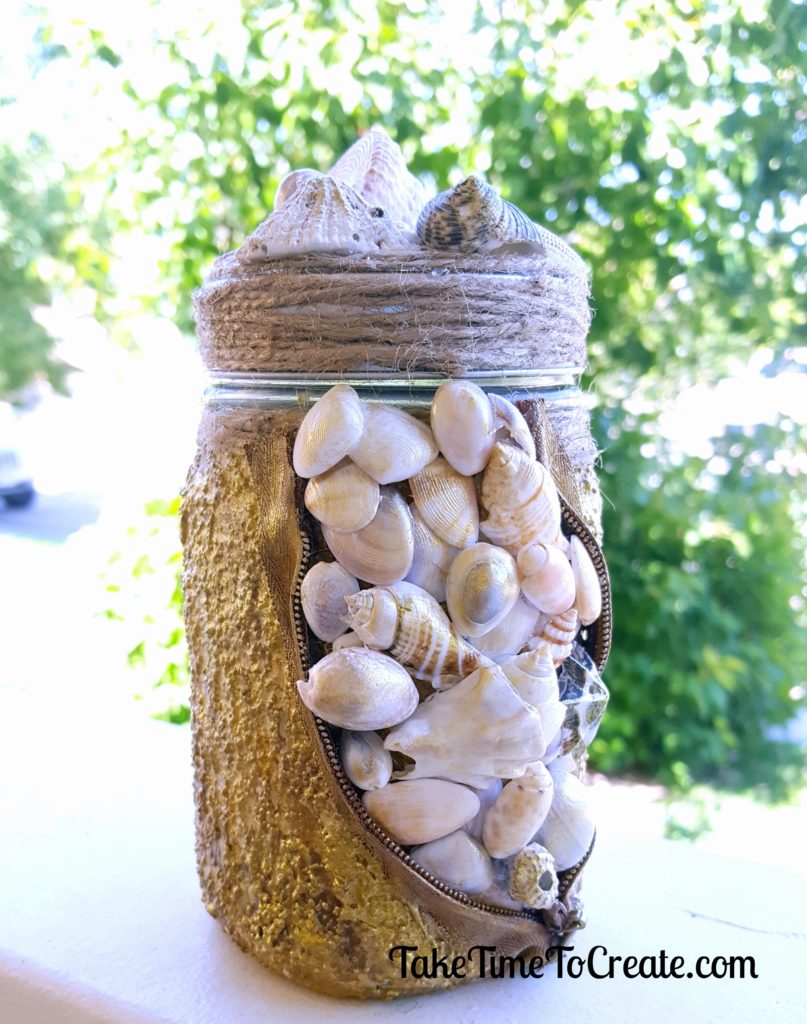
So I decided to use one of those mason jars in this tutorial. It looks organic and beachy with the sea shells and sand texture. Perfect to store your souvenirs from the beach.
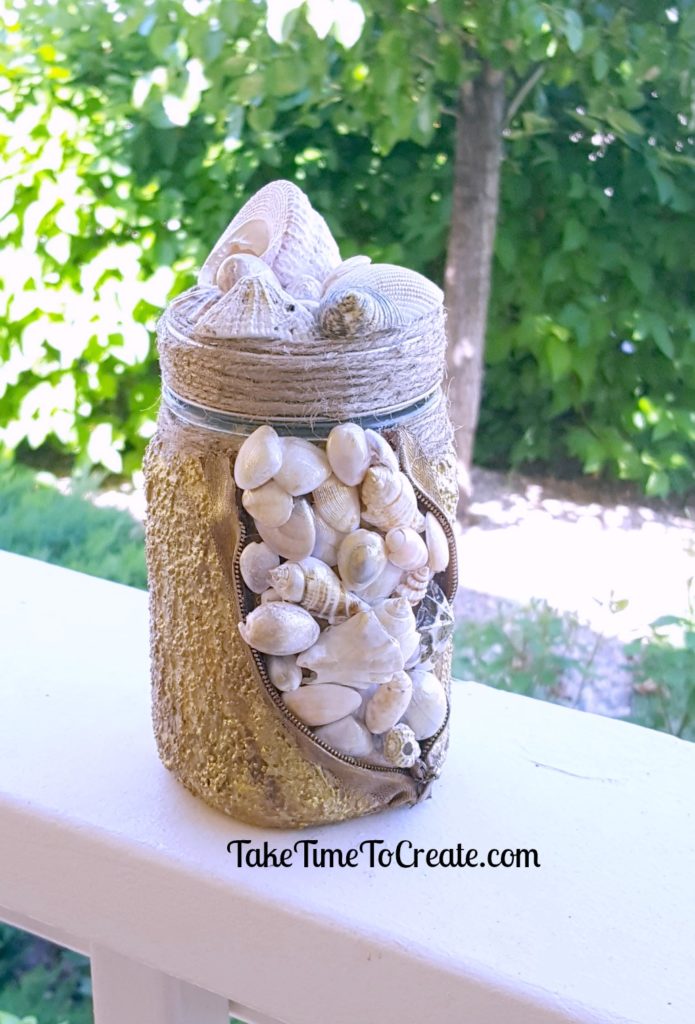
Materials
- Mason Jar
- Gesso
- Acrylic paint and brushes
- Hot Glue
- Zipper
- Sea Shells
Instructions
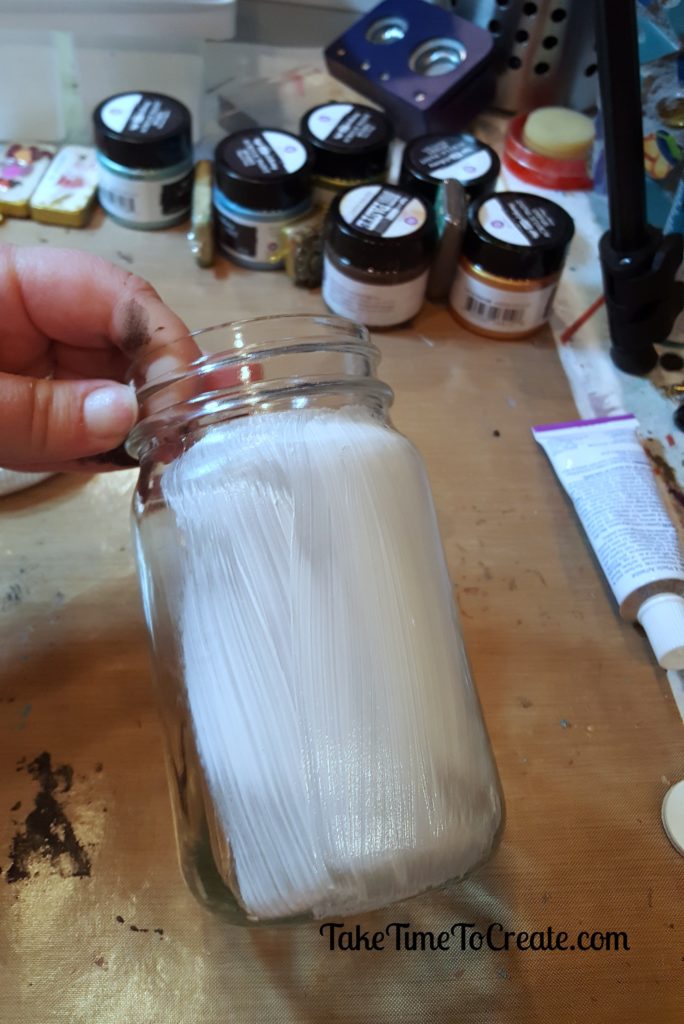
Find a mason jar, I am sure almost everyone has at least one mason jar in their homes, lol. You will need to prime it with white gesso. Paint a smooth layer all over the glass.
Please excuse my messy craft table, I have way too many projects going on and I am just a messy crafter, haha.
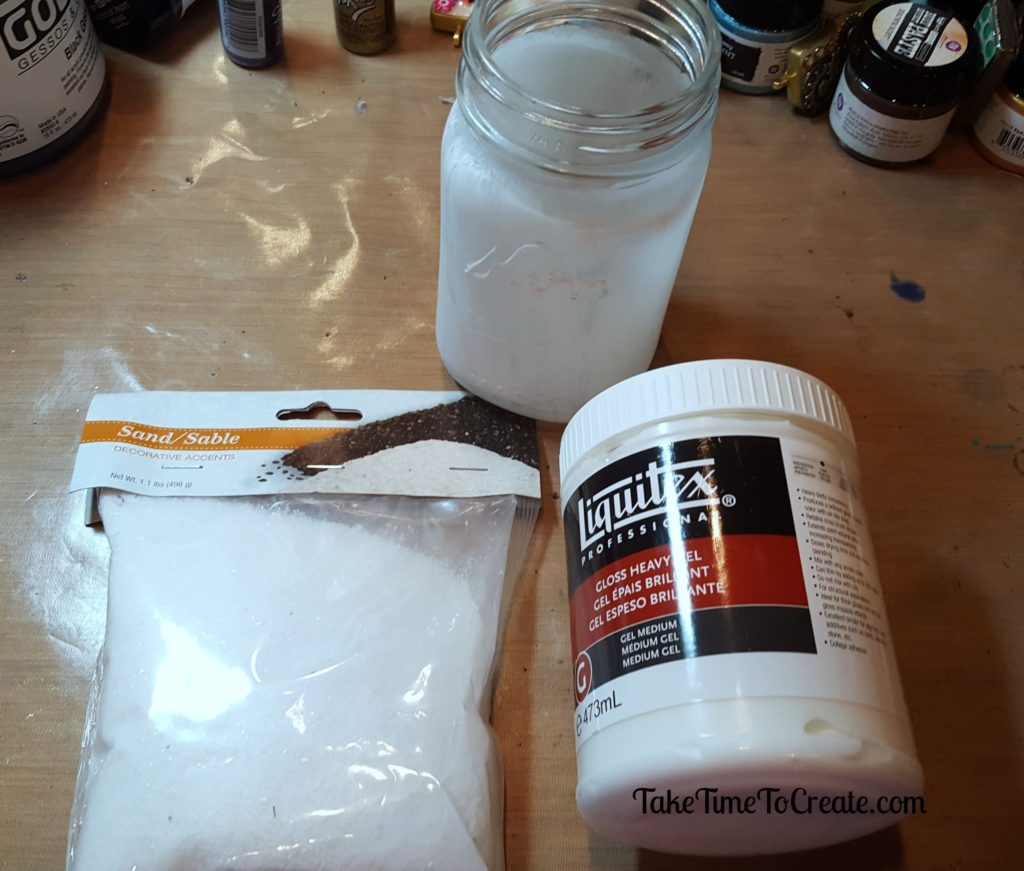
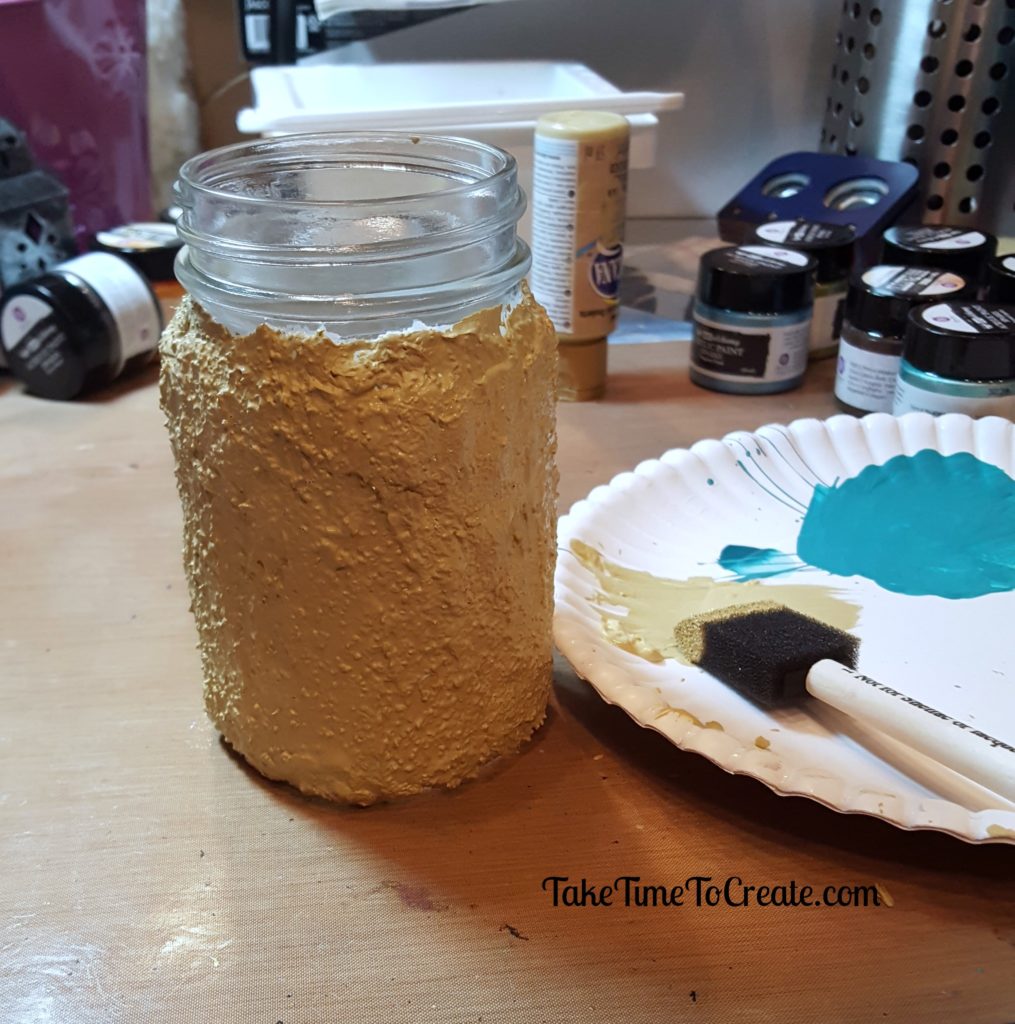
The next layer is made to look like sand. I added some sand from the dollar store to some heavy gel and sponged it on with a foam brush. Let this layer completely dry before adding paint. If you have textured paste you can use that, but I didn’t have any so I decided to make some.
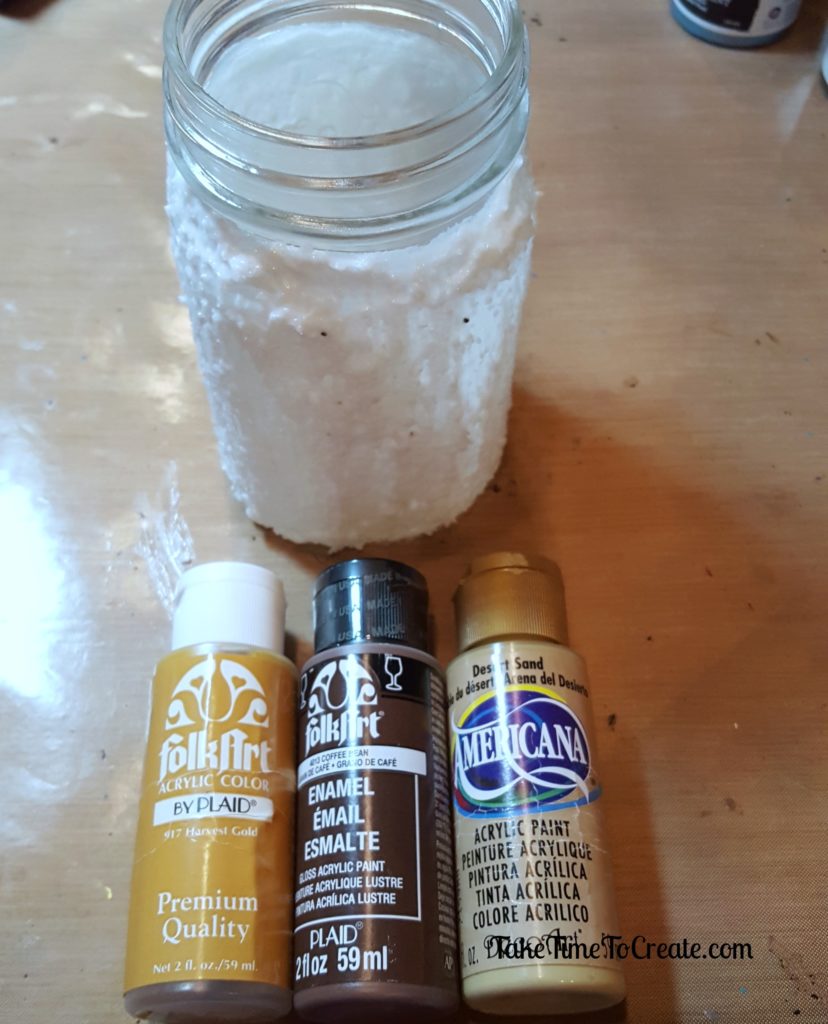
After the jar is dry you can add some acrylic paints. I sponged on 3 tan/sand colors to add detail and interest. Any browish colors should work.
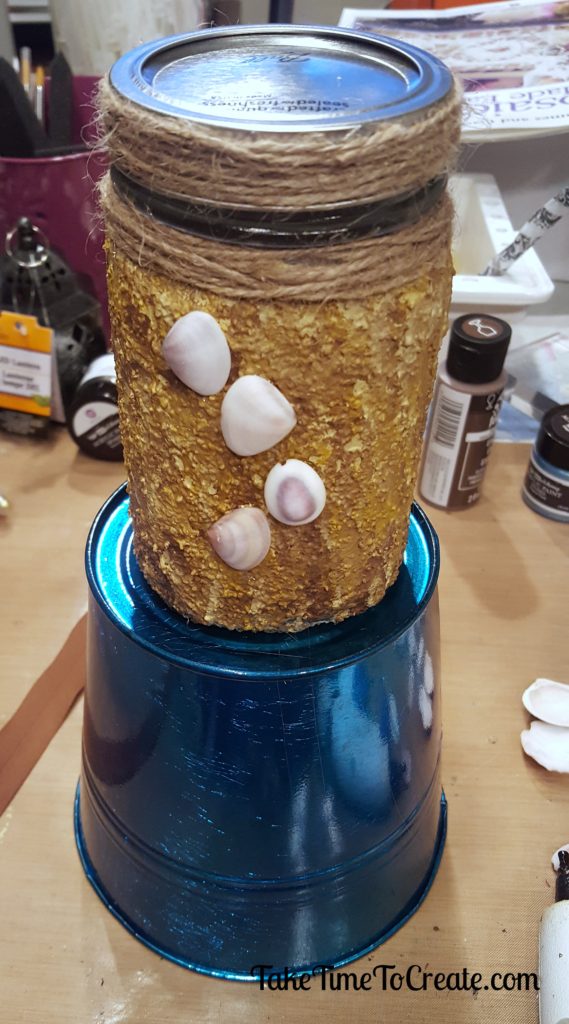
Once it is all dry you can add the sea shells, this is the fun part! Waiting until everything is dry will help with the glue adhering to the jar. I just used hot glue and that seemed to work for this project. Add a few shells and keep testing with the zipper to make sure your shells will fit.
Wrap the top with twine or raffia.
After I added a bunch of shells I added the zipper. Glue it all down and then fill in the blank spaces with more shells. I am a fan of adding more stuff until it isbursting. When you add shells to the lid lightly sand the metal to help the glue adhere.
Once it was complete I thought it needed some sparkle so I dry brushed on some beautiful gold acrylic paint.
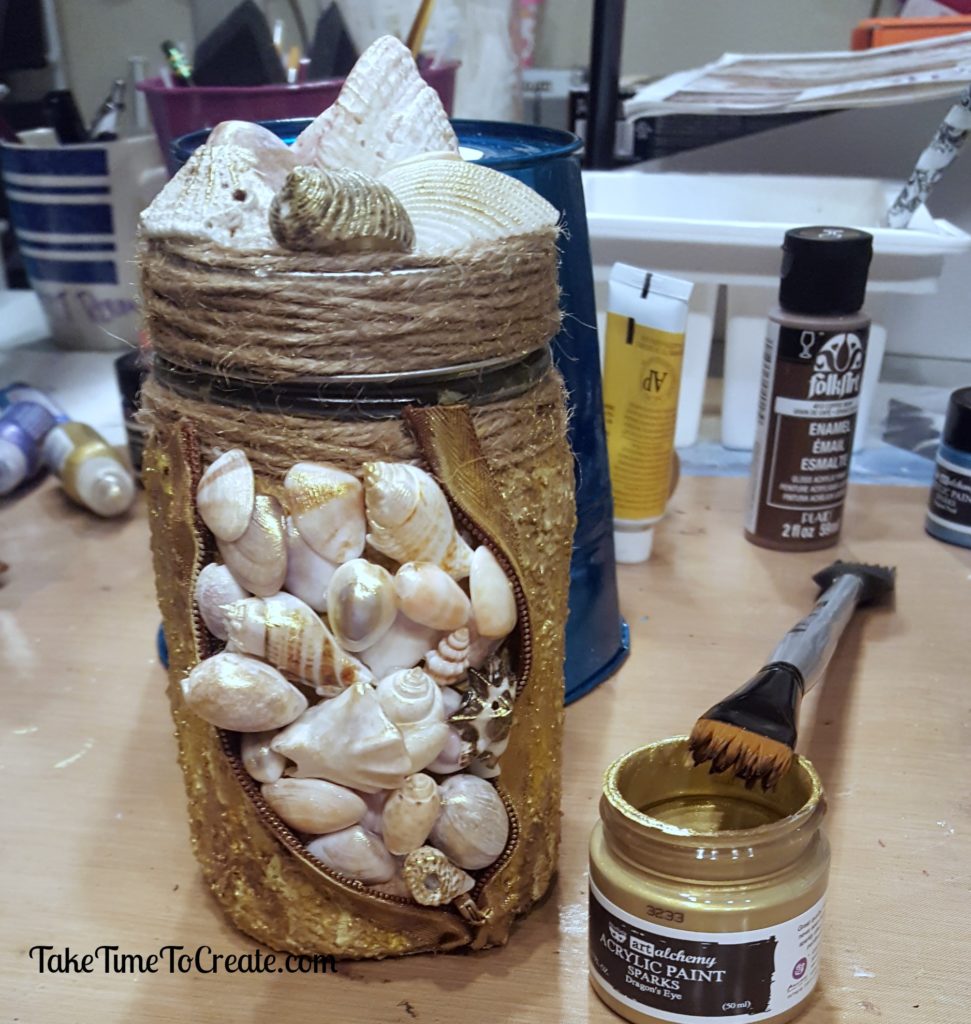
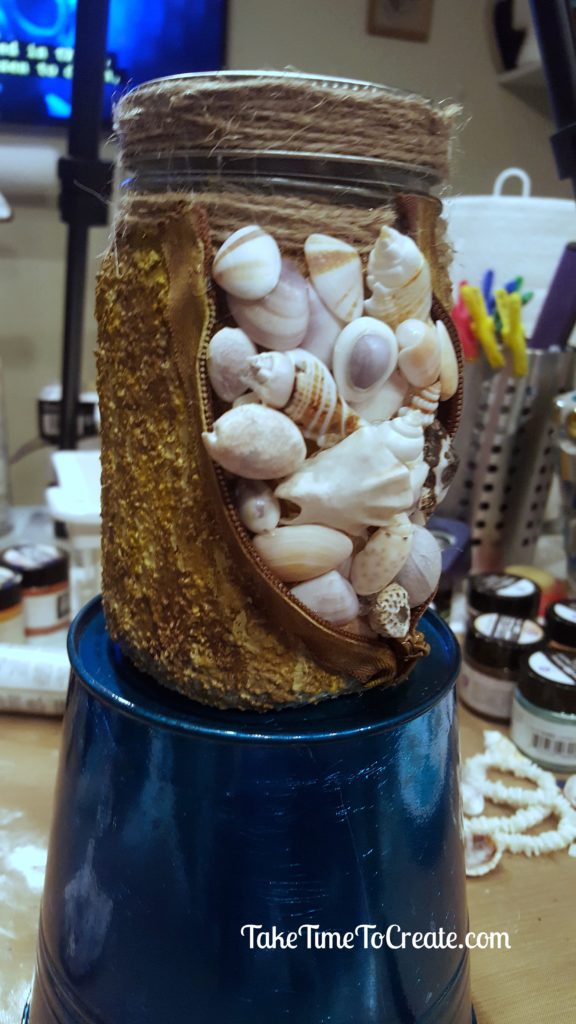
All done! I am loving this technique, and I think it would look great with rhinestones or buttons, or any other small item! So pretty!
The post Sea Shell Altered Mason Jar appeared first on Take Time To Create.
0

July 1, 2017 at 11:43 pm
Beautiful. I like your idea about making one with buttons.