Tag: home decor (page 1 of 6)

Rhinestone Globe

Hello Everyone!

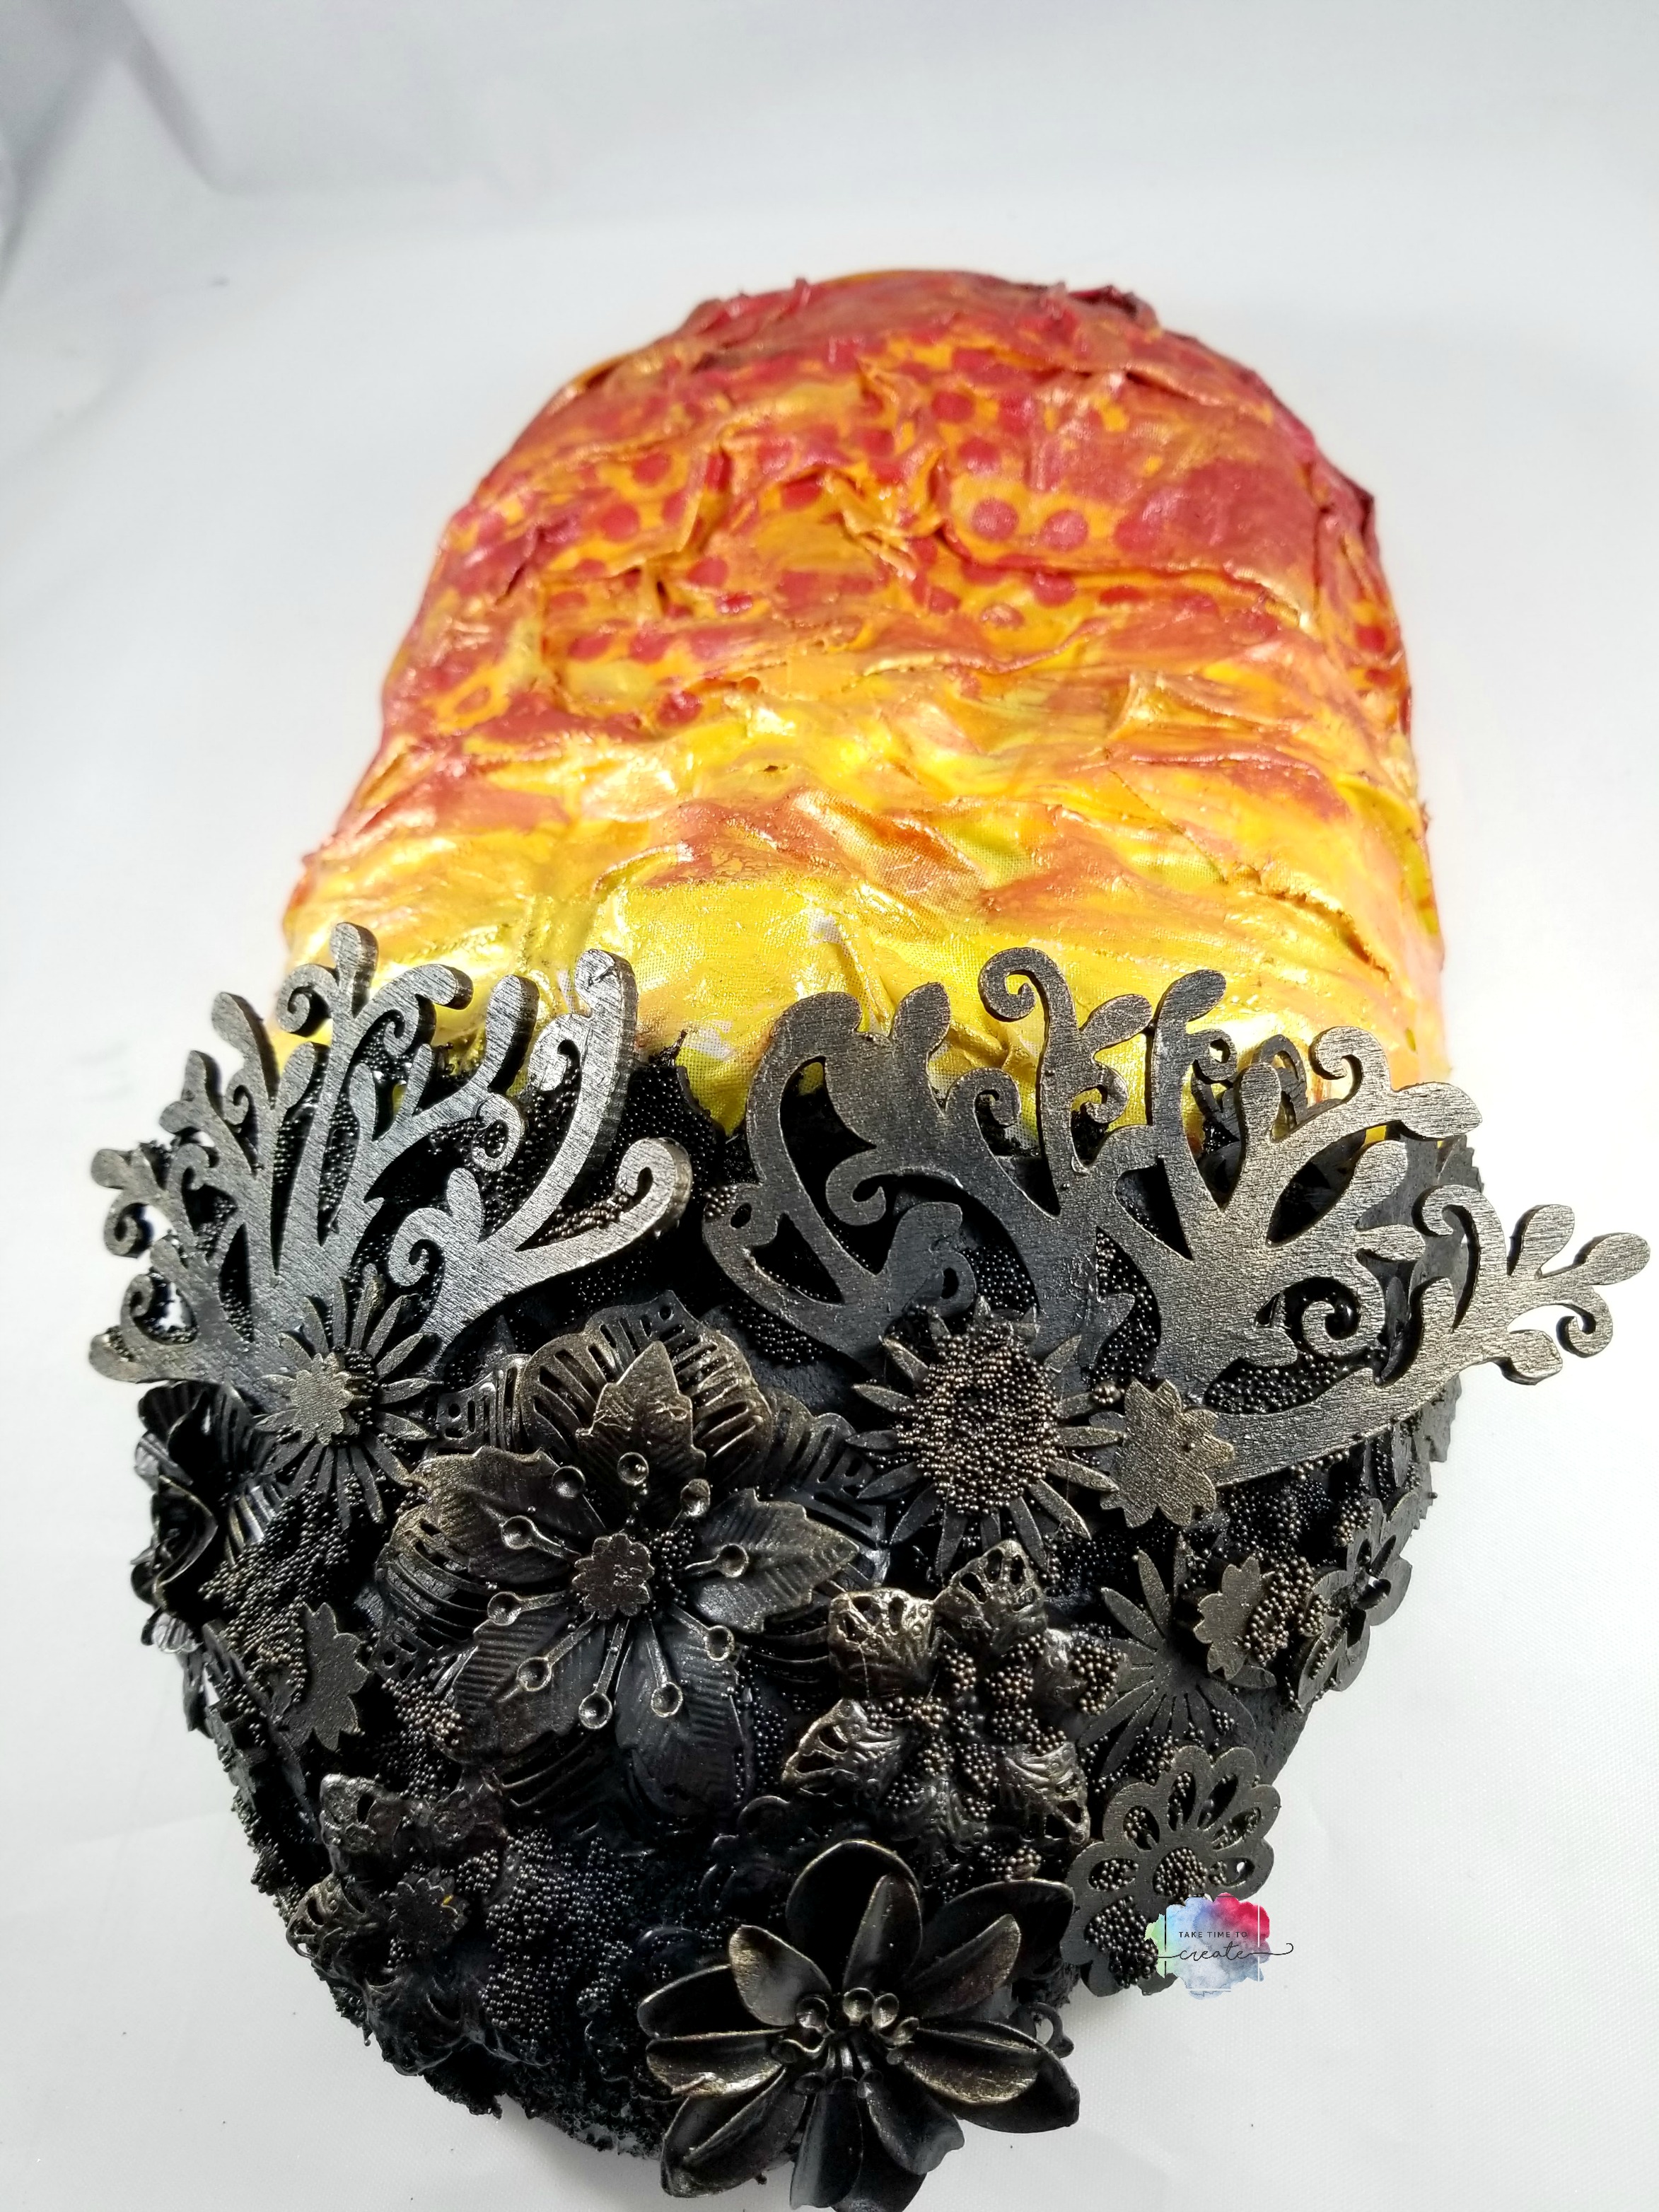
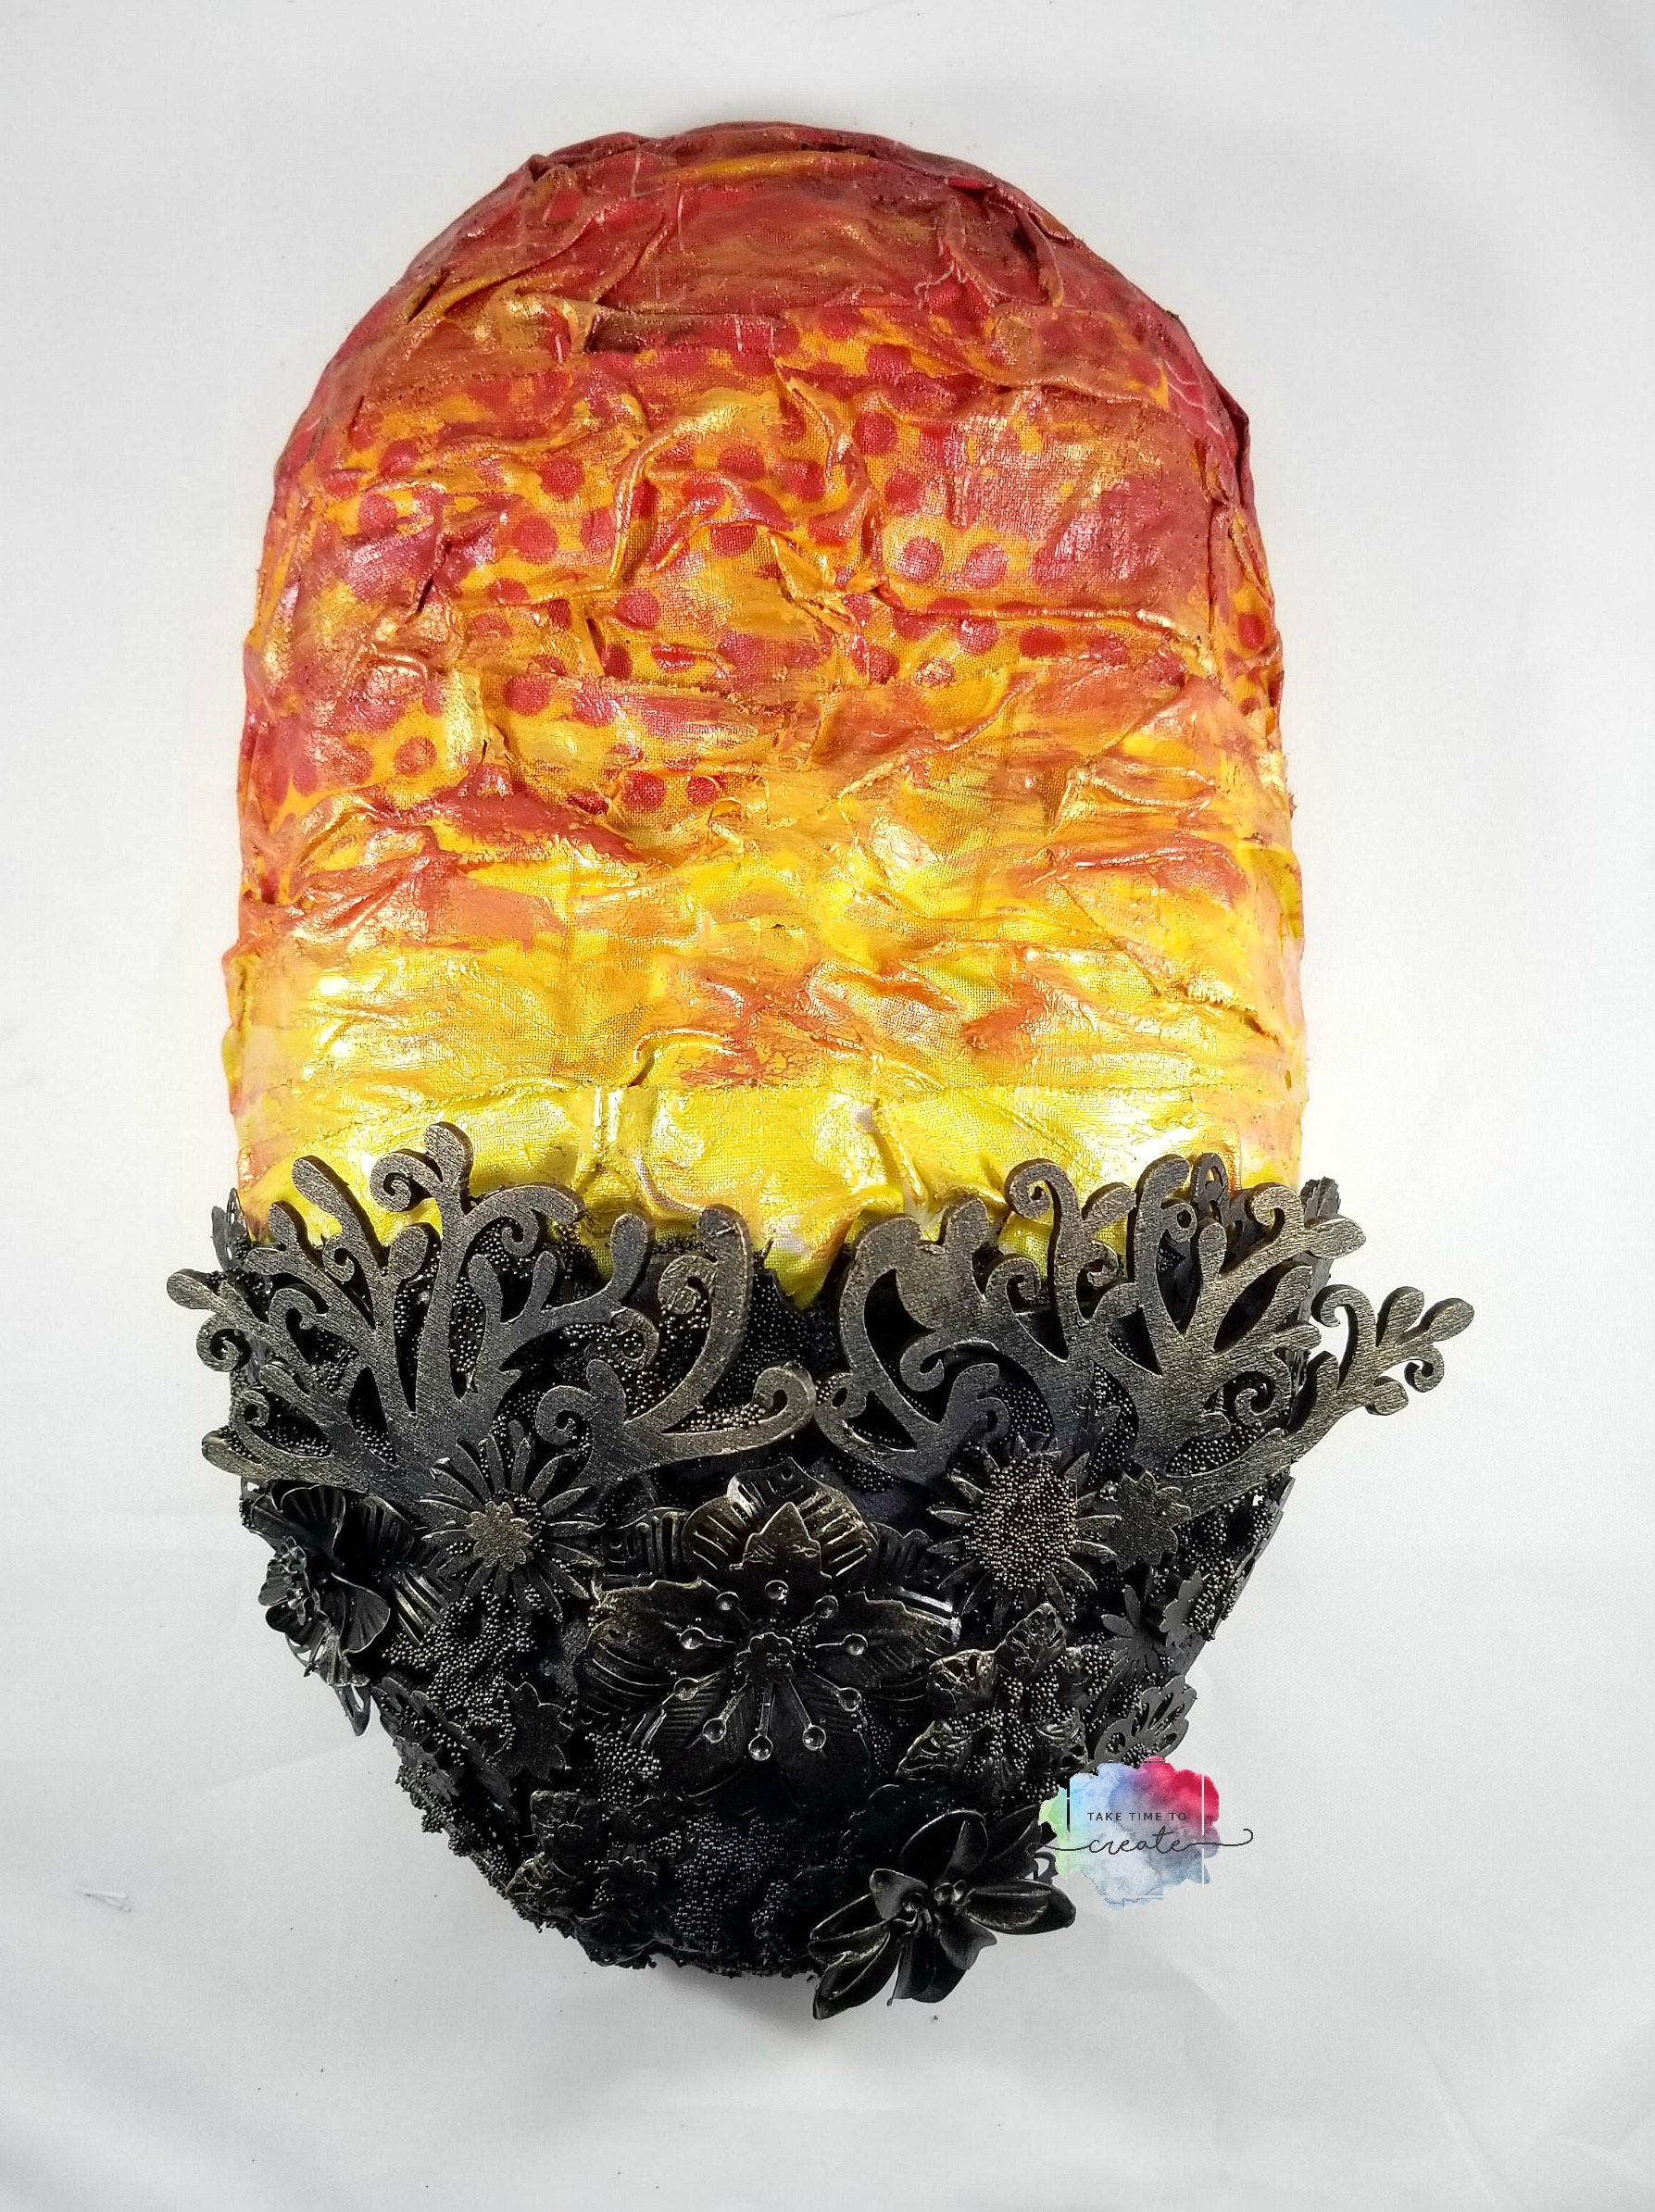
What do you do when your globe is just a boring black and gold? You add rhinestones! So many rhinestones!

This is not a difficult craft, but it is time consuming. It did take me many hours, so put on a movie and go to town. It may take a long time but it is so worth it in the end.


Rhinestone globe

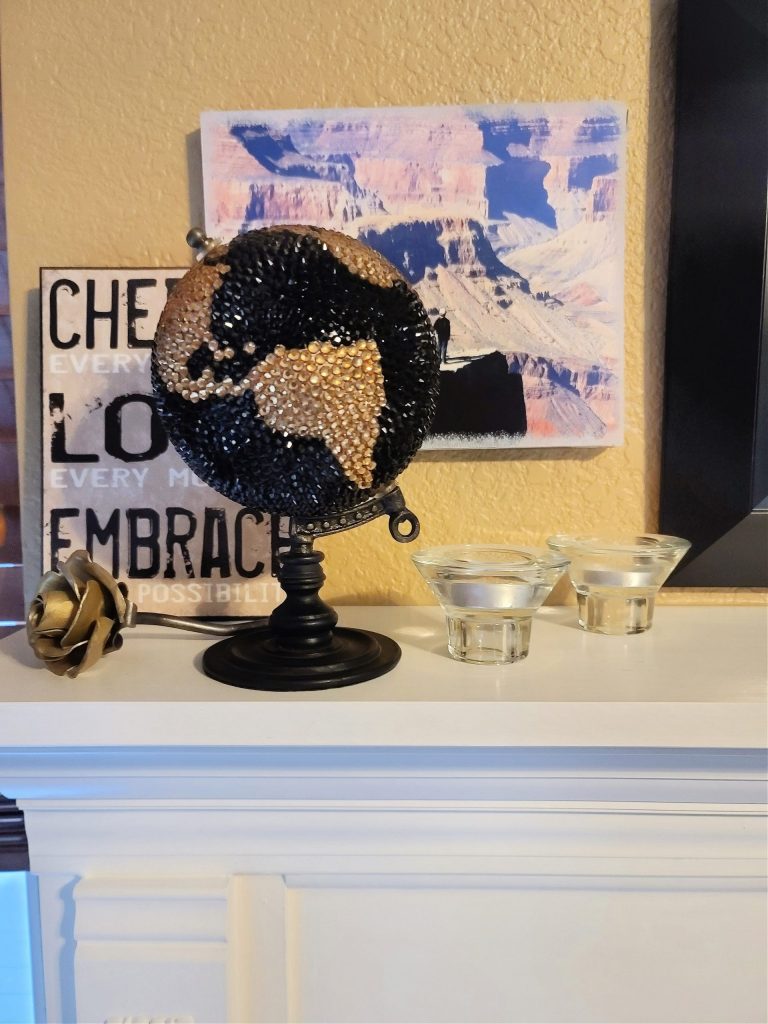
You can add rhinestones to anything I already have a lot of things lined to to be blinged out. 

Affiliate links

Painting Ceramic Pieces from Target

Hello Everyone! 

I found these super cute unfinished ceramic pieces from Target and I just knew that I had to get them and paint them. This is such a fun and easy project that you can do with kids or as gift


I just took some acrylic paint and went to town creating a unique look. I finished by sealing them with a couple of coats of Mod Podge. 

Paint unfinished ceramics

You can customize these for events or these can be a fun activity for older kids to do. There are endless ways to customize these. I had such a great time with them I think I might go pick up a few more.

Paint unfinished ceramics

If you are interested in any of the projects that I do on my channel I am starting to list some of them on Etsy. Check it out and see what is available.  Esty: http://www.etsy.com/shop/taketimetocreate/

Affiliate links

Fall/Christmas 2 Sided Canvas

Hello Everyone!

As I get busy decorating for the holidays I find that I gravitate towards dual purpose decorations. So that is why I made this 2 sided canvas. Once side is for the fall or Thanksgiving and the other is for winter or Christmas, whatever you want on either side. It was fun to make and not too difficult. 

Check out my video for all the details. 

This would be fun to make for spring and summer, or St. Patrick’s day and Valentines day. There are unlimited variations, I think I will make more this coming year. 

Affiliate links:

canvas https://amzn.to/2HBOcUC

Arteza Metallic Paint https://amzn.to/3ftWbzD

Finnabair paint brushes https://amzn.to/39qkzBh

DIY Rock Chip Mirror

Hello Everyone!

It has been way too long since I have posted. I apologize for such a lengthy absence. 

I am back today with a fun rock chip mirror. I have been seeing these all over Pinterest and I just knew I had to make one for the master bedroom 

The video goes over how I did it in detail. 

It did take a while with gluing all the little rock on, but once I got in the groove it seemed to go pretty fast. I decided to make it into a candle holder rather than hang it as a mirror, but either option will work great. 

This would be fun to do in different colors for different holidays, or a wonderful gift to make. 

DIY Rock chip mirror

DIY Rock chip mirror

Here are some affiliate links to supplies used. 

Mirror https://amzn.to/3l3qL4P

Rock chips https://amzn.to/351BiIi

Paint pen (similar) https://amzn.to/32gogom

Finnabair clear gesso https://amzn.to/3evb8kv

Finnabair paint brush https://amzn.to/3mVrwNV

Plastic pearls (similar) https://amzn.to/3l2GuBd

Crushed glass (similar to my glass chips) https://amzn.to/3eumTr5

Mixed Media Dishwasher Signs

What do you do when your clean/dirty dishwasher signs are destroyed by your cat? Well you make a new one, of course, lol. This time, instead of a simple paper sign, I decided to make a mixed media sign.

These were super fun to make and they look great in the kitchen.

Dirty dishwasher sign
Dirty Dishwasher Sign

The dirty side was fun, I painted with black gesso and added metal flowers and elements along with some Finnabair waxes. I like how it looks a little dingy and grungy. Perfect for the dirty side. 

Clean Dishwasher Sign

I wanted the clean side to look bright and clean looking. So I used white gesso and pretty Prima Marketing flowers to create a bright sign. 

Clean and Dirty Dishwasher Signs

I adhered them together with a ribbon in the middle and hung it on my kitchen all above the dishwasher. I think this was the perfect solution to let everyone in the house know what is going on with the dishwasher. 

I love how this turned out! I think I will make a few more signs for around the house. 

Affiliate links:
Wood square (similar) https://amzn.to/2WK9G4I
Liquitex gloss heavy gel https://amzn.to/2pAL7ey
Black Gesso https://amzn.to/2JTqkd0
White gesso https://amzn.to/34tPCGg
Finnabair brushes https://amzn.to/2rcaVhf
Metal flowers (similar) https://amzn.to/33kpbCX
Metal stars https://amzn.to/34x5vf7
Brushed iron wax https://amzn.to/2WLYqop
Aged Brass wax https://amzn.to/33wzCmM

No Sew Cat Bed

Hello Everyone!

I have a cat that thinks she is a princess, and since she is a princess she needed a pink velour bed with gold trim. And since I don’t sew, I had to create a no sew version.

Our cat rules the house, lol. And since she does this pretty pink pillow is perfect for her. 

Starlight
Starlight

This pillow is easy to create. Take 2 pieces of fabric and glue them together with fabric glue. If you want trim add it now. Make sure you leave a hole so you can stuff the pillow with ploy fill. 

Stuff your pillow and then glue the hole shut. That is it. Such a fun, easy way to create a new space for your pet.

No sew cat bed

I placed the bed on the trunk that Starlight sleeps on. The trunk is super hard and I thought she would appreciate the soft pillow. In true cat form she refused to pose for a picture, lol

But at least she has a new bed when she is ready to sleep on it. What other no sew projects do you work on?

Affiliate links:
Fabric Fusion https://amzn.to/2tvf0eF
Poly Fill https://amzn.to/2TJUNgt
Pink Velour (I found mine at a creative reuse center, but this is similar) https://amzn.to/2N6CFe5
Gold Cord trim (I found mine at a creative reuse center, but this is similar) https://amzn.to/2TPcdbE

The post No Sew Cat Bed appeared first on Take Time To Create.


Resin Frame and Flowers Mixed Media

Hello Everyone!

Today I have my first project of 2019! and it is a low buy project. So far I am off to a good start, lol (I am starting strong, let’s keep it up).

For this project I had all of the elements and flowers in my stash. It was fun to find so things I forgot I had to actually us them.

I started with a resin frame that I had in my stash. I bought it on impulse from a creative reuse center and didn’t know what I was going to do with it. So it was stored away. Until I decided to do my low buy. So I went digging for something new to play with, and I found this frame. 

frame and flowers
Frames and flowers

I thought the frame looked like a fancy window so I stenciled a swing and created a little scene with flowers and sprays and just about any other mixed media element I could find. 

frames and flowers
Frames and flowers

I loved adding all the flowers, I just kept piling on until I thought the canvas would break, lol. For this project I thought “the more the merrier” and kept on adding. I love how it all turned out and the splashes I added at the end was the perfect way to finish the piece. 

I am looking forward to the new projects I can create using what I own. I am sure there are some hidden jems in my art studio waiting to be found.

Affiliate links to products used or similar ones:
5×7 canvas boards https://amzn.to/2VD6Tt2
prima Marketing resin frames- https://amzn.to/2VD6WoI
Swing Stencil https://amzn.to/2VEZWaR
Matte medium- https://amzn.to/2sj47M1
Folk art metallic- https://amzn.to/2sh8t6I
Lindy’s Spray Time Travel teal https://amzn.to/2AvblBl
Distress Ink Weathered Wood https://amzn.to/2SHhCRl
prima Marketing Flowers https://amzn.to/2RA8l0e
Clear rhinestone stickers https://amzn.to/2RBuRFV

The post Resin Frame and Flowers Mixed Media appeared first on Take Time to Create.

Paint Piping- Christmas Tree

Hello Everyone!

I am so excited to show you this new technique that I learned! I have seen paint piping online and I knew I had to try it. 


I loved seeing the texture and interest that the paint piping creates. 

painted tree
Paint piped Mixed Media Christmas Tree

Of course I had to add glitter! I think that added interest and details that the tree needed. I added the glitter and rhinestones while the paint was wet so it all stuck together. 

To finish the tree I added some poinsettias and other details to the base of the tree. 

piped christmas tree
Up close paint piped Christmas Tree

Now it is ready to put on display and enjoy for years to come. 

I really enjoyed this technique and I am looking forward to exploring it more in the upcoming year!

Affiliate Links:


The post Paint Piping- Christmas Tree appeared first on Take Time To Create. 

Sunrise Fabric Mixed Media Mask

Hello Everyone!

My local art museum has an annual charity auction and this year I got to participate! The auction is actually in April, but I had to turn my mask in earlier than that, lol.

I really love the challenge of working on a mask, rather than a flat canvas. It was fun to see if my technique for creating landscapes could be translated to a mask, and I think it was a success!

sunrise mask

I used a photo that I took of a sunrise over my local city as a reference photo. Here the photo I took, it is a few years old but I really love it and I thought it would be perfect for this project

Linda Sampson Sunrise photo

The colors really spoke to me and I want to recreate it.

sunrise mask

I found that the biggest challenge was to make sure everything stayed adhered to the mask while it dried. Since it is not a flat surface things had a tendency to slide, lol. But I was patient and everything worked out in the end.


sunrise mask

This project has encouraged me to look at other object to apply fabric to. Nothing is safe from my fabric, lol


Affiliate Links

  • Finnabair Red paint- https://amzn.to/2Po7omm
  • Finnabair Brushes- https://amzn.to/2UlwBlj
  • Finnabair Dabbing Brushes- https://amzn.to/2SuWWLS
  • Finnabair Wax-https://amzn.to/2SzgiQ9
  • Fabric Jelly Roll (similar)- https://amzn.to/2KZTG8W
  • Liquietex Gloss gel- https://amzn.to/2Efu9rR
  • Liquitex Heavy gel- https://amzn.to/2EkUTai
  • Liquitex Super Heavy gel- https://amzn.to/2SwHC1n
  • Black gesso- https://amzn.to/2SB1HDX
  • Wood trees- https://amzn.to/2PiL0el
  • Cork Shapes- https://amzn.to/2PnYqFY
  • metal flowers (similar)- https://amzn.to/2Upd3wa

The post Sunrise Fabric Mixed Media Mask appeared first on Take Time To Create.

Christmas Tree Fabric Mixed Media

Hello Everyone!

Christmas is fast approaching and now is the perfect time to make some new Christmas decor!

I found this chipboard tree at my local creative reuse center and I knew it would be perfect for a fabric mixed media project. It is a Paper Studio brand, I think you can find similar items at your local craft stores.

The first layer is paint. I wanted to make sure the tree was green just in case the fabric didn’t cover it all. Then  I added the fabric layer. This added a lot of texture and interest.

christmas tree

Once the fabric was dry it was time to start painting. I have found that these fabric mixed media projects work best if you let the fabric dry overnight rather than using a heat tool.

Once the fabric is dry it is time to add paint. I dry brushed on a few of the Finnabair Metallique and Sparks paint. Then I added the decorations. I used items I found at the Dollar Store and adhered them with hot glue.

christmas tree

Once that was all dry I flicked paint on with a toothbrush. I love how it turned out! This was a lot of fun to create and it will look great in my home. What decor projects are you working on?

christmas tree


Affiliate links:
Liquitex super heavy gel- https://amzn.to/2Px3flj
Liquitex Heavy Gel-https://amzn.to/2RXTQ2O
Gloss Mod Modge-https://amzn.to/2PZxr7R
Corks-https://amzn.to/2zfepkg
Finnabair sparks-https://amzn.to/2DHSq9F
Finnabair Metallique-https://amzn.to/2DHqjXX
Finnabair Paint brushes-https://amzn.to/2TjbgrZ

The post Christmas Tree Fabric Mixed Media appeared first on Take Time To Create.

« Older posts

© 2024 Take Time To Create

Theme by Anders NorenUp ↑

Follow

Get the latest posts delivered to your mailbox:

%d bloggers like this: