
Hello Everyone!
I hope your October is going well! I can’t believe how fast it is flying by! In fact the whole year is going too fast.
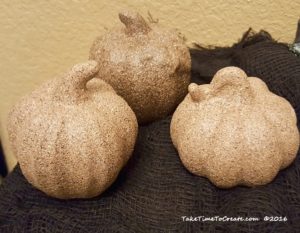
To celebrate everything pumpkin I made this easy, diy faux stone pumpkins.
Materials:
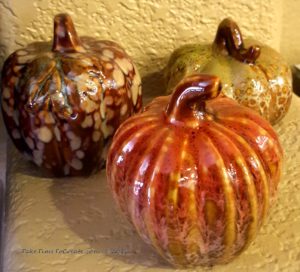
- Pumpkins ( I used ceramic ones from the dollar store, but almost any pumpkin will work)
- Spray Paint Primer
- Rust-oleum stone spray paint
Instructions:
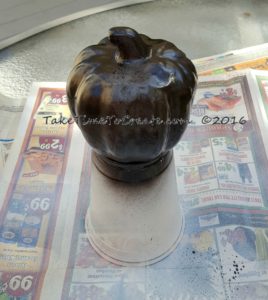
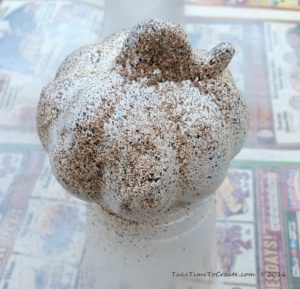
After cleaning your pumpkin and protecting your work surface spray a coat of primer on all the pumpkins on all sides

Now it is time to paint. Have you seen this faux stone spray paint? It is awesome! I have a feeling that everything will become faux stone. The texture and look changes the closed you get to your project. It is a versatile tool that I have a feeling I will be using a lot in the future.
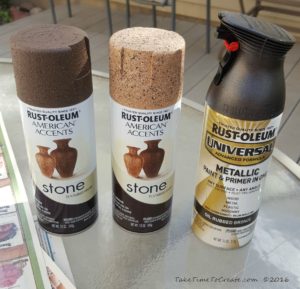
For 1 pumpkin I wanted to to use the darker color so I sprayed a base of oil rubbed bronze before the stone.
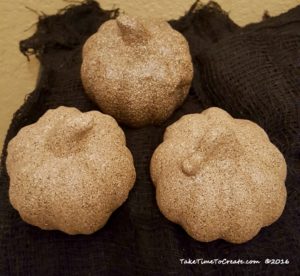
Then go to town painting the pumpkins. I did add a layer of the lighter color to the darker pumpkin because it was not matching well. But just keep going and paint layers according to the directions until you are happy with the results. I am thrilled with how they turned out! So very cute
If you want you can spray a sealer over the top to protect them. I think these would look really cute outside as part of your outdoor decorations. Just be sure to protect them first.
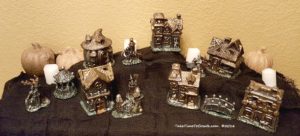
And here they are as part of my DIY Painted Halloween Village display. I think they added a nice touch to the display.

Leave a Reply