
Hello Everyone!
Halloween is fast approaching, and of course I get it in my head that I want to do some new Halloween decor. At least this year I am getting it done before Halloween and not after, haha.
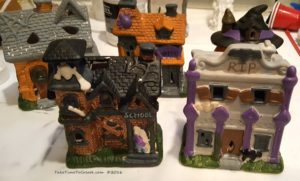
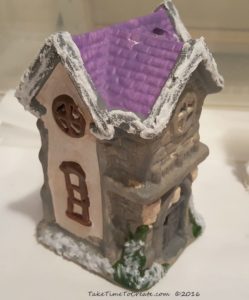
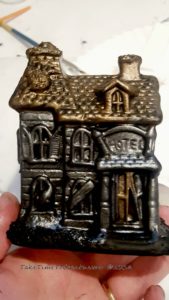
I saw a Halloween Village at the Dollar Store and thought it would be perfect to paint for Halloween

Materials:
- Ceramic houses (I found mine at the Dollar Store, but there are a lot of options out there. You could even use Christmas houses)
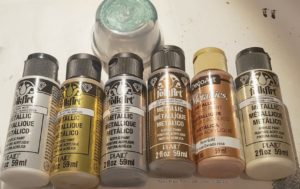
- Metallic Paint
- Gesso
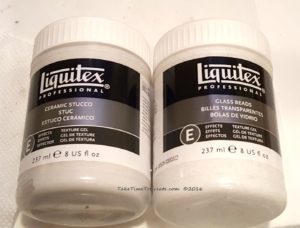
- Brushes, Stucco, Beads
Instructions:
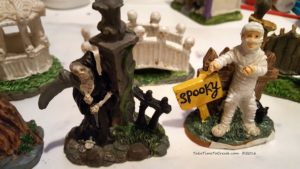
When I saw these houses I thought that they were very cute, but the colors were not great. I didn’t think that they went together very well and the figurines were terrible.
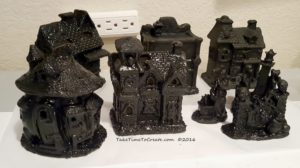
Before the painting fun I had to prep the houses. I cleaned them then added a layer of Stucco to the roofs and anywhere there needed to be a rough detail. Then I added some beads to the grass area.
After the texture was dry I added a layer of black gesso. This gave me a blank canvas to work on. I did have to go back and touch up areas that I missed.
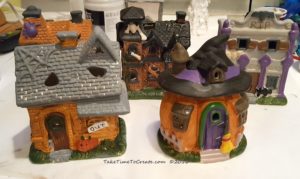
After the gesso was dry it was time for the fun painting! I used metallic acrylic paint and I mixed some Mica Powder with soft gloss gel for the green. I just dry brushed the colors onto the housed, adding and blending as I went. Once I was happy with the look I went on to the next house, until I was finished with the project.
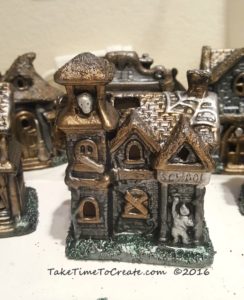
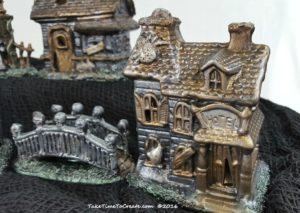
Here is an up close picture of the detail of one of the houses and the bridge.
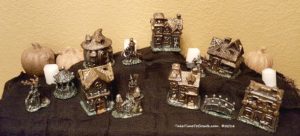
And here it is on display in my home. I really liked this project, it was fun to watch the housed change right before my eyes. Good thing I bought more houses from the Dollar Store, now I can create even more villages, haha

Leave a Reply