It has been way too long since I have posted. I apologize for such a lengthy absence.
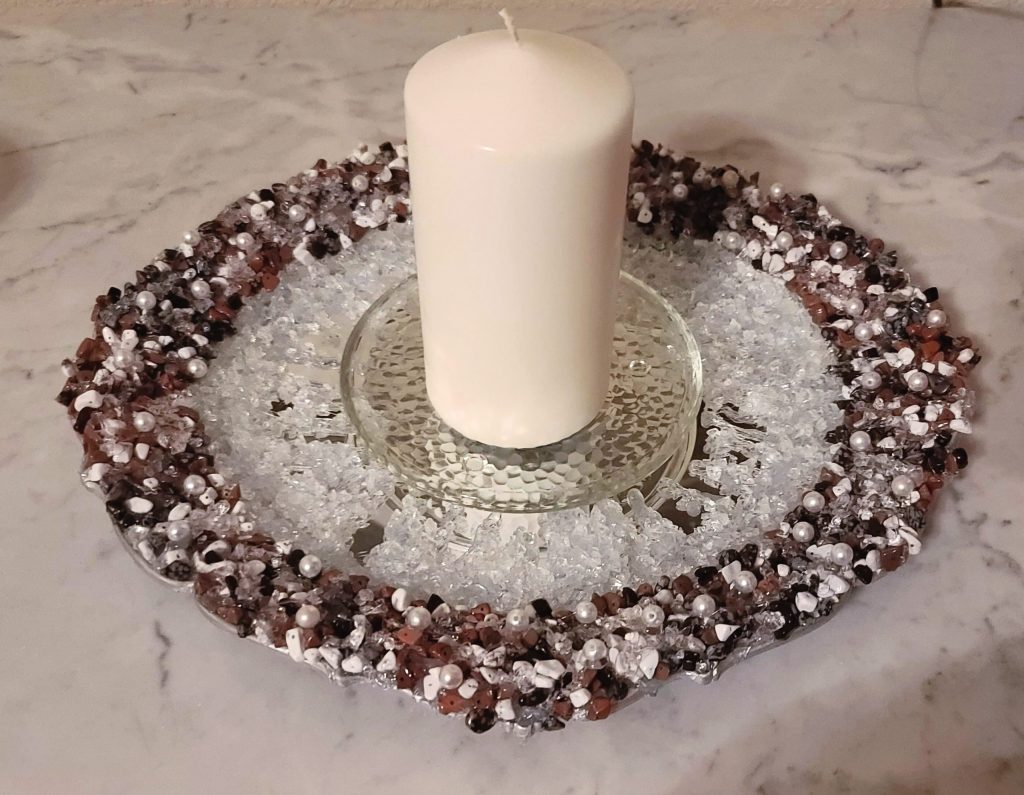
I am back today with a fun rock chip mirror. I have been seeing these all over Pinterest and I just knew I had to make one for the master bedroom
The video goes over how I did it in detail.
It did take a while with gluing all the little rock on, but once I got in the groove it seemed to go pretty fast. I decided to make it into a candle holder rather than hang it as a mirror, but either option will work great.
This would be fun to do in different colors for different holidays, or a wonderful gift to make.
What do you do when your clean/dirty dishwasher signs are destroyed by your cat? Well you make a new one, of course, lol. This time, instead of a simple paper sign, I decided to make a mixed media sign.
These were super fun to make and they look great in the kitchen.
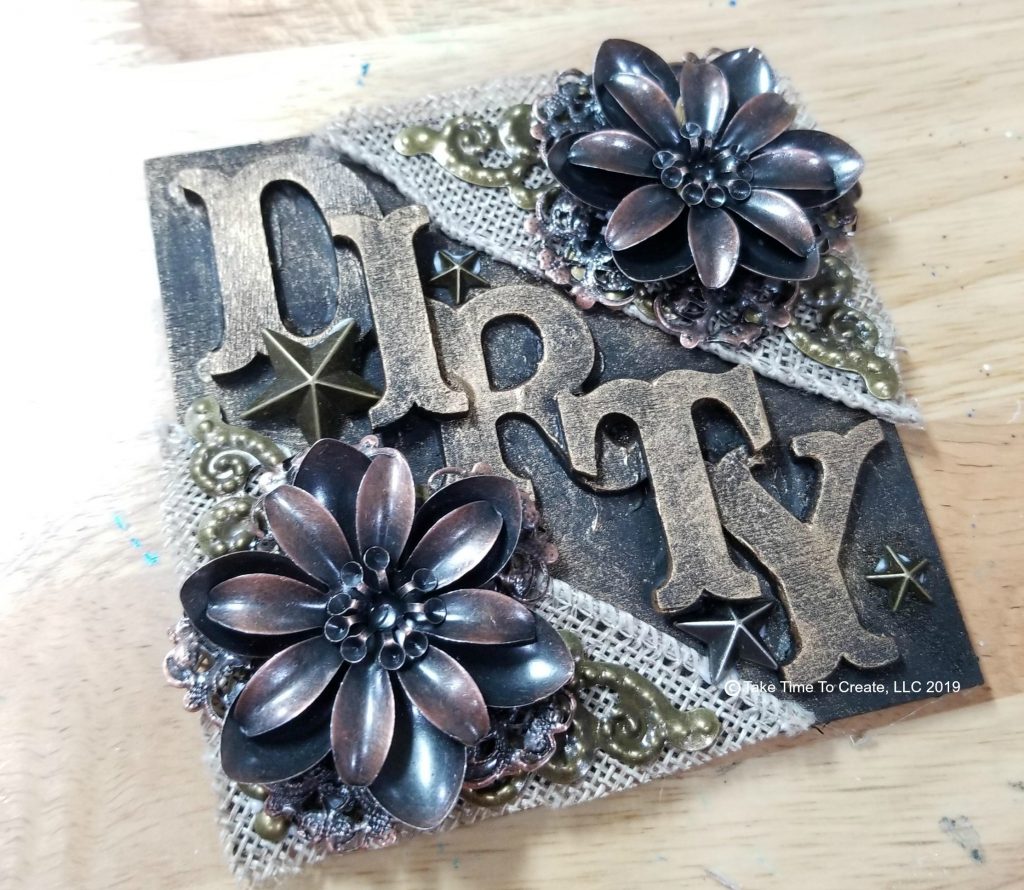
Dirty Dishwasher Sign
The dirty side was fun, I painted with black gesso and added metal flowers and elements along with some Finnabair waxes. I like how it looks a little dingy and grungy. Perfect for the dirty side.
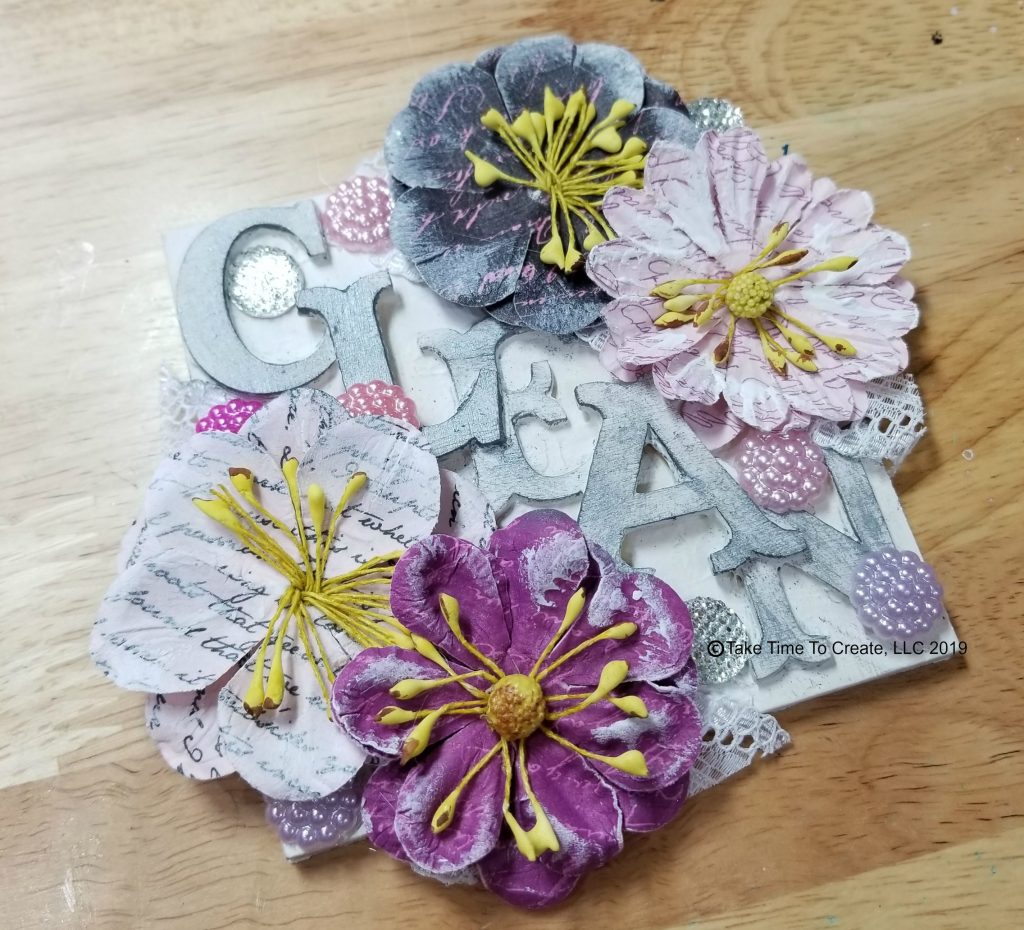
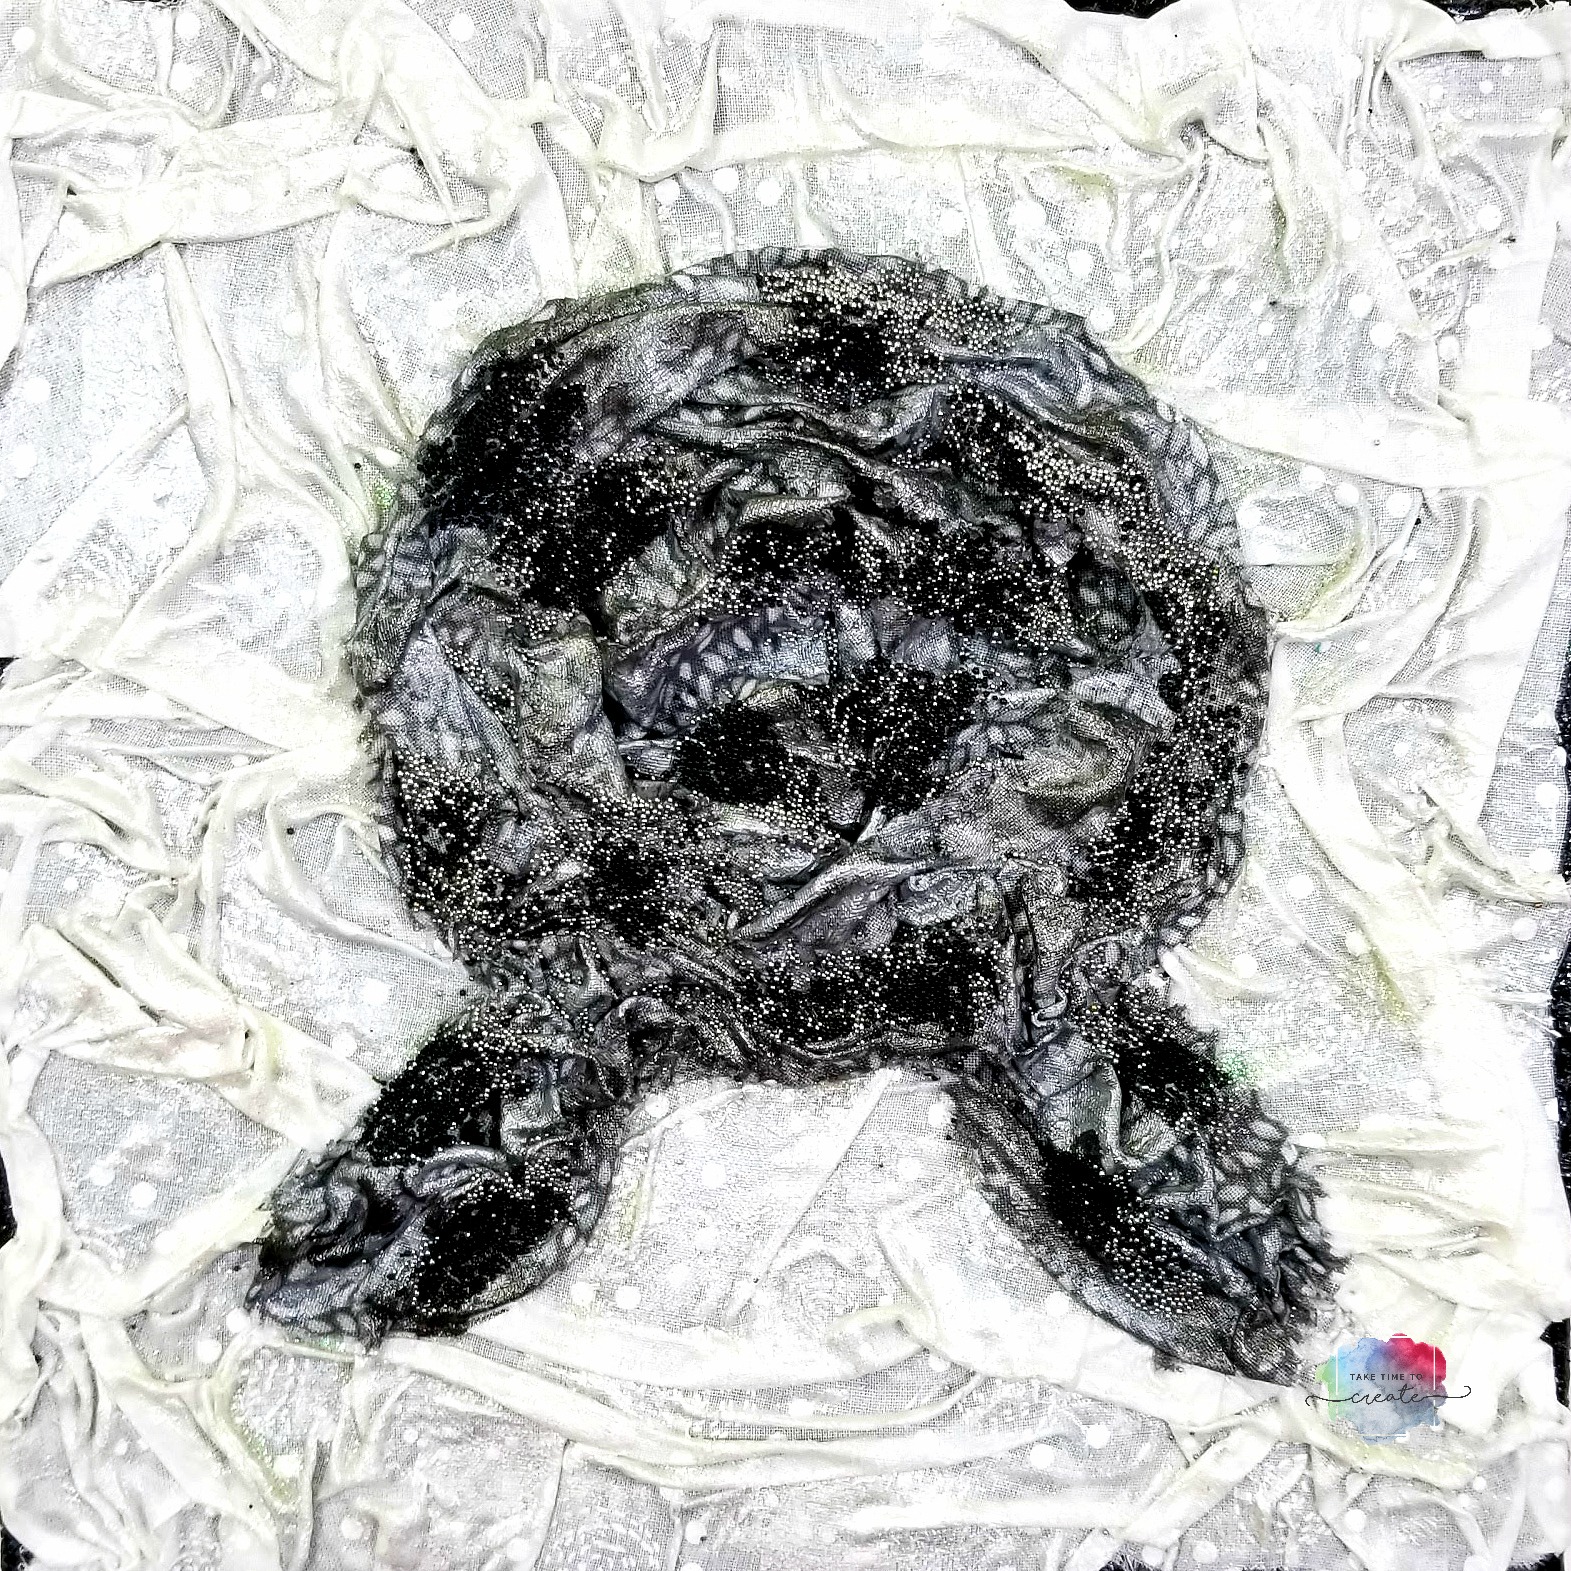
Clean Dishwasher Sign
I wanted the clean side to look bright and clean looking. So I used white gesso and pretty Prima Marketing flowers to create a bright sign.
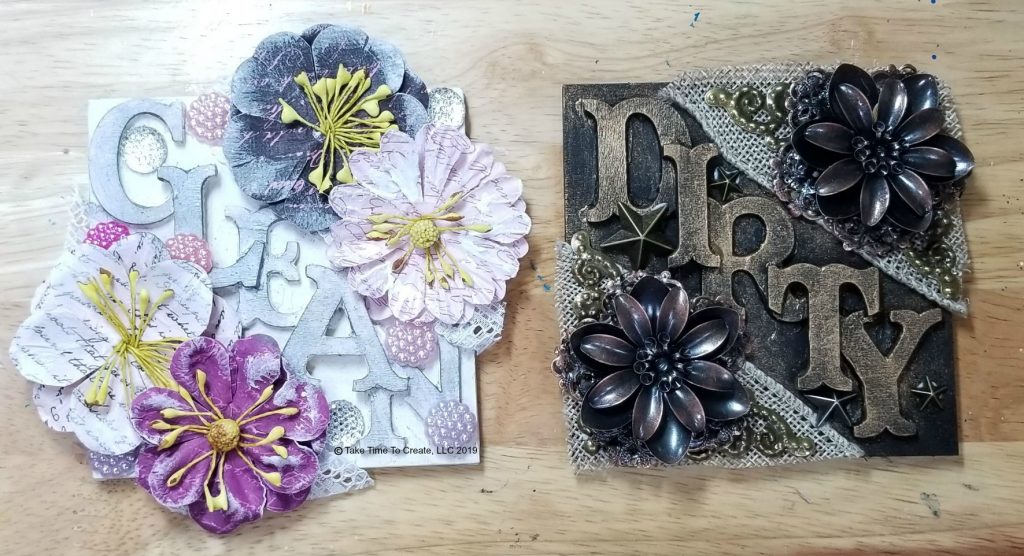
Clean and Dirty Dishwasher Signs
I adhered them together with a ribbon in the middle and hung it on my kitchen all above the dishwasher. I think this was the perfect solution to let everyone in the house know what is going on with the dishwasher.
I love how this turned out! I think I will make a few more signs for around the house.
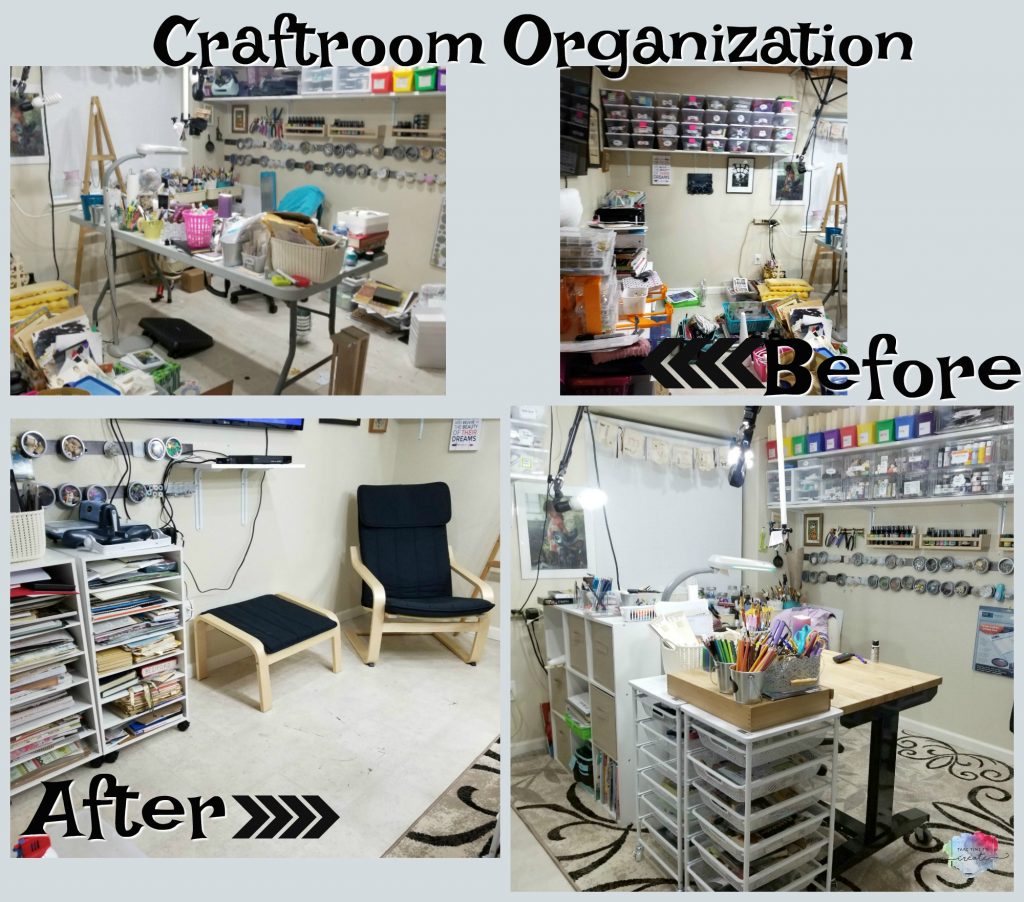
Hello Everyone! I am so excited to show off my clean and organized craft room/ art studio. I went through a major purge with the help of a professional organizer- Morgan. (not a sponsored video) I love how this turned into a functional space that works for me and my needs.
Here is her contact information:
https://www.morganizewithme.com/
I have to say, I am a little embarrassed at how bad my room actually was. I had over 20 years of craft and art supplies that I needed to organize and purge! I my opinion I needed some help to keep me focused and on task. I am sure I could have done this one my own, but sometimes it is better to get outside help.
Once I buckled down, with Morgan’s help, I got it all under control. And now that it is done, I feel so good and much more creative.
I am also doing a low buy this year. What that means to me is that I am not planning on purchasing anything new that I don’t need. This does not include staples like gel mediums and glues and things of that nature. Once a quarter I will head to the store with my list and see if there is anything I need, lol. I am trying to use up what I have and be creative with my own supplies.
I anyone interested in joining me in my low buy challenge?
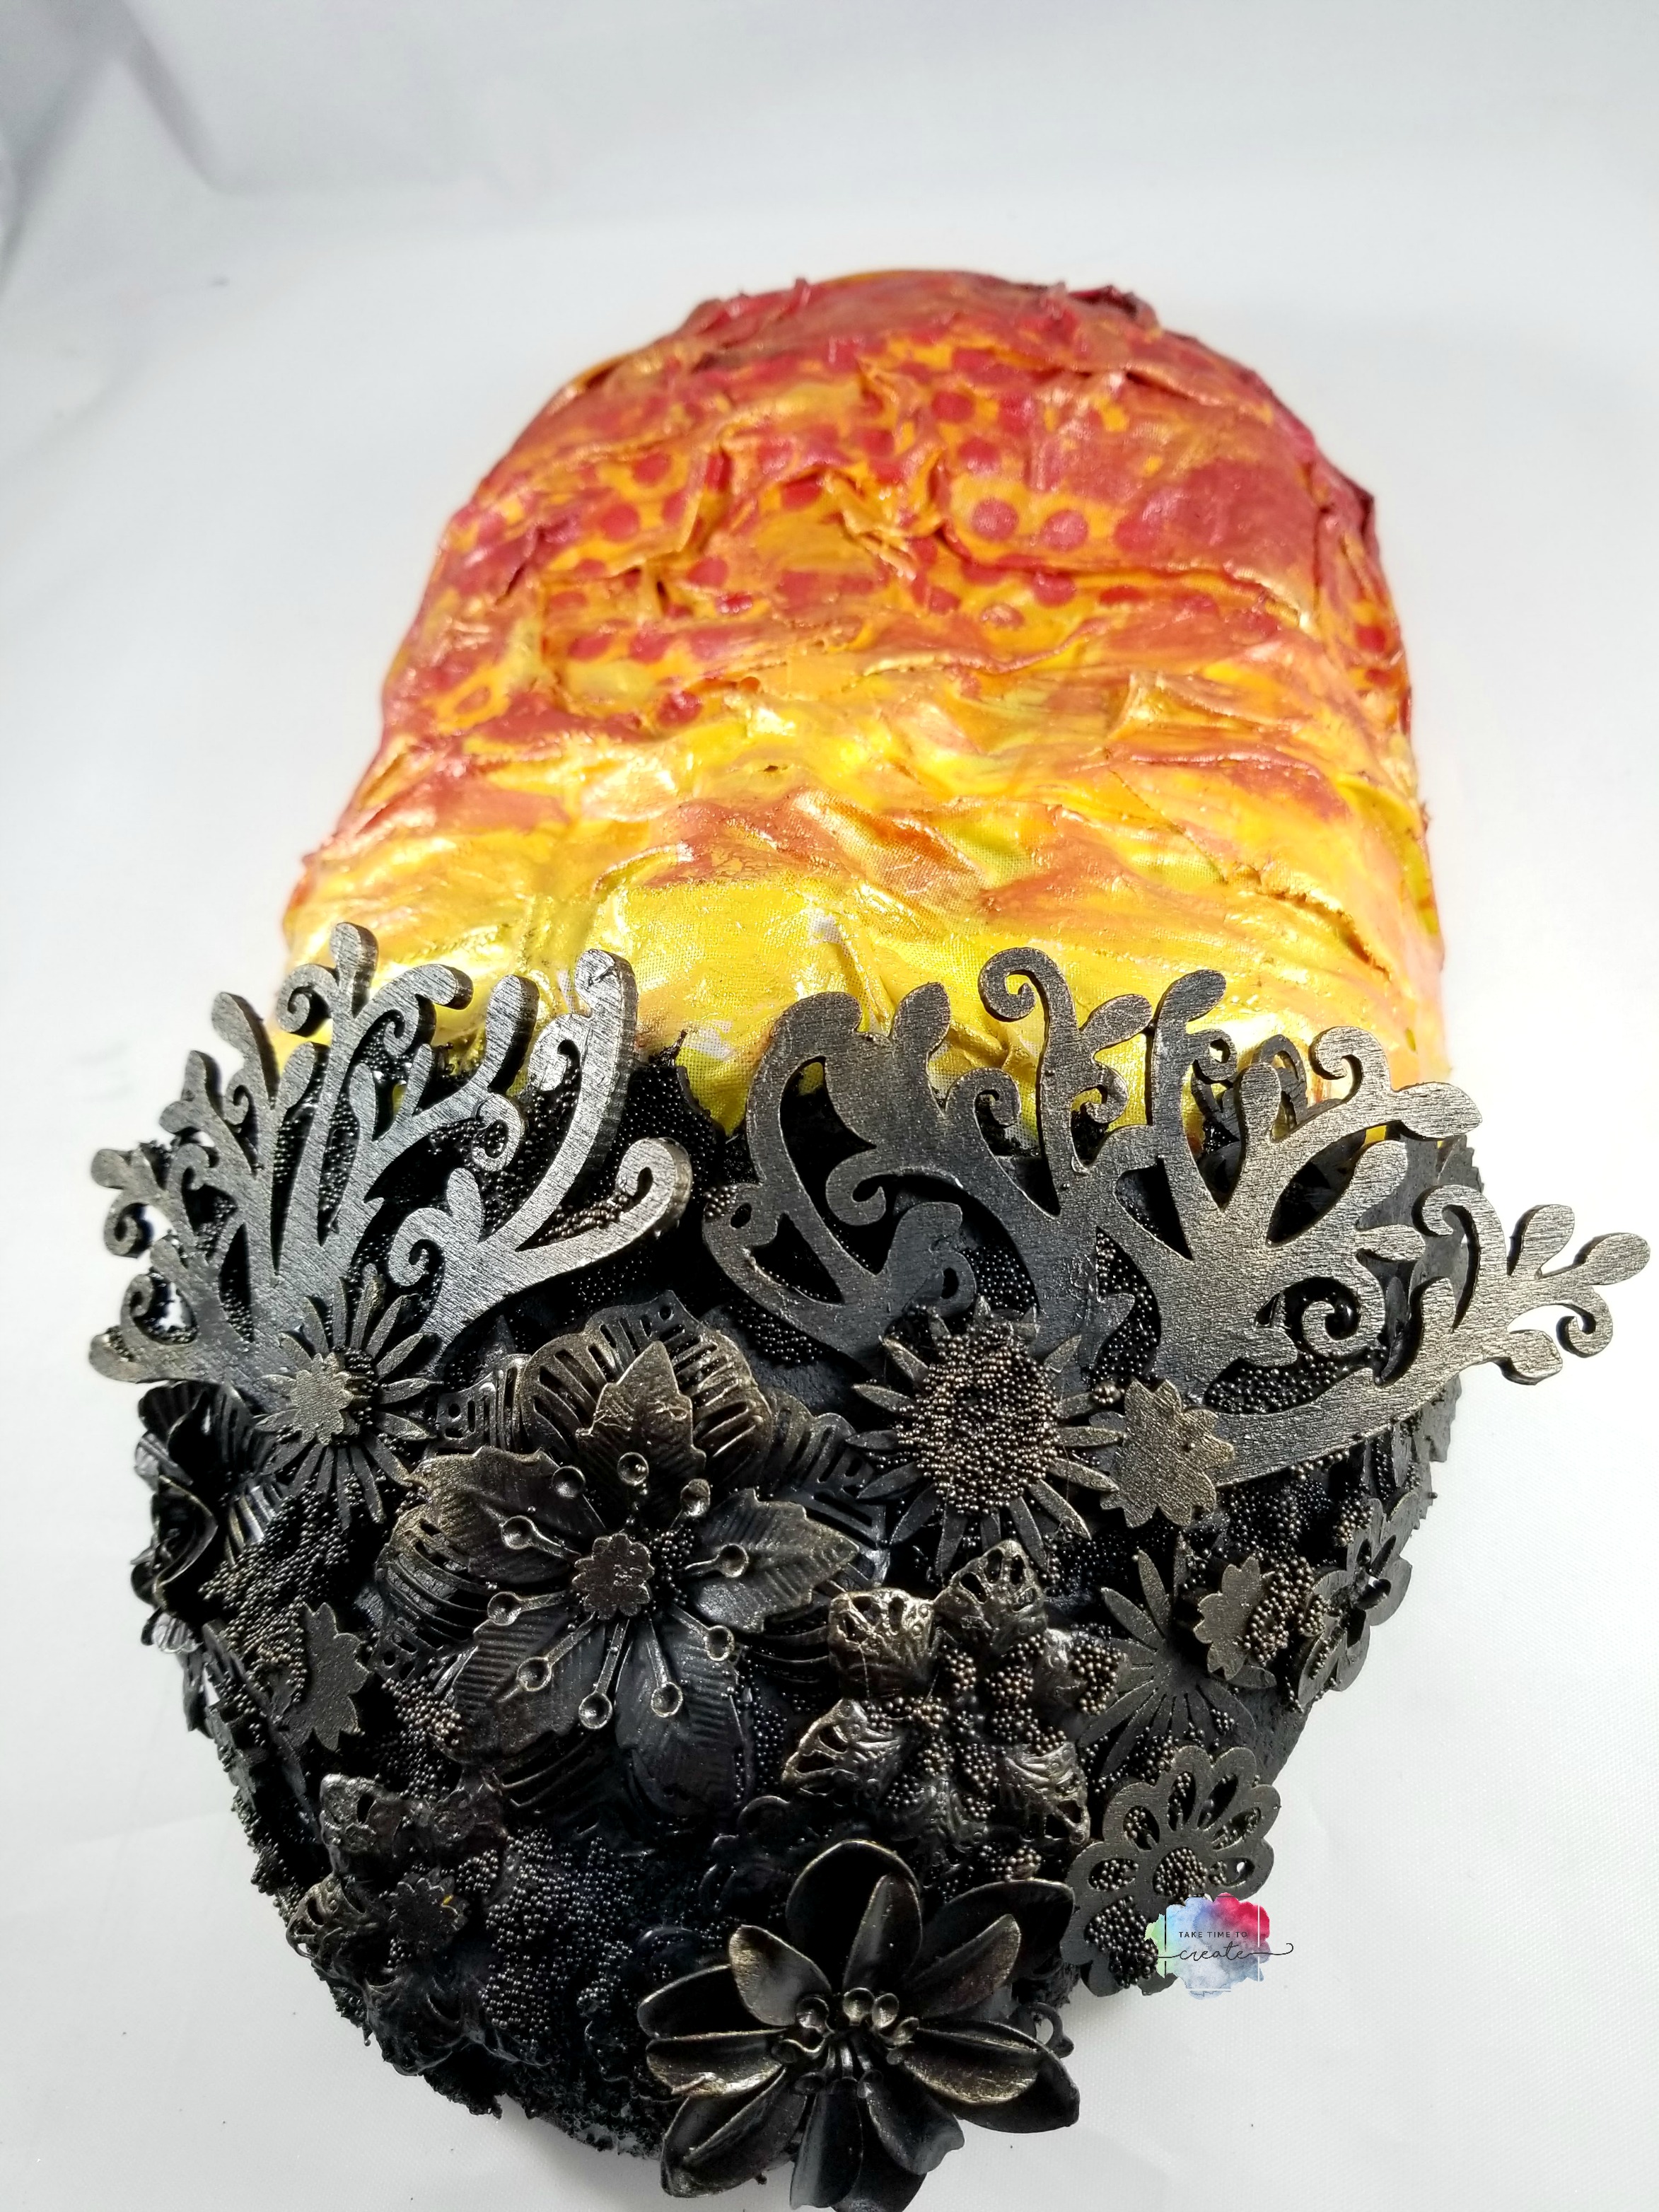
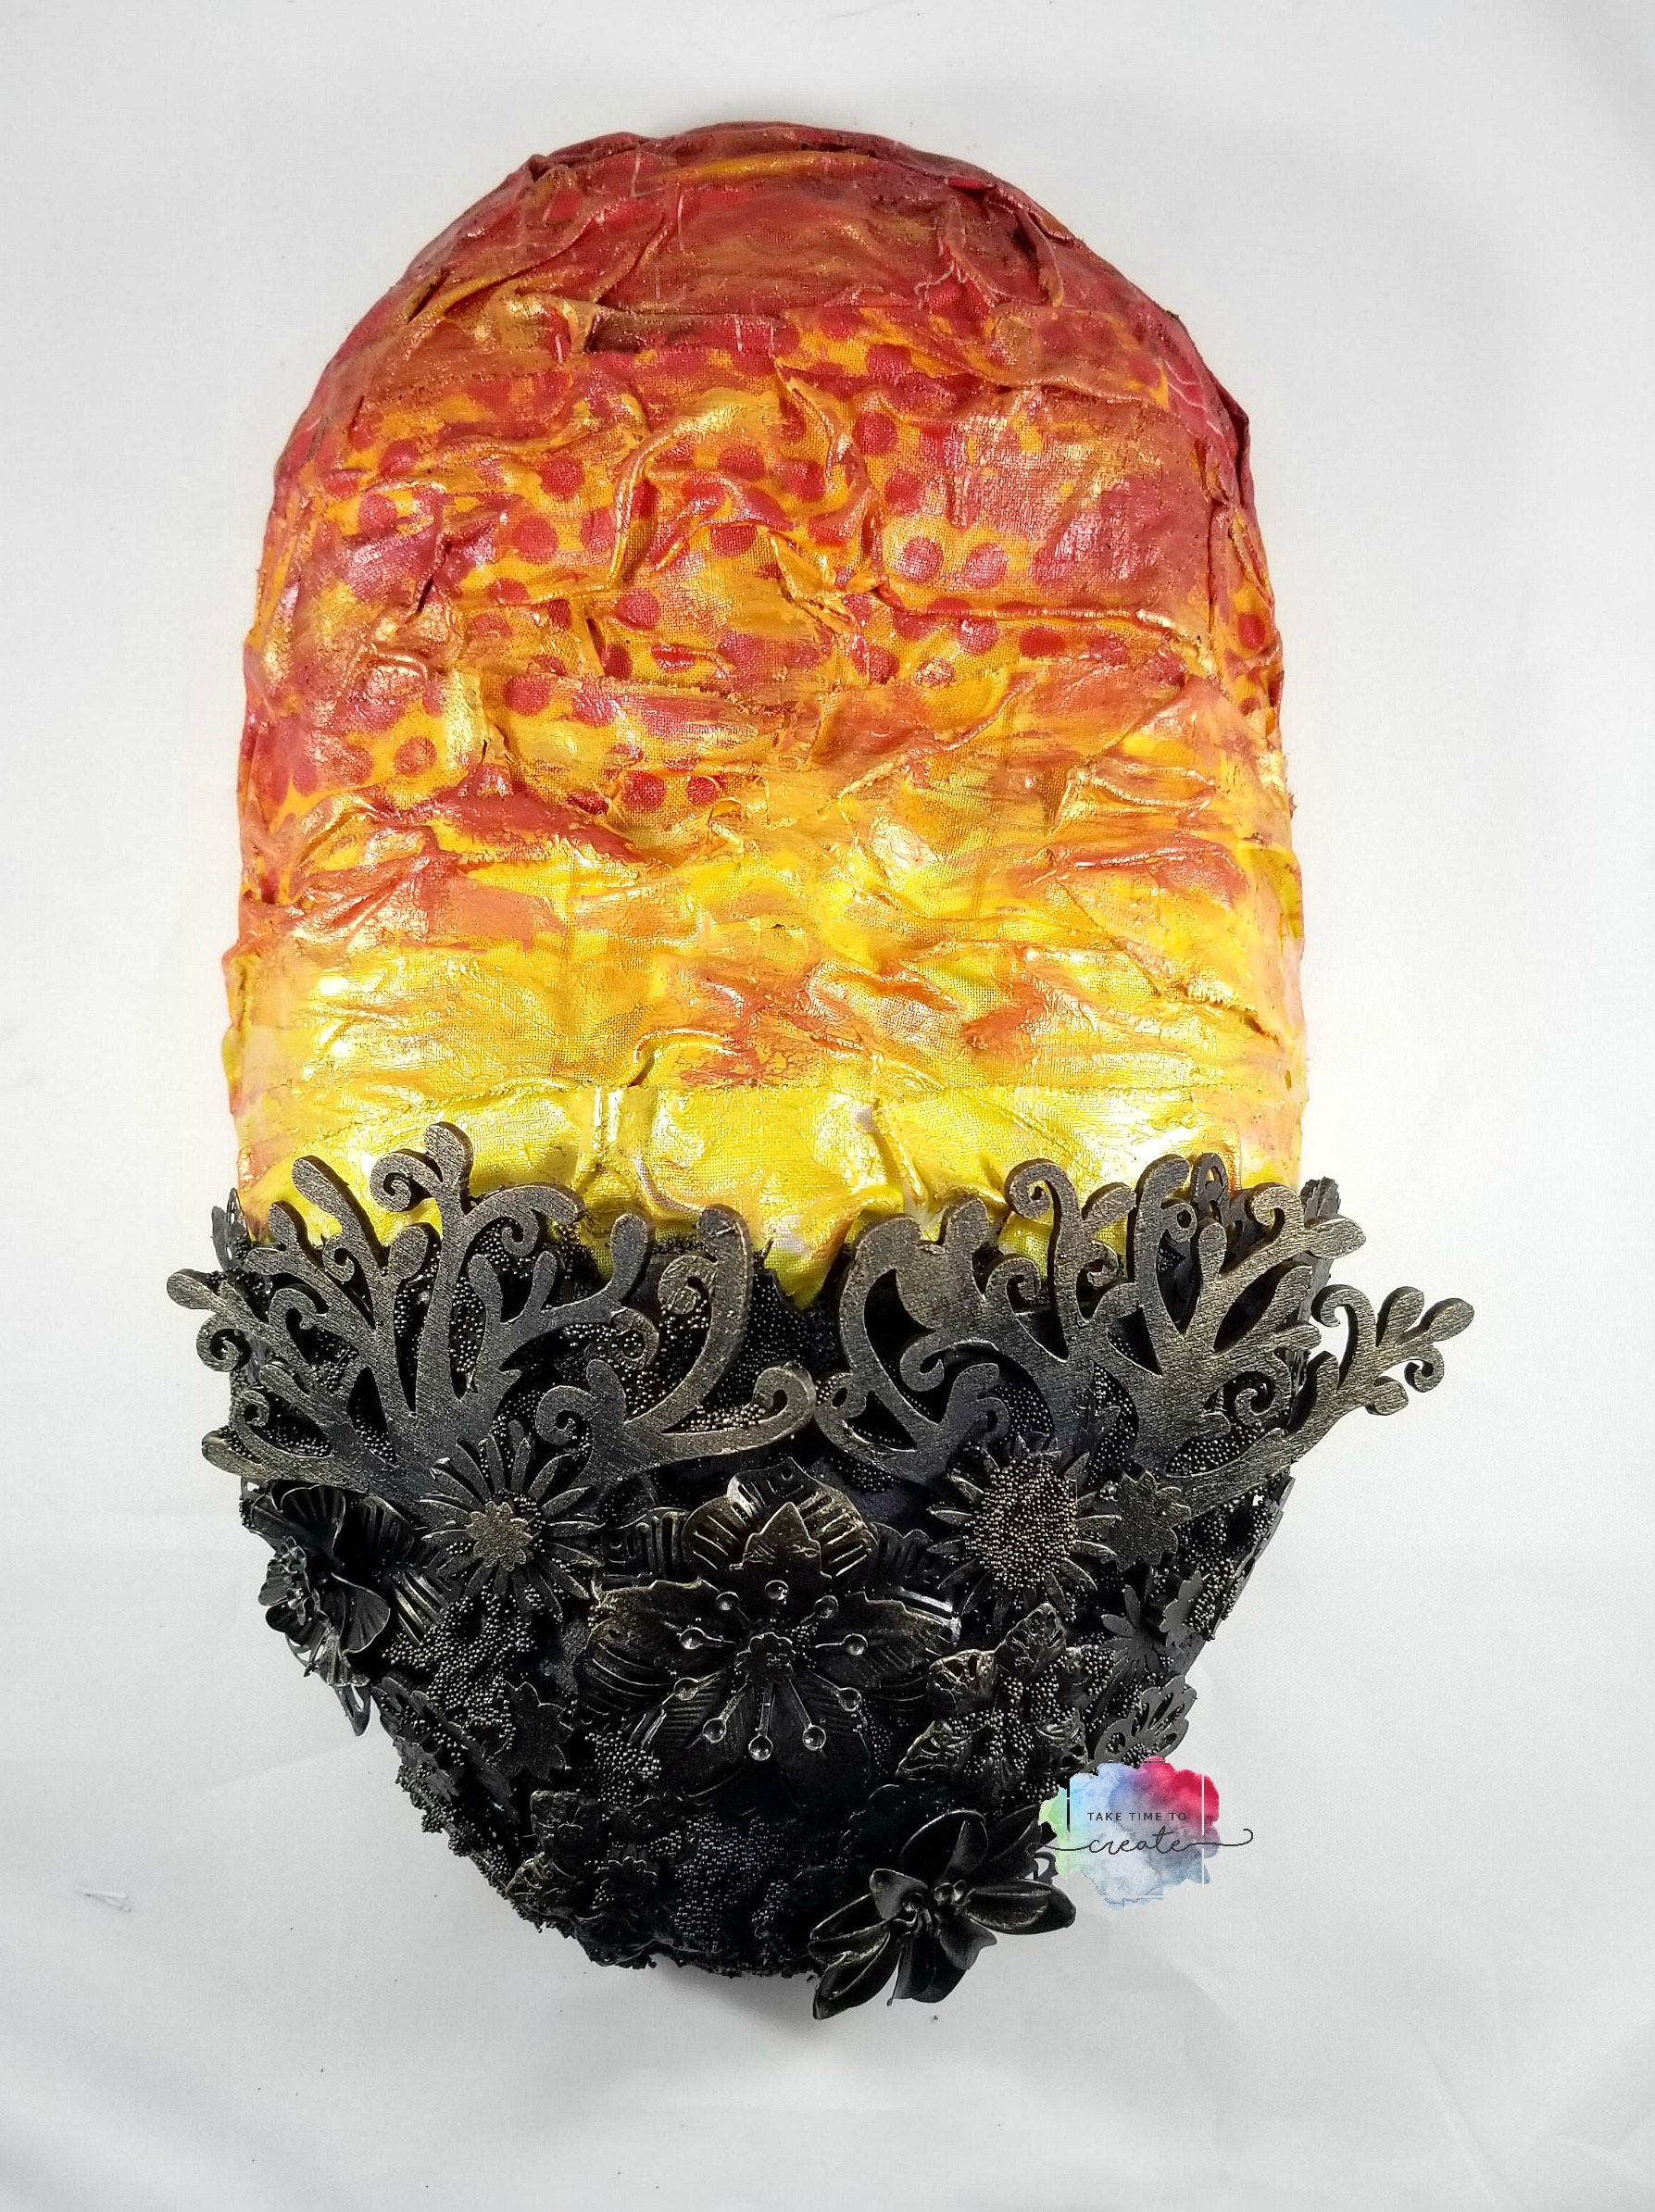
My local art museum has an annual charity auction and this year I got to participate! The auction is actually in April, but I had to turn my mask in earlier than that, lol.
I really love the challenge of working on a mask, rather than a flat canvas. It was fun to see if my technique for creating landscapes could be translated to a mask, and I think it was a success!
I used a photo that I took of a sunrise over my local city as a reference photo. Here the photo I took, it is a few years old but I really love it and I thought it would be perfect for this project
The colors really spoke to me and I want to recreate it.
I found that the biggest challenge was to make sure everything stayed adhered to the mask while it dried. Since it is not a flat surface things had a tendency to slide, lol. But I was patient and everything worked out in the end.
This project has encouraged me to look at other object to apply fabric to. Nothing is safe from my fabric, lol
It is no secret how much I love Disney and visiting Disney World is one of my favorite things to do! When I began my journey into fabric mixed media I just knew that I would need to create some canvases that paid homage to Disney World.
So I created these 4 canvases celebrating each of the 4 parks at WDW.
The first is a pretty pink castle, this is for the Magic Kingdom. It is hard to tell in the photo but there is a lot of glitter and shine on the canvas, especially on the white background.
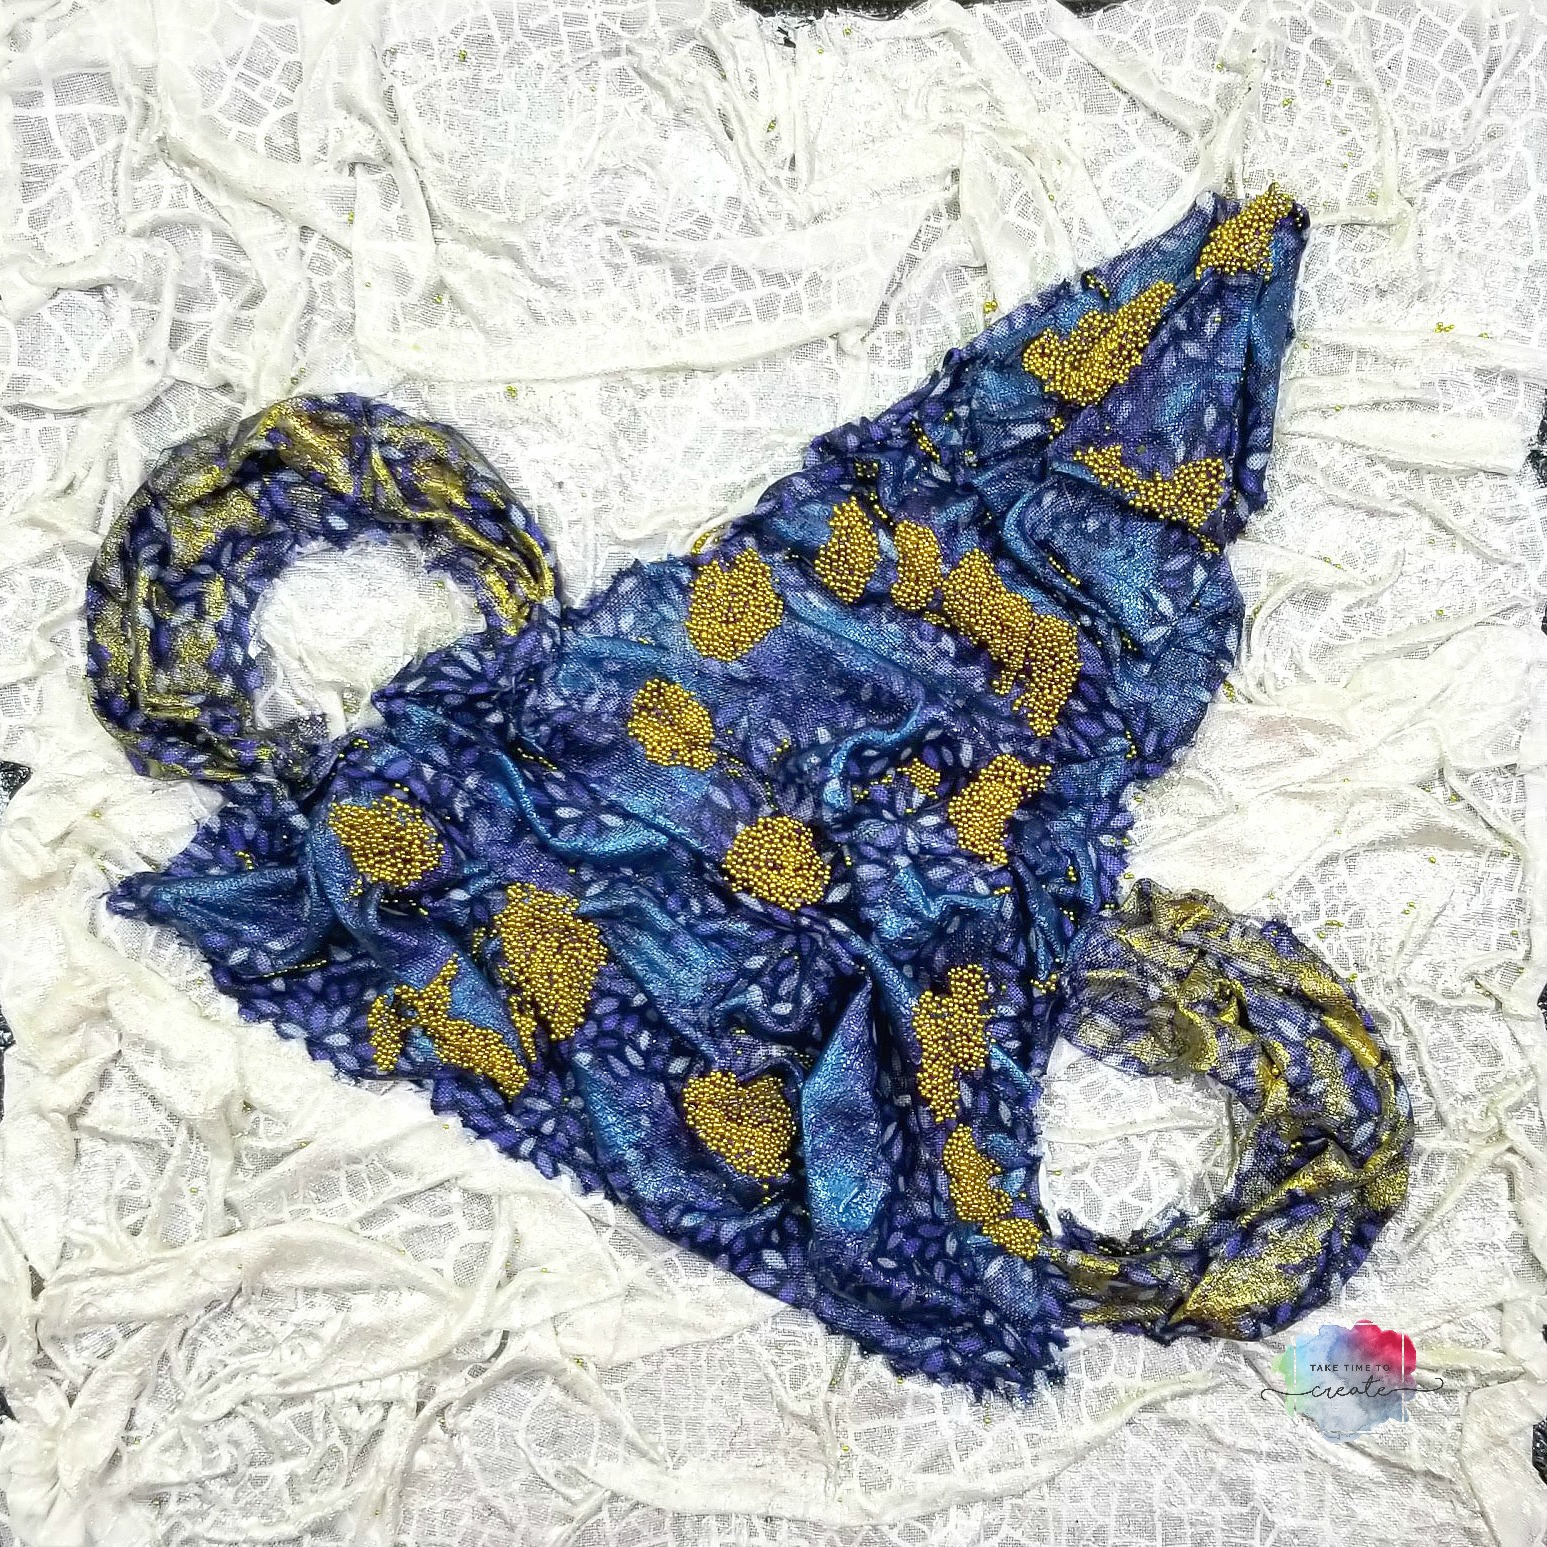
Then there is EPCOT with an image of Spaceship Earth. This is one of my favorite rides, probably because it is slow and relaxing with lots of air conditioning, lol. Perfect break in the middle of a hot day in Florida, lol
Then we have MGM, no I am sorry Hollywood Studios, lol. I think I will always call it MGM. And I loved the giant sorcerer’s hat that was in the middle of the park for the longest time. I know they removed the hat, but I loved it so much and that reminds me the most of the park, so I thought I would use the hat to depict MGM.
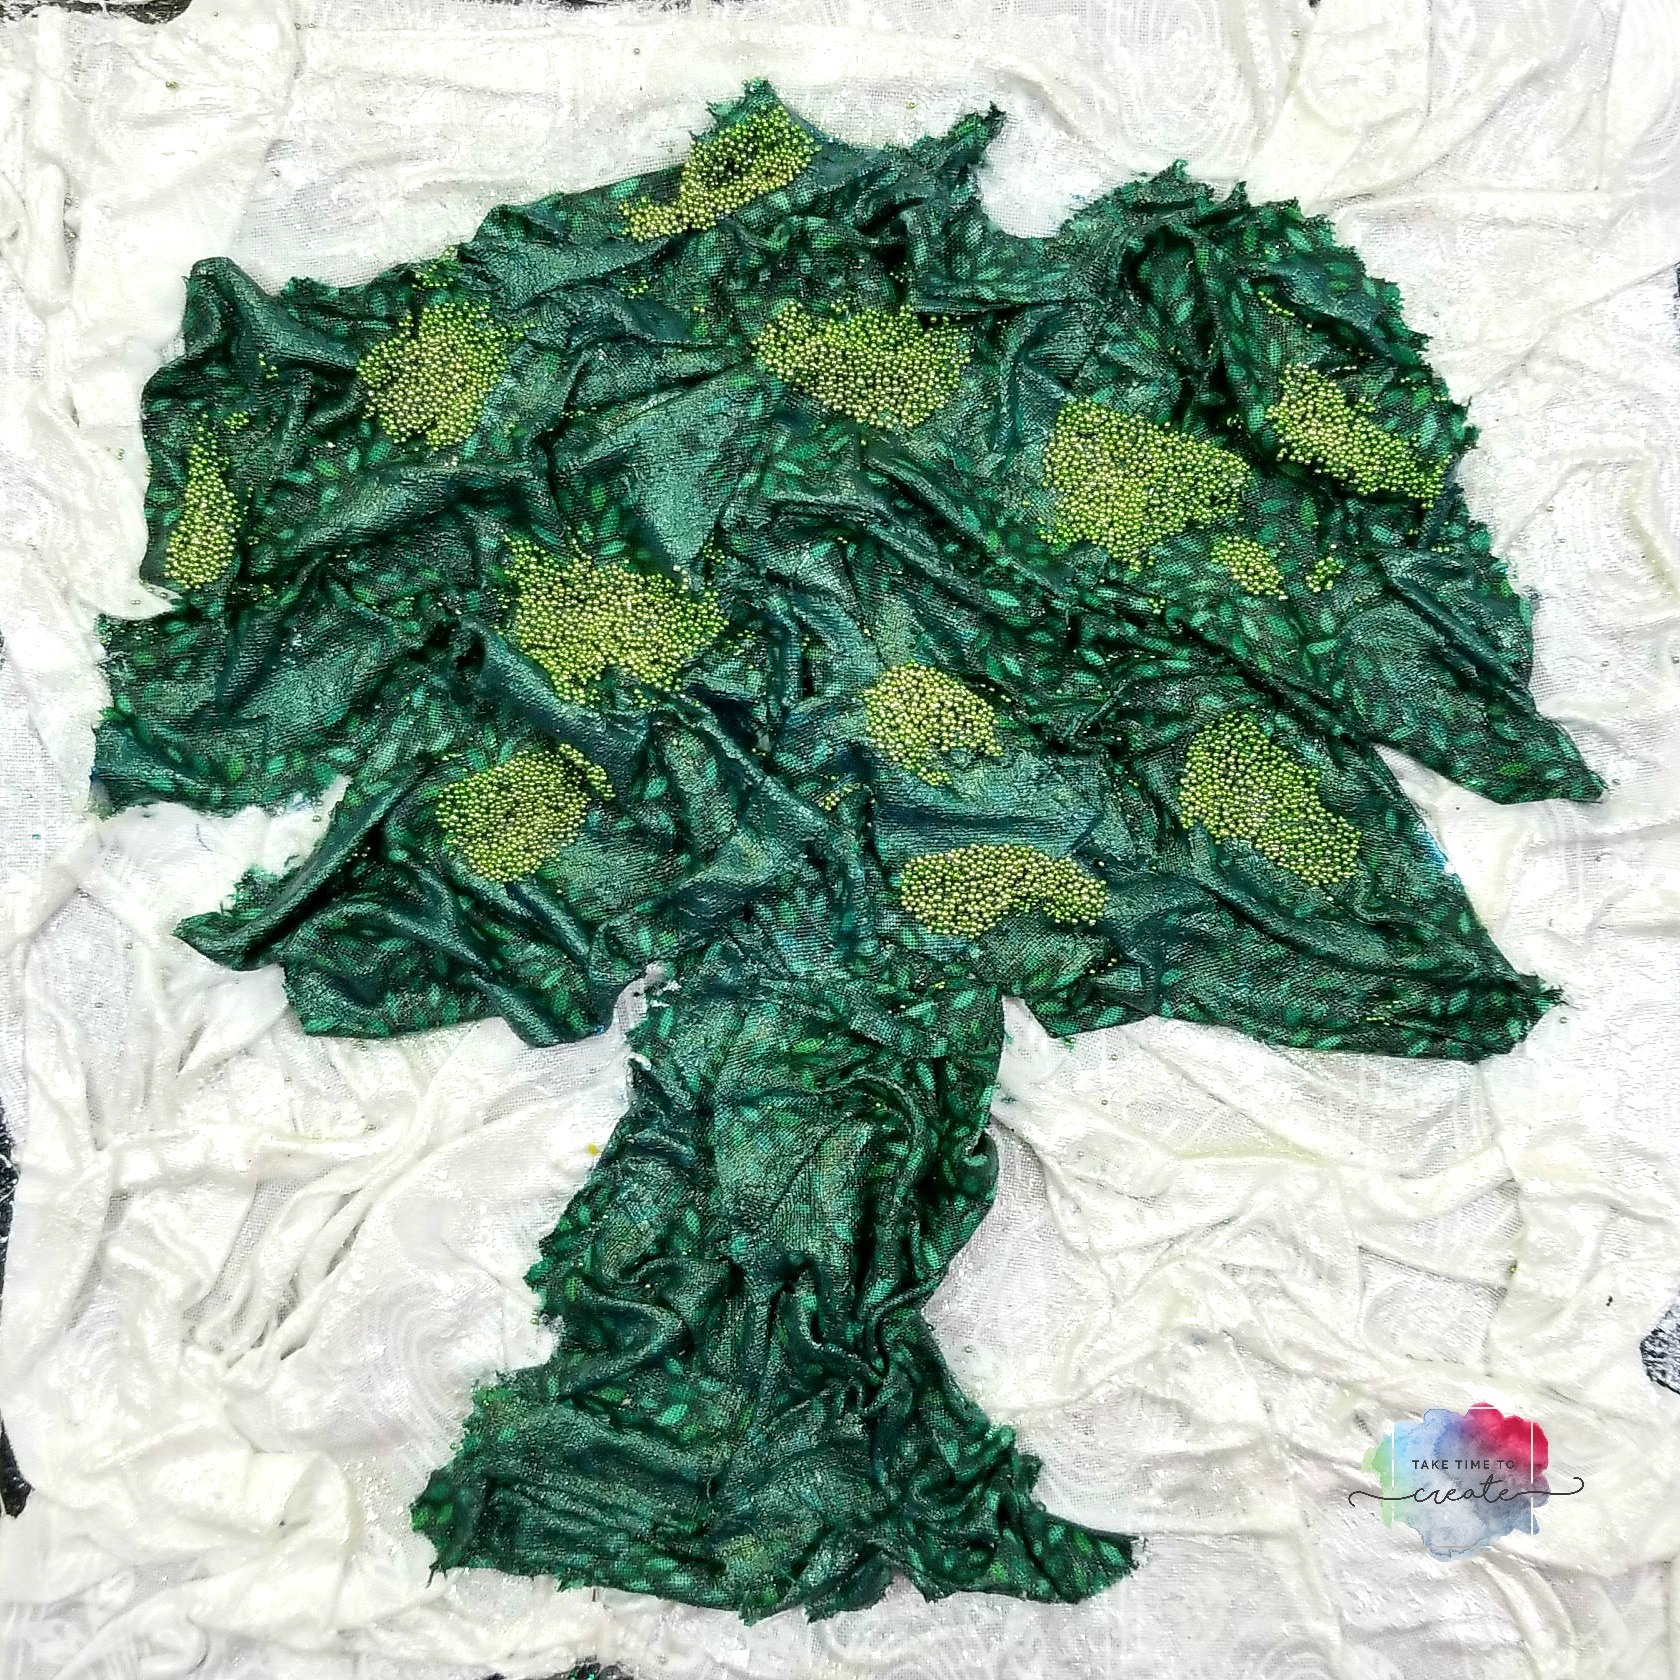
Last but not least is the Animal Kingdom. I love going to this newer park and I have to say the new Avatar section is amazing!
Overall these were so much fun to create and reminisce about going to Disney and I am eager to start my next canvas!
Affiliate Links
Liquitex heavy Gel- https://amzn.to/2DDcWbp
Liquitex gloss gel- https://amzn.to/2JZRSfq
Finnabair Sparks https://amzn.to/2DDkJG2
Finnabair Metallique https://amzn.to/2qJbRGn
Micro beads-https://amzn.to/2DD9opK and https://amzn.to/2B3KjSj
8×8 canvas https://amzn.to/2B3KmgX
Fabric roll (similar) https://amzn.to/2DCF1zF
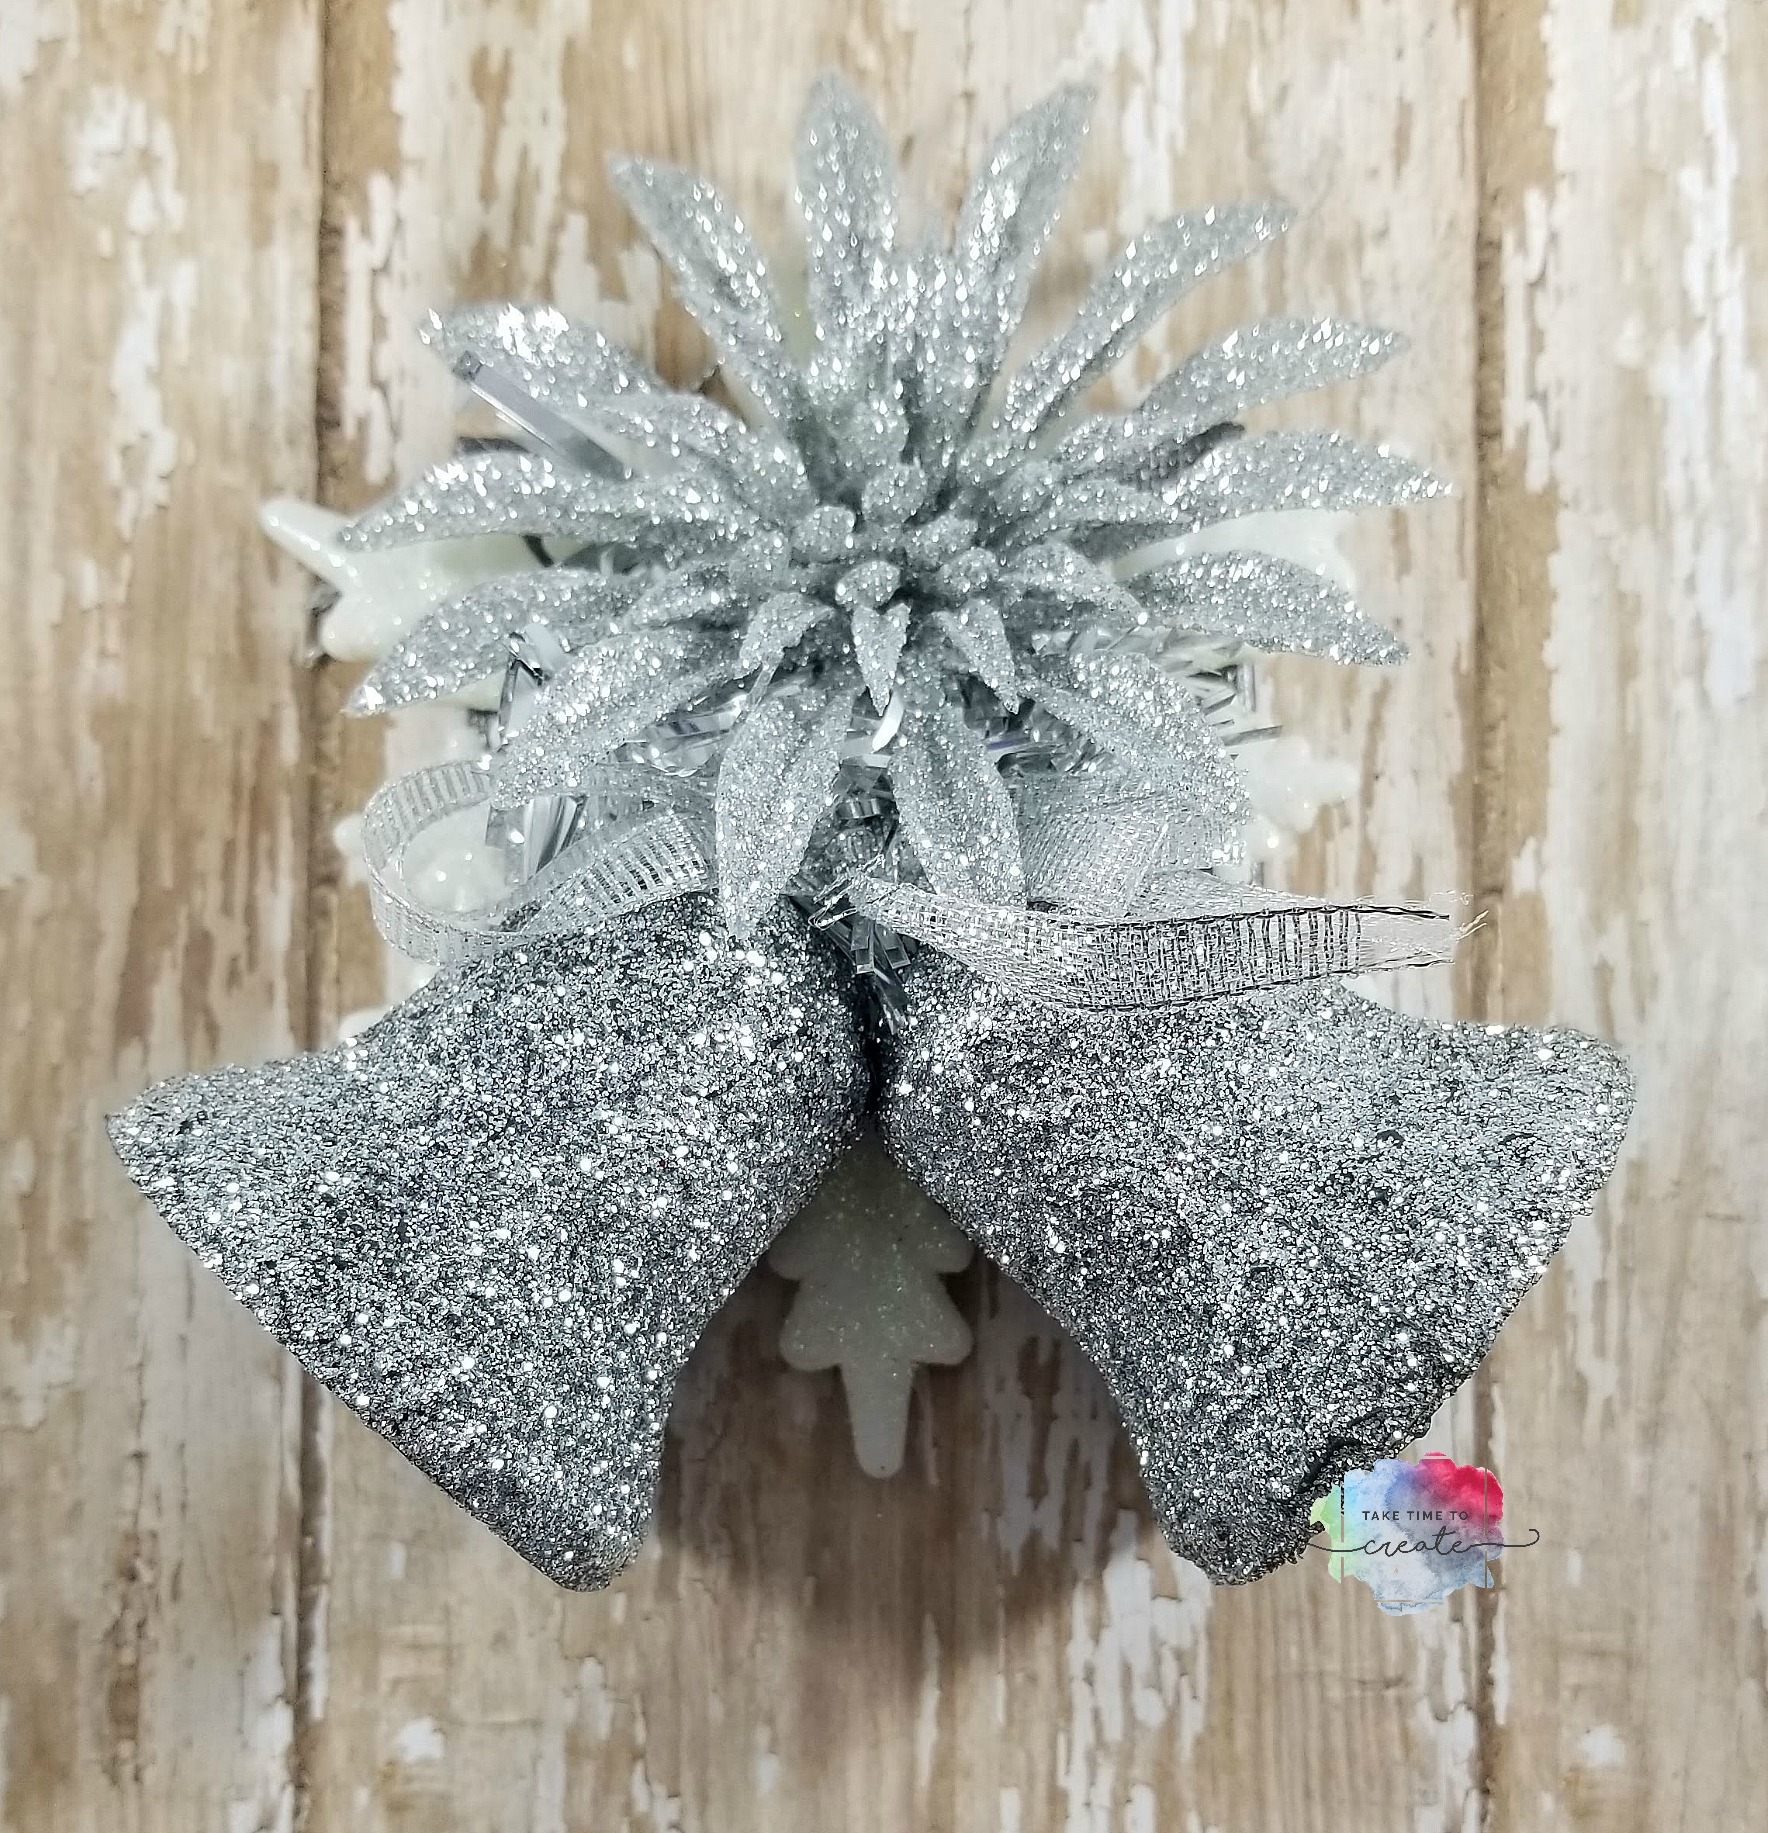
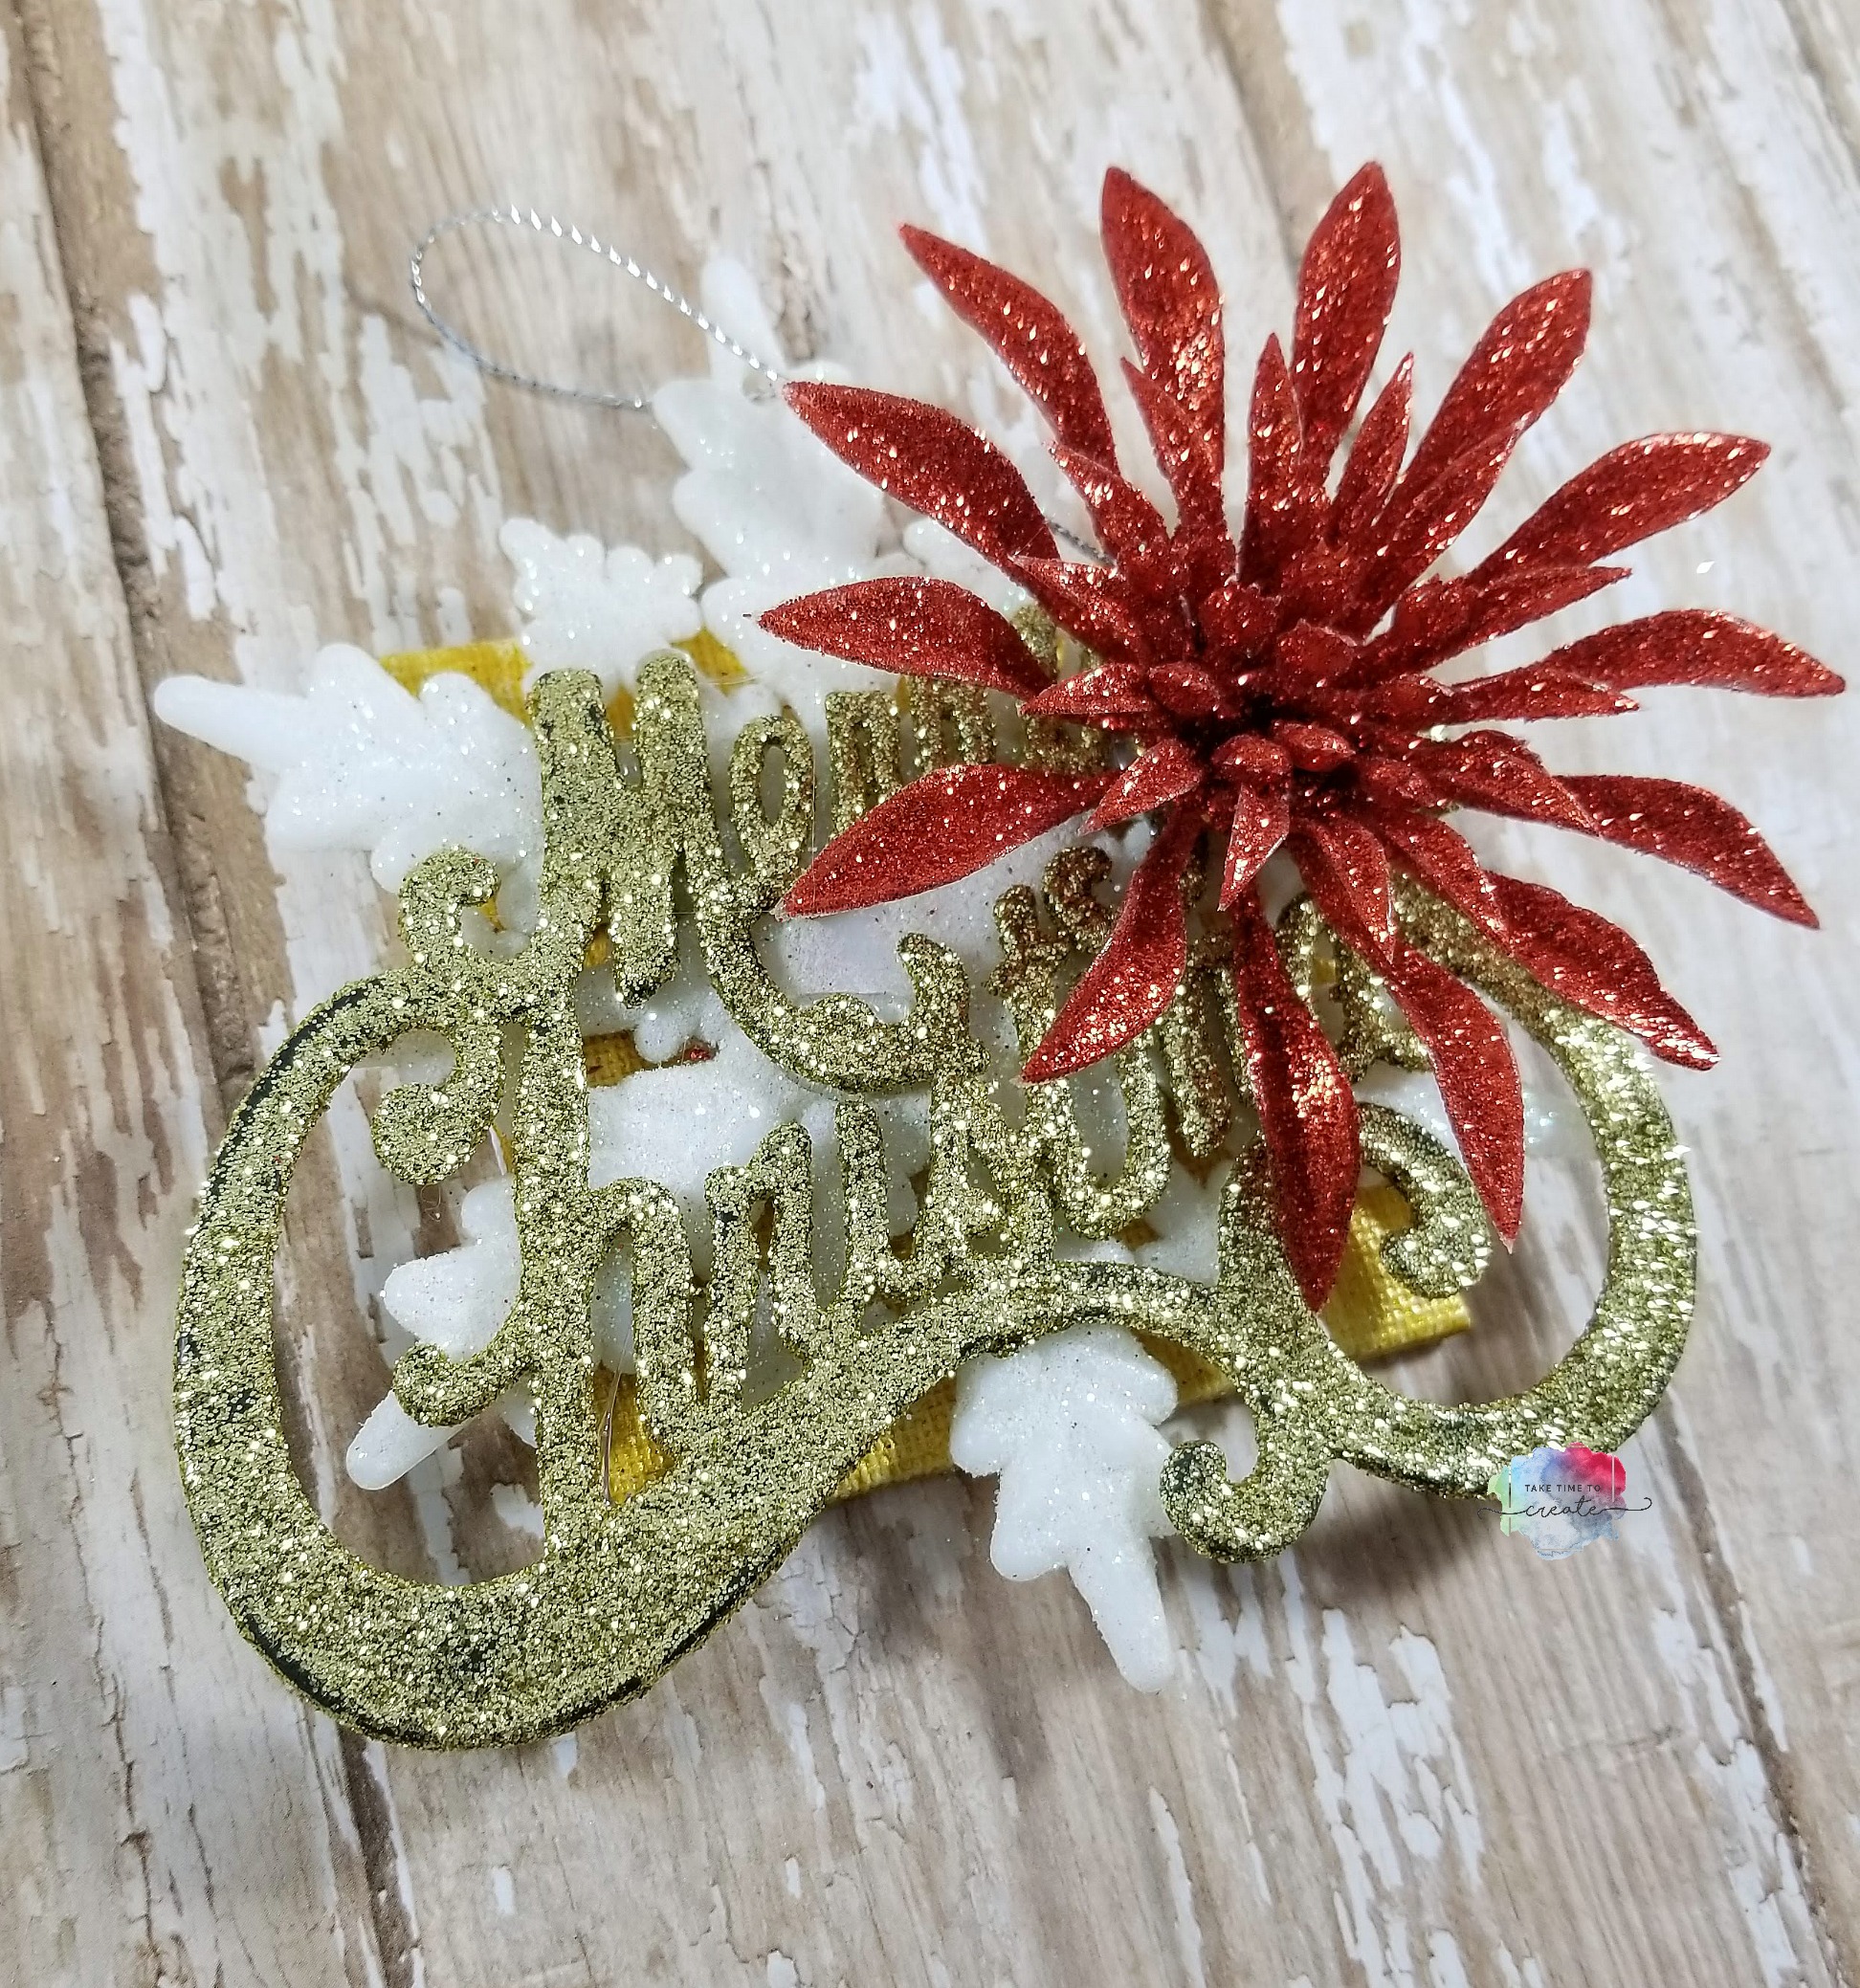
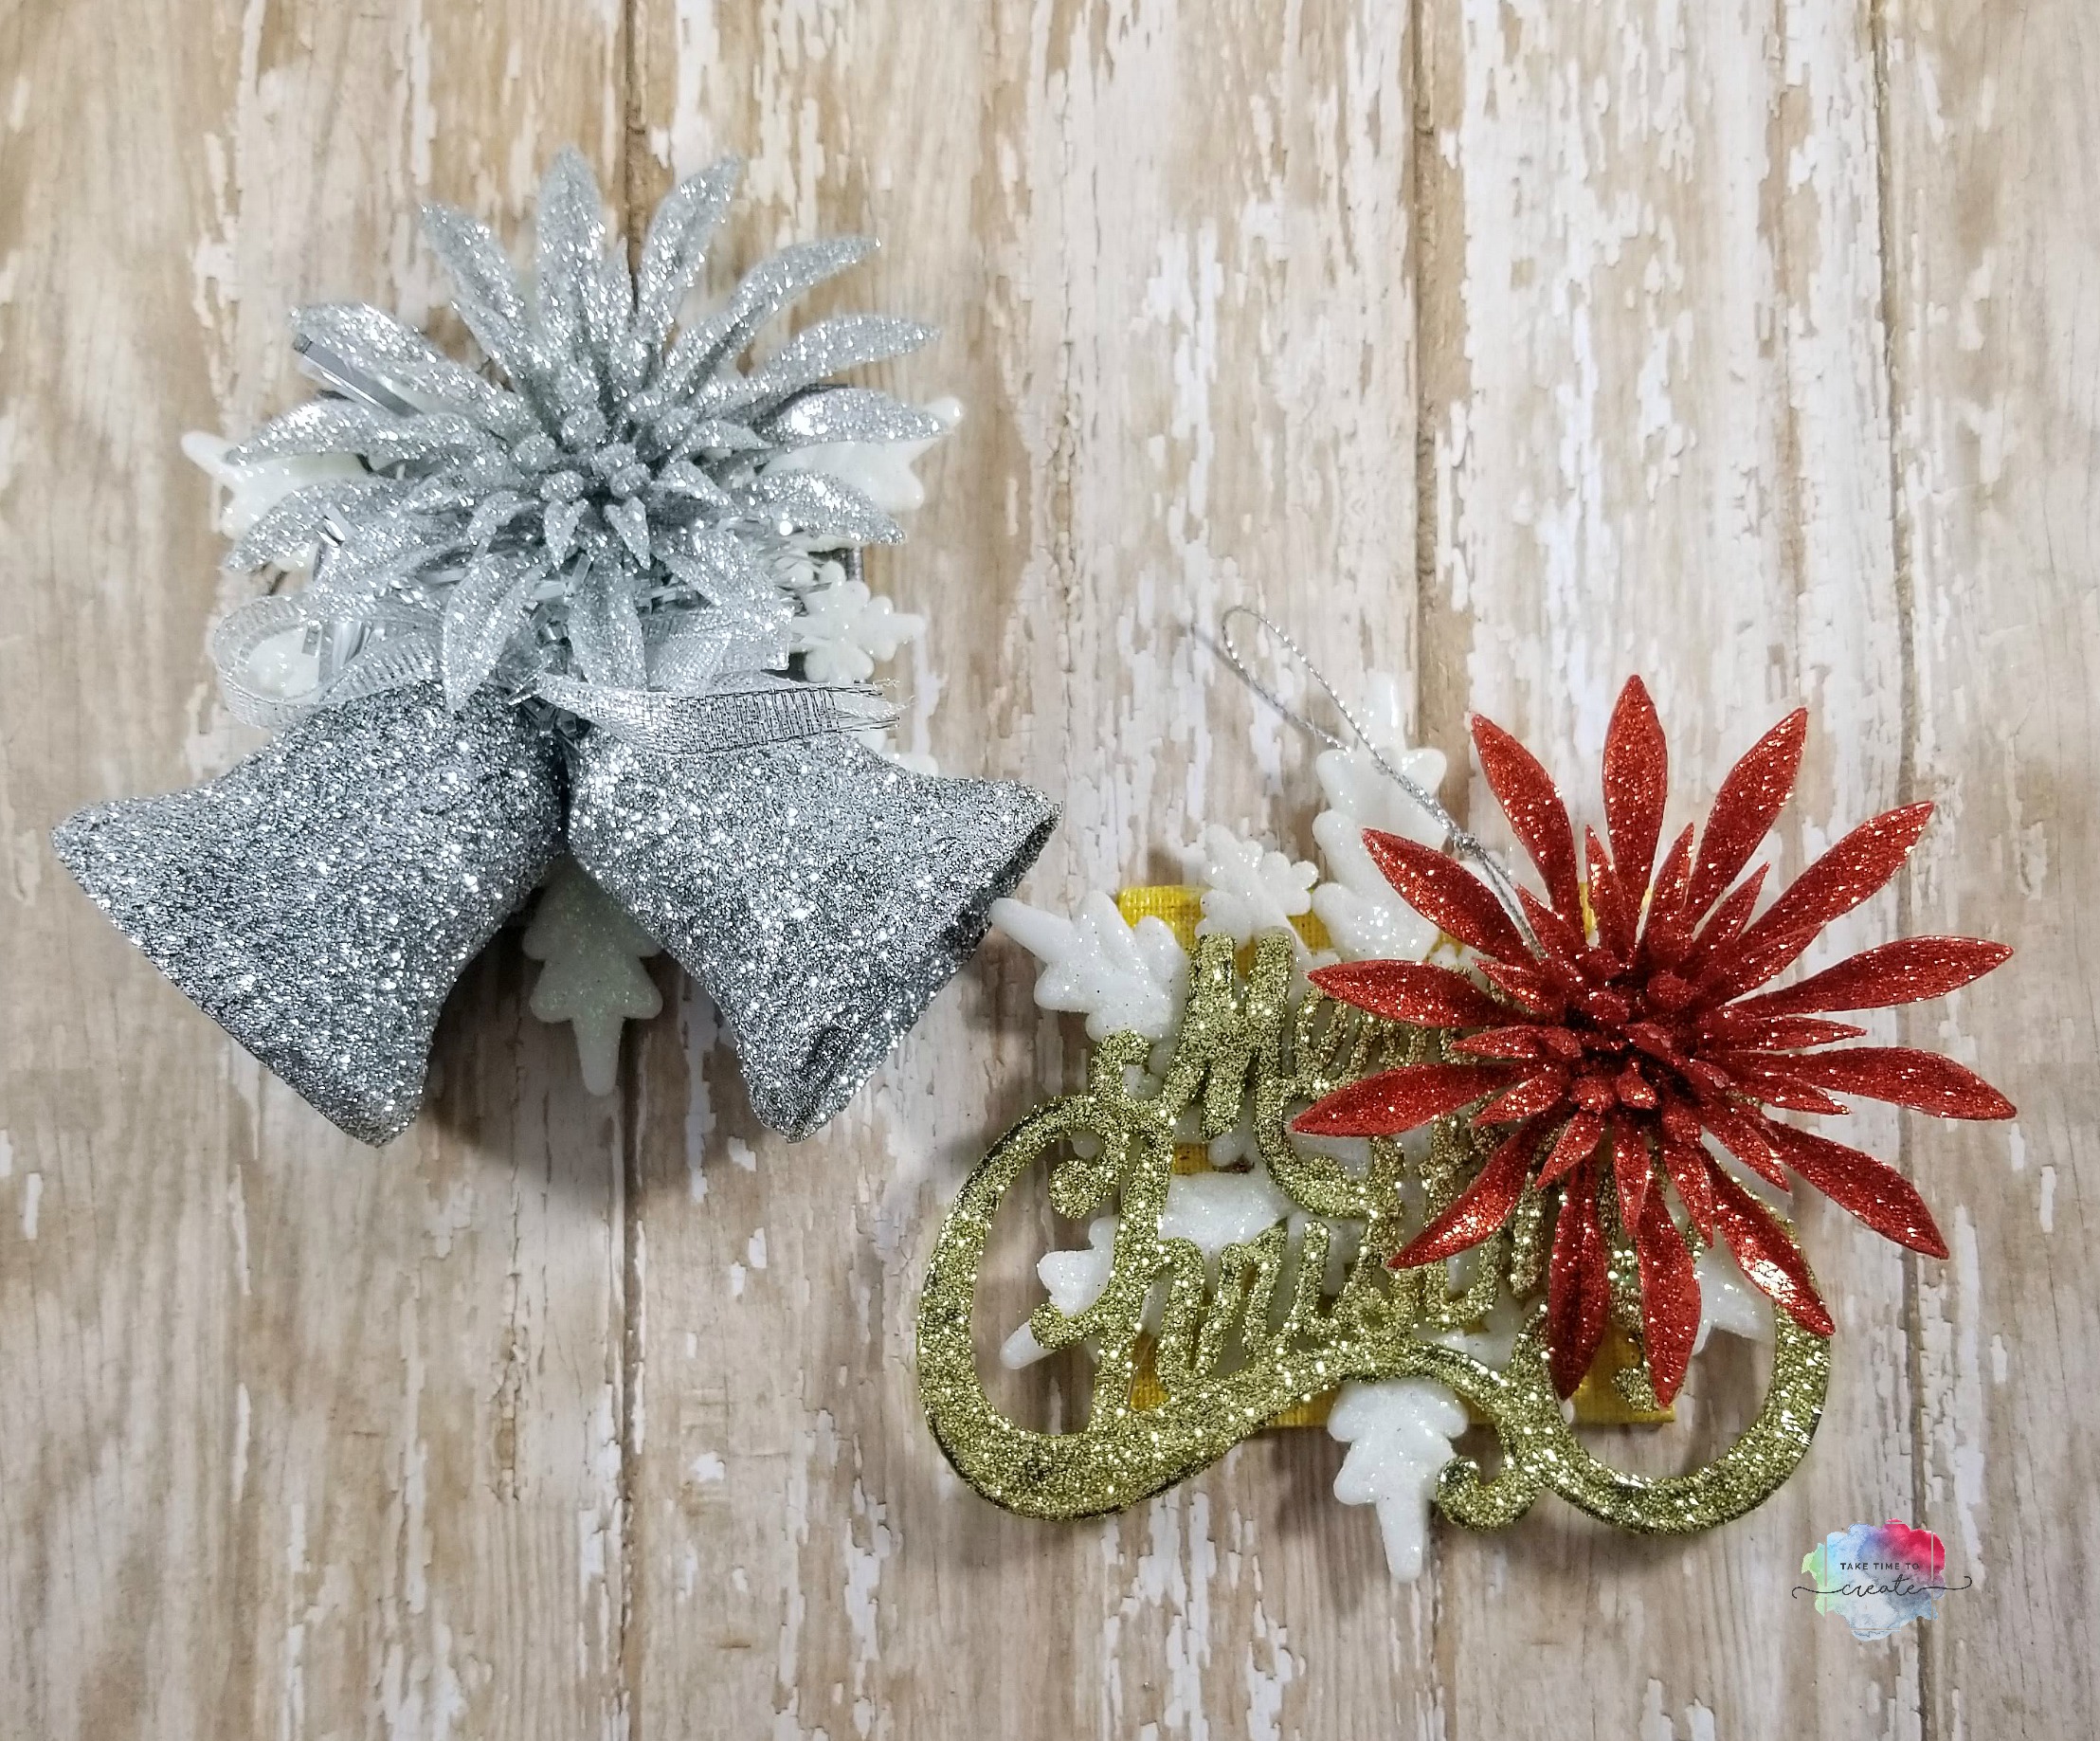
I know it seems early, but Christmas is right around the corner. I created these ornaments using goodies from the Dollar Tree.
FYI: I was compensated for this post. This post also contains affiliate links and I will be compensated if you make a purchase after clicking on my links.
This was such a fun project to complete. I had a lot of ornaments and Dollar Tree goodies in my stash for this project, but they have a lot of the same ornaments year after year, along with some new ones.
I love how glittery the Dollar Tree Christmas items are, they make the perfect decorations.
For this project grab a tiny canvas and paint it in any color you want, I used a silver and a gold. (if you don’t have a canvas a piece of study cardboard or foam board will work)
Once the paint is dry you can start layering your ornaments. I used hot glue to attach it. I used 3 ornaments on each canvas to create an interesting look.
Just build your layers until you get what you are looking for and you are done! Add a string or ribbon to the back if needed.
This project is great to make unique ornaments for your tree, or you can use them as gift tags or gifts to just about anyone on your list.
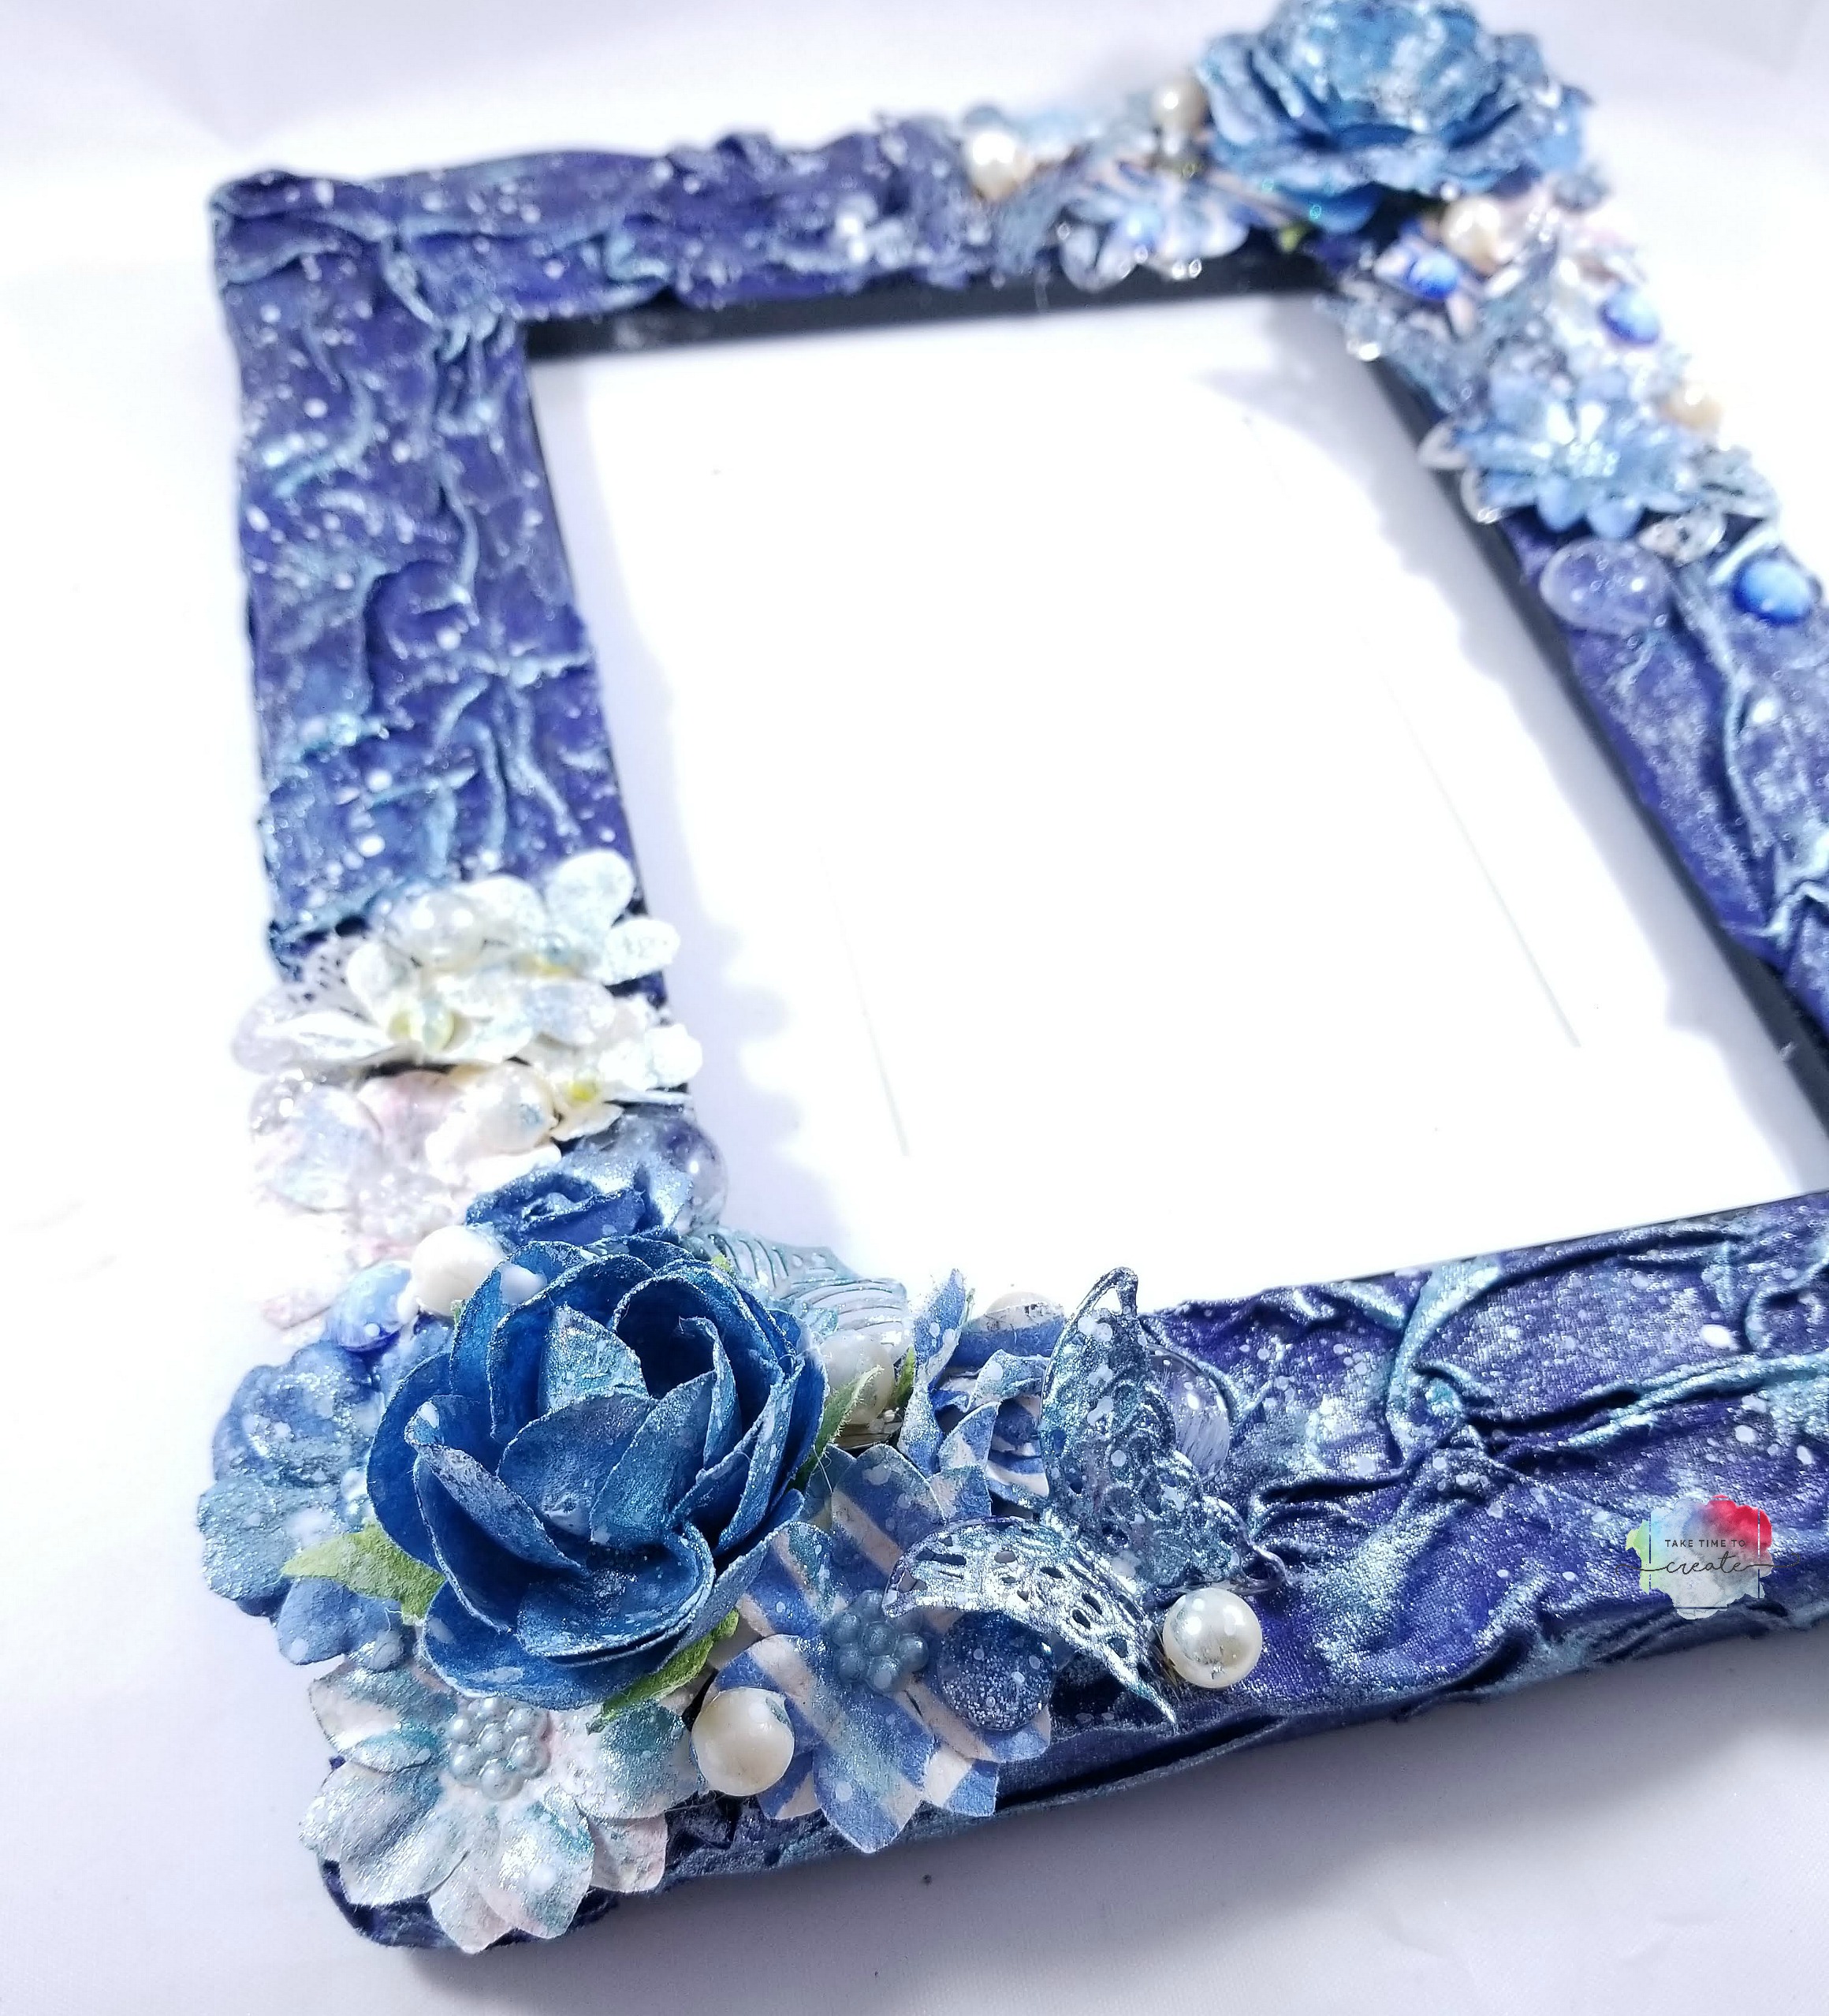
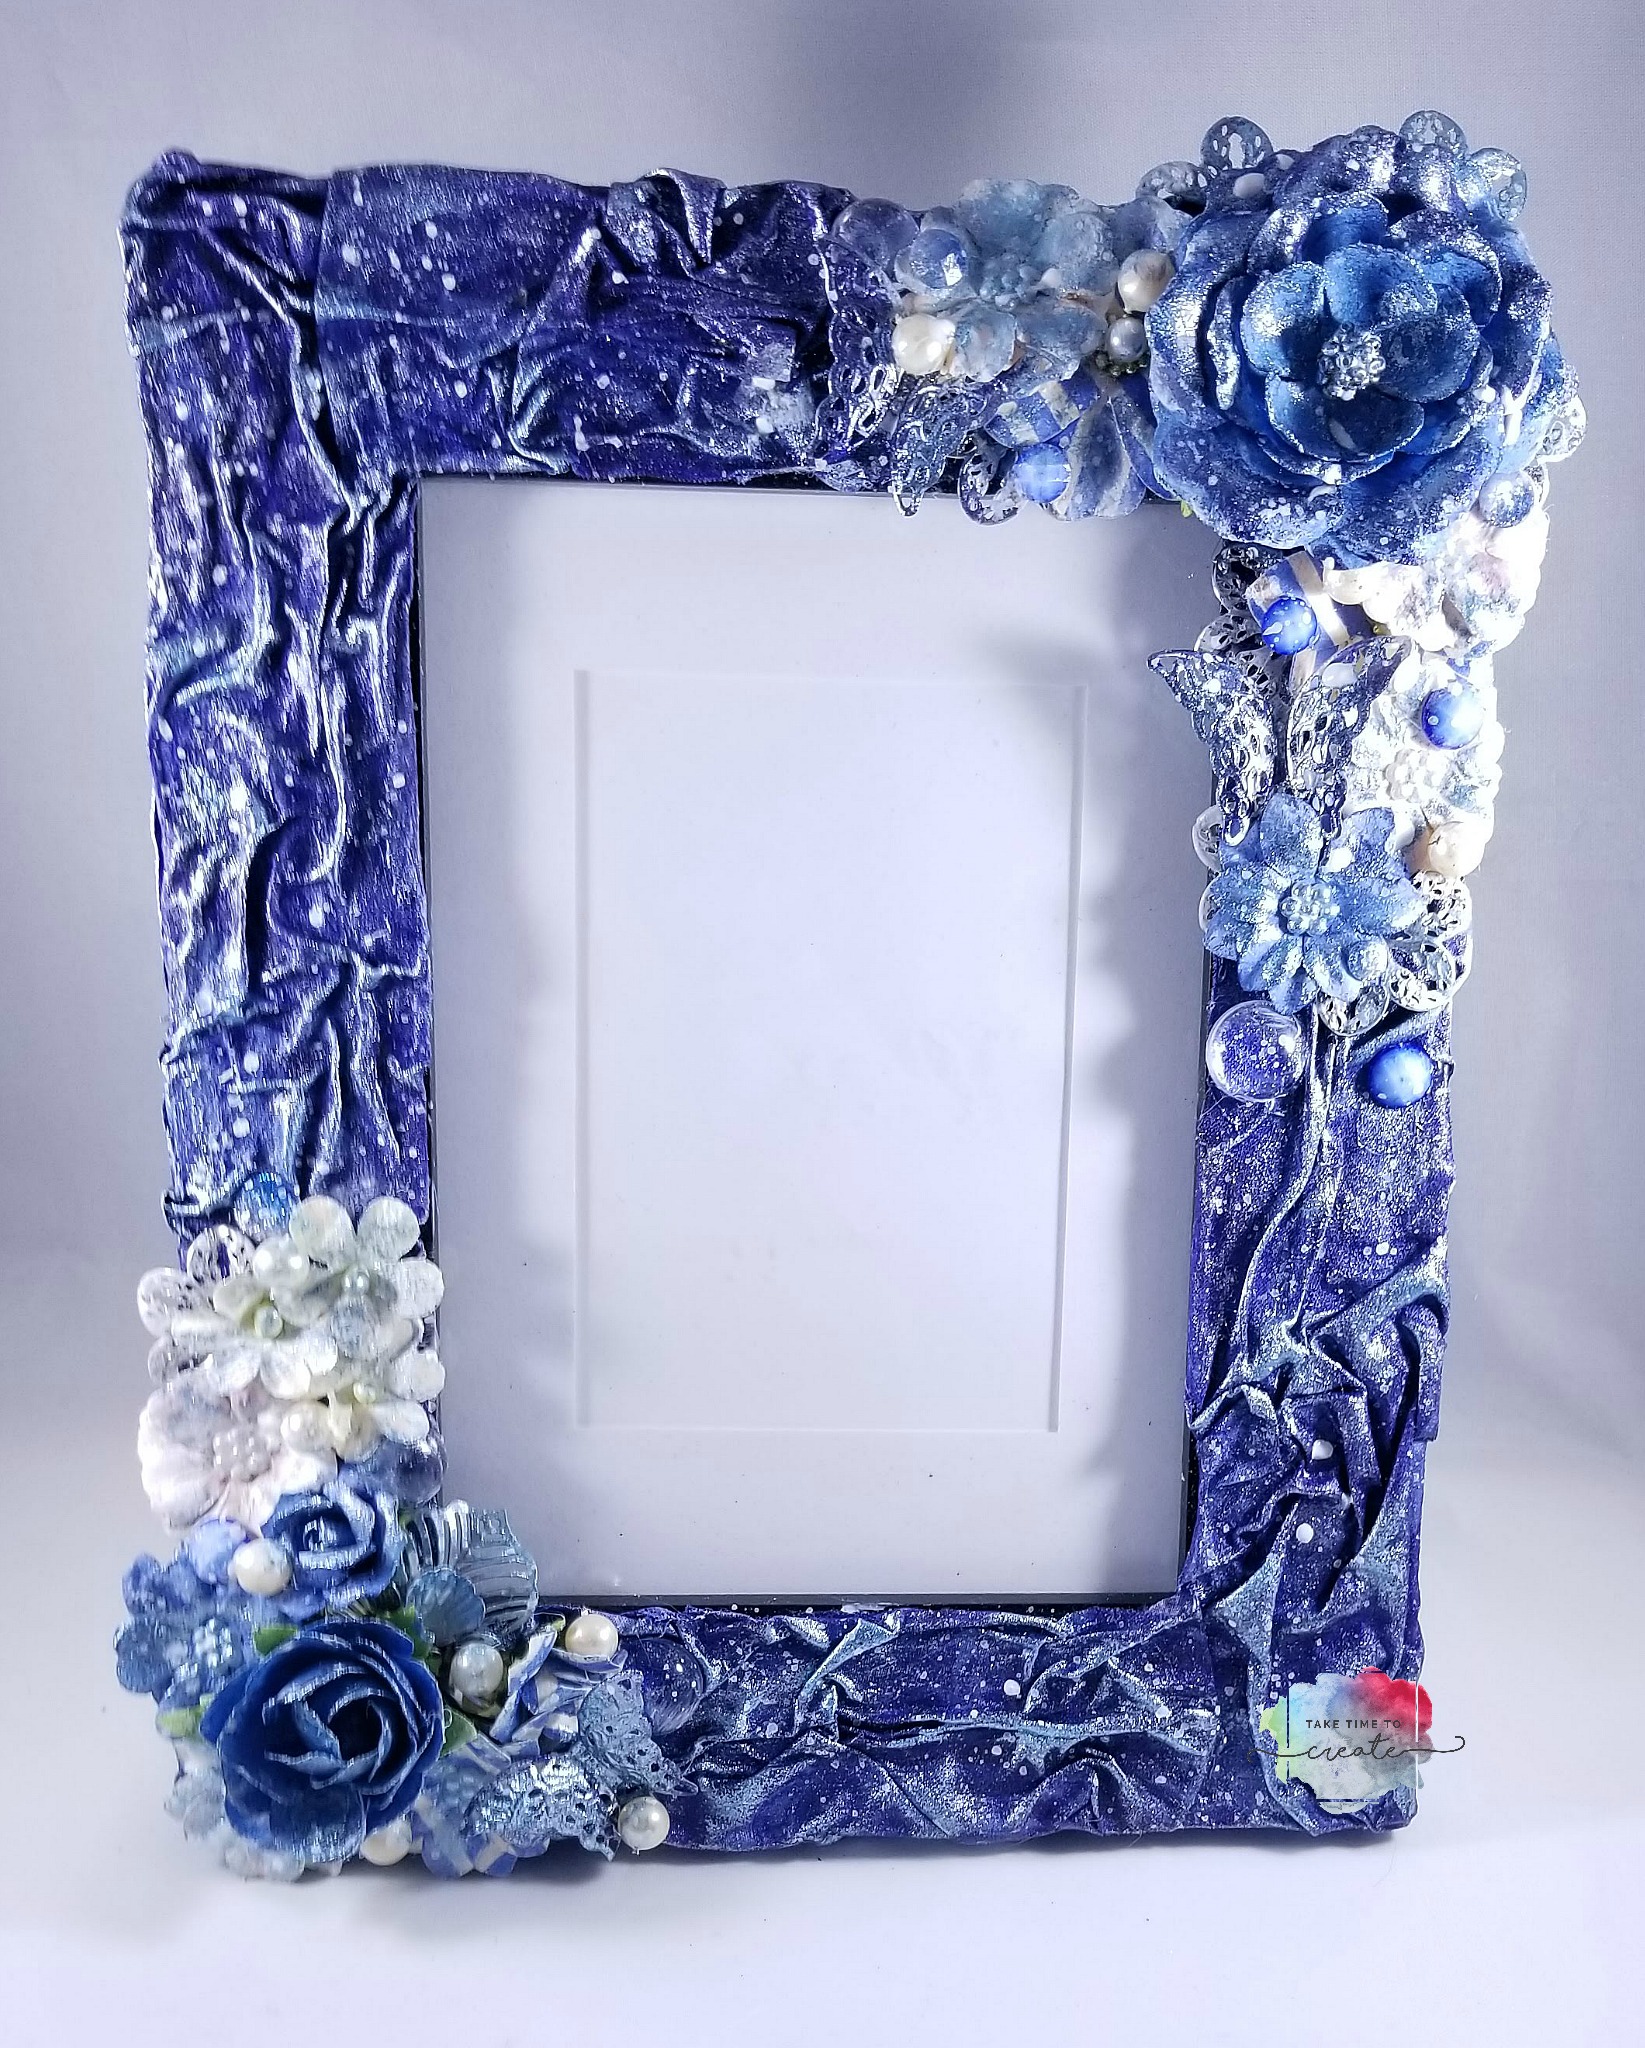
Have you ever finished a project and thought you were done only to realize that you weren’t? Well that is exactly what happened to me with this Blue Mixed Media Fabric Frame.
A little while ago I created the fabric frame and I thought it was pretty cute as is. If you missed that blog post you can catch it here: Fabric Frame
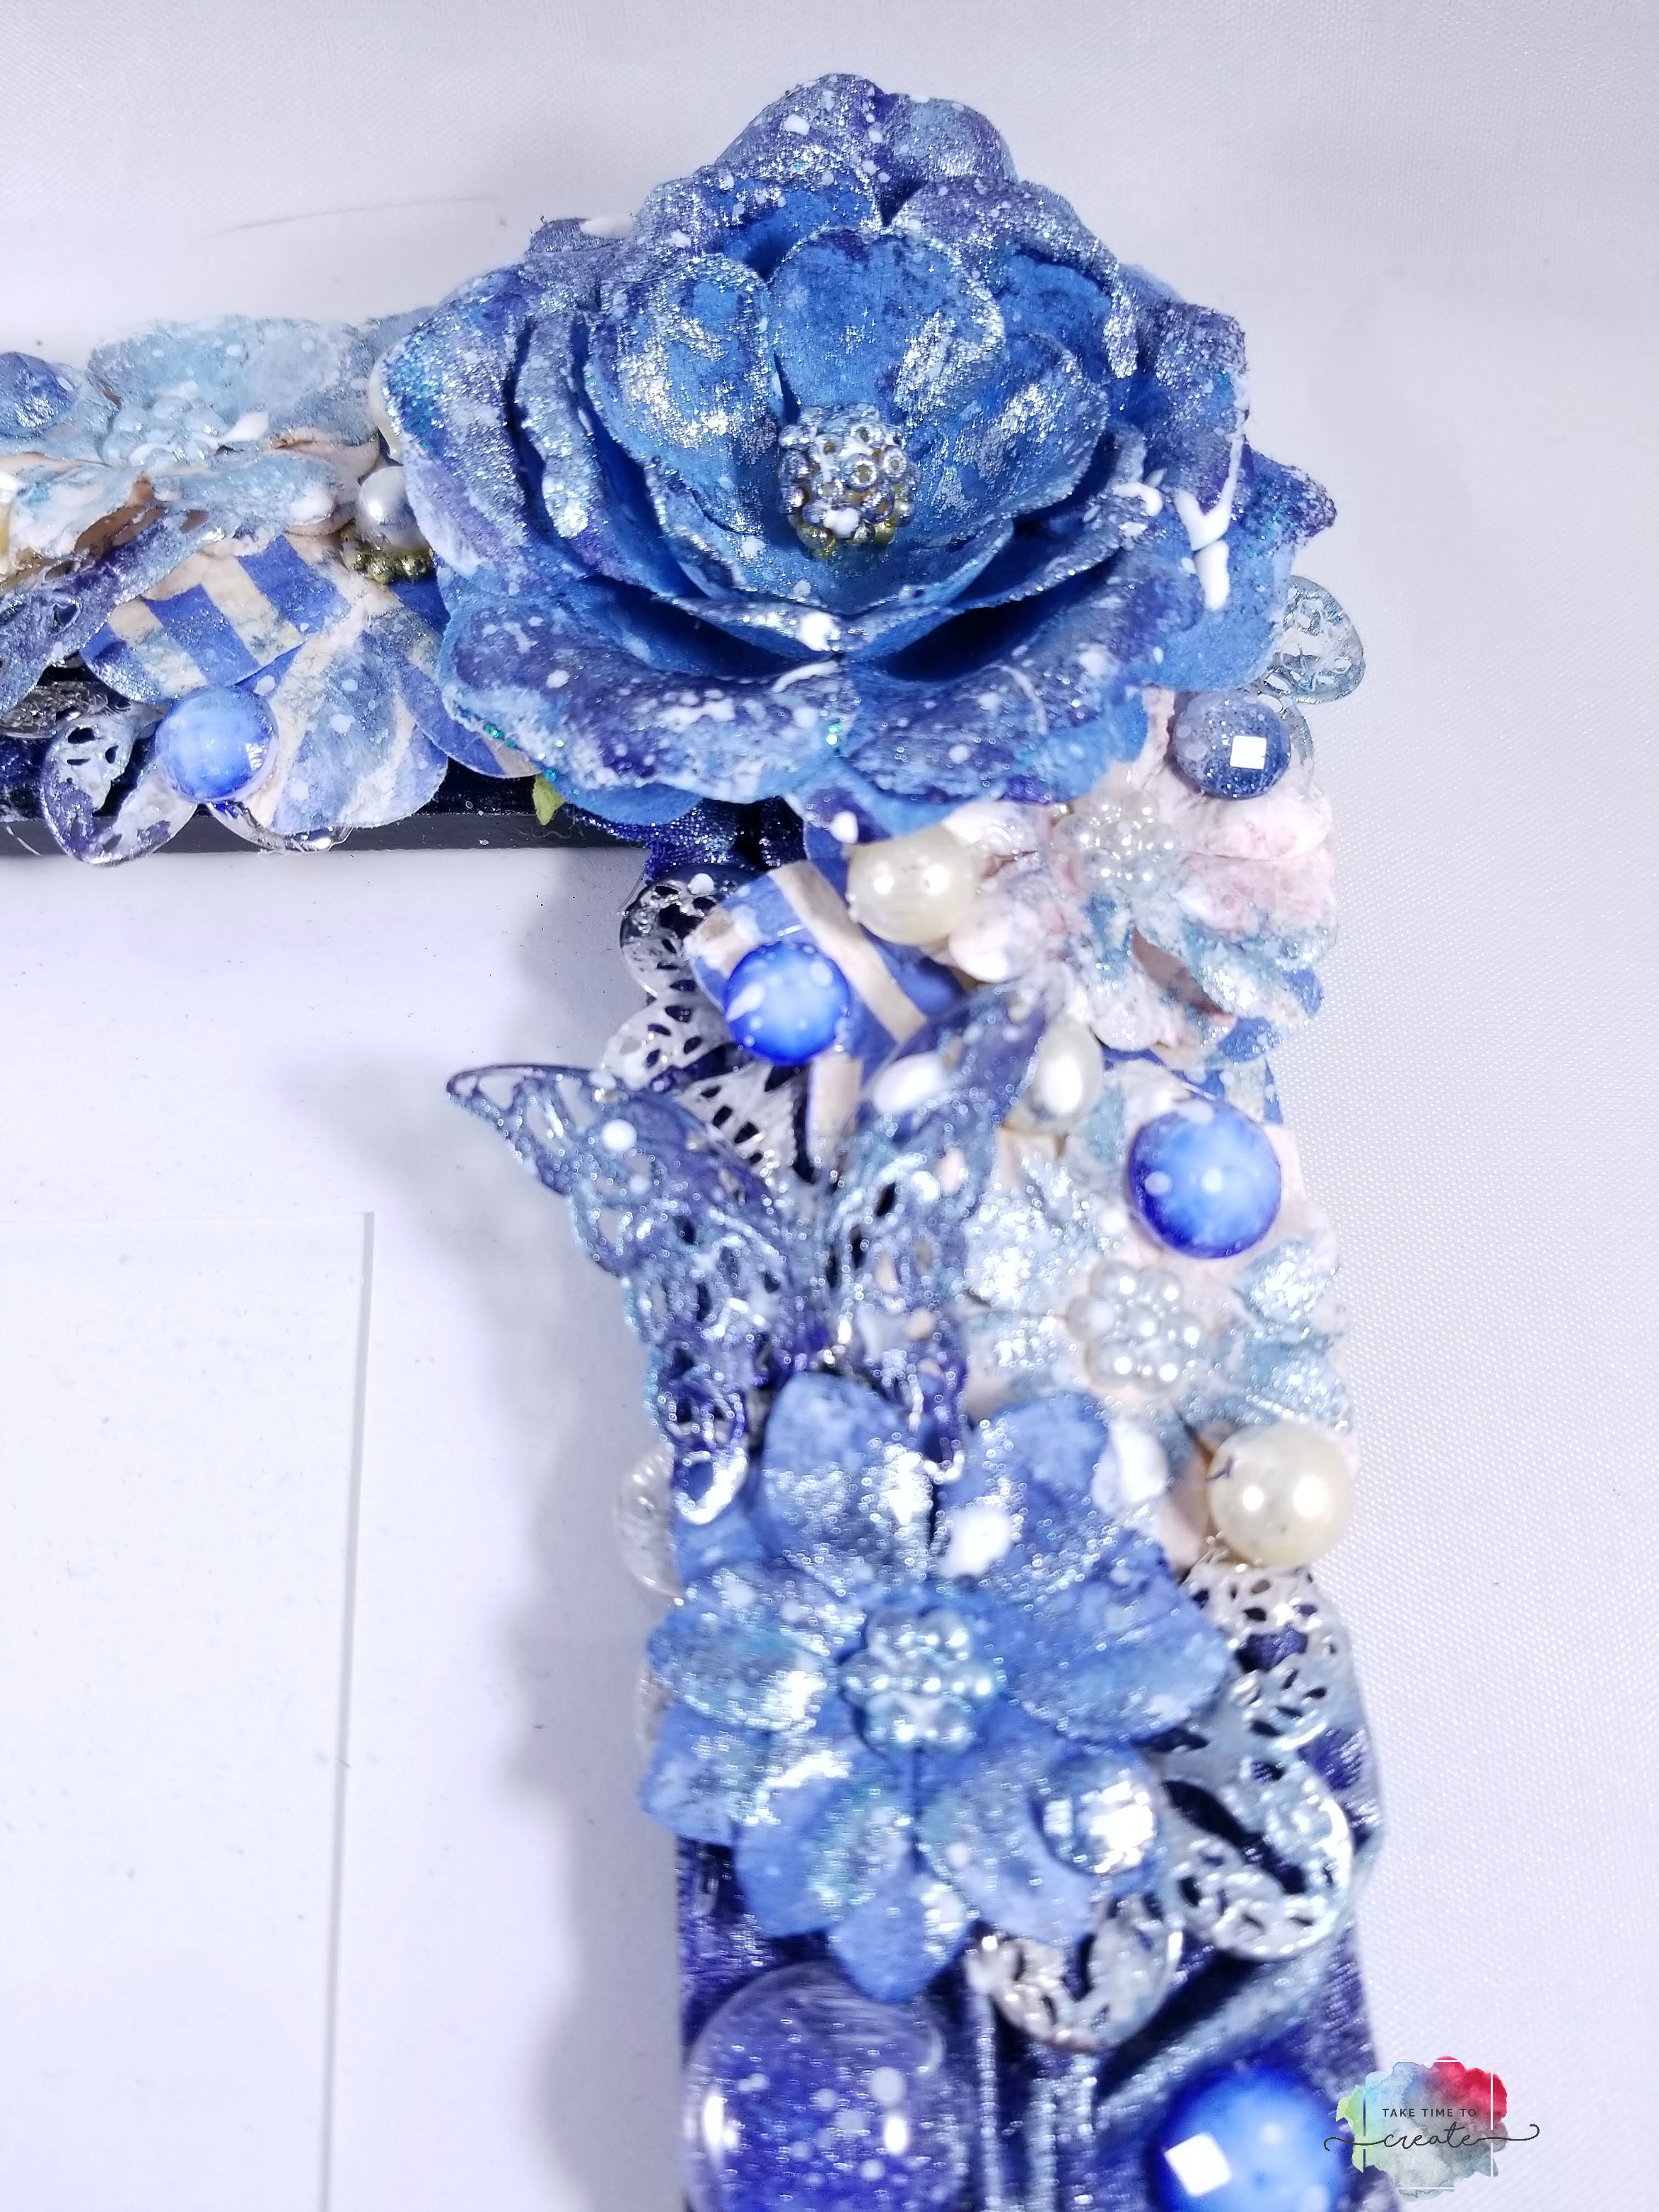
And the original frame was really cute and I did love it, but as I thought about it I thought it needed more. And by more, I mean a lot, lol. So I embellished it, and painted it some more. I love how it turned out and it is a personal choice how much or how little you add to your frame.
As you can see the original just has fabric and paint, but the embellished one has flowers, pearls, metal elements, and more added to the frame.
I clustered 2 groupings on opposite corners of the frame. I added a variety of elements to create interest and texture to the frame. If you know what photo you will be putting in the frame you can tailor the elements to the photo, I think that would look amazing.
After the gesso was all dry I painted over everything with Finnabari Sparks and Metallique paints. They were the same colors as the original frame and I thought that would help make it all cohesive.
The last step was adding splashes all over to really blend the original and the new elements together. I wanted it to look like I planned it all at once, lol.
I really like how this all came together. I love adding new elements on top of project I thought I had finished.
What project did you think you finished but went back later to add embellishments to? Share in the comments.
Affiliate Links (similar product if actual one can’t be found)
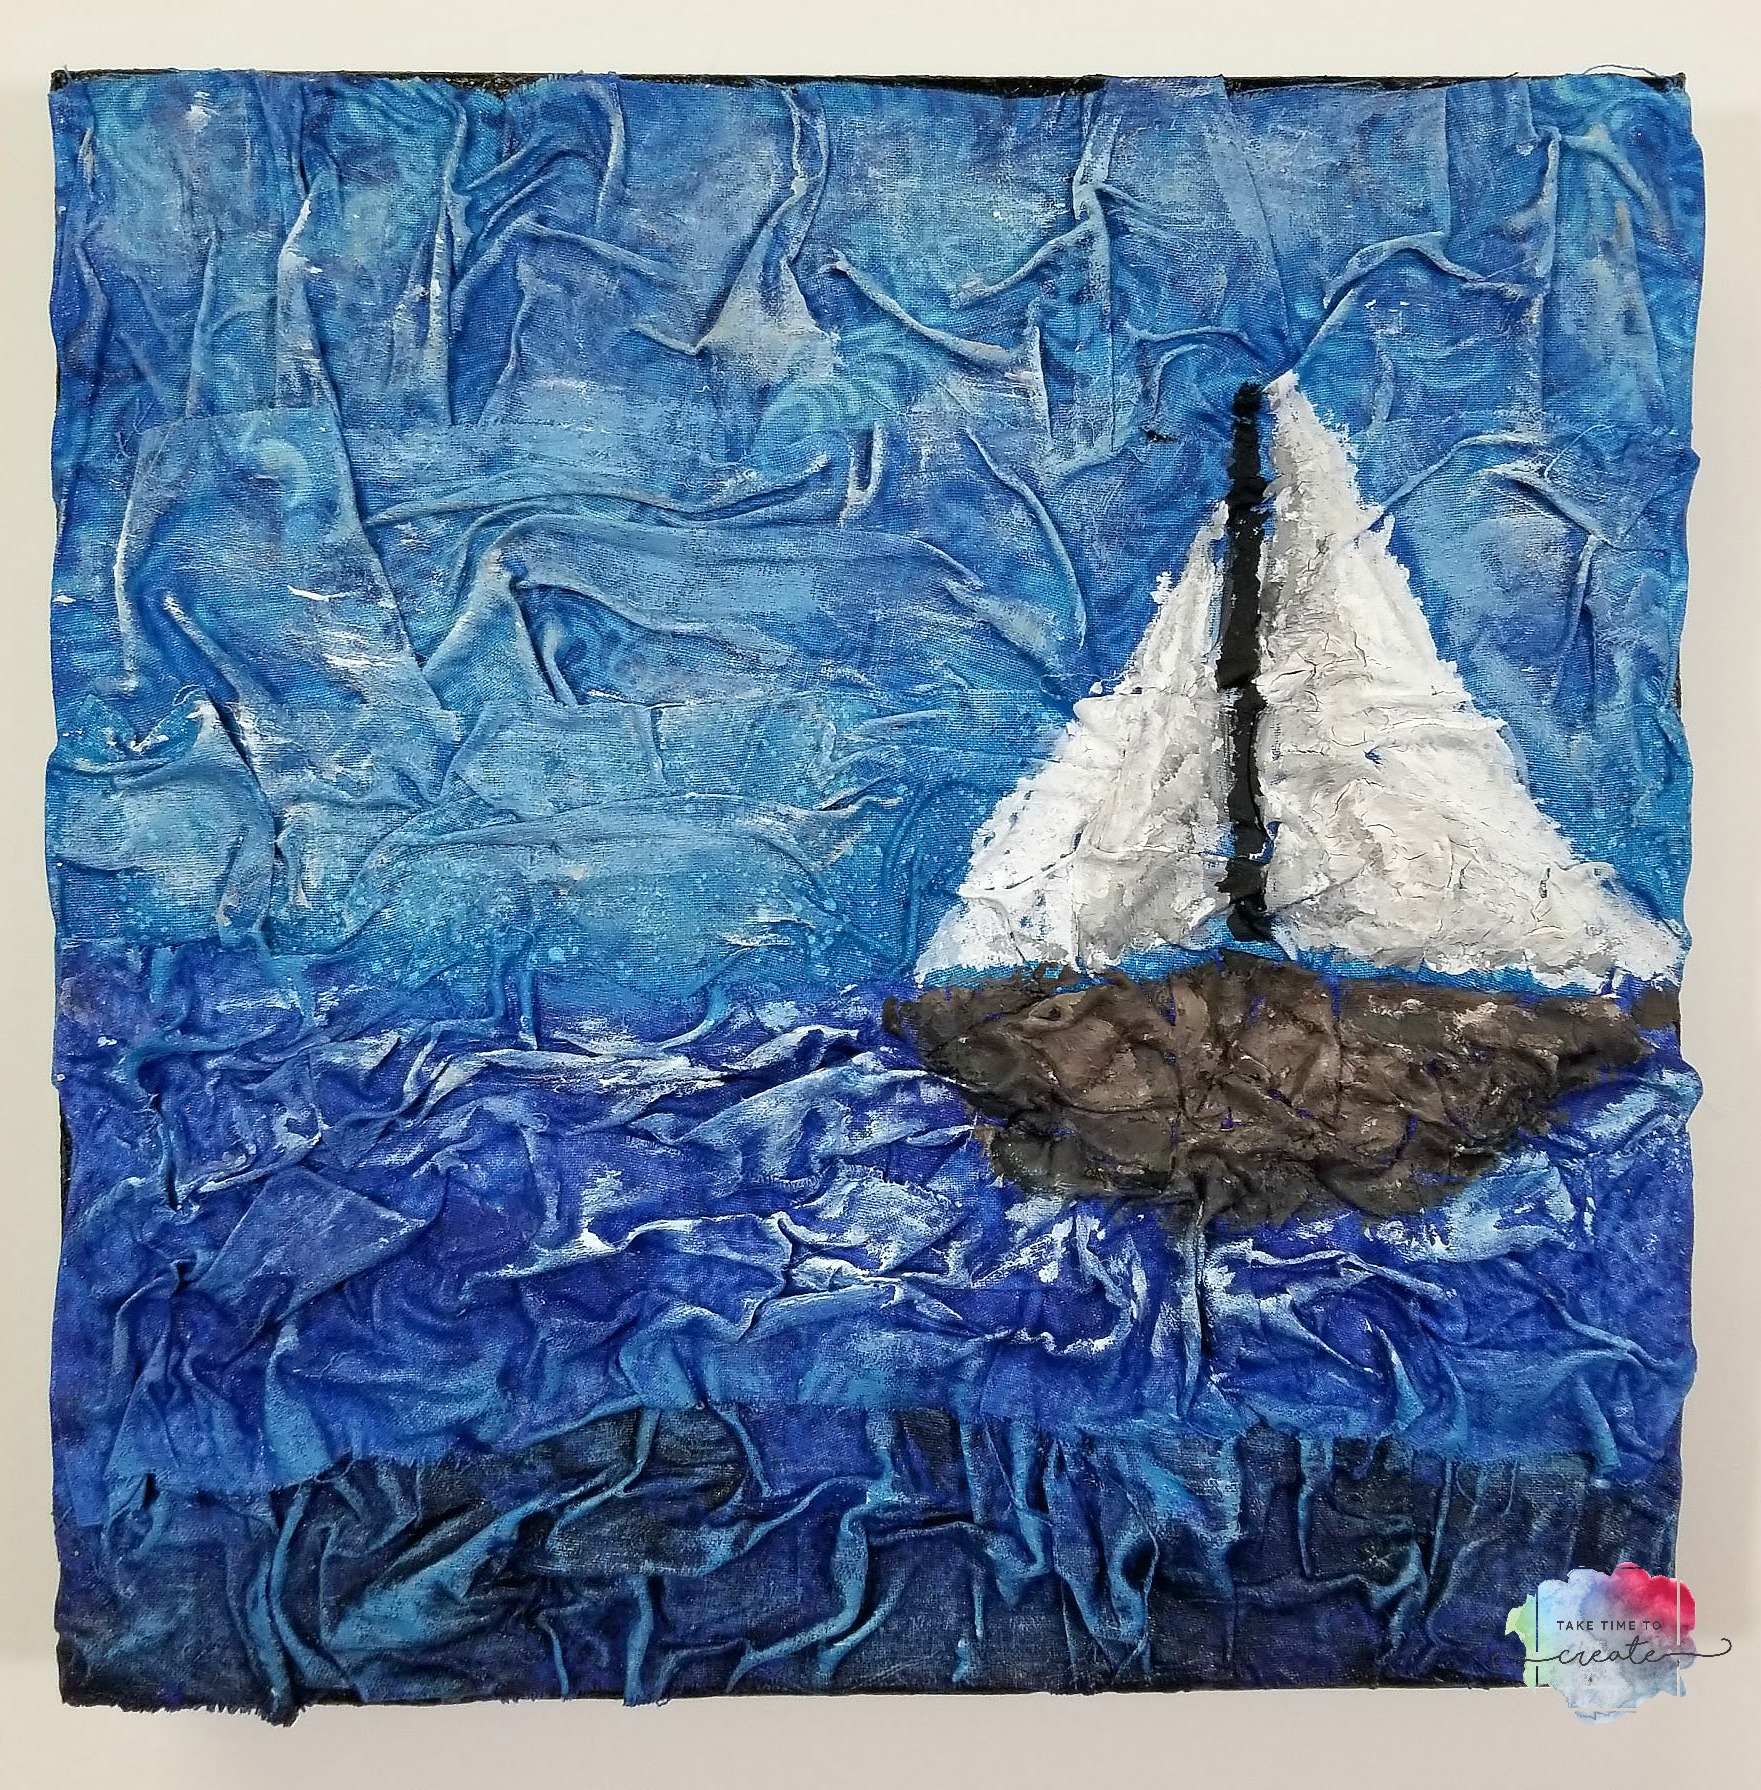
Are you ready for another Fabric Canvas? I am still loving the fabric and the process of creating a canvas with fabric.
This scene was inspired by our recent vacation to Ft Lauderdale. We saw a lot of boats on the water and they looked so peaceful and wonderful that I knew I had to create one on a canvas with fabric.
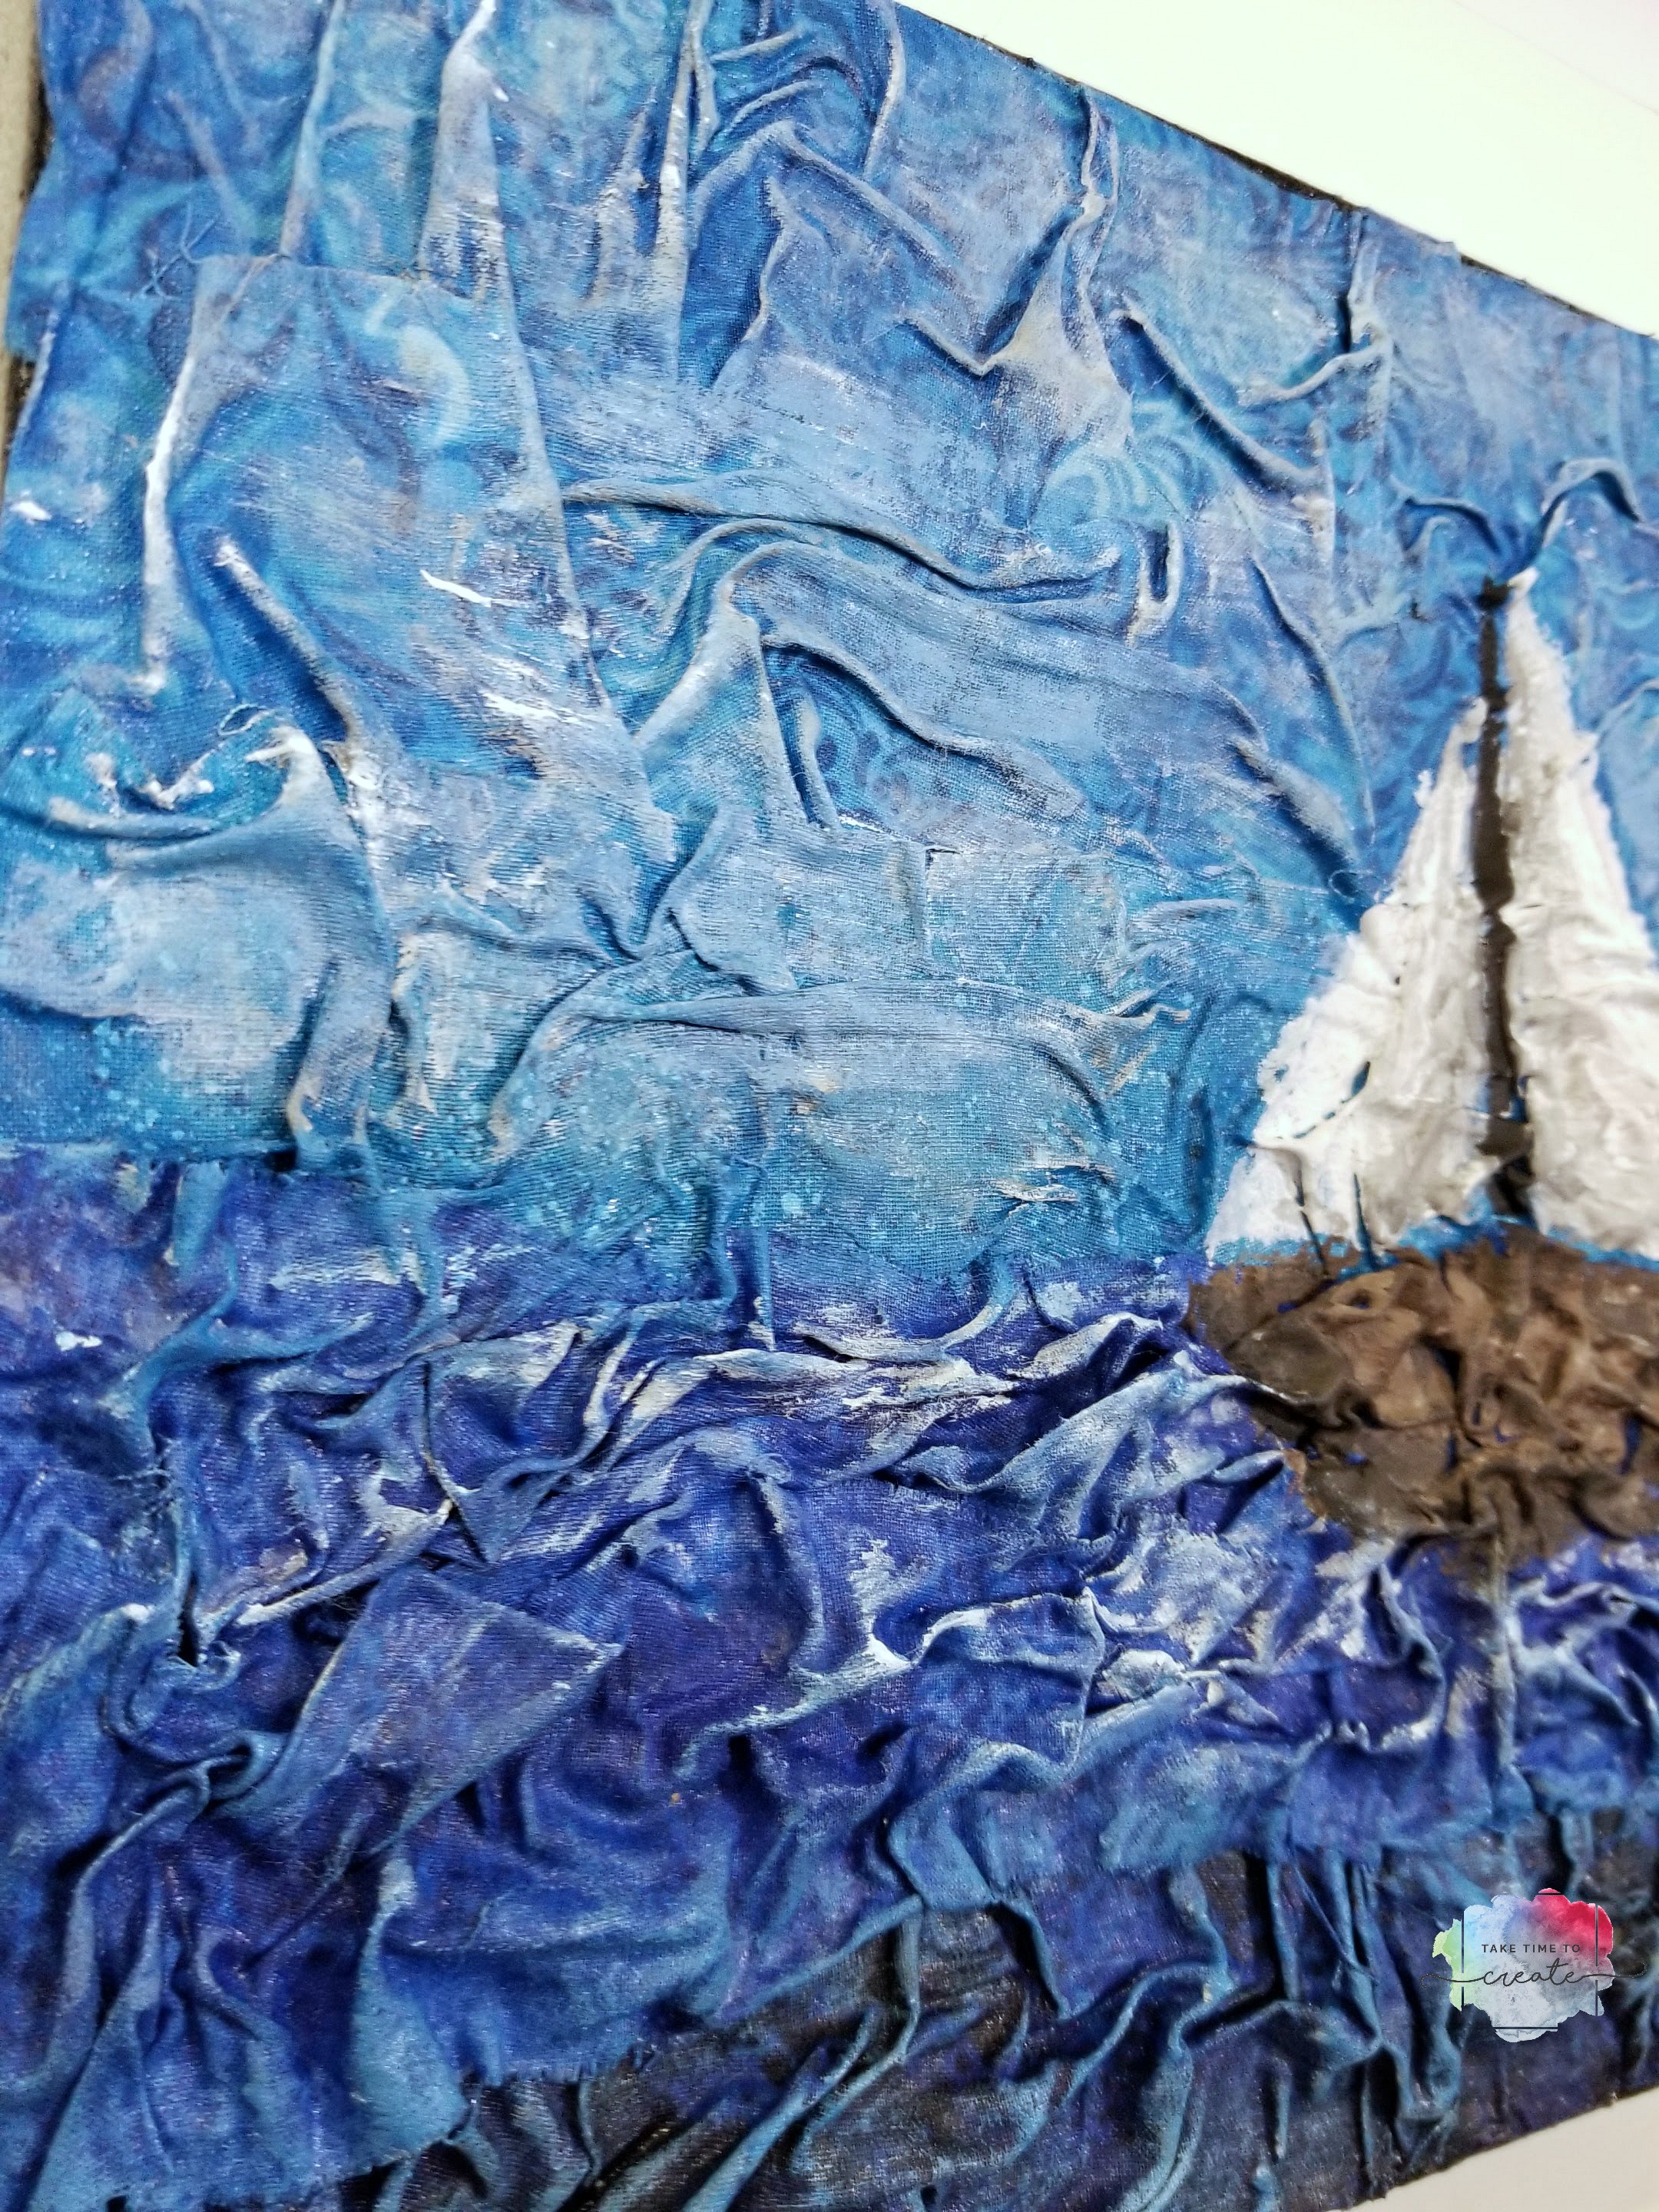
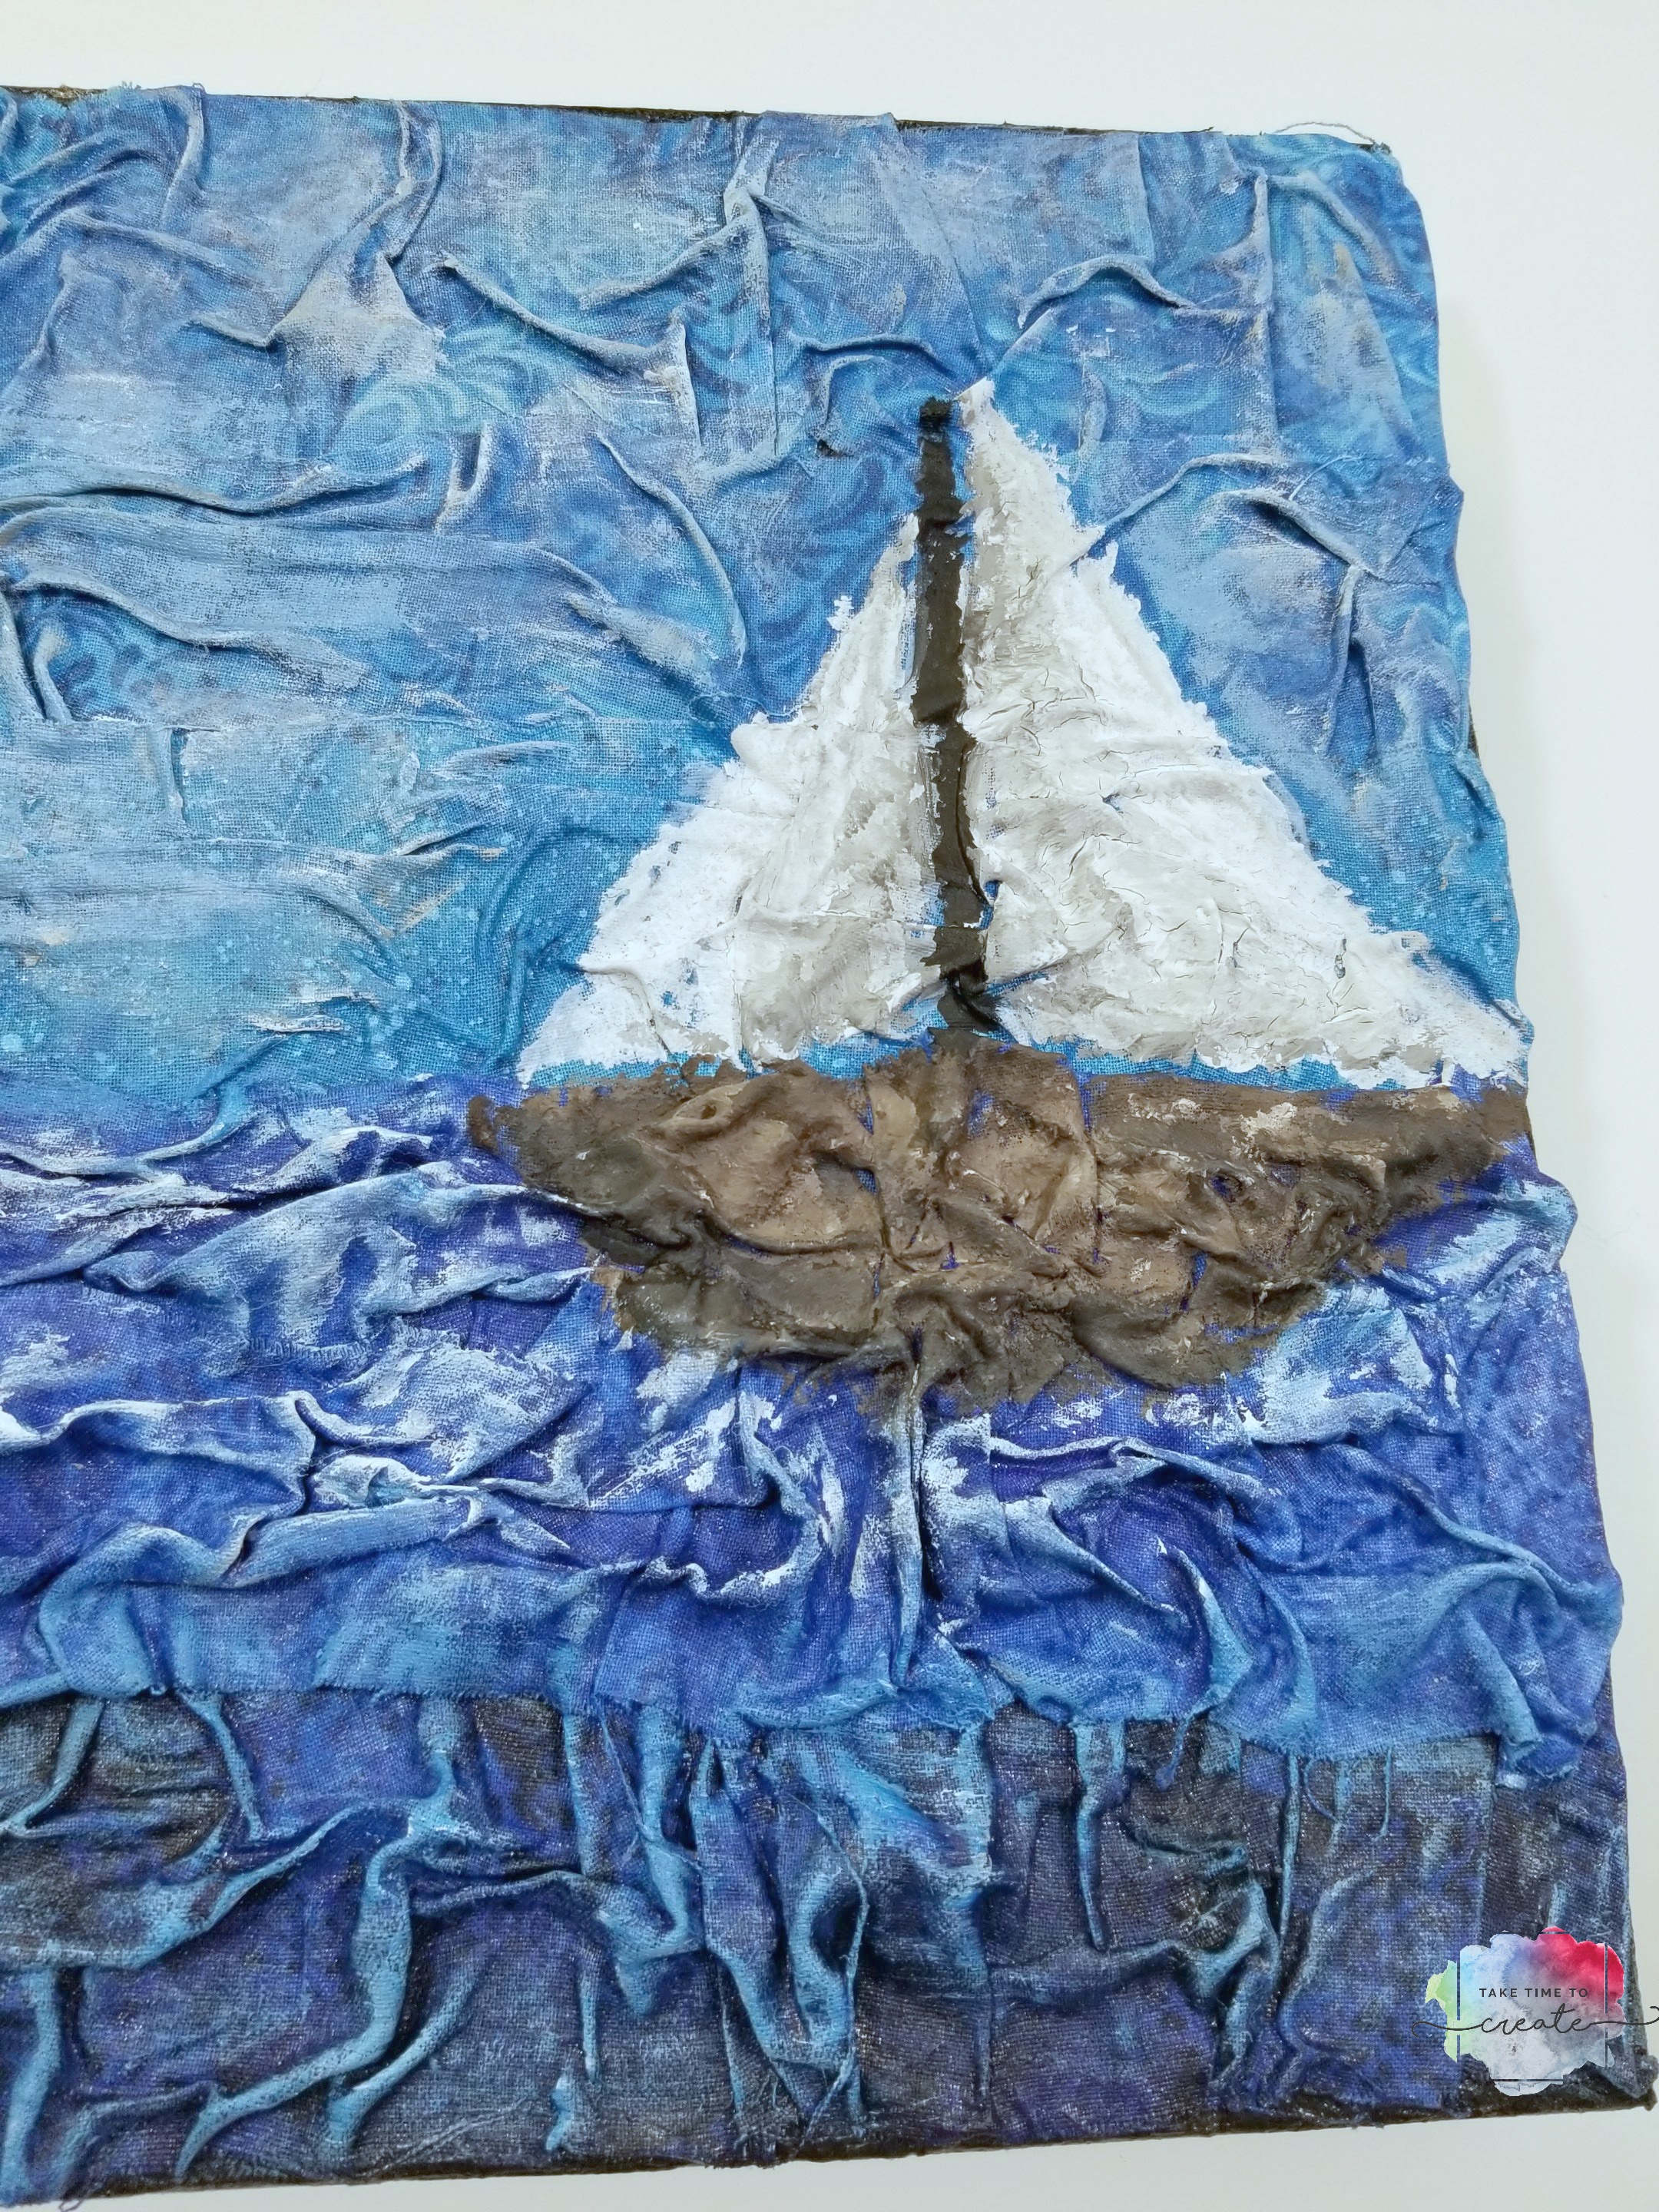
I did use a smaller canvas than normal, but I really liked how it turned out. And I used a variety of blues for the water and sky. I wanted to create depths and dimension with just one color. There are so many blues out there it was fun to pick and choose which one to use to get the look I was going for.
I used a heavy body paint from Finnabair to paint the boat, and that added additional texture and dimension to the boat. I really enjoyed that paint and I am looking forward to using it even more.
The last details were painted on to the sky and water with regular acrylic paint and that is what the painting needed. I didn’t add any metalic paints or sparks or glitter to this canvas. I kept it all matte and I think that was the right choice for this piece of art.
This was such a fun piece to create and it was a great way to commemorate a wonderful vacation.
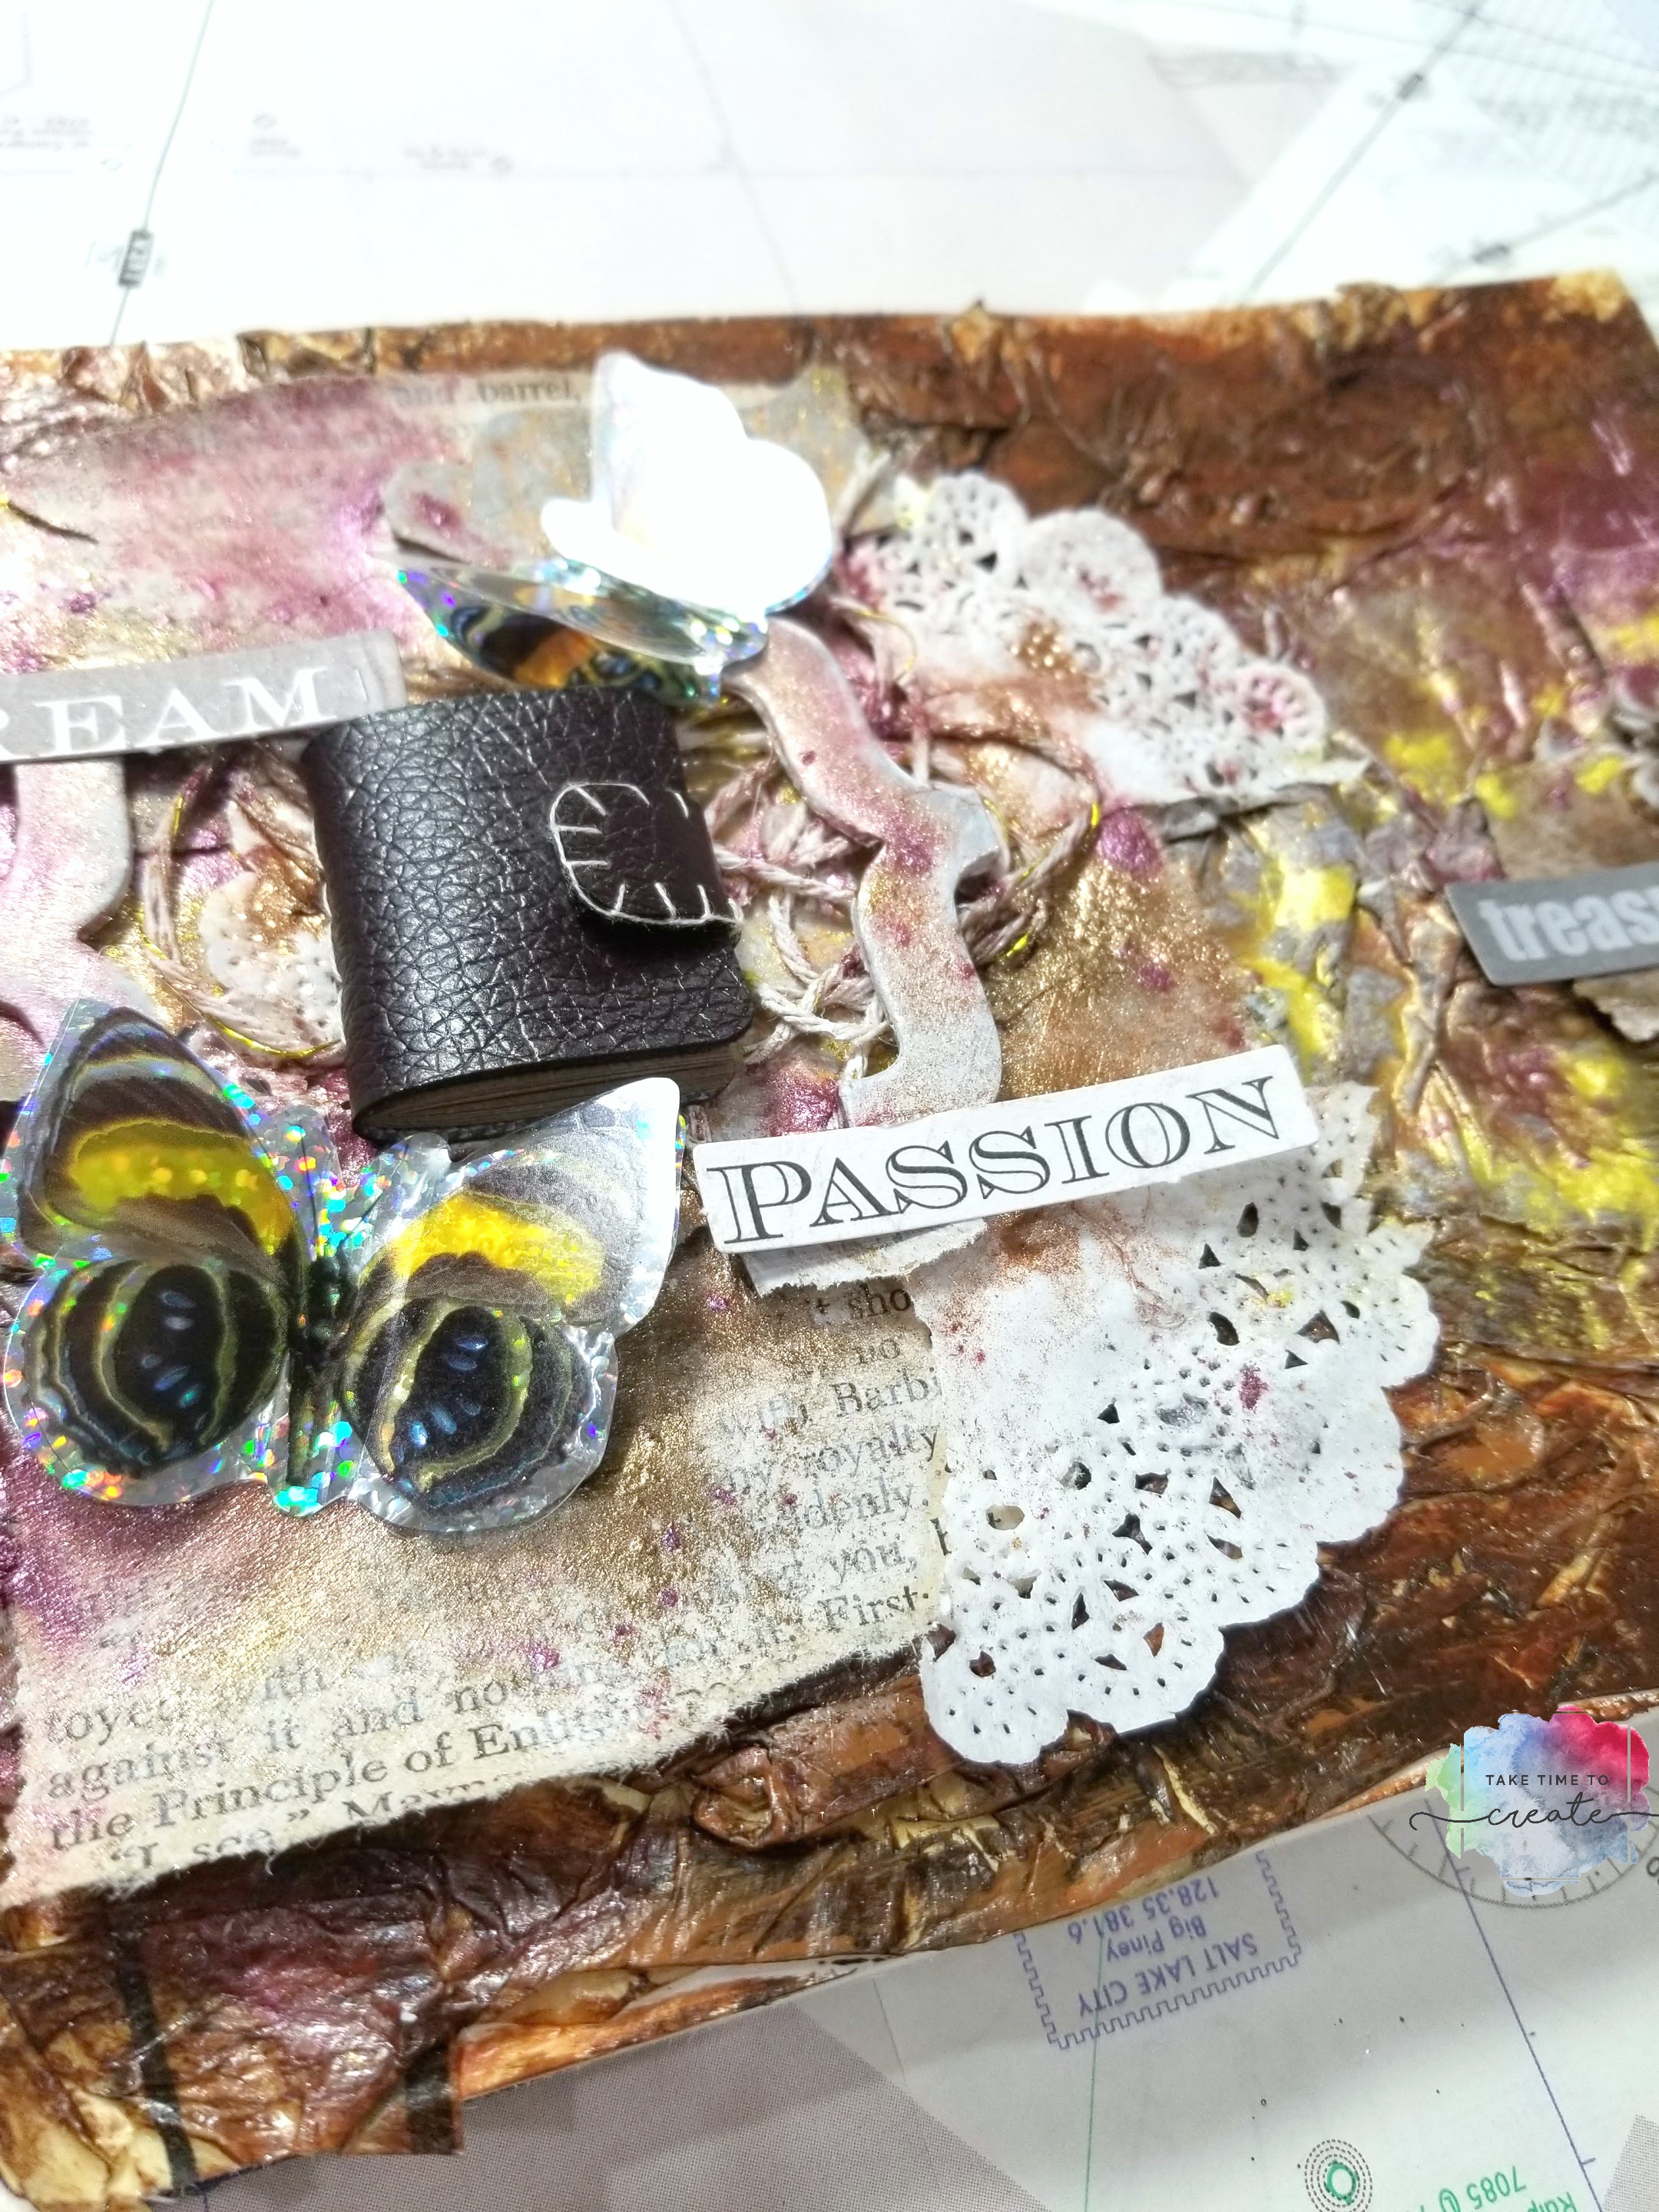
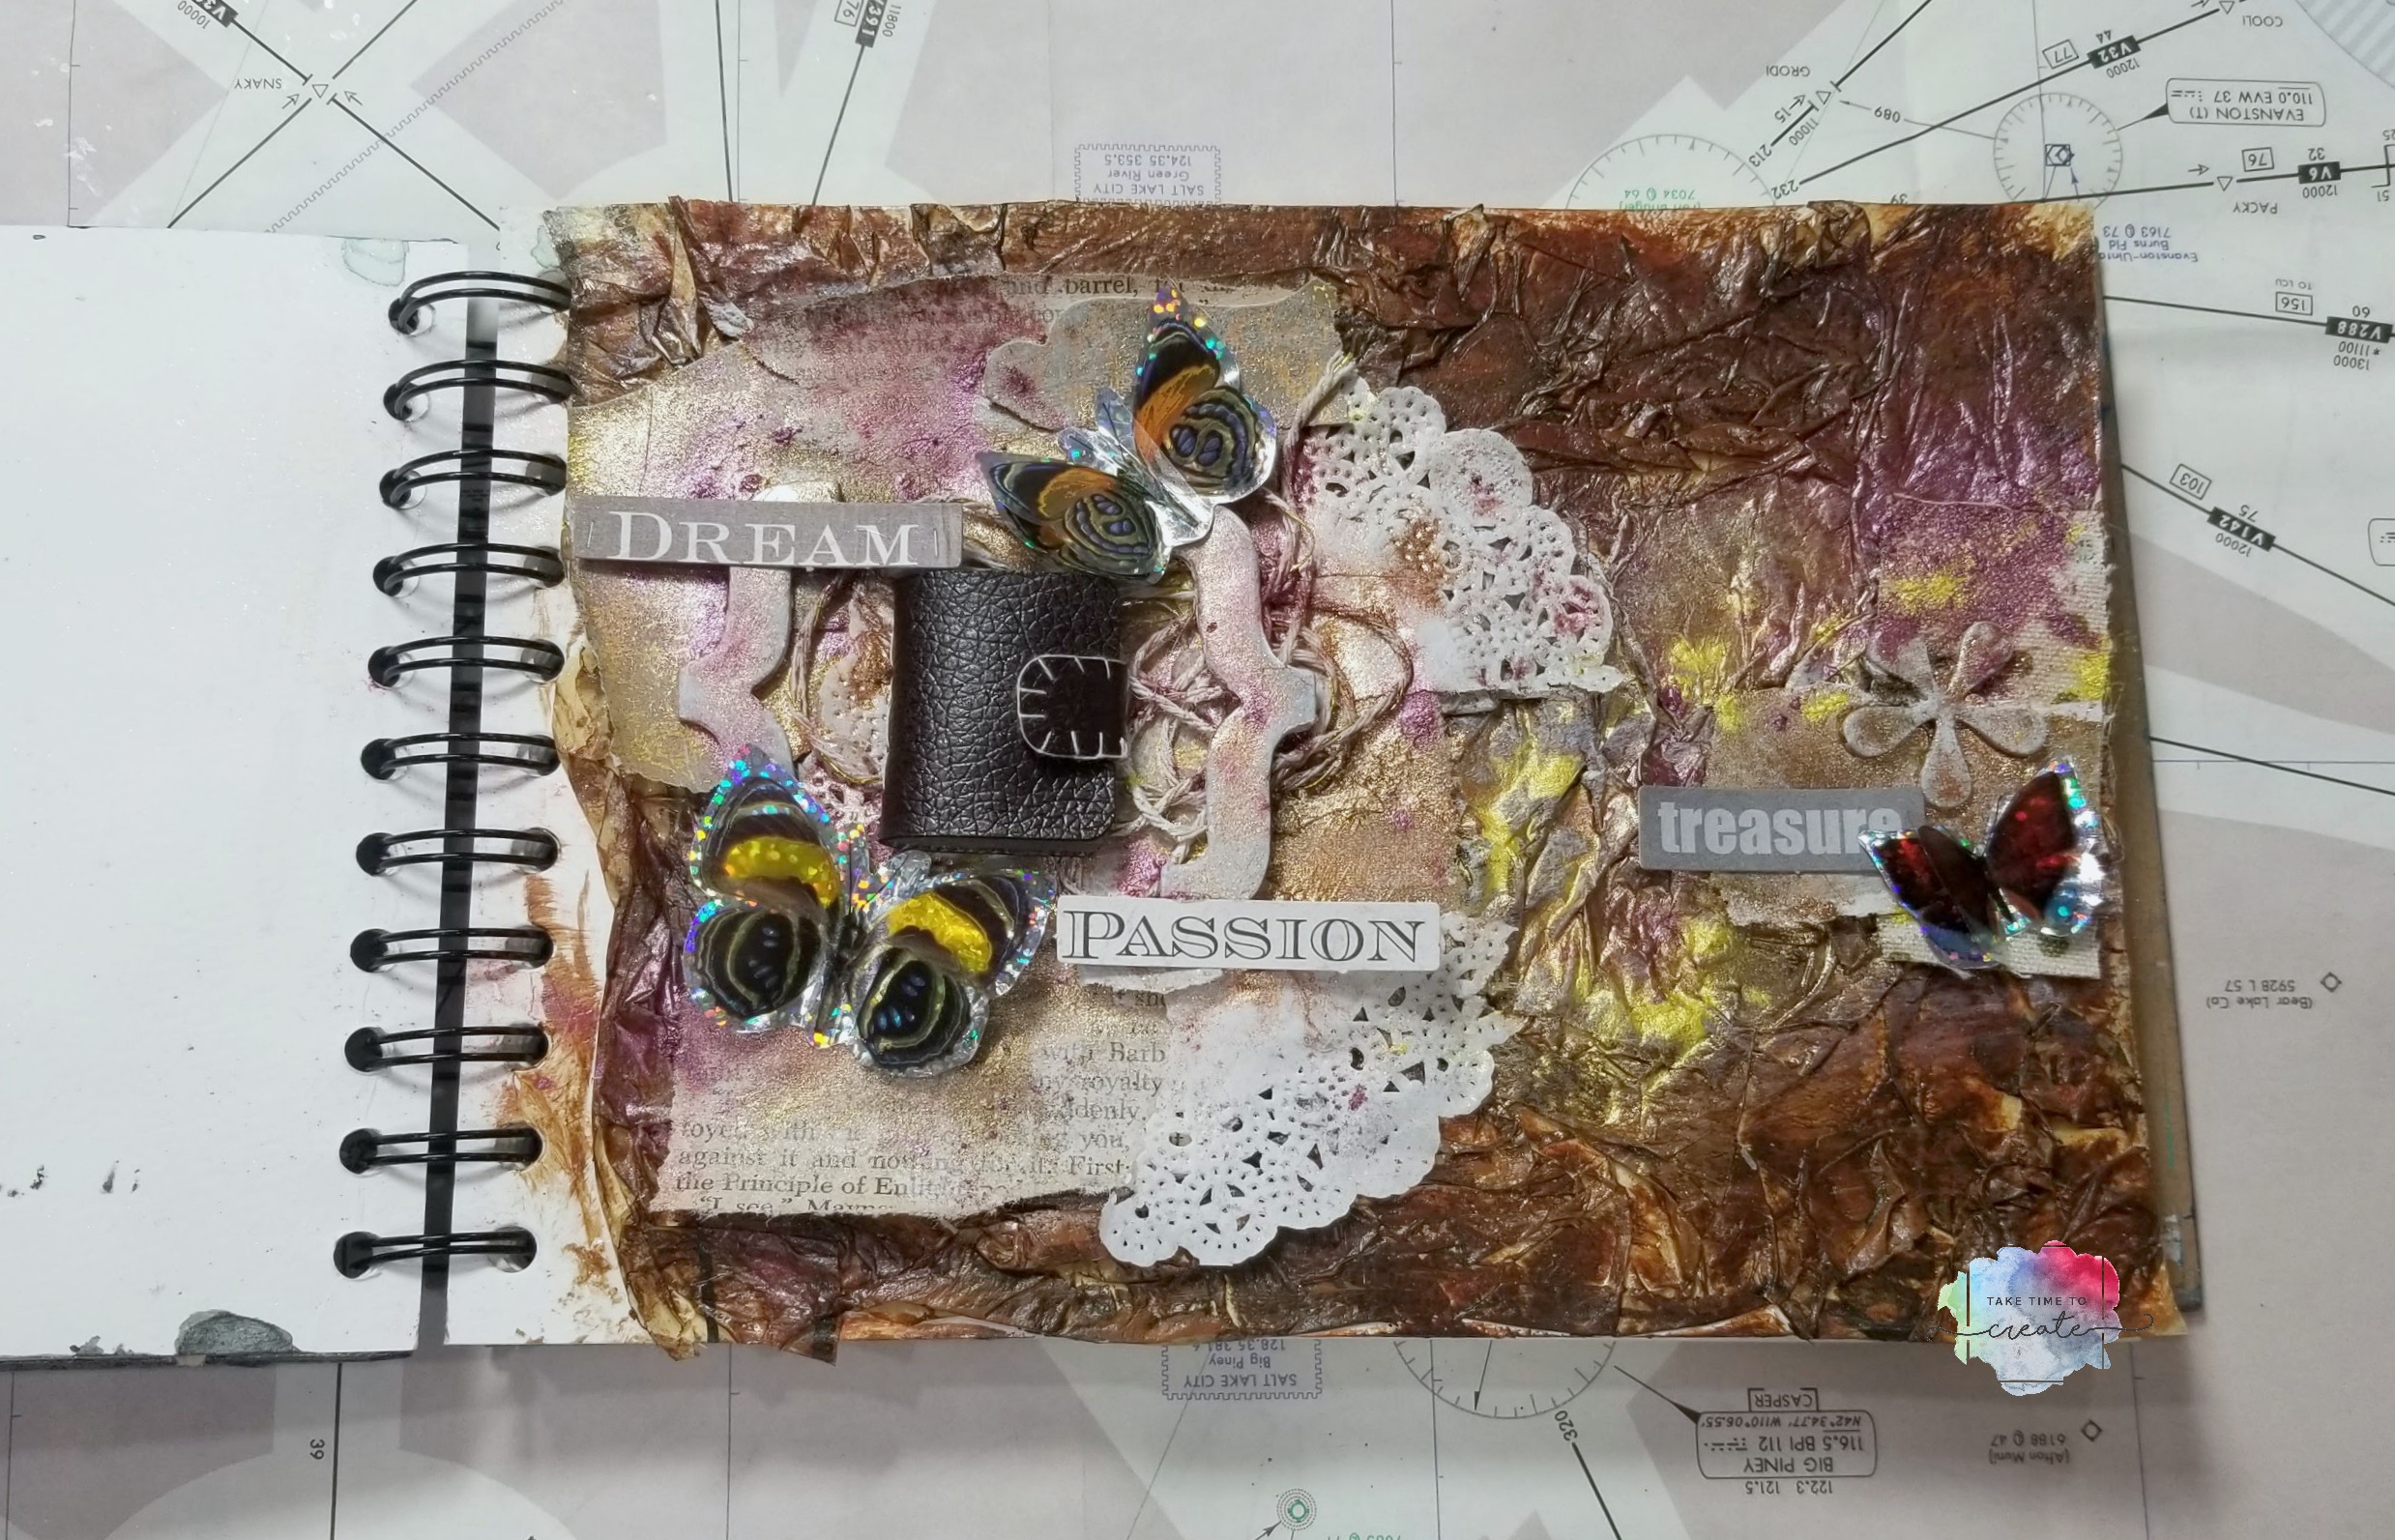
Art journaling is quickly becoming one of my favorite activities! I love creating quick little projects that help me grow and expand my abilities. I have this faux leather art journal page that I wanted to share with you.
I really wanted to start with a faux leather look for the background. So I took the tissue paper inserts from old patterns and Mod Podged that onto the page. Once it was dry I painted it all in browns and yellows to make it look like leather.
You can use different colors to create different looks, and you very the “wrinkly-ness” of the tissue paper to create different looks as well.
Once everything was dry I started to add all the details. I wanted the tiny book to be the focal point. You can see the video tutorial for the book here: Tiny Book
That tiny book was so much fun to make, and the perfect addition to my page.
I added string, torn up old book pages, doilies, chip boards, words, and butterflies. I added color with Finnabair’s mica flakes and a little water, that was really fun because it brought out the texture of the tissue paper and brought the page to life. Once everything was dry I light sprayed everything with some cheap hairspray to help seal the mica powders (otherwise it could all be brushed off)
There you go, a very easy faux leather journal page. I am thinking about doing this same technique on an old trunk. What else can I faux leather?
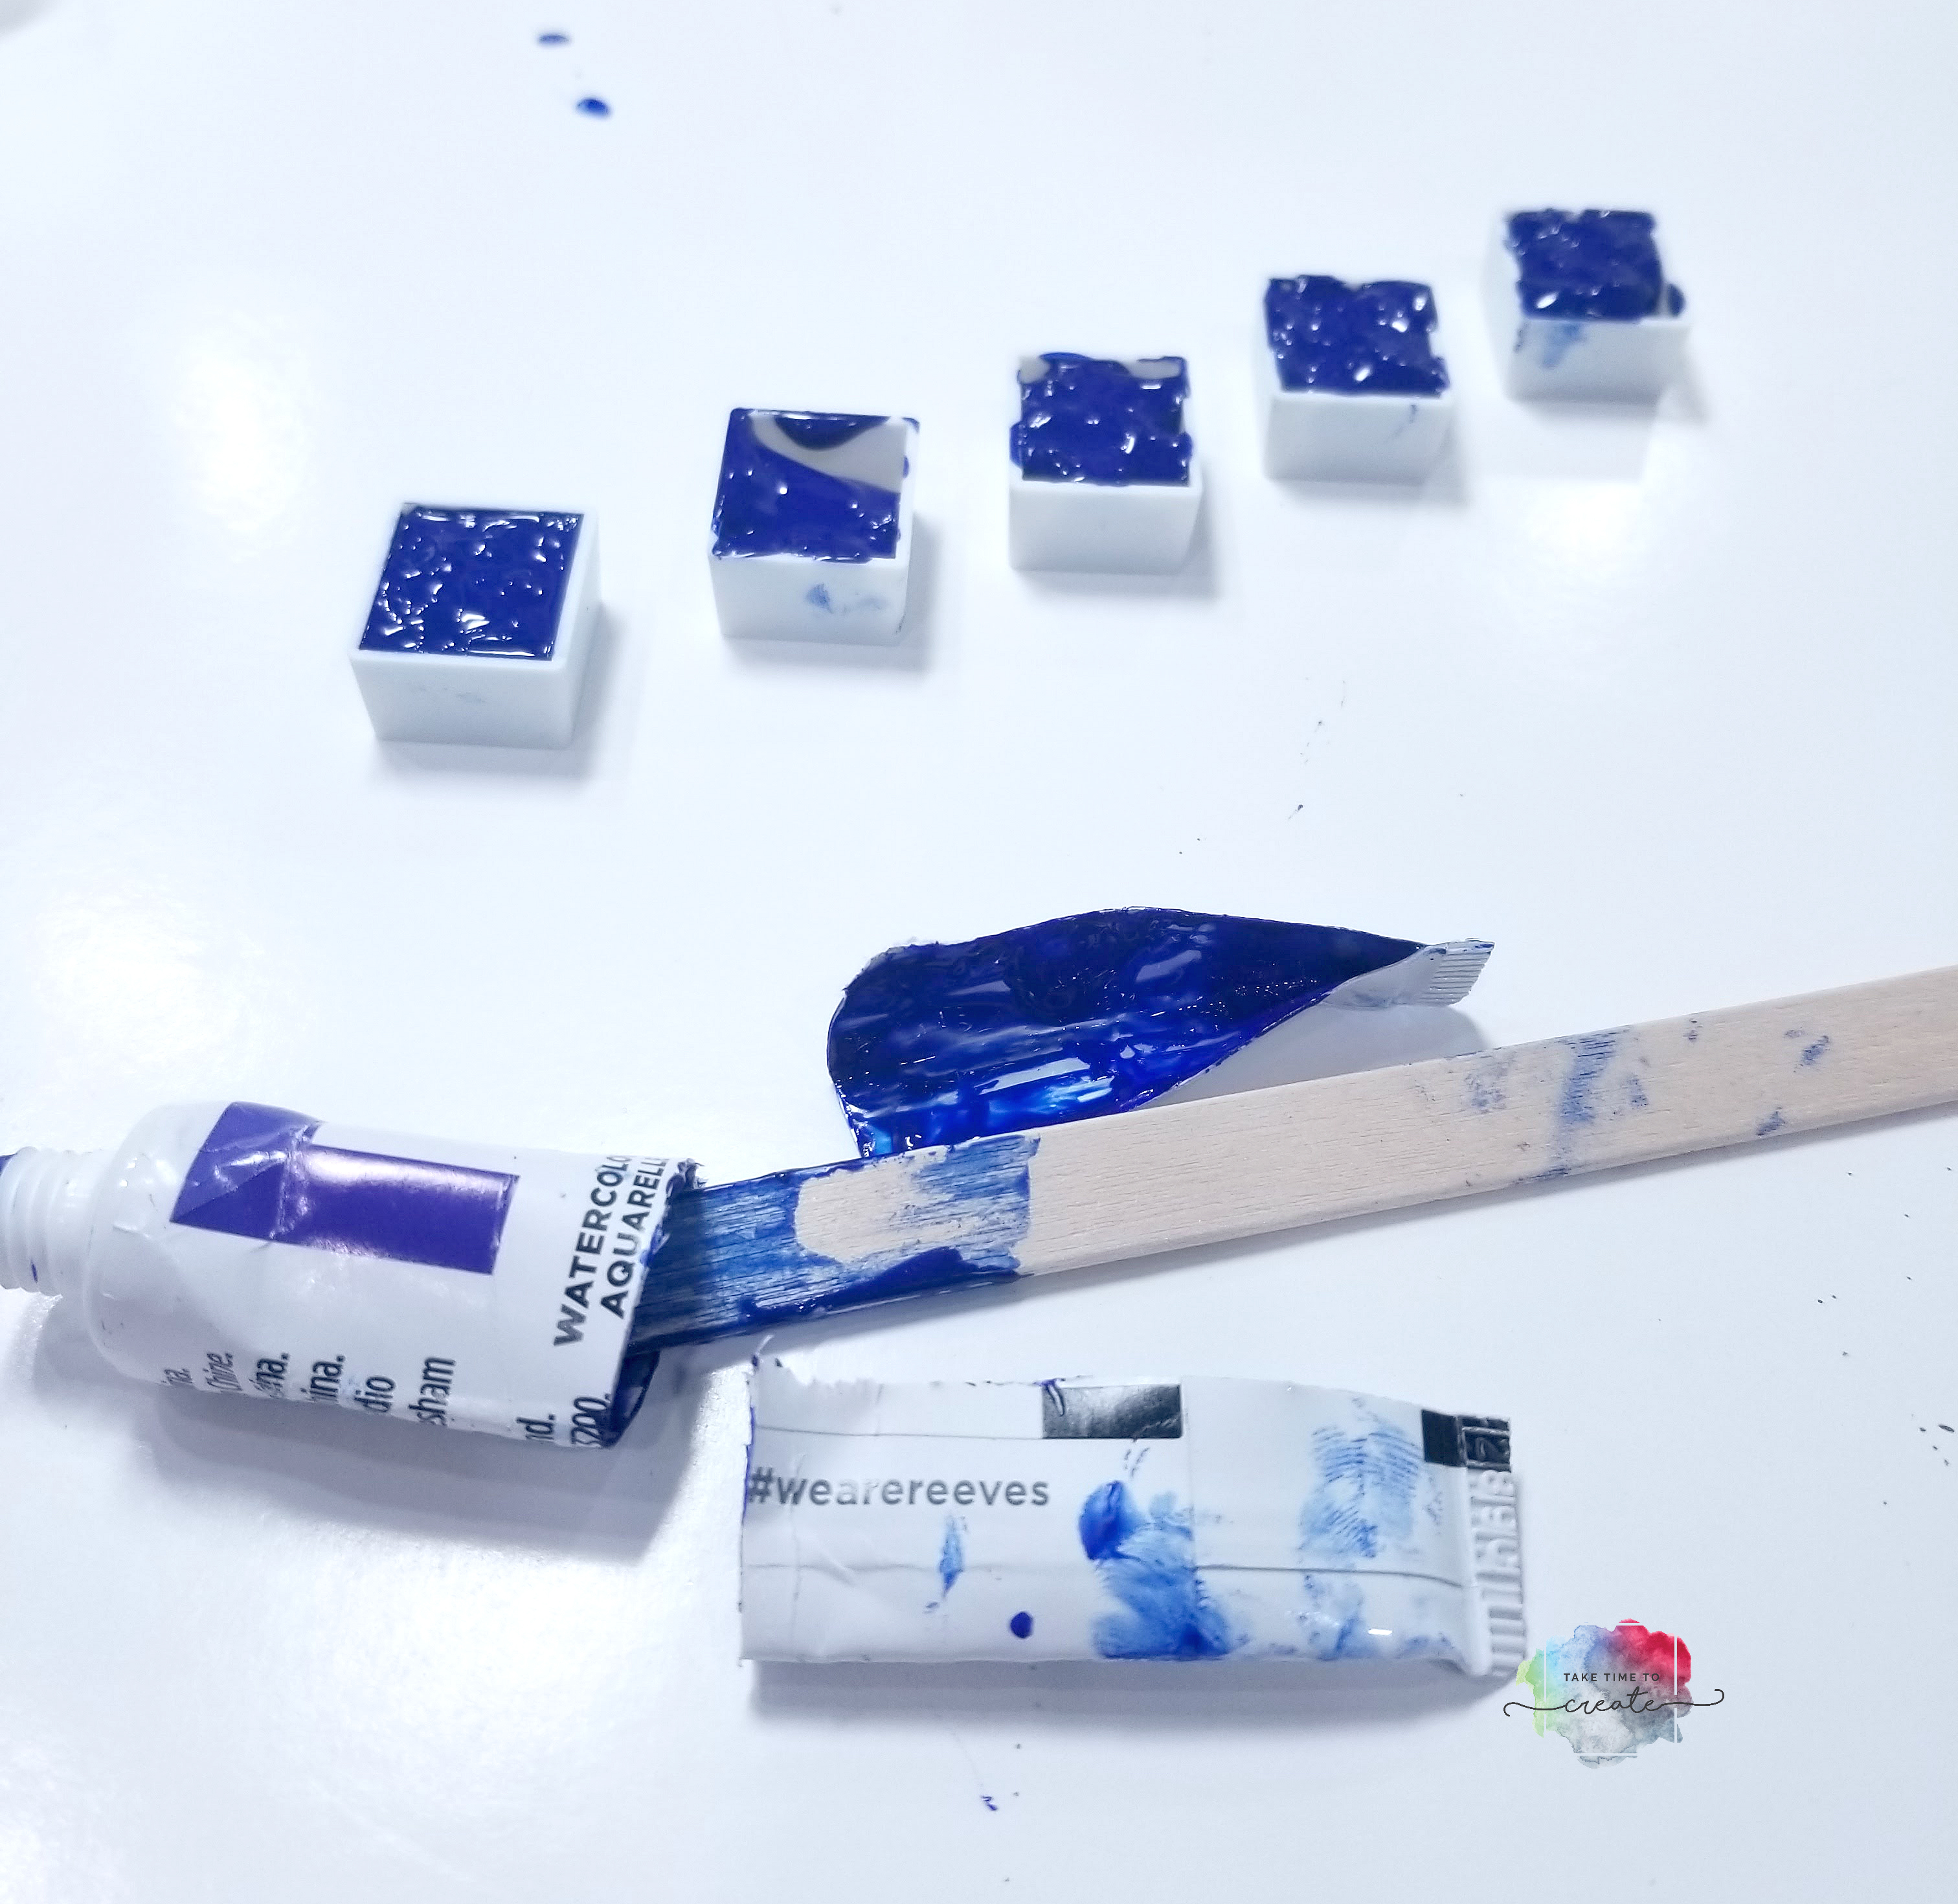
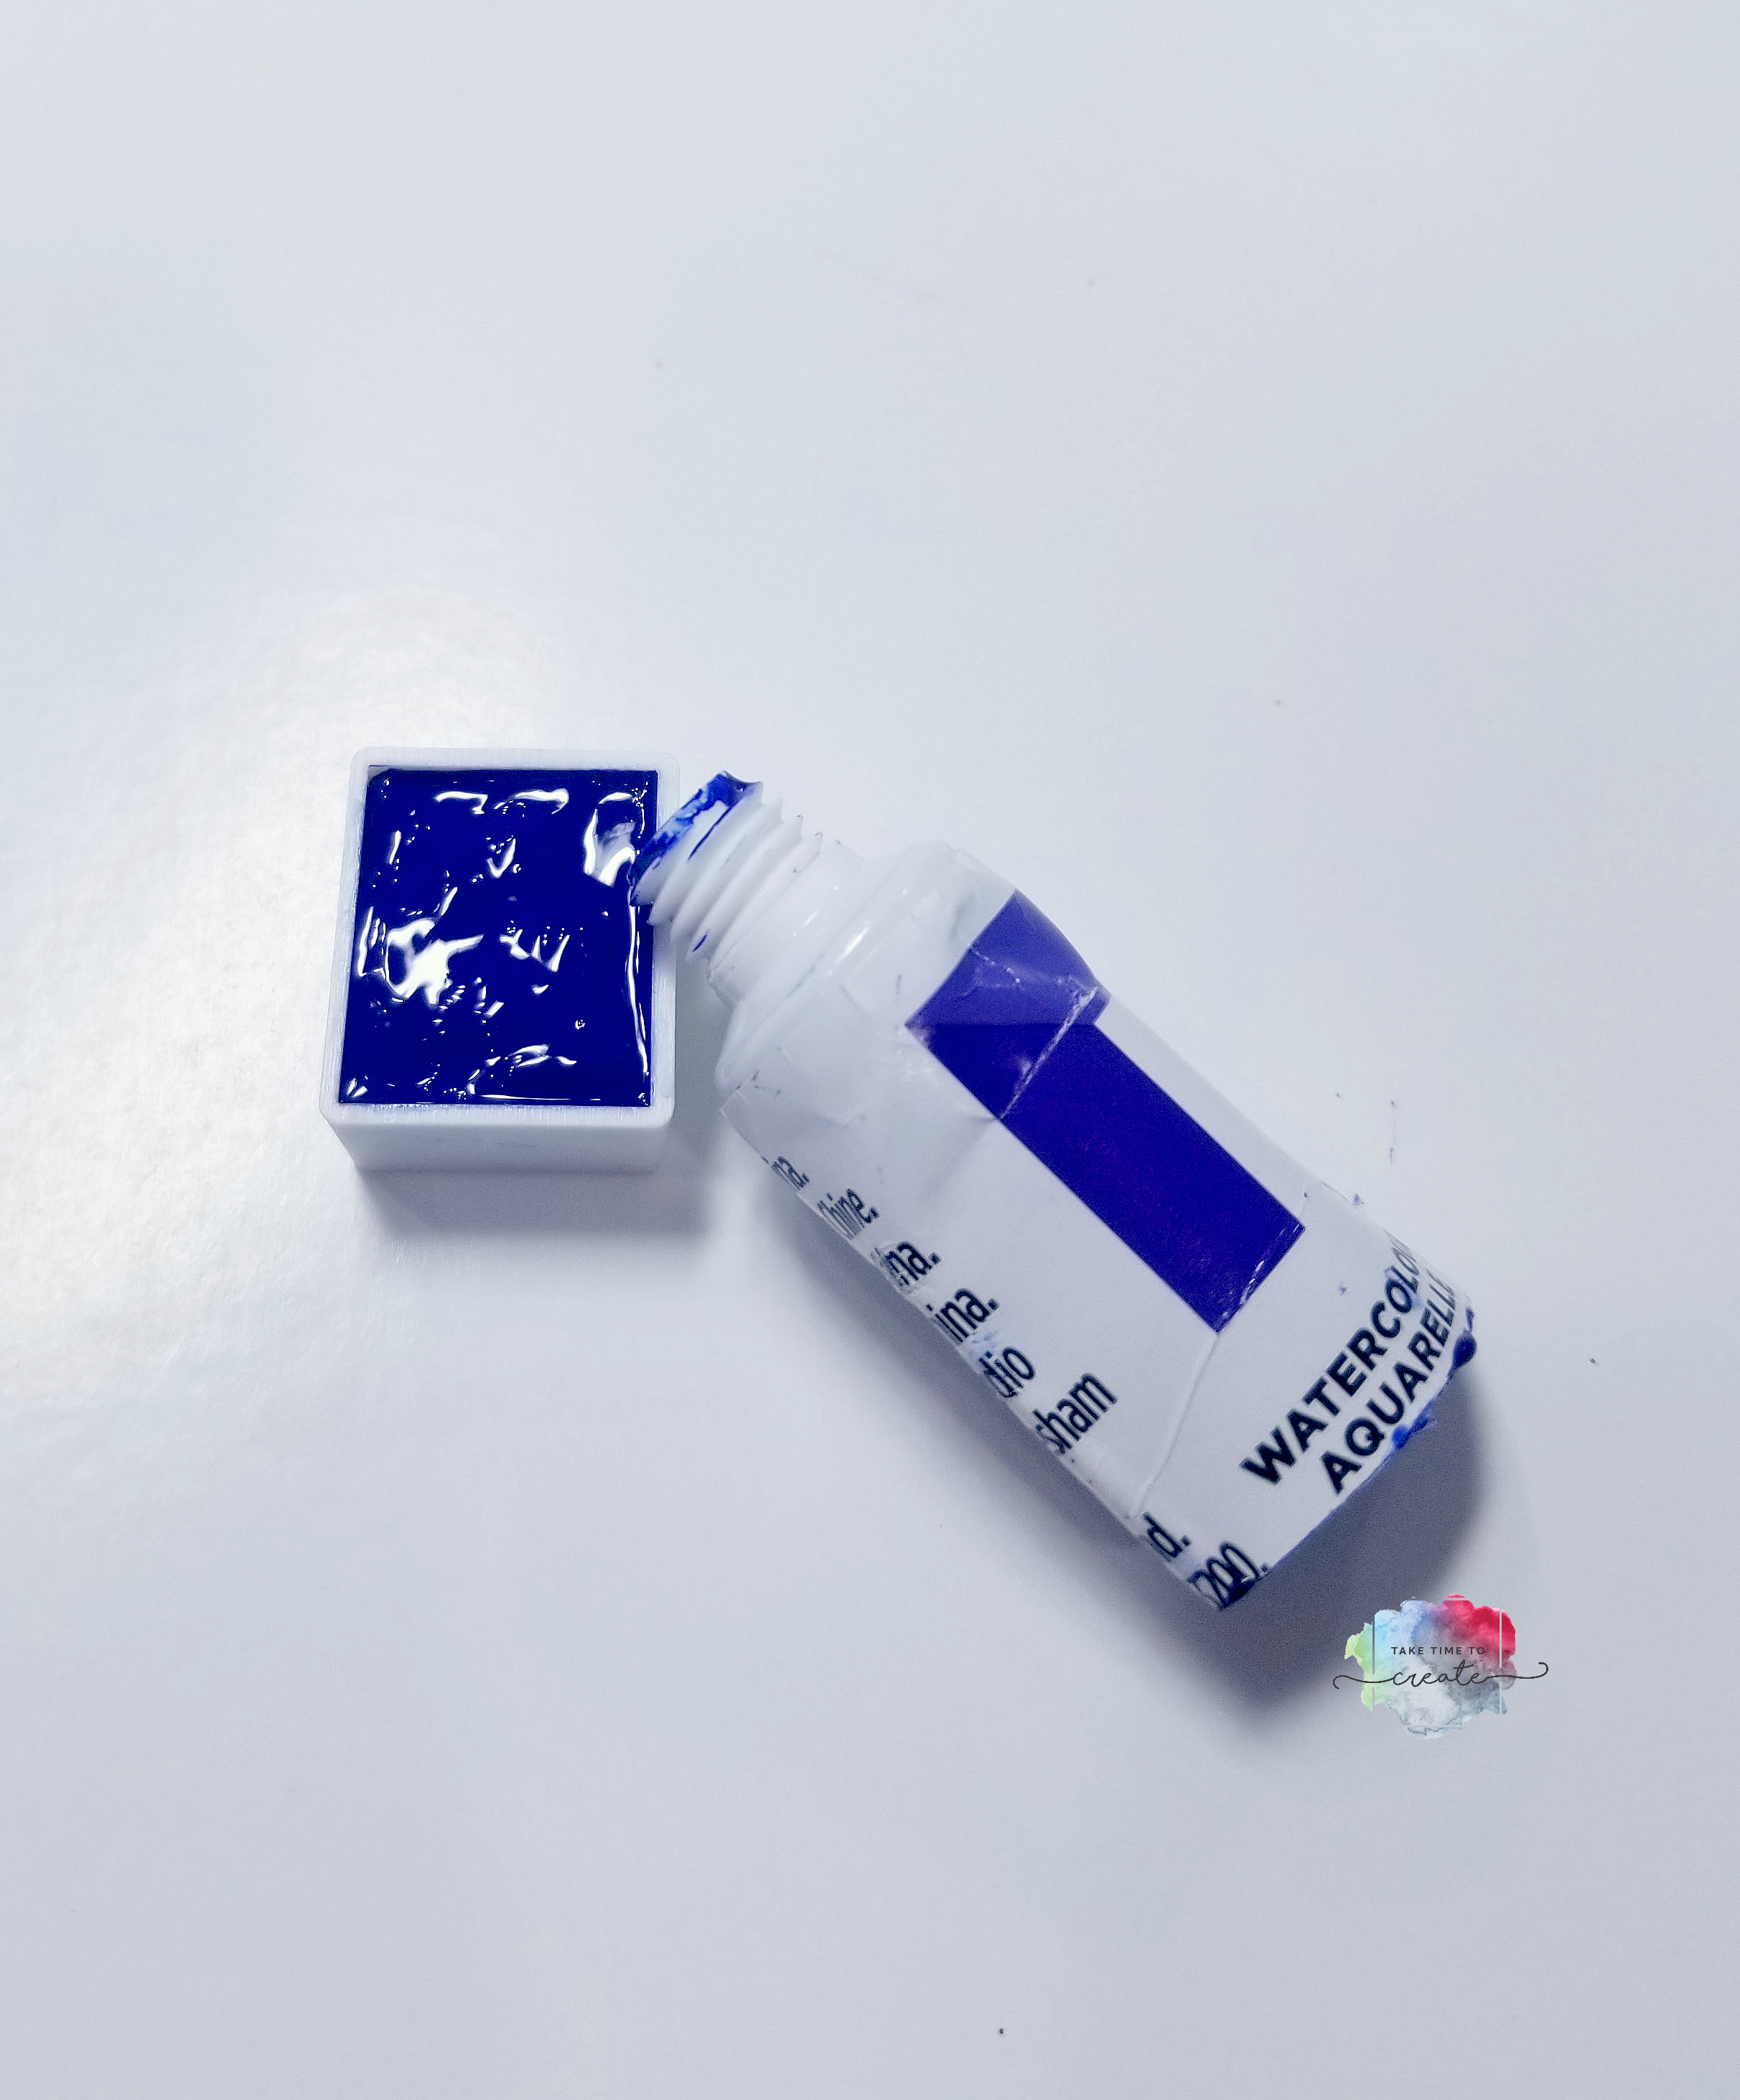
It has been a while since I posted. I have an Investigative Art Journal for you today. Today we are seeing how many half pans can you get from one tube of watercolors.
For this experiment I used Reeves Watercolors that I picked up at Michael’s. The affiliate link is listed here:
I found this a very interesting experiment, how much is actually in a watercolor tube? I was pleasantly surprised.
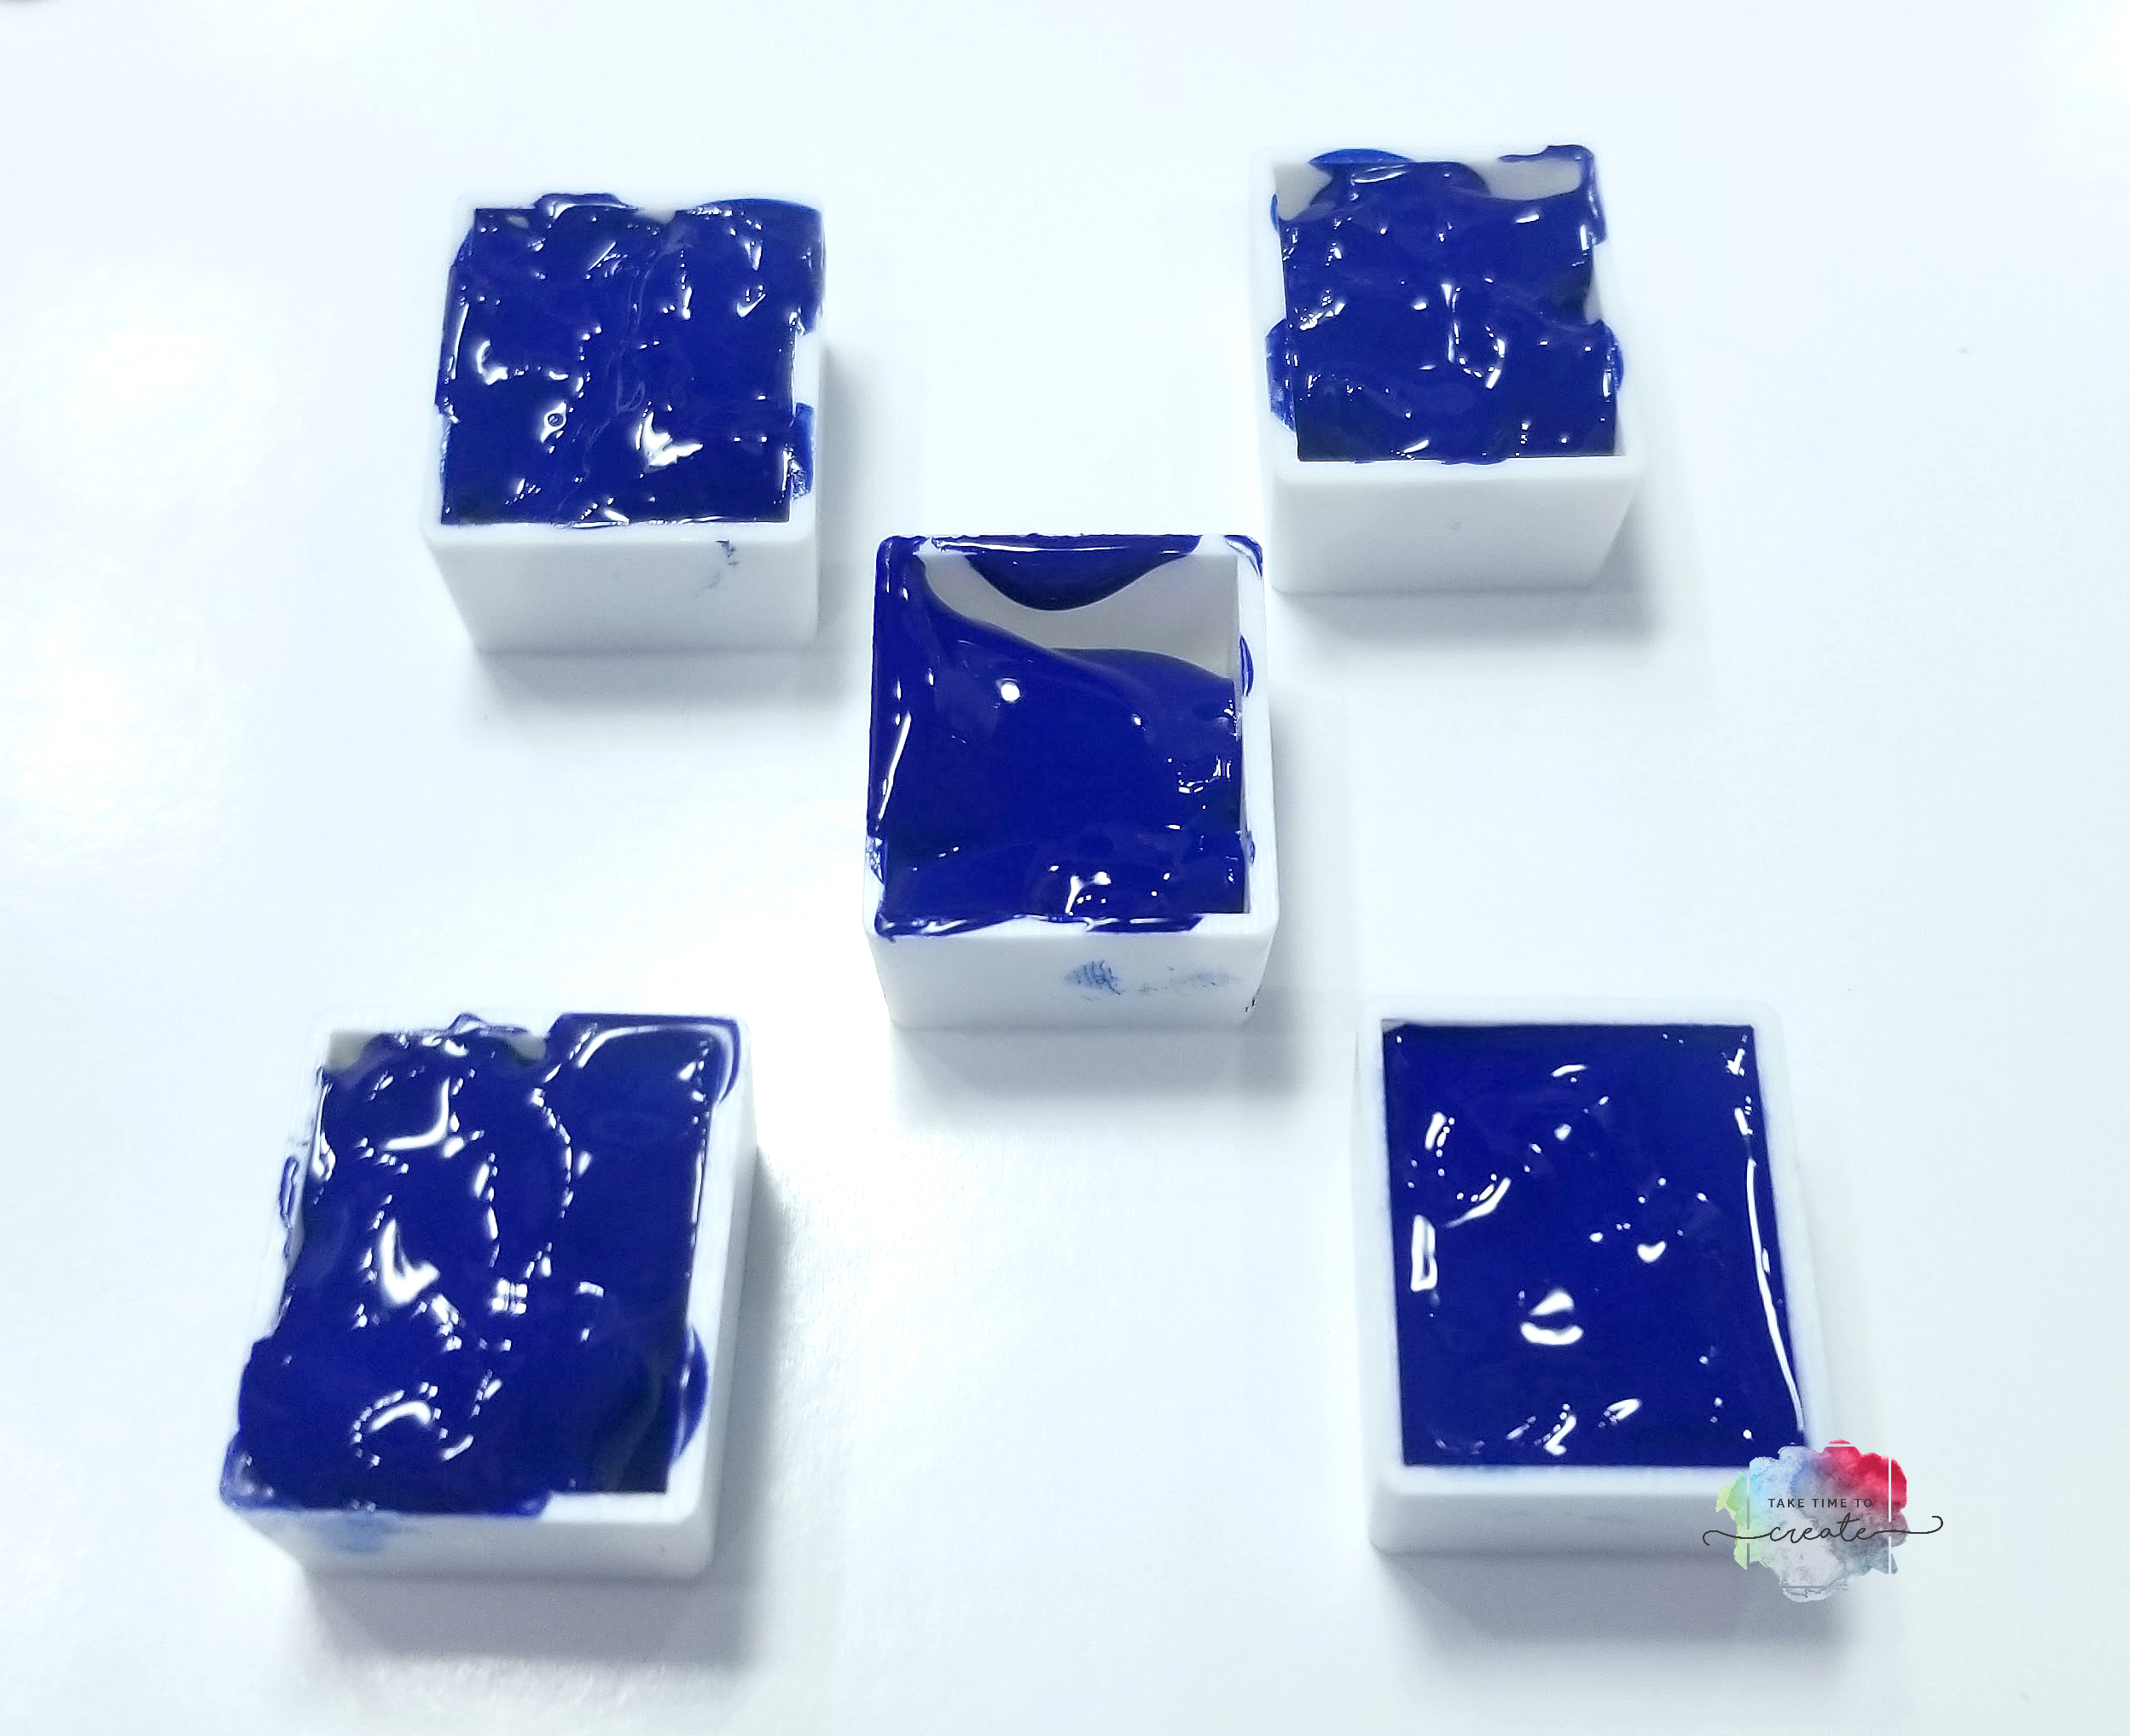
There are four and half, half pans in a tube!
This is a great if you want to invest in higher quality watercolors, but you don’t think you can go through that many pans, so sharing with a friend or 2 is now a viable option.
There is plenty of product to go around to everyone!
Check out the video to see more on the experiment and there are links to my other Investigative Art Journals.
What other experiments do you want me to do with watercolors?