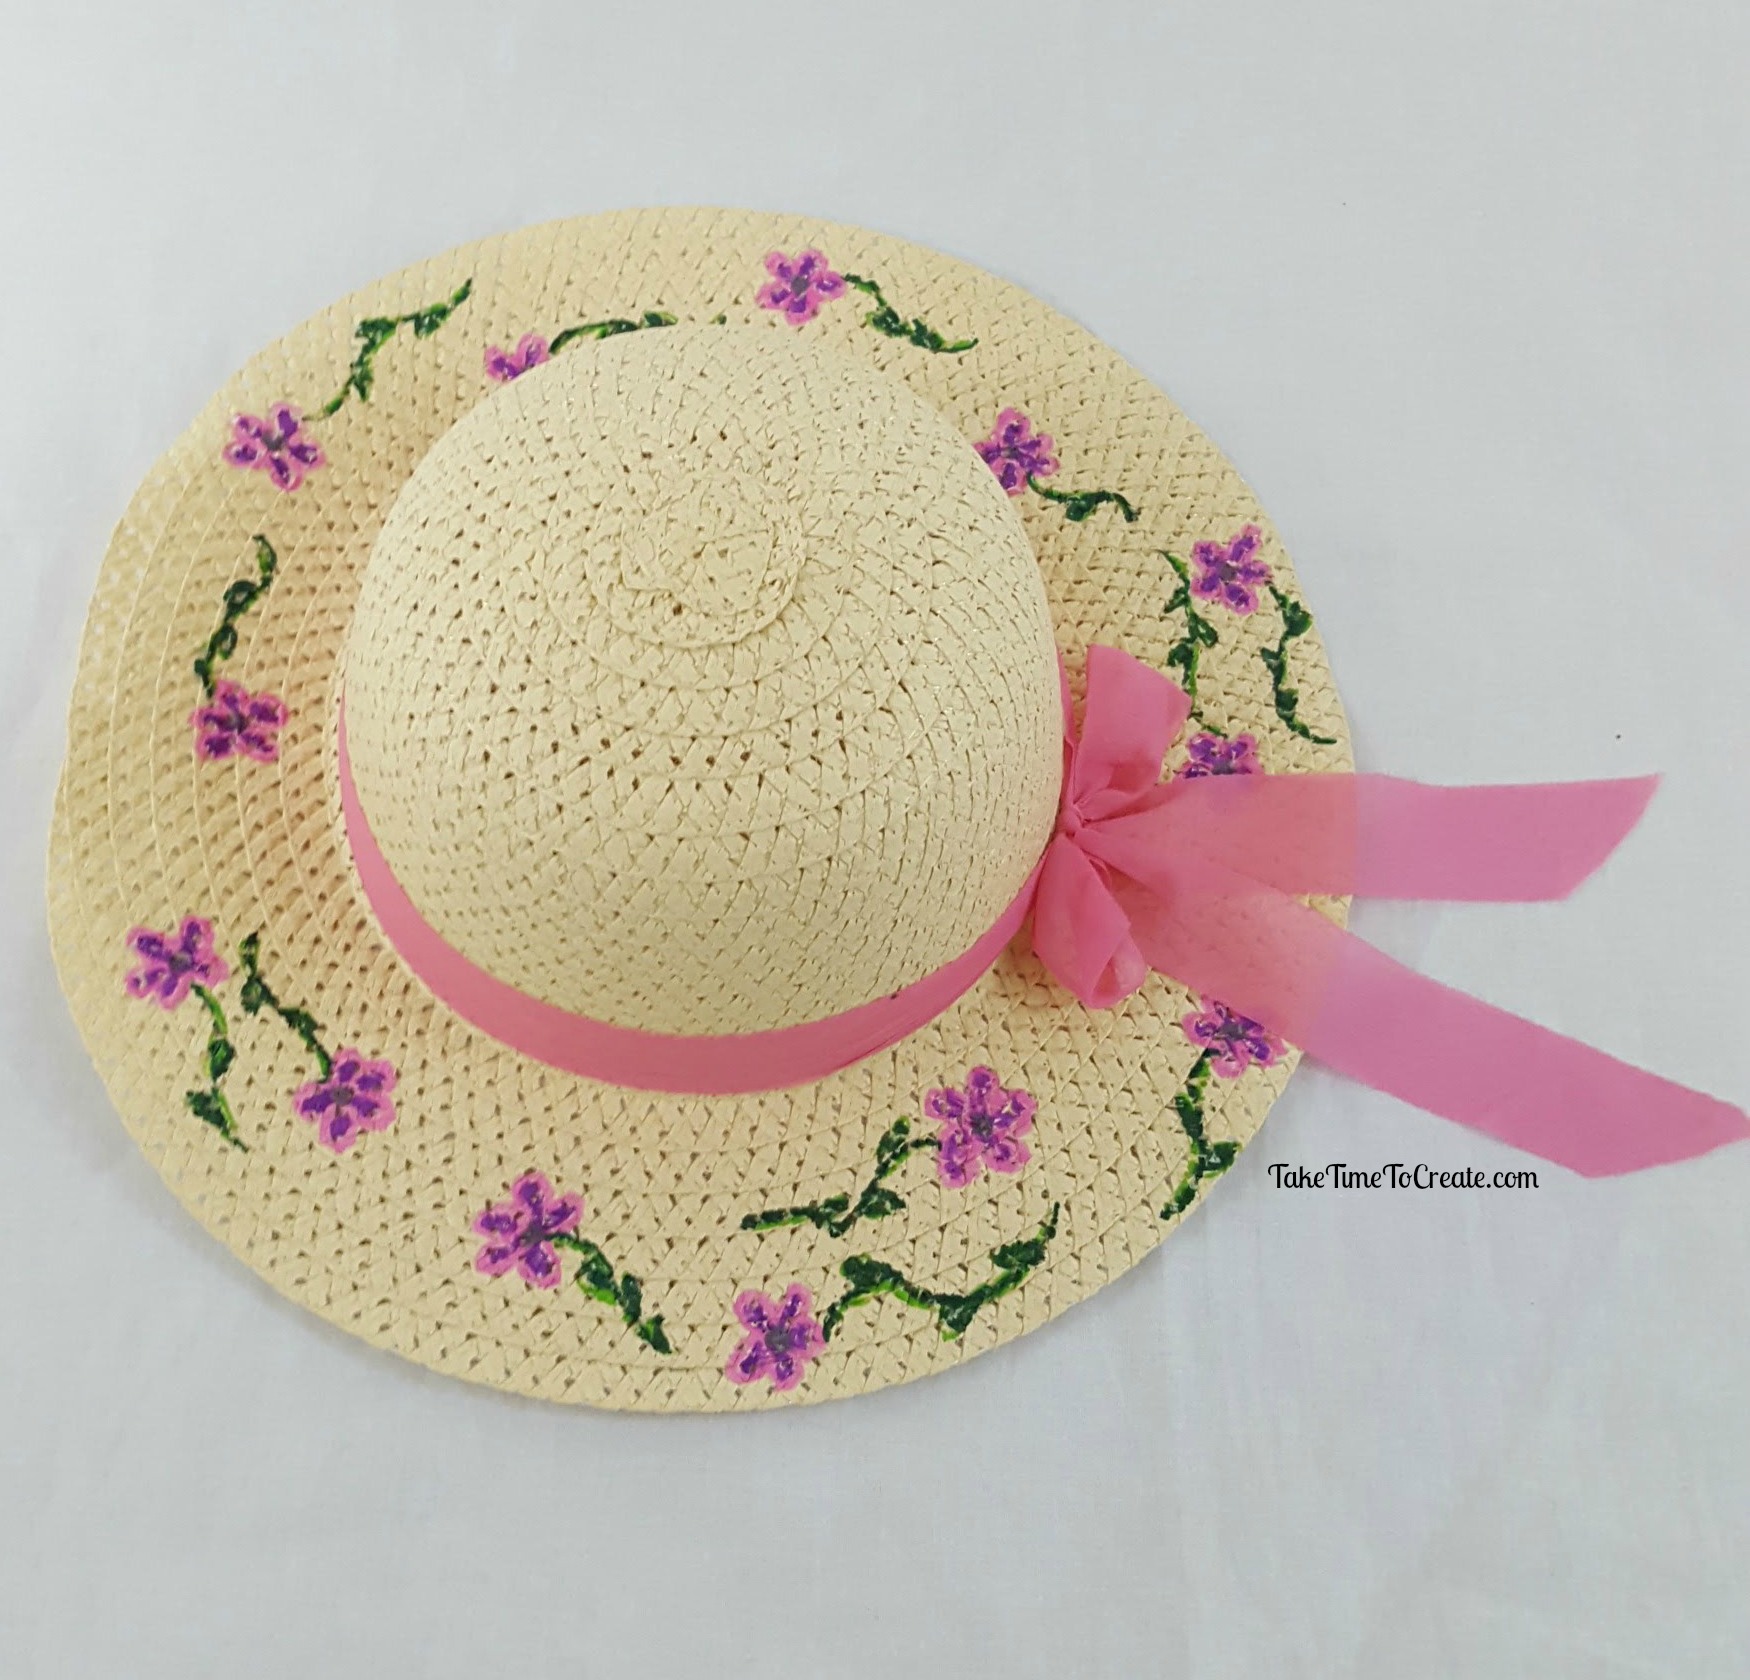
DIY Straw Flower Hat
With spring approaching a new straw hat is what everyone needs. And with a few markers you can personalize the hat and add just the right amount of flair.
Hello Everyone!
It has been a while since I did a Dollar Store project and an accessory project, so I thought I would combine the 2 into 1 project.
I have a terrible case of Spring Fever and when I saw these cute straw hats at the Dollar Store I knew I had to get one and decorate it.
The project is simple enough and can be completed in under an hour.
Materials:
- Straw Hat (I found mine at the Dollar Store)
- Sharpies (You can find some here: Sharpies)
Instructions:
Find a super cute straw hat that you are willing to draw on.
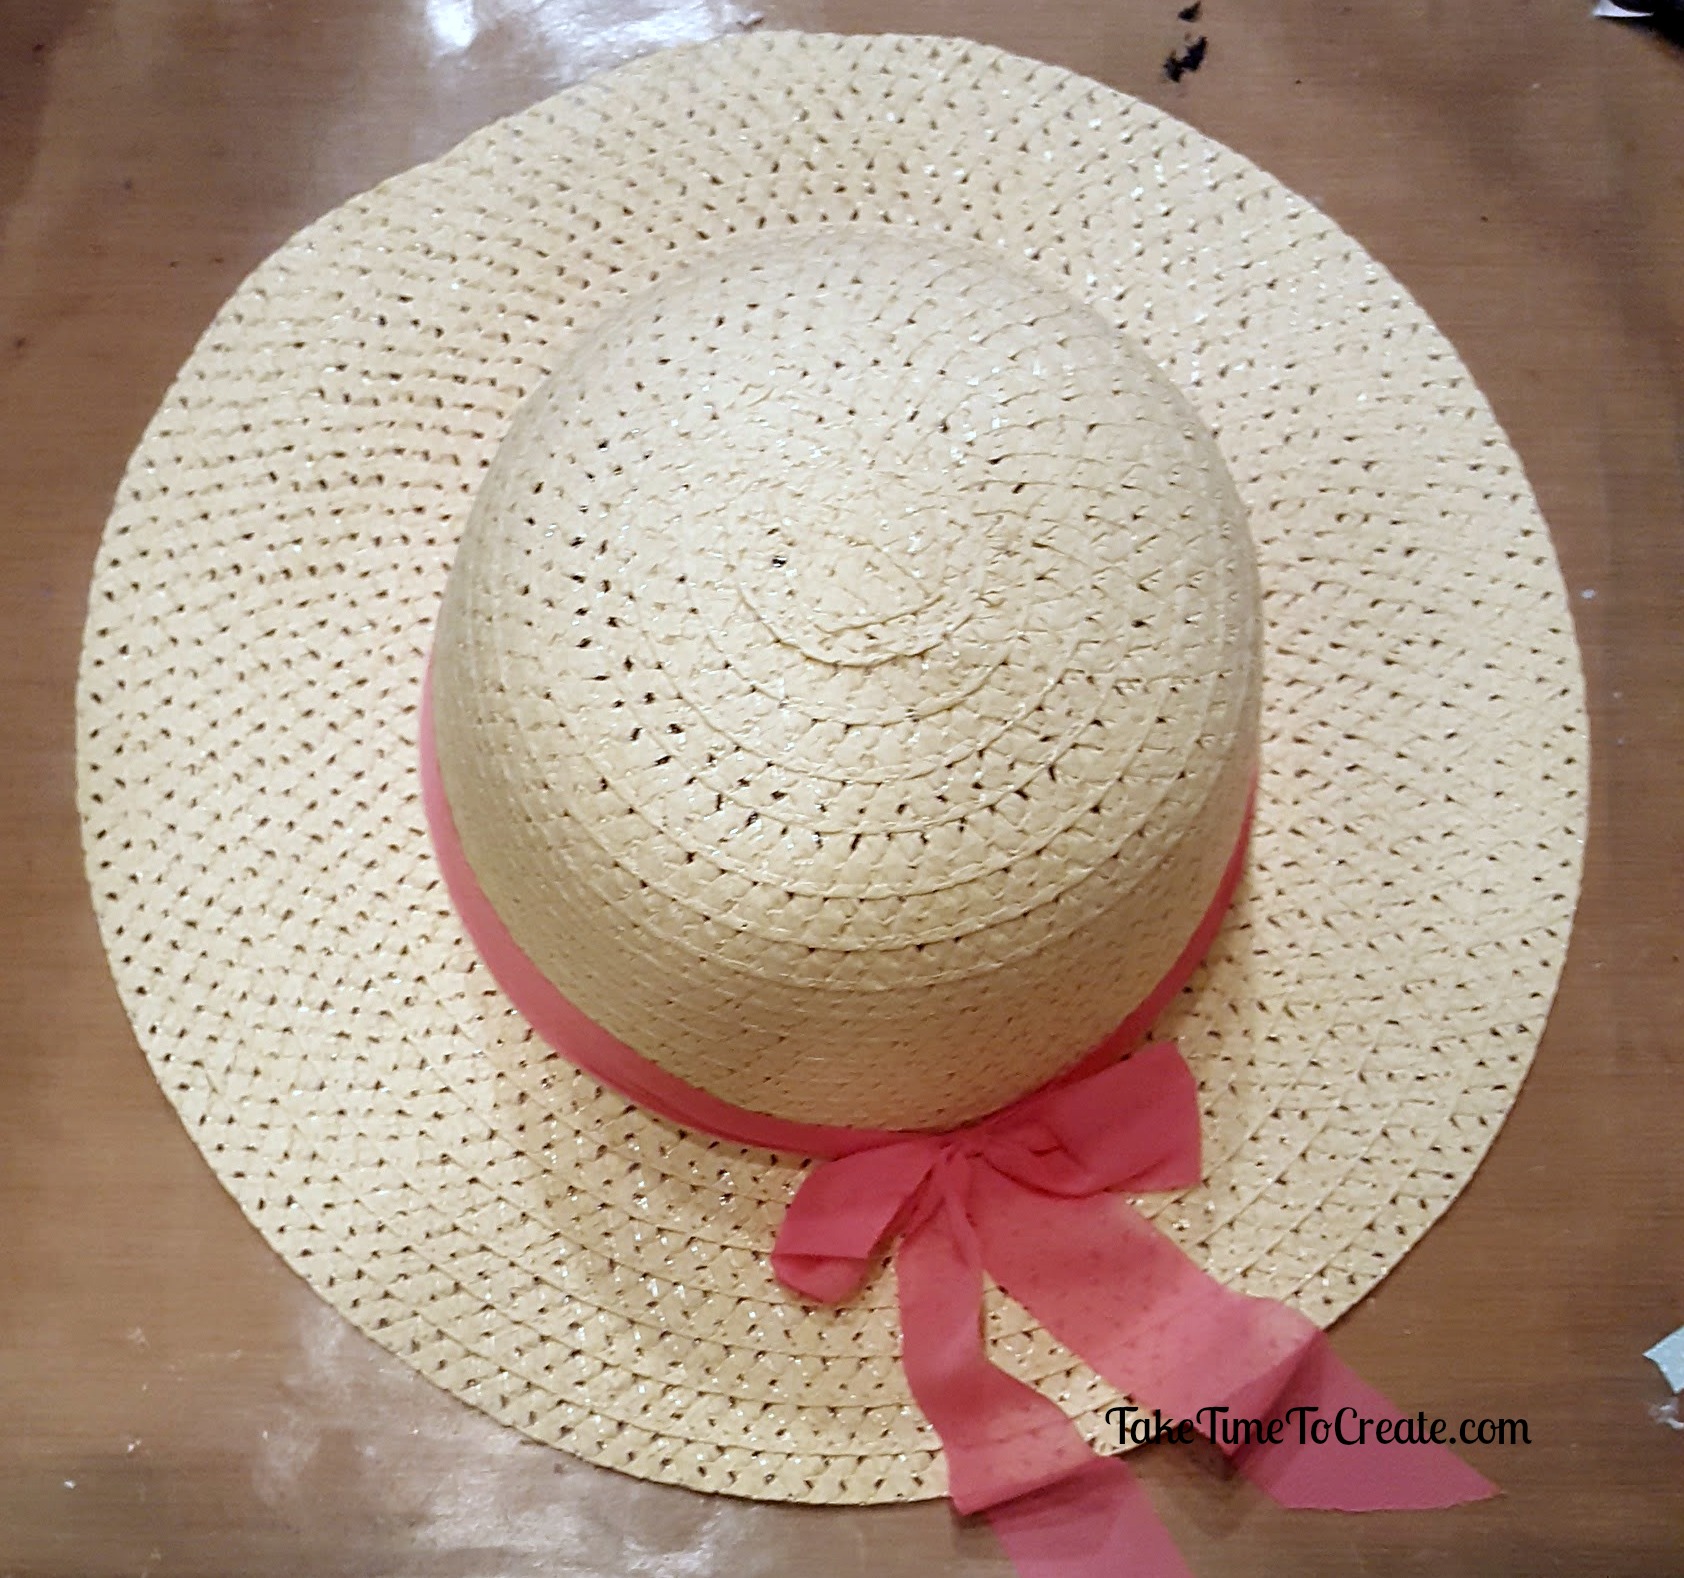
I didn’t want to spend a ton of money, so I thought a dollar was perfect. I also wanted to make this an easy project that could be completed quickly. And I accomplished that as well.
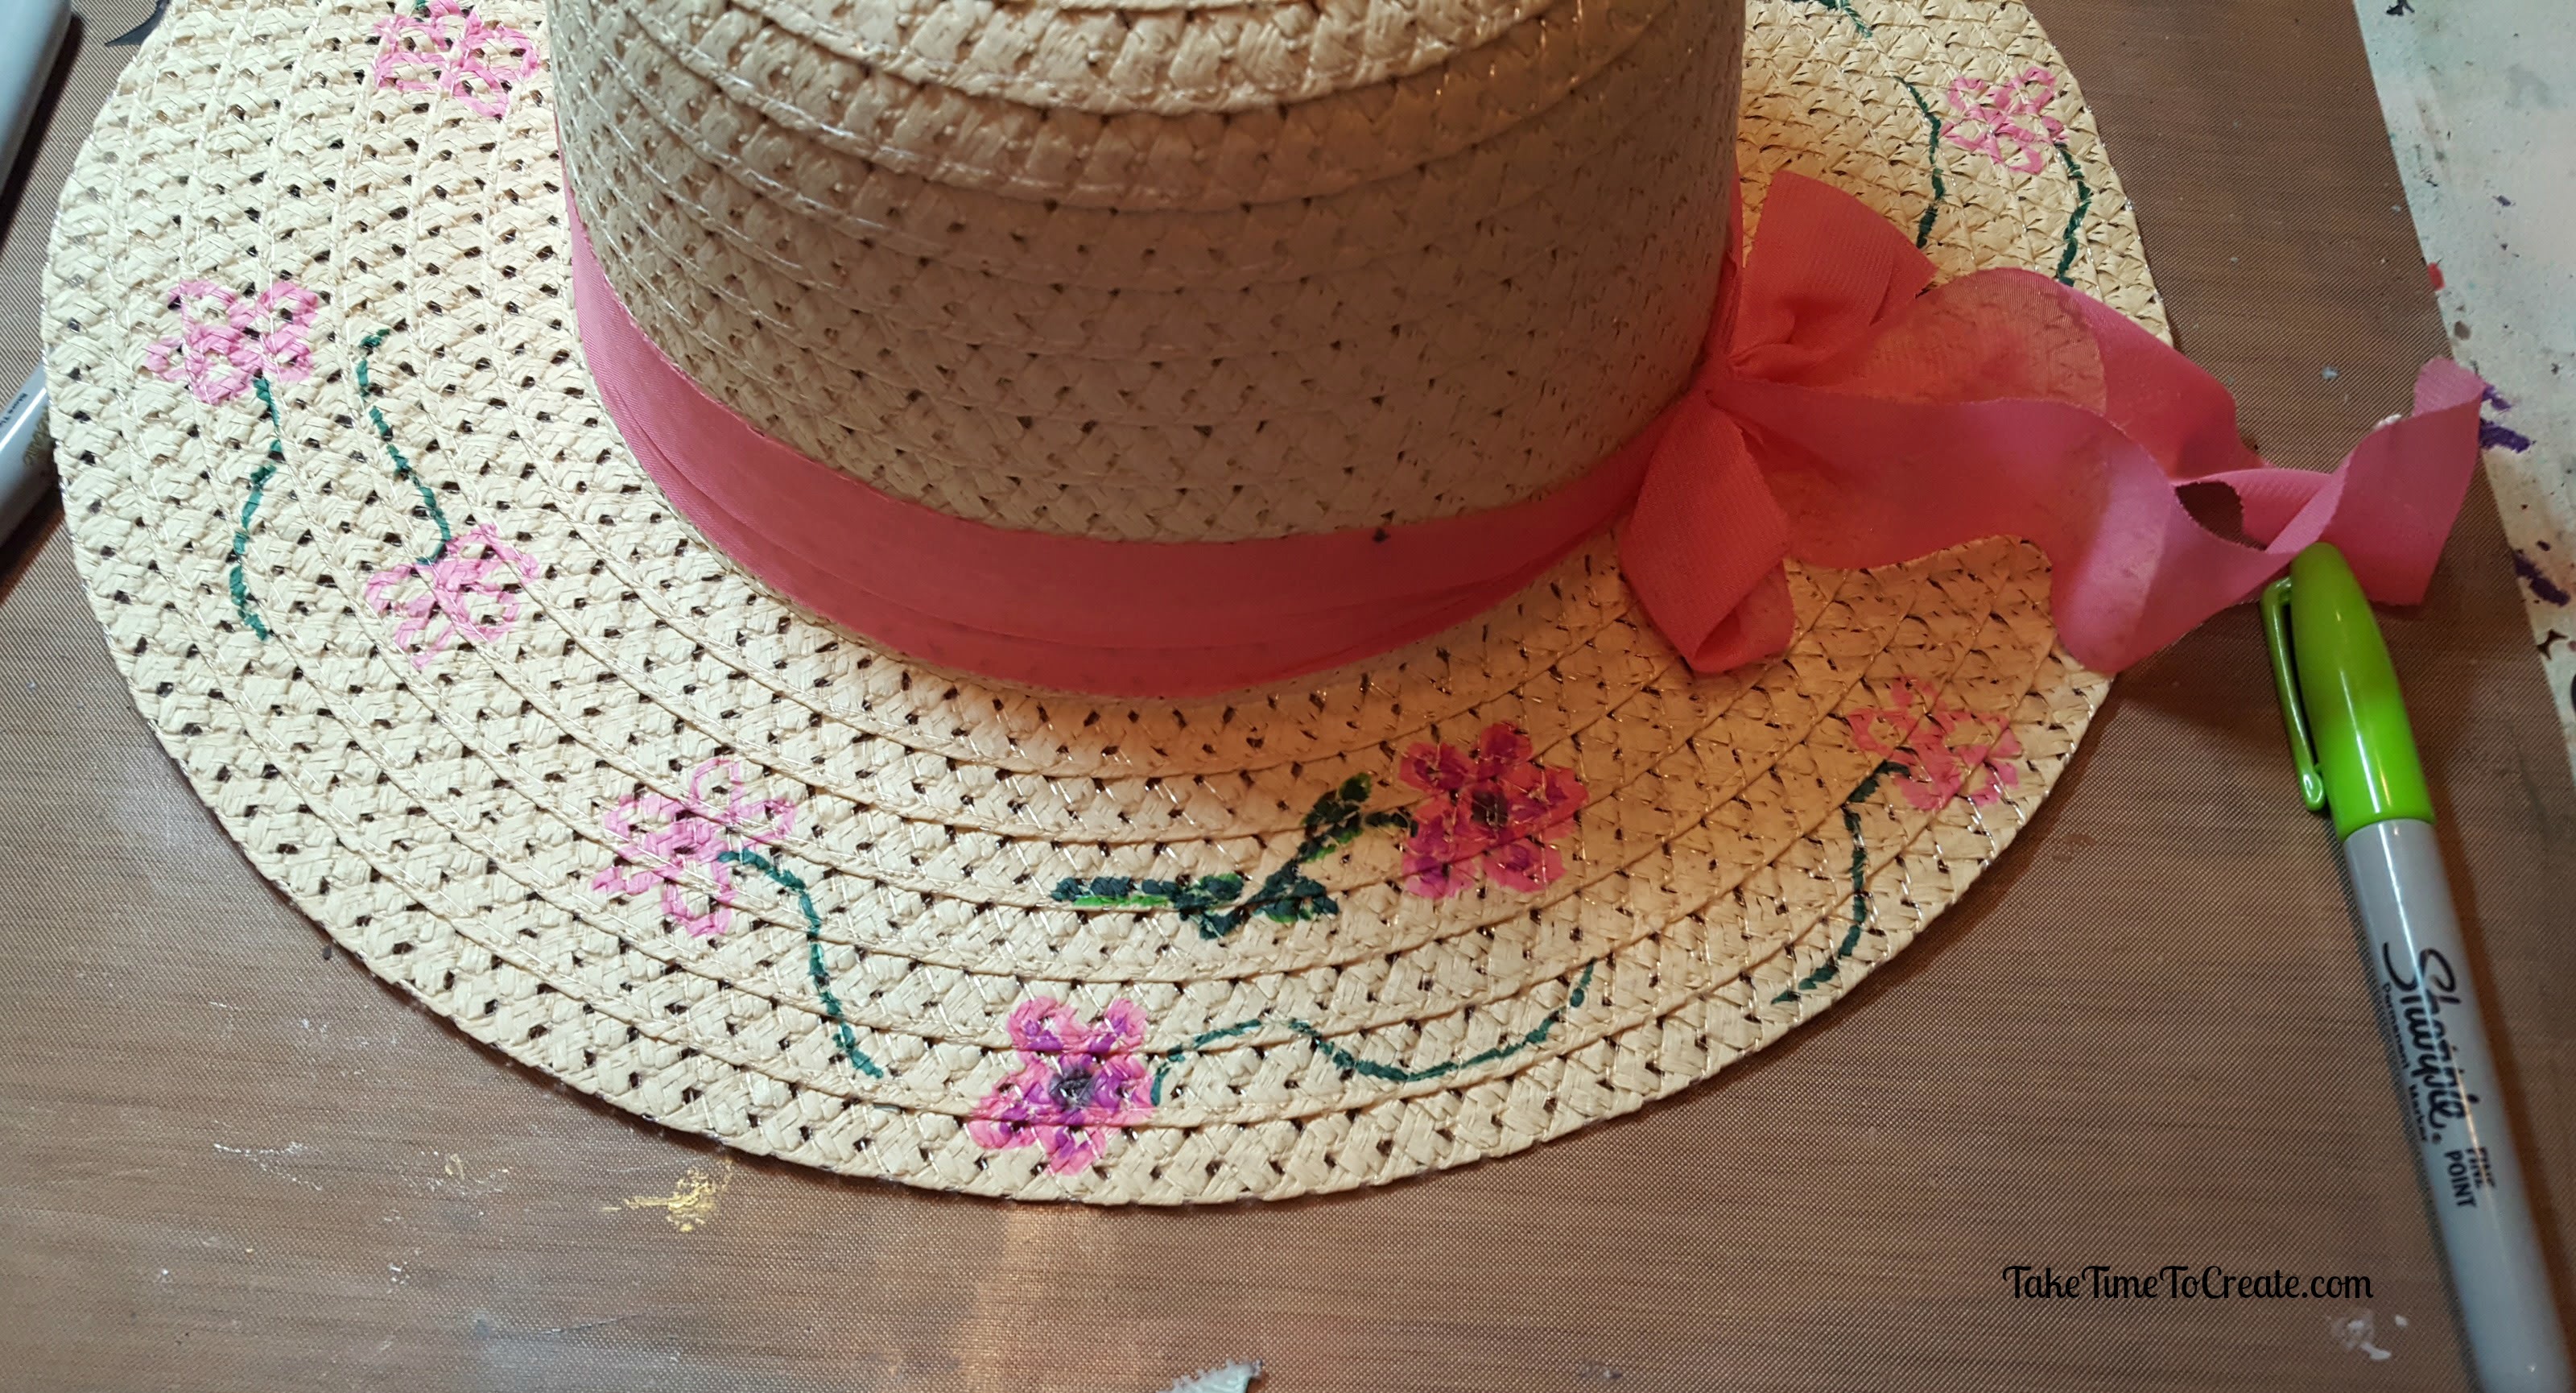
Find a design that you want to draw and go to town. I thought pretty pink flowers were perfect for spring.
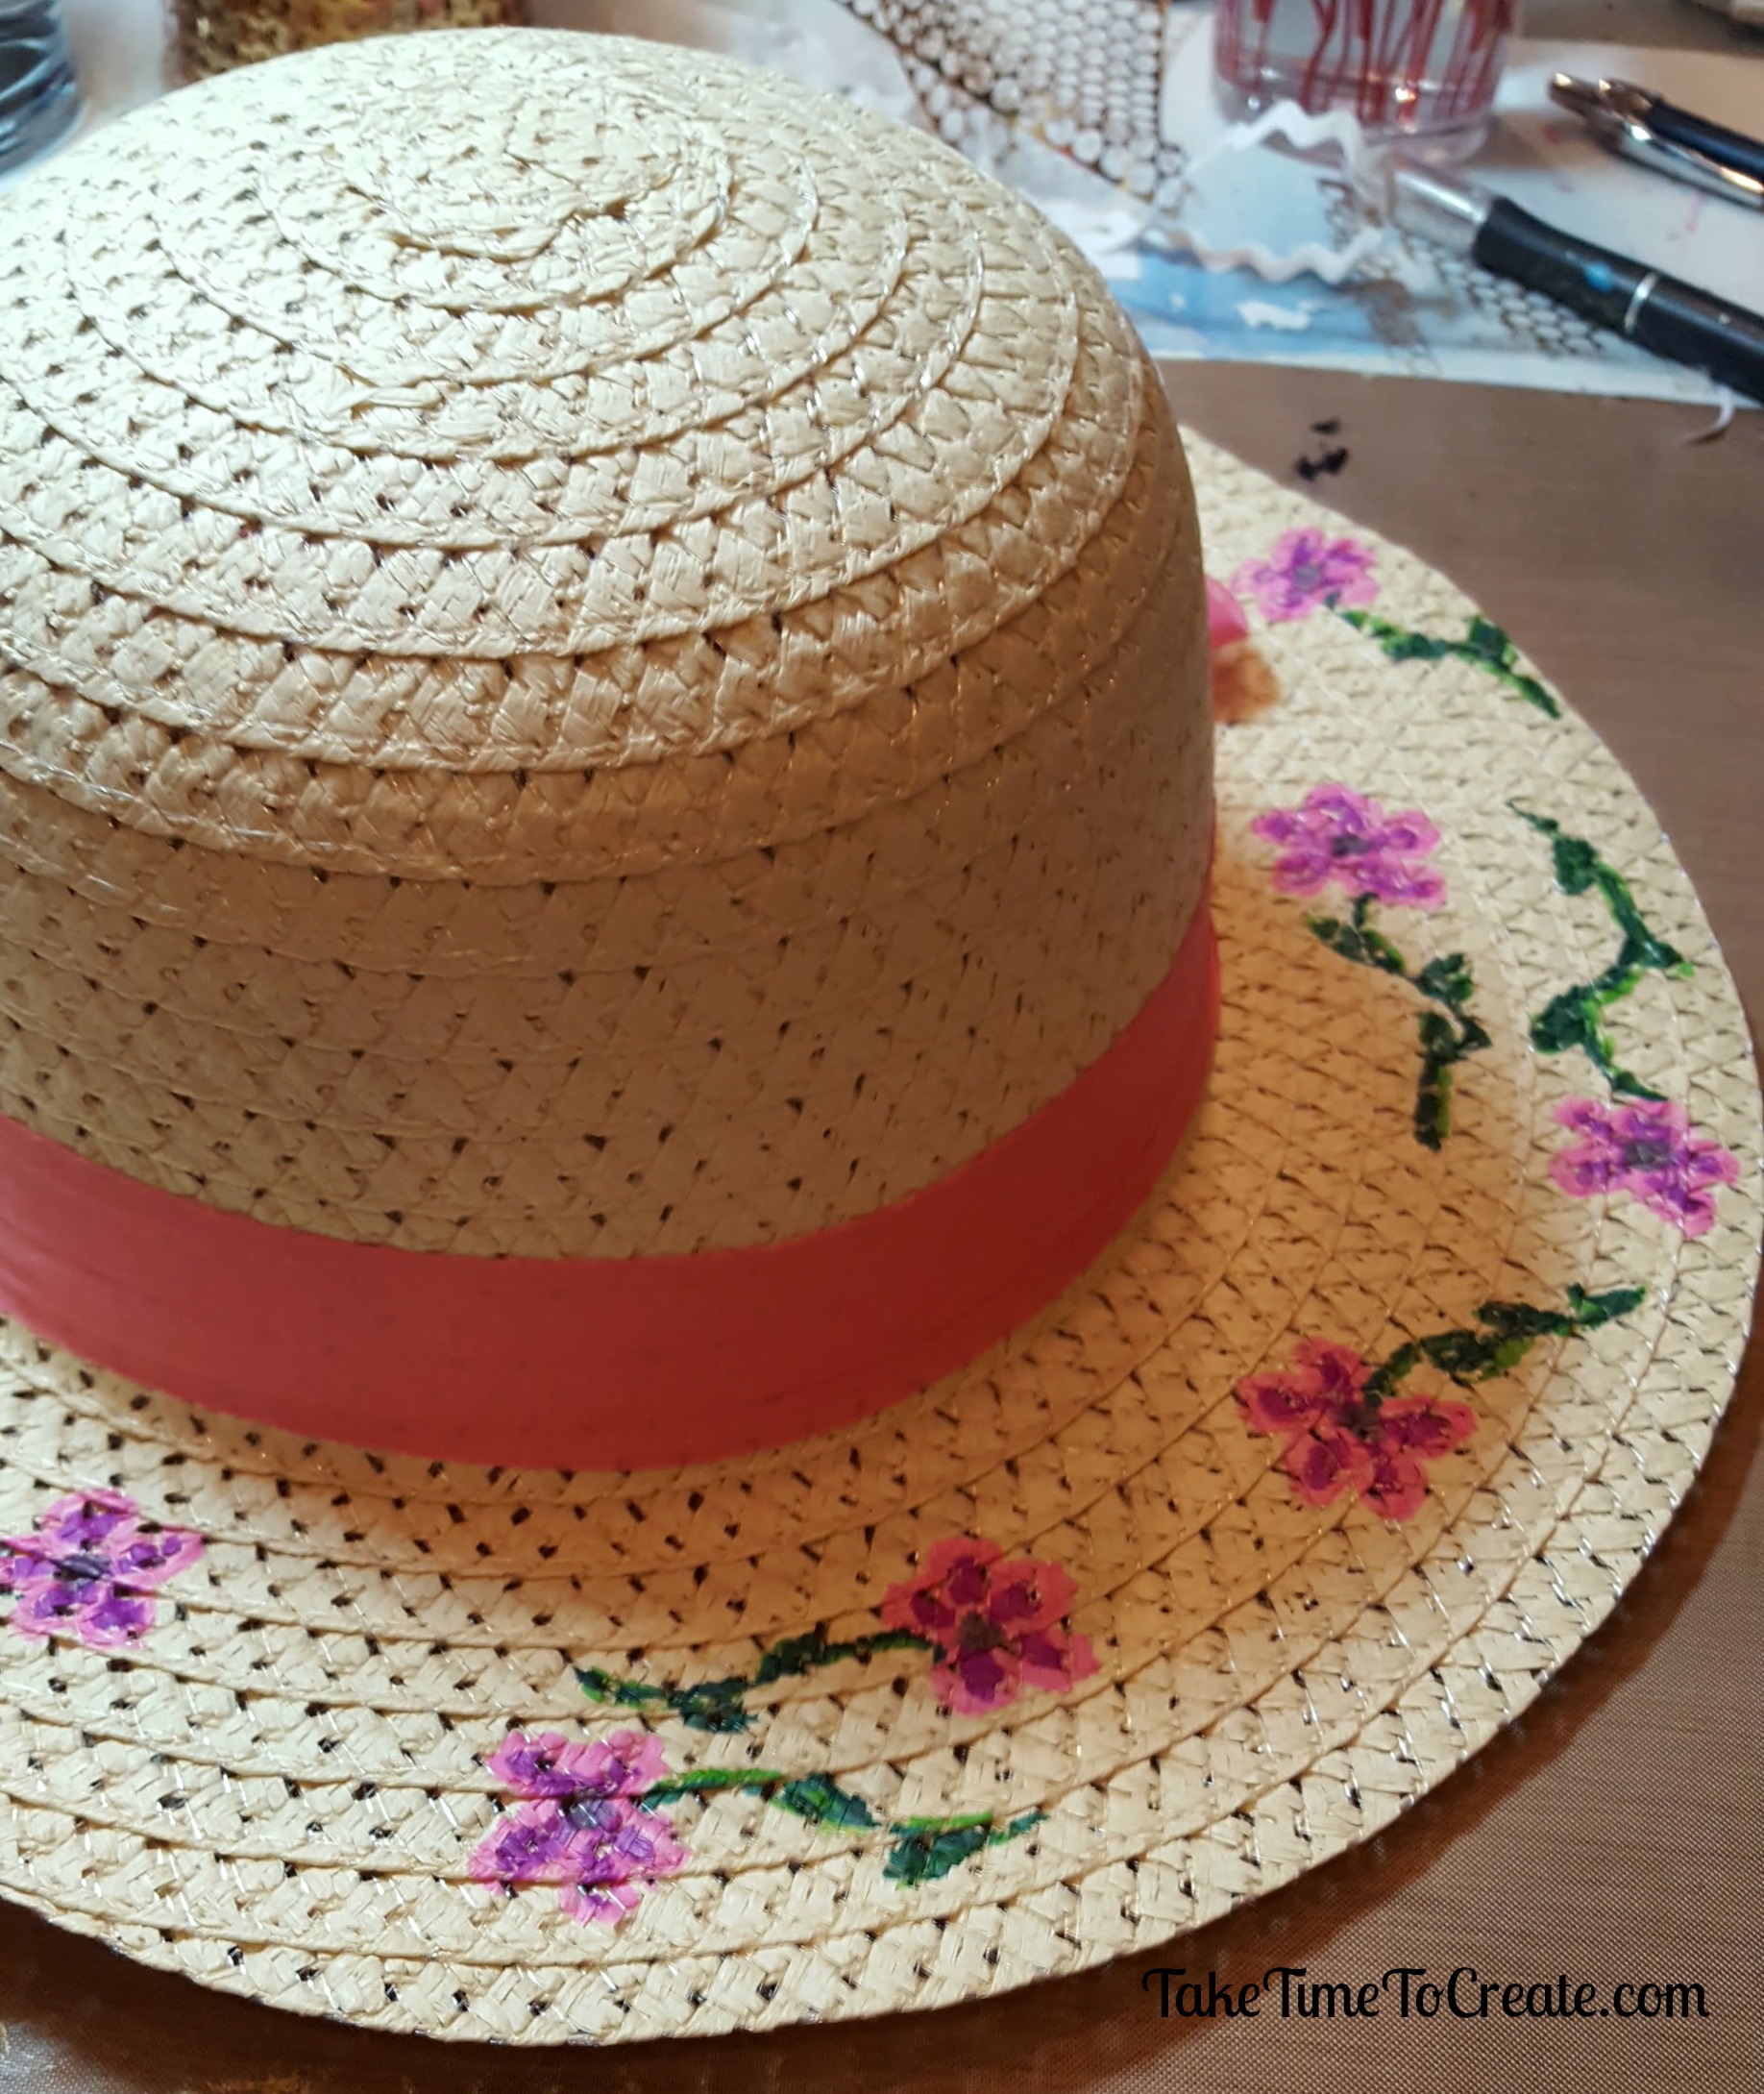
Straw is a little harder to work on, but not impossible, just take your time and you will be fine. Pick a design that doesn’t have a lot of detail or it will get muddy on the hat.
This would be a great project with a group or for a girls weekend or with kids.
How are you handling your Spring Fever?
This post contains affiliate links
The post DIY Straw Flower Hat appeared first on Take Time To Create.