Hello Everyone!
Did you see my new logo? I am loving the watercolor logo, so pretty.
It has been a while since I did a home diy, so today is the day, lol.
I am sorry that the lighting in the pics is not great, there is not great lighting in my kitchen and office so they are not the best pics, but oh well, sometimes that’s the way it goes, lol
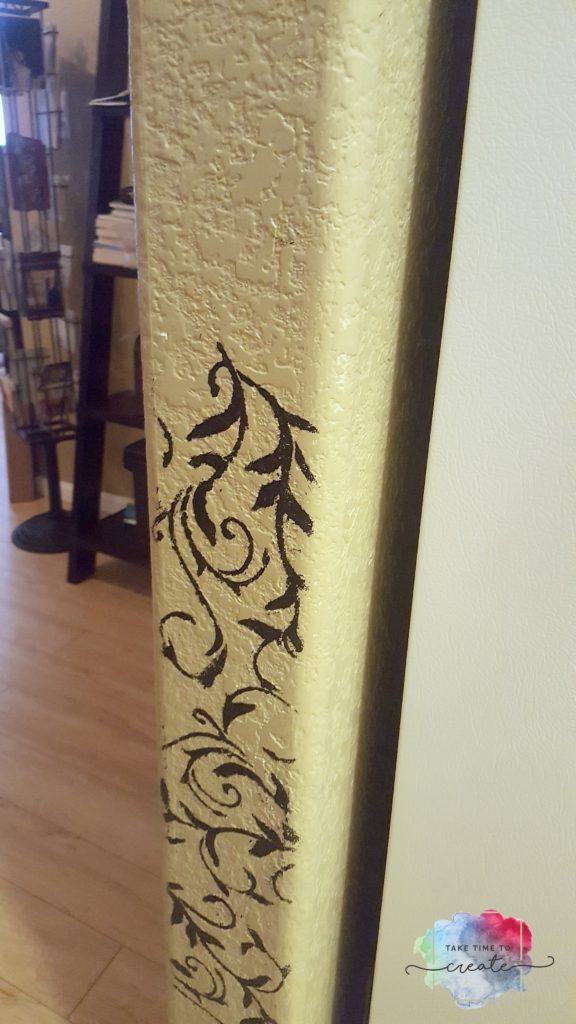
So let’s get started! Here is my arch way (please excuse the mess, haha) This separates the kitchen from the office (it is actually the formal dining room, but who uses those any more? We don’t, so it is the office) The arch is cute and just fine the way it is, but it needed a little bit more.
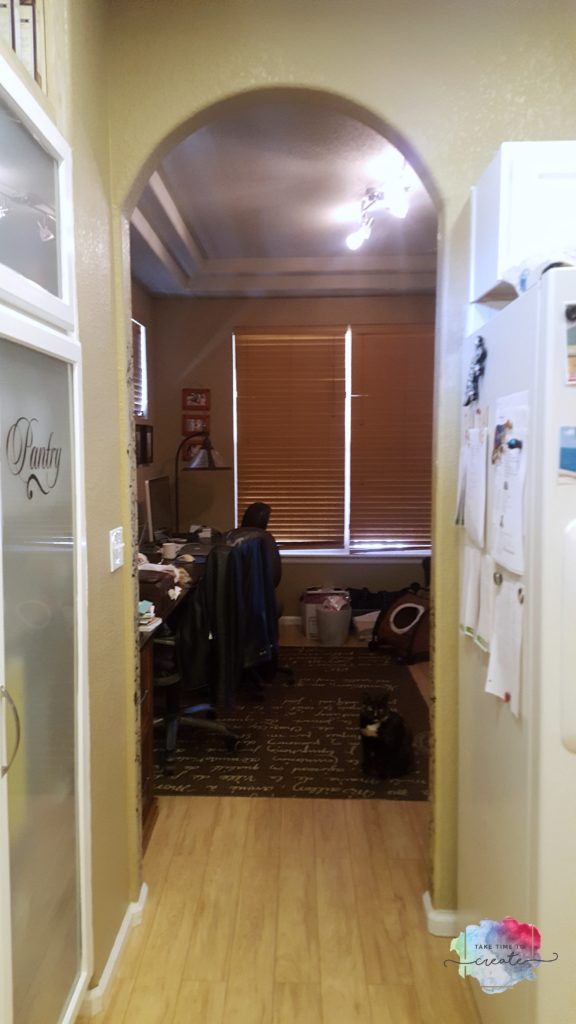
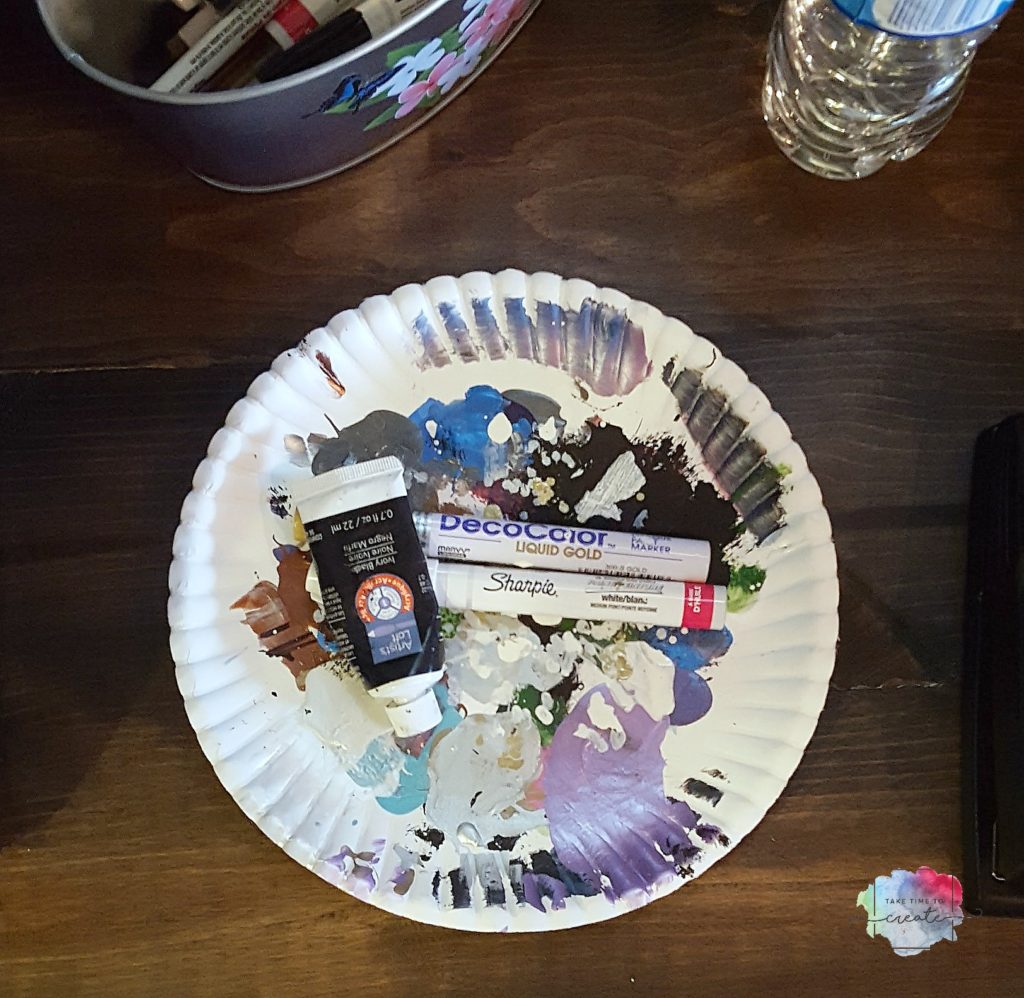
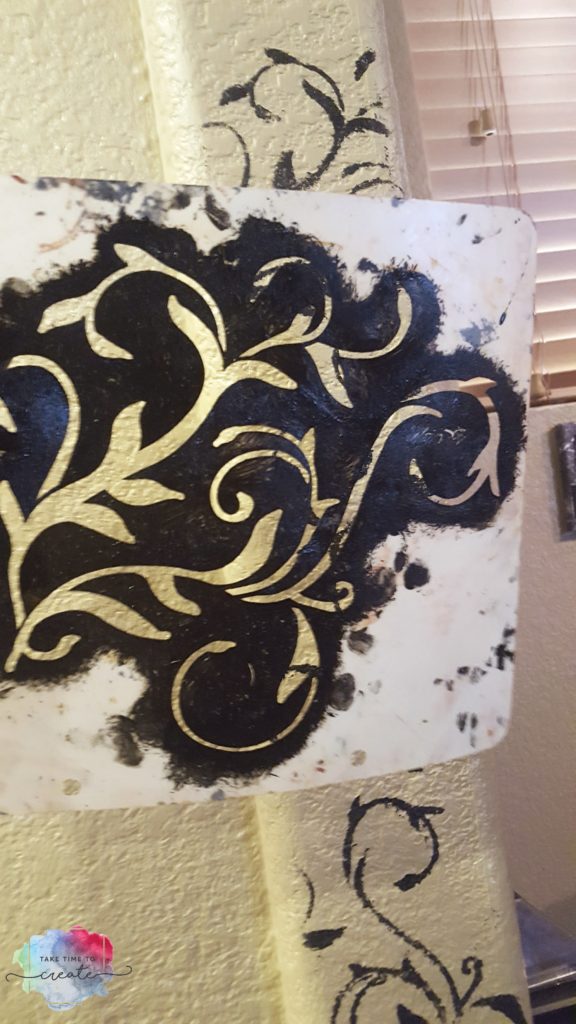
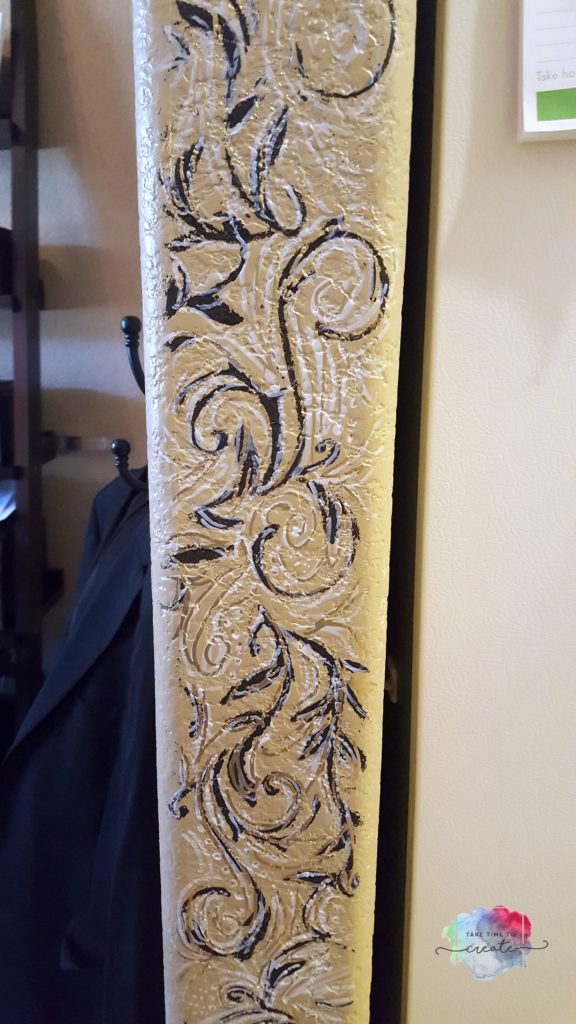
I used a swirl stencil to start and the accents were applied with gold paint and an oil based white Sharpie.
Start with a swirl stencil and some black acrylic paint. Go around the arch and it is ok if it isn’t perfect, that is what makes it great.
After you stencil the entire area go back over everything with the white Sharpie and then go over with a gold paint pen. This is the fun part, don’t try to be perfect, just go around things and add extra swirls and dots and details. 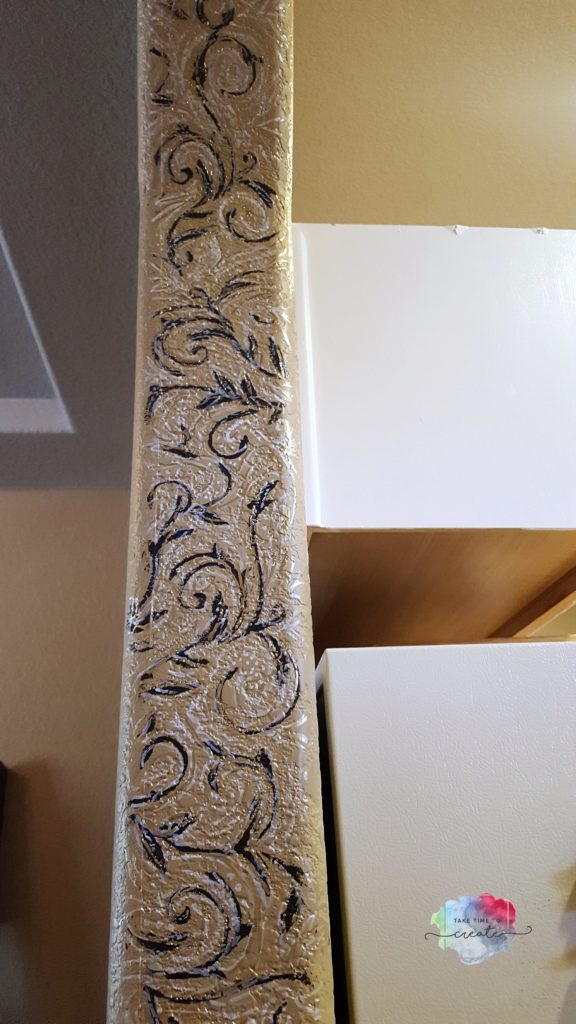
This is a quick and fun way to add detail and texture to your home and it looks so fantastic when it is completed.
I did take a short video of the finished arch, and I have to say I really love how it turned out! I think it is the perfect accent for the wall and a great way to divide the two rooms. And the best part of the video, you get to meet my cat, Starlight at the end of the video, lol.
The post Stenciled Wall Arch appeared first on Take Time To Create.
0


June 19, 2017 at 11:14 am
I love the new logo! The stencil looks so pretty! I really like the look of the swirls. 🙂