Hello Everyone!
If you ever get the chance to take a class from a professional artist, you should jump at the chance! You will learn so many new tips, tricks, and techniques.
BTW This is not a paid or sponsored post, all opinions are my own. I paid for the class with my own money.
During my weekend at Mojito Creek (you can see my post about the retreat here: Mojito Creek) I was able to take a class from Tara Pappas! If you don’t know of her work you should check her out on her website: Tara Pappas. She is an amazing mixed media artist that creates these beautiful, whimsical, fun paintings. I have admired her for a while and when I found out that she was teaching at Mojito Creek I had to jump at the chance to learn from her!
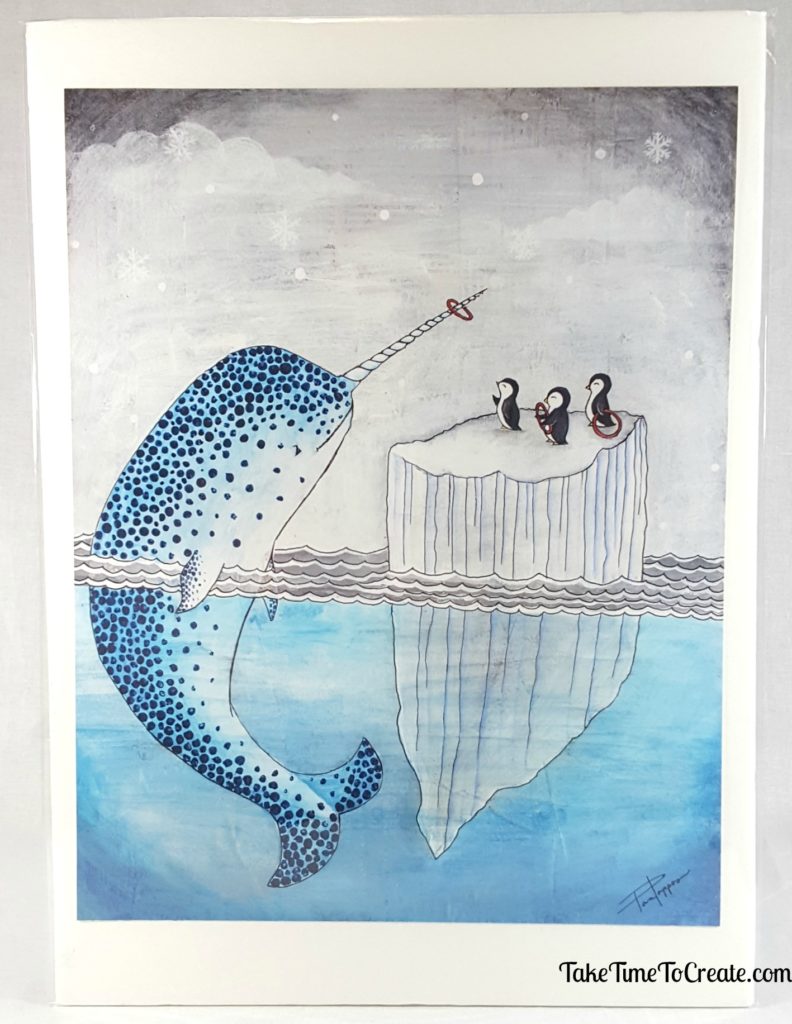
I purchased this print and I love it! Penguins playing with the Narwal, it is fantastic! I think I need a few more prints for all my walls!
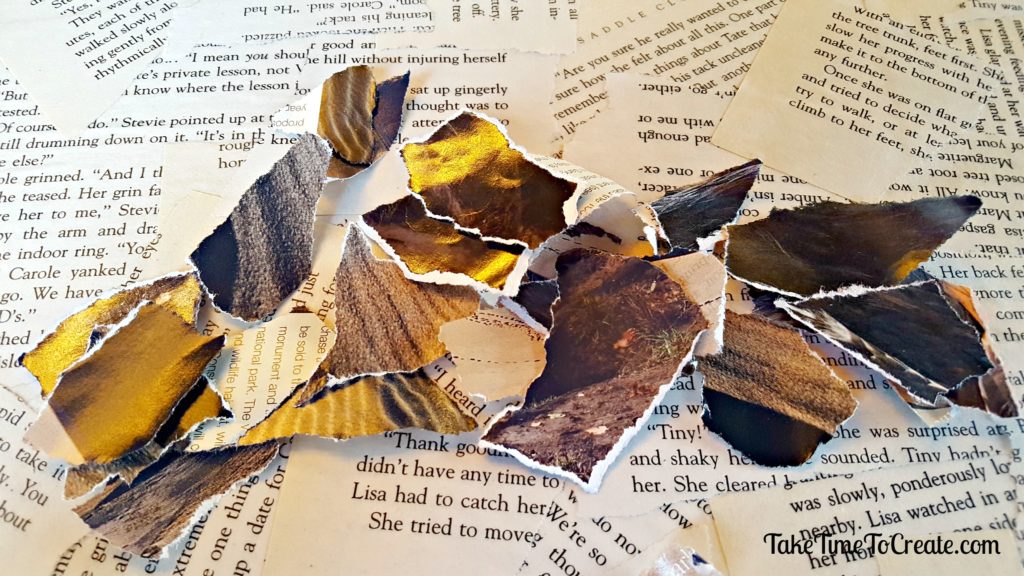
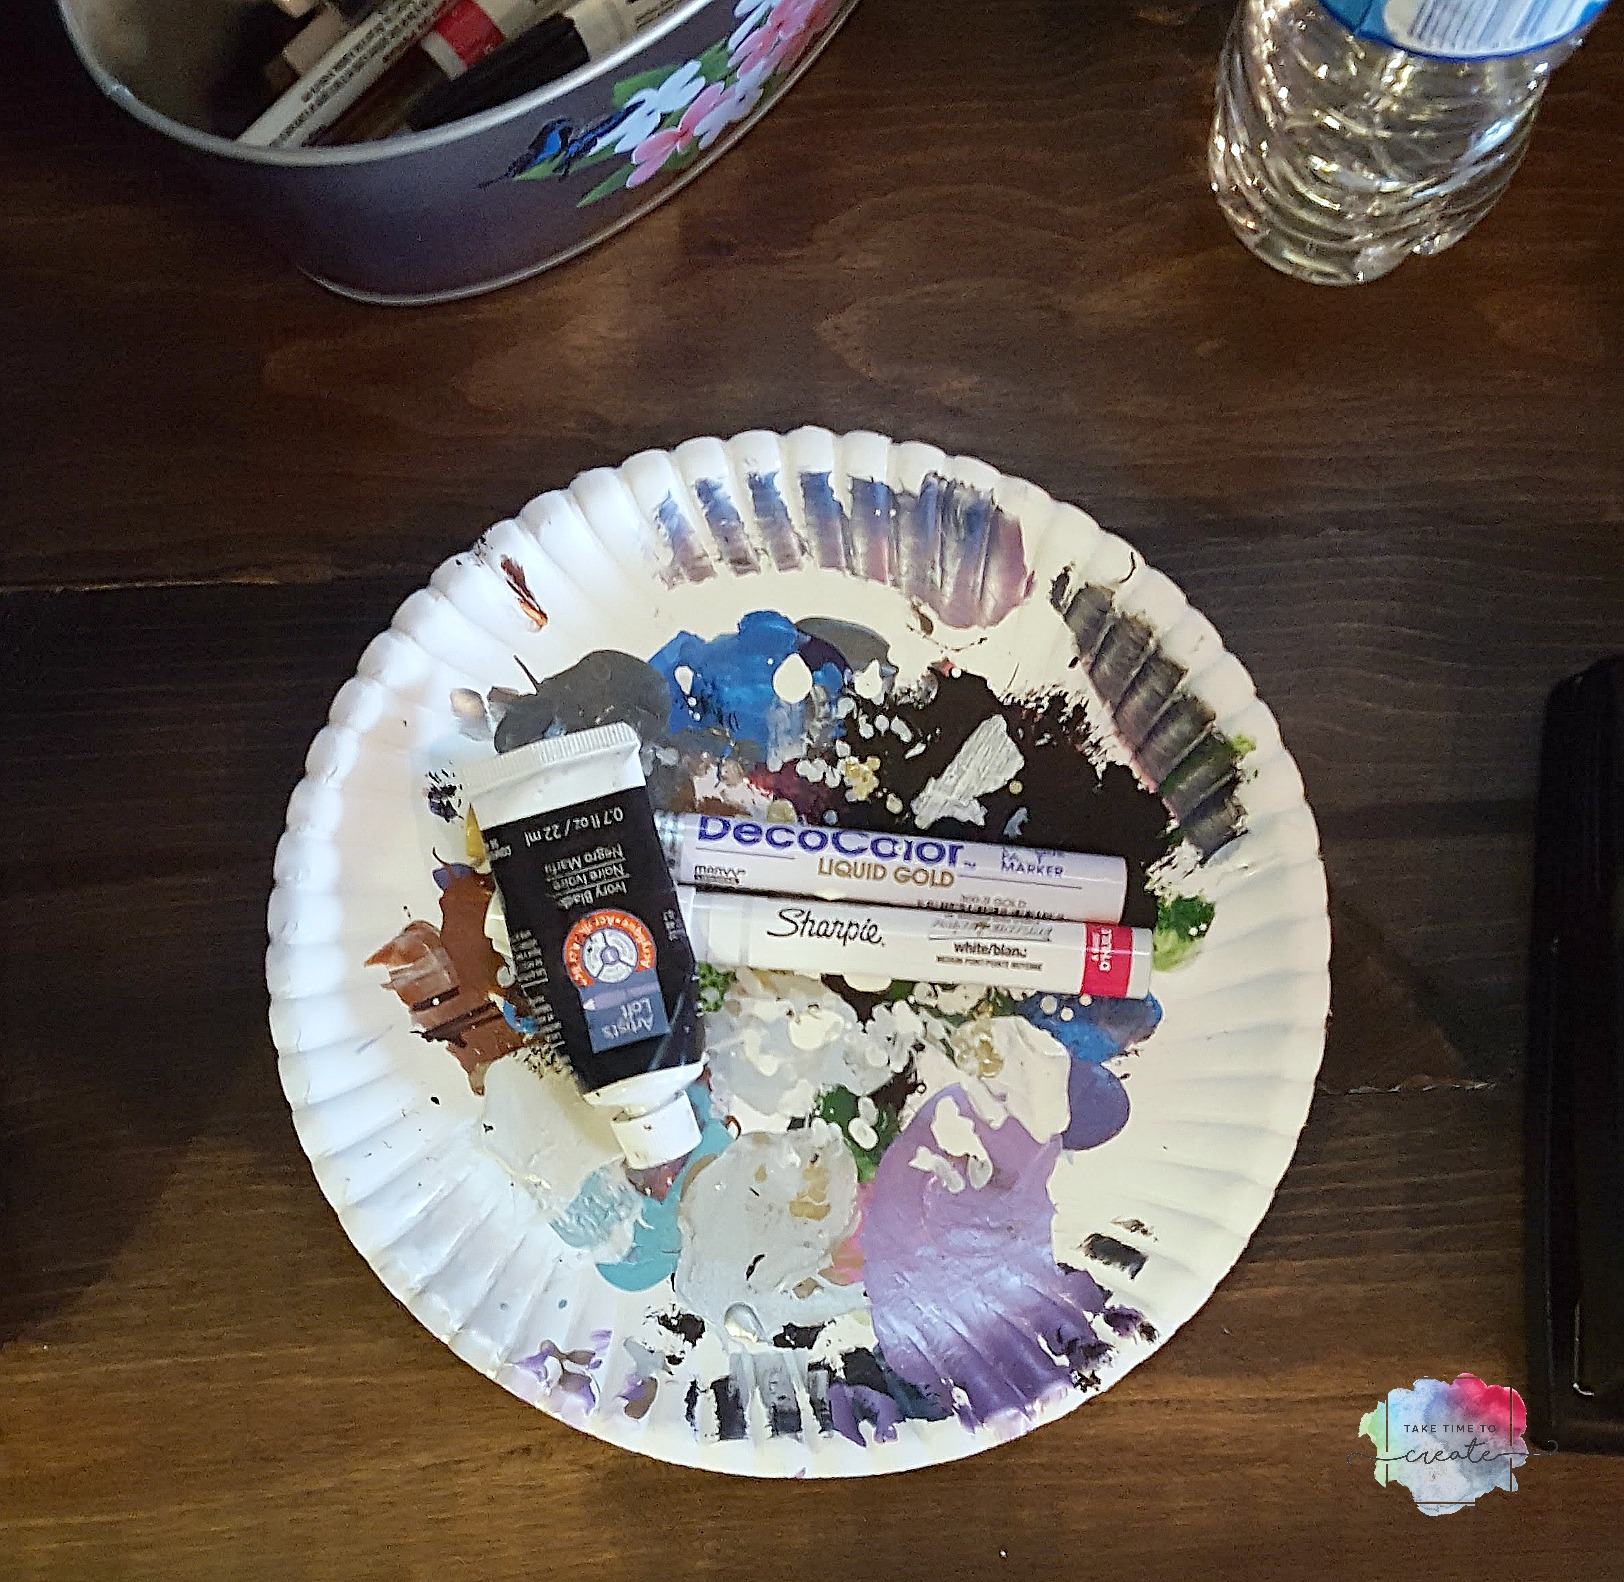
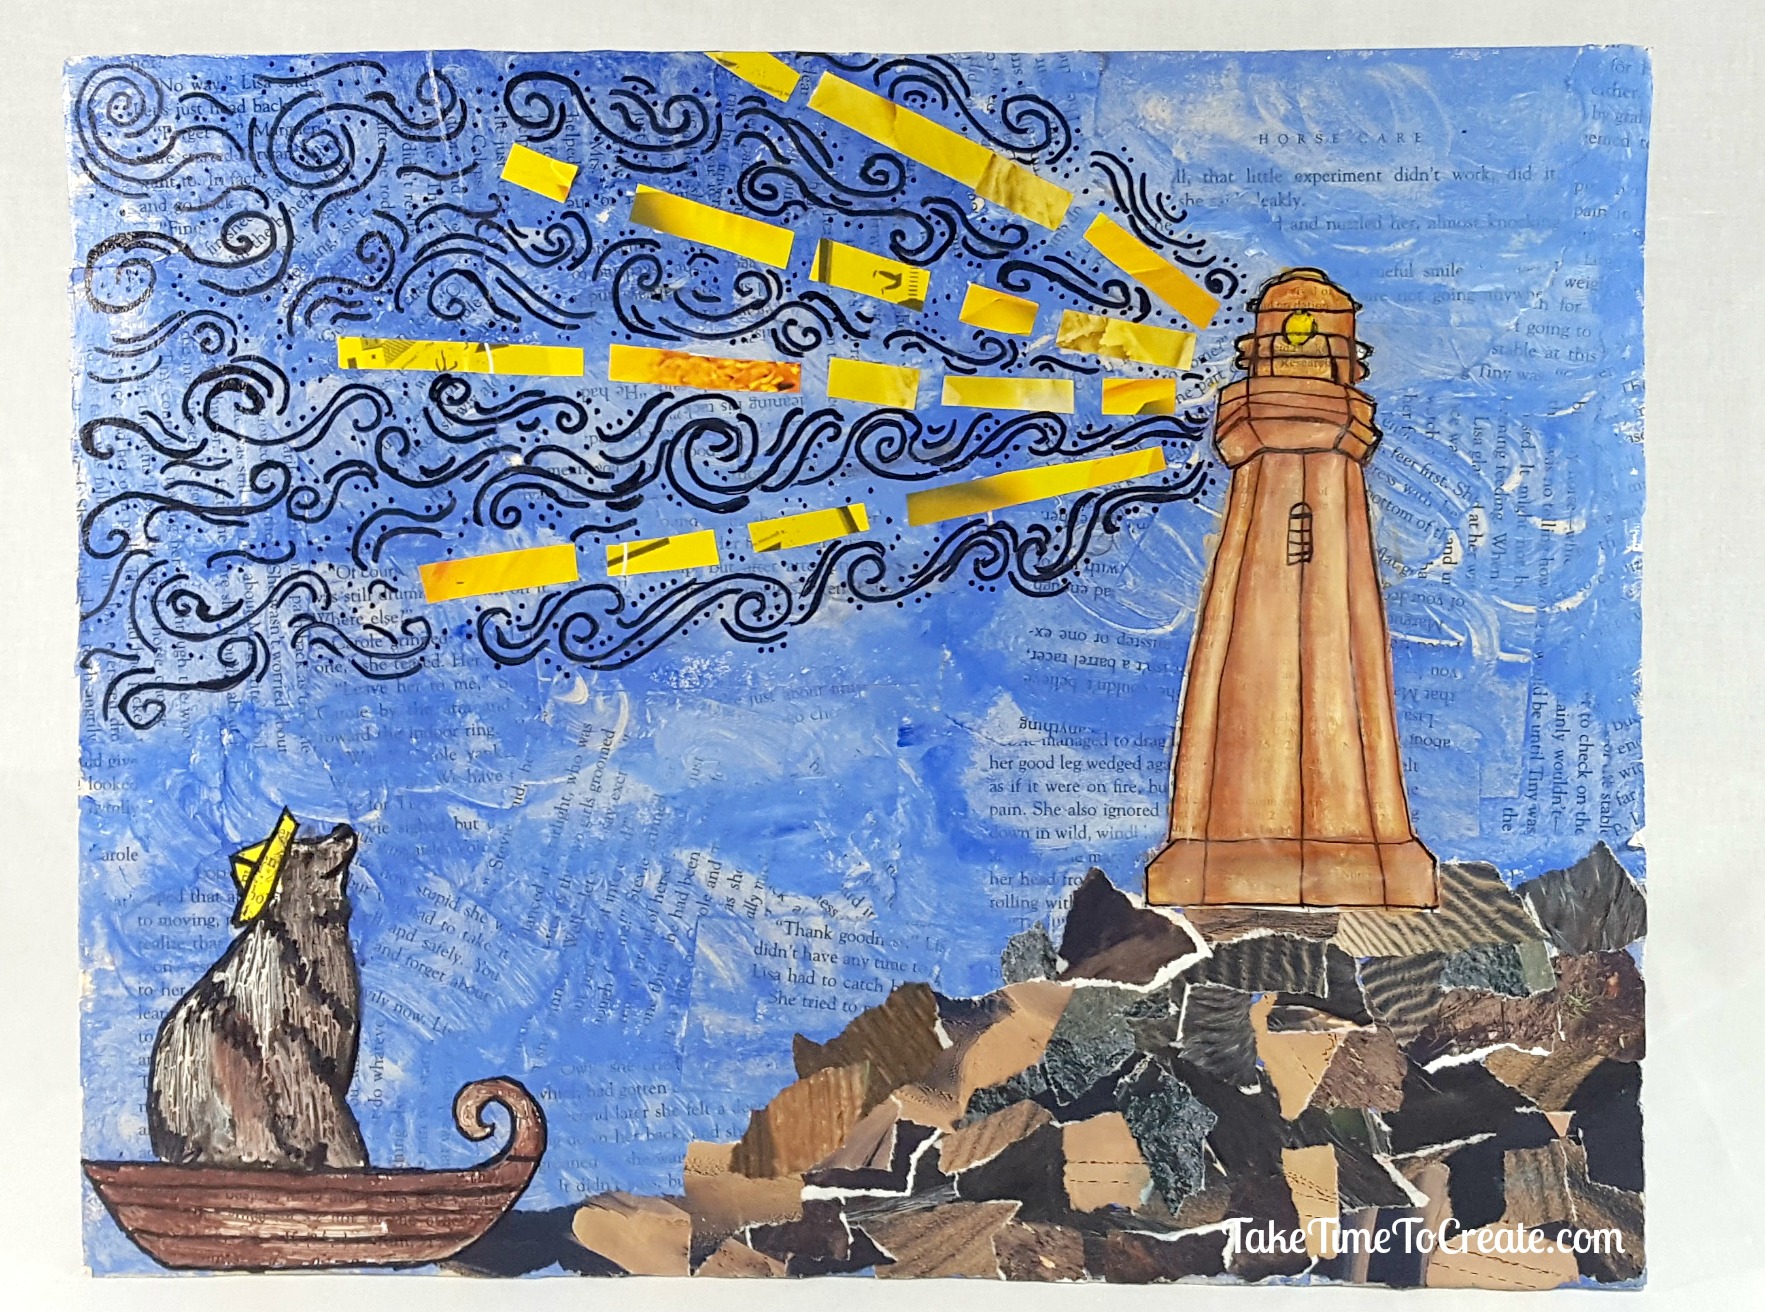
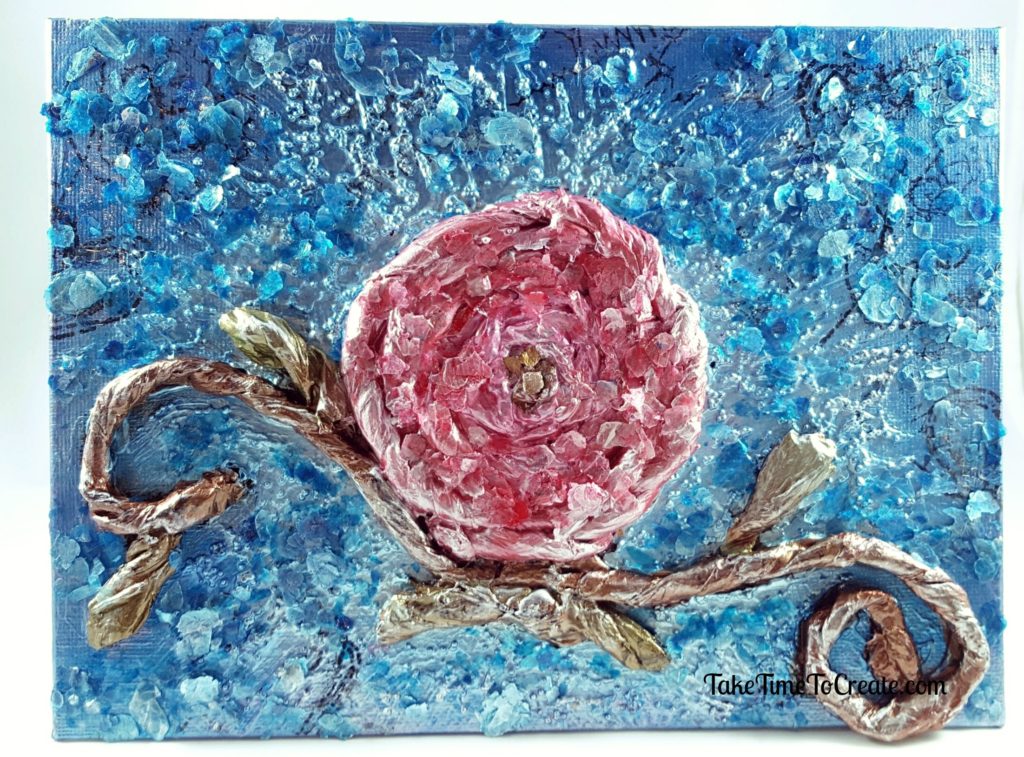
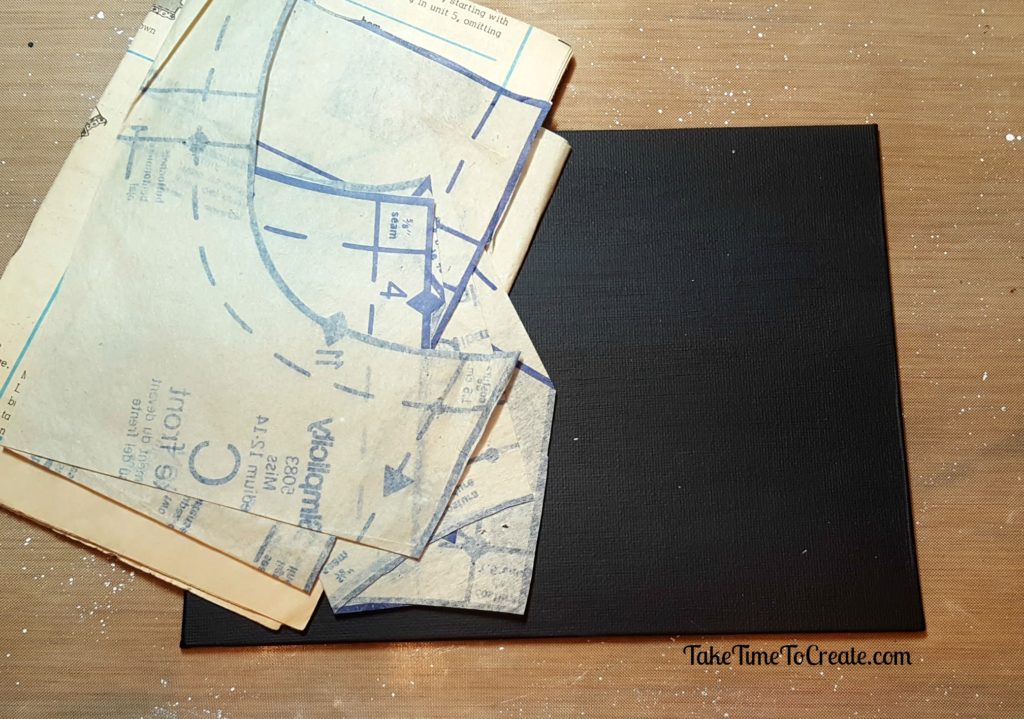
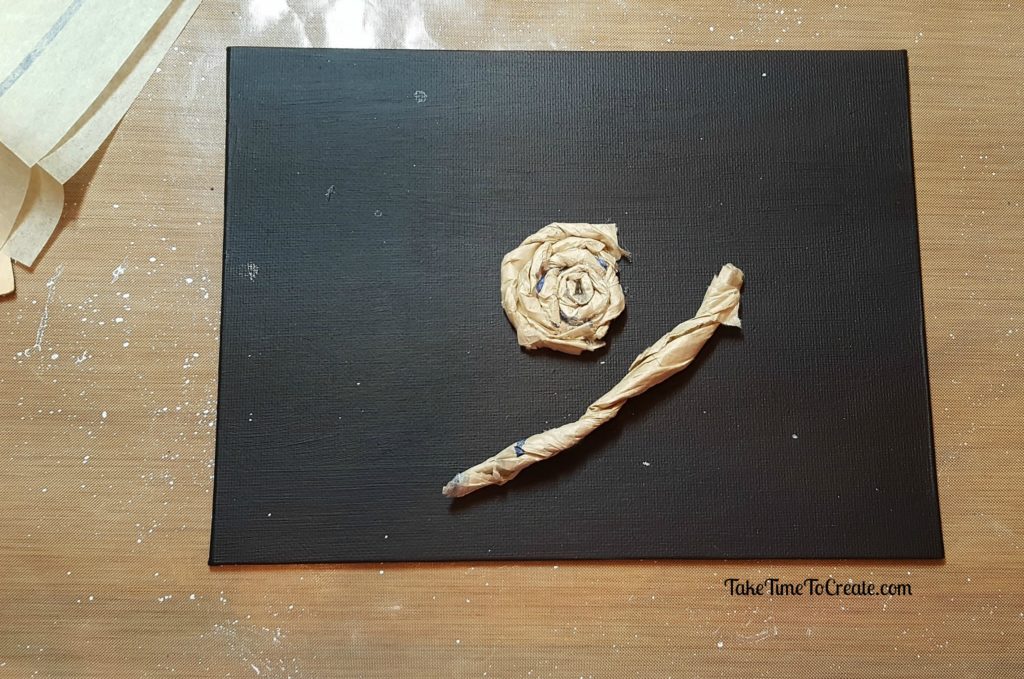
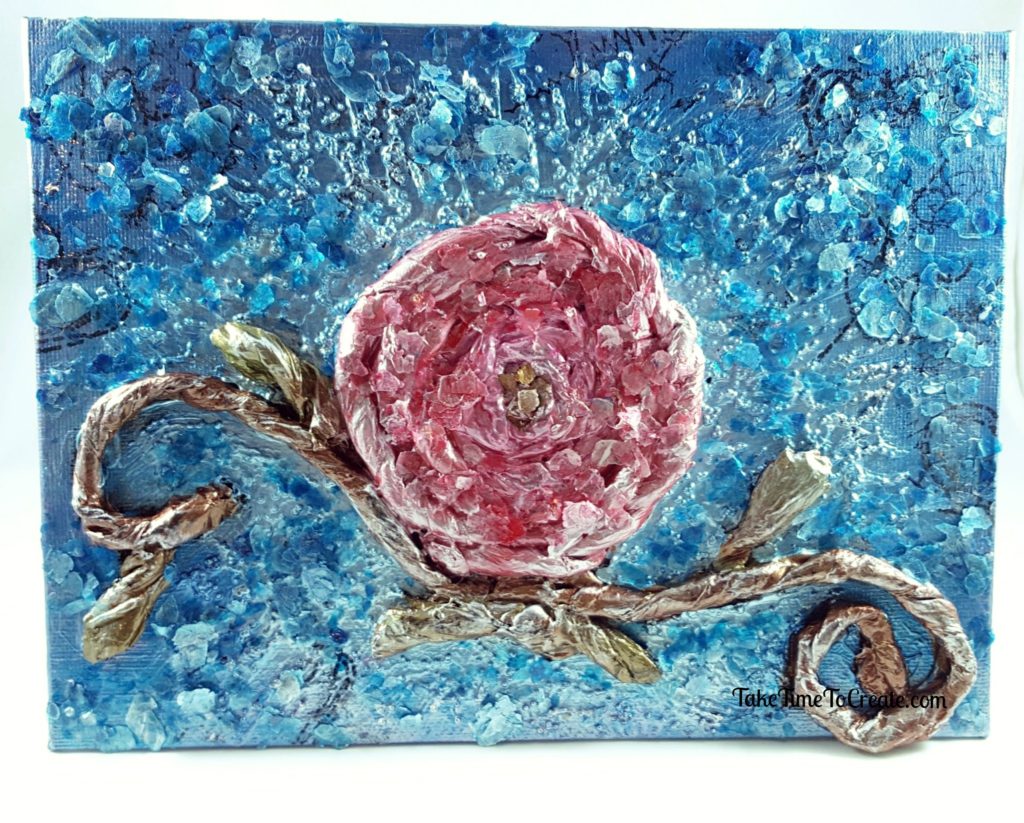
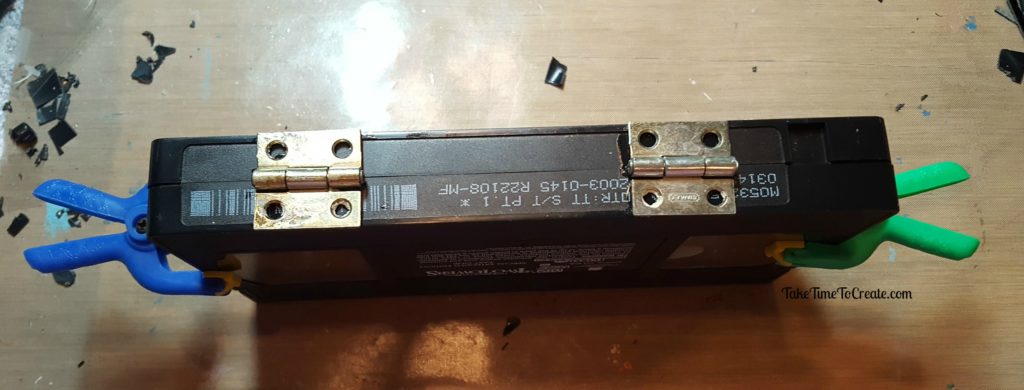
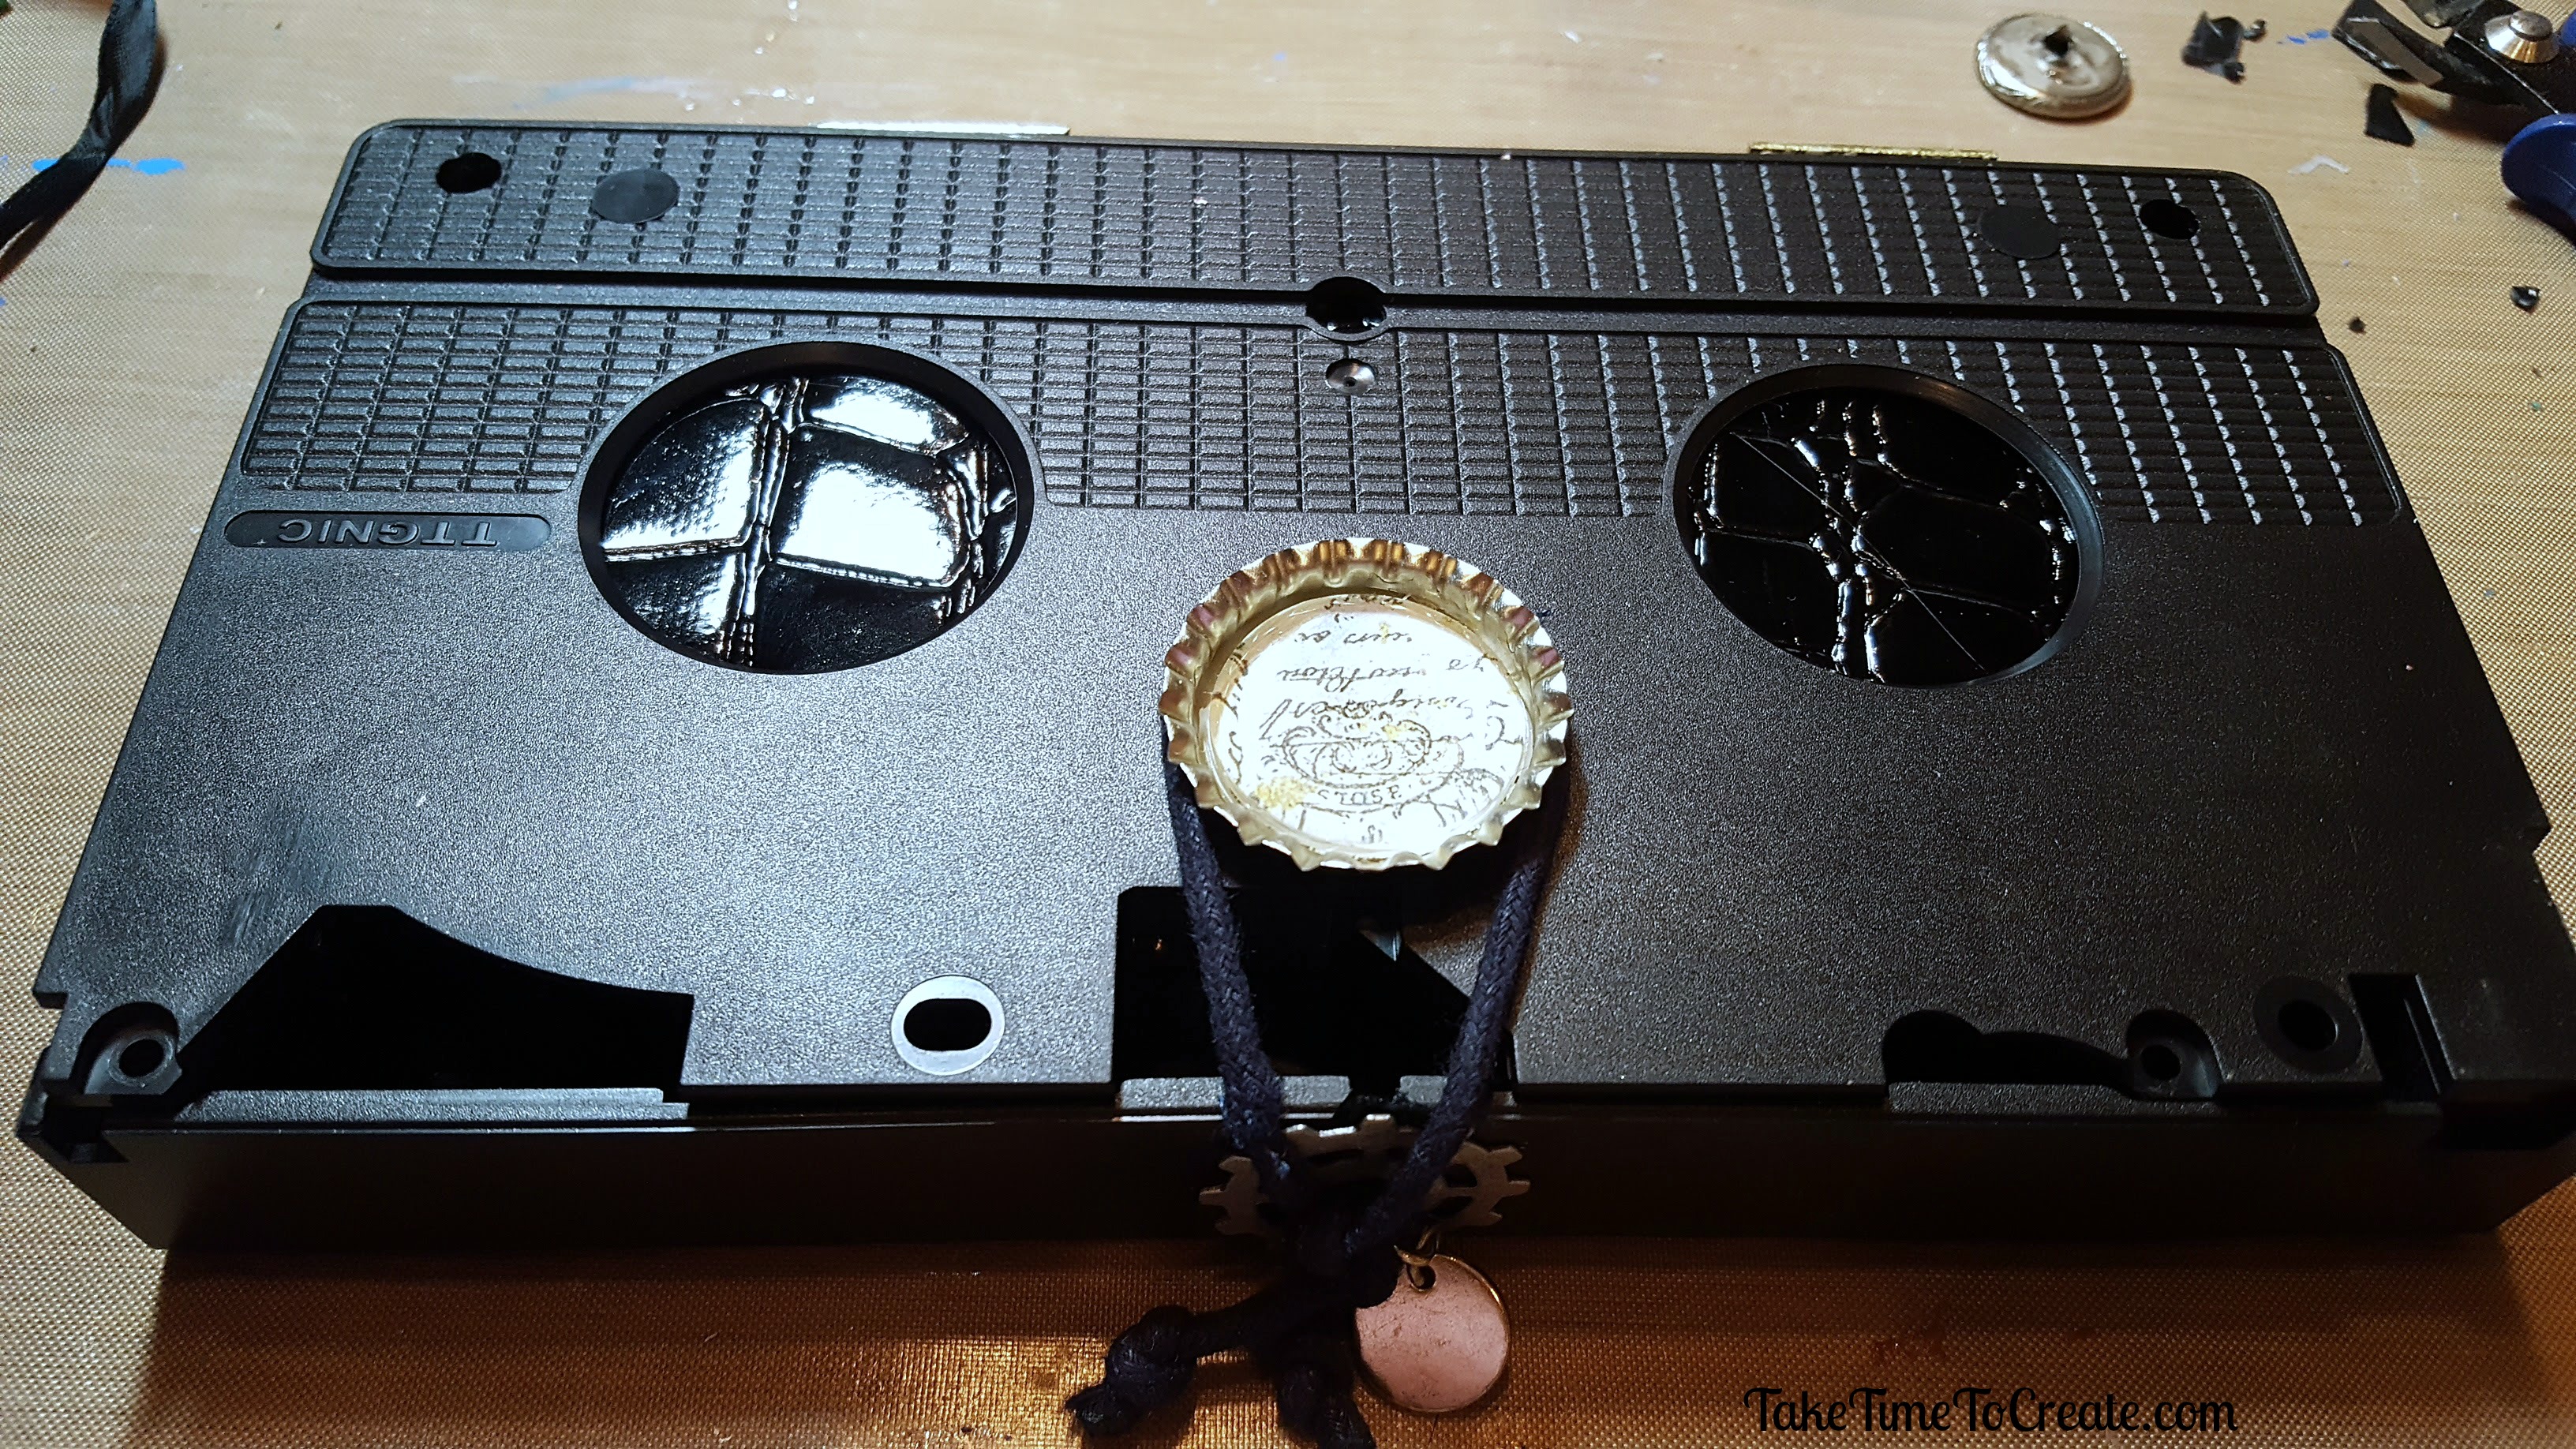
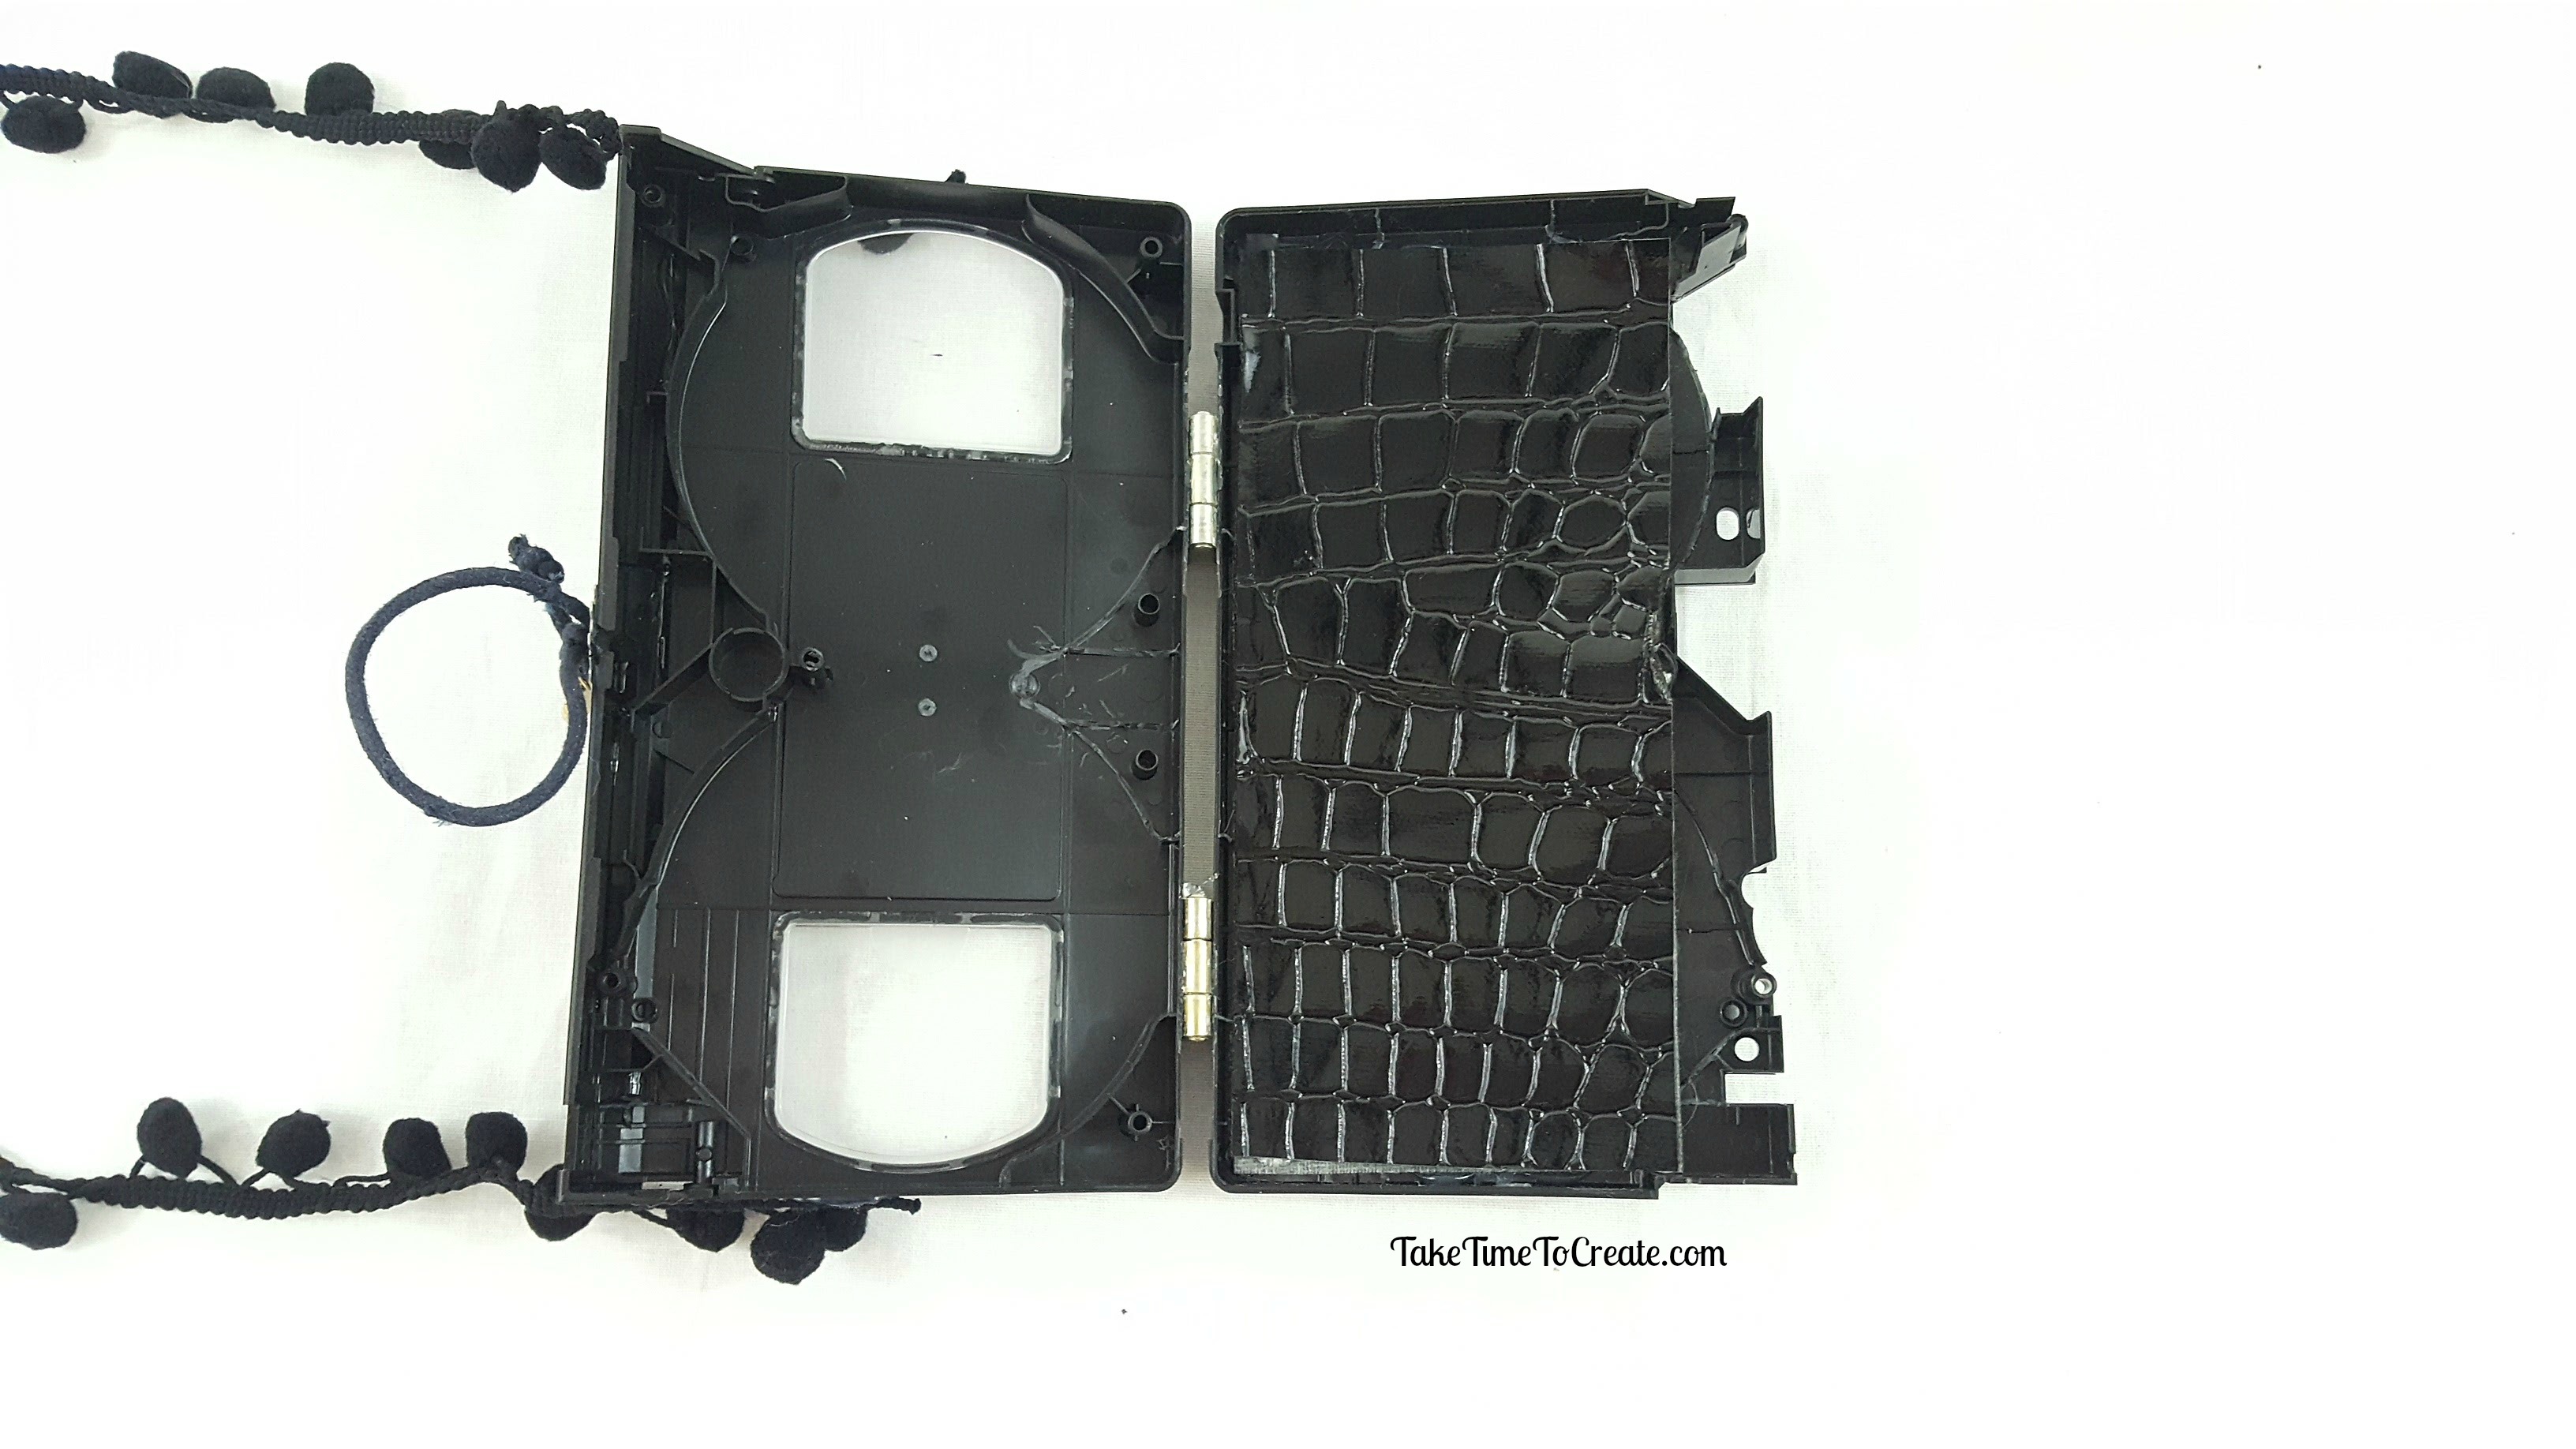
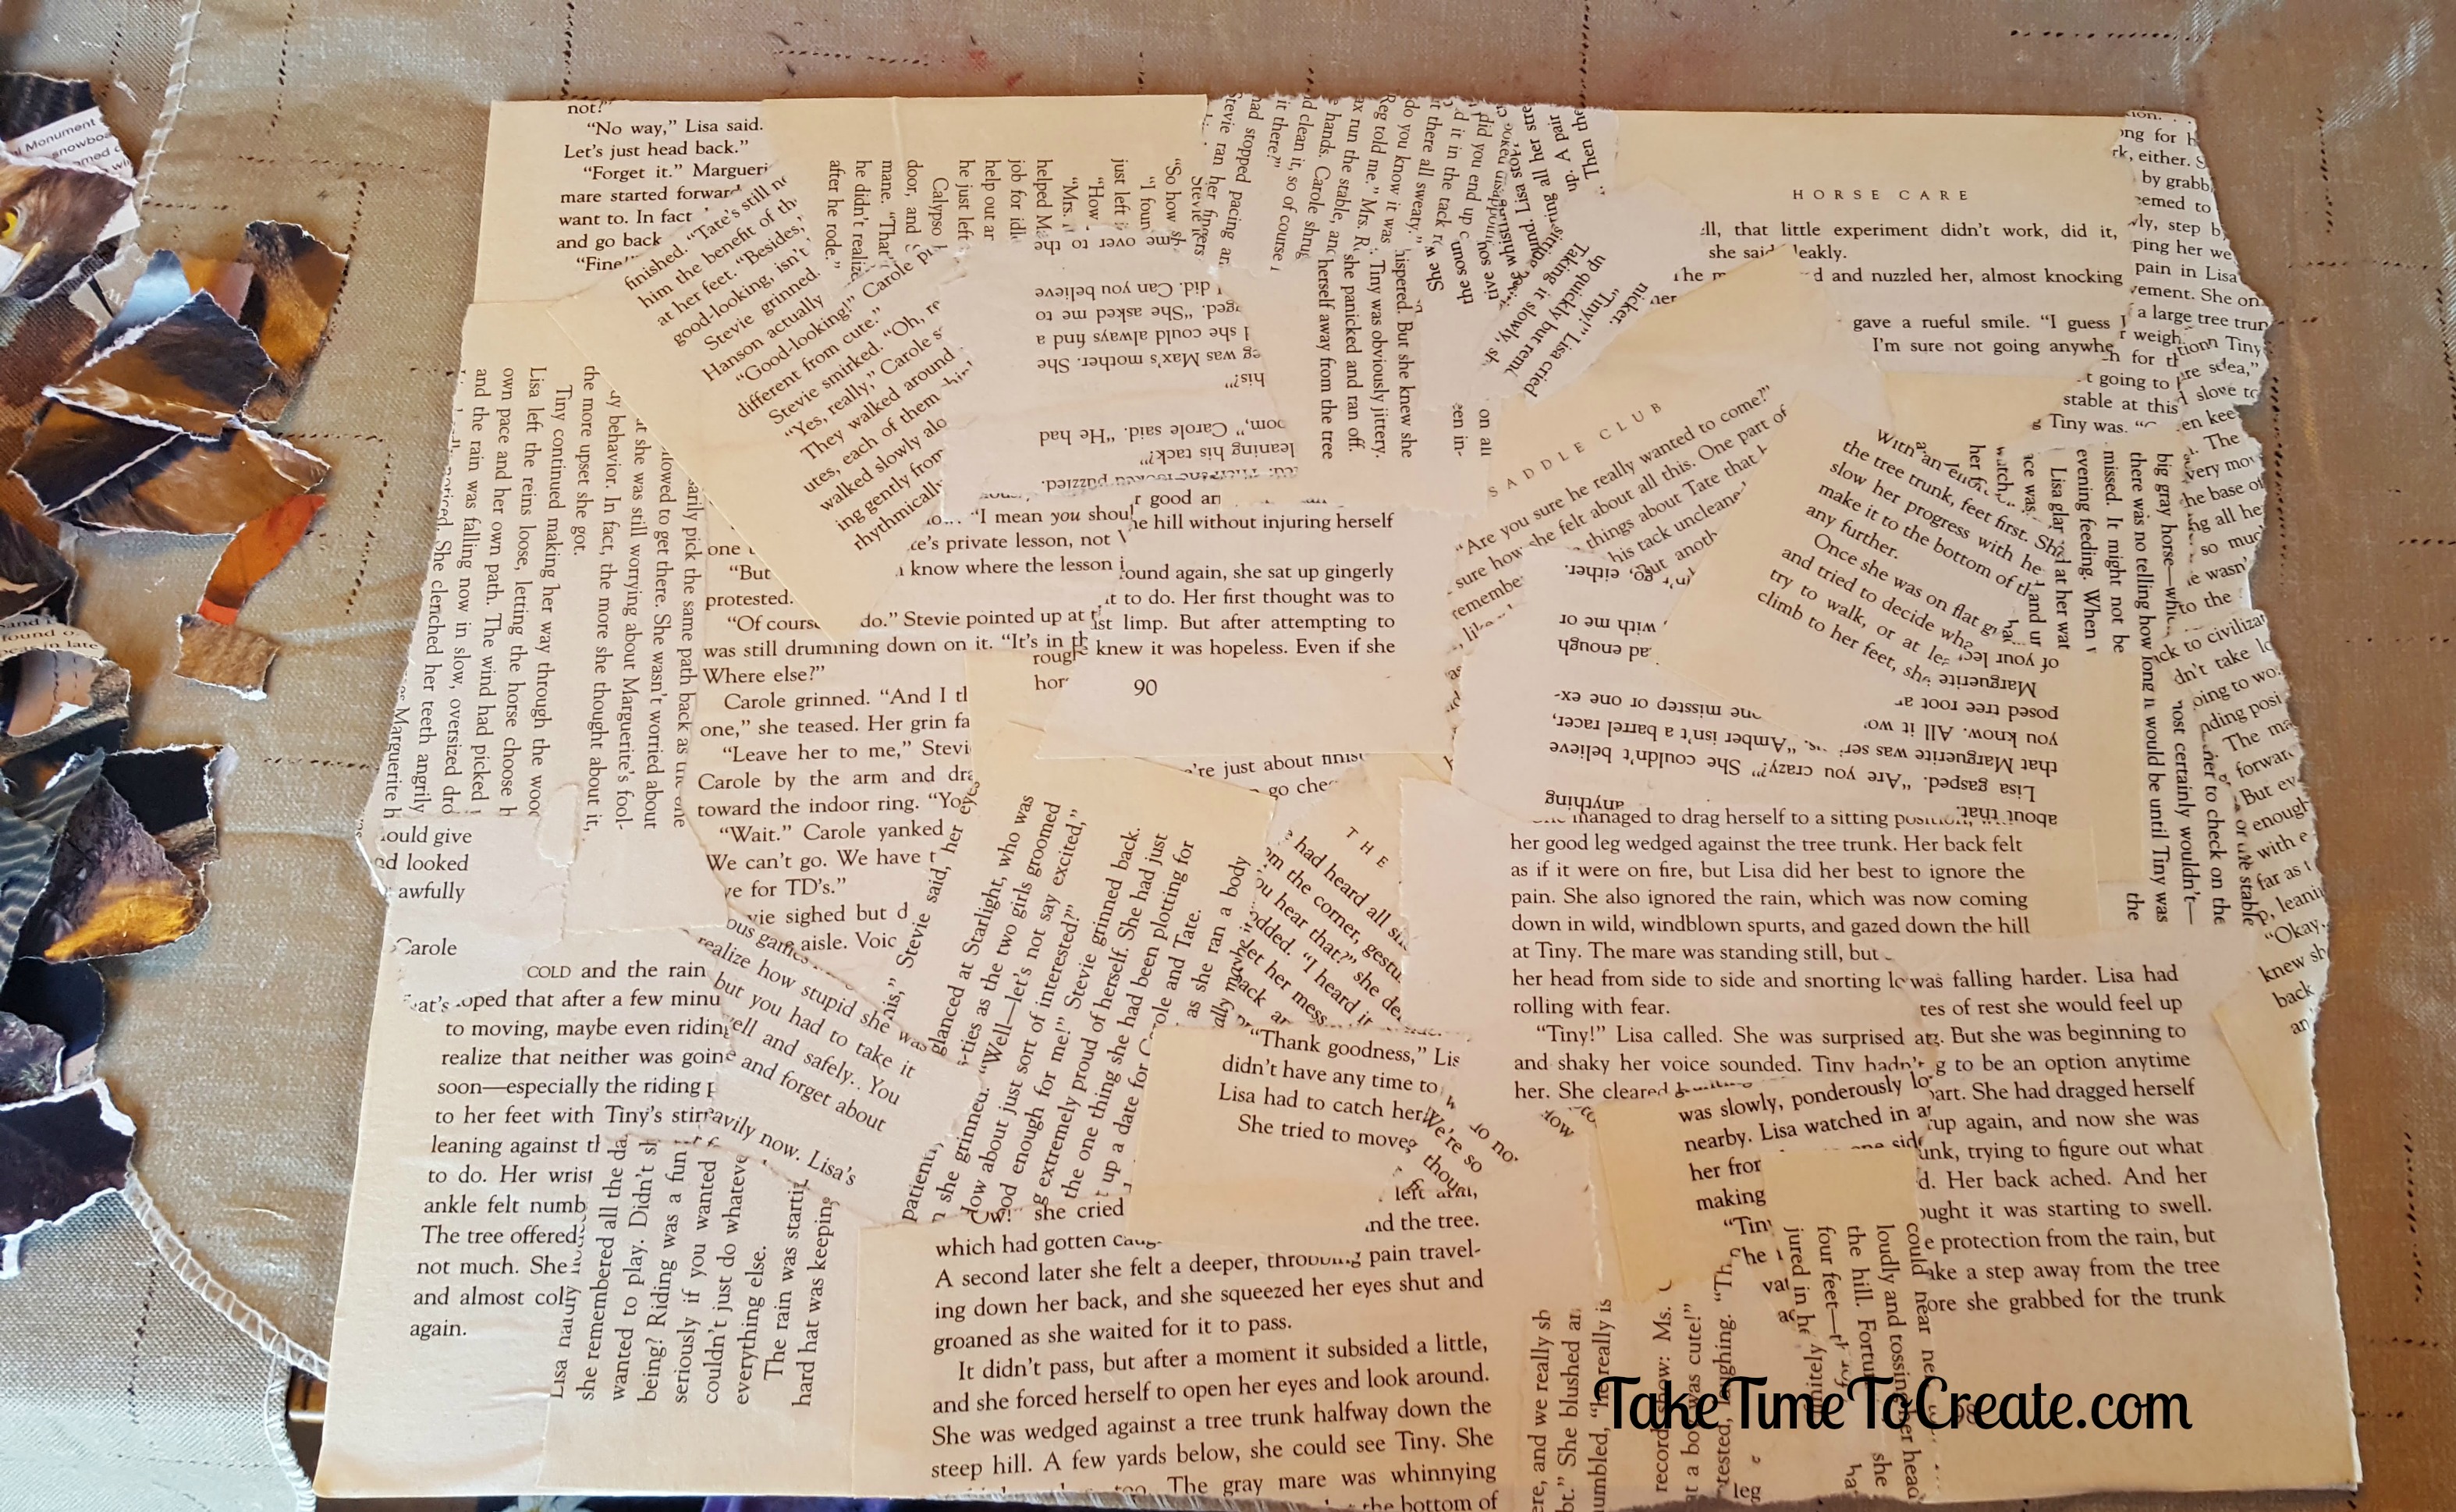
The first step is prepping the canvas board. She uses ripped up old books or magazines and Mod Podges them to the canvas. I love how this creates texture and interest in the first layer.

For the rocky cliff that my lighthouse is standing on I ripped up old magazines and attached them with Mod Podge. The ripping of magazines and books is awesome. I love how it enhances the paintings. This is something that I don’t in my paintings.
But before I added the rocks I first painted the sky blue. I didn’t want to cover all the book pages so I lightly swirled on a couple of colors in acrylic paint and wiped off some with a paper towel. Then I added the rocks.
I drew the lighthouse! I am actually pretty excited about that. It isn’t perfect, but it was my first time drawing one! Tara was very encouraging and supportive when I told her I was going to draw the lighthouse!
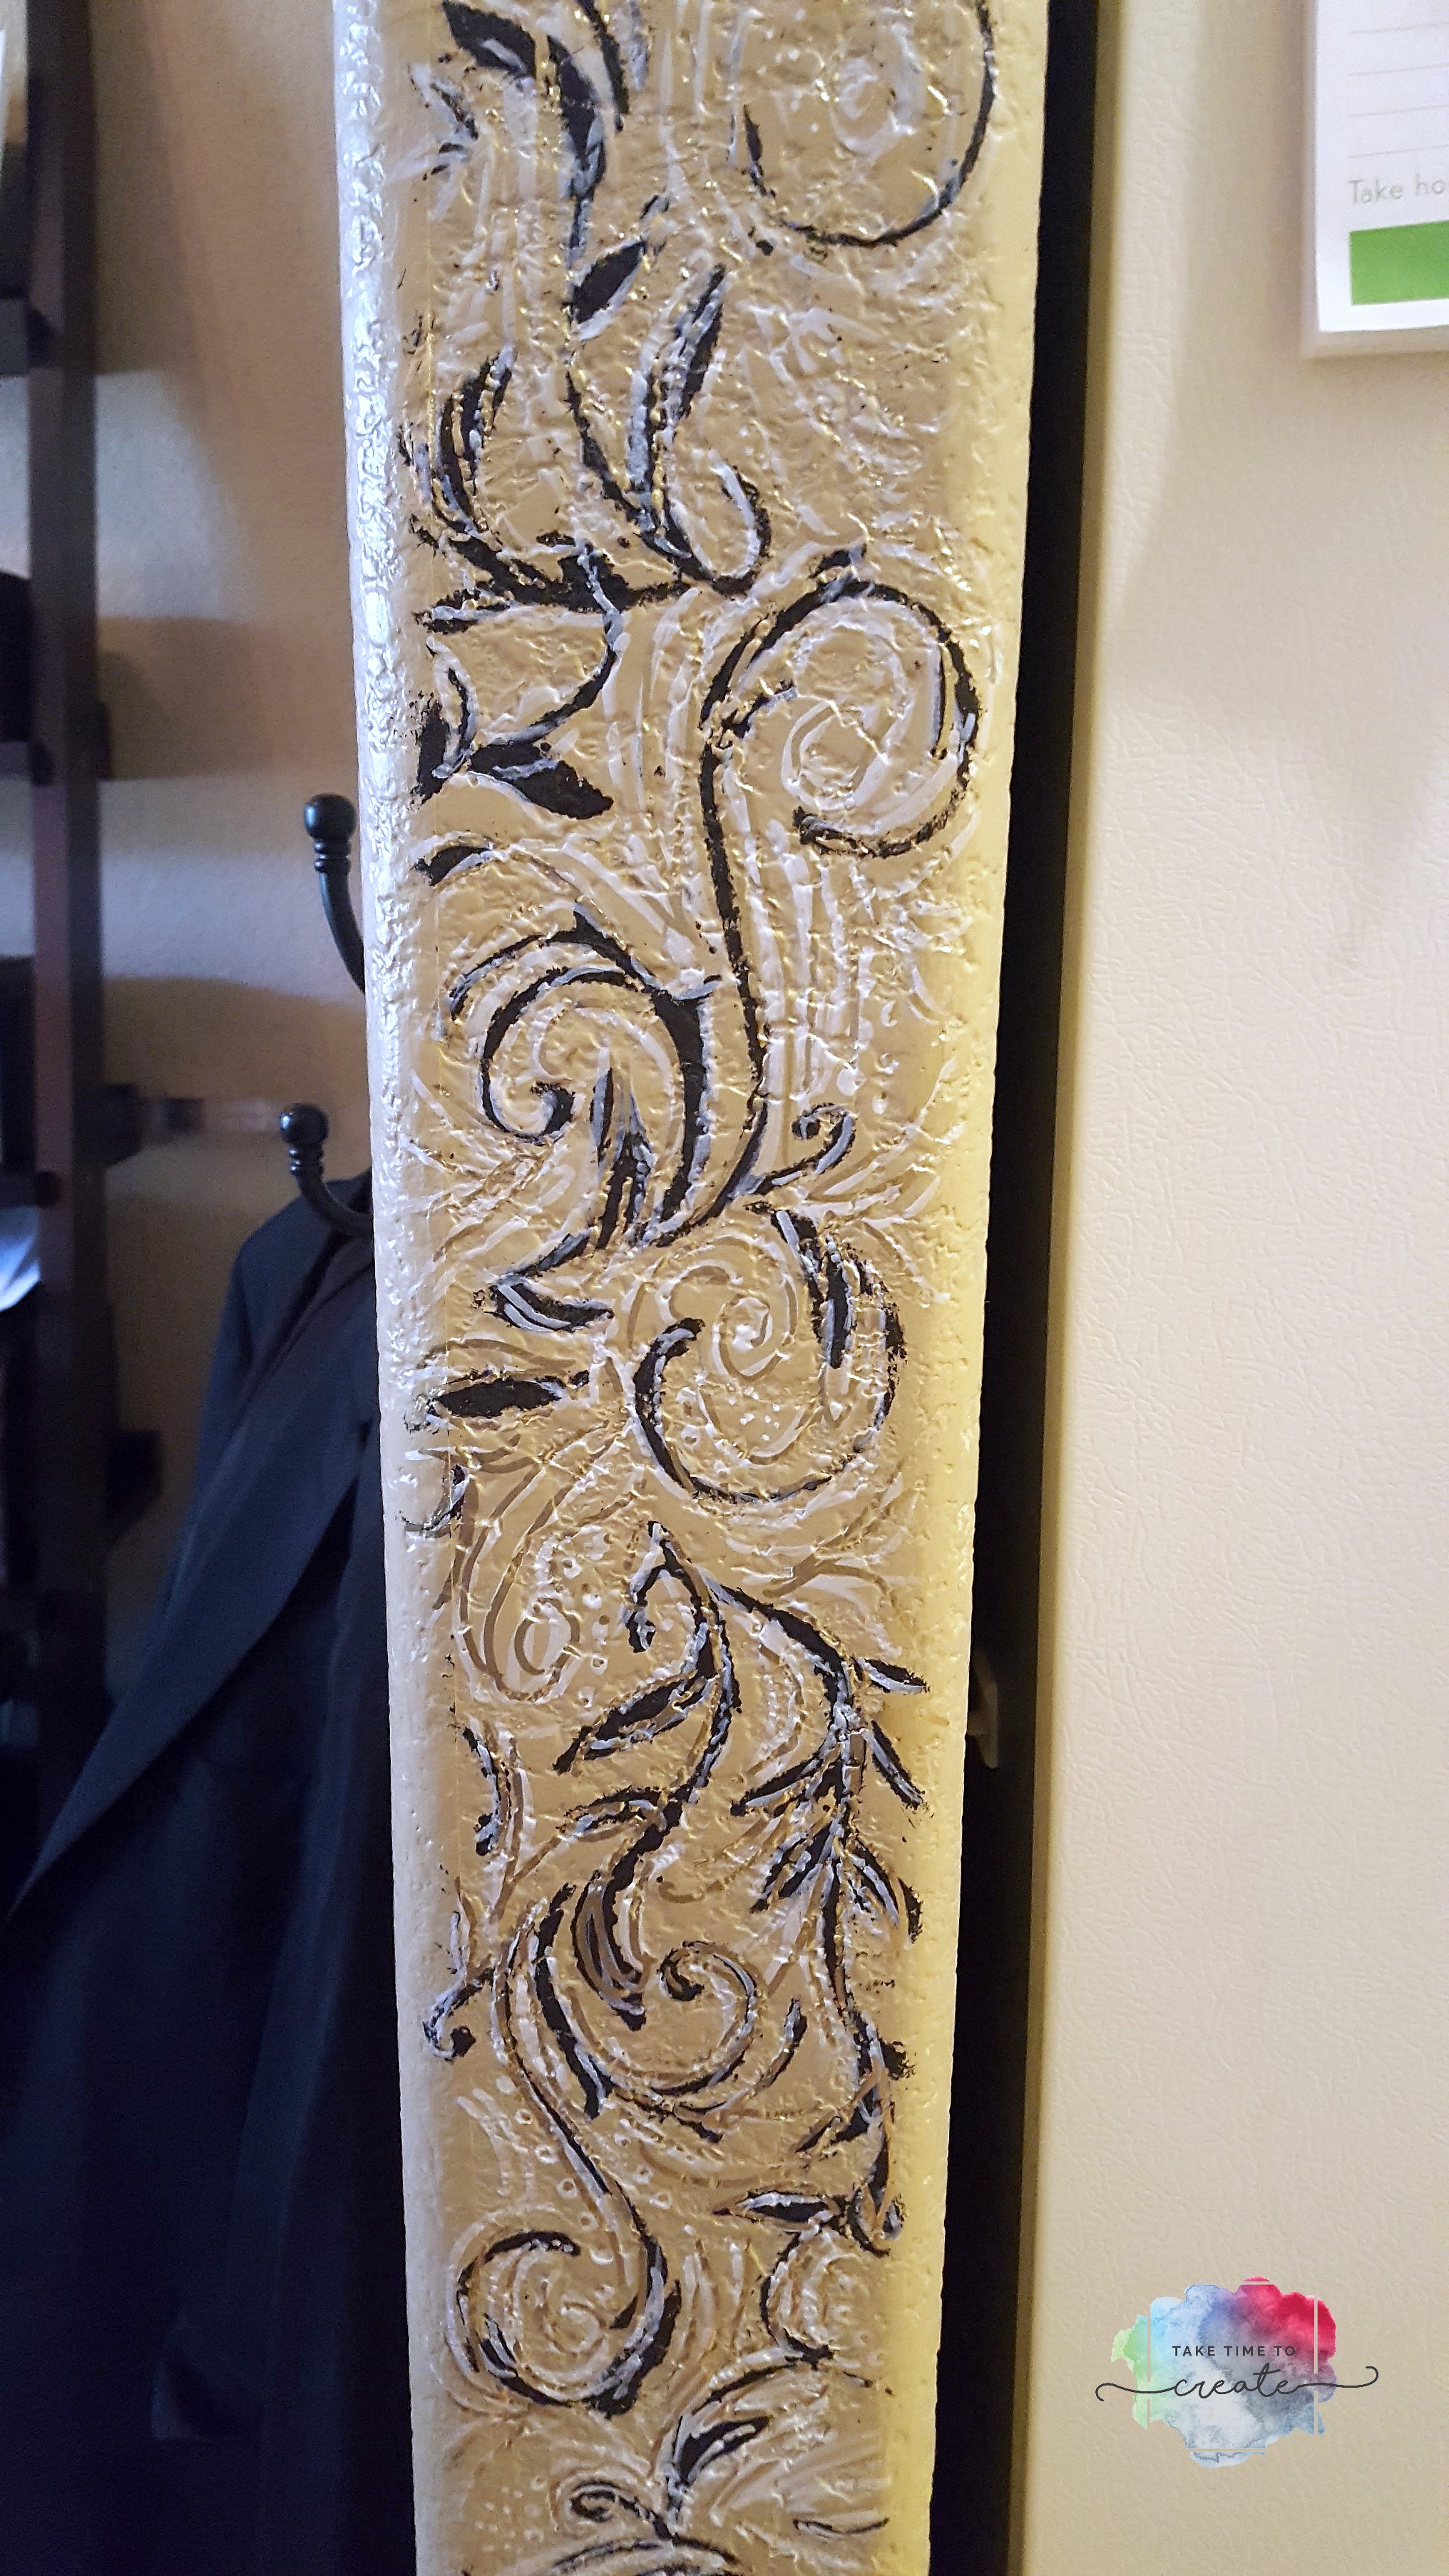
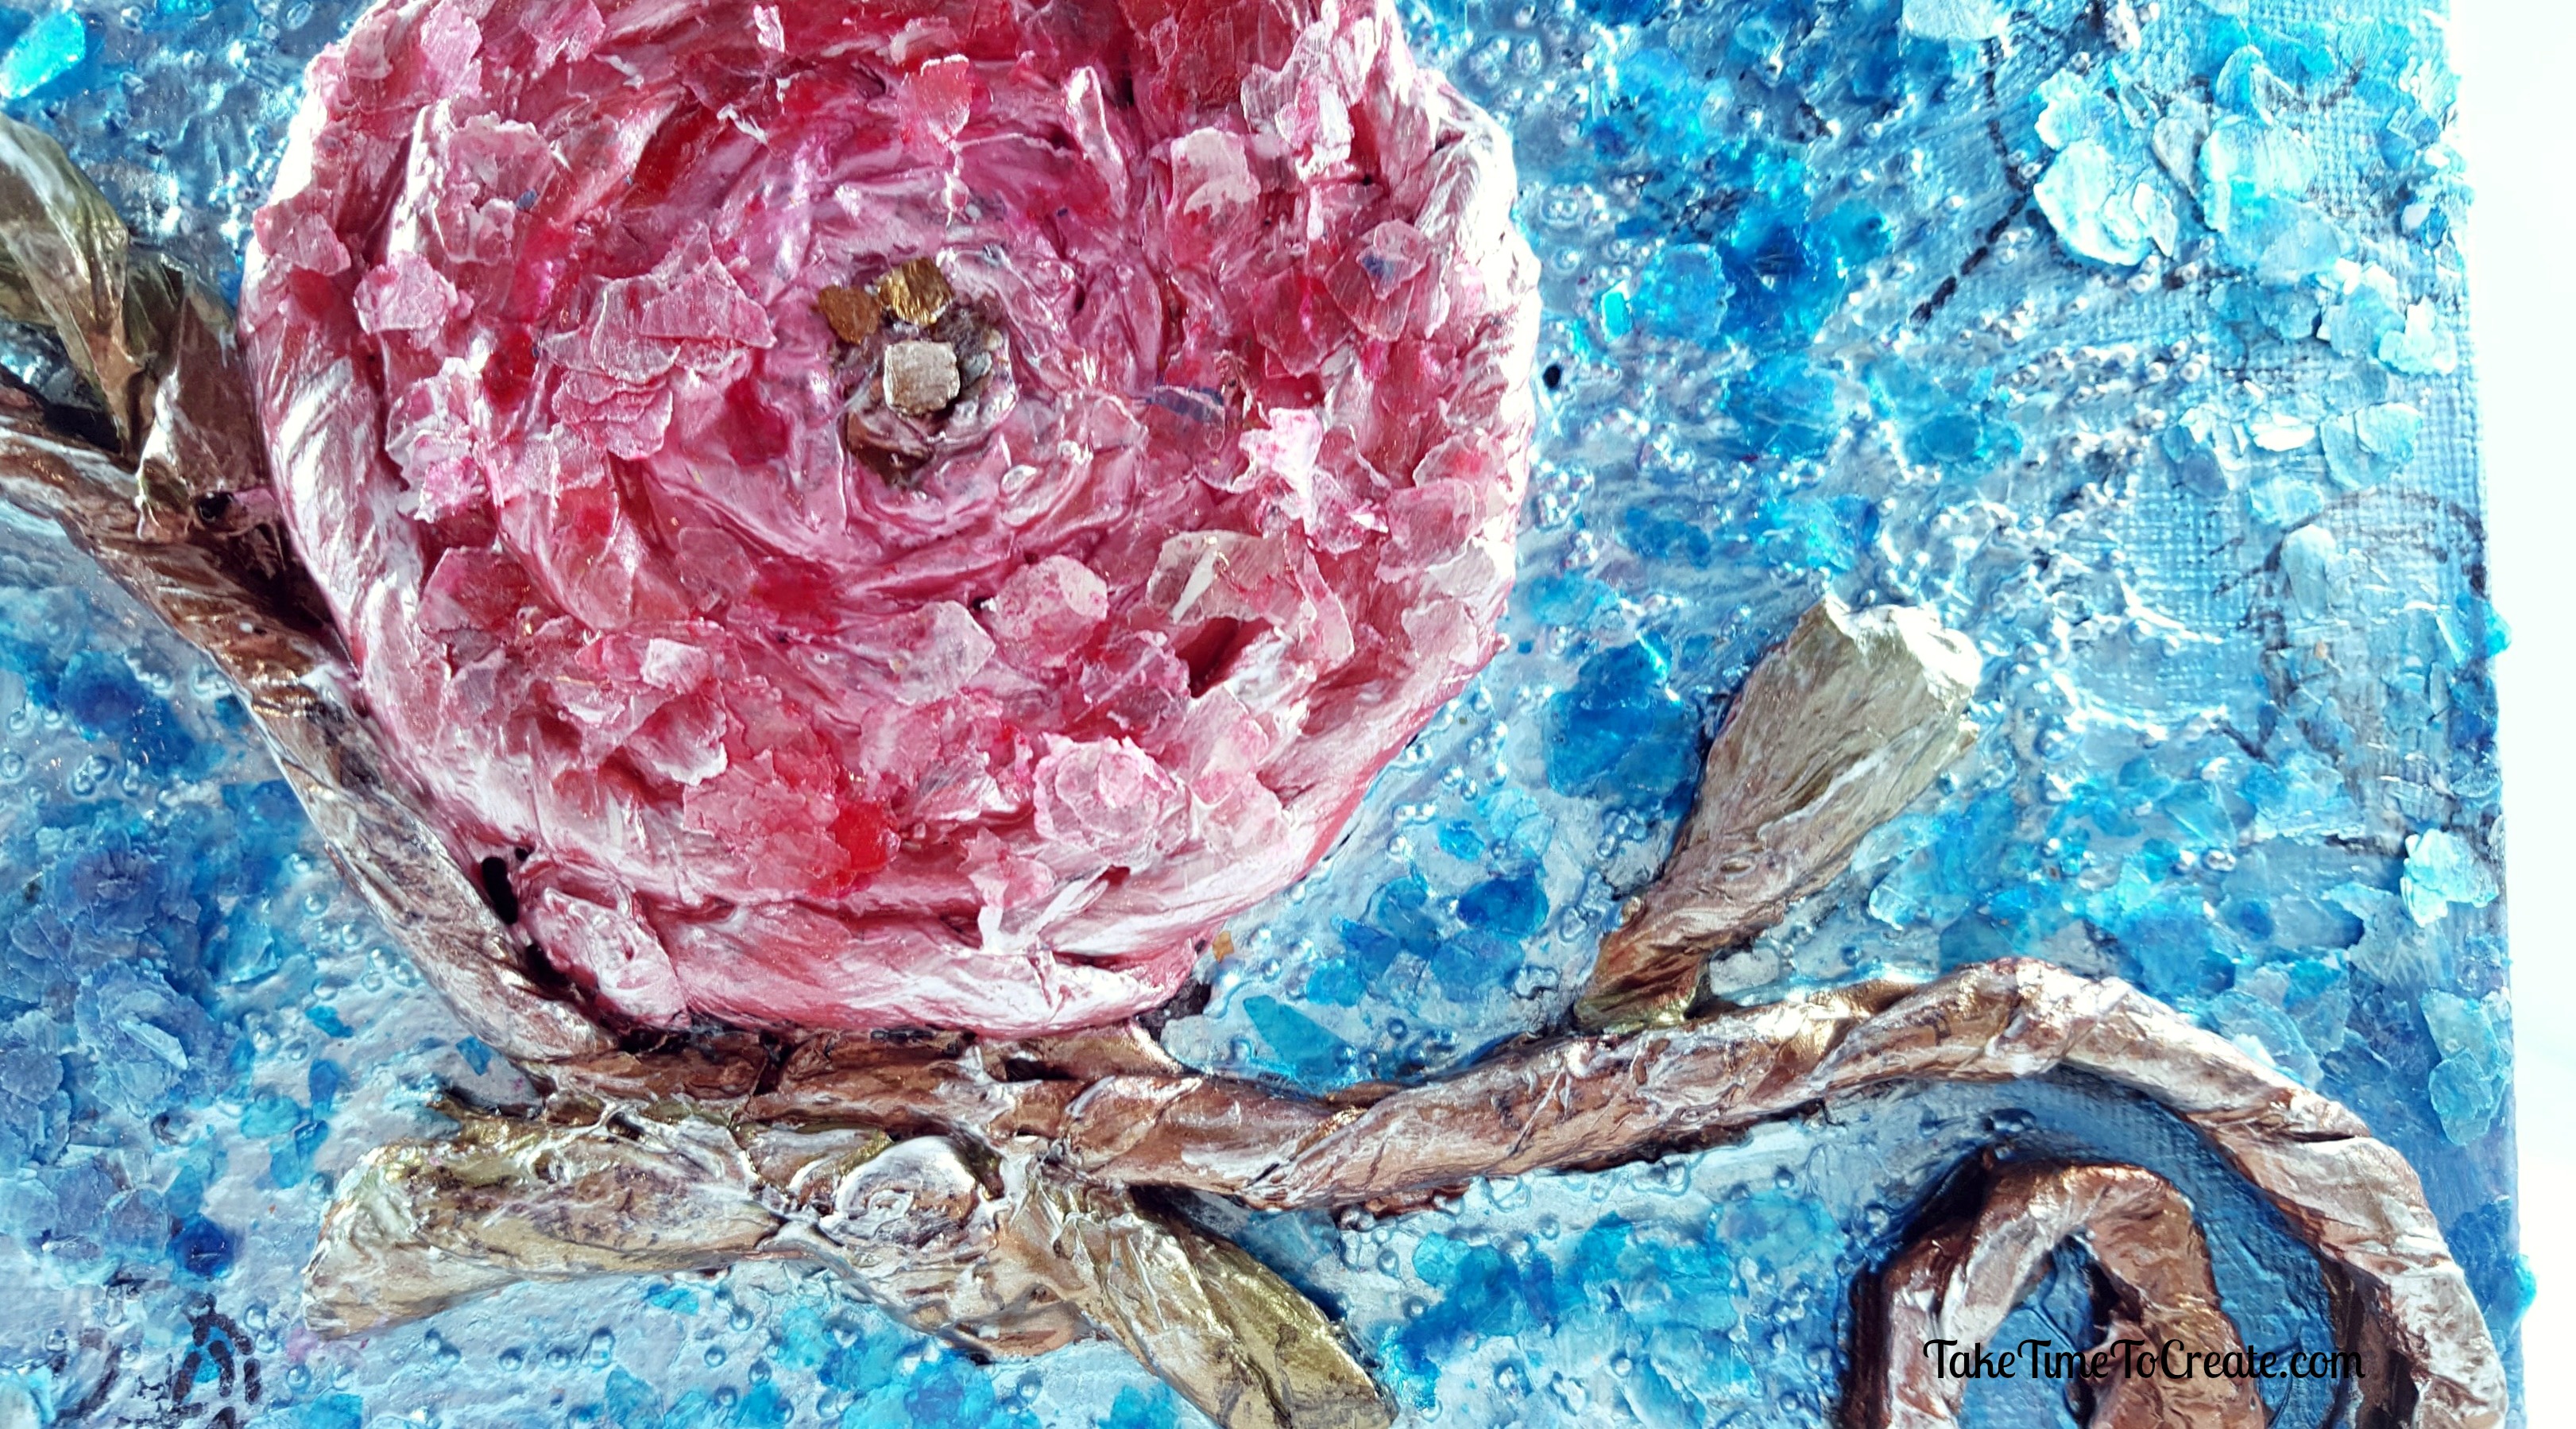
Then I painted the lighthouse and then added the light coming from the lighthouse. That is just cut up magazines. The swirls were added with a paint marker. The bear the boat is one of Tara’s characters. She had some fantastic characters that we were able to use in our paintings, I love how generous she is with her work and time. After painted the bear he was the perfect addition. I really love how this turned out.

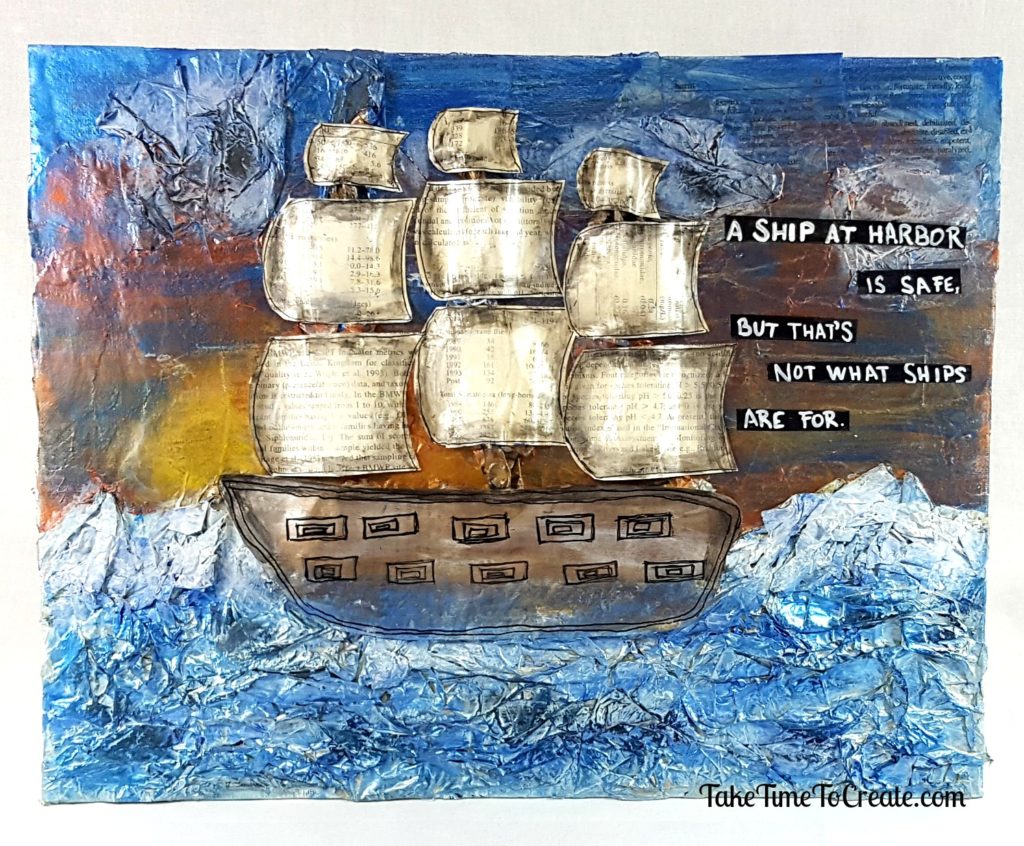
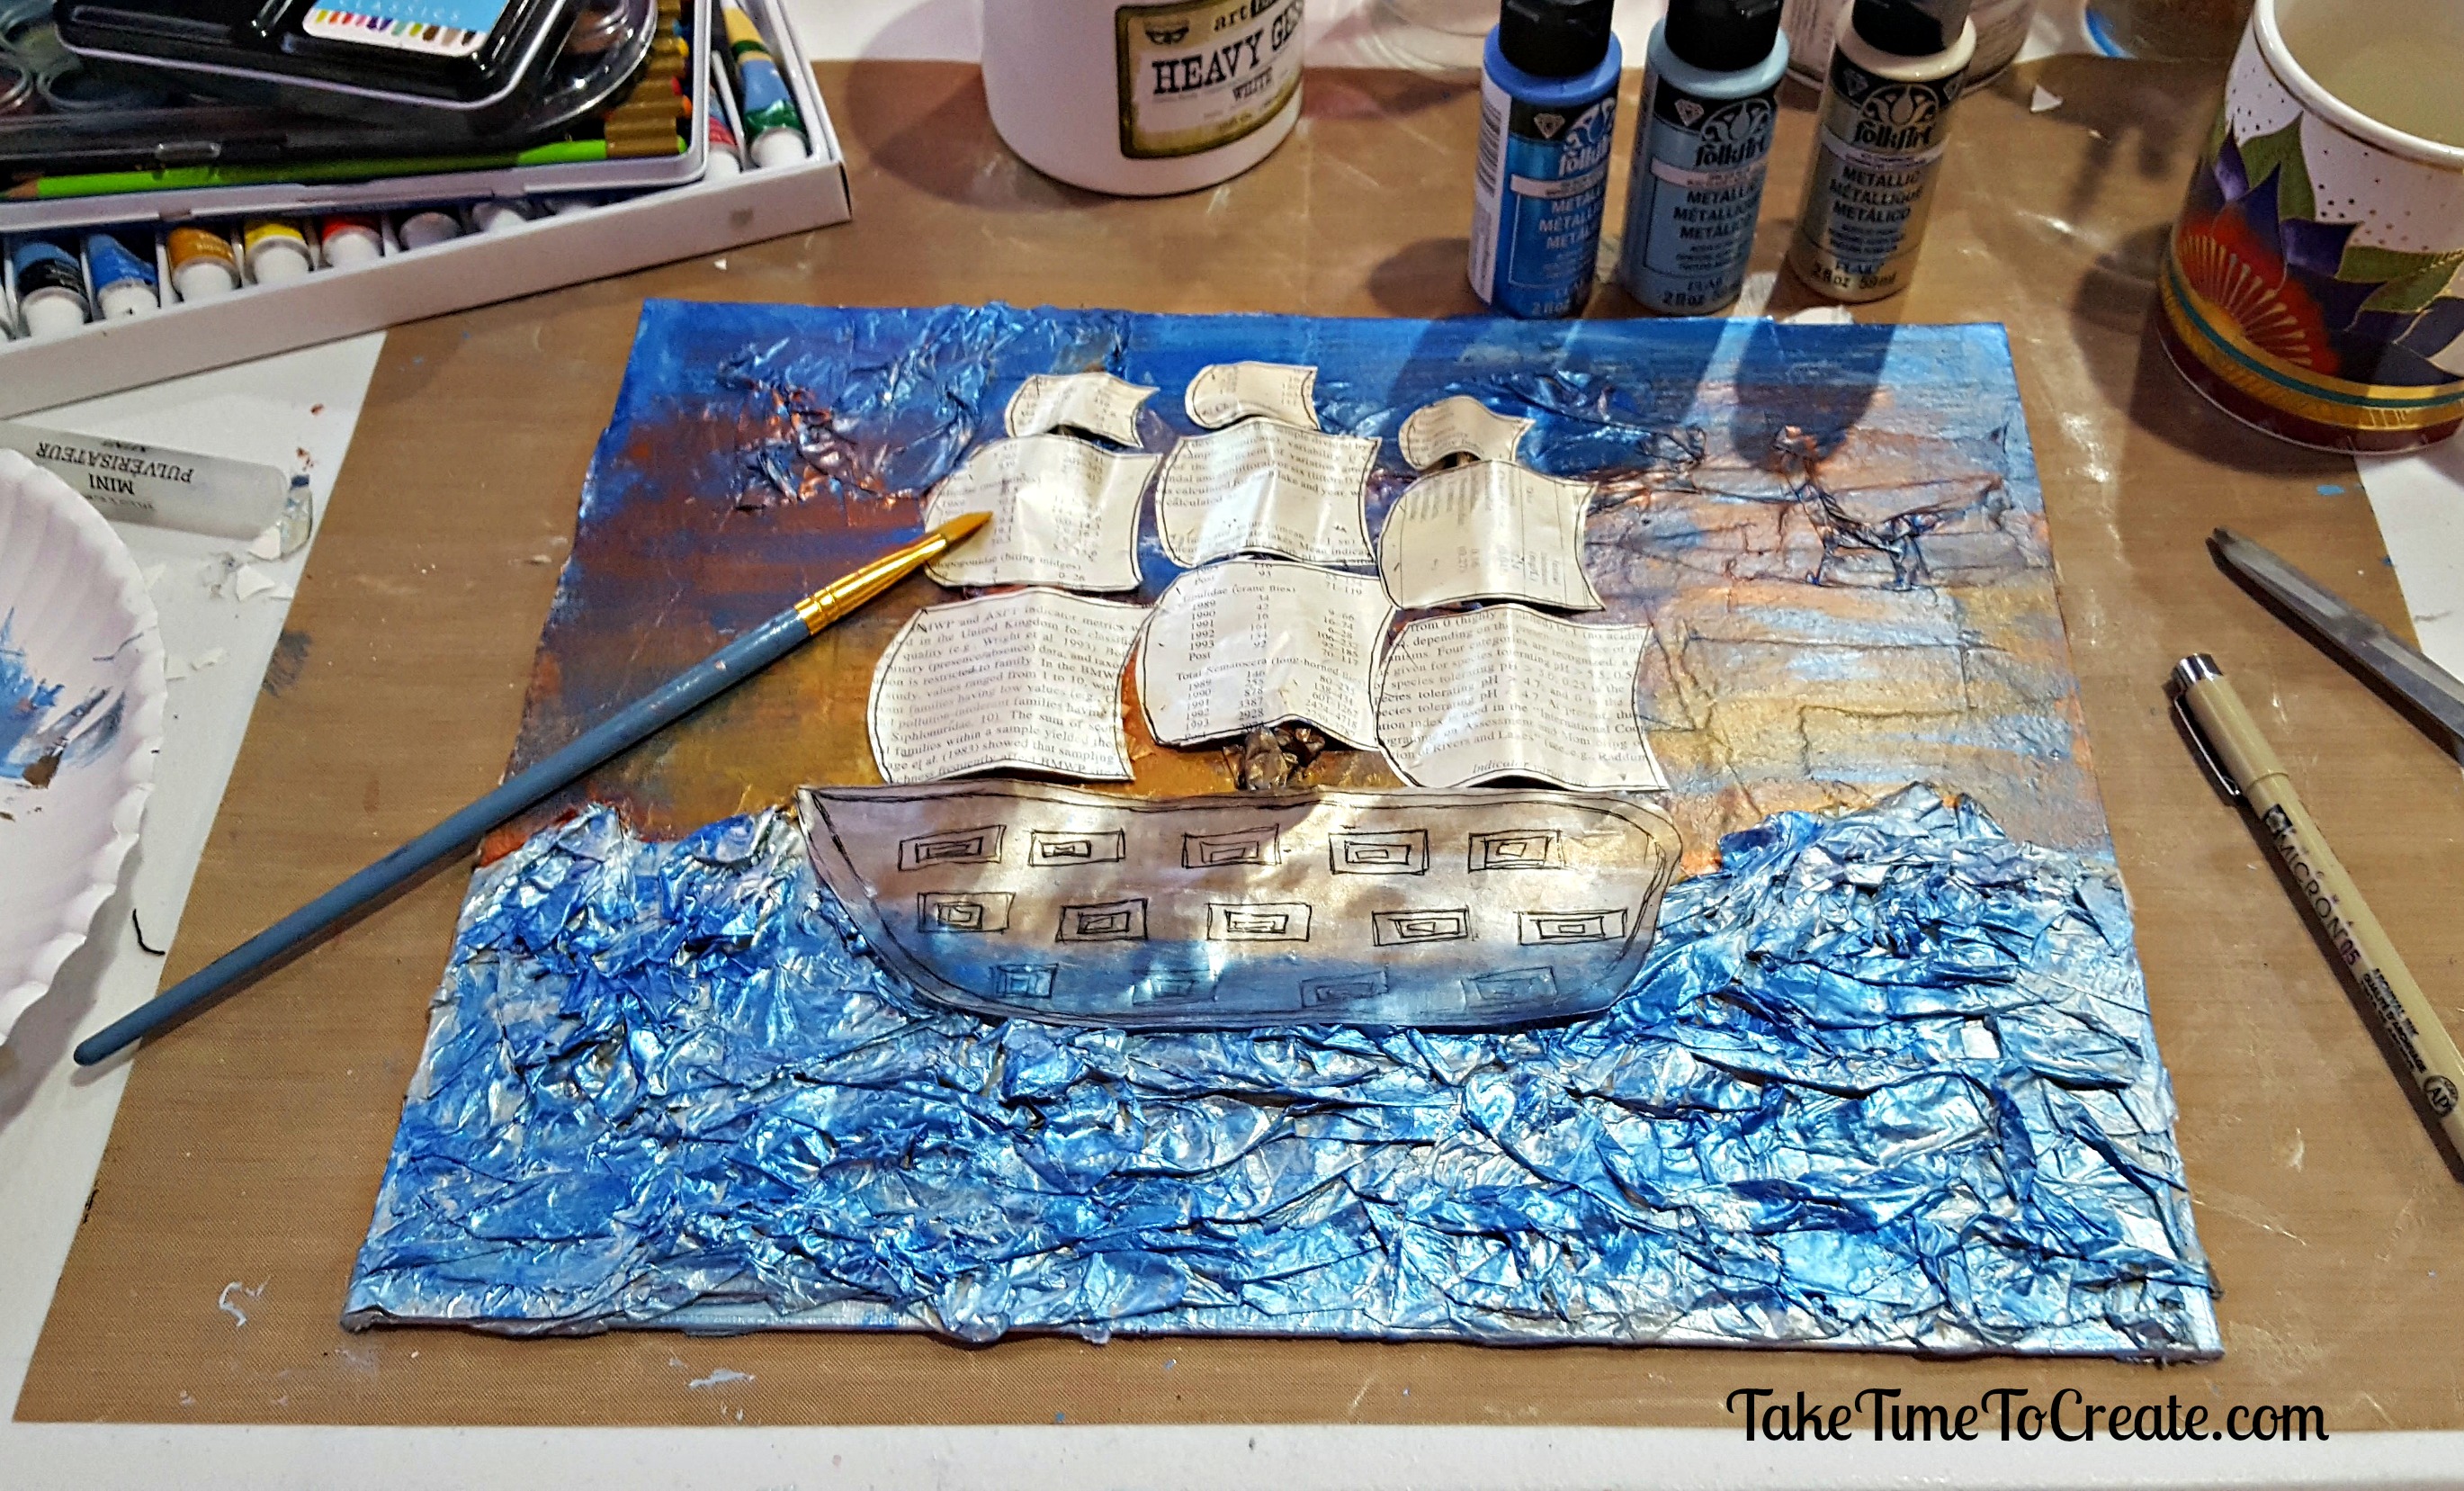
Ahh the ship, let me tell you a little story about this painting, haha. This was actually my first painting. She taught us about the ripping of book pages, then she mentioned that we can make texture and water, then I was off, haha. I just went to town making this ship. This is the only in progress pic I took, sorry about that.
The water is made from the tissue paper in old patterns, and I just painted over it. The sky is painted with acrylic paint and blended. The ship is drawn on old books (my first time drawing a ship!) and painted with metallic paints. In fact the whole drawing is done with metallic paints.
Even though it looks nothing like what Tara was teaching us, she was so supportive and encouraging for me to just keep on doing my thing!

I added the quote and I am very happy with how it turned out. Such a great class and I love how all the paintings (not just my paintings, but all the students) turned out a little different.
So if you get a chance to take a class from Tara I highly encourage it! I learned a lot and I can’t wait to incorporate some of the new techniques into my art.
The post Mixed Media Class With Tara Pappas appeared first on Take Time To Create.
Like this:
Like Loading...

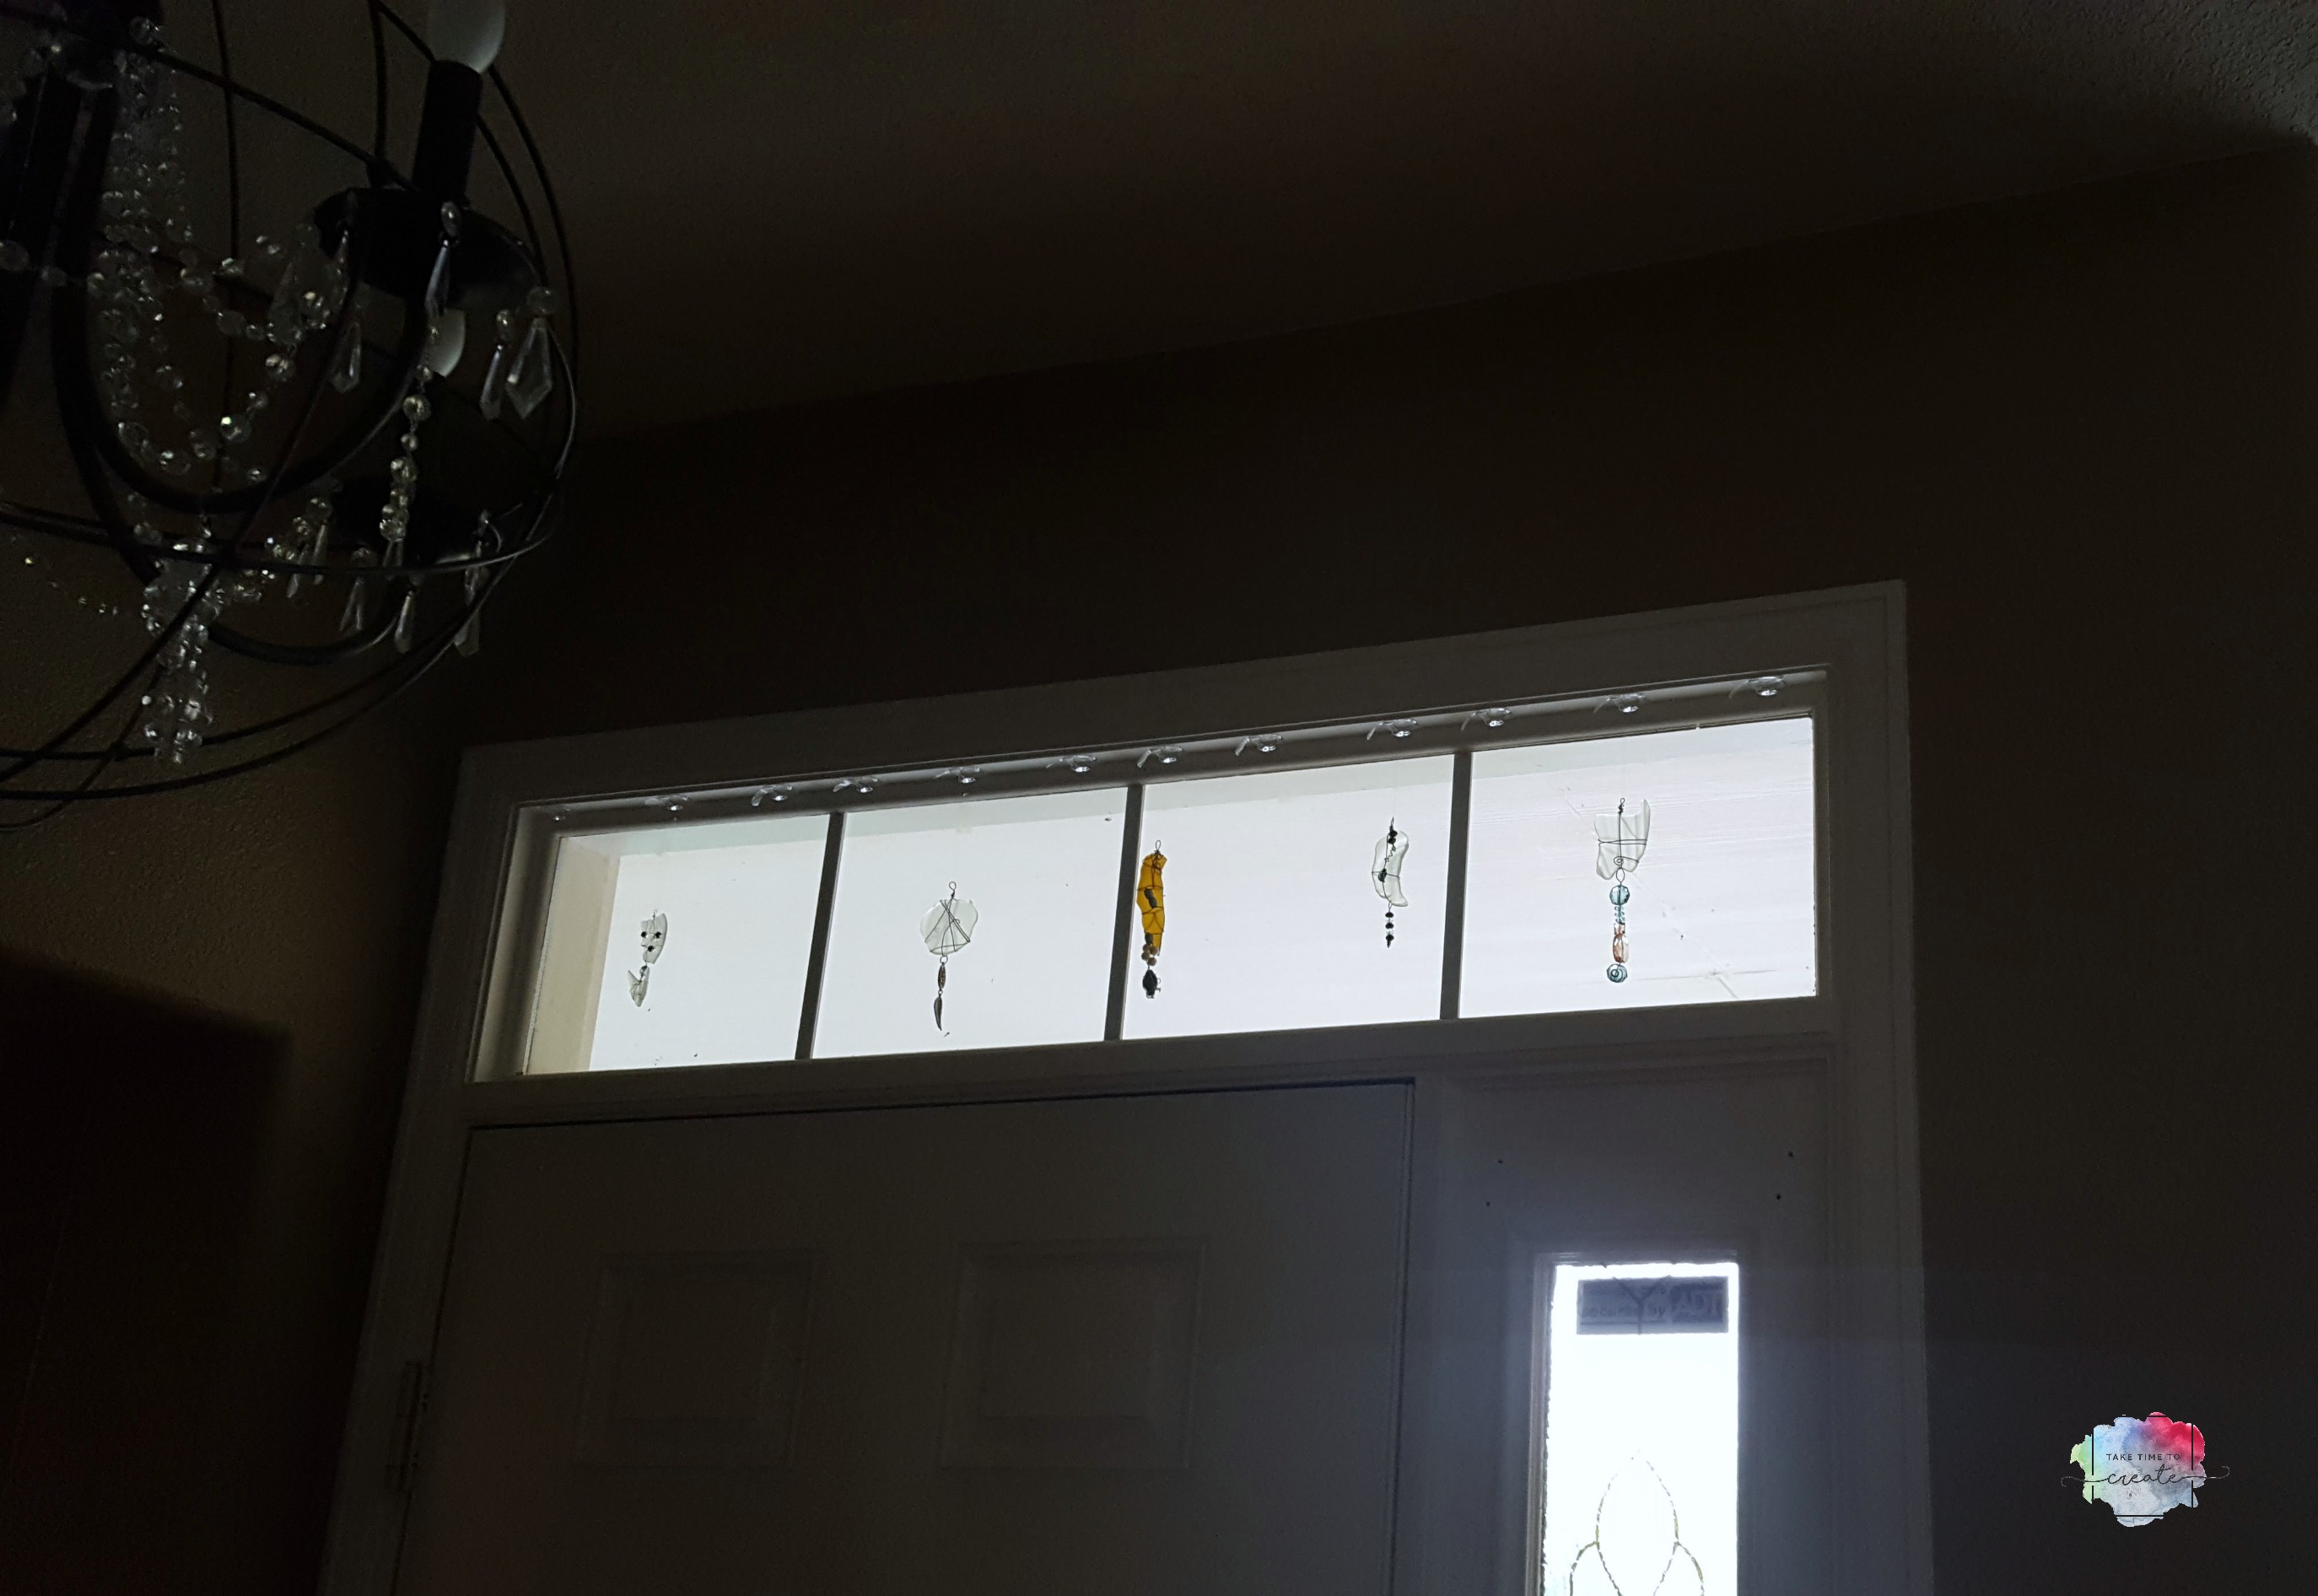
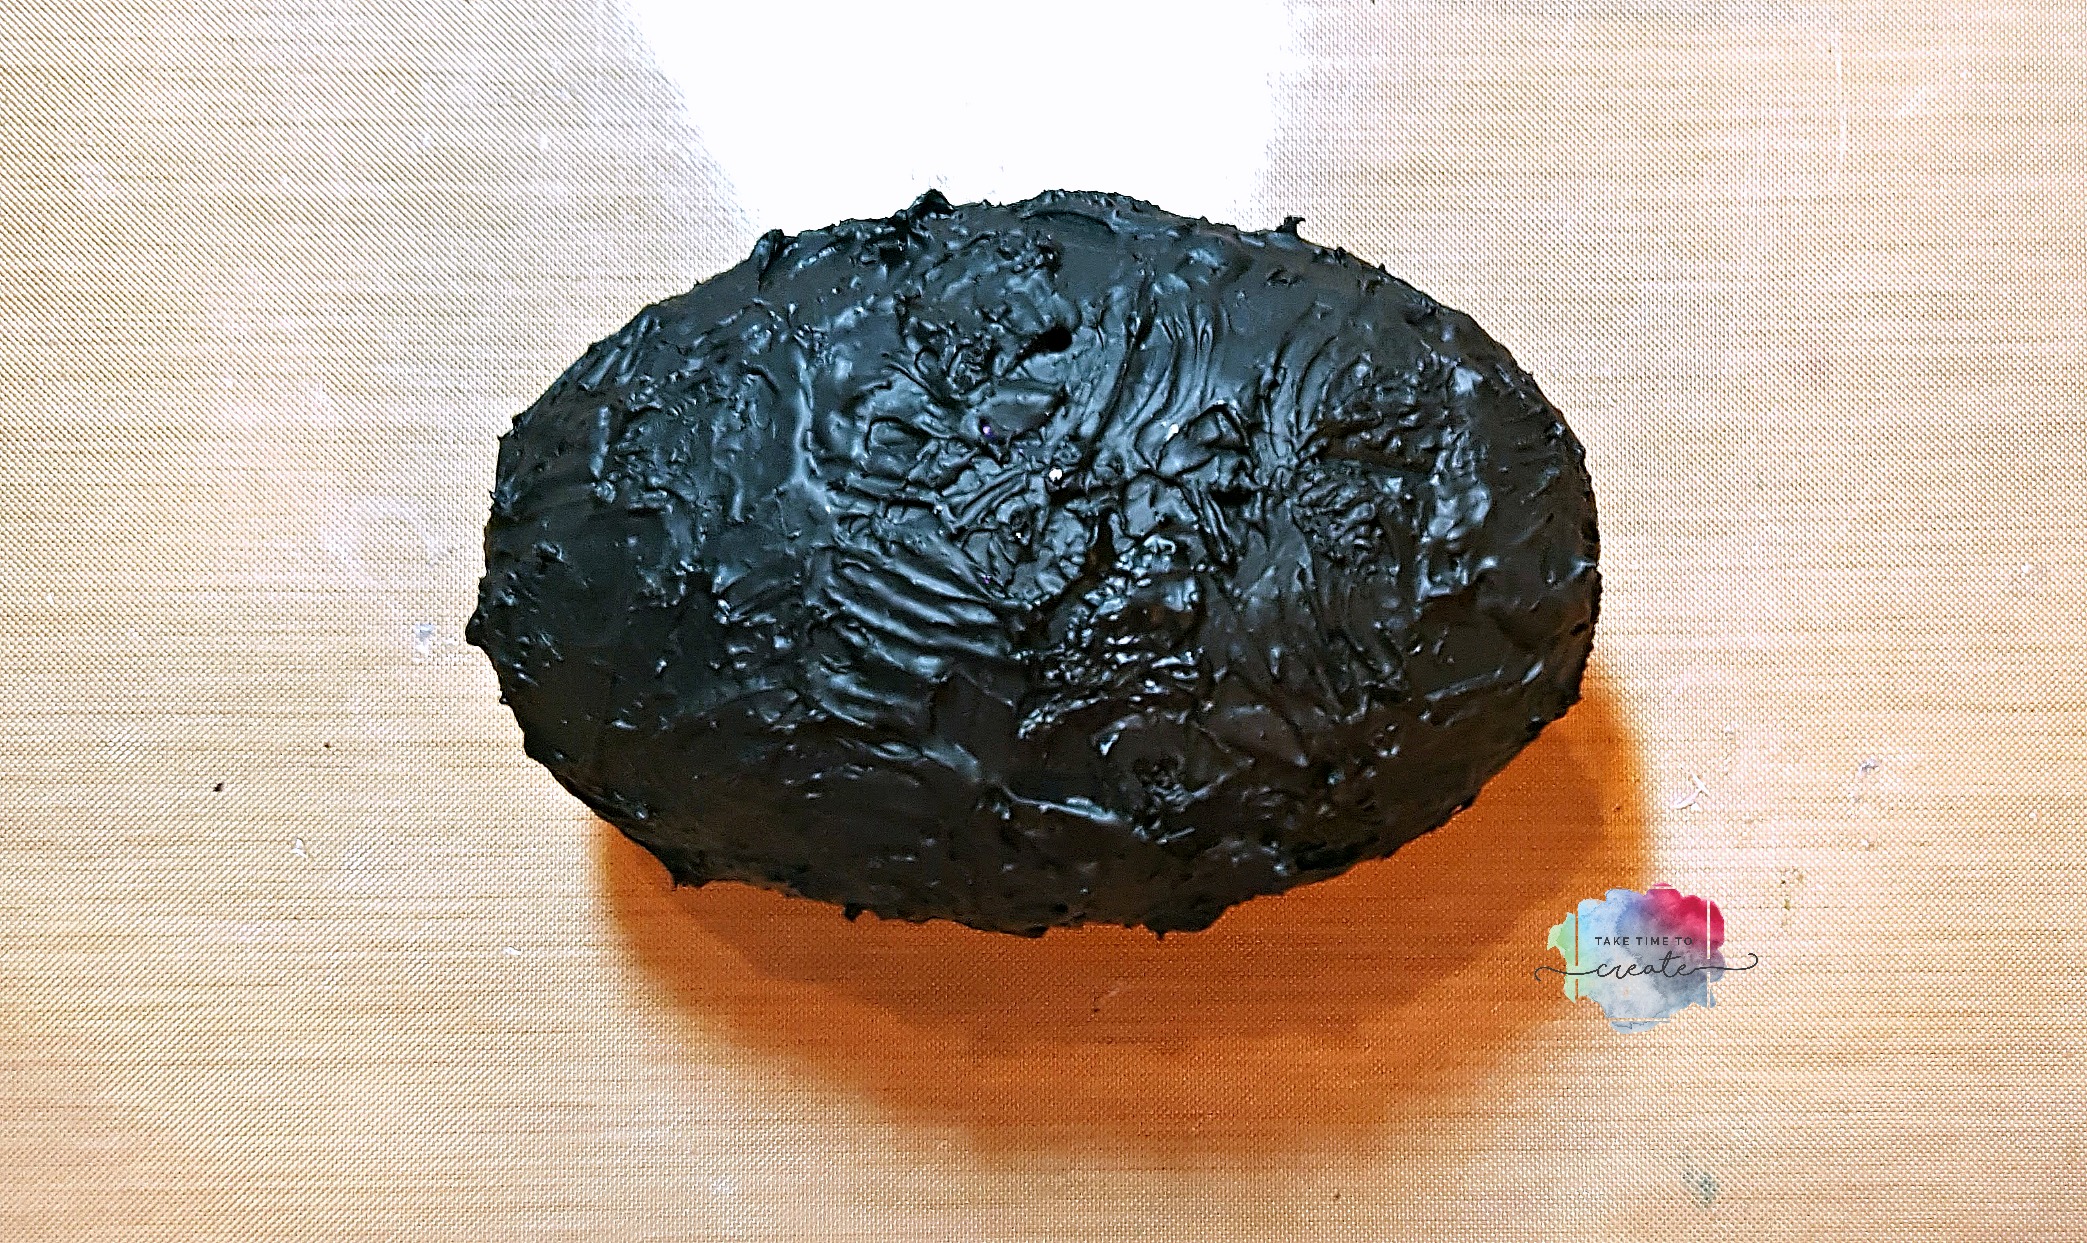
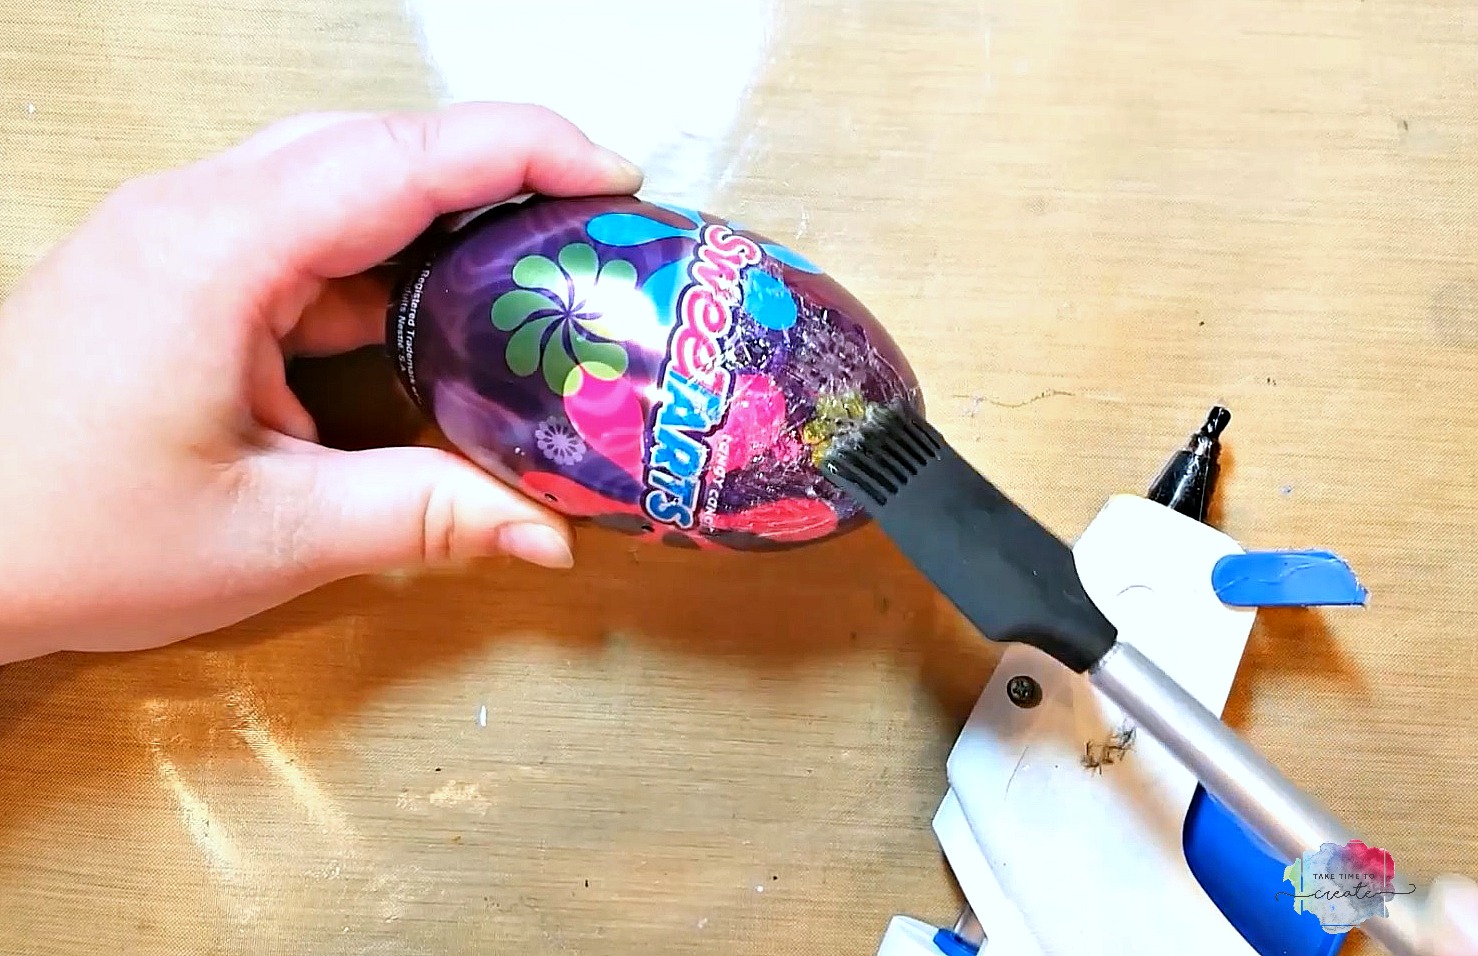
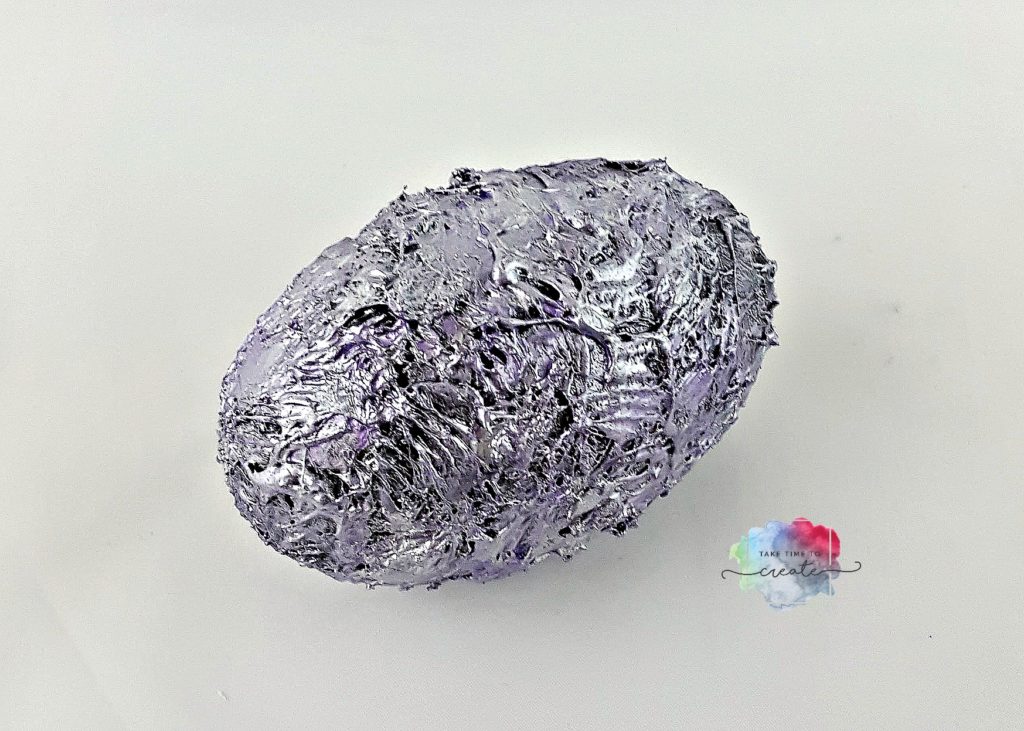
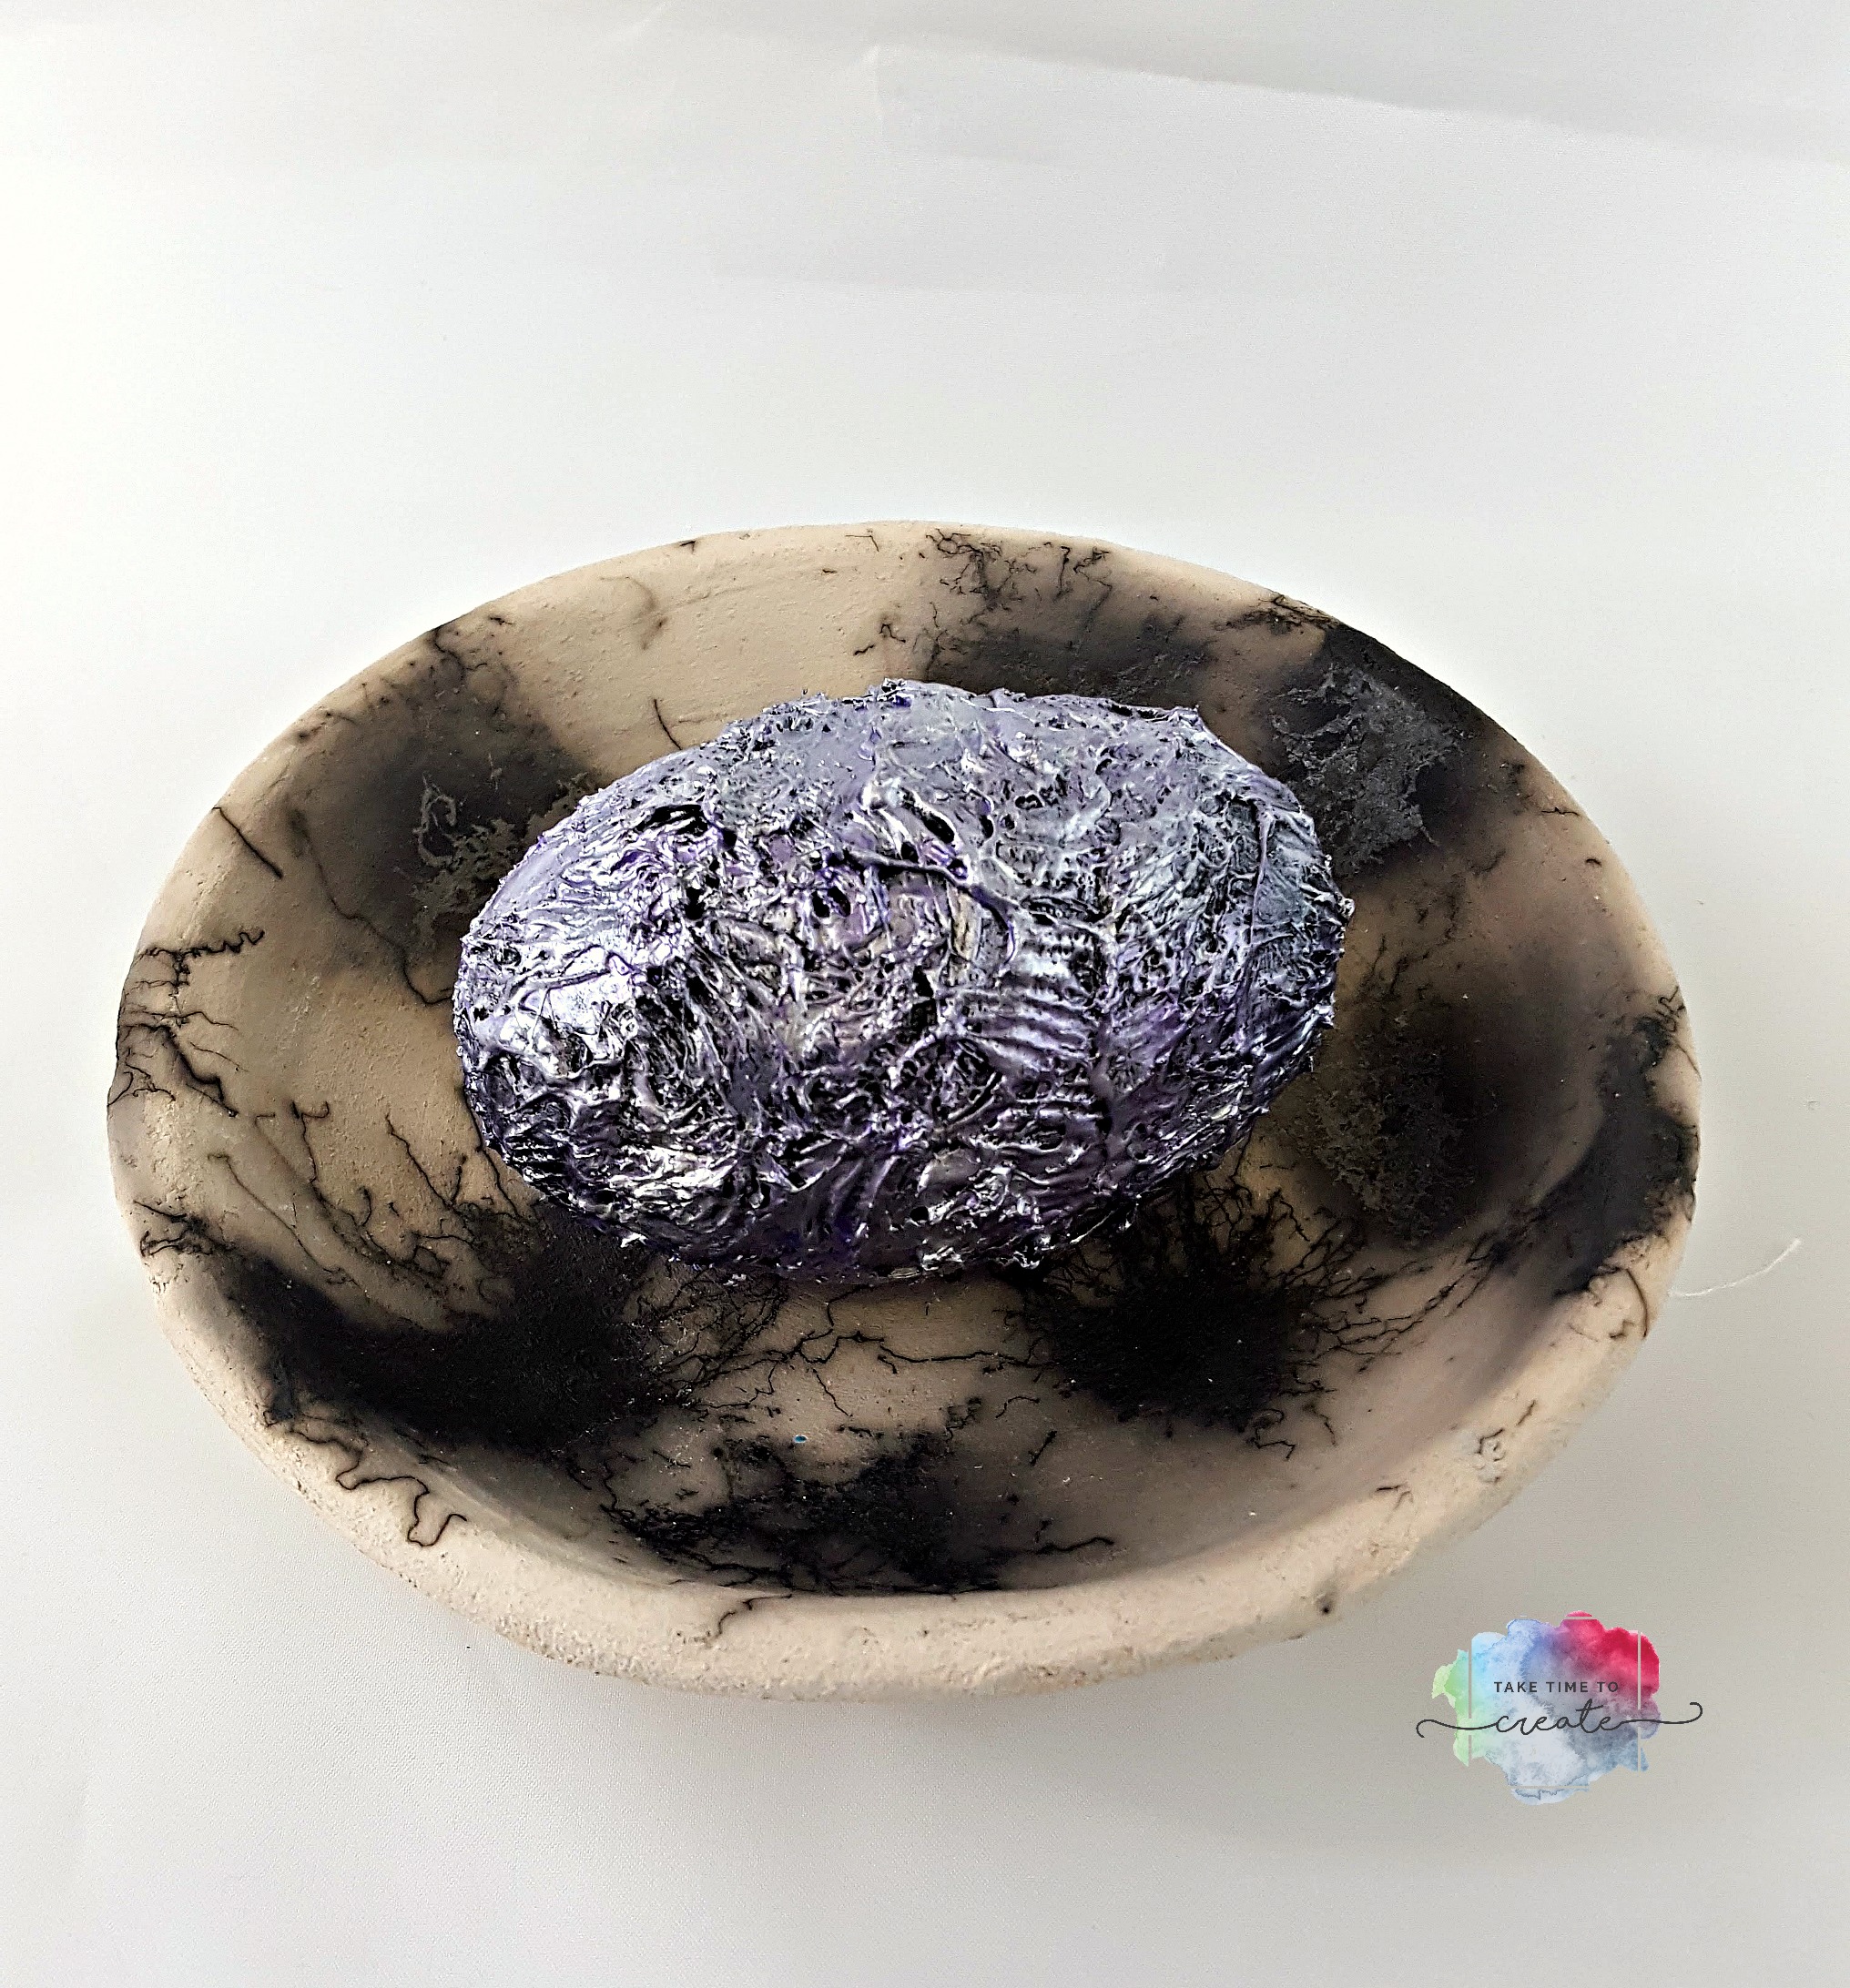
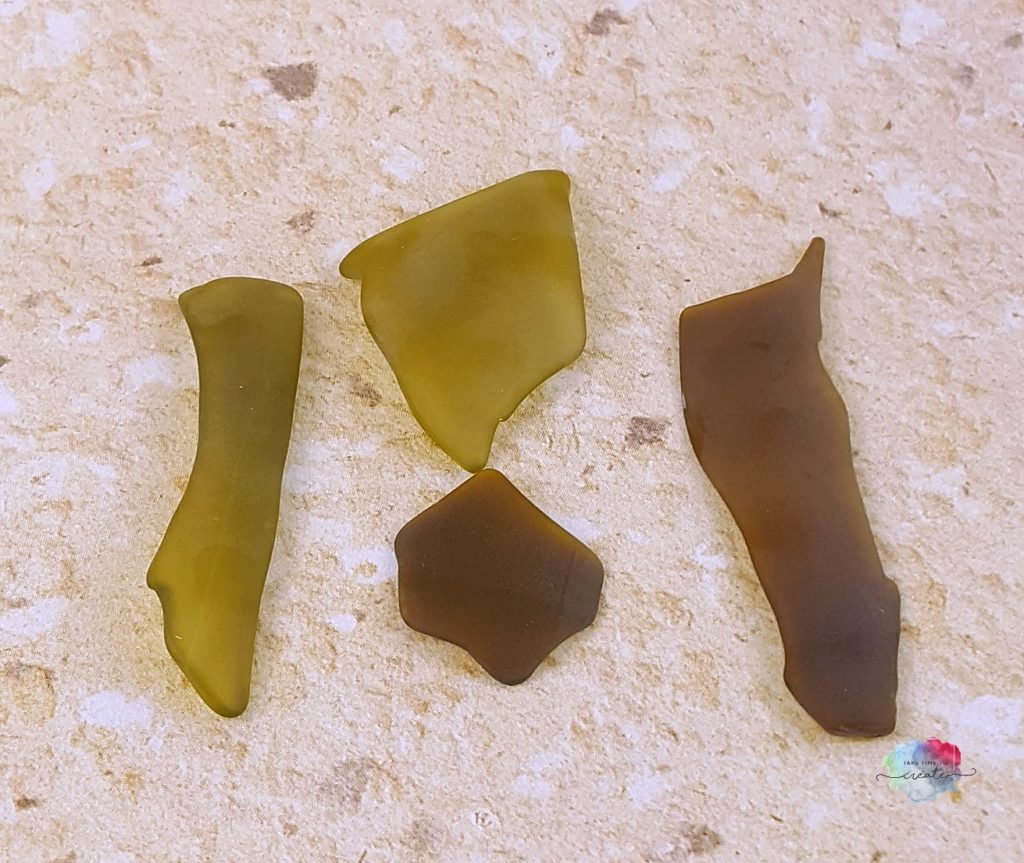 I decided that I needed to wrap them with wire and add beads and old pieces of jewelry to make window dangles. (I will post a tutorial on how I made these)
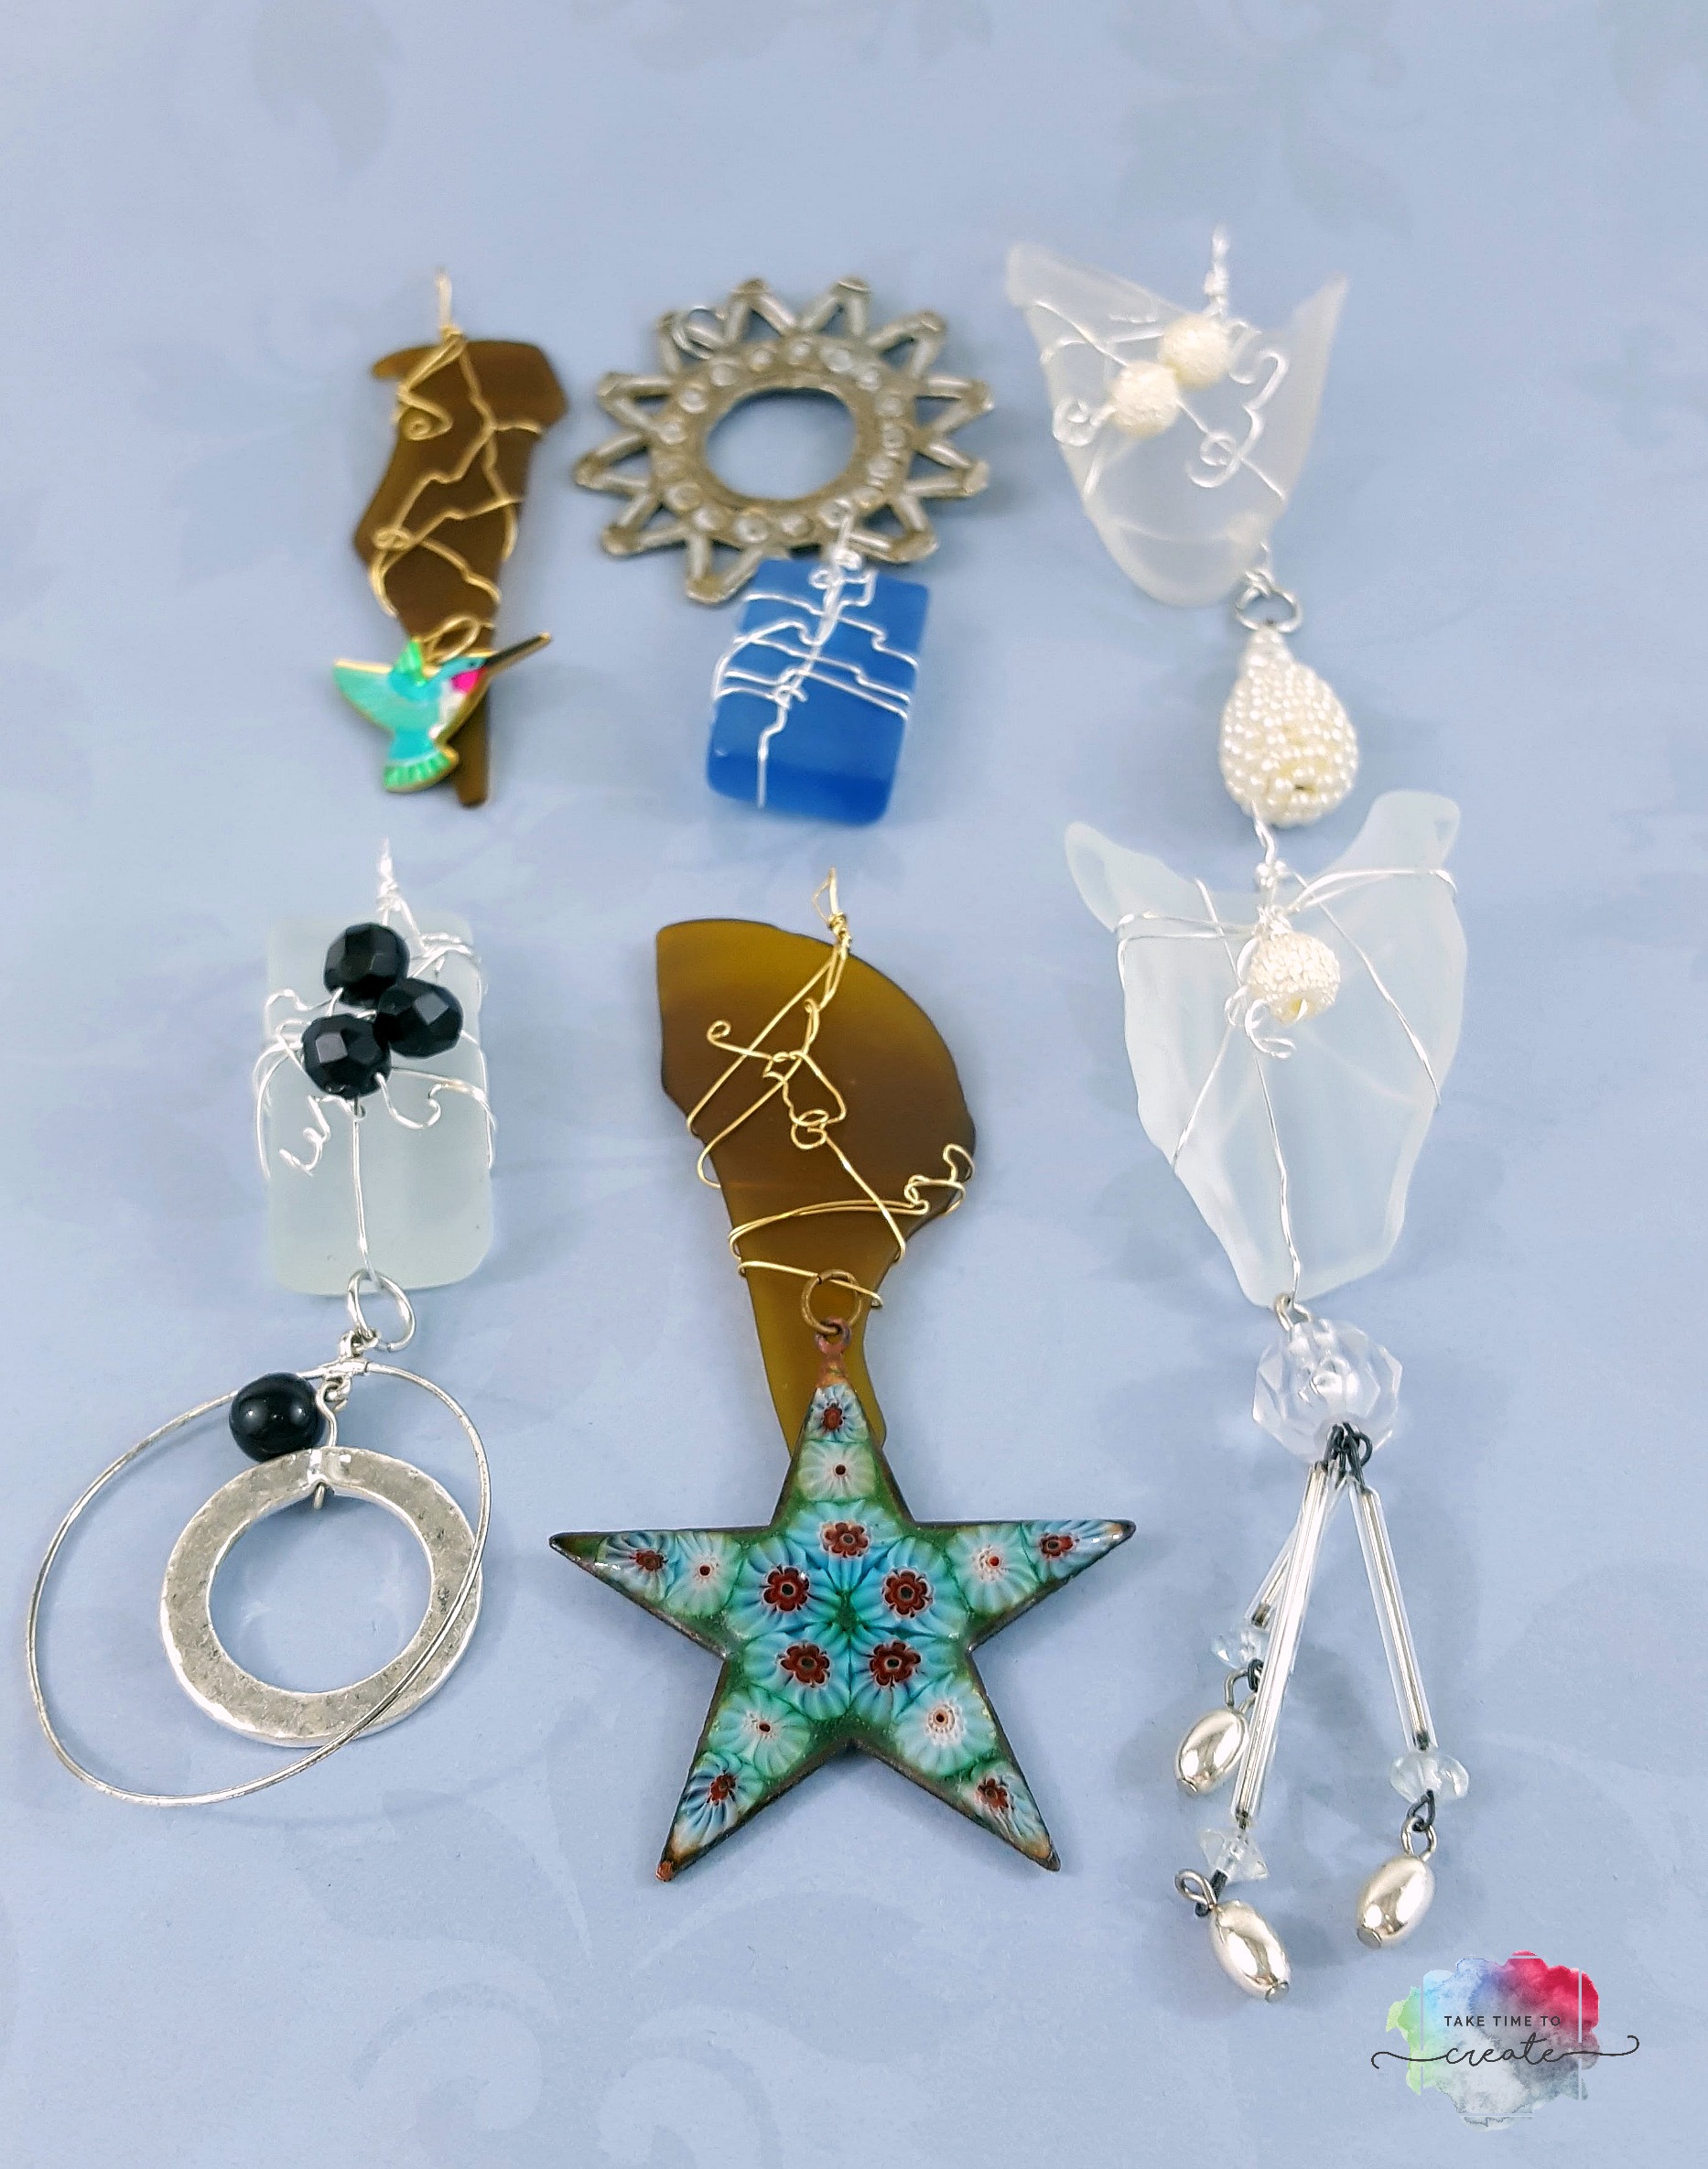


