
Hello Everyone!
As you can see from the link above I am now on Bloglovin! In other exciting news, I will at some craft fairs and a comic con later in the year! As the time gets closer, and as I learn more information, I will share all the details with you! I can’t wait to show my crafts and to see you all in person!
I have a YouTube tutorial of this egg, you can watch it here:
This is a fairly easy tutorial that is fun and a great way to show your love for all things Dragon!
Materials:
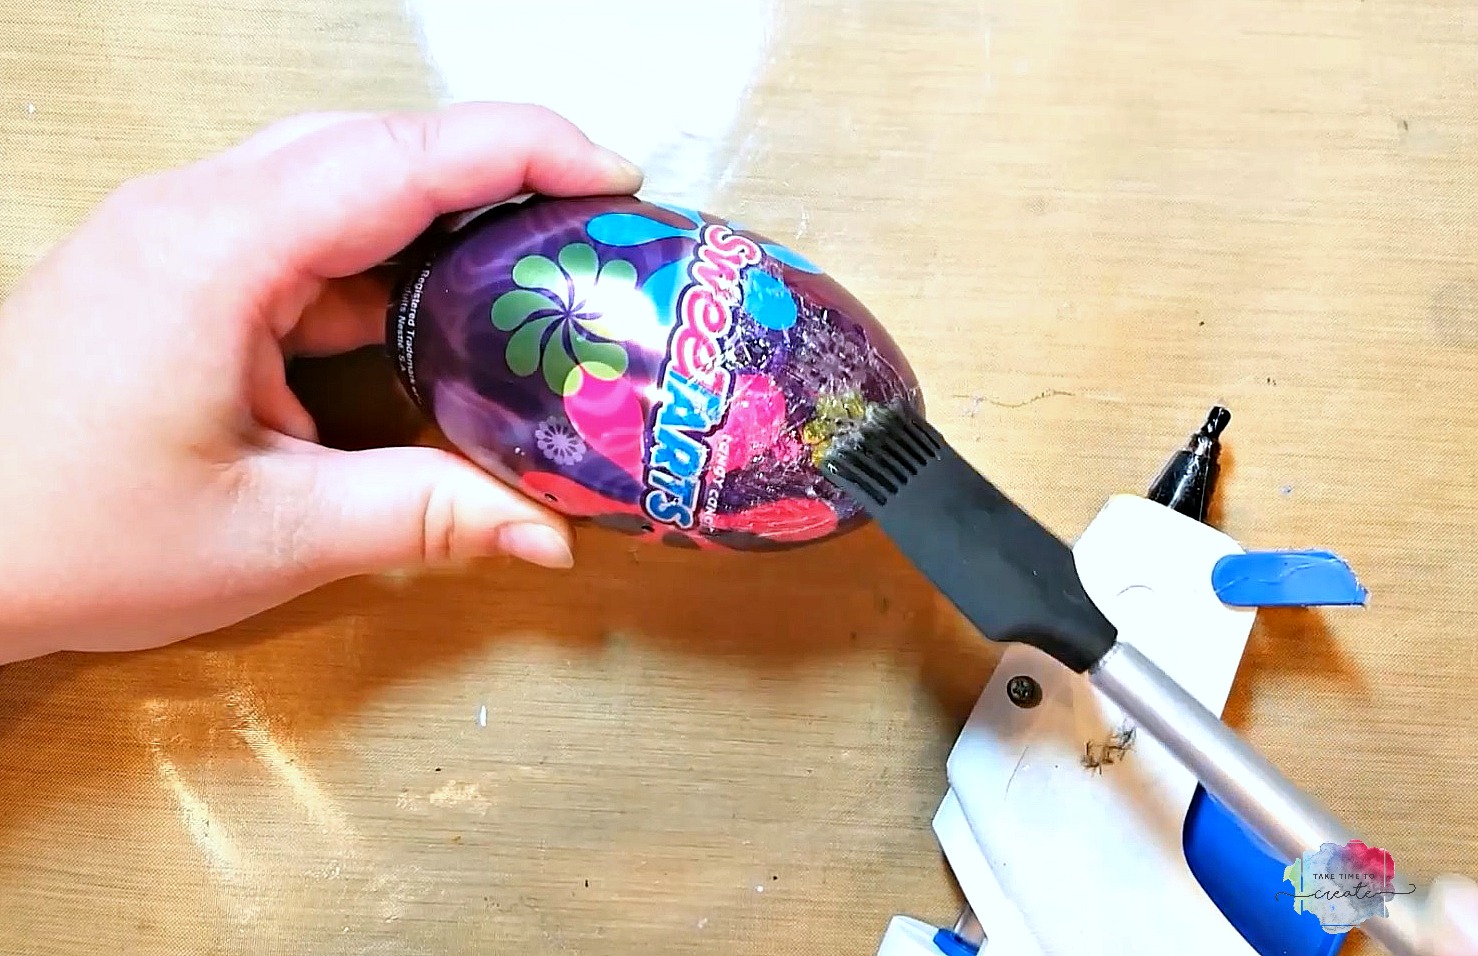
- Old tin egg (my was left over from Easter)
- Hot Glue
- Black Gesso
- Acrylic Paint
Instructions:
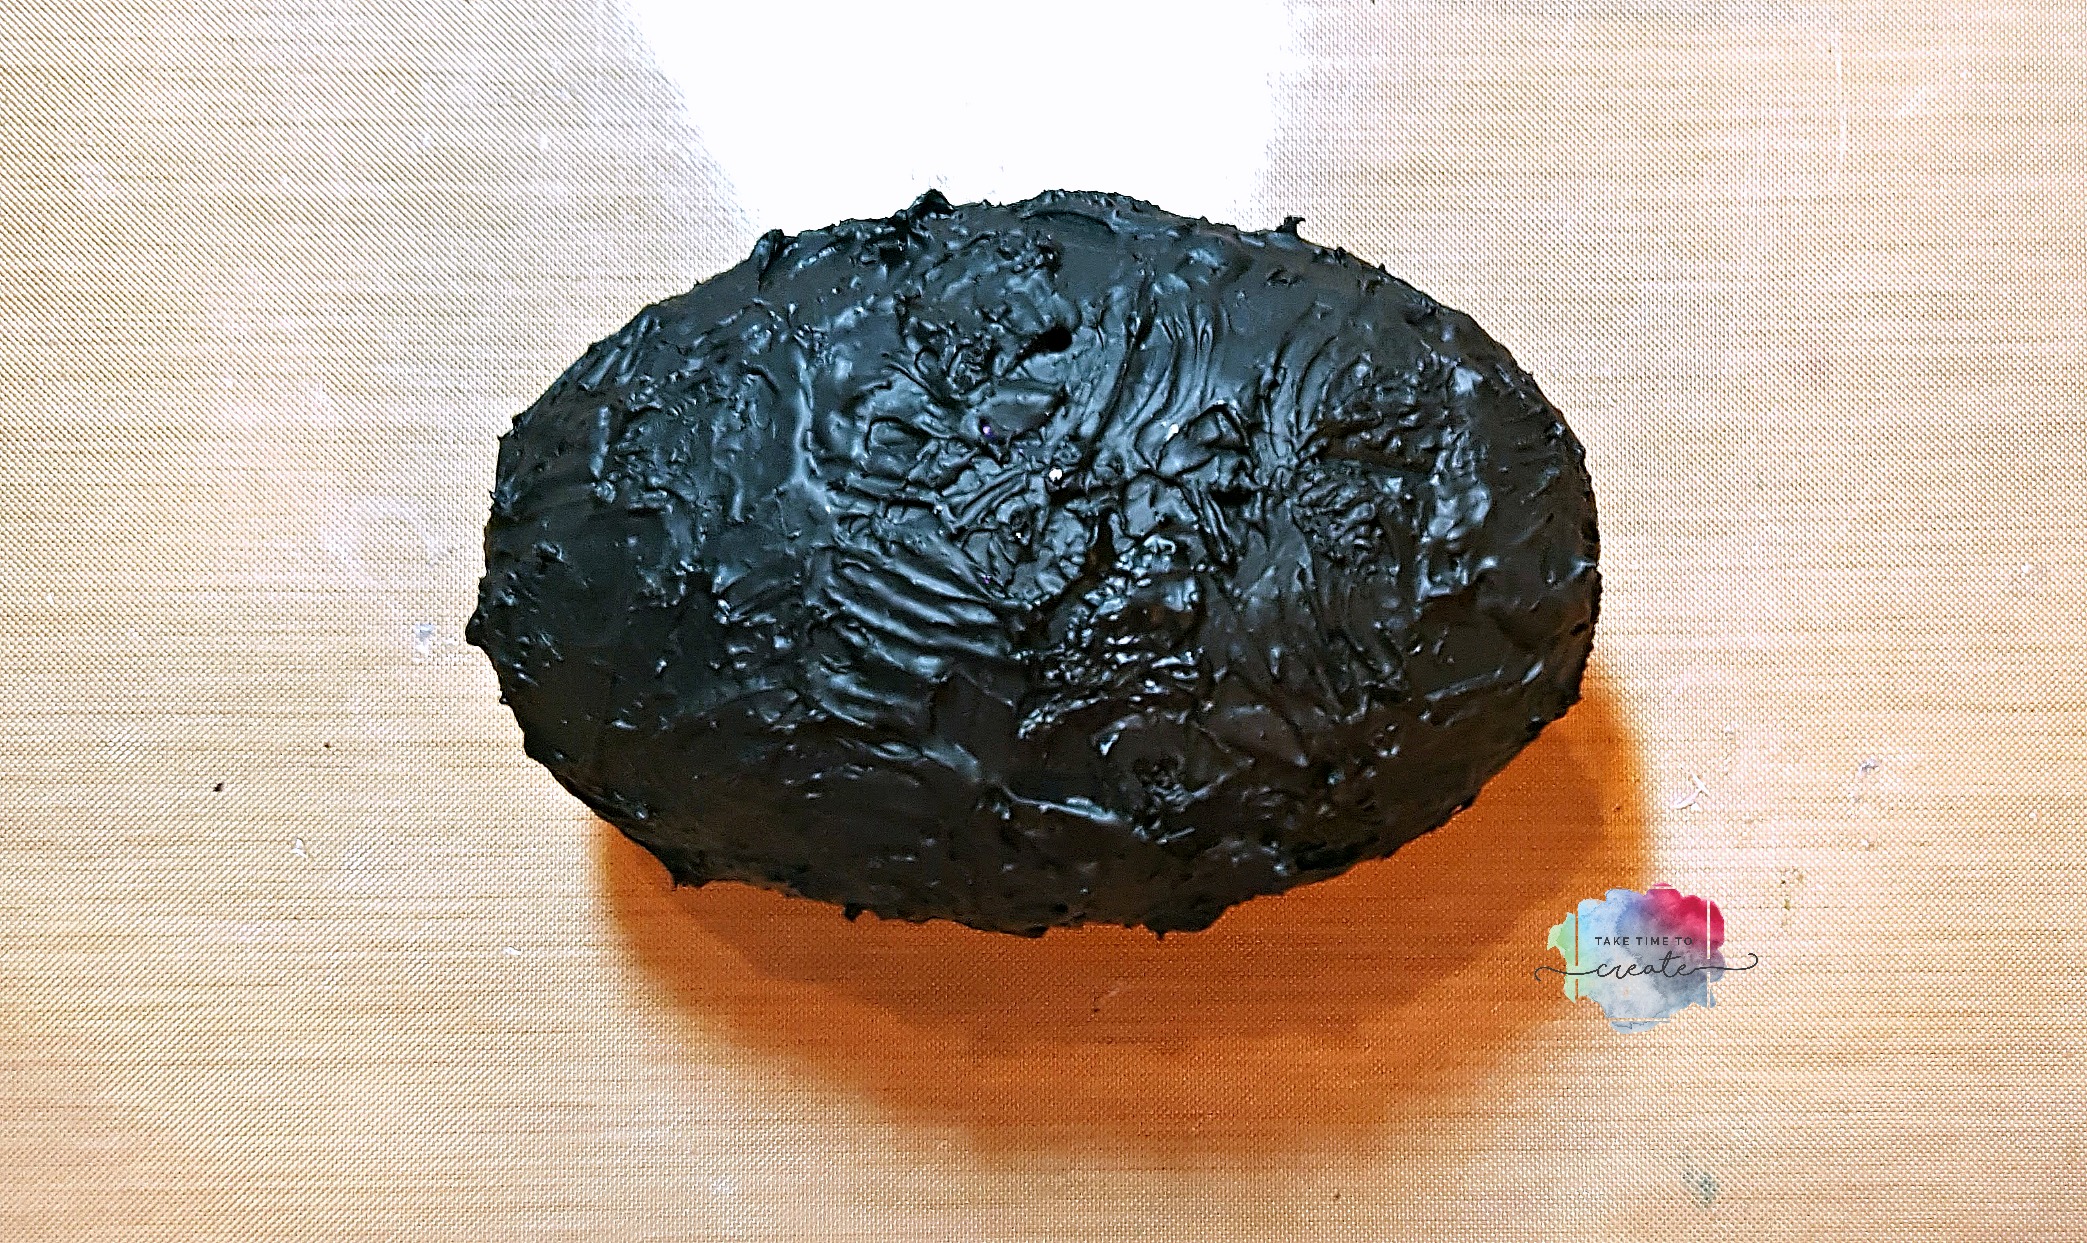
First cover your egg with hot glue then then take a silicone tool and smash the glue all around. I learned this technique from watching a video from The Frugal Crafter, I love learning new ideas from other crafters!
Once the glue is dry then cover everything in a layer of black gesso. Make sure you get into all the nooks and crannies to completely cover the egg.
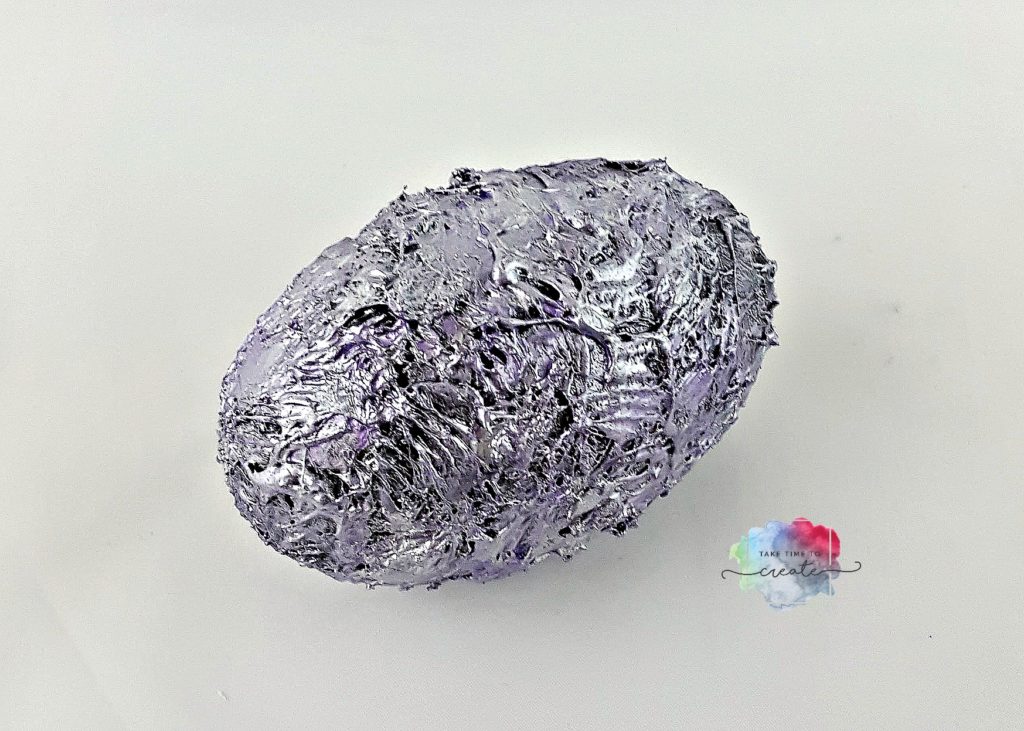
Once the gesso is dried paint the egg using acrylic paints. I started with a sliver then I added a purple and ended with a white on top. Dry brush the colors on and try not to coat it too much, you want to see all the colors, including the black base layer.
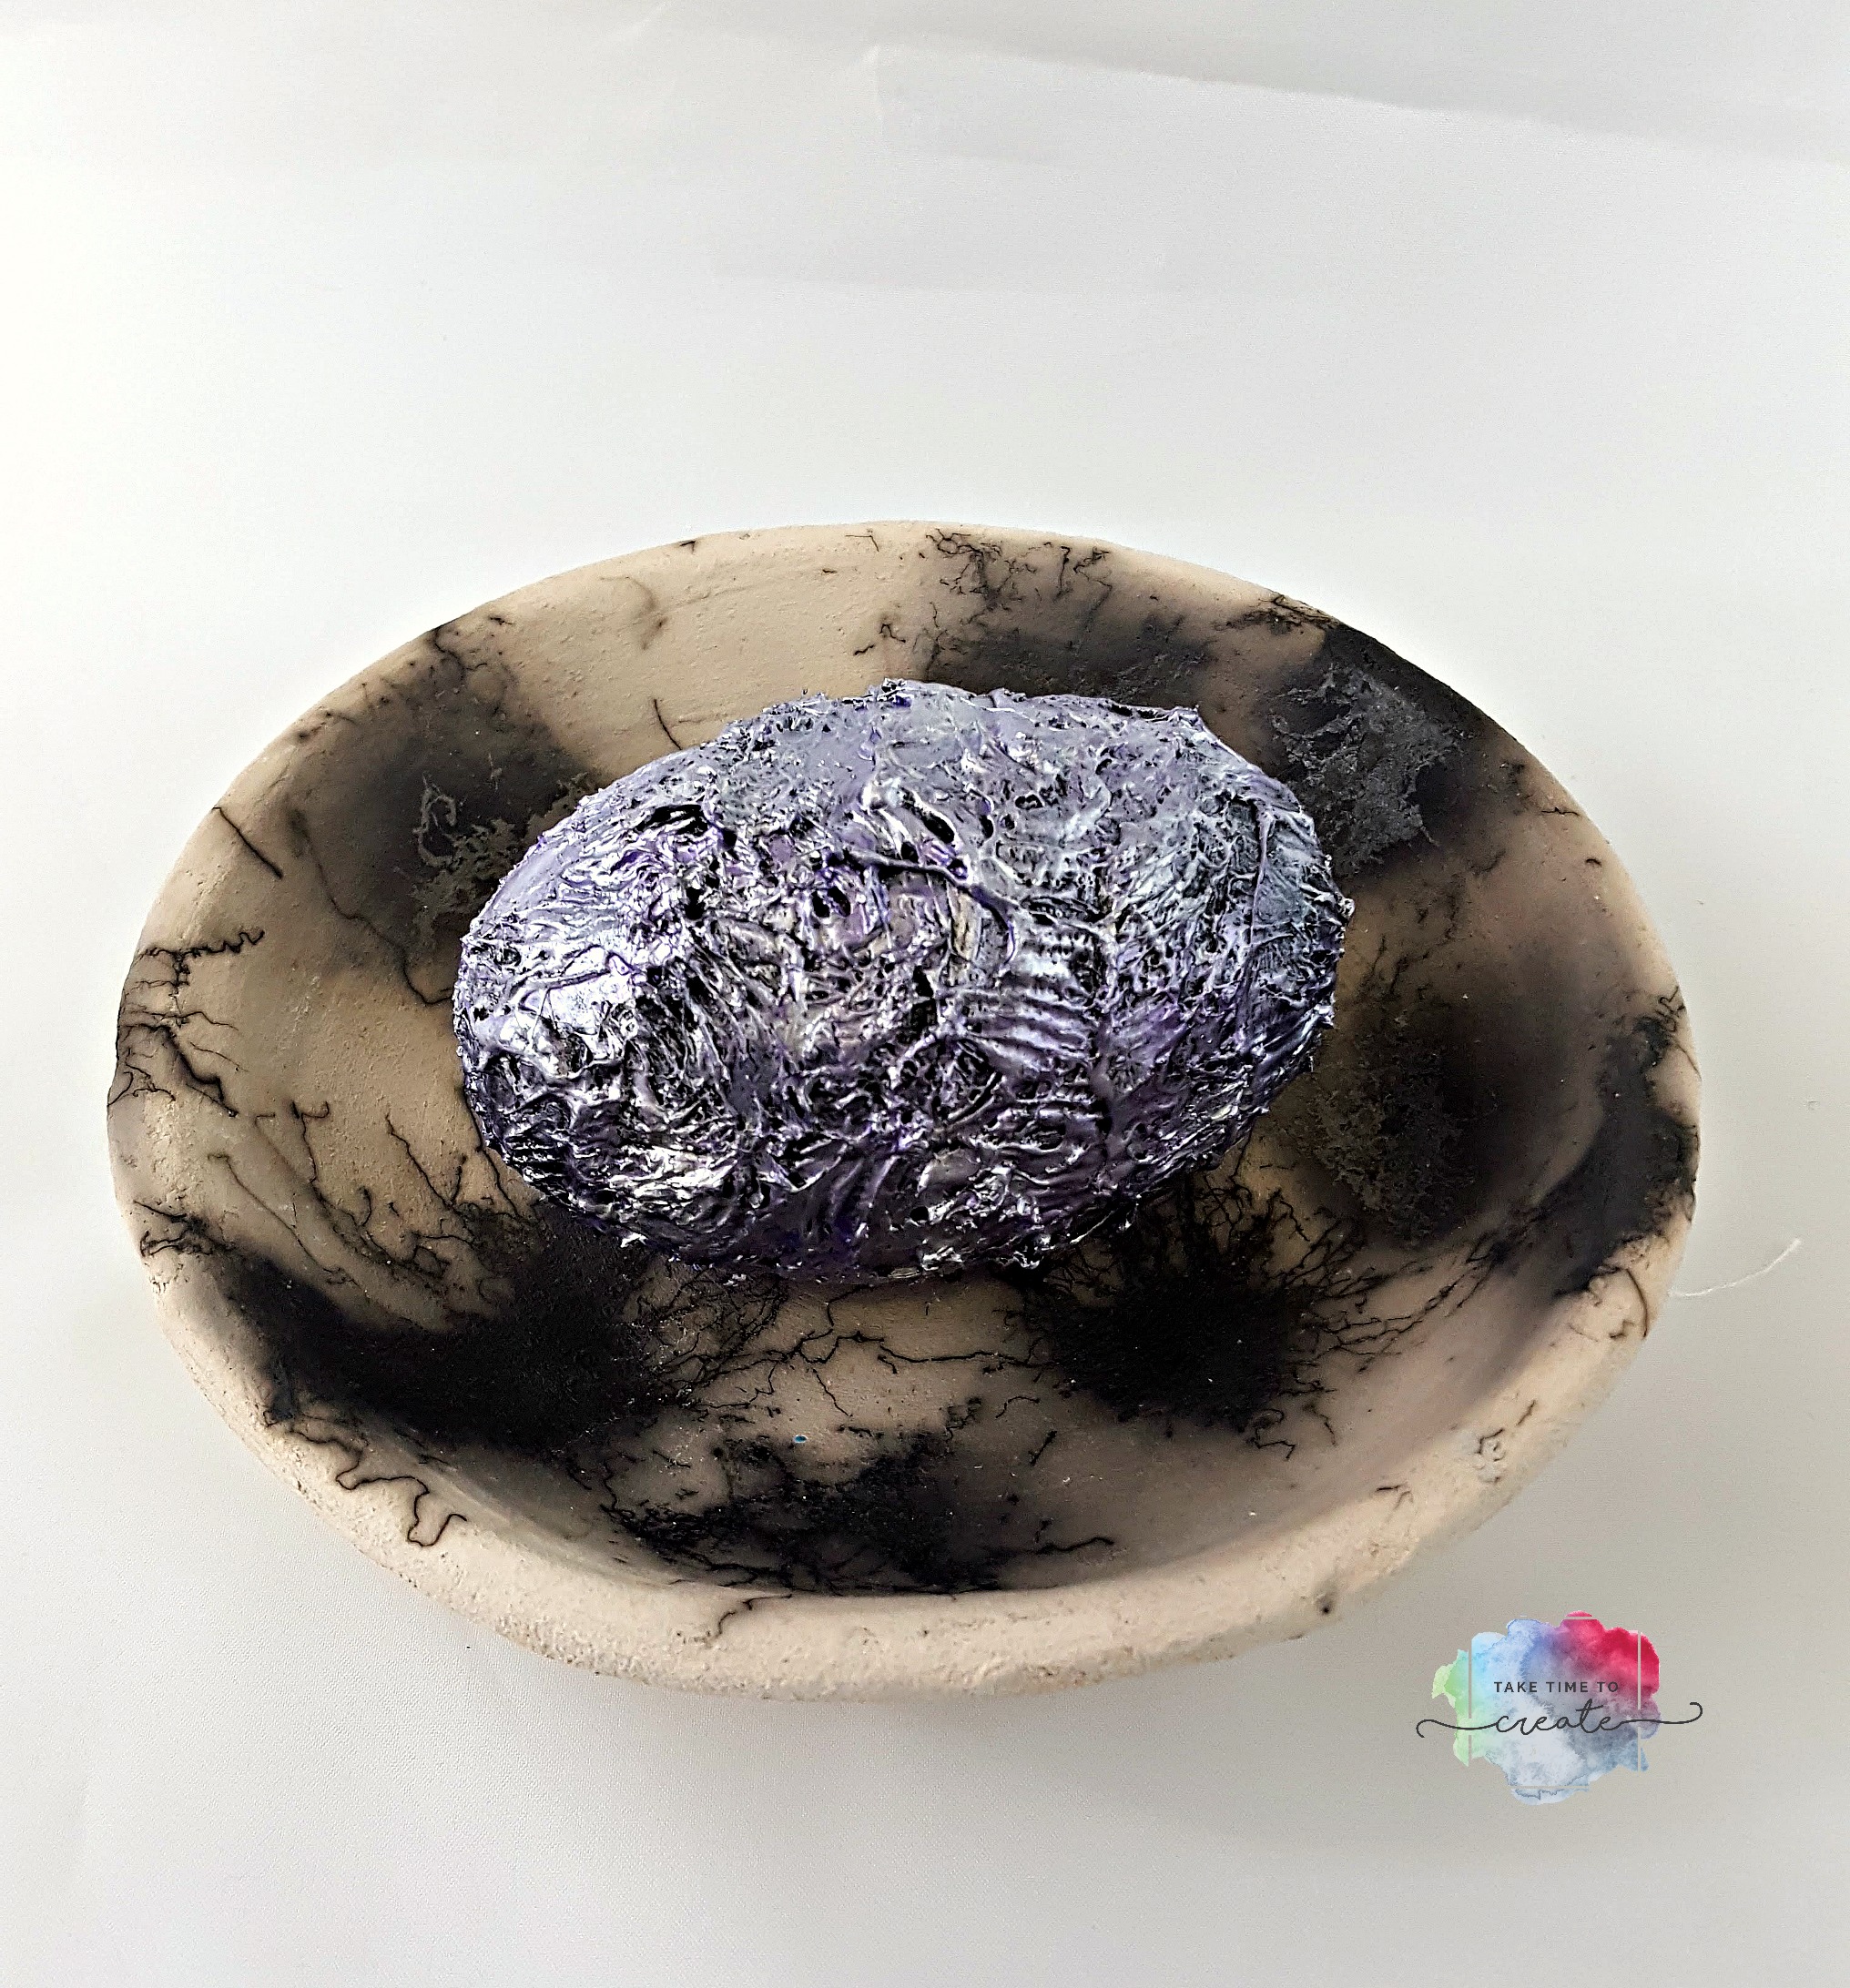
And there you have it, a custom dragon egg! I love how it looks in my Raku fired bowl that I did in my pottery class.
The post DIY Dragon Egg tutorial appeared first on Take Time To Create.

Leave a Reply