Hello Everyone!
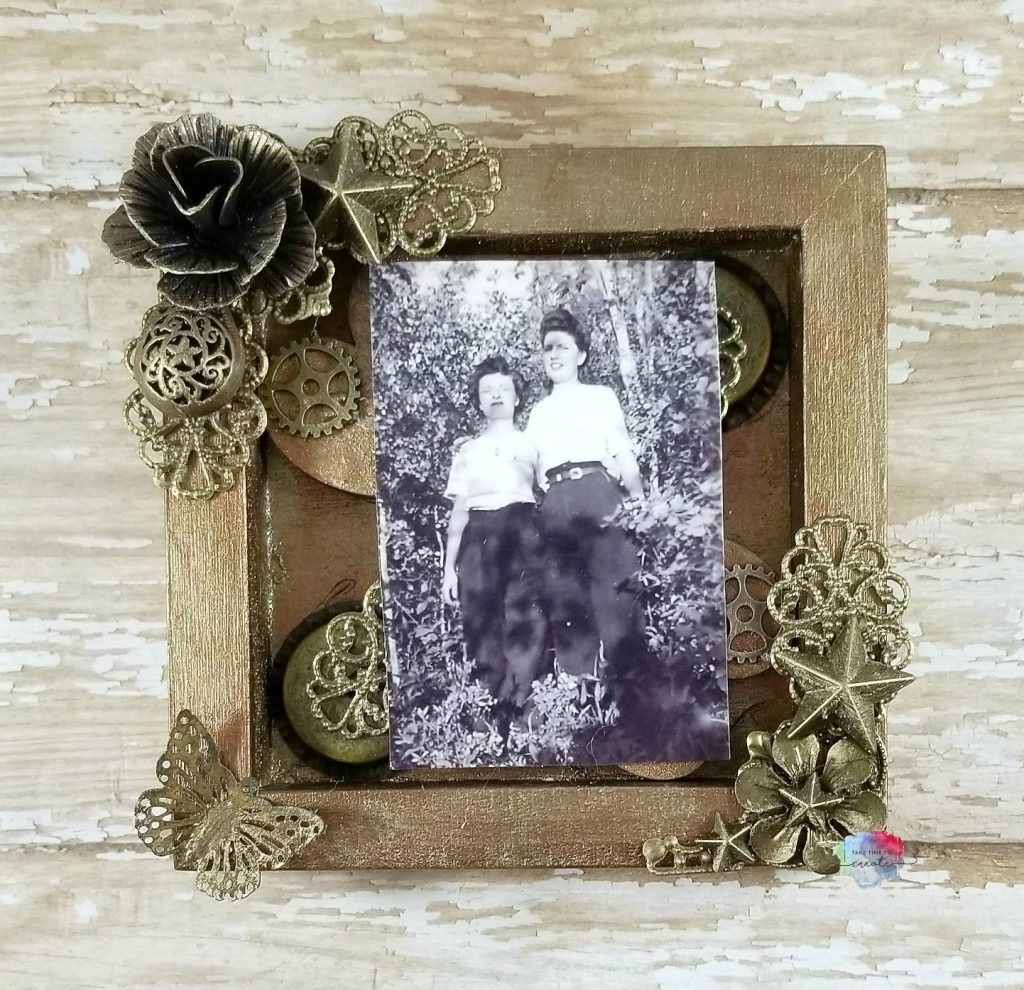
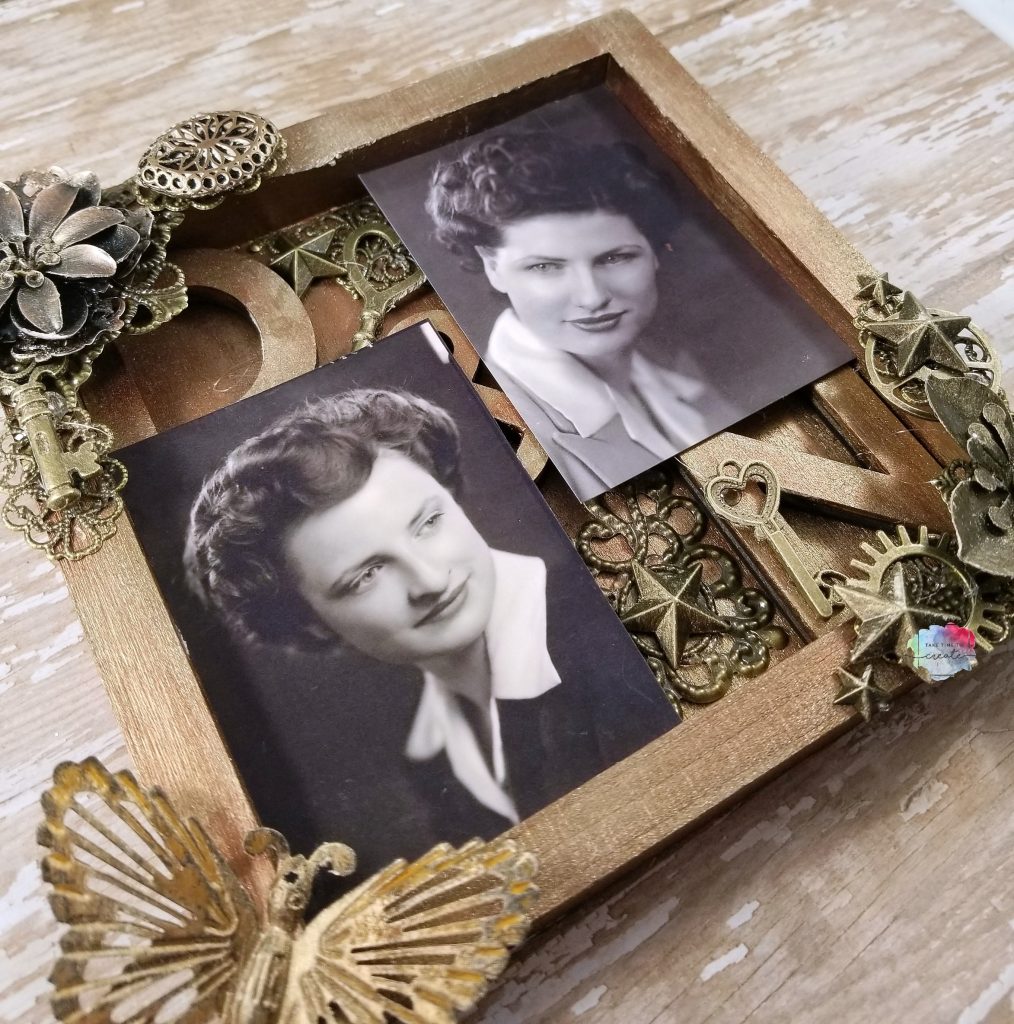
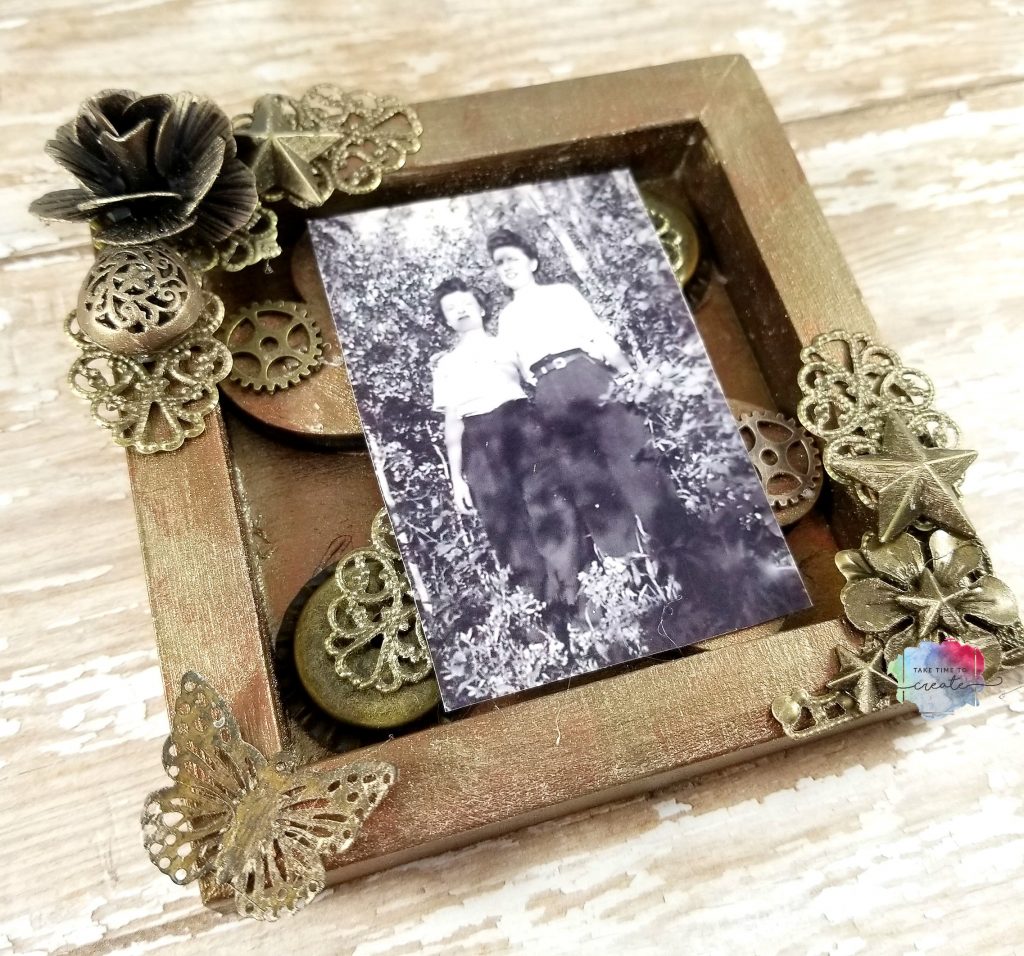
I have always love these pictures of my Grandmother and Great Aunt. They both look so beautiful, so I wanted to honor them with this mixed media shadow box.
I found these really great square trays in my stash and I thought they would be perfect as a shadow box.
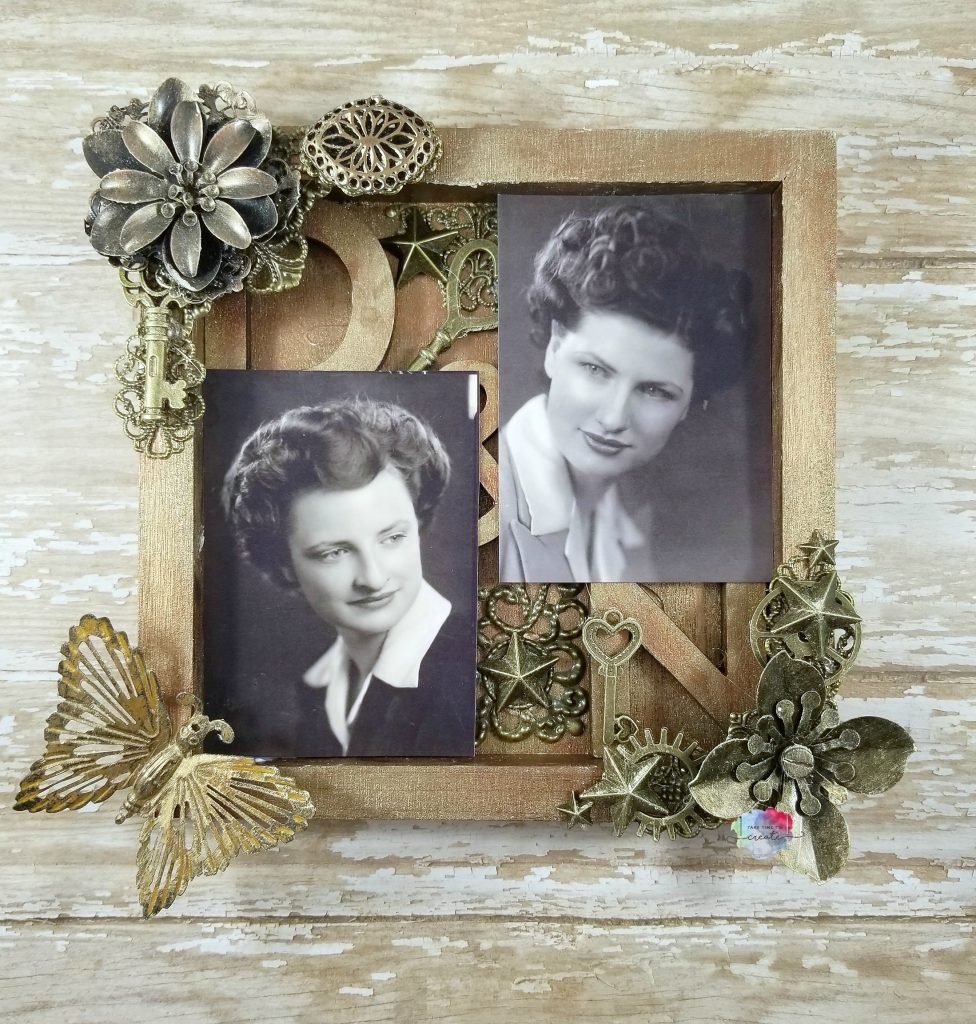
I actually created 2 shadow boxes. One was my sample and practice box and the 2nd one was the one I actually filmed. I love both and I think they will look great on my mantle.
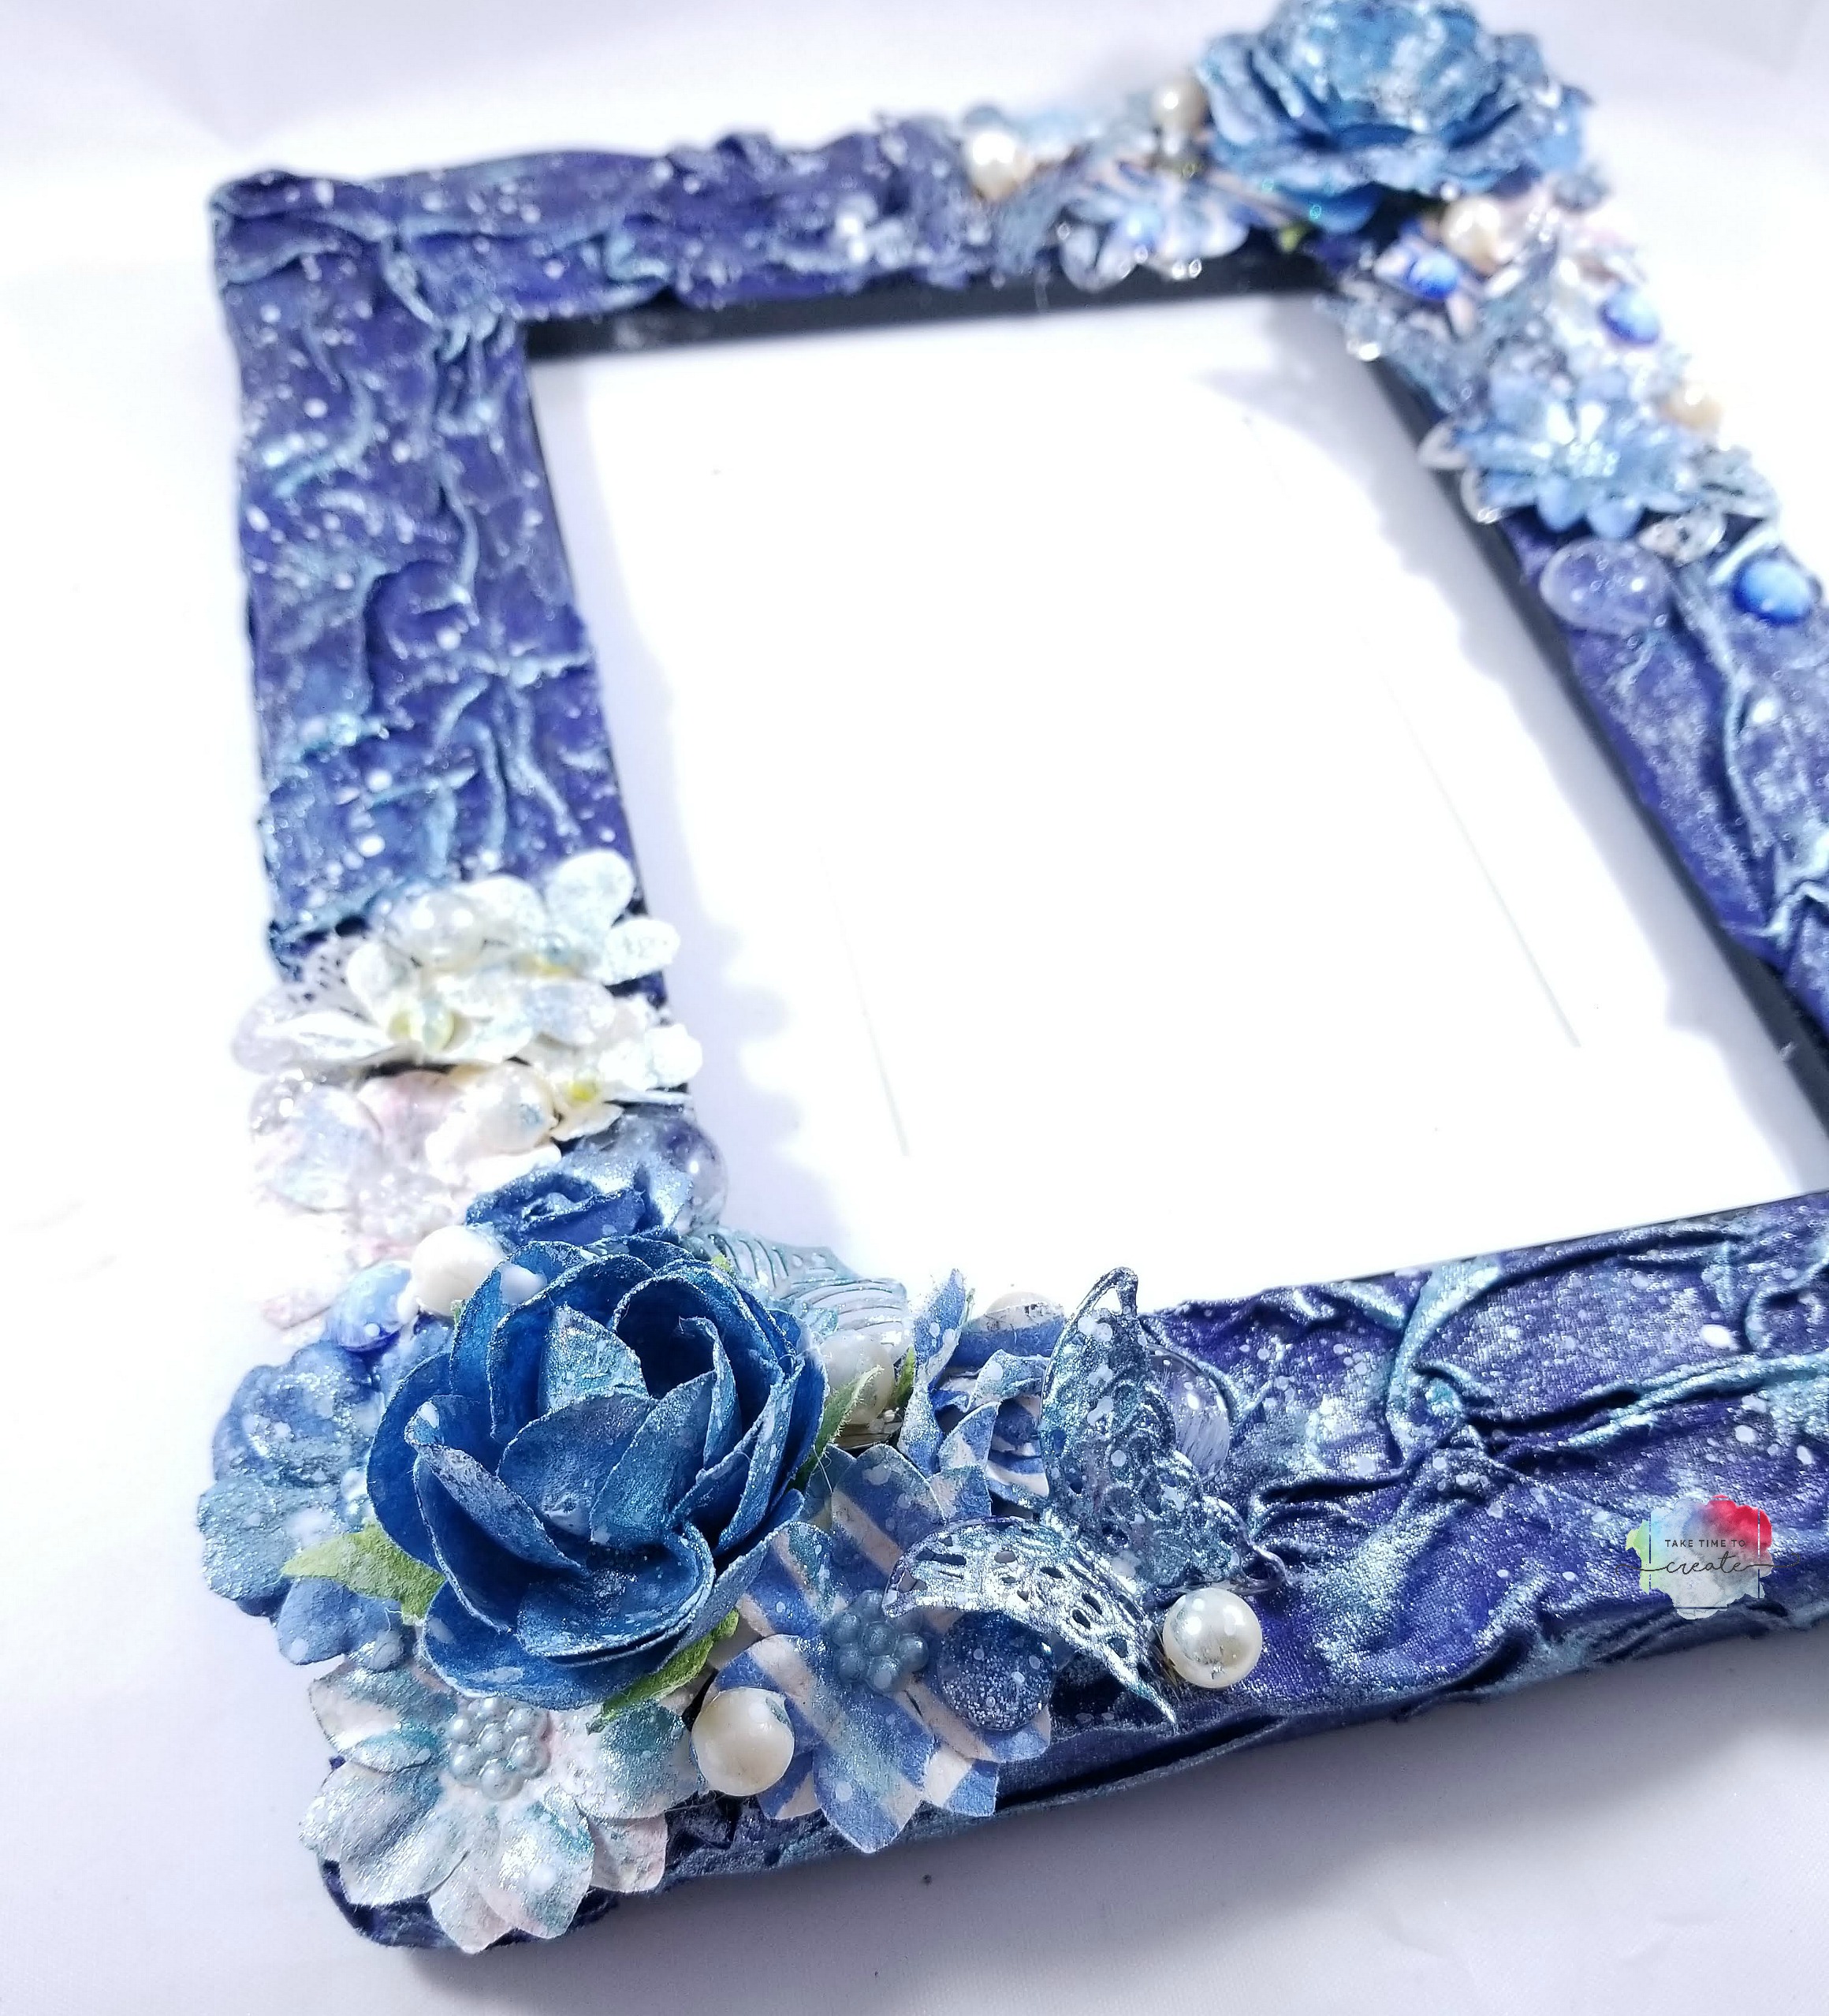
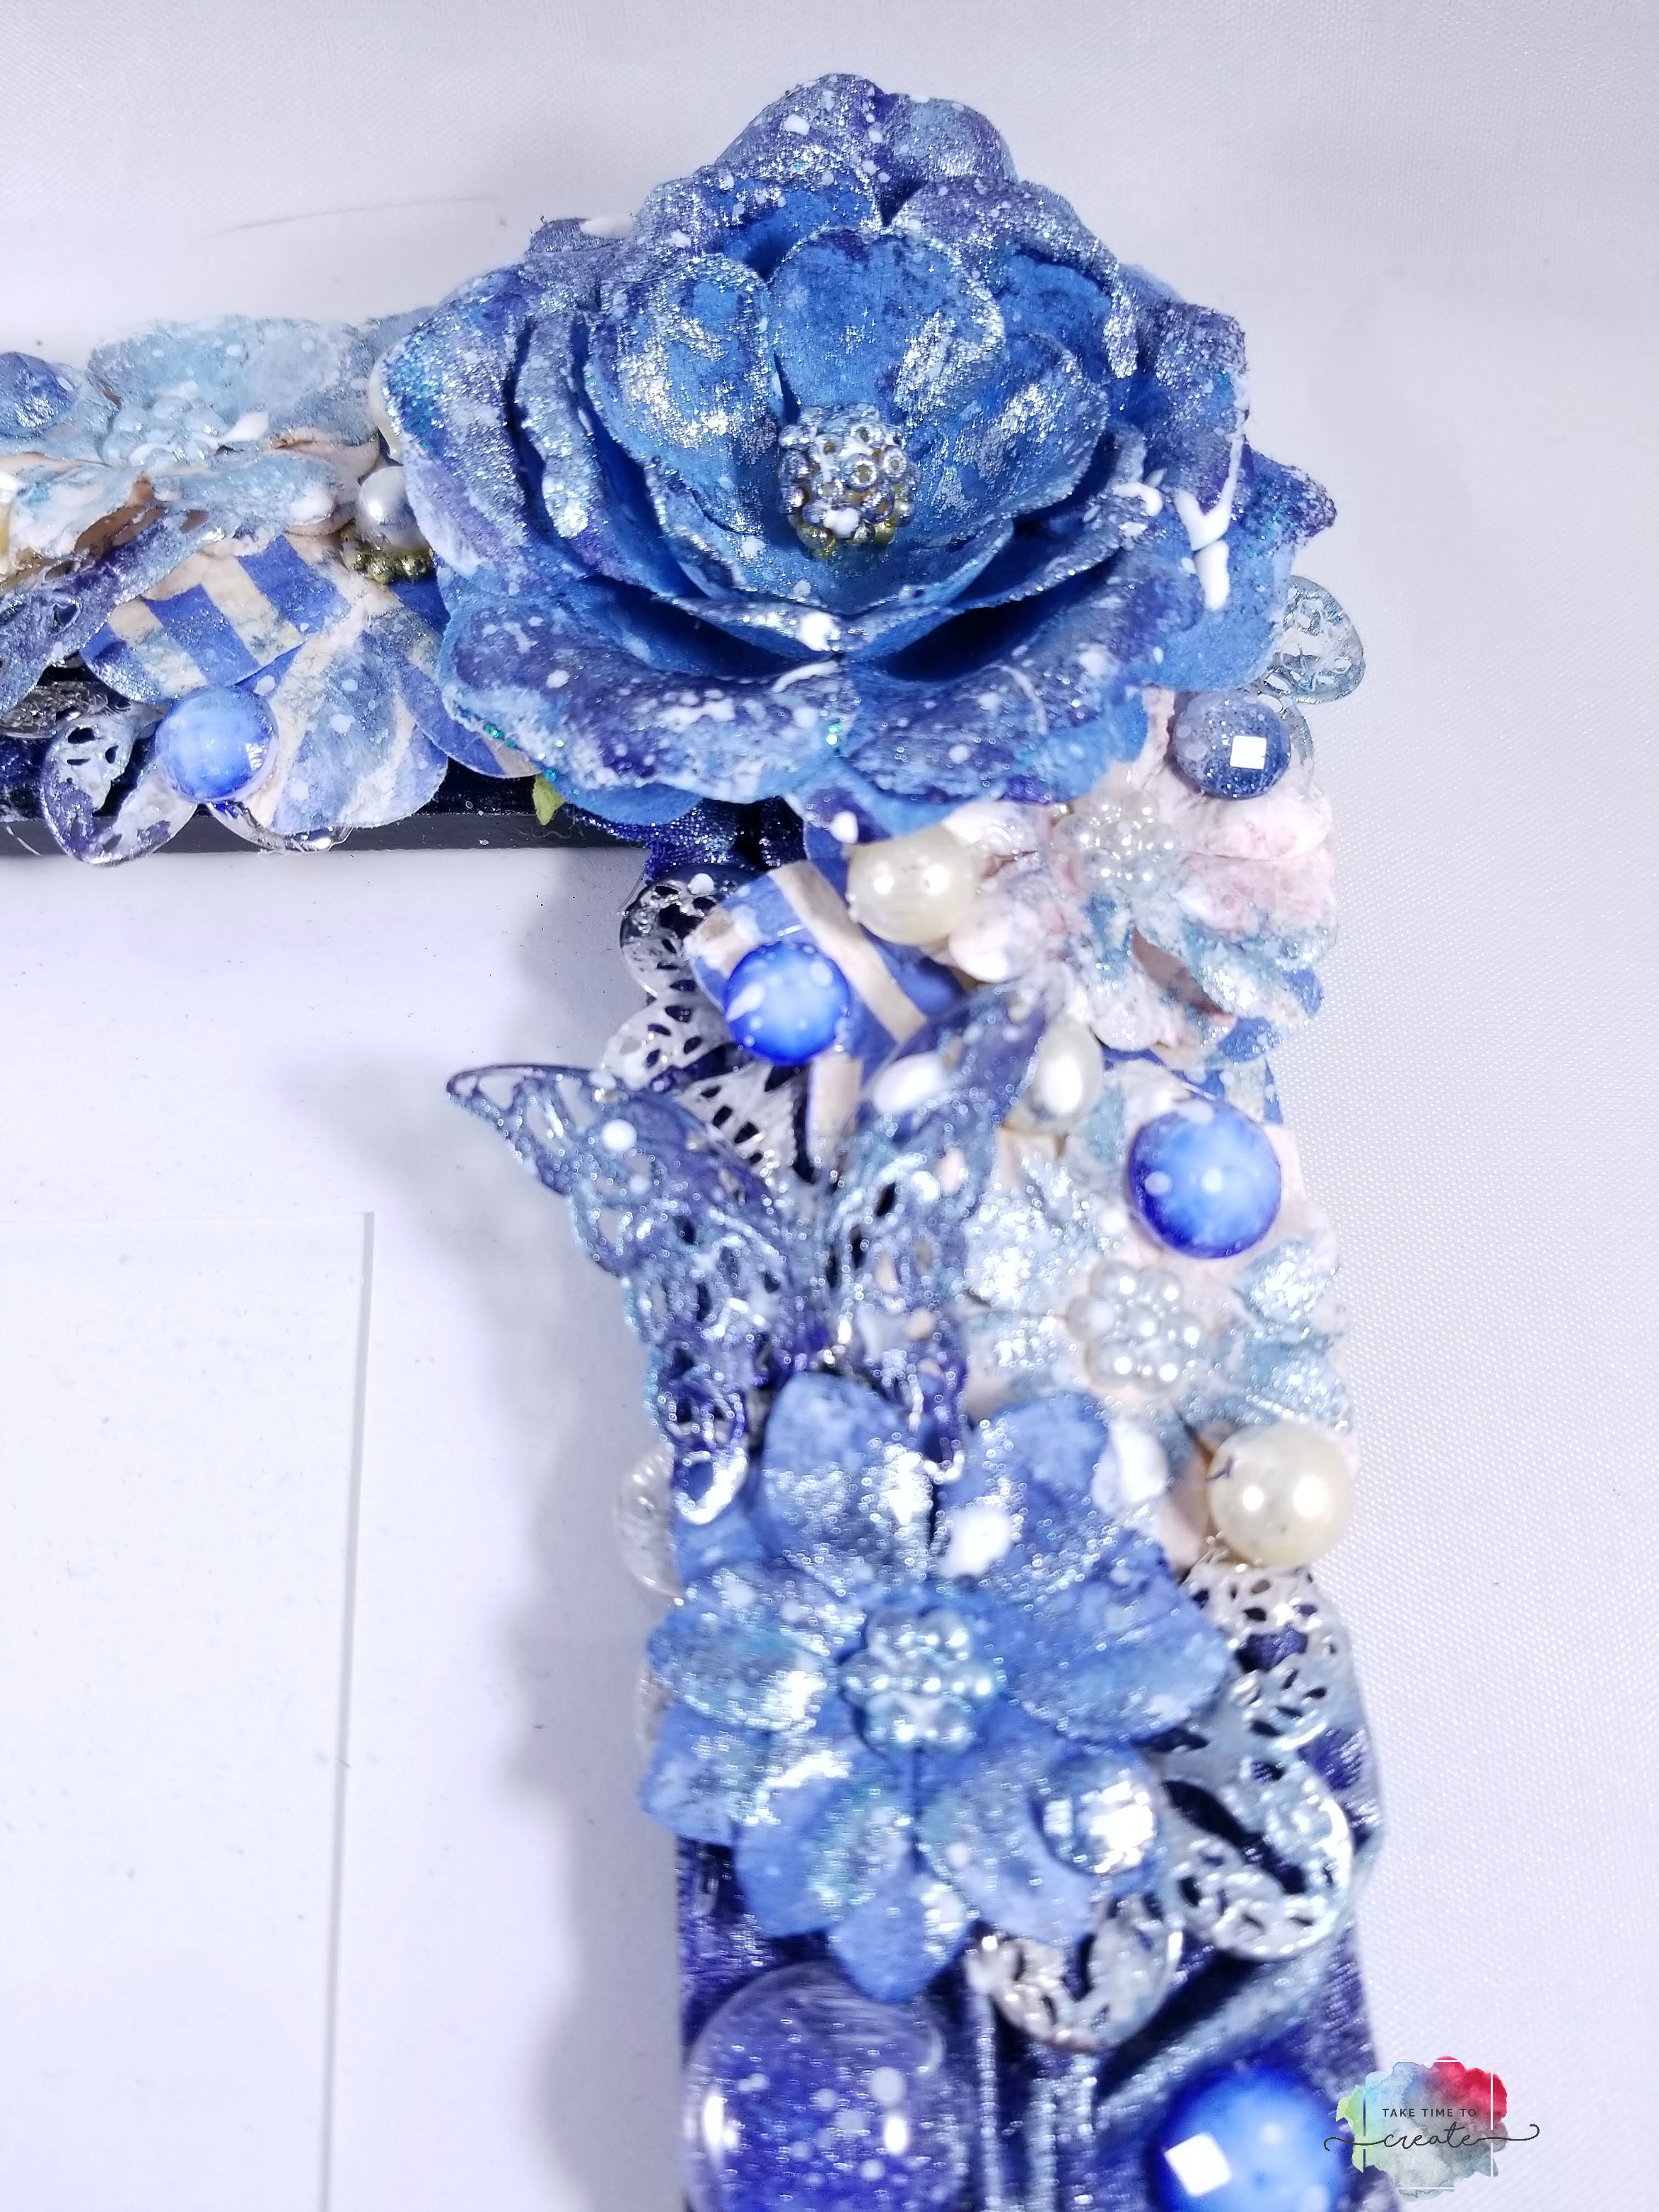
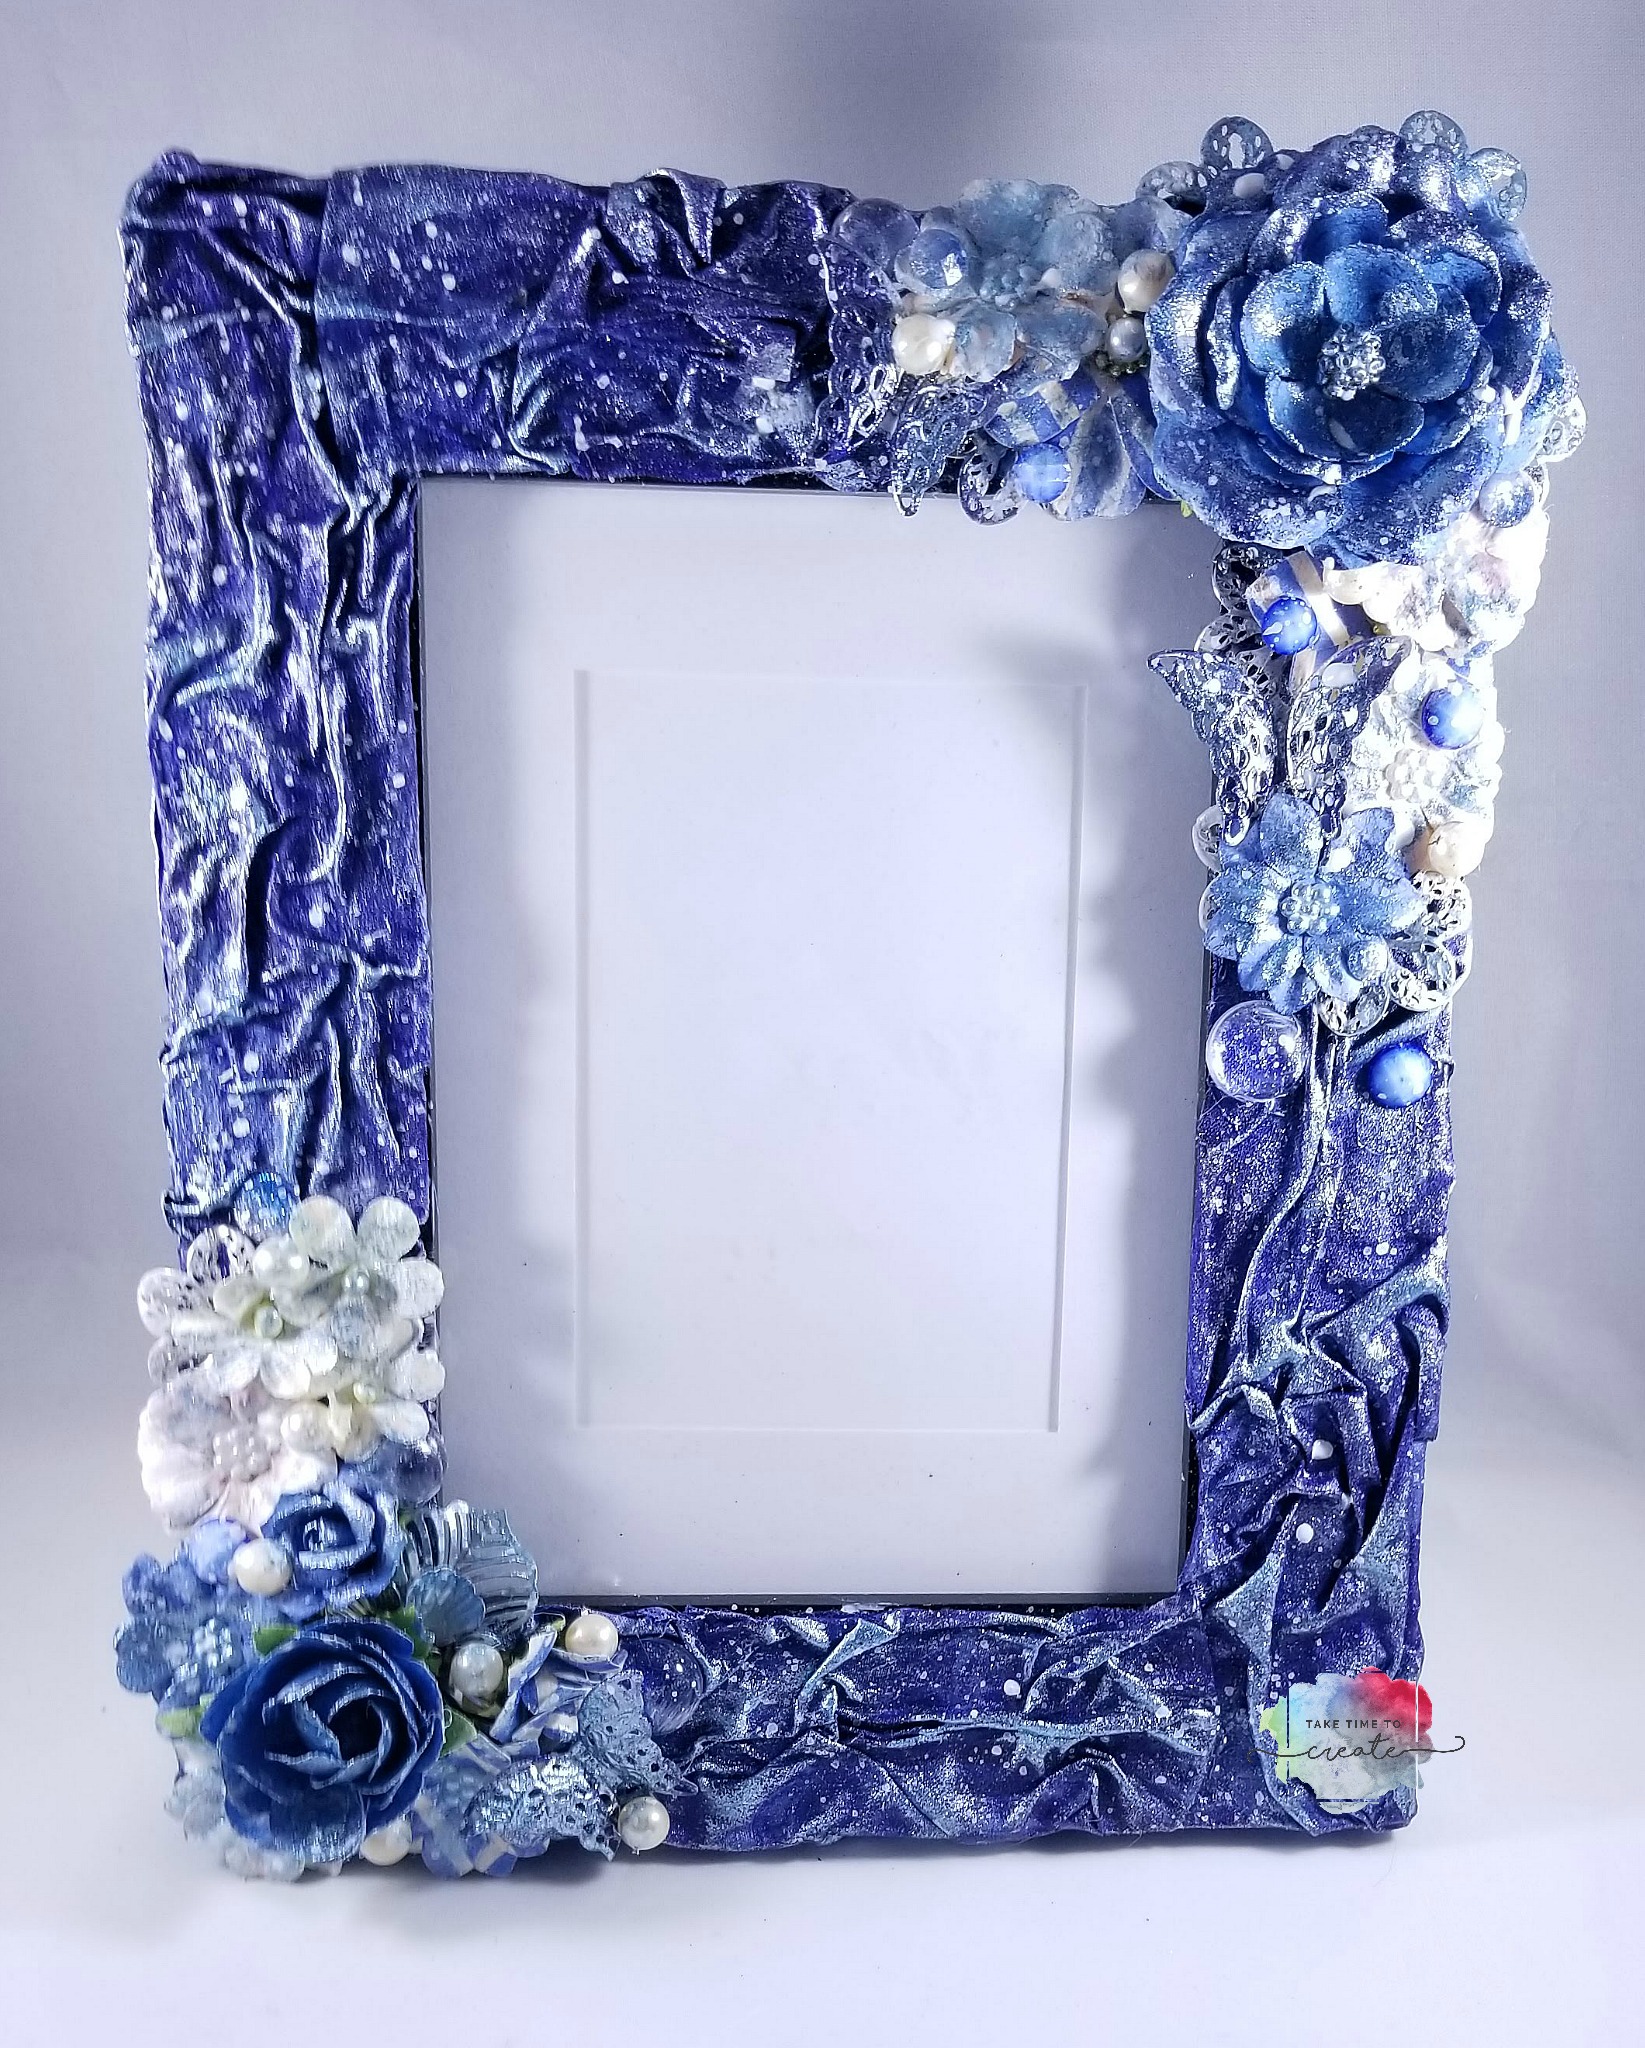
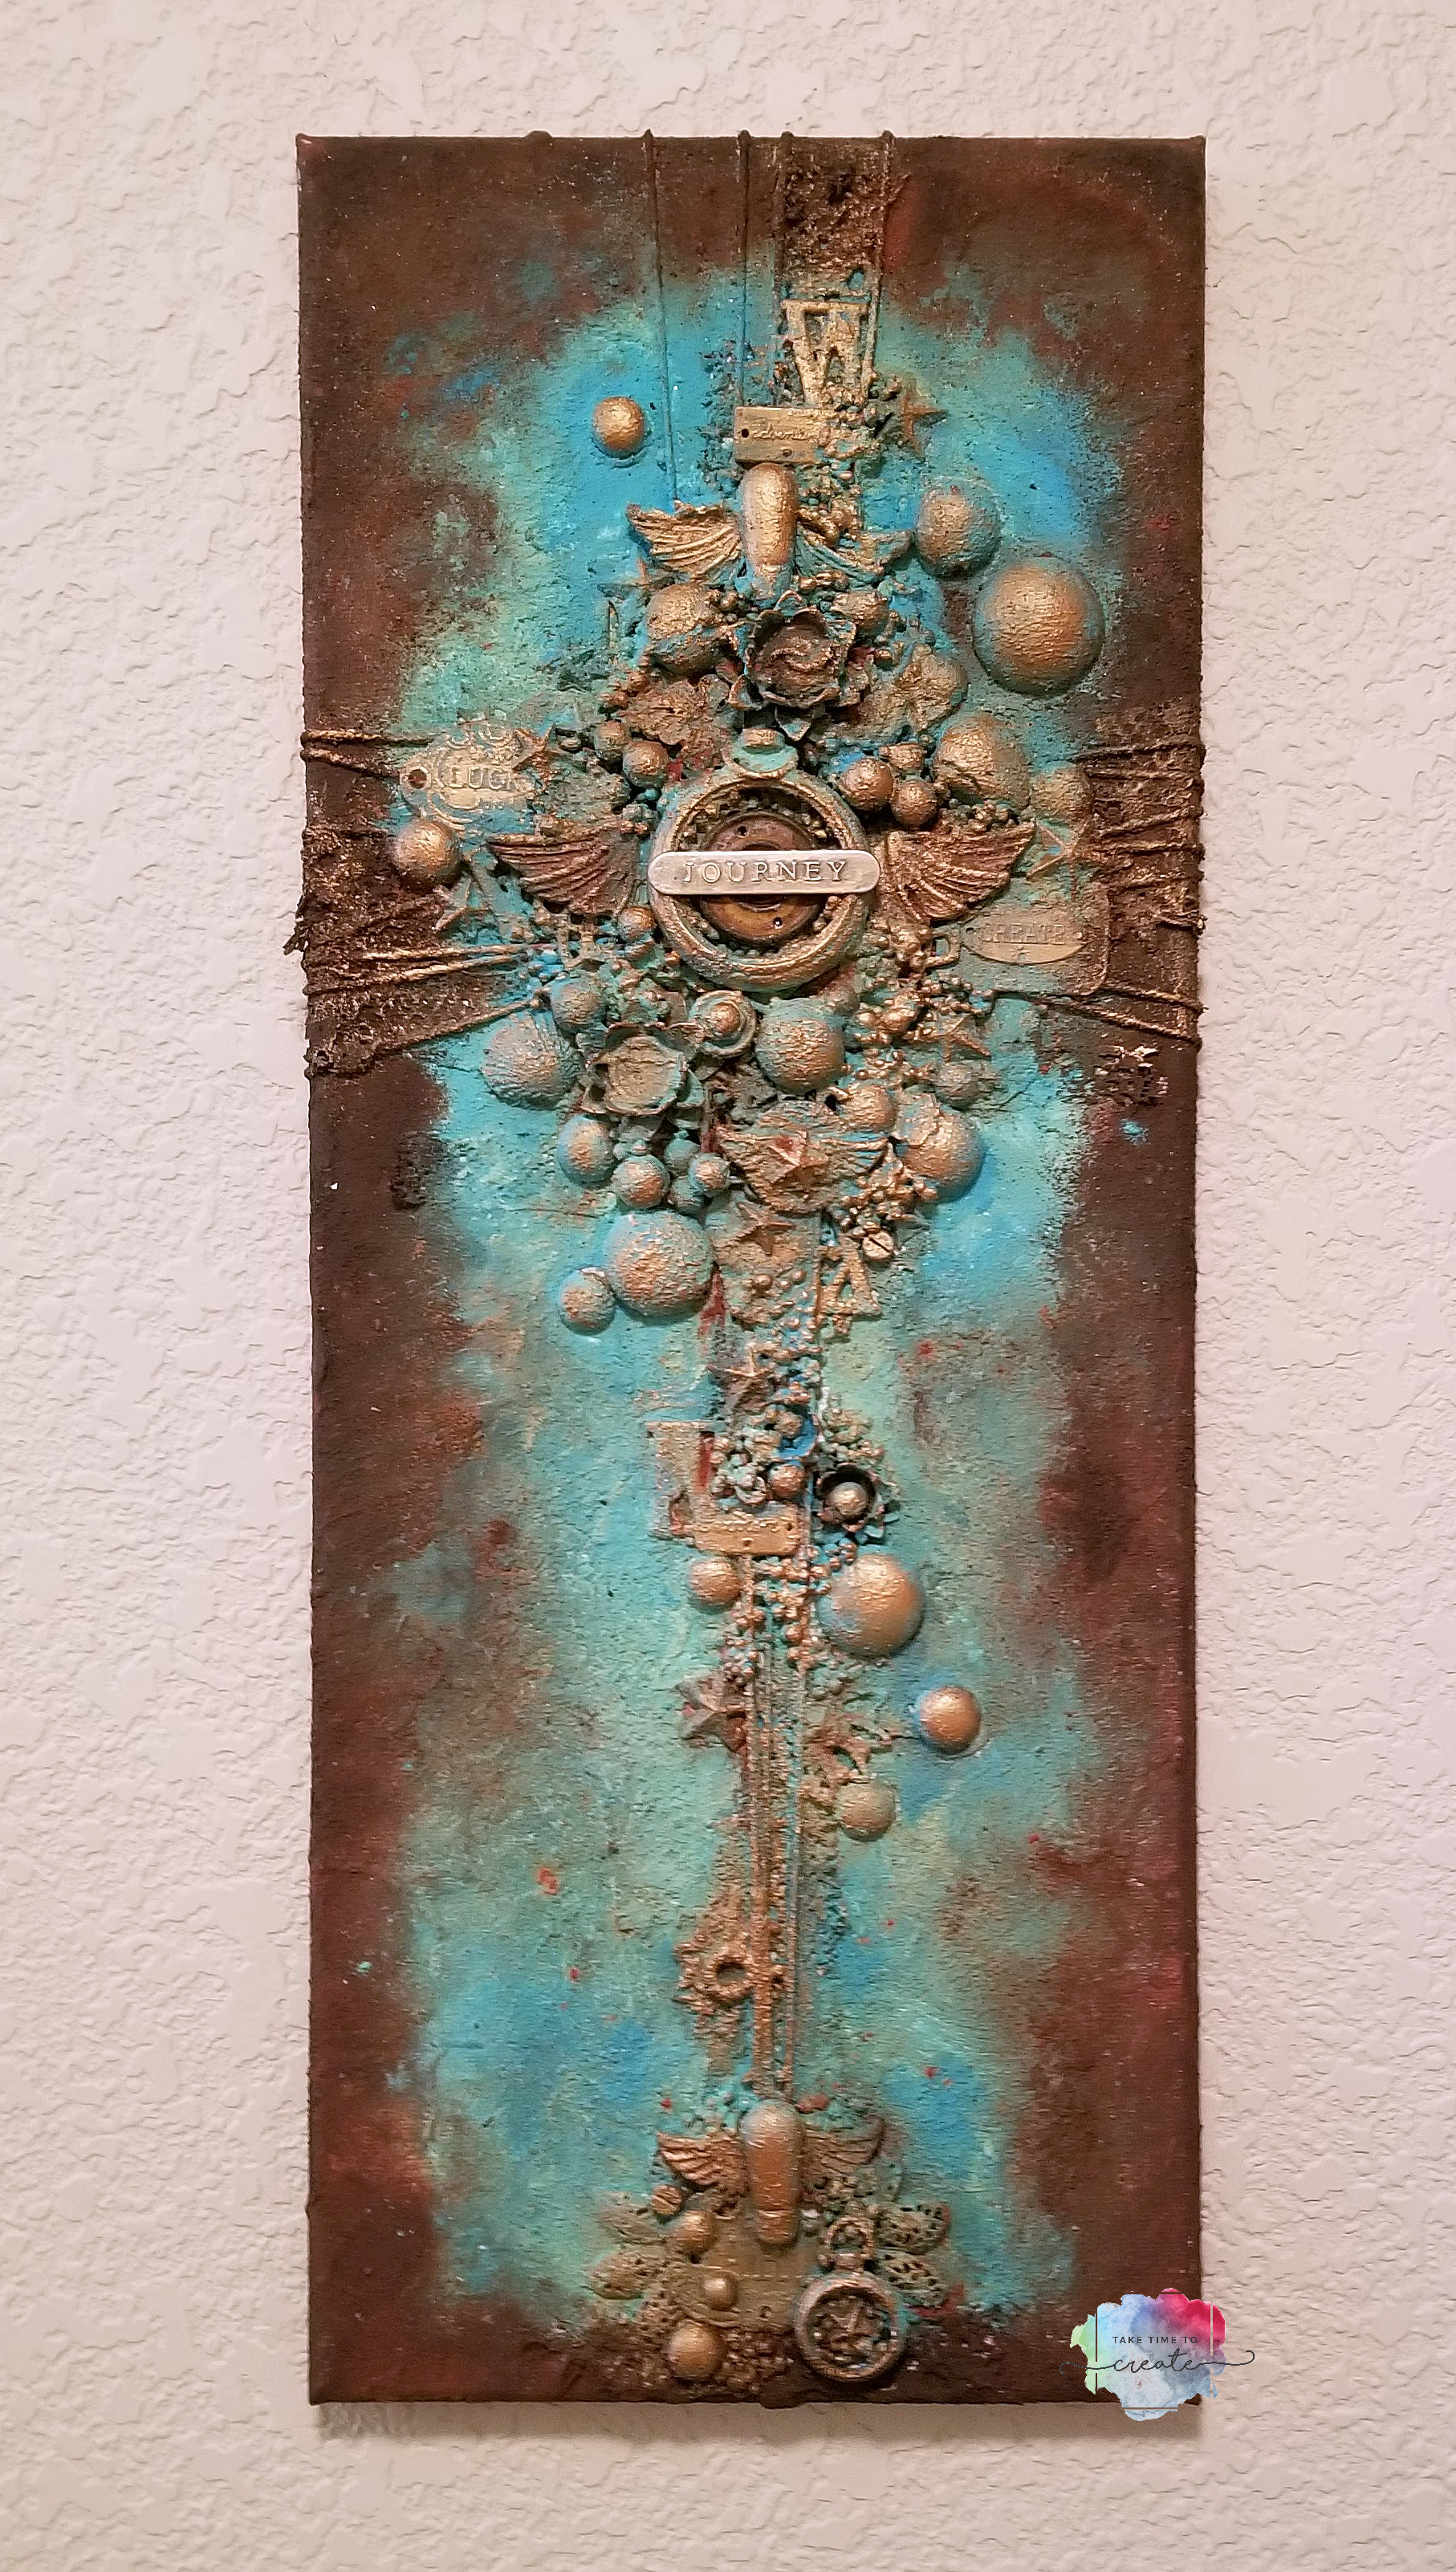
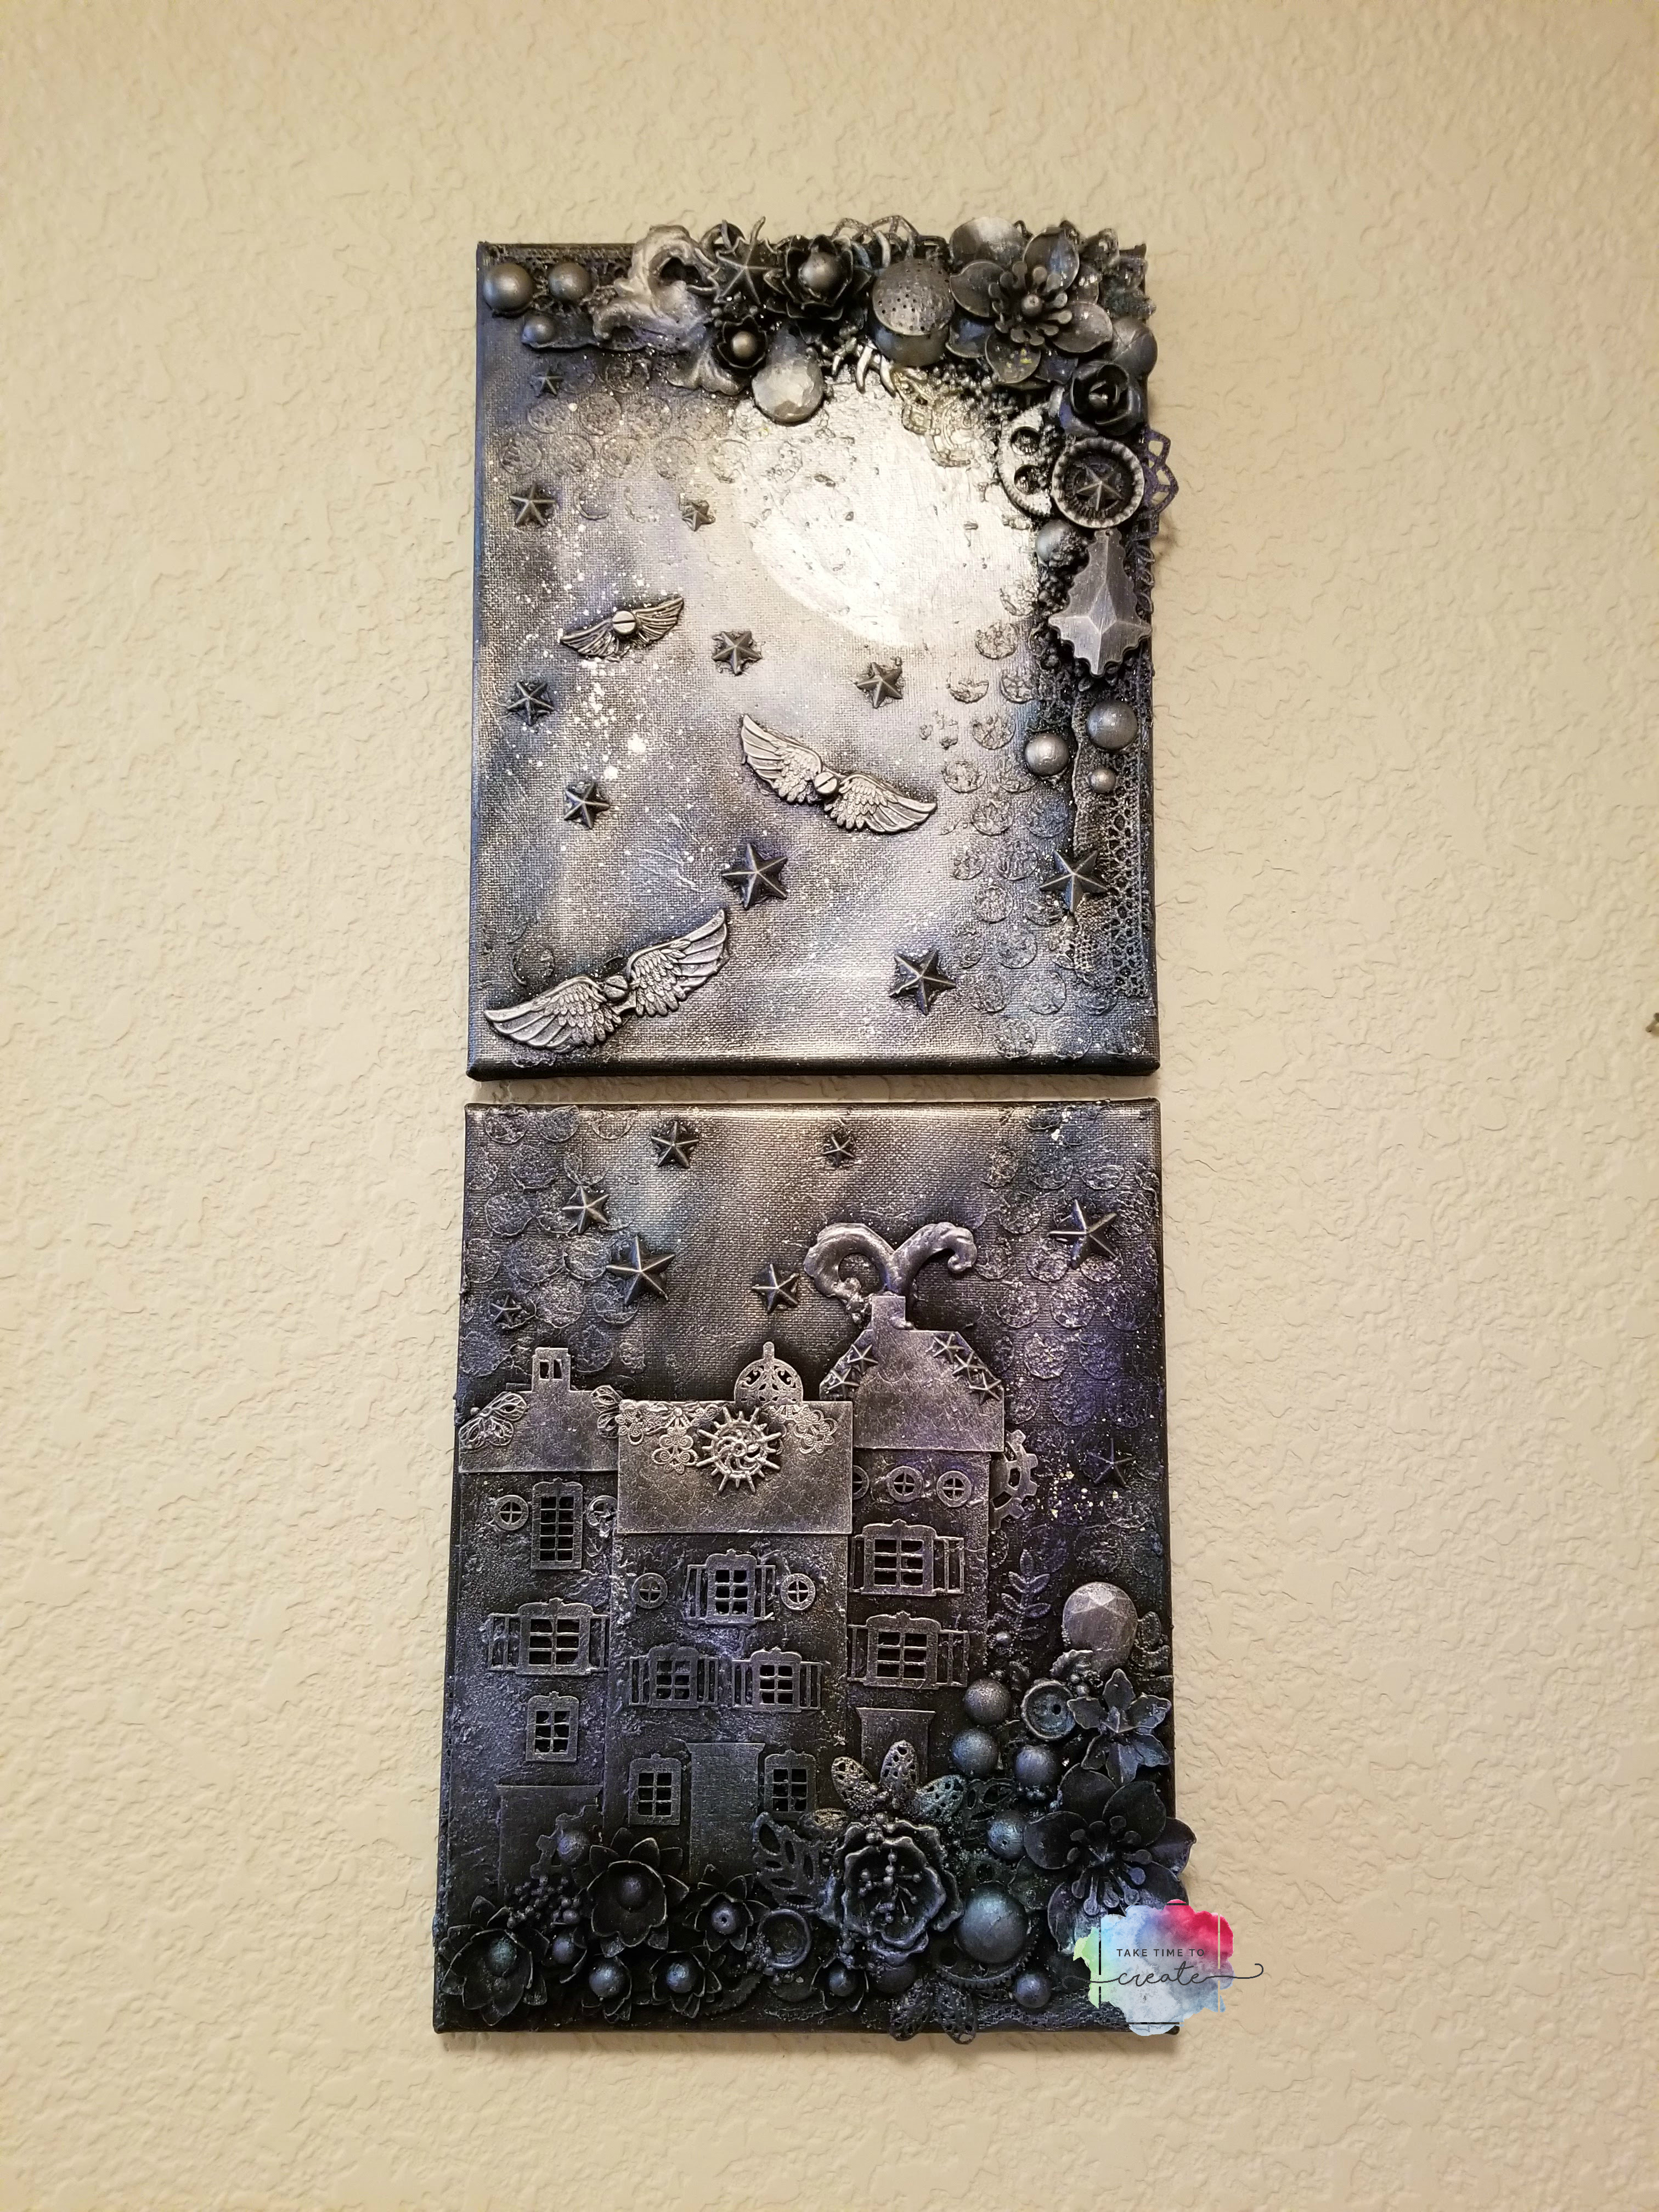
Mixed Media Shadow Box
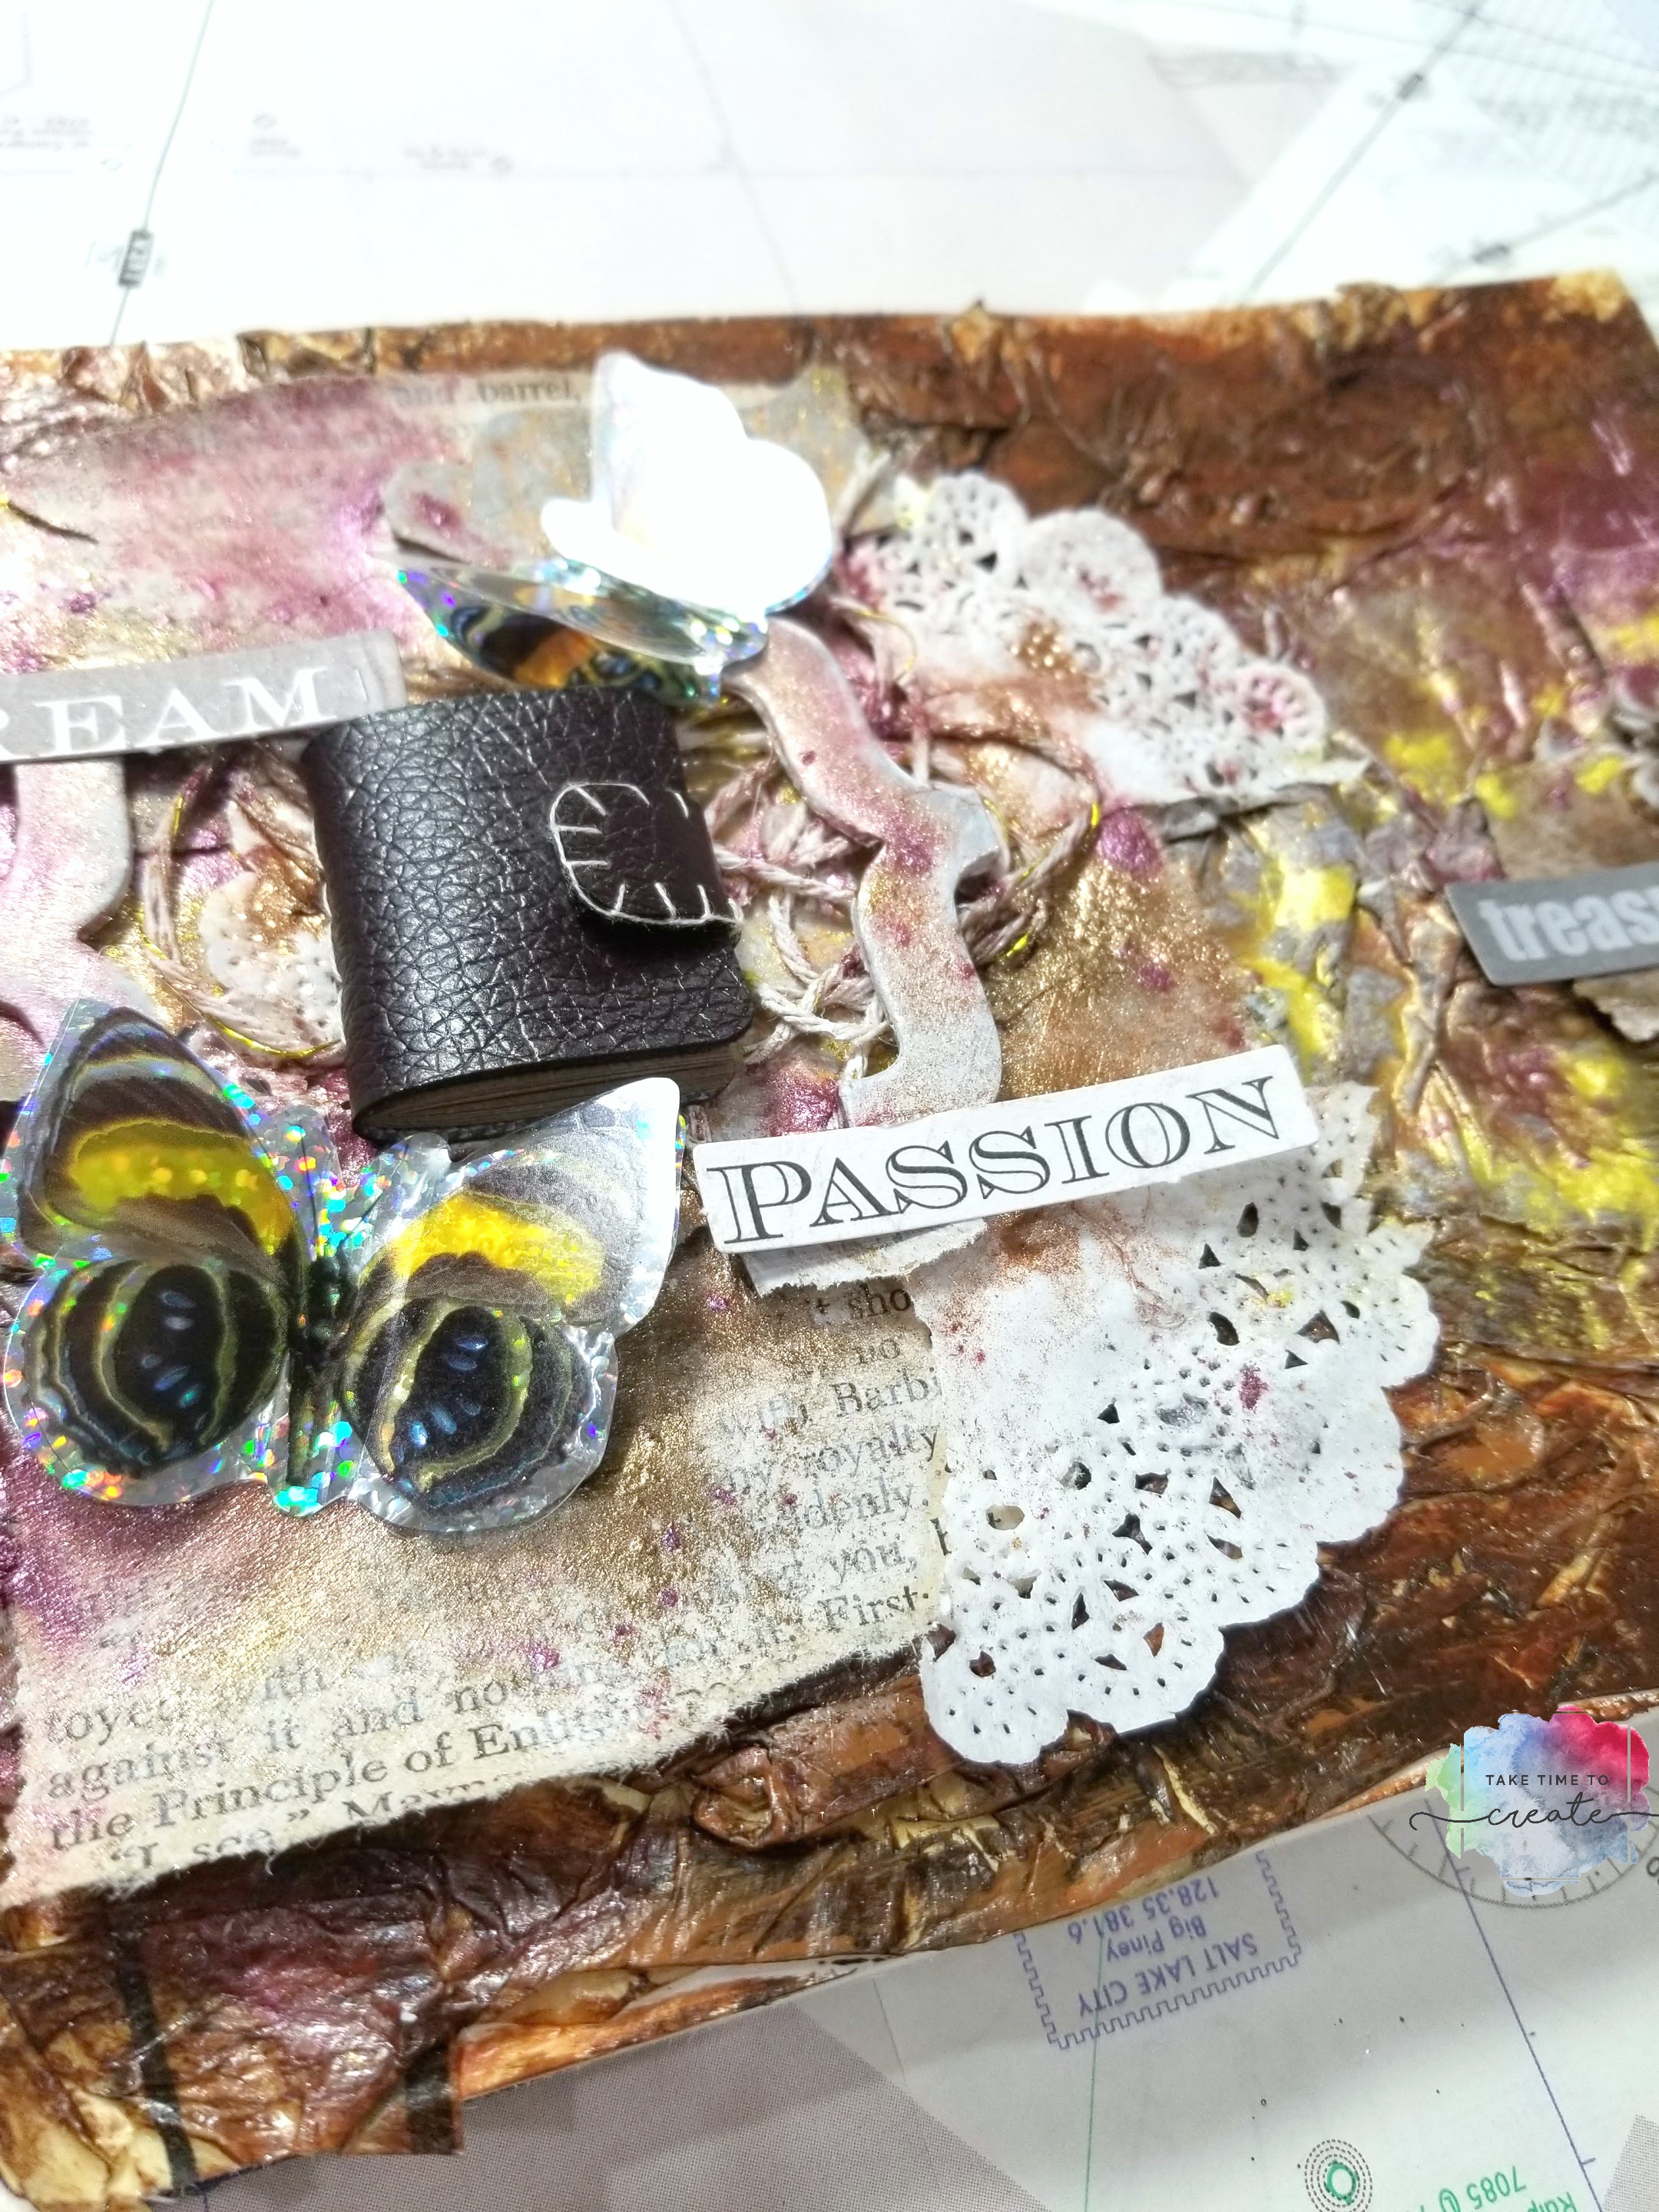
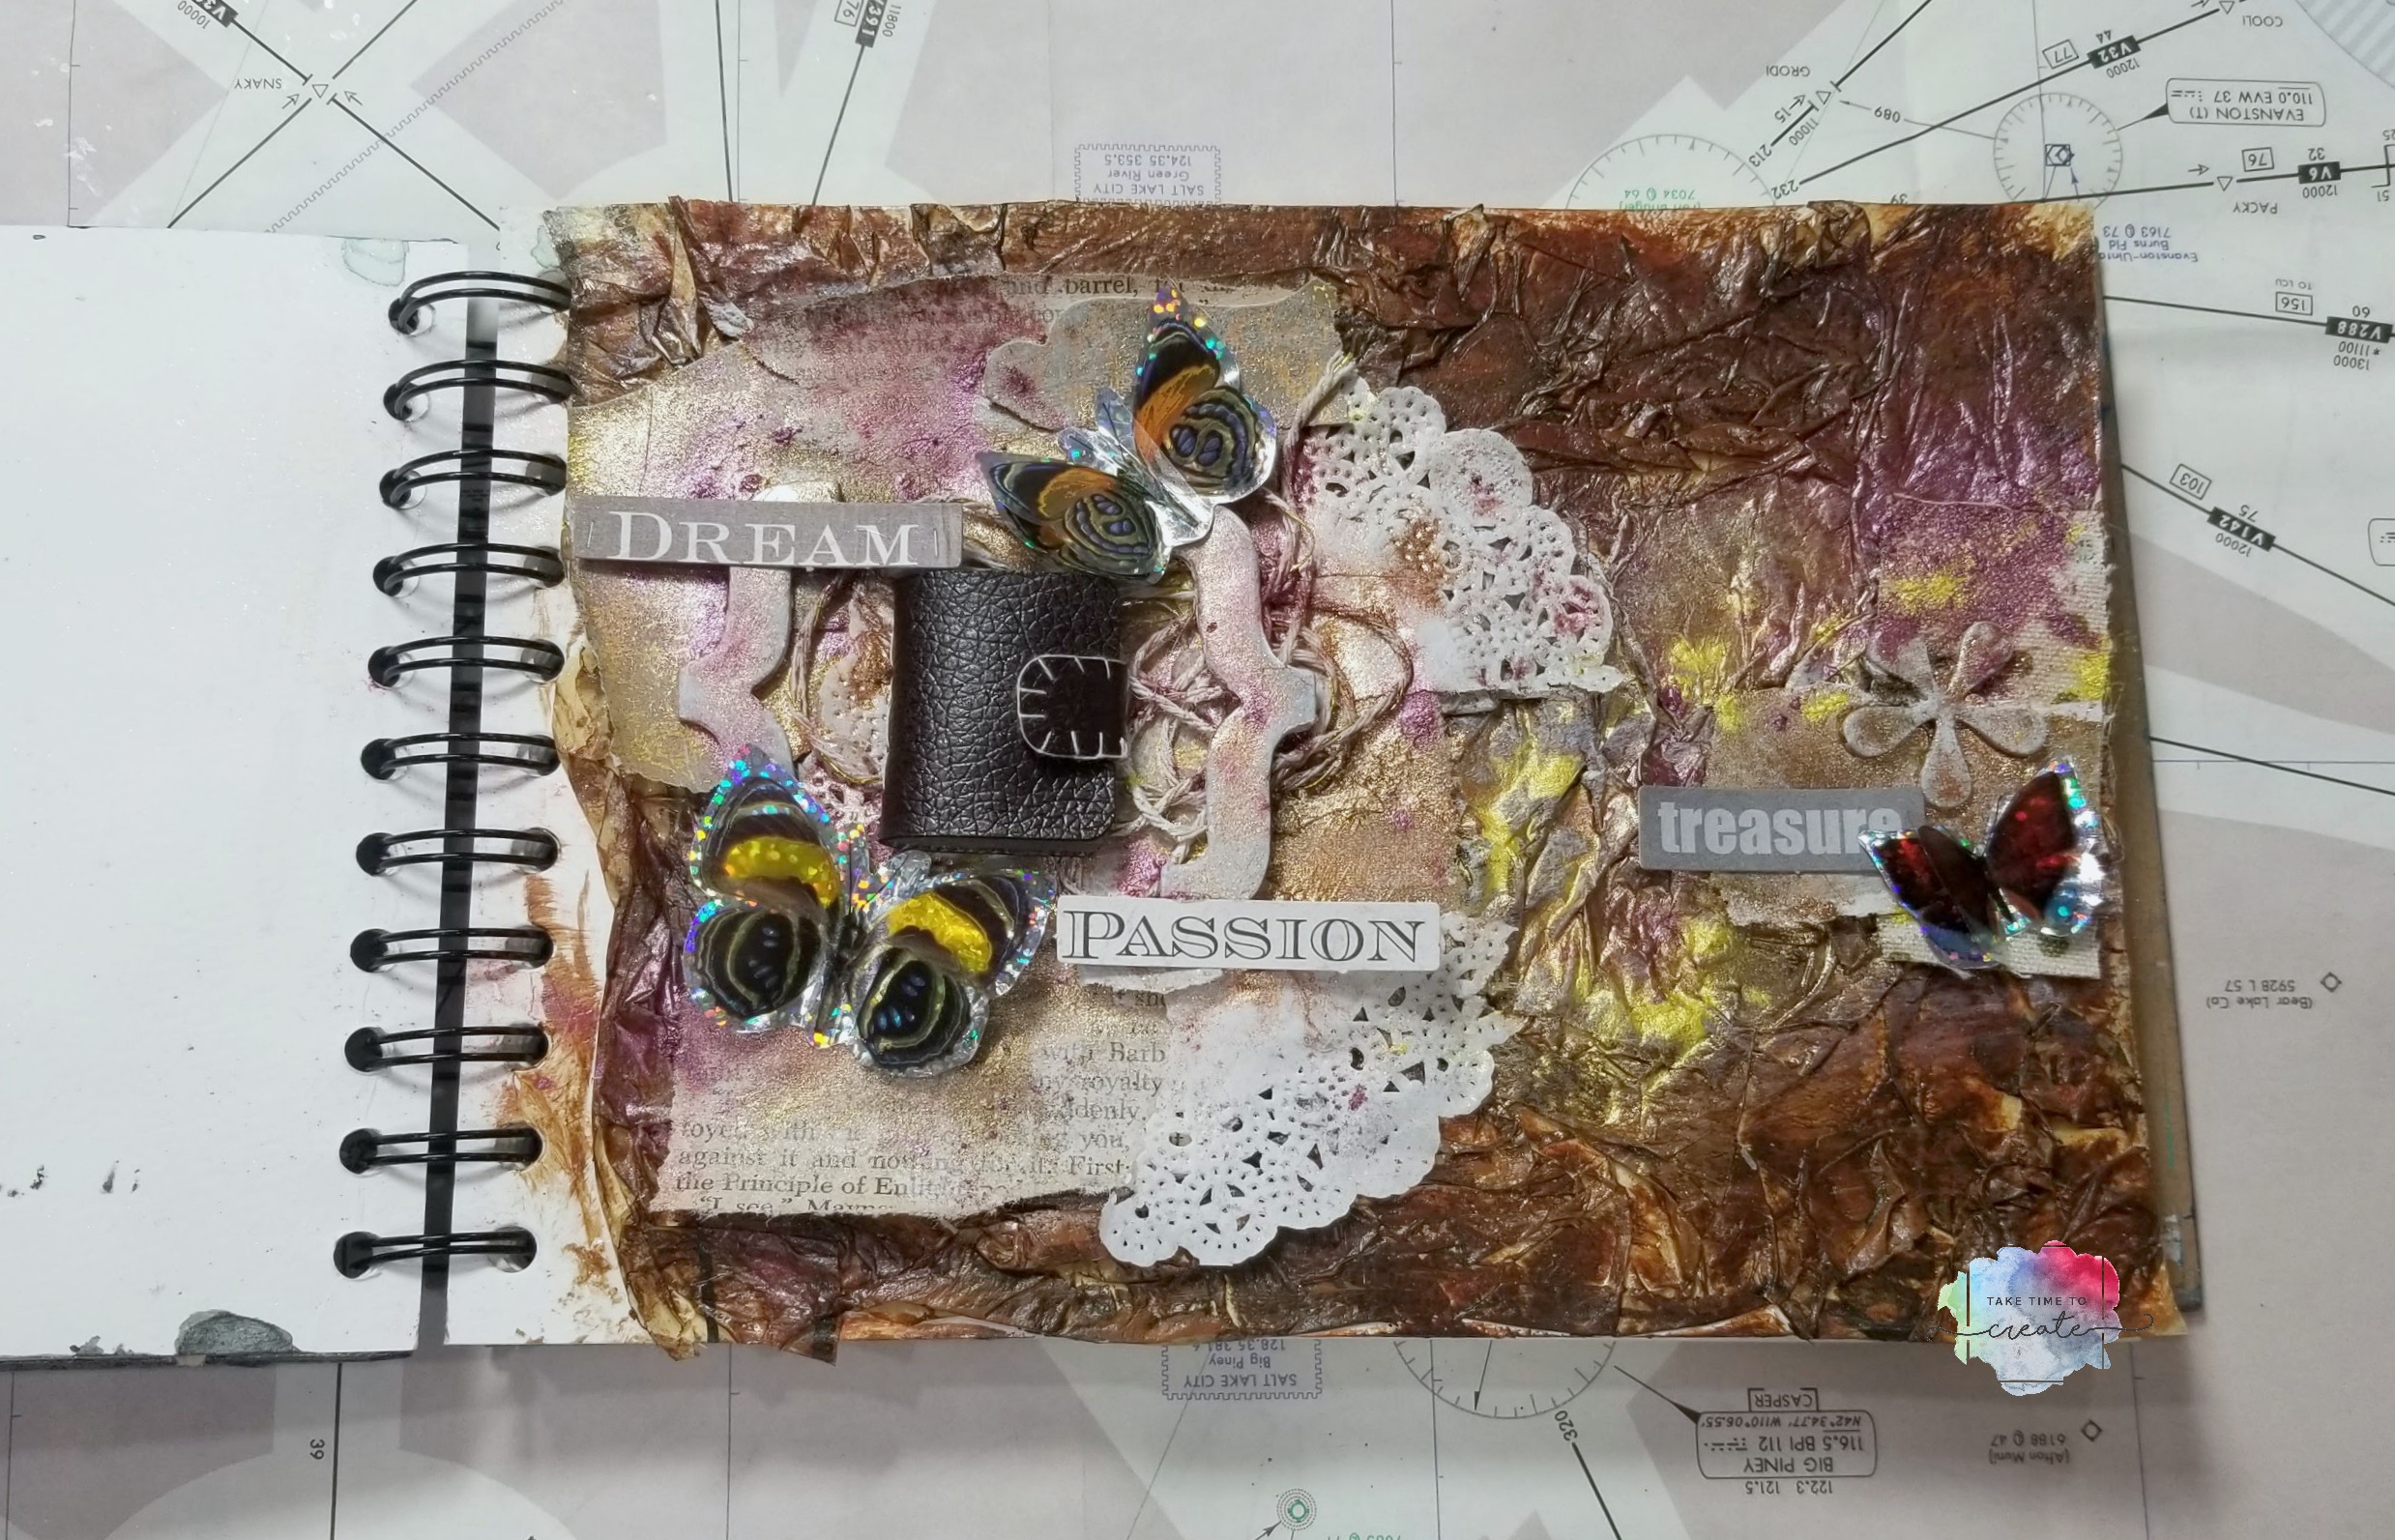
By adding contrasting elements like metal and wood you create a really interesting design. I like the worm metals with the black and white photo, the contrast is interesting to look at.
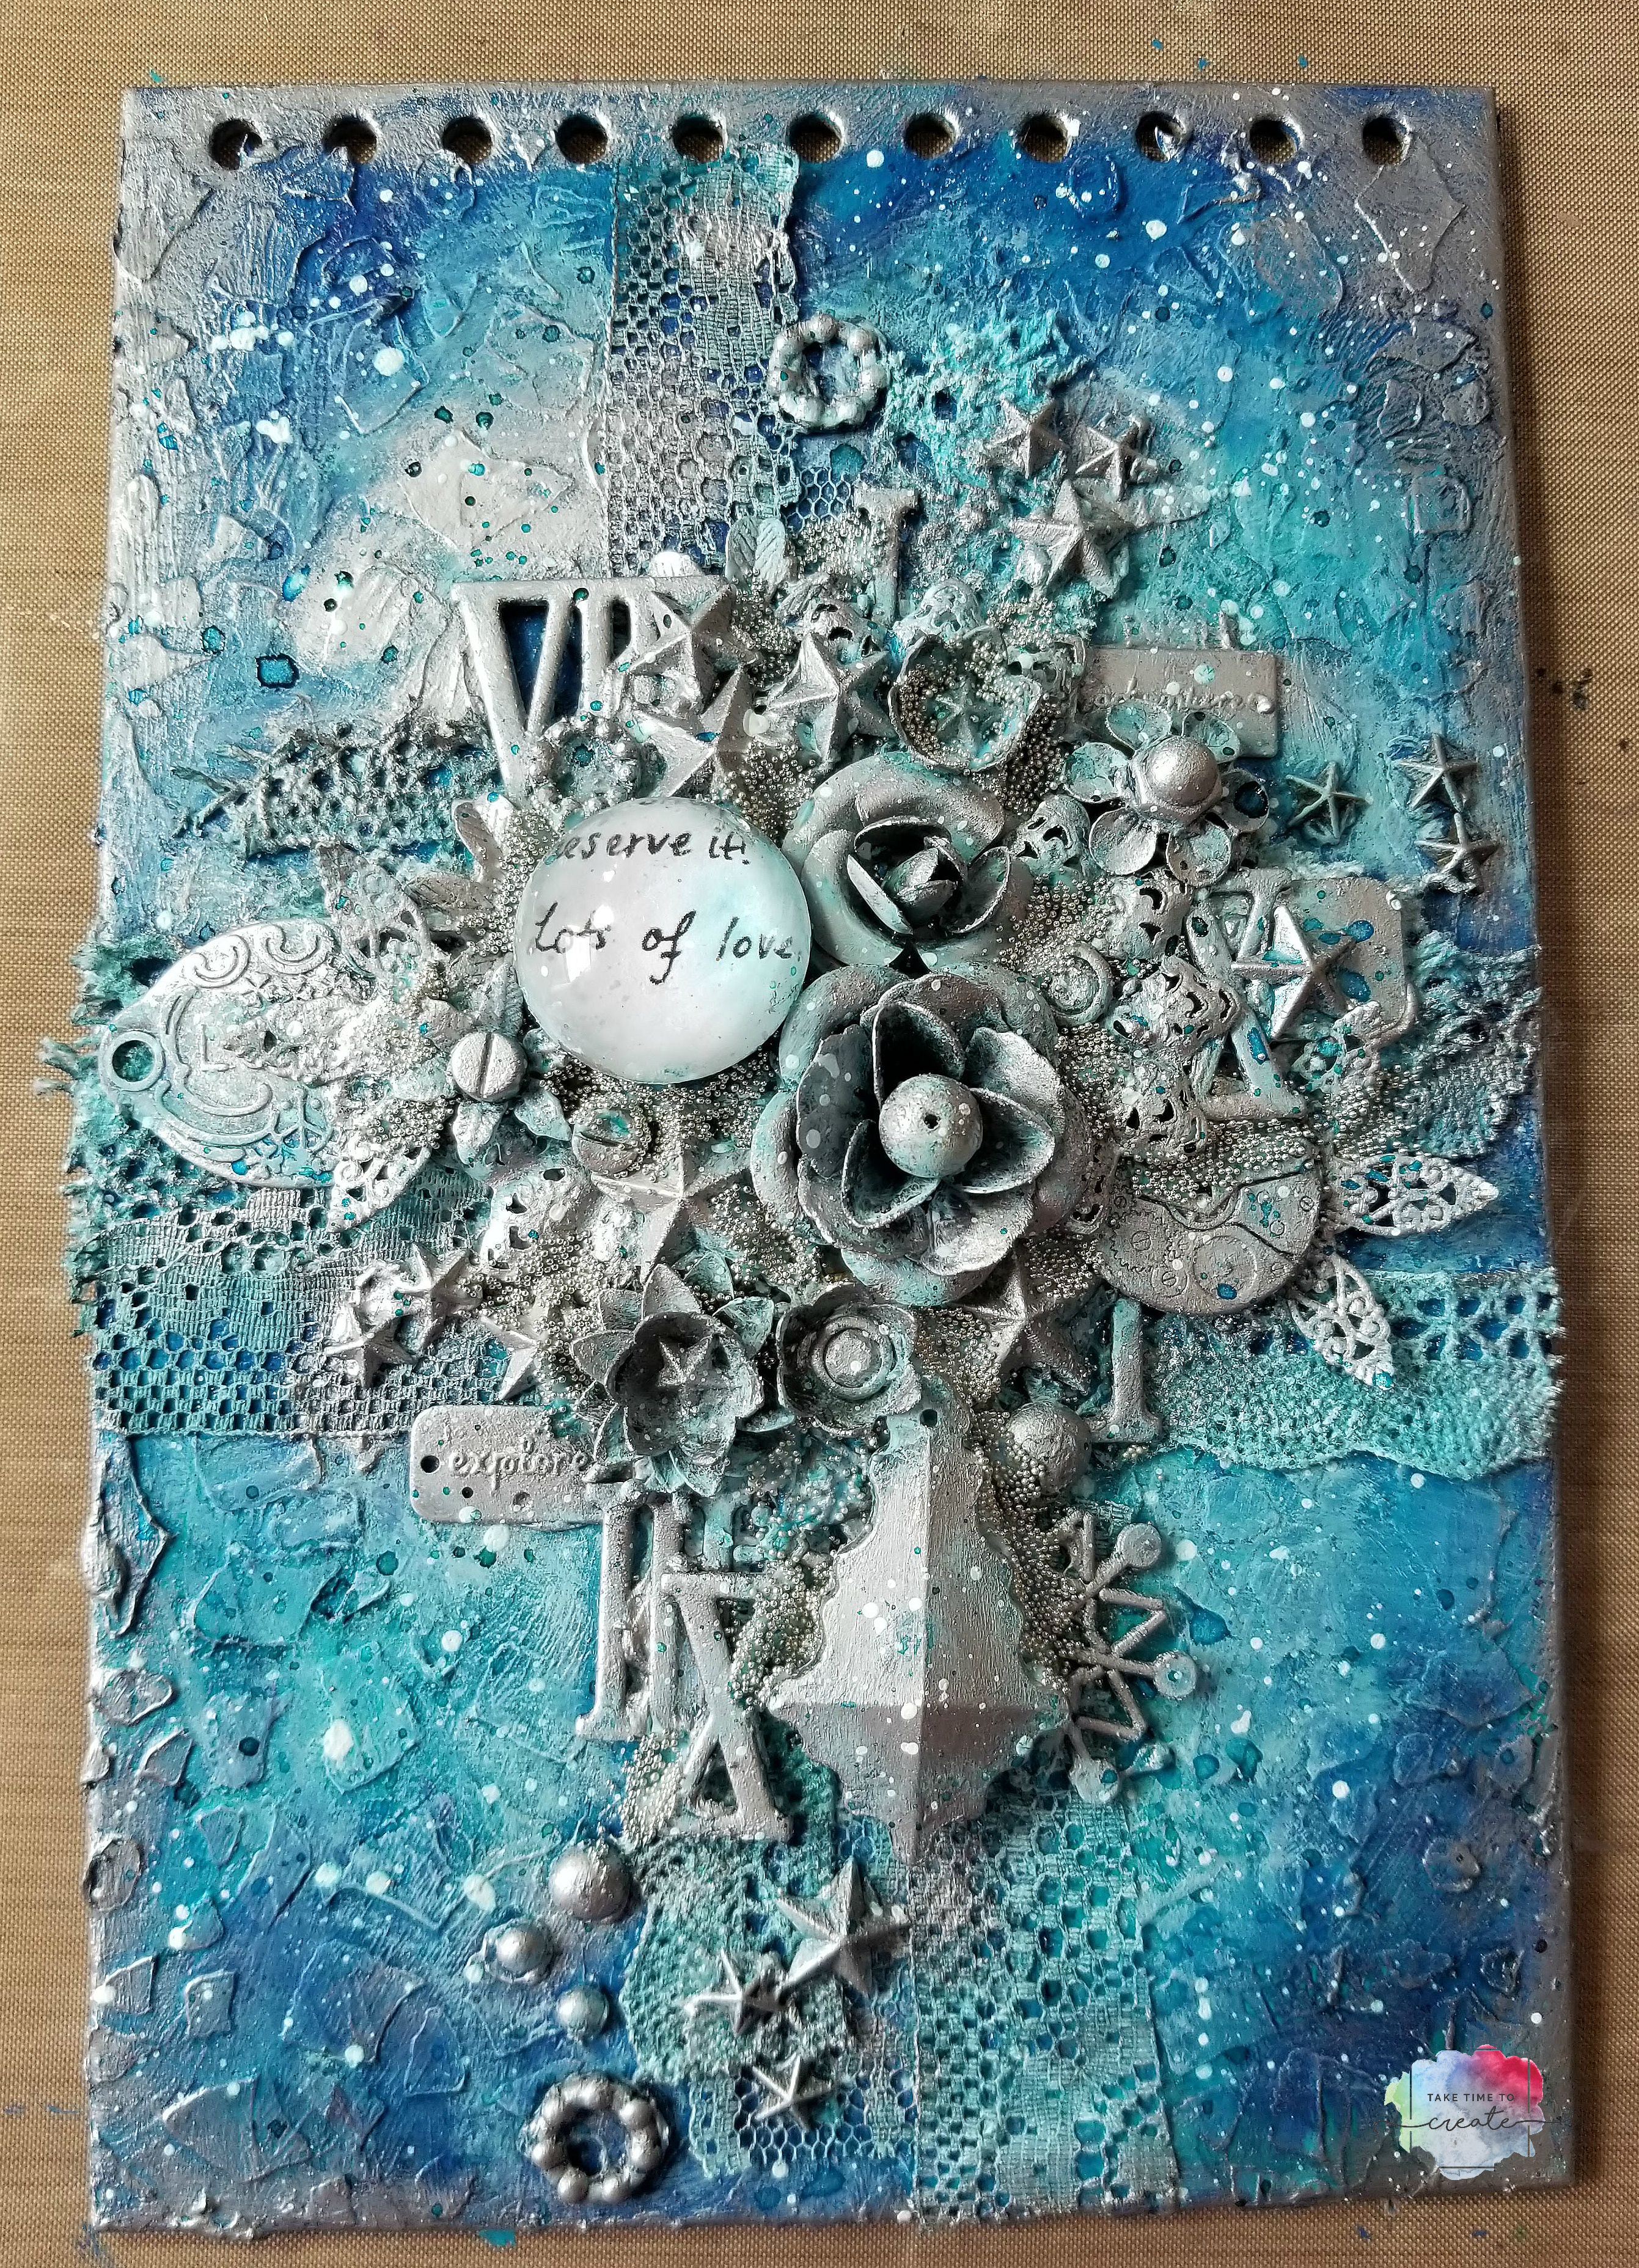
Mixed Media Shadow Box
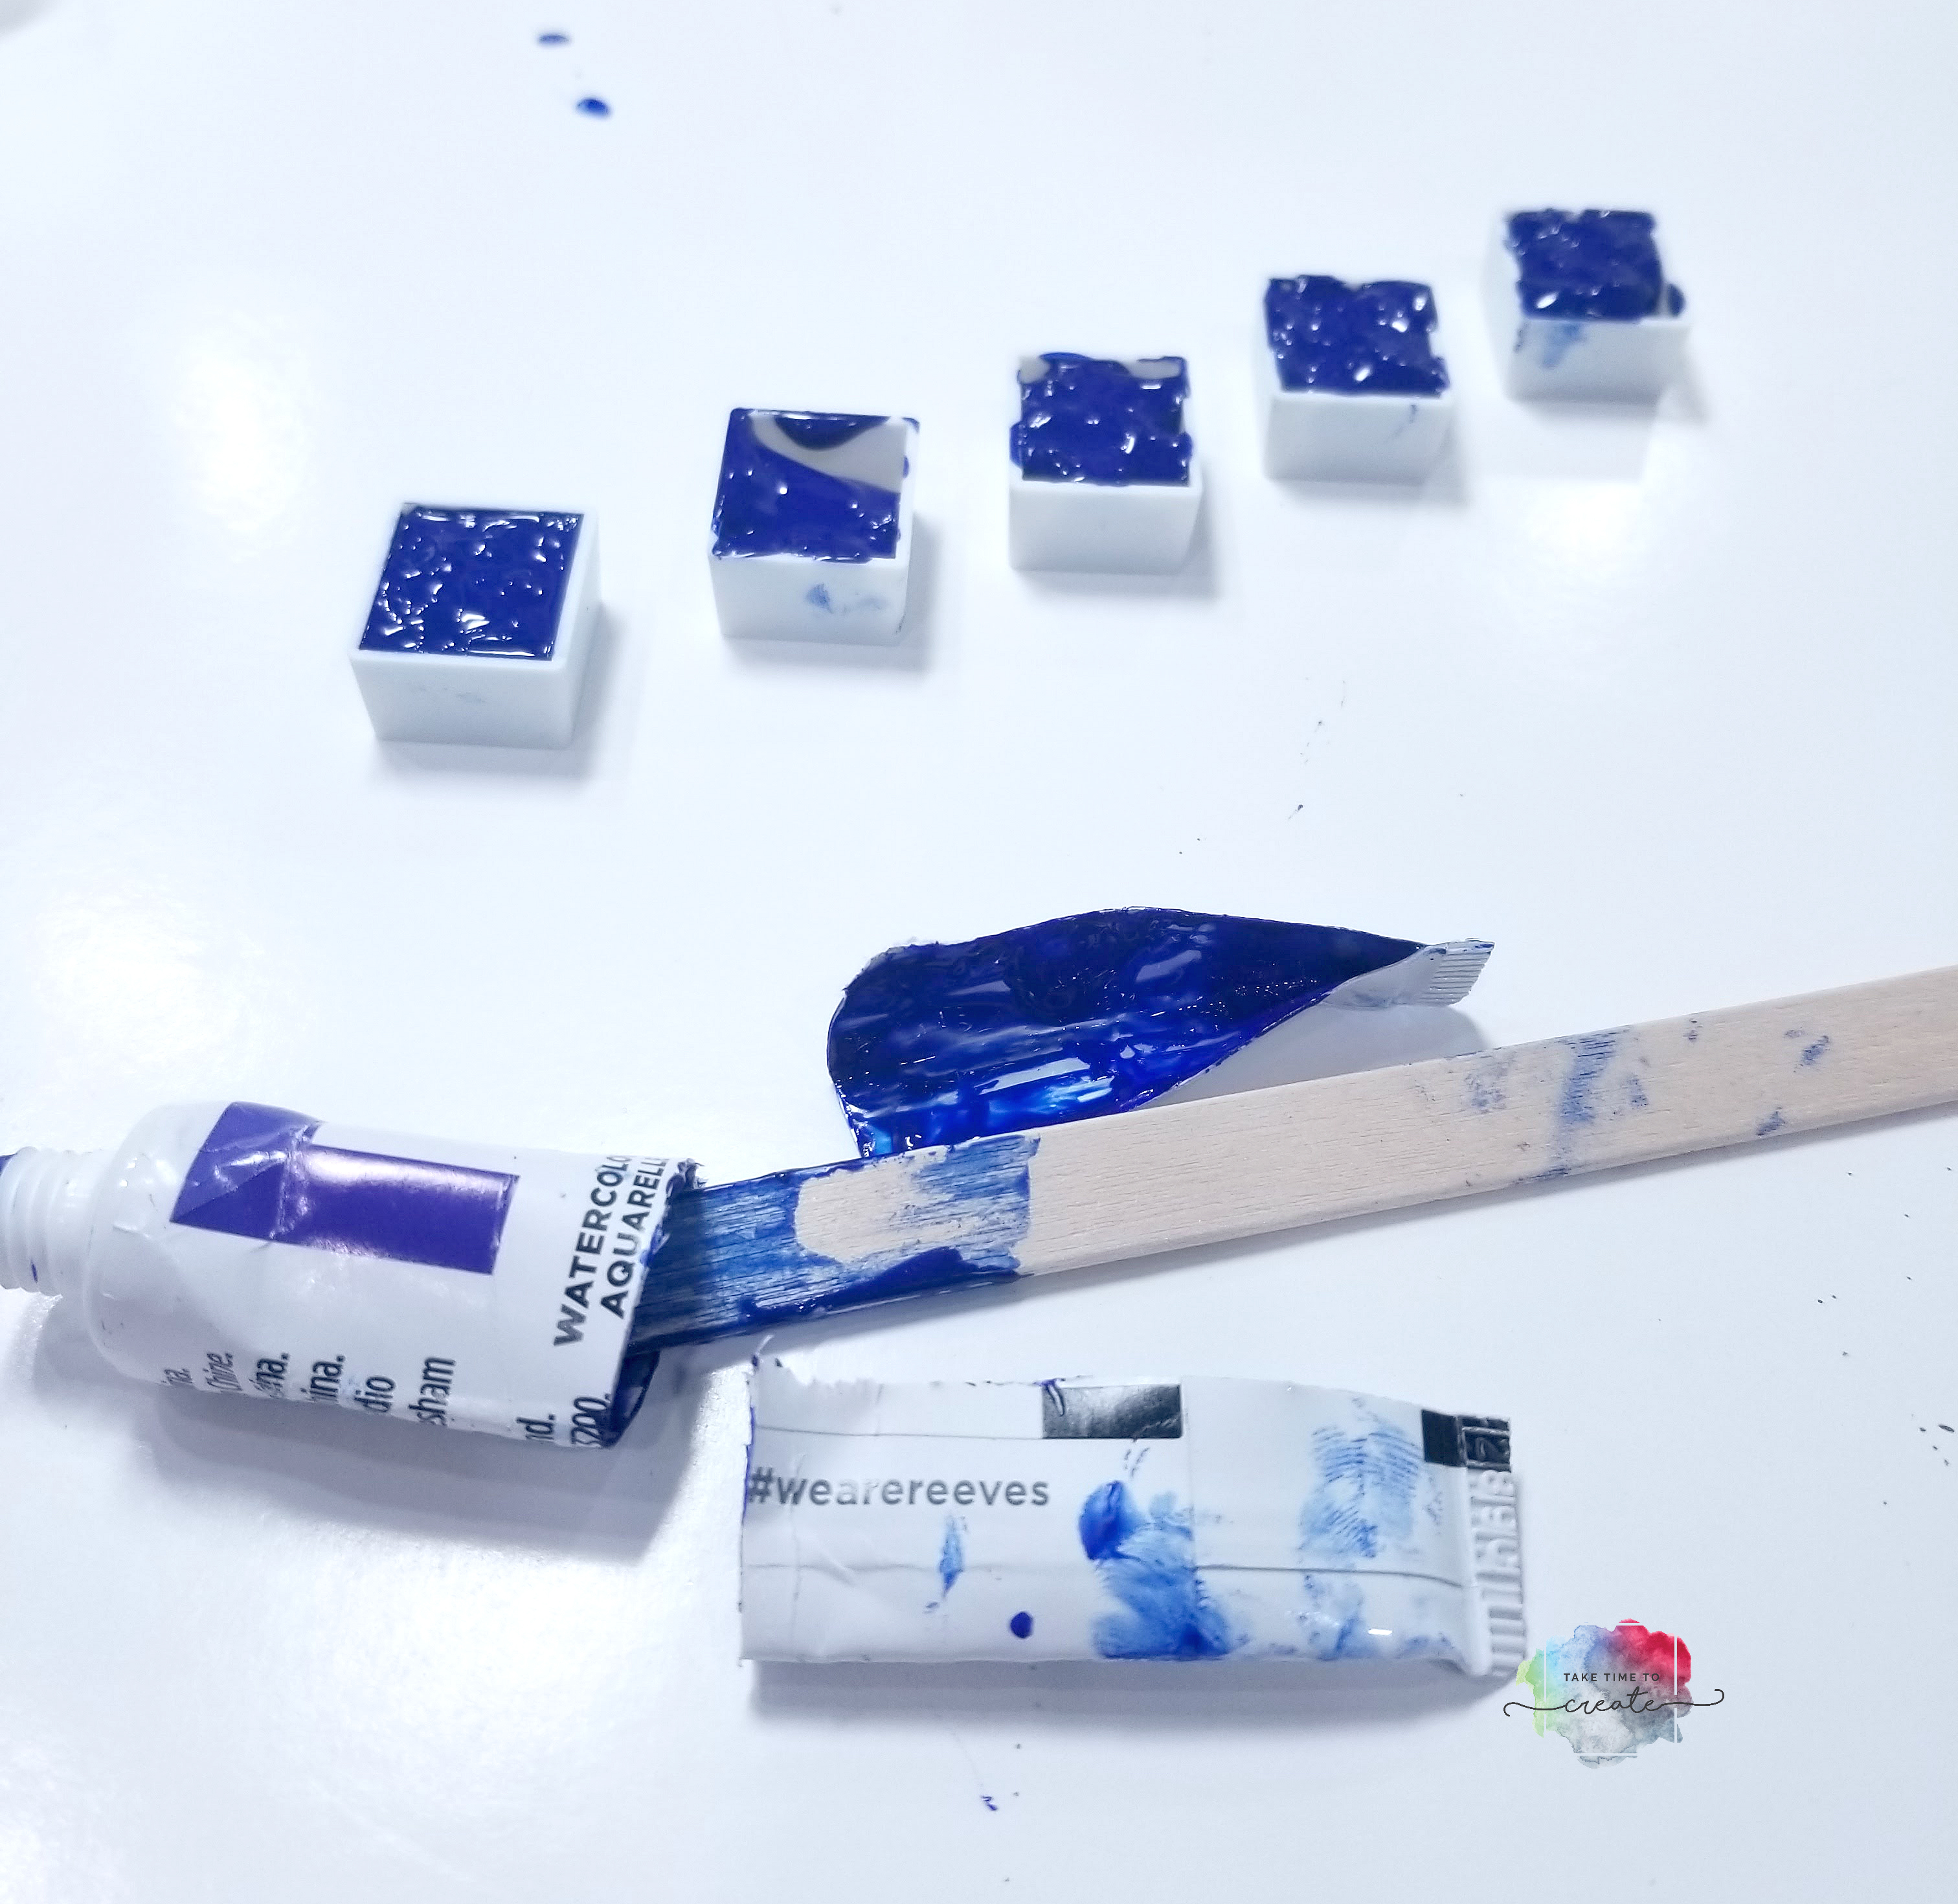
Projects like this are a great way to use up all the little bits and bobs that are in your stash, lol. These would be great gifts or perfect to keep for yourself, lol.
Mixed Media Shadow Box
Such a fun project! Do you have any old photos to use in a shadow box? Or have you used any old photos in a project?
Affiliate links
Wooden trays- https://amzn.to/2DgBIwF
Folk art metallic paint- https://amzn.to/2VYVZ0S
Finnabair brushes https://amzn.to/2T1PnwP
Wood letters- https://amzn.to/2FyFJ1I
Finnabair mechanical butterflies https://amzn.to/2MnwLoR
Finnabair vintage sik wax https://amzn.to/2FxlwJF
tim Holtz Found relative (in case you don’t have your own pics) https://amzn.to/2MiQmGv
The post Mixed Media Photo Shadow Box appeared first on Take Time To Create.