Tag: diy accessories (page 1 of 4)

DIY Dollar Tree Ornaments

Hello Everyone!

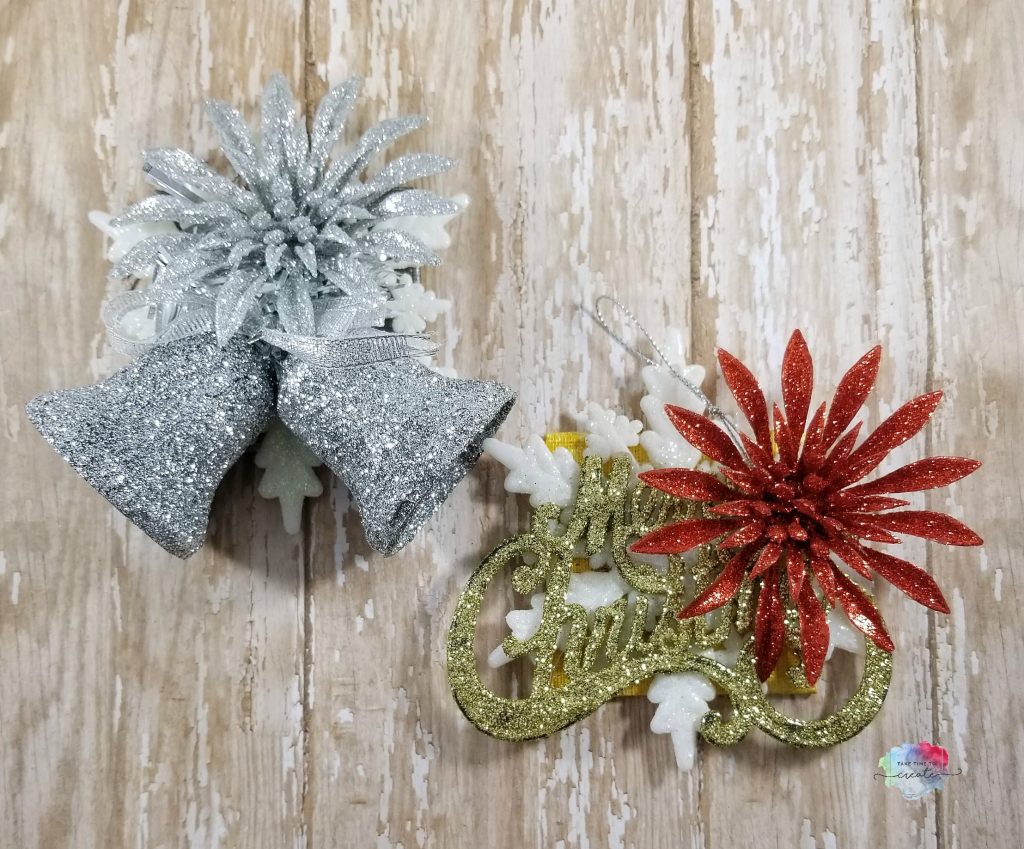
I know it seems early, but Christmas is right around the corner. I created these ornaments using goodies from the Dollar Tree.

FYI: I was compensated for this post. This post also contains affiliate links and I will be compensated if you make a purchase after clicking on my links.


This was such a fun project to complete.  I had a lot of ornaments and Dollar Tree goodies in my stash for this project, but they have a lot of the same ornaments year after year, along with some new ones.

I love how glittery the Dollar Tree Christmas items are, they make the perfect decorations.


diy ornament

For this project grab a tiny canvas and paint it in any color you want, I used a silver and a gold.  (if you don’t have a canvas a piece of study cardboard or foam board will work)
ns.productsocialmetatags:resources.openGraphTitle

diy ornament


I saw it on DollarTree

ns.productsocialmetatags:resources.openGraphTitle

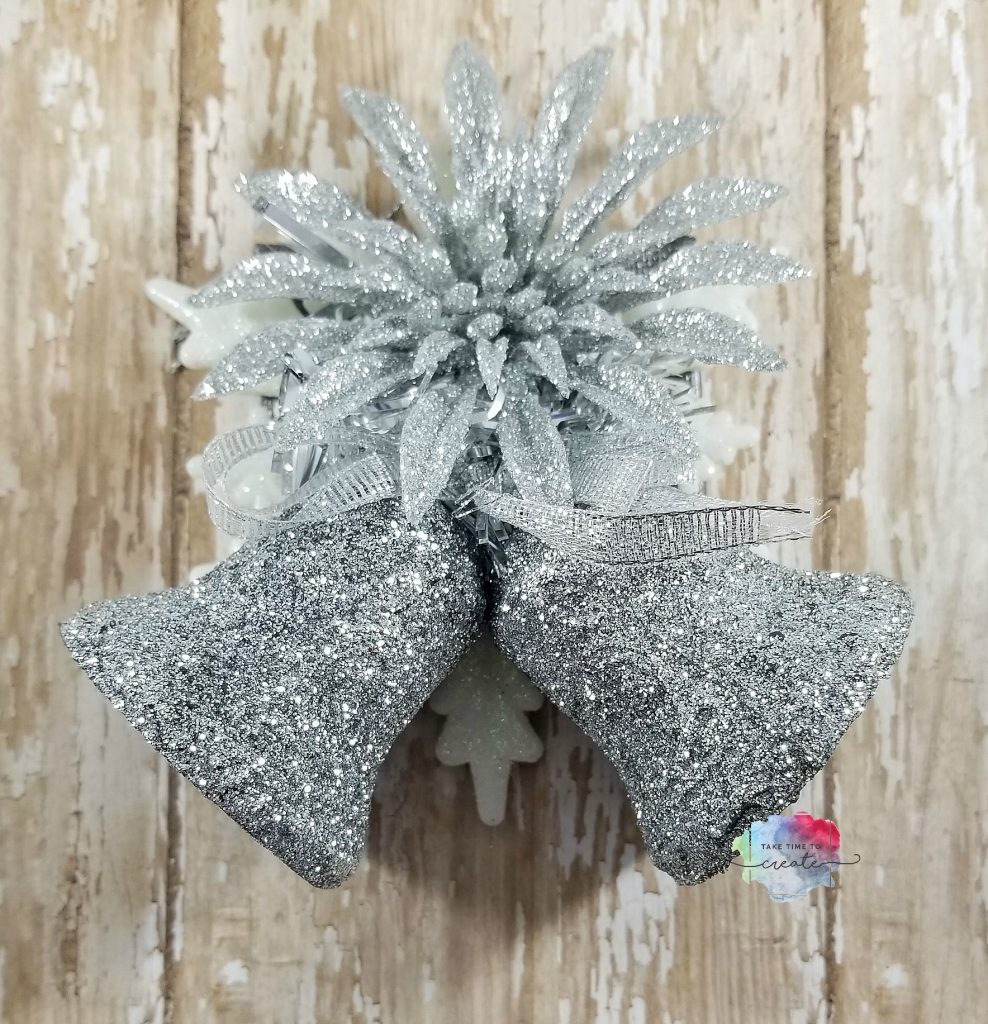
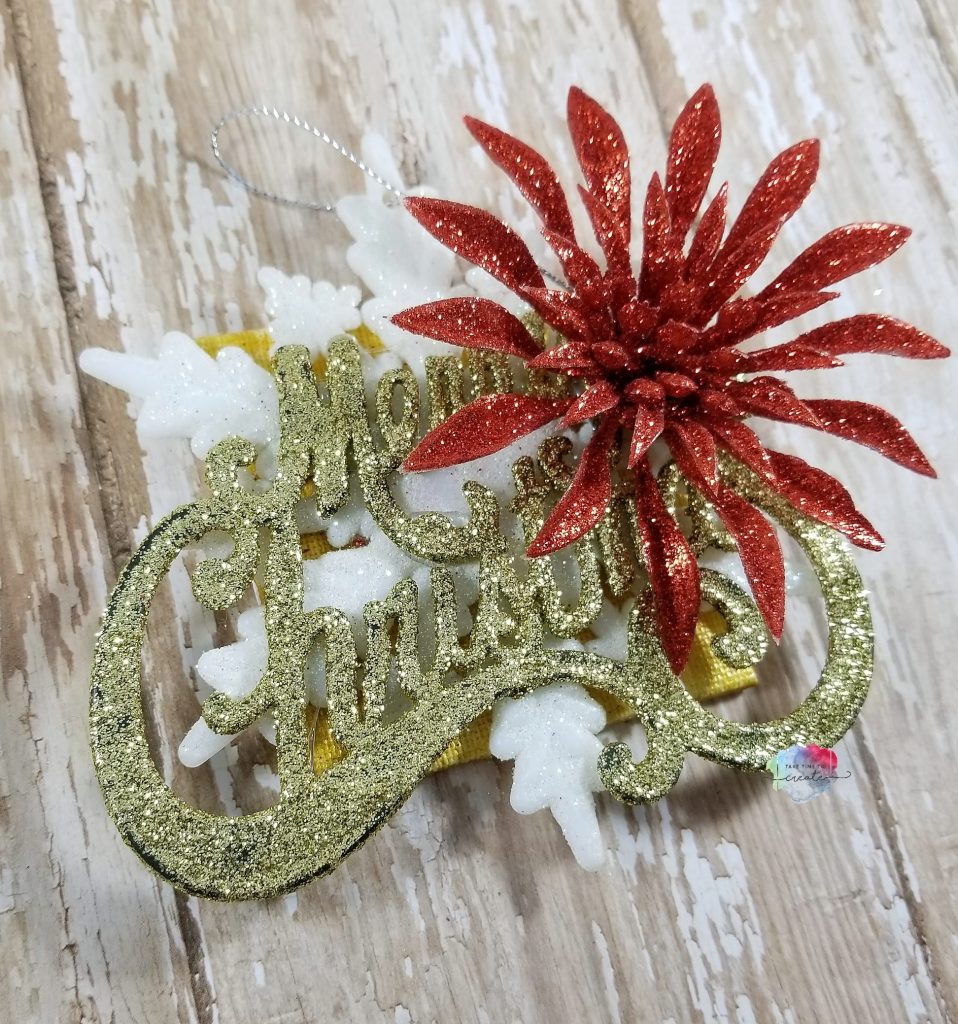
Once the paint is dry you can start layering your ornaments. I used hot glue to attach it.  I used 3 ornaments on each canvas to create an interesting look.

Just build your layers until you get what you are looking for and you are done! Add a string or ribbon to the back if needed.

diy ornament


This project is great to make unique ornaments for your tree, or you can use them as gift tags or gifts to just about anyone on your list.

Dollar Tree links:
Silver ornament bells- https://tinyurl.com/y74zglh8
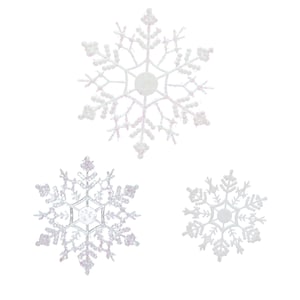
Snowflake ornaments- https://tinyurl.com/y8m8couj
Wintery Ornaments https://tinyurl.com/ybw8jglg
Poinsetta Ornaments https://tinyurl.com/y9wkawc8

Amazon Affiliate links:
Tiny canvas https://tinyurl.com/ya7st5yb
Metallic paint- https://tinyurl.com/y7e2yvoc


the post DIY Dollar Tree Ornaments appeared first on Take Time To Create.

Weekend Mixed Media Classes with Finnabair

Hello Everyone!

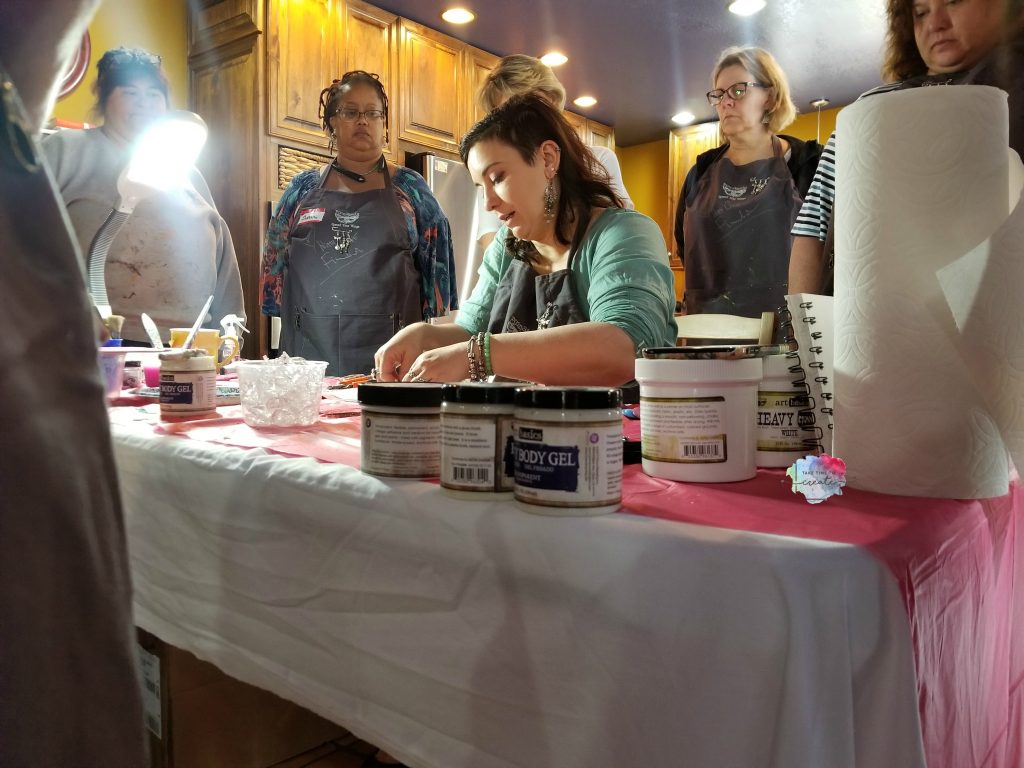
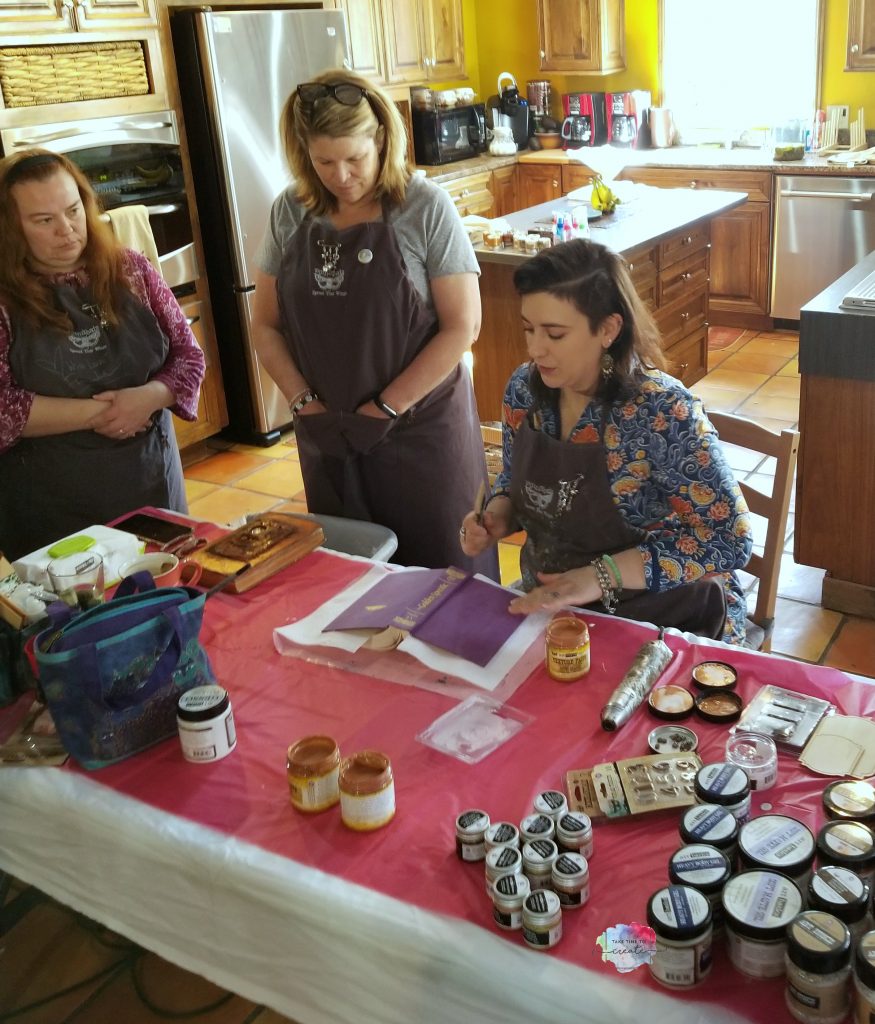
A couple of weekends ago I had the most magical, special weekend! I was able to take 4 mixed media classes from the amazing Finnabair! She is so wonderful and sweet and patient, and I learned a ton from her!

I did a try to keep my squeals and fan girling to a minimum, but I am not sure I succeeded, lol. It was just so awesome!

See here we are, bffs now, lol.


I am only kidding, but just a little bit. It was so nice to spend the time with her at Mojito Creek, a retreat in Colorado. I have been there before, and I love it there! You can read my review on the retreat here: Mojito Creek Review Link

You can check out Finnabair here: Finnabair’s website

And you can check out Mojito Creek here: Mojito Creek’s website

I did a video of the projects we completed and you can see that here:

At the end of this post I will add affiliate links to some of the supplies we used, but there was just too many to list all of them.

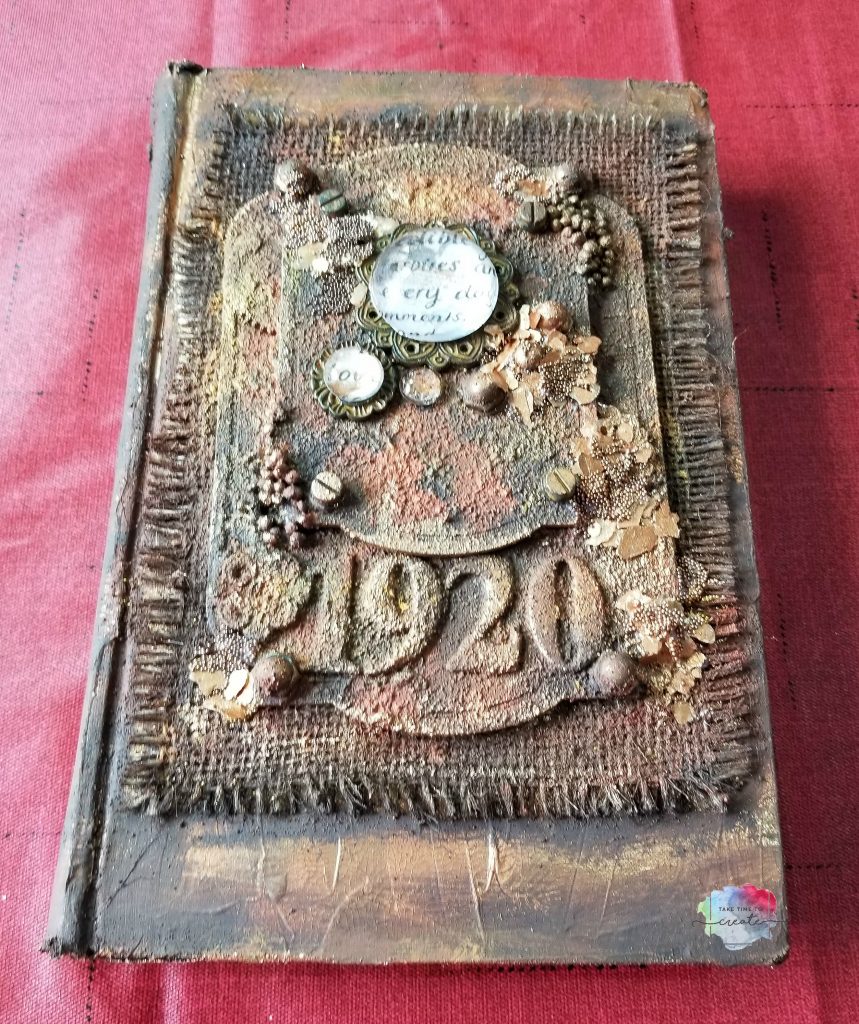
The first project we did is the Book of Rust. I loved learning more about the rust paste and how to use it and just to get better with it. I am going to incorporate more rust into my projects because I love the look of rusty old things.

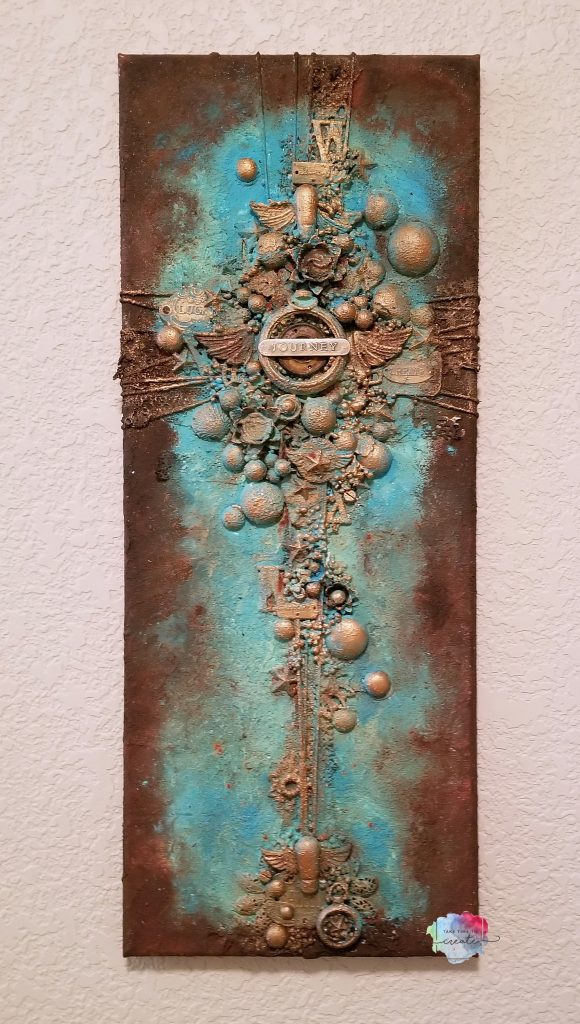
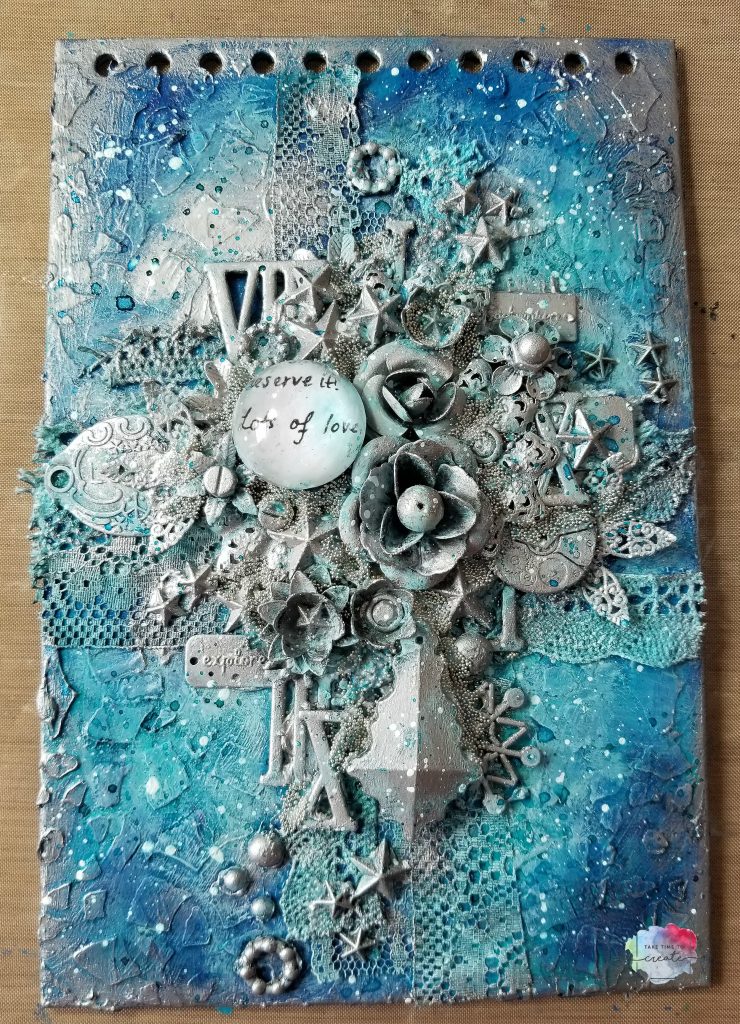
The next project is the long skinny canvas with rust paste and patina. I loved learning about how to use the patina, I have the paint at home but I never use it. Now I know what it can do and I am excited to add this medium to my projects!

That wrapped up the classes for Friday. It was a long day full of learning and exploring and I was ready for bed that night! The next day we got up not too early and started our day learning how to do 2 more projects.

The first one was the journal. This picture is the cover we made, I don’t have a pic of it reassembled. But it did go back together nicely, lol. I love this journal and I have been using it to make art journal pages, which is so nice because I have missed making art journal pages.


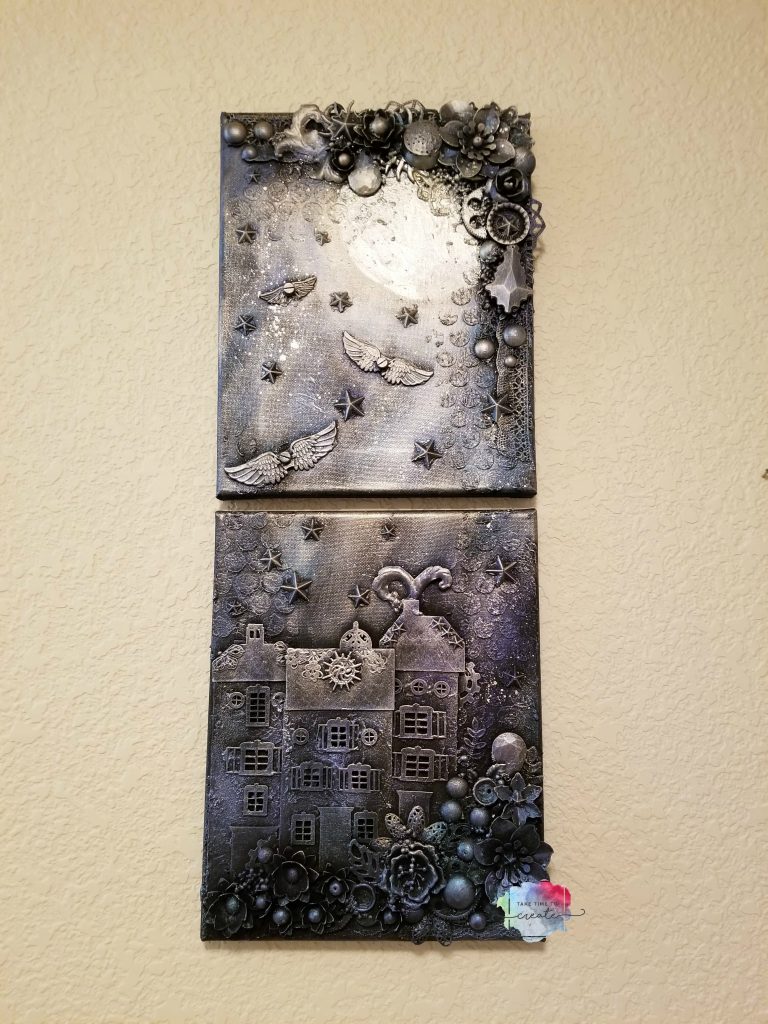
The last project is the moonlight one. I have to say this is the one I was most excited to learn! I love the technique and the final canvas is just so pretty.

All of these projects were so much fun to make! And I actually finished all the projects while I was at Mojito Creek, so that was nice to actually come home with finished projects! If she comes to Colorado again I will be sure to sign up for her classes! This a dream come true and I can wait to incorporate what I learned into my projects!

Here is the list of some of the products I used (they are all affiliate links)

The post Weekend Classes with Finnabair appeared first on Take Time to Create.

Easy Fabric Frame DIY

Hello Everyone!

Today I have a fun, easy fabric frame project for you. I am still on a fabric kick, I have so many ideas using fabric and I can’t wait to share them with you.


For this project I used fabric I got from Annie’s Fabric Club. This is not sponsored, but I really like the fabric I got, and I am looking forward to next month’s fabric.  Here is the link to the club if you are interested in joining: https://www.creativequiltersfabricclub.com/

This is such a fun, easy project that only takes a few materials

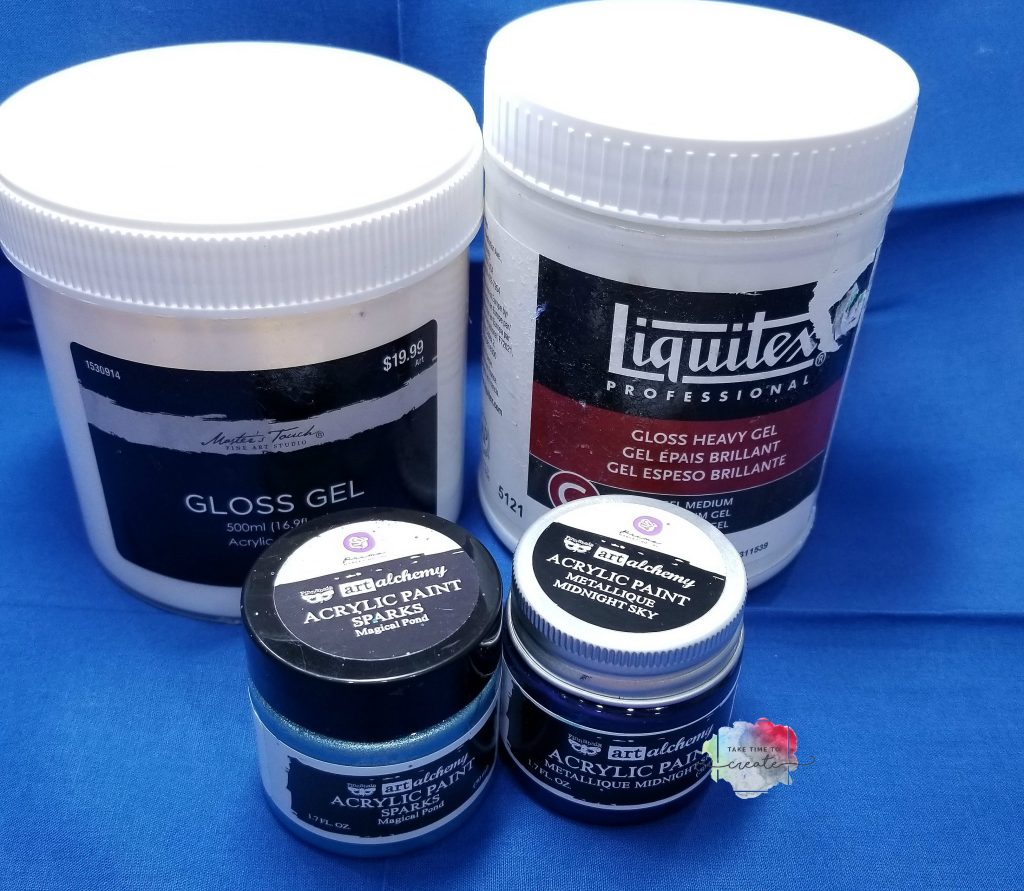
Materials (with affiliate links):


Instructions:

Gather all your material including the fabric and your frame. The frame should have a wide enough border that gives you plenty of room to add fabric. The color of the frame doesn’t matter a lot because you will be covering it in fabric.

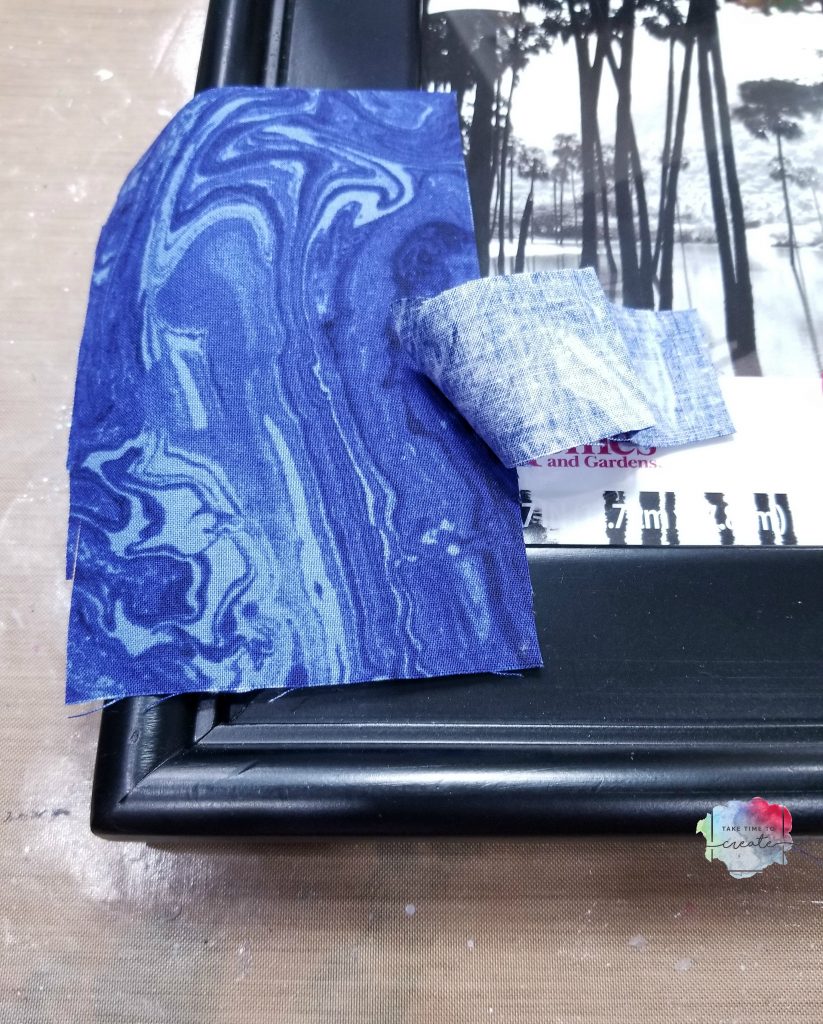
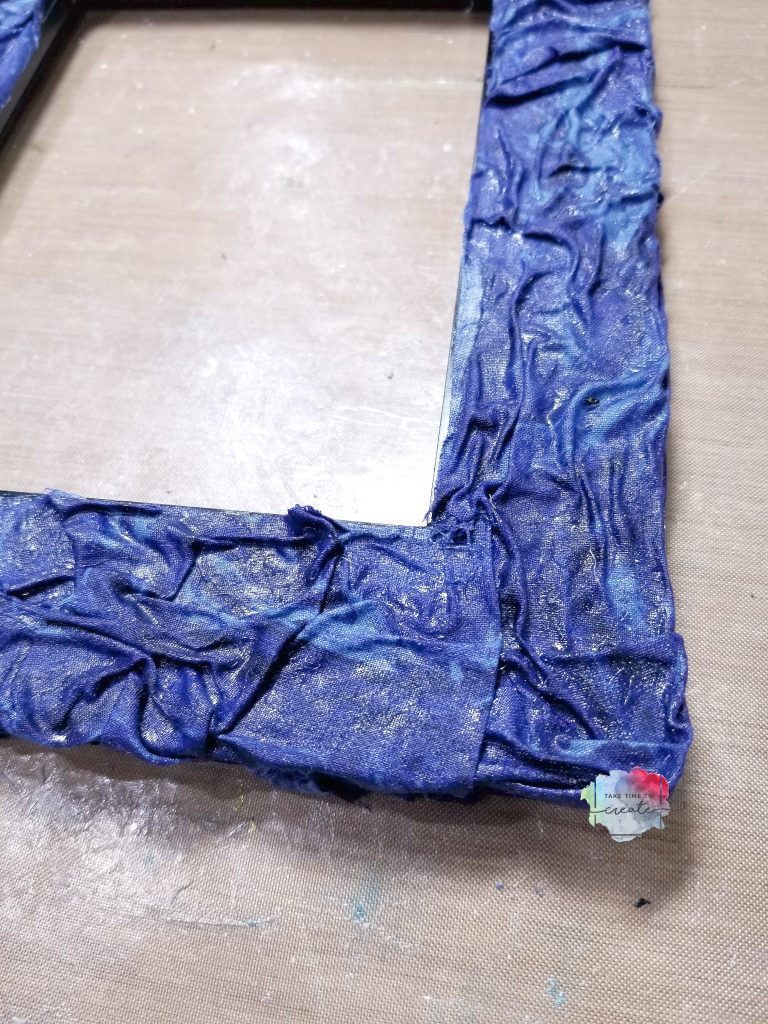
To get started cut your fabric in strips that are a little wider than your frame. Spread heavy gloss gel on the frame. Coat your fabric strip in Gloss gel and add to frame, crinkling it up as you go. While everything is wet take the time to get all the wrinkles and texture you are wanting.

Fabric Frame

Take your time and make sure it looks like what you are going for. Before you let your frame dry clean up the edges and back with a baby wipe. Let the frame dry. Once dry you can leave it at this step if you want, or you can go on to the next step which is adding paint.

Fabric Frame

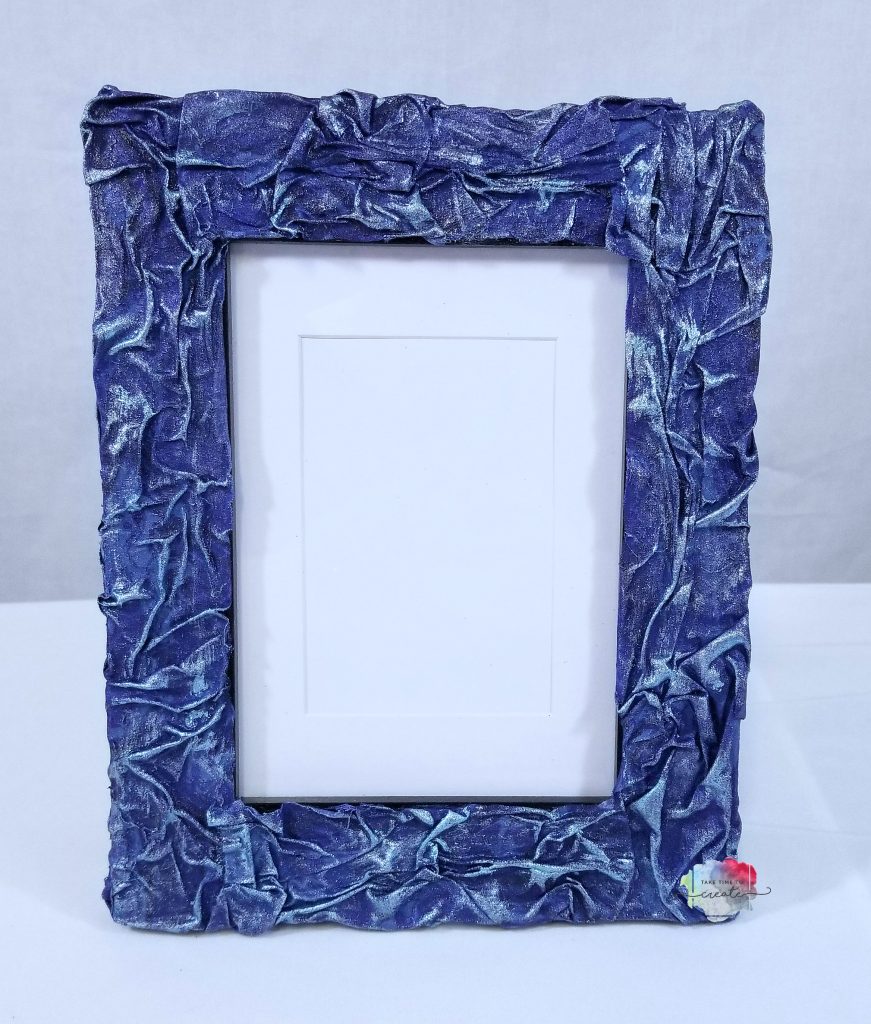
After the fabric dried (leaving it over night is best) I dry brushed on a Finnabair Metallique and a Finnabair Sparks paint to add some detail and sparkle. I really love her paints and they add that bit of interest that I am looking for. .

And that is it, the frame is done! These are so much fun and easy to make, I think I will be making a lot more as gifts this year.


The post Easy Fabric Frame DIY appeared first on Take Time To Create.
 

Investigative Art Journal You Tube Series

Hello everyone!

I you all had a wonderful holiday. I relaxed and had a great time off, but now it is time to get back to work, lol.

As many of  you know I have a You Tube Channel where I feature a lot of the projects that I do right here on the blog, but I do have a series that I haven’t mentioned here. This new series I started is called Investigative Art Journal this is where I take art and craft supplies and I weight them, test them, and destroy them to learn things and to see how much product is there.

Craft supplies can be really expensive and was curious as to how much product is actually in a tube.  I am hoping that these video will help you with your purchasing decisions.

In my first video I checked out Faber-Castell Gelatos:

This was so much fun and eye opening! There was a surprising amount of product in that little Gelato.  It makes me feel a little better about buying all the colors, lol. But now I need to use them all, but that might take a million years, lol.

I have created a few videos, but the one that surprised me the most is the Stickles:

When I thought I was done, when I couldn’t squeeze out another drop I cut it open and I was surprised to see how much was left! You won’t believe it when you see the video. So make sure you cut open the bottle when you think  you are done.

Here is a link to my playlist so you can check out all my videos:

I would love for you to check out my channel and subscribe.

This has been a super fun project and I have a ton of other products I am going to test this year.

Is there anything you would like me to test and check out? Leave me your suggestions below and I will see what I can do.

The post Investigative Art Journal You Tube Series appeared first on Take Time To Create.
DIY Dollar Tree Snowflake Christmas Decoration

Hello Everyone!

I was compensated for this post. This post also contains affiliate links and I will be compensated if you make a purchase after clicking on my links.

Christmas is just around the corner and I am getting excited! I love to make my own decorations, the glittery the better, lol.

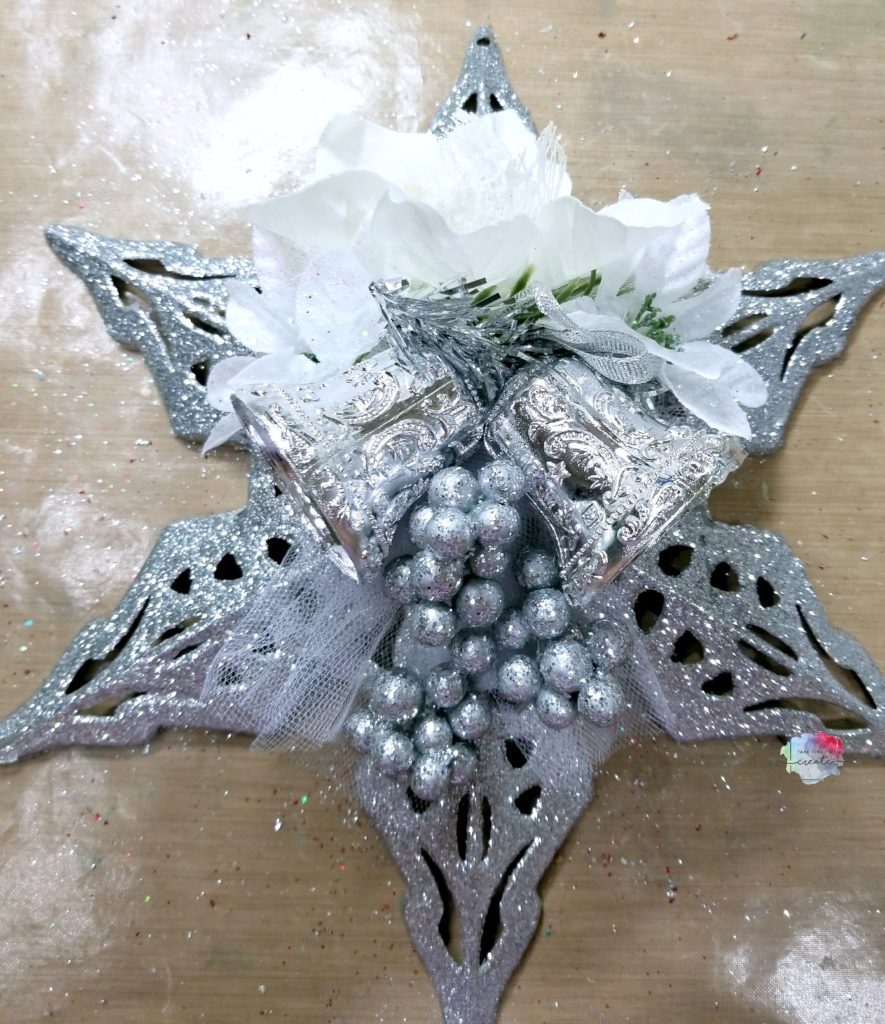
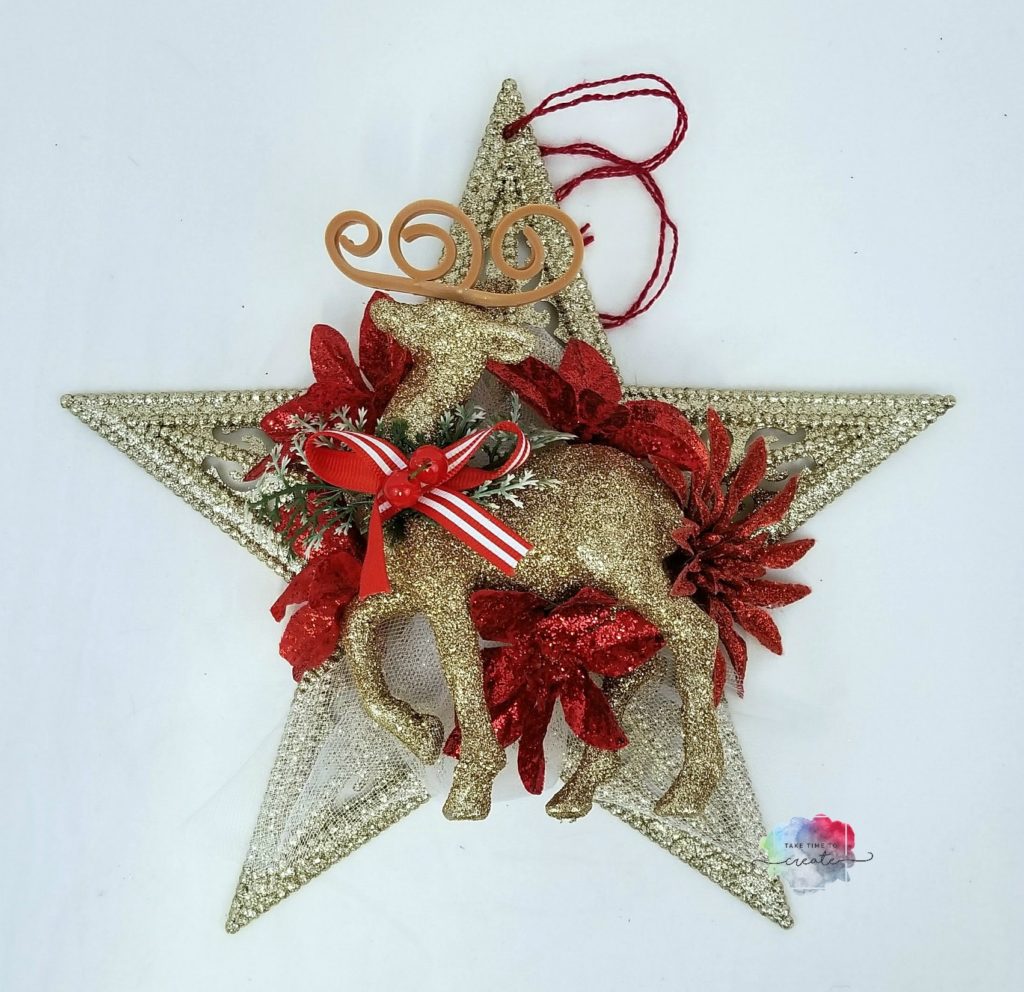
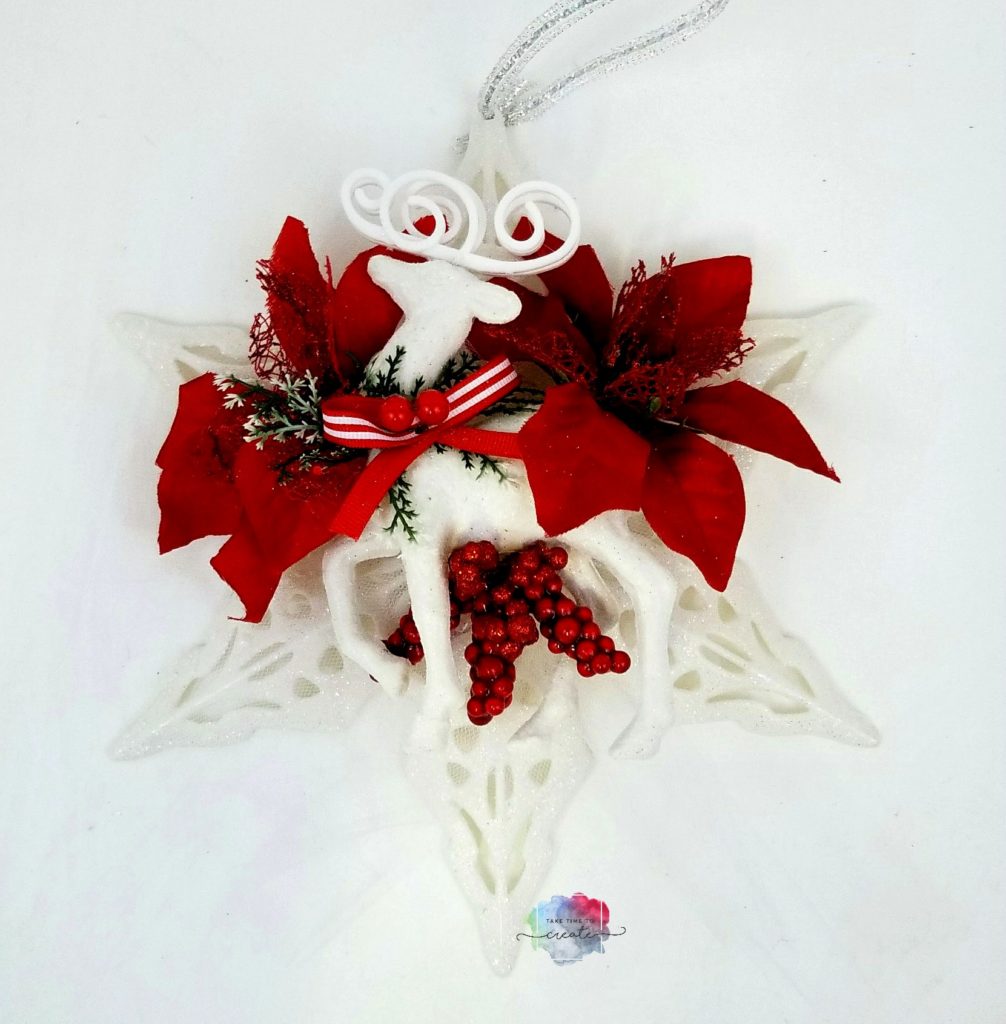
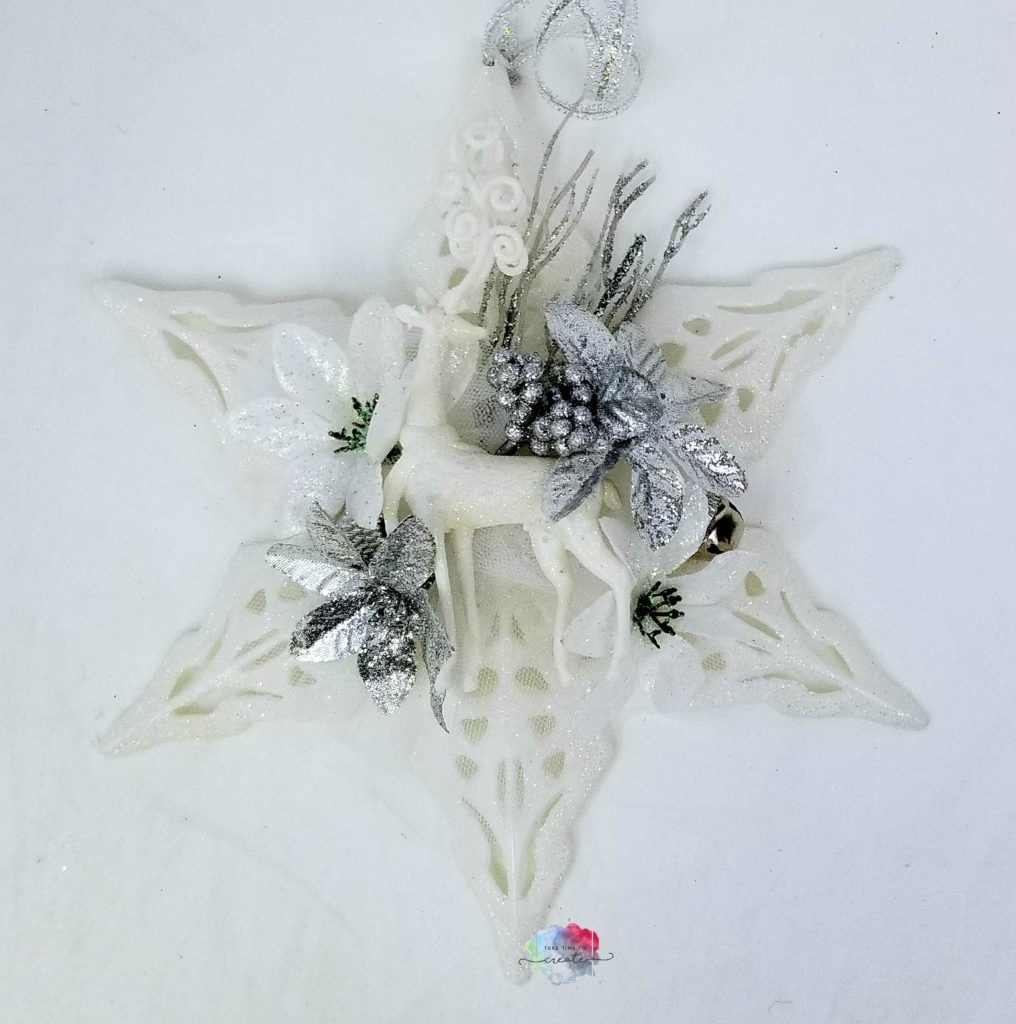
Dollar Tree is the perfect place to get supplies to make your own decorations, like these Snowflakes I made.

These snowflakes are so easy to make and they look so cute hanging on your wall.

Materials Needed (affiliate links):

Bulk 5-Stem Christmas House Glittered Poinsettia Bushes, 13 in. atcom

from: DollarTree

Instructions: 

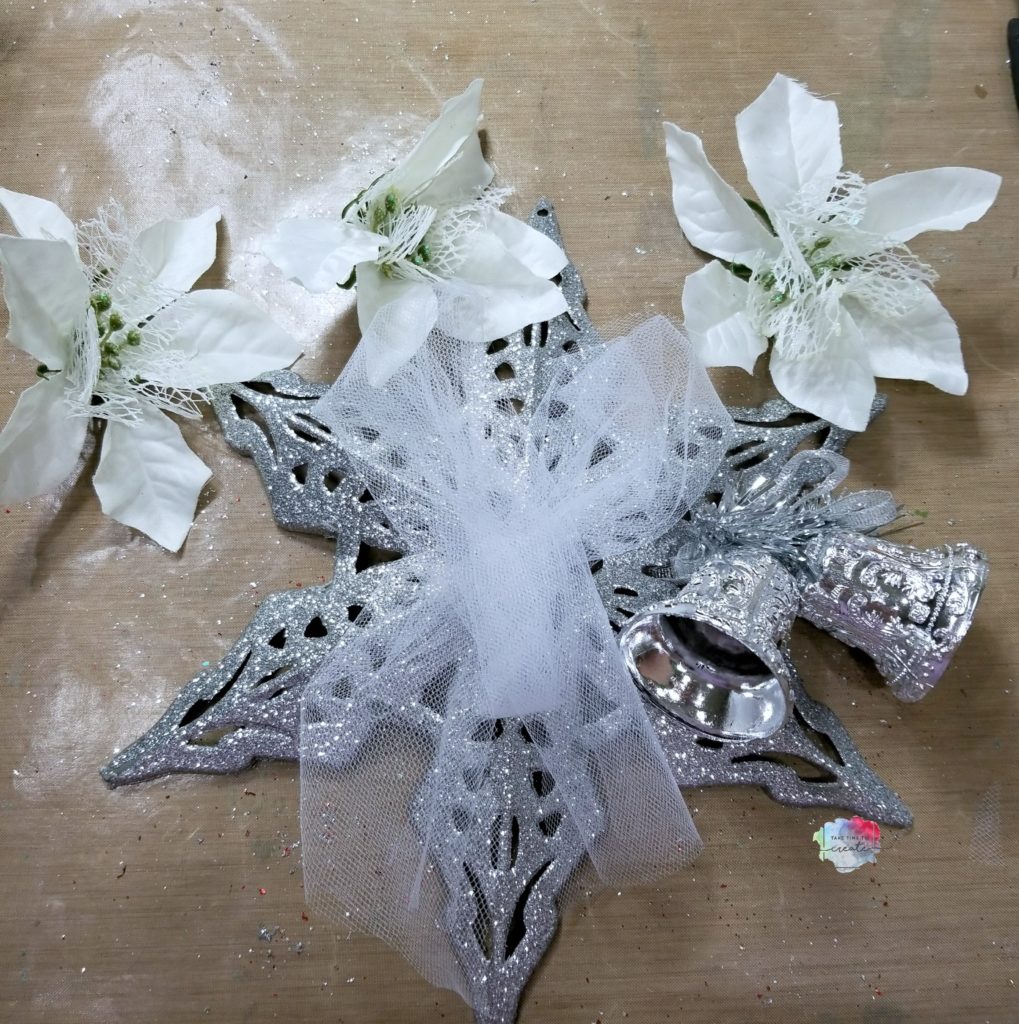
Start with your glittery snowflake and add some tulle as a base layer. Or you can add glitter mesh, or ribbon, or lace, anything really. You just want to make sure you have an anchor for your focal point. Glue the tulle on with hot glue.

DIY Dollar Tree Snowflake Decor

Then you want to glue on your focal point to the center of the snowflake

DIY Dollar Tree Snowflake Decor

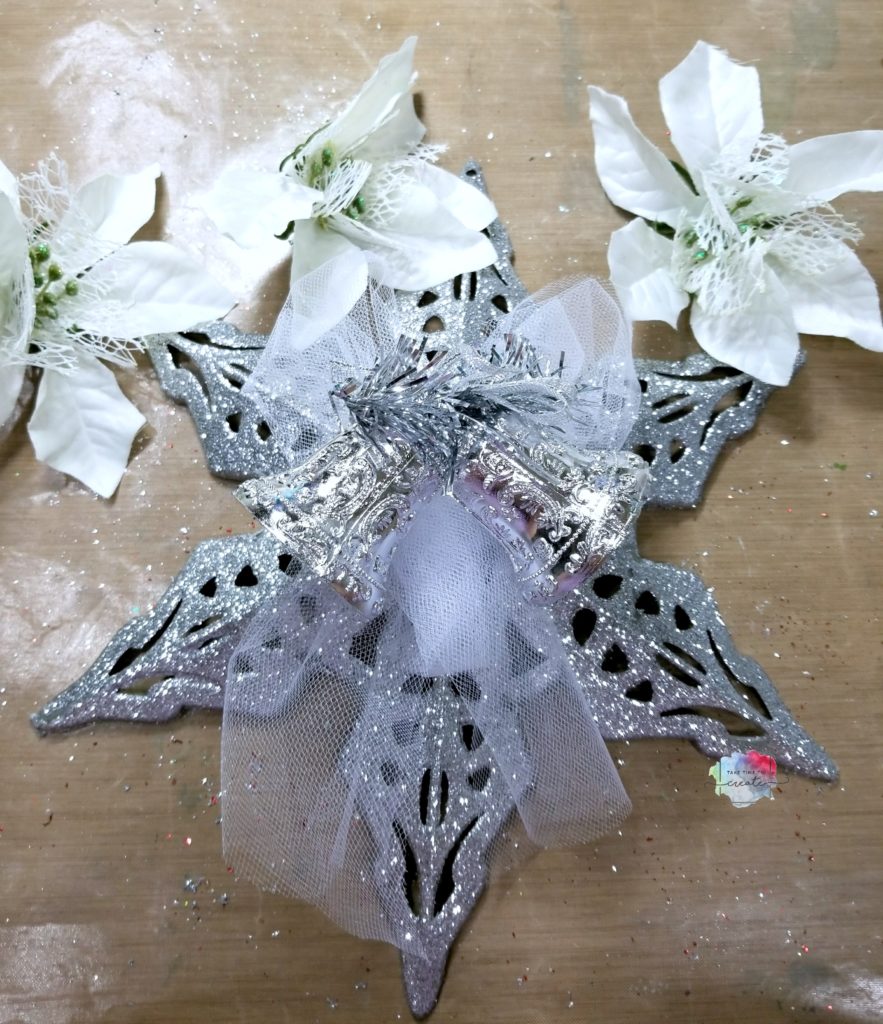
Then you glue on accents and decoration all around your focal point. Poinsettias, floral picks, beads, jingle bells, and small ornaments work great for this step. Anything will work, you just want to fill up the empty spaces and make it full and festive.

DIY Dollar Tree Snowflake Decor

There you go, nice and easy and they looks so festive and glittery.  A grouping of the snowflakes would look really great on a wall, or it could be the perfect gift!

I thought it would be fun to show you some other variations I created. I just love making these, I can’t seem to stop, lol

DIY Dollar Tree Snowflake Decor

DIY Dollar Tree Snowflake Decor

DIY Dollar Tree Snowflake Decor

What Christmas decorations do you make?

The post DIY Dollar Tree Snowflake Christmas Decoration appeared first on Take Time To Create.
DIY Magic Band and Magic Keeper

Hello Everyone!

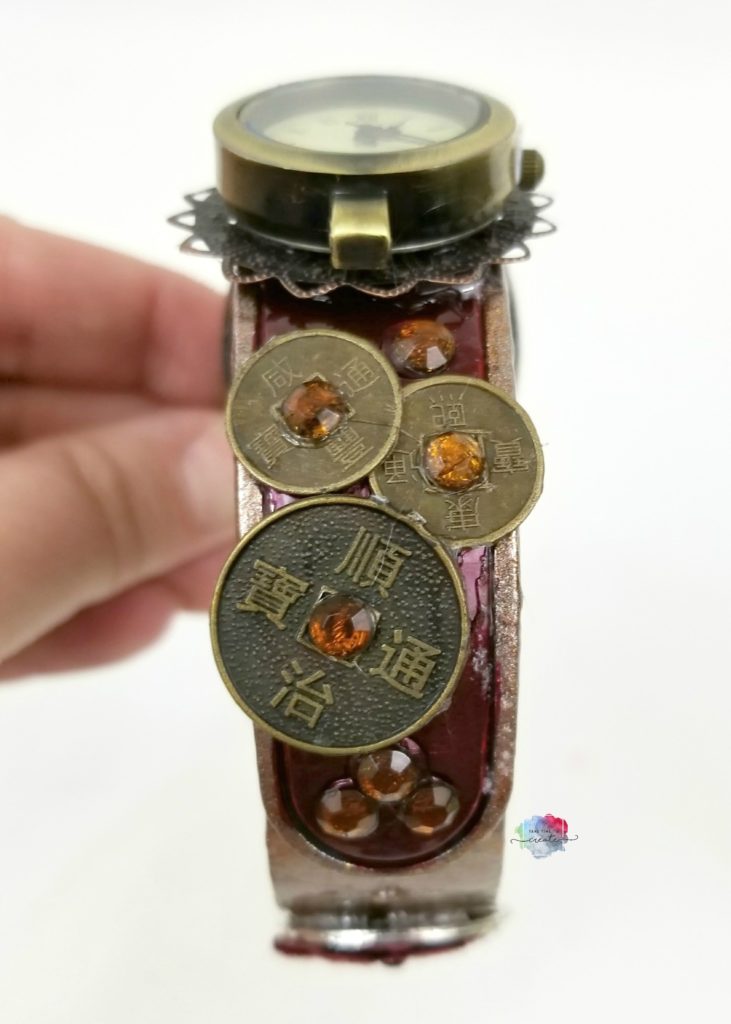
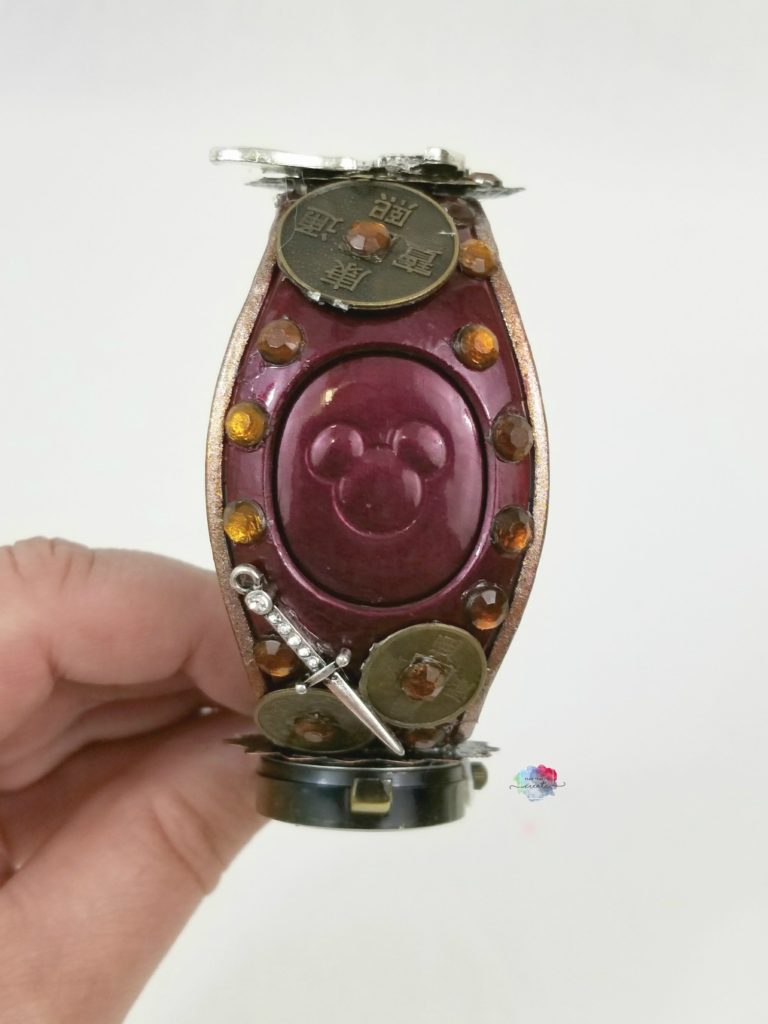
As many of you already know I am headed to Disney World soon to participate in the Crochet Crowd’s Wish Upon A Stitch! I am so excited!  So to prep for the trip I have been making new Mickey Ears like this Black Rose one and I just finished a DIY Magic Band and Magic Keeper!

This is the new Magic Band 2- so that means you can pop the middle part out and put it in a Magic Keeper! I love the versatility of the new Magic Bands.

I made a Mulan Inspired Magic Band this time (Last Time I did a Steampunk Beauty and the Beast– here is the link to the Blog Post and Video)

Here is the video tutorial:


Materials (Affiliate Links)

  • Glue Syringe: http://amzn.to/2yeV8Q9
  • wax stick for rhinestone: http://amzn.to/2yWy9qh
  • Sally Hansen Wine Not color: http://amzn.to/2yabiZn

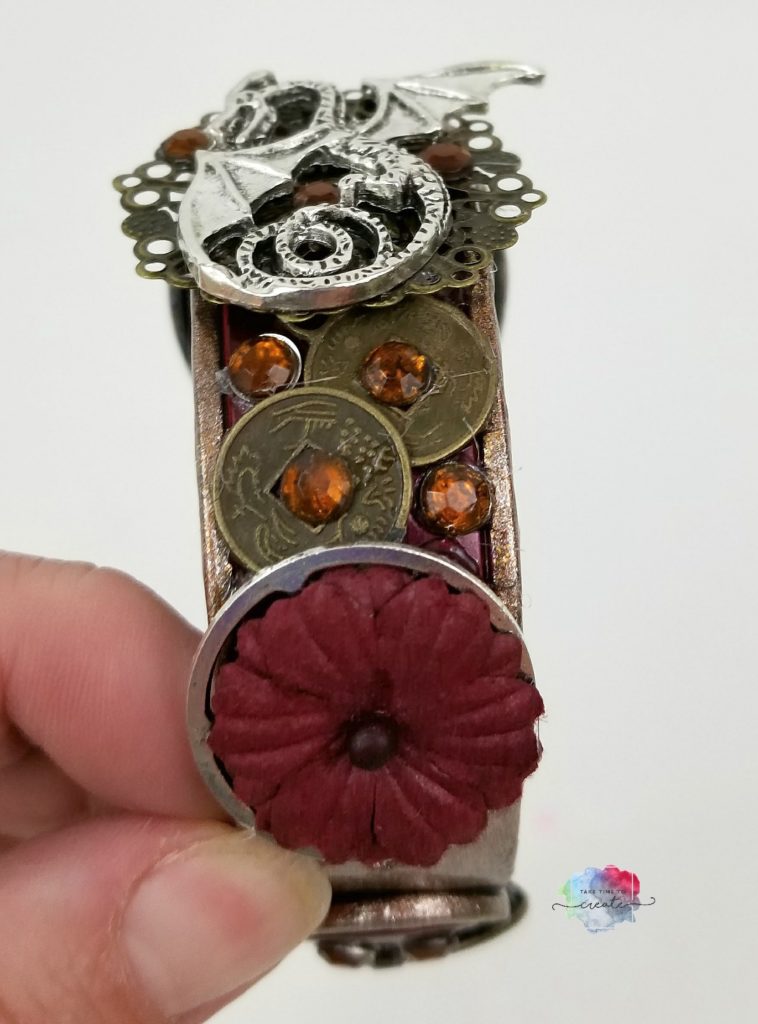
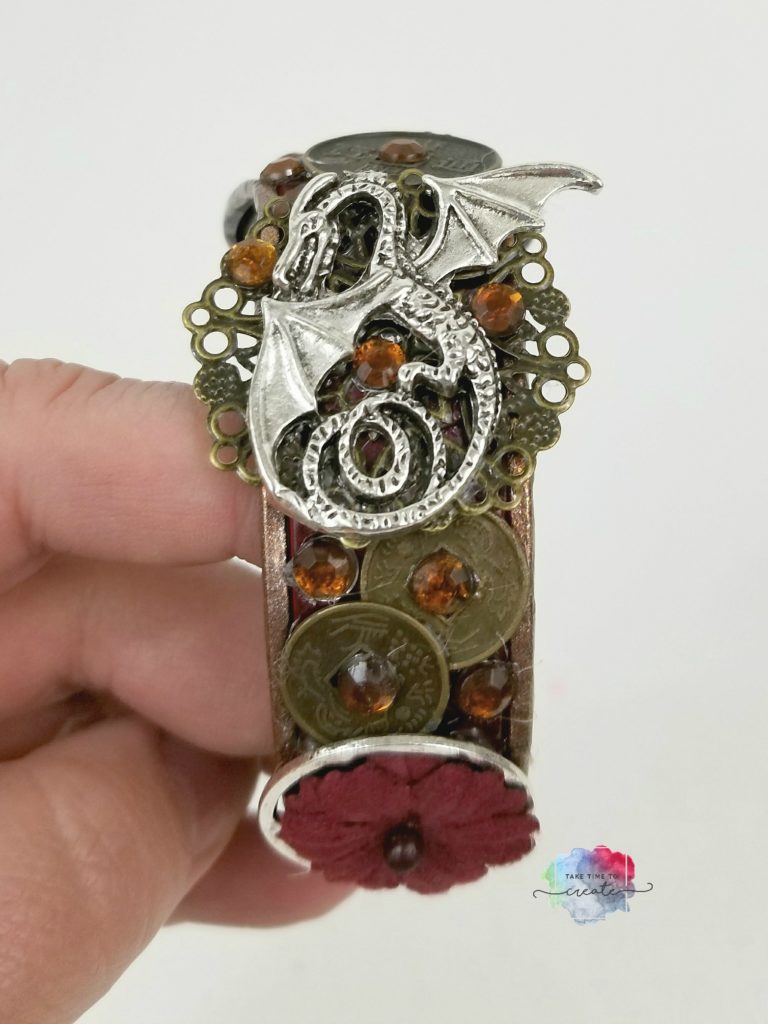
I painted a base coat with nail polish then I painted 3 coats of this beautiful red color and I painted the edges with a copper color. Use nail polish, it seems to work the best with magic bands. The last one I had held up really well and so I am doing the same thing this time.

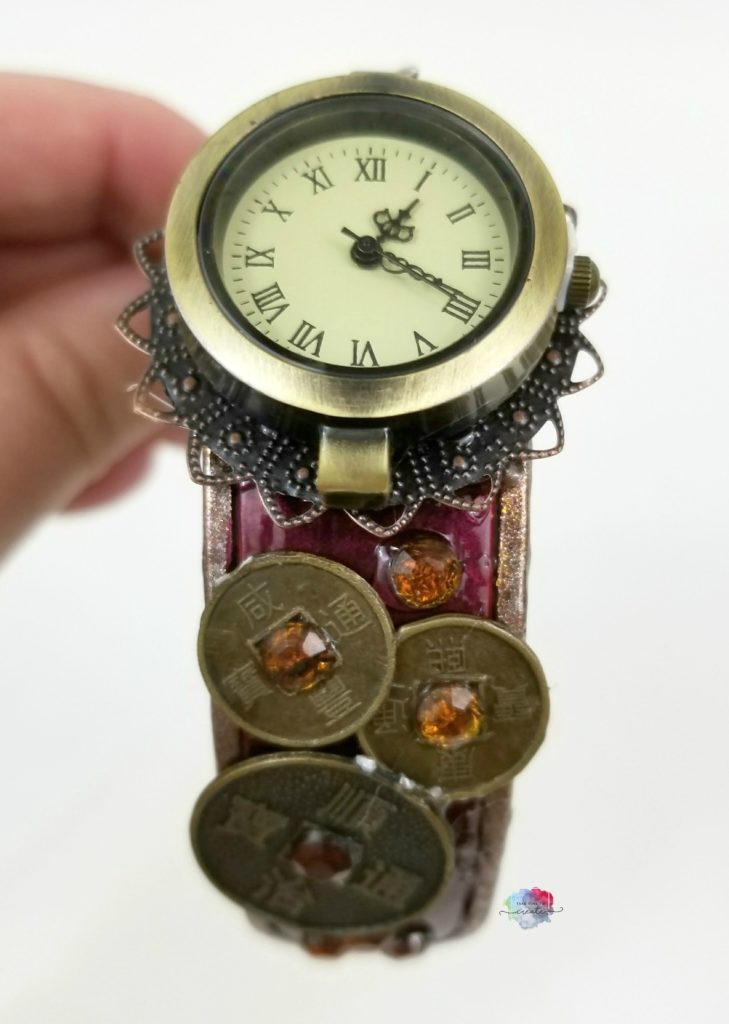
Just like last time I added a watch face because I wear my magic band on my left hand and I didn’t want it to interfere with my watch.

Once the nail polish was dry I glued (I used E6000) on charms and rhinestones and whatever else I could find. I found a Dragons, Chinese Coins, Rhinestones, flower, and a sword for symbolizing Mulan.

Once the glue was dried I painted a final coat of base coat on the magic band. Let it all dry and you are good to go!

Fair warning-It may not work with all the paint on the magic band… I had no problems last time, but you never know with the new version. I will try it out and let you know how it goes.

DIY Magic Band and Magic Keeper


DIY Magic Band and Magic Keeper

DIY Magic Band and Magic Keeper

DIY Magic Band and Magic Keeper

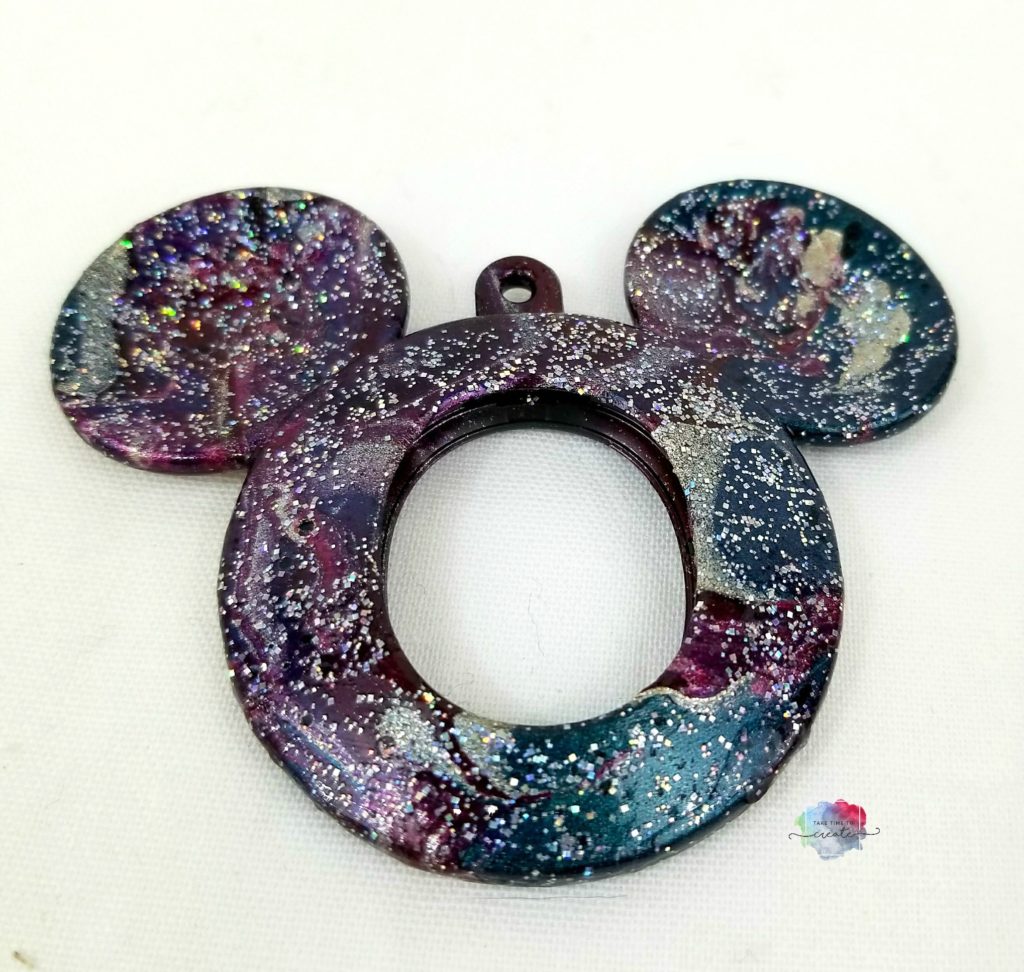
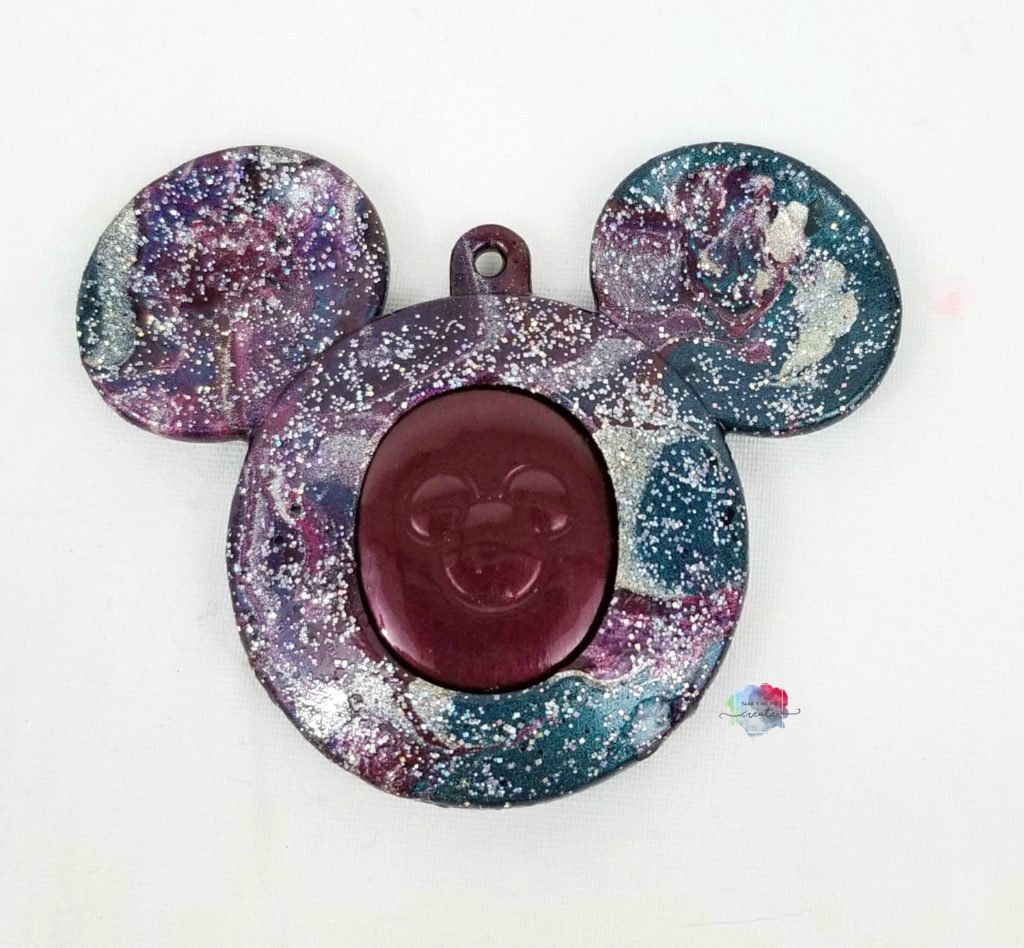
These Magic Keepers are so cute, but plain black. I just have to paint everything, and I think it looks so cute now that it is done!

I painted a layer of clear gesso to prime the plastic to prep it for water marbling. For water marbling I just had a bin of water and then I placed drops of nail polish and swirled them around. Once I was happy with my marbling I dipped my Magic Keeper in the water and it turned out so cute!

Once it was dry I added some holographic nail polish on top to add some sparkle, you can never have too much sparkle.  Once it is all dry I added a layer of base coat on the top to seal it, now it is good to go for my week at Disney!


DIY Magic Band and Magic Keeper

DIY Magic Band and Magic Keeper

Have you ever decorated a Magic Band? How did you decorate it?

The post DIY Magic Band and Magic Keeper appeared first on Take Time To Create.

Product Review Finnabair Art Alchemy Metallique Paints

Hello Everyone

I have another product review for you today.

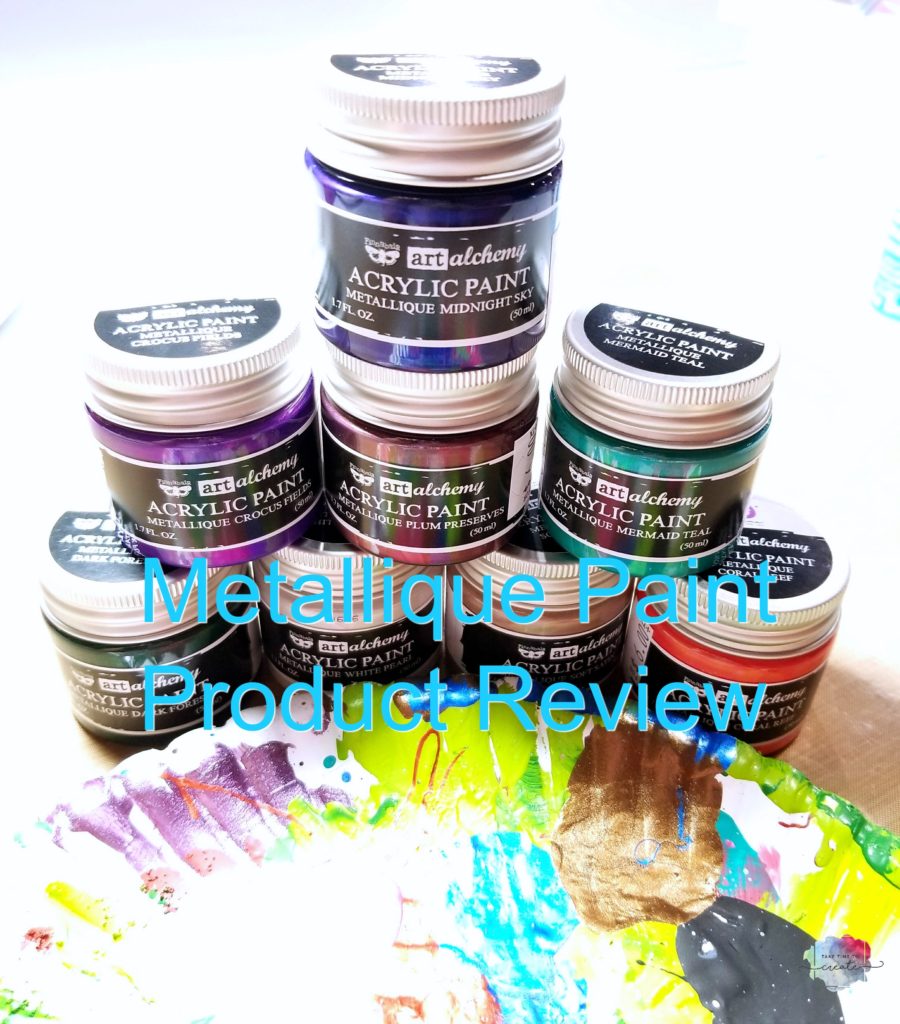
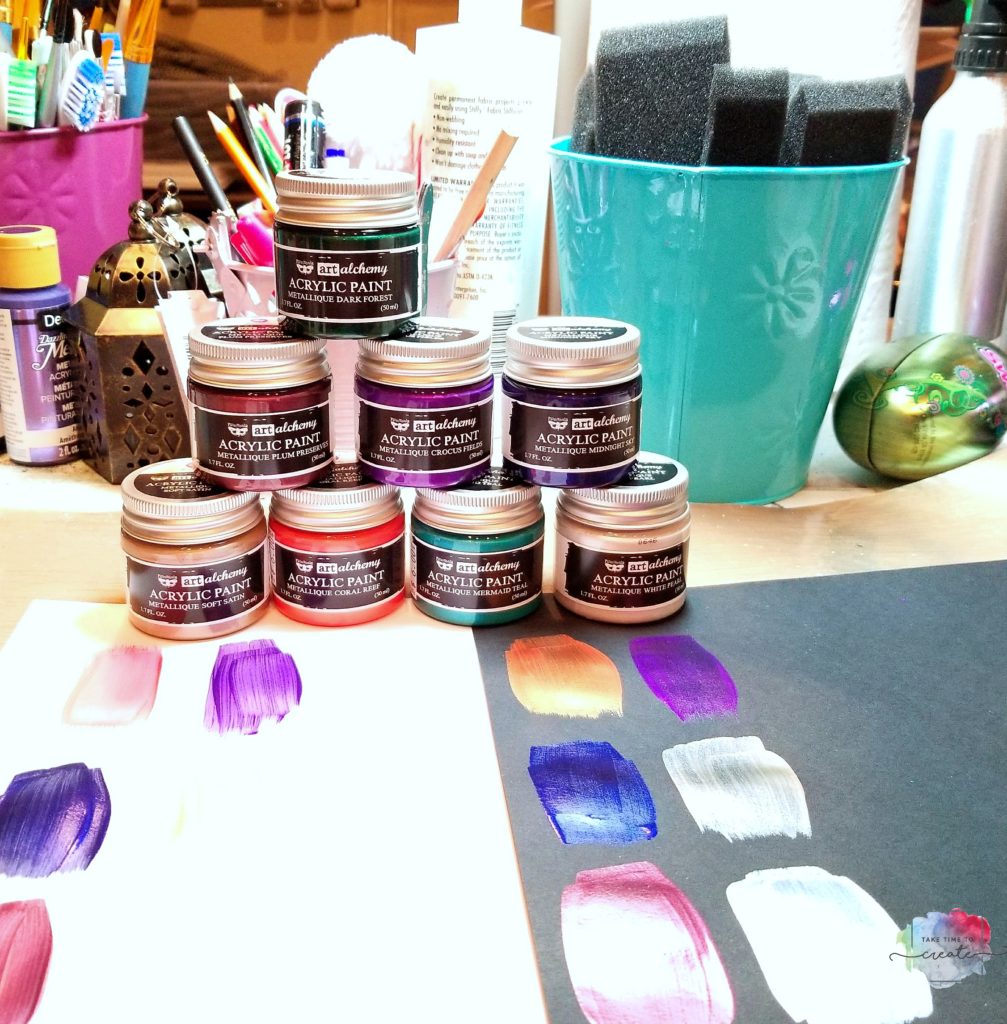
This time I am taking a look at the new Finnabair Art Alchemy Metallique Paints from Prima Marketing


Ever since I tried the Finnabair Sparks Paint I have been anxious to try the new Metallique Paints.

You can see my Sparks review here: Sparks Review Video, Or you can read my review here: Sparks Review Blog Post

Metallique Paints

These paints are just a great as the Sparks and and really live up to the name Metallic. They are beautiful colors with a great sheen to them.

Like the Sparks, they are a thinner consistency which is nice to highlighting things and it makes it easy to mix with other mediums.


Metallique Paints

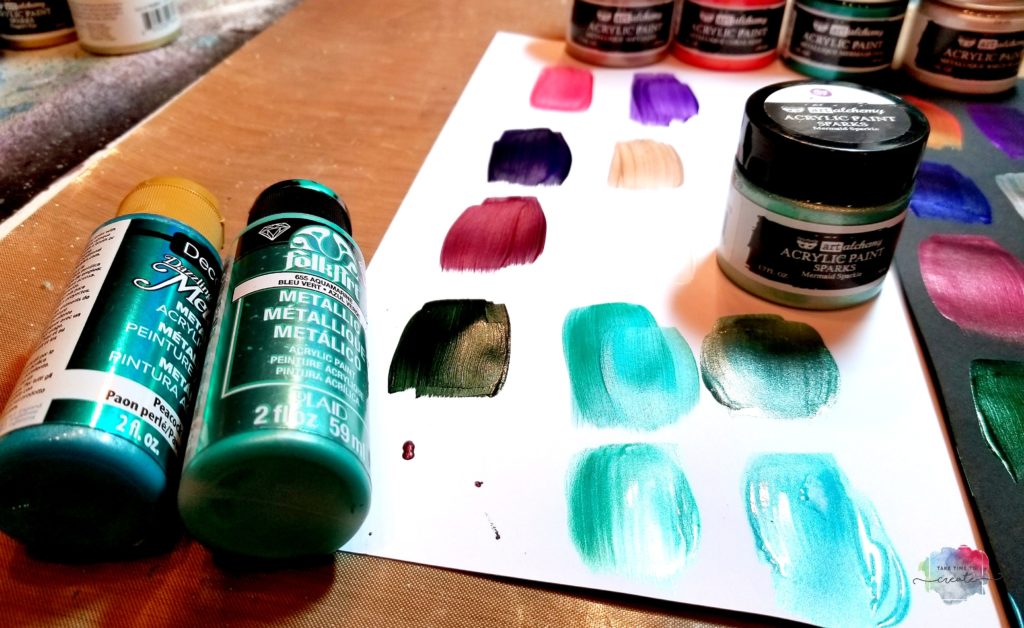
Paints from the craft store are a thicker consistency, but both kinds have a nice metallic finish to them. I did compare the Finnabair paints to craft store paints and they all worked great. The Finnabair ones might have a little more shine to them, but they are all good choices. I think it comes down to consistency and what you are going to  use them for.

Metallique paints

Overall I am happy with my purchase, I am glad to have even more metallic paints in my stash. I seem to always go for the metallic and these are perfect.


The post Product Review Finnabair Art Alchemy Metallique Paints appeared first on Take Time To Create.
 

All opinions are my own, I paid for these with my own money and this is not sponsored.

DIY School Supplies

Hello Everyone!

Yikes! Can you believe it? School is just right around the corner! Or maybe it has already started for some people.

DIY School Supplies

To help ease the transition  I have a school supplies inspired DIY! These are perfect for dorms, or even the office. Do you want to know the best part? They are all a little geeky 🙂 Which is perfect!

The video can be found here:

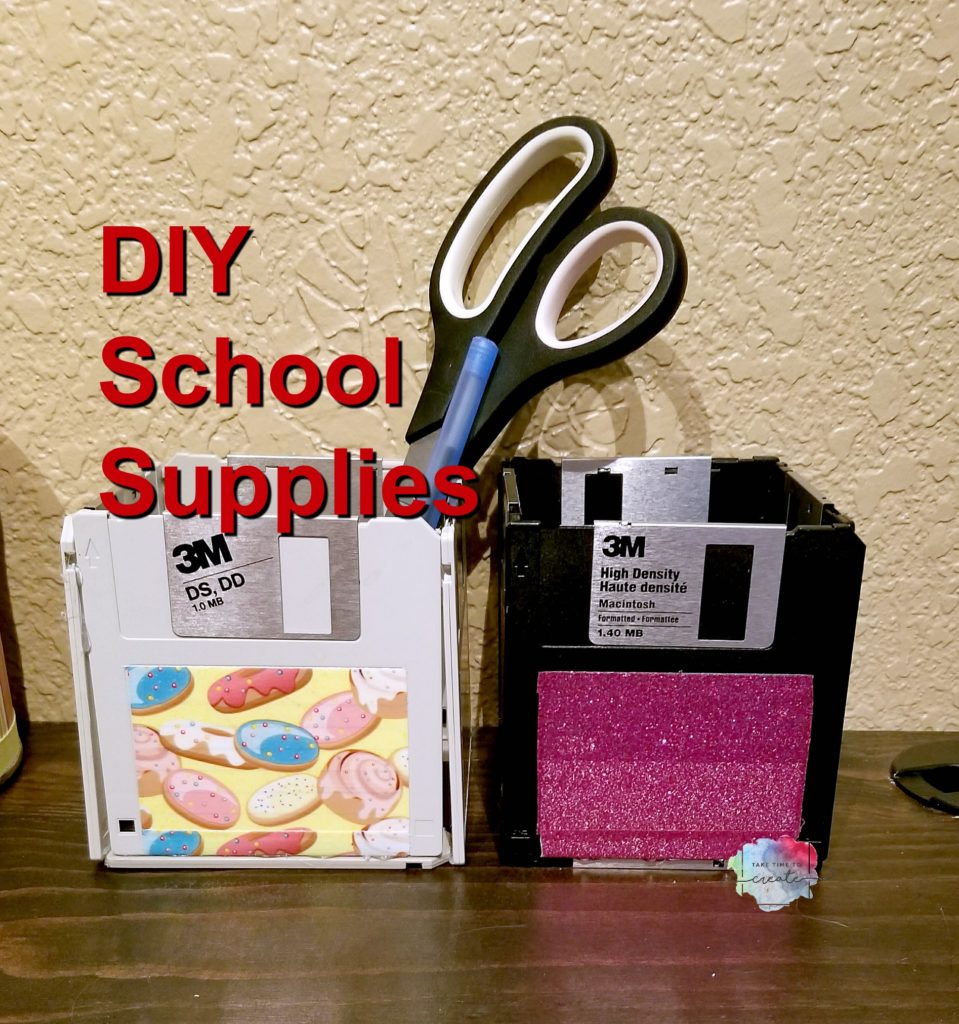
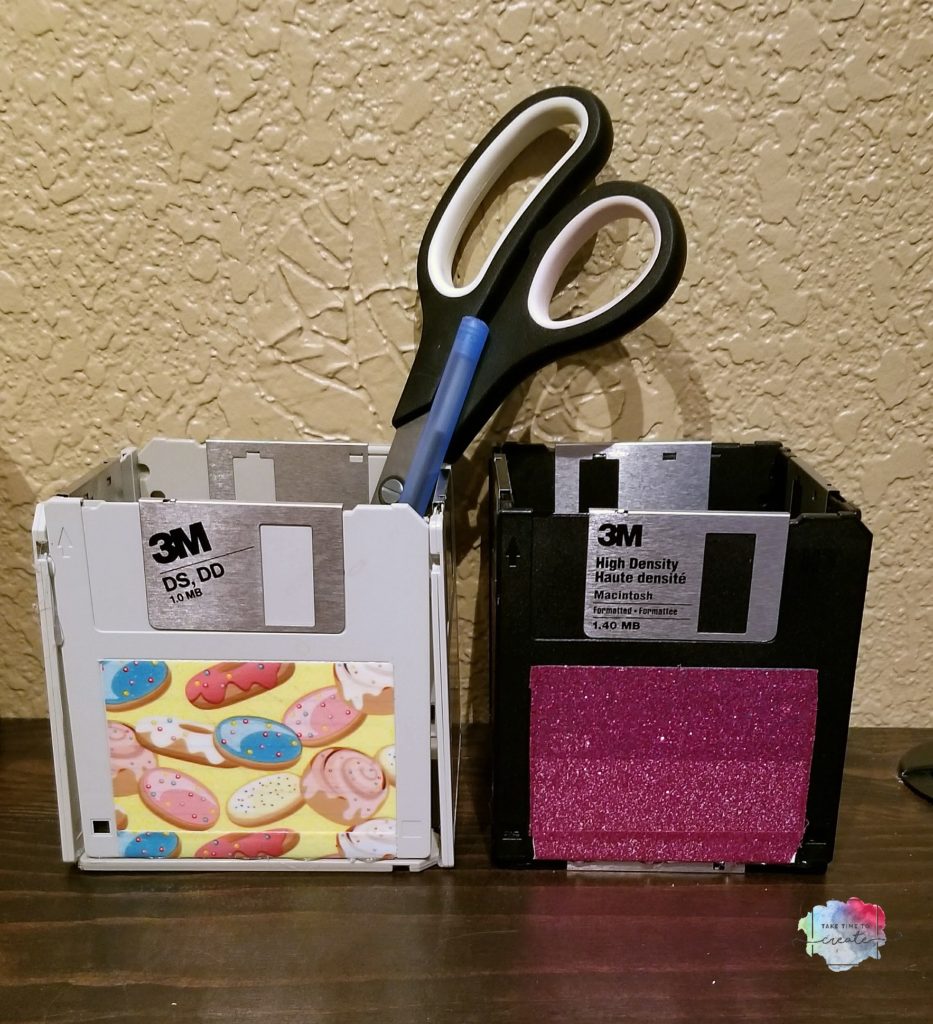
Let’s start with the first project: Floppy Disc Pencil Holder

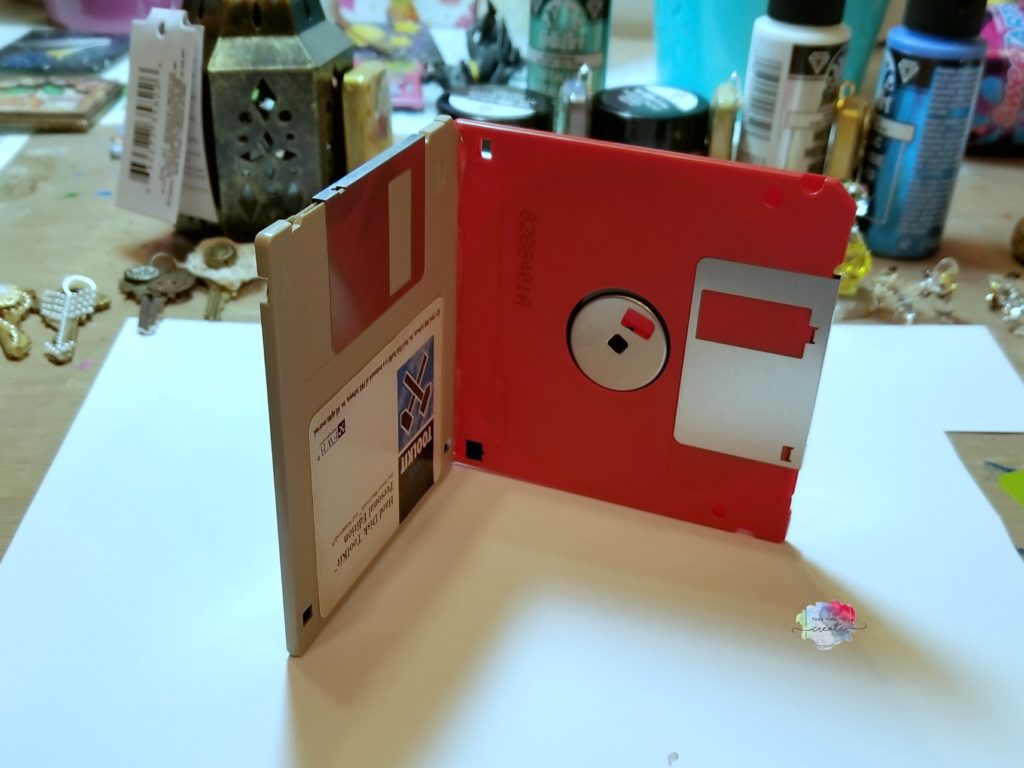
Grab your floppy discs from the basement and smile a little when you think of all the people that told you to throw them away, you knew they would come in handy someday, lol. Well today is the day!

I used duck tape to cover up the label and make it look a little cuter, but you could use washi tape or paint them.

Then just hot glue the sides together and then to bottom. Now you have  a cute place to put all your pencils and pens

DIY School Supplies

DIY School Supplies

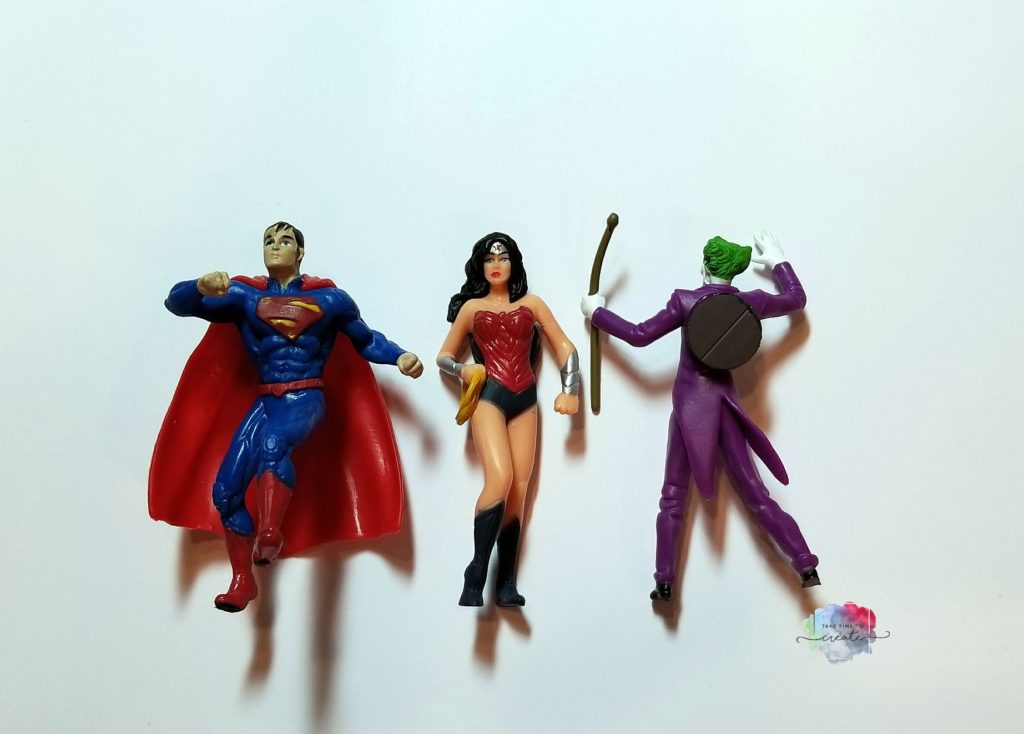
The next 2 are magnets. First is the Action Figure Magnets

Find some really awesome action figures from the Dollar Store and glue a magnet to the back (Loctight or E6000 or any strong glue should work) .

That is it. Now you have a really cute magnet to hold all your important papers.

DIY School Supplies

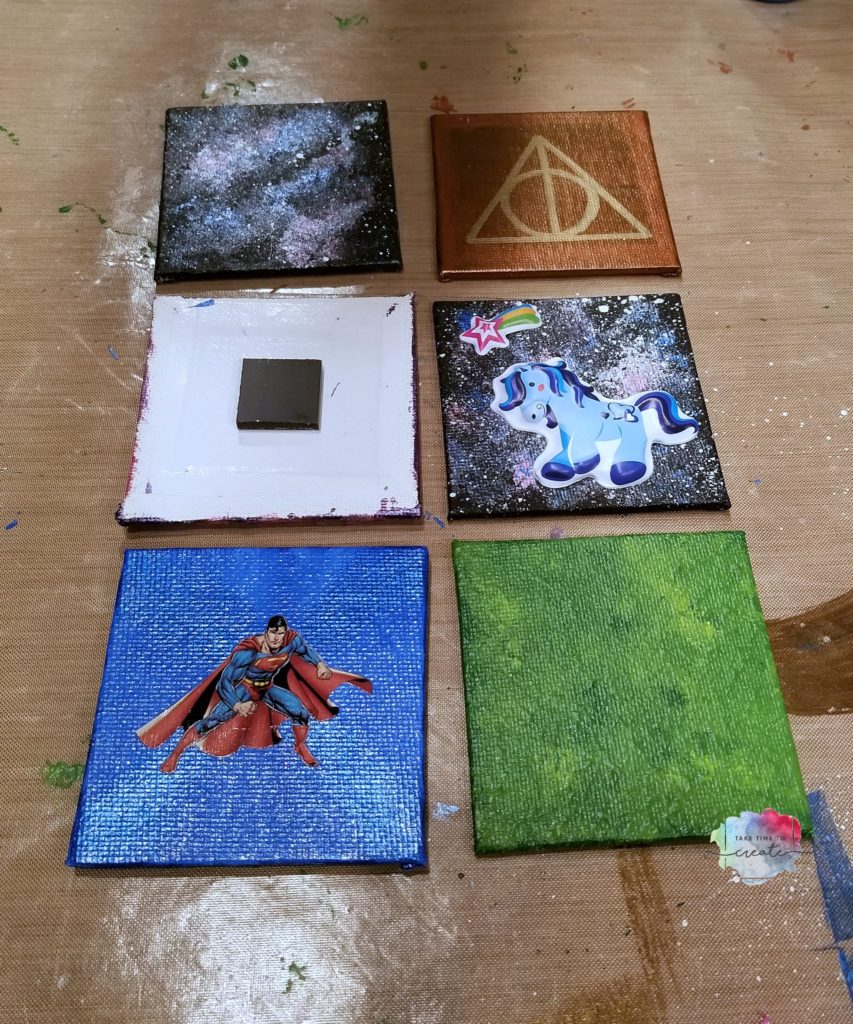
The last project are these Canvas Magnets

Paint the mini canvas in any way you want, I did a galaxy, or stickers, or used a paint pen depending on what I wanted to do. In the video I show how I painted my galaxy if you are wanting to one like that.

Then you glue a magnet to the back and you now have a super cute magnet!


DIY School Supplies

Now you are ready for school! What supplies are you making this year?

The post DIY School Supplies appeared first on Take Time To Create.
DIY Watermelon Bag

Hello everyone!

This post contains affiliate links

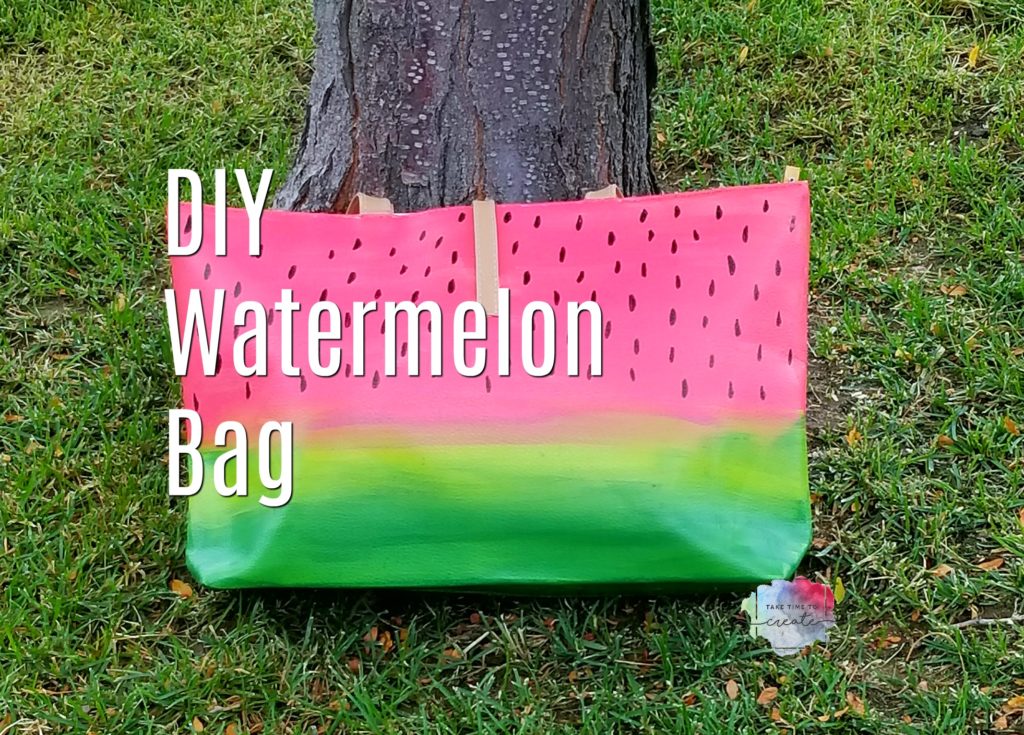
One of my favorite summer treats is watermelon! I am convinced that it is the perfect food, sweet, juicy, messy, and pink, lol.

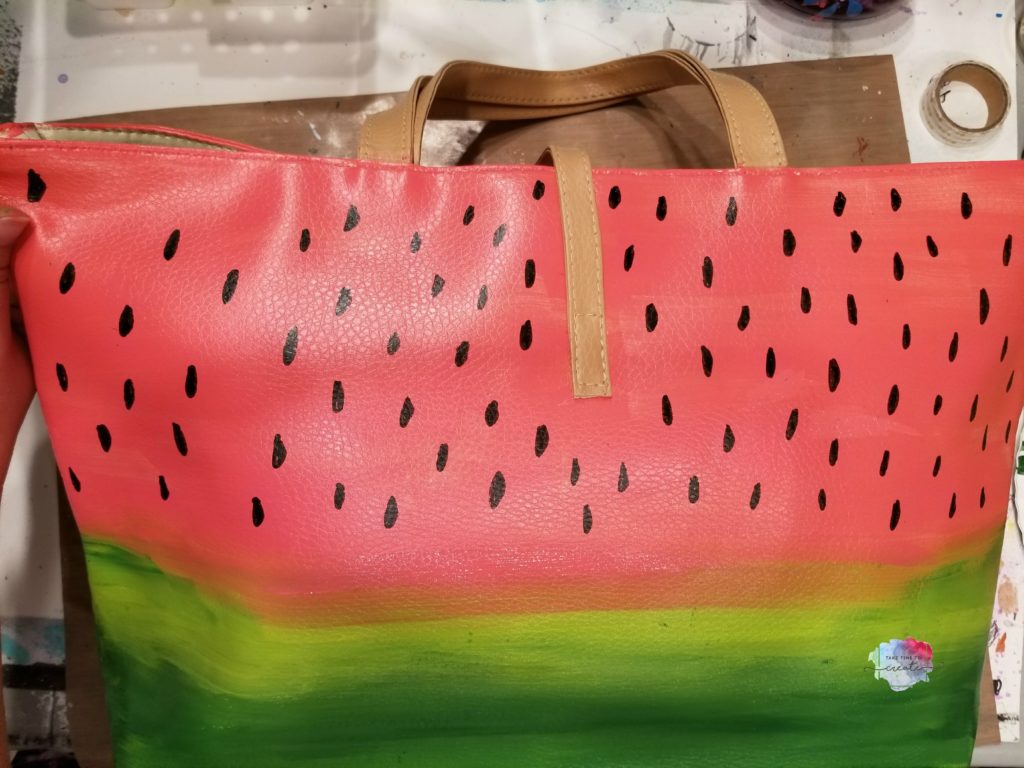
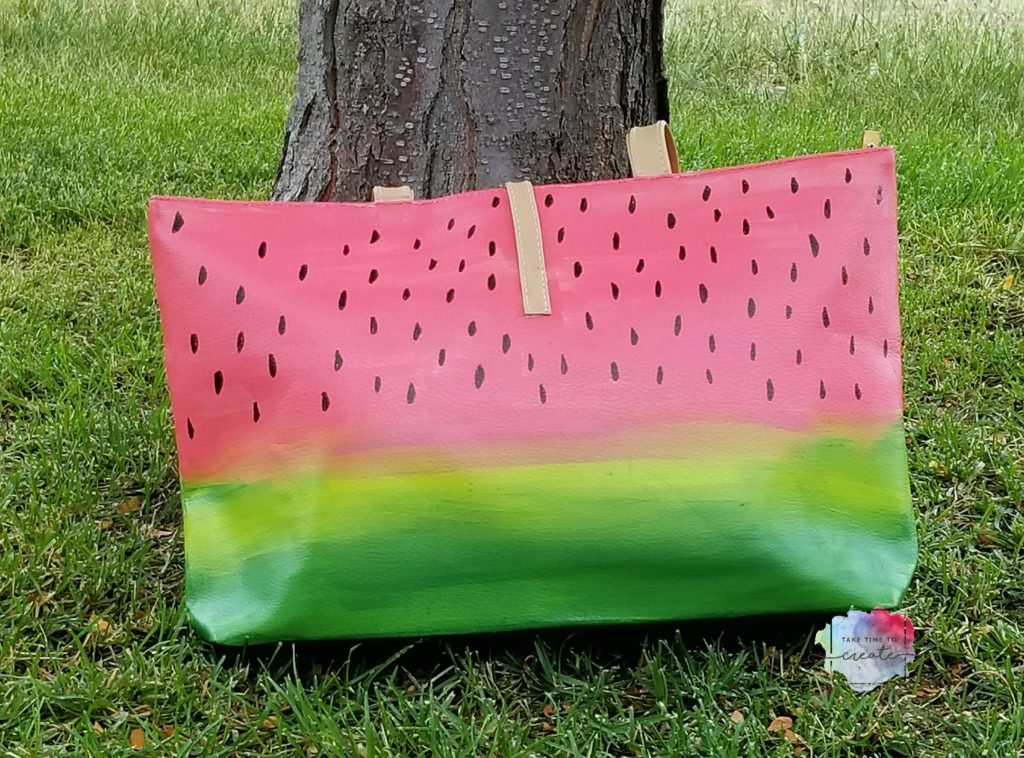
So I decided to make my very own watermelon bag to wear and show the world my love of watermelons.

diy watermelon bag

Materials:

  • Bag- I got mine from Sammy dress about a year ago, but here is a similar one on Amazon: Bag
  • Paint- I used Folk art acrylic paint, but any acrylic paint should do the trick: Paint
  • Paint pen- for drawing the seeds: paint pen


Instructions:

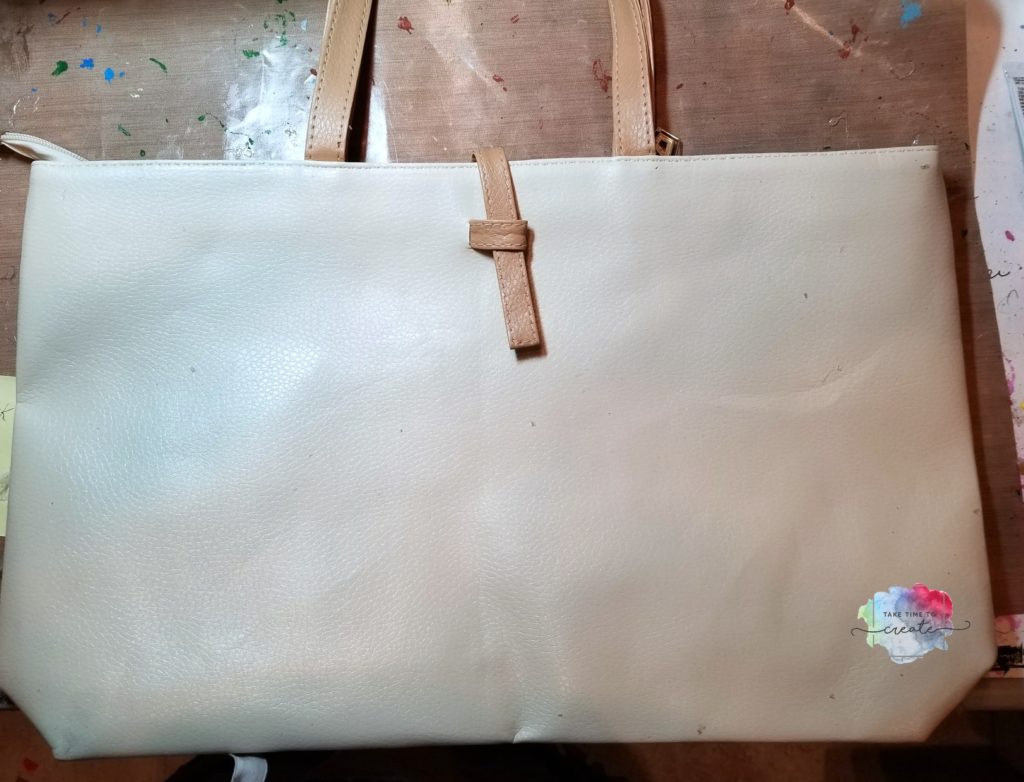
Here is the bag before any painting. It is a good bag and just fine the way it is, but I was determined to have a watermelon bag, lol.

diy watermelon bag

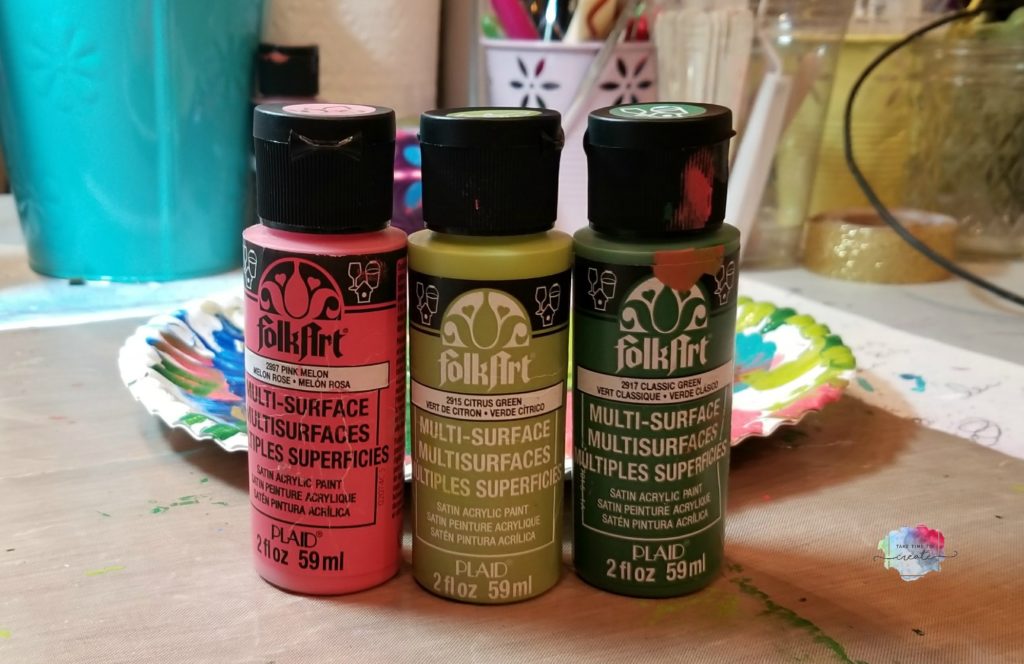
I found these 3 great colors from Folk Art in Pink Melon, Citrus Green and Classic Green. I thought they were the perfect watermelon color!diy watermelon bag

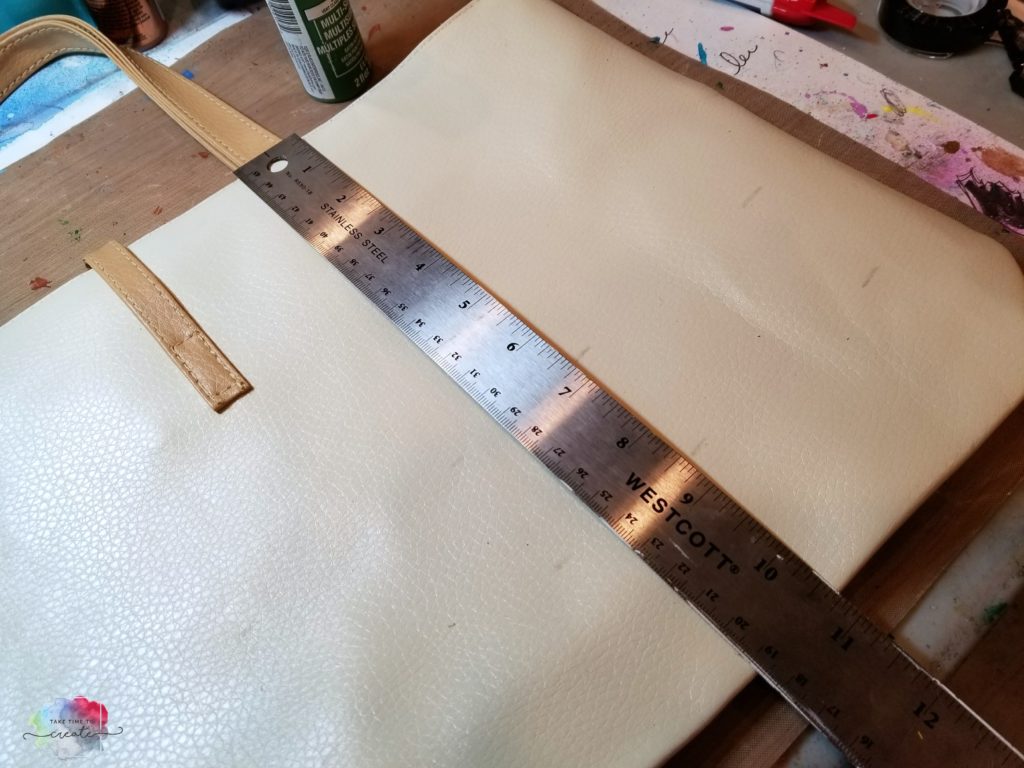
but before you start to paint measure your bag. You to make sure that you have about 2/3 of be bag in pink and the rest in green. But this is just a guess, use your eye to make a good judgement as to how much of each color.

diy watermelon bag

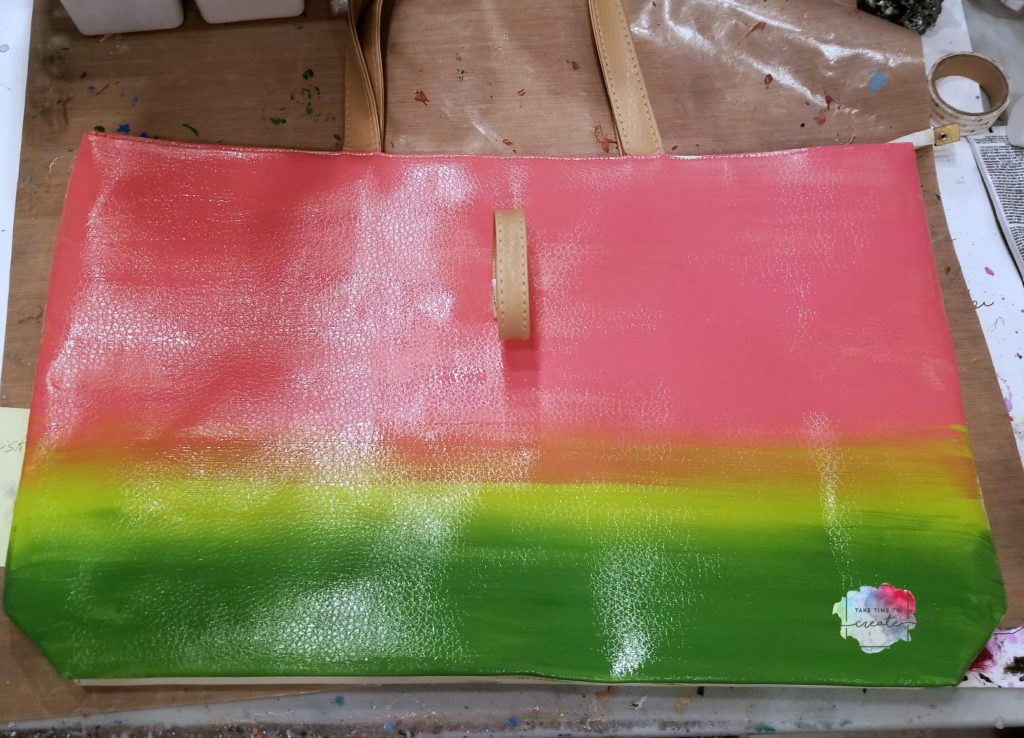
Then start painting. I started with the pink then went on to the greens. I painted in broad strokes and left the strokes in each of the colors as I painted. I didn’t want it too blended, I was going for a casual vibe. You can always blend more if that is  your style.

diy watermelon bag

You can leave it with out the seeds, but I thought the bag needed them. I just painted them on using a paint pen.

diy watermelon bag

I am loving how it turned out! What fruit bags are you going to make this summer?

diy watermelon bag


The post DIY Watermelon Bag appeared first on Take Time To Create.
 

DIY- Restoration Hardware Inspired Box

Hello Everyone!

This post contains affiliate links.

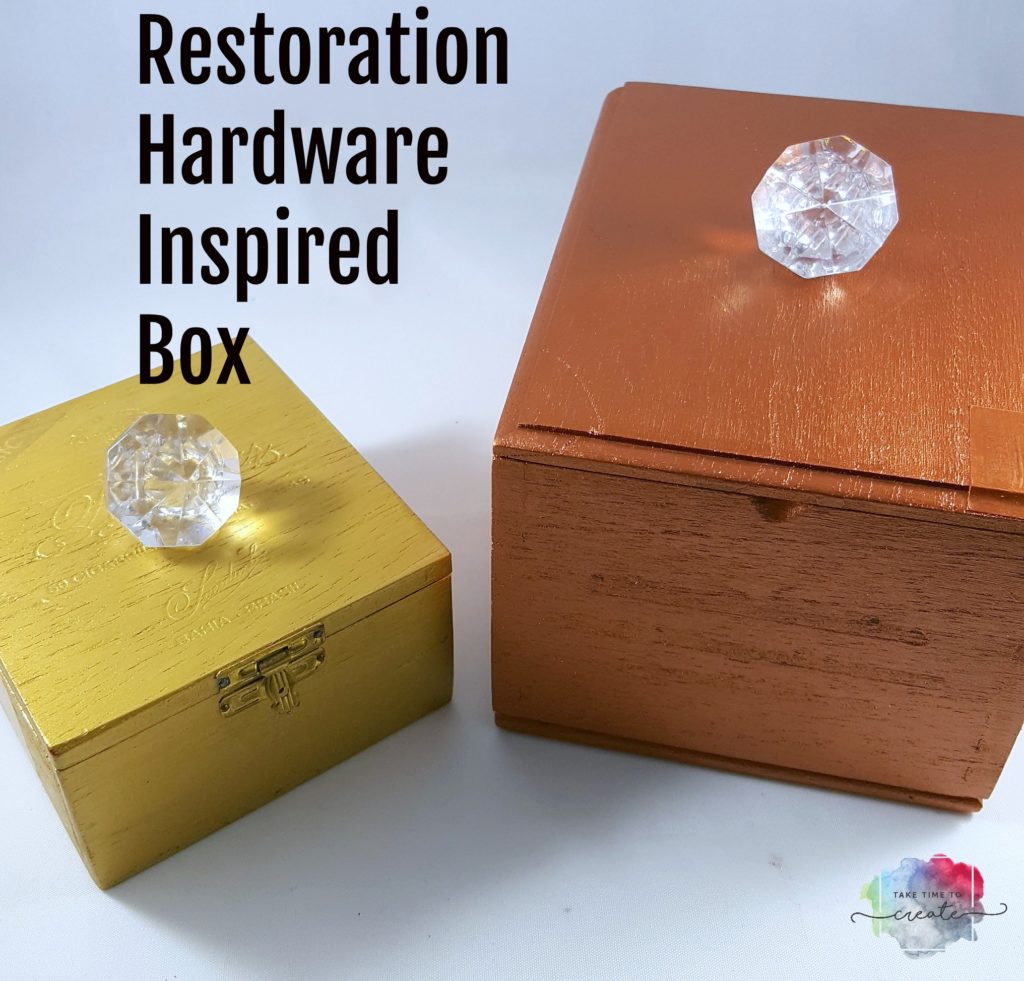
Today I have another Restoration Hardware Inspired project!

As many of you know, I love RH, they have amazing home decor items! I did a chandelier inspired project a few years ago, you can find that here: Chandelier


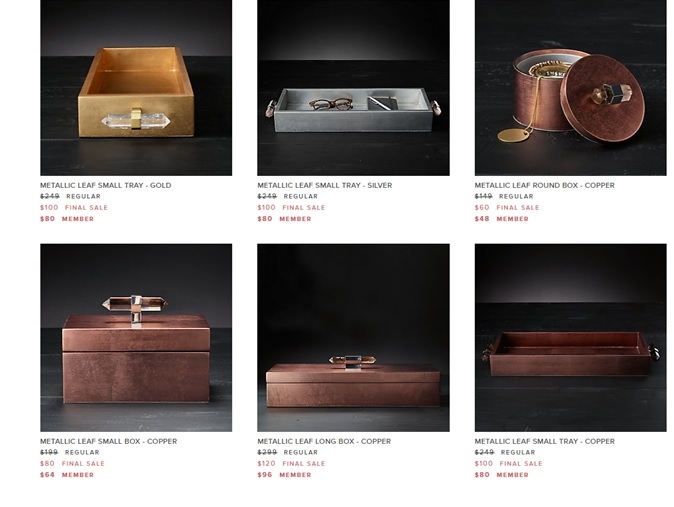
I found these beautiful metallic boxes on the RH website. I love the wood and the beautiful gem on top. But the price is a little out of my reach right now.

But it is easy to make one! My is not exactly the same… but that is all part of the fun in doing an inspired project.

Materials:

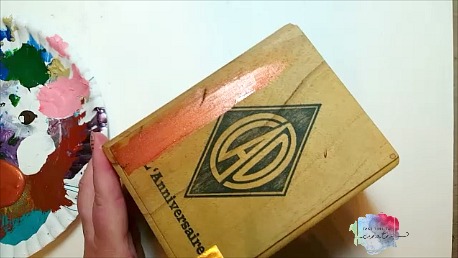
  • Box. I used a wooden cigar box, but any wooden box will do. The cardboard cigar box probably won’t work as well, but if that is all you have then just paint the printing with white paint first then it should work ok.
  • Metallic paint. I used the Folk Art paint I had in my stash, but use what you have
  • Gem. I had this giant plastic gem that worked great. Of course I got my box and gem from Who Gives A Scrap, lol.
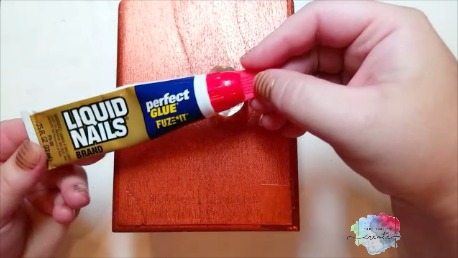
  • Glue. Use a glue that will work on wood and plastic, I used Loctite glue.

Instructions: 

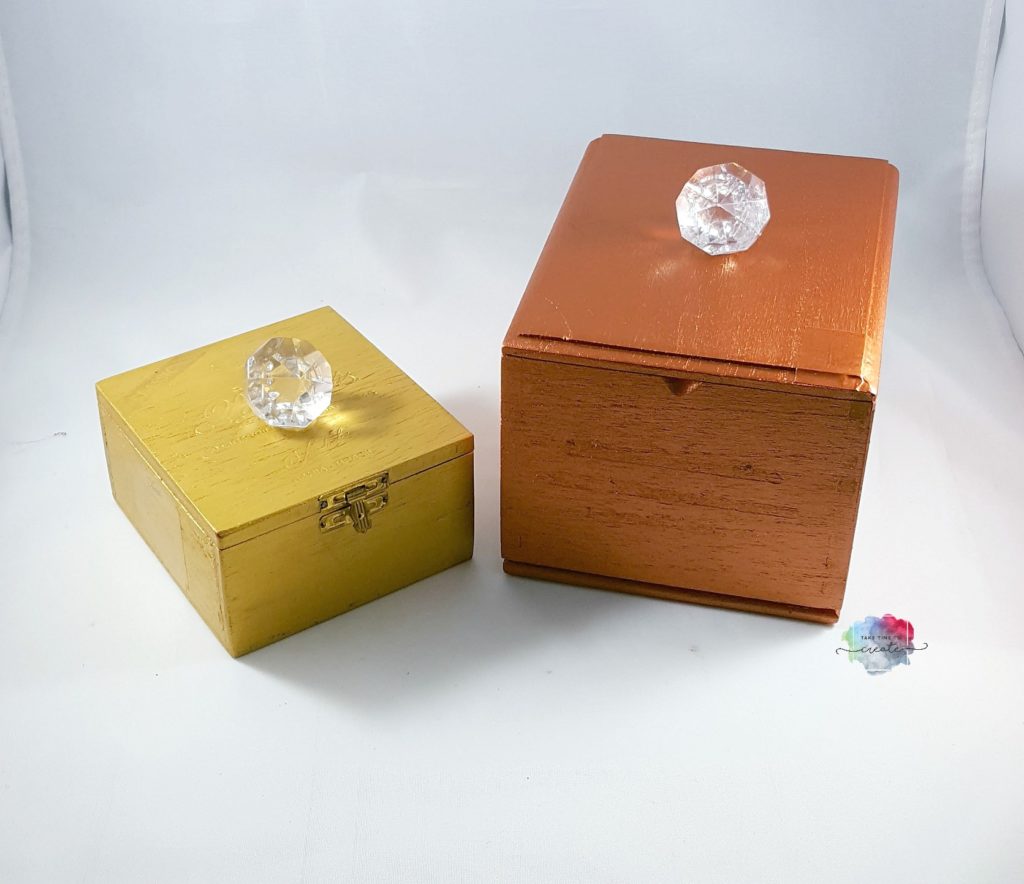
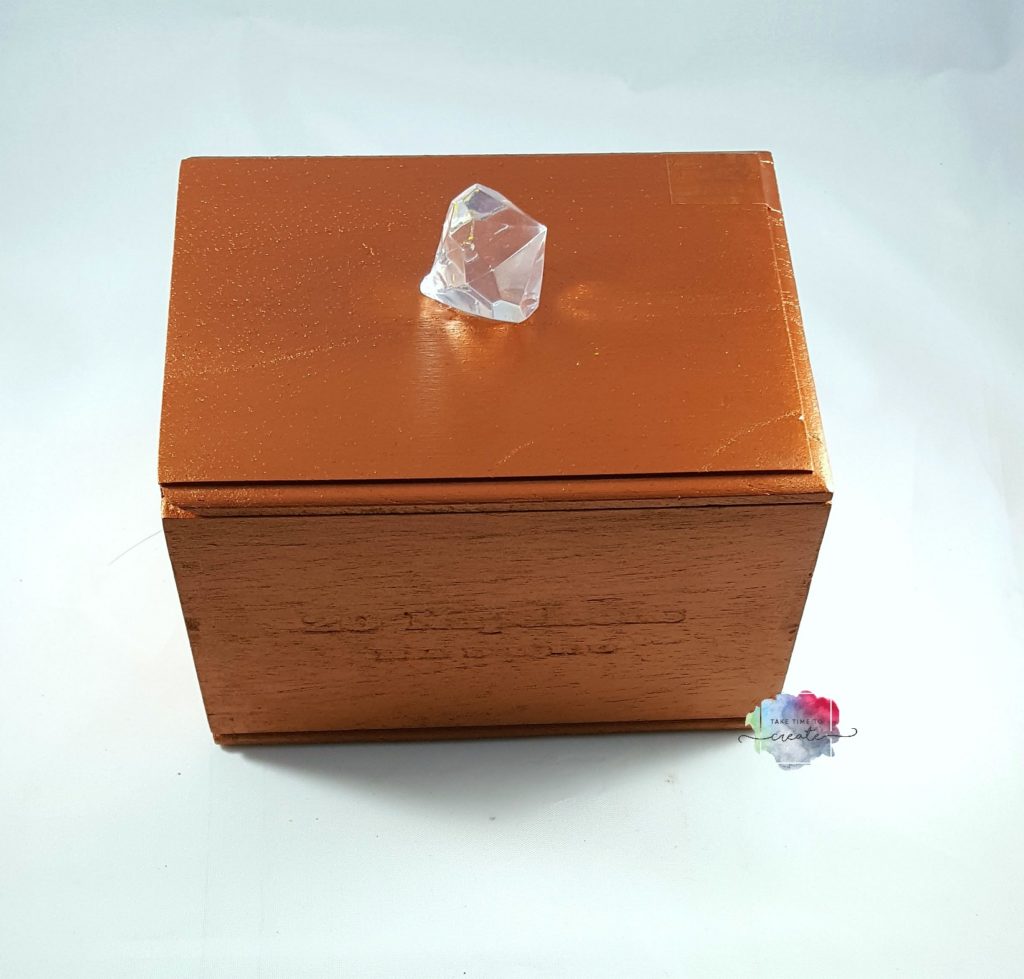
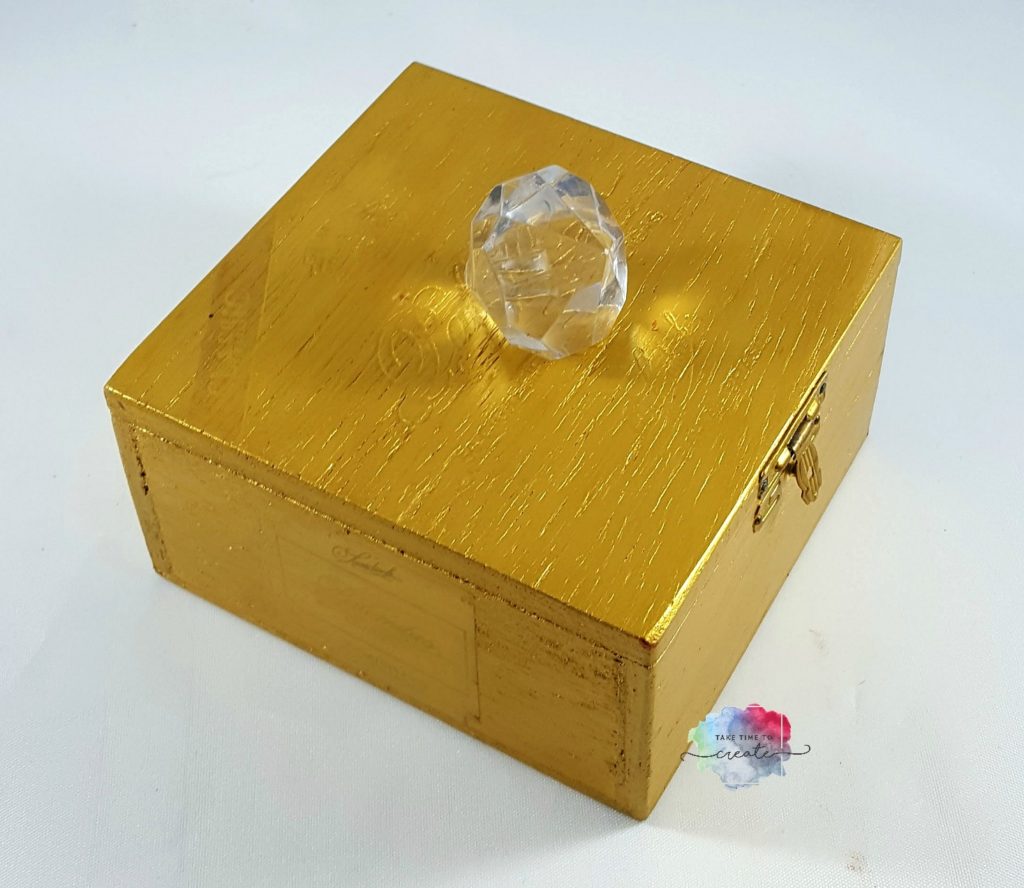
Pick your color and paint 2 coats on the box. I used a gold and a copper paint that looked really cool. If you want to make it look more like the RH box you can sand it first and use a wood filler it you want to cover up the writing.  I wanted the rustic finish with the metallic and gems, a little contrast that I like.

RH Inspired Box

Once the outside and inside are completely dry then glue your gem on with your glue. I liked the gem on the top, but you can place it anywhere that looks good.

RH Inspired Box

Once the glue has dried overnight you can add a spray sealer if you want. I wanted to protect the paint so I did add a gloss spray sealer.

RH Inspired Box

And there you have it, a RH inspired box. So very cute and it is great to give as a gift, or put the gift inside and use it as the wrapping.

RH Inspired Box


RH Inspired Box


RH Inspired Box

What companies inspire your DIY projects?

The post DIY- Restoration Hardware Inspired Box appeared first on Take Time To Create.
« Older posts

© 2025 Take Time To Create

Theme by Anders NorenUp ↑

Follow

Get the latest posts delivered to your mailbox:

%d bloggers like this: