Tag: diy (page 2 of 12)

DIY Dollar Tree Ornaments

Hello Everyone!

I know it seems early, but Christmas is right around the corner. I created these ornaments using goodies from the Dollar Tree.

FYI: I was compensated for this post. This post also contains affiliate links and I will be compensated if you make a purchase after clicking on my links.


This was such a fun project to complete.  I had a lot of ornaments and Dollar Tree goodies in my stash for this project, but they have a lot of the same ornaments year after year, along with some new ones.

I love how glittery the Dollar Tree Christmas items are, they make the perfect decorations.


diy ornament

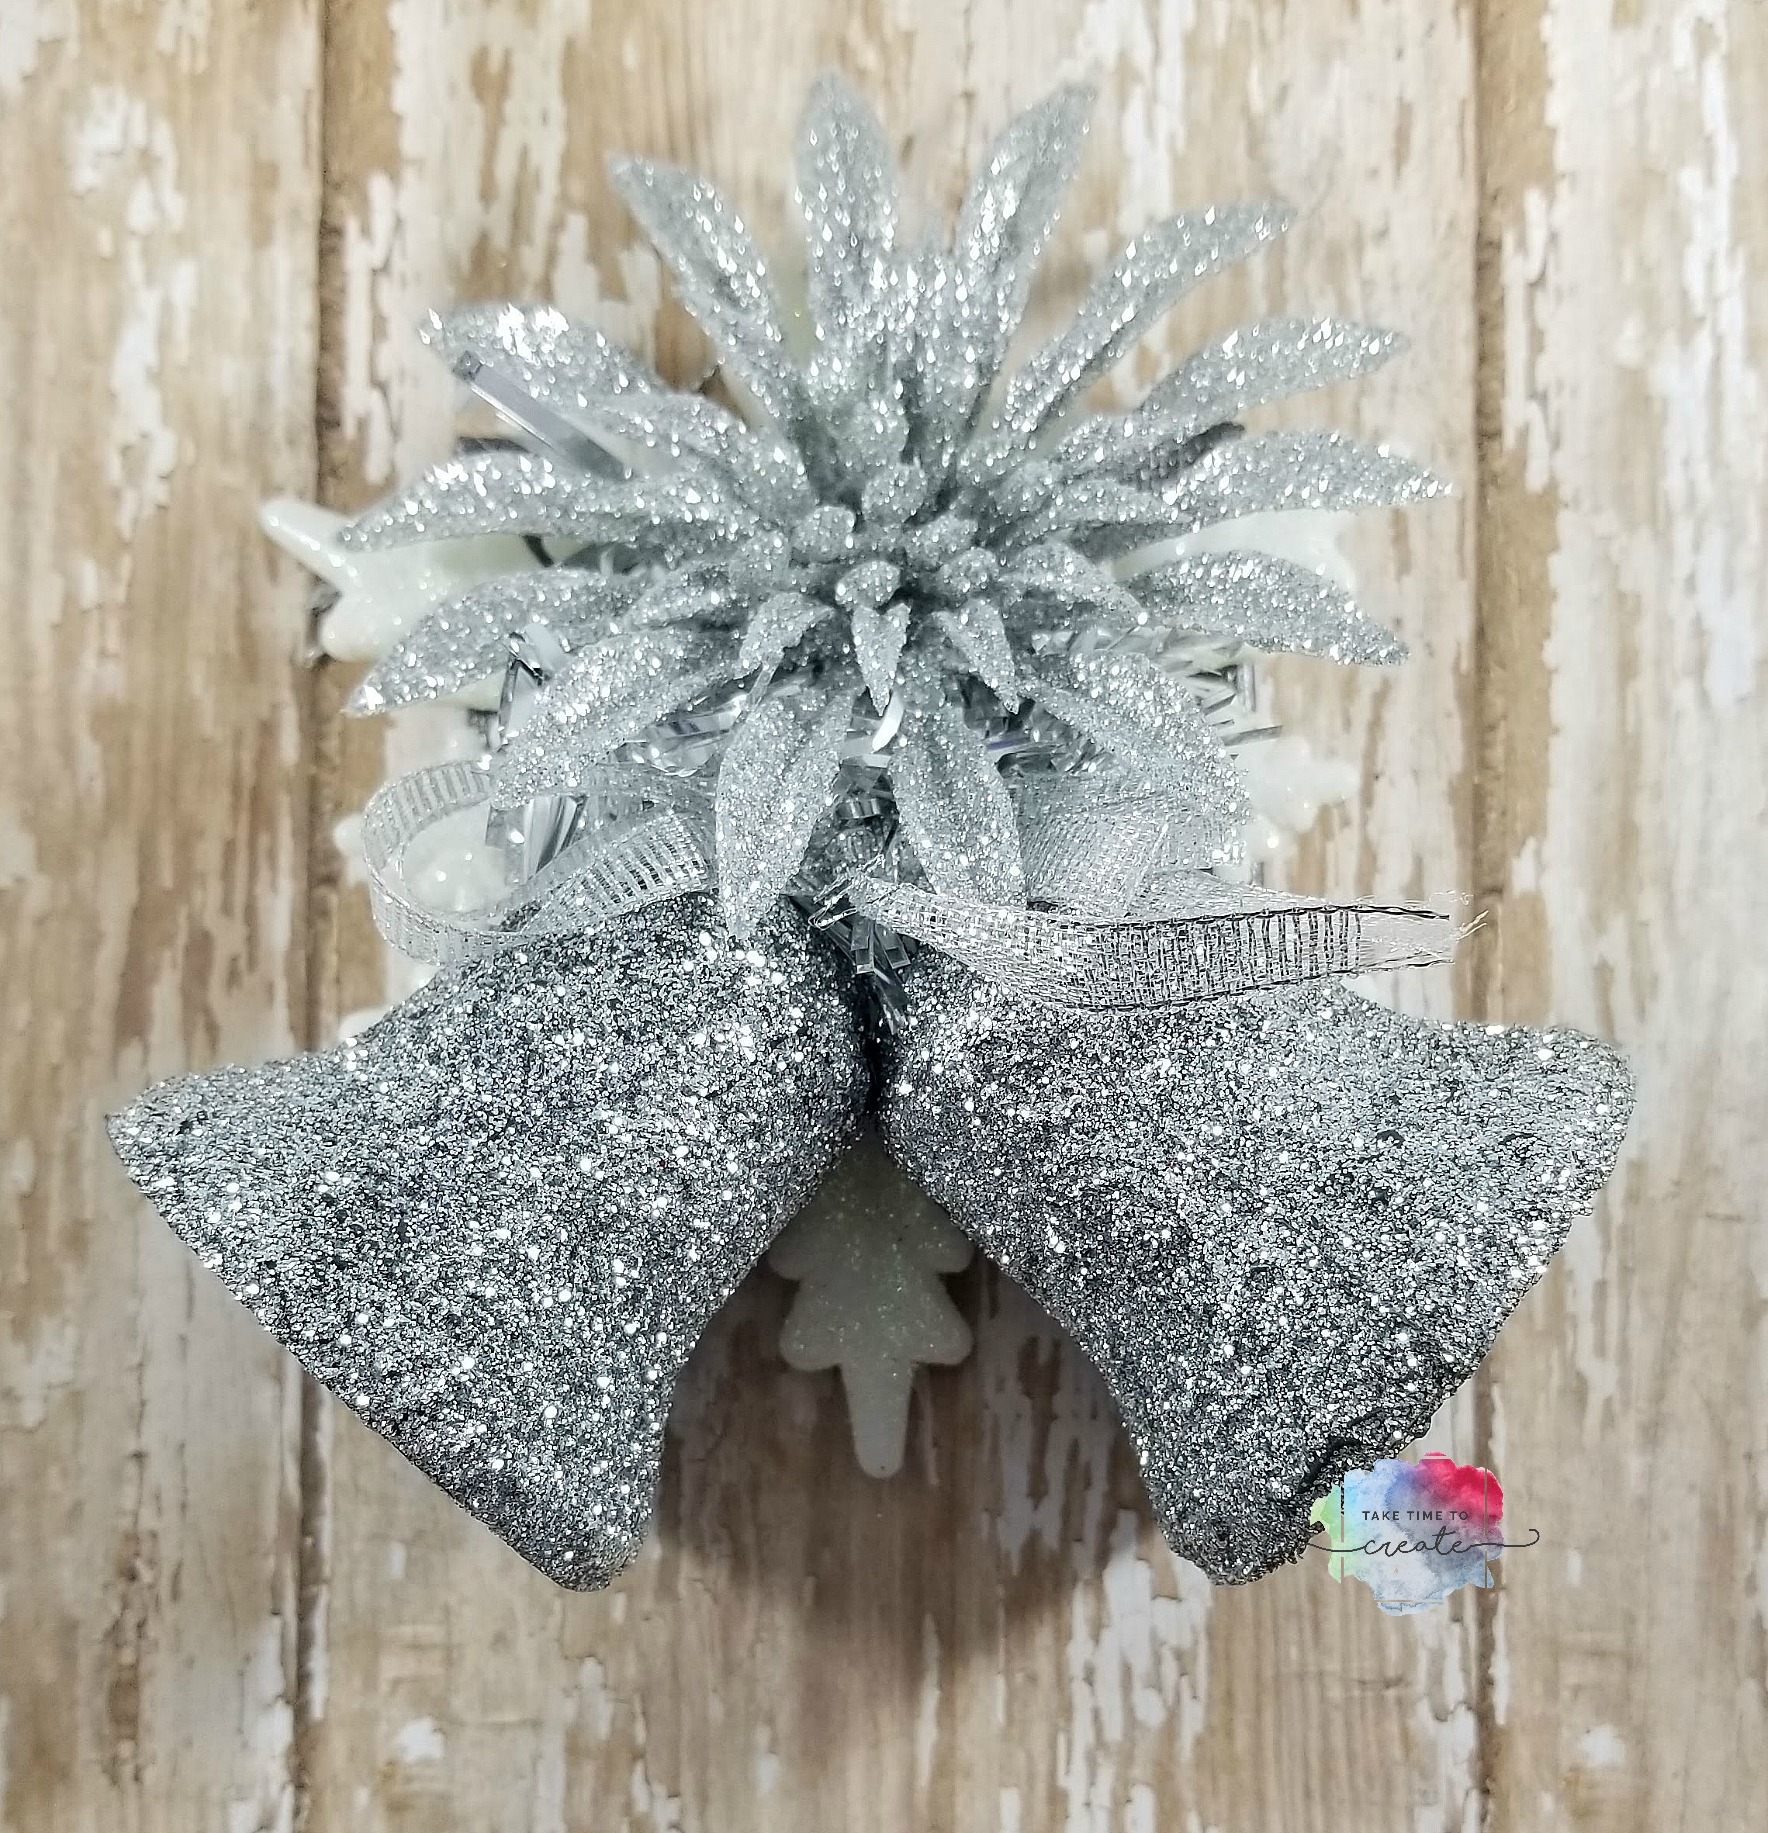
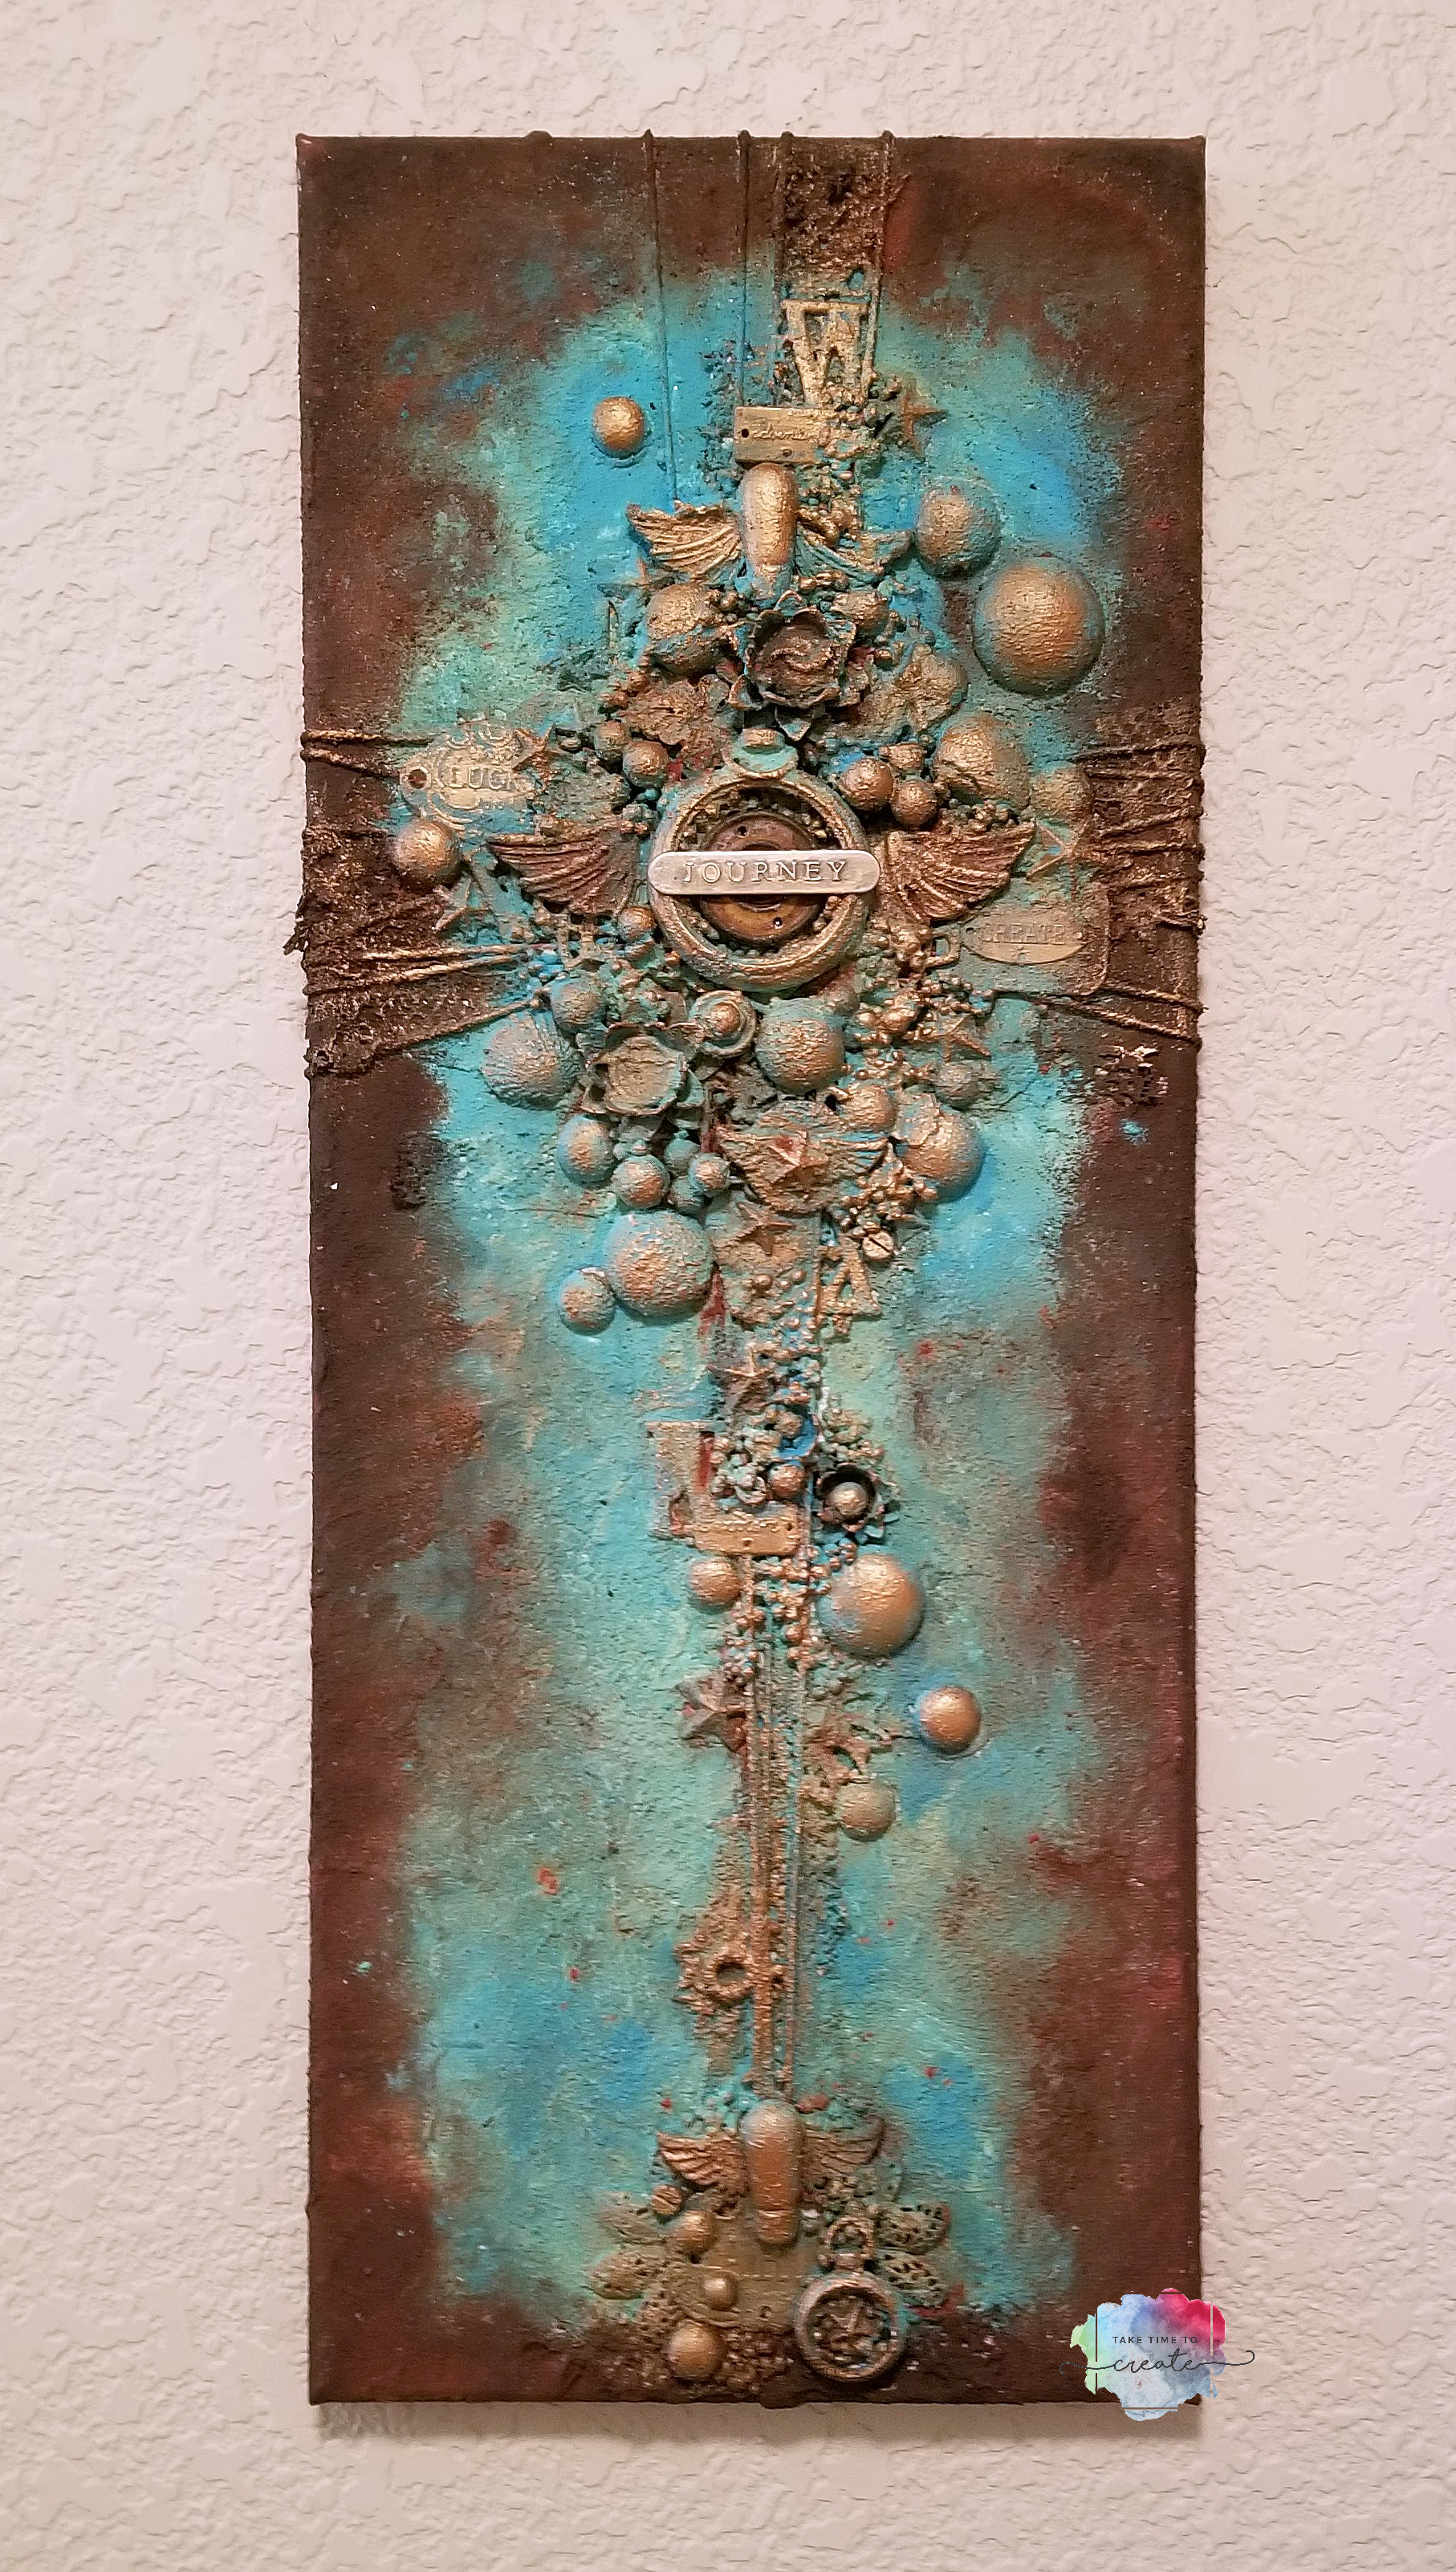
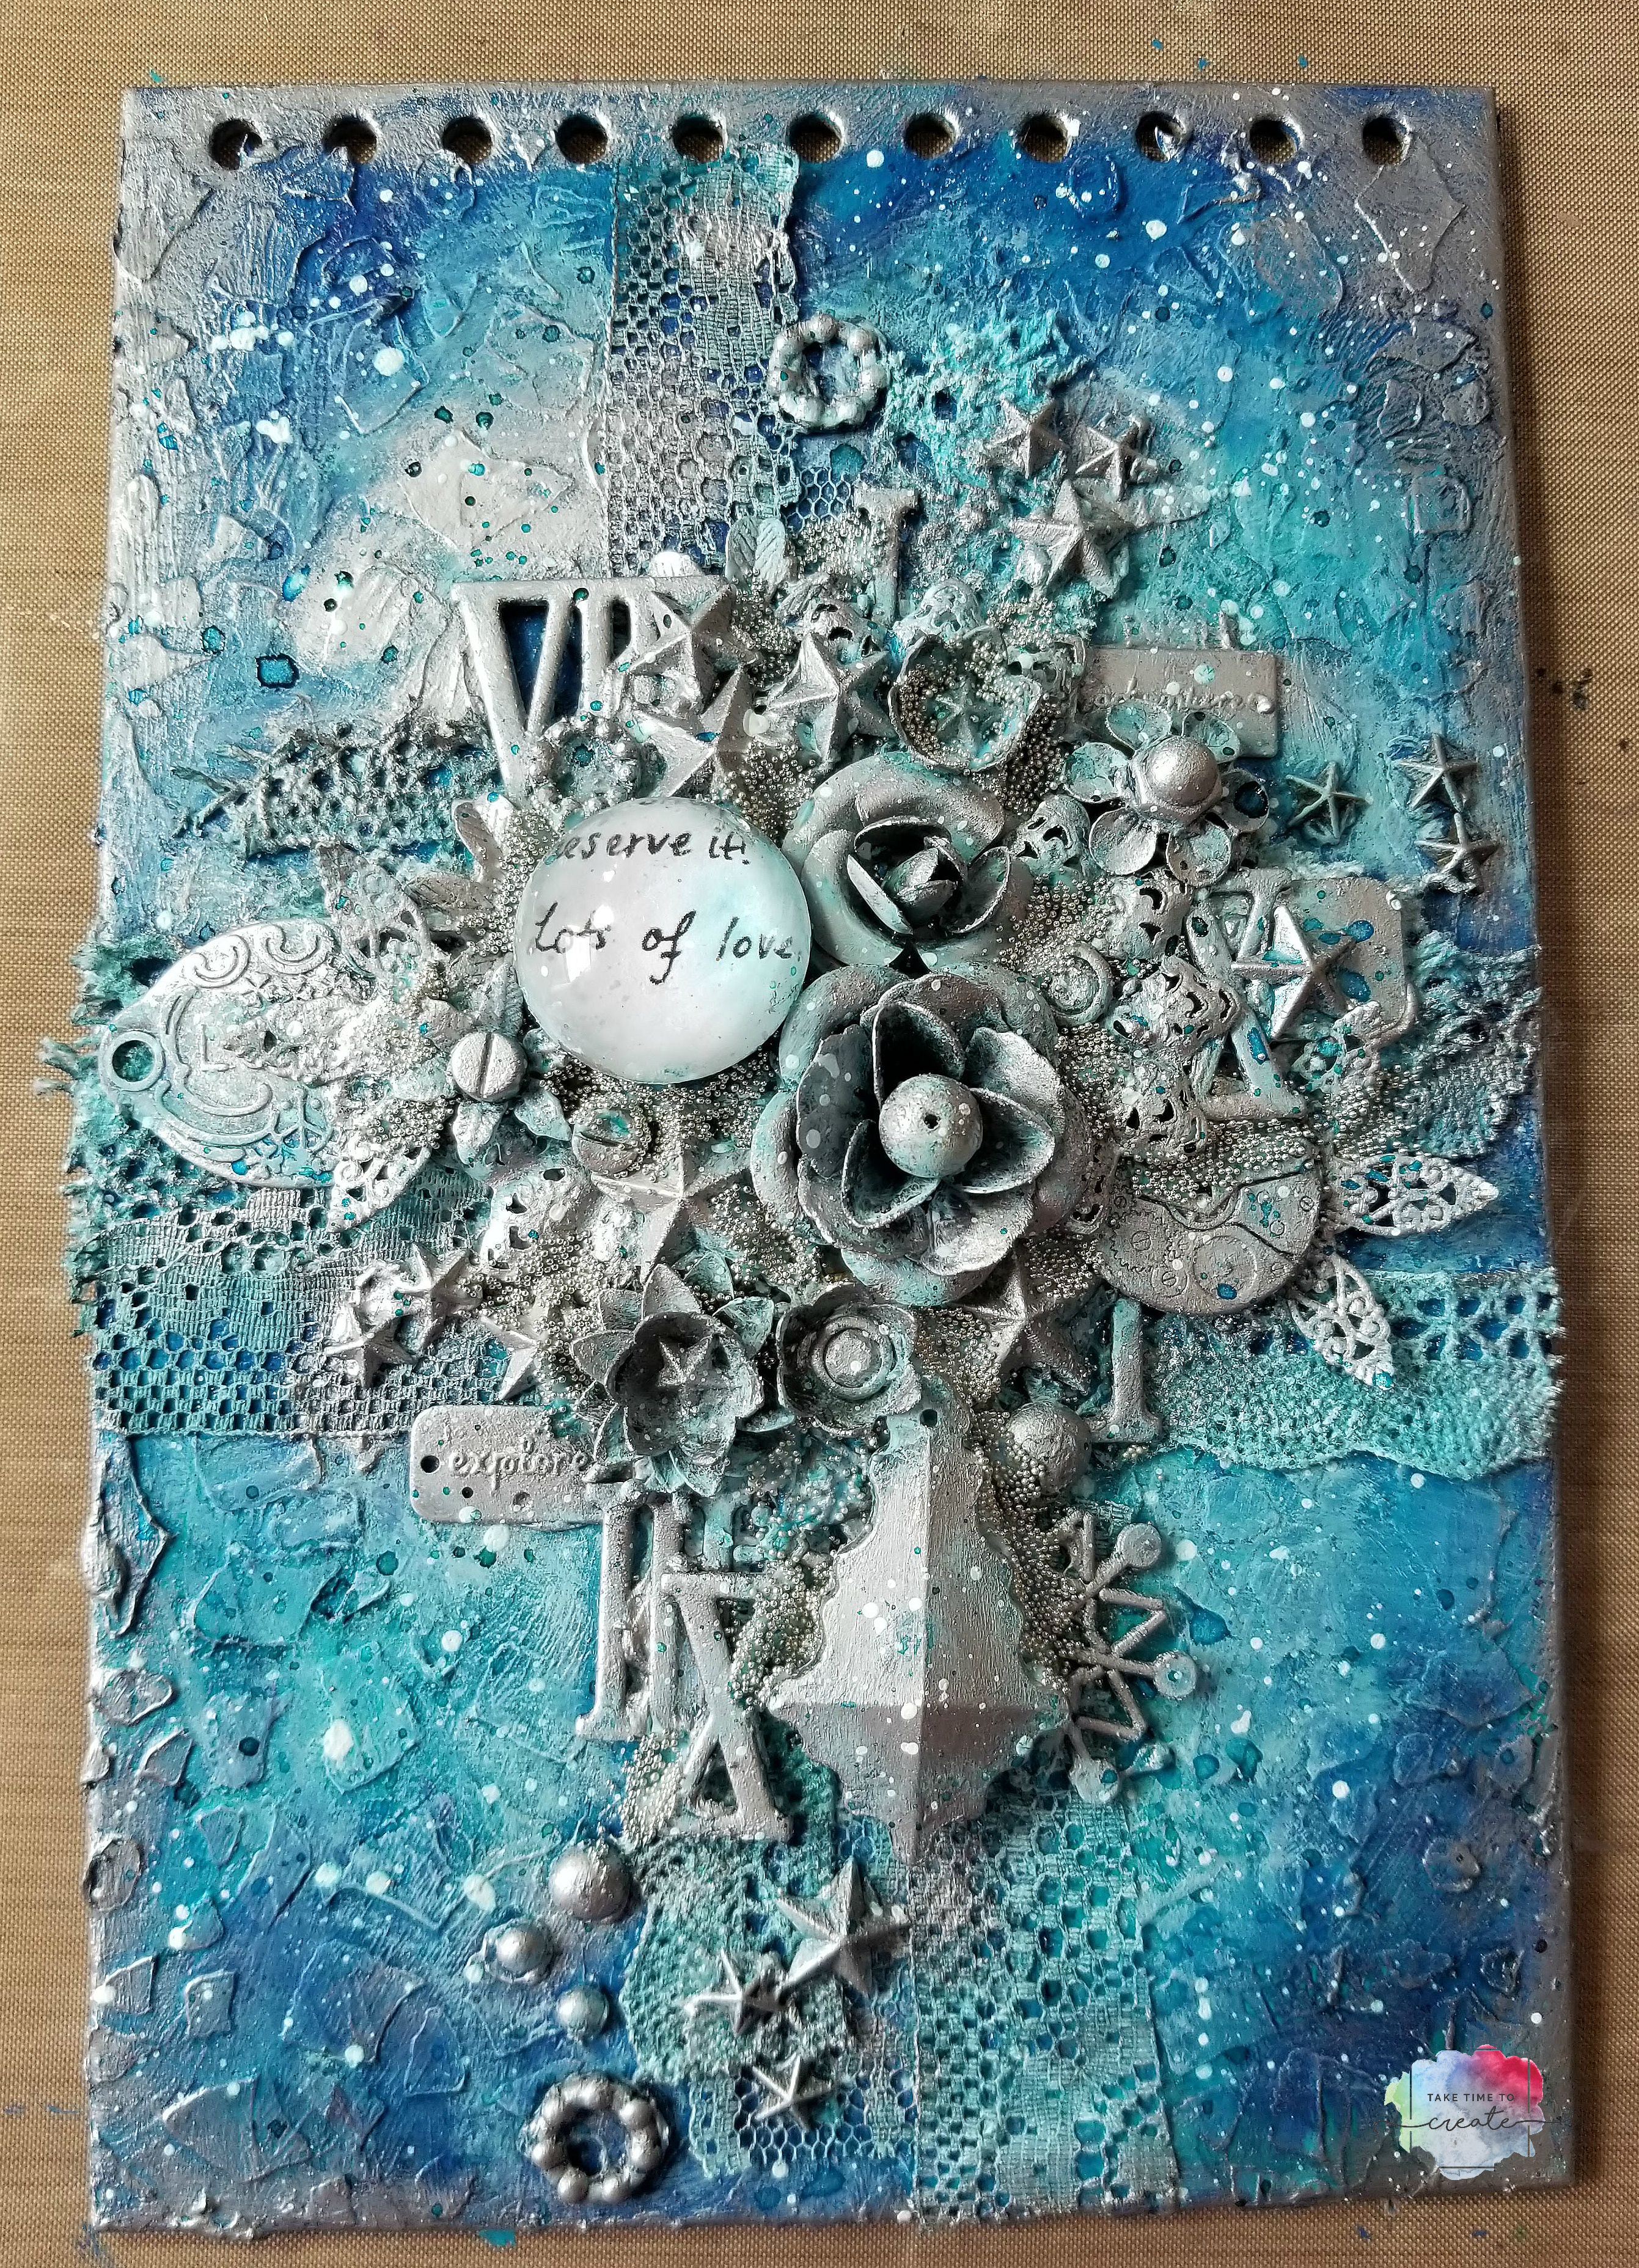
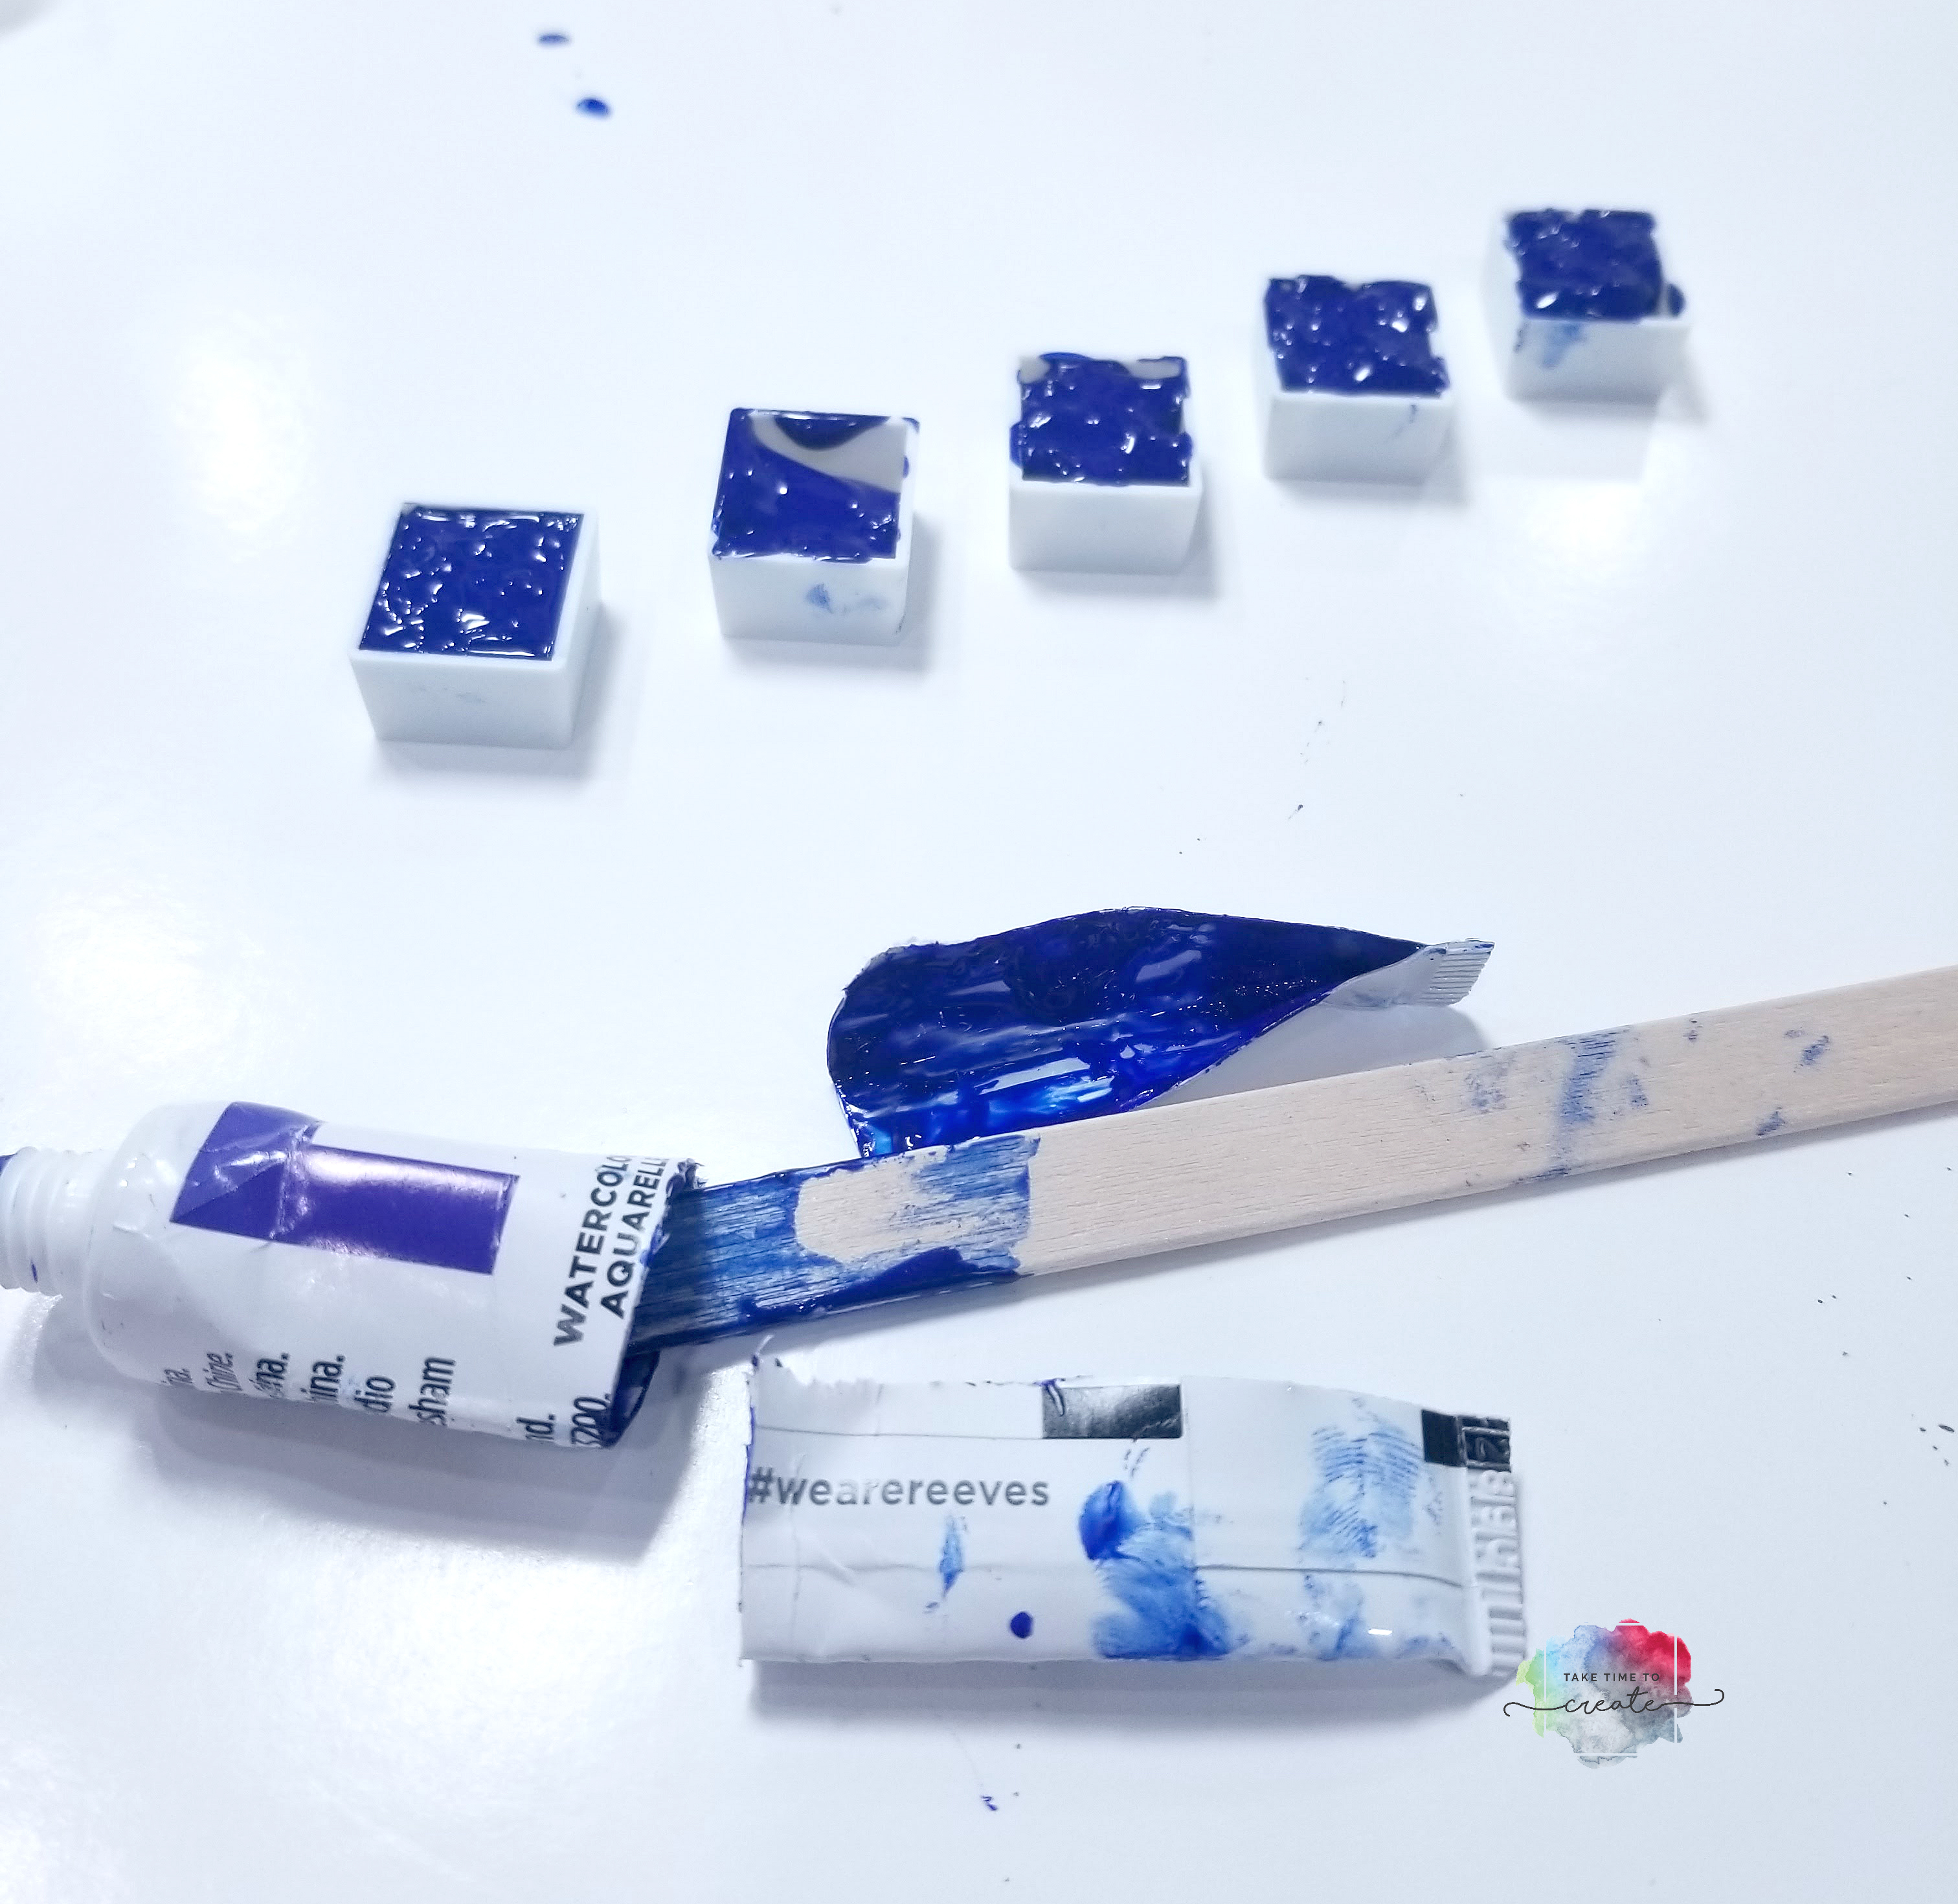
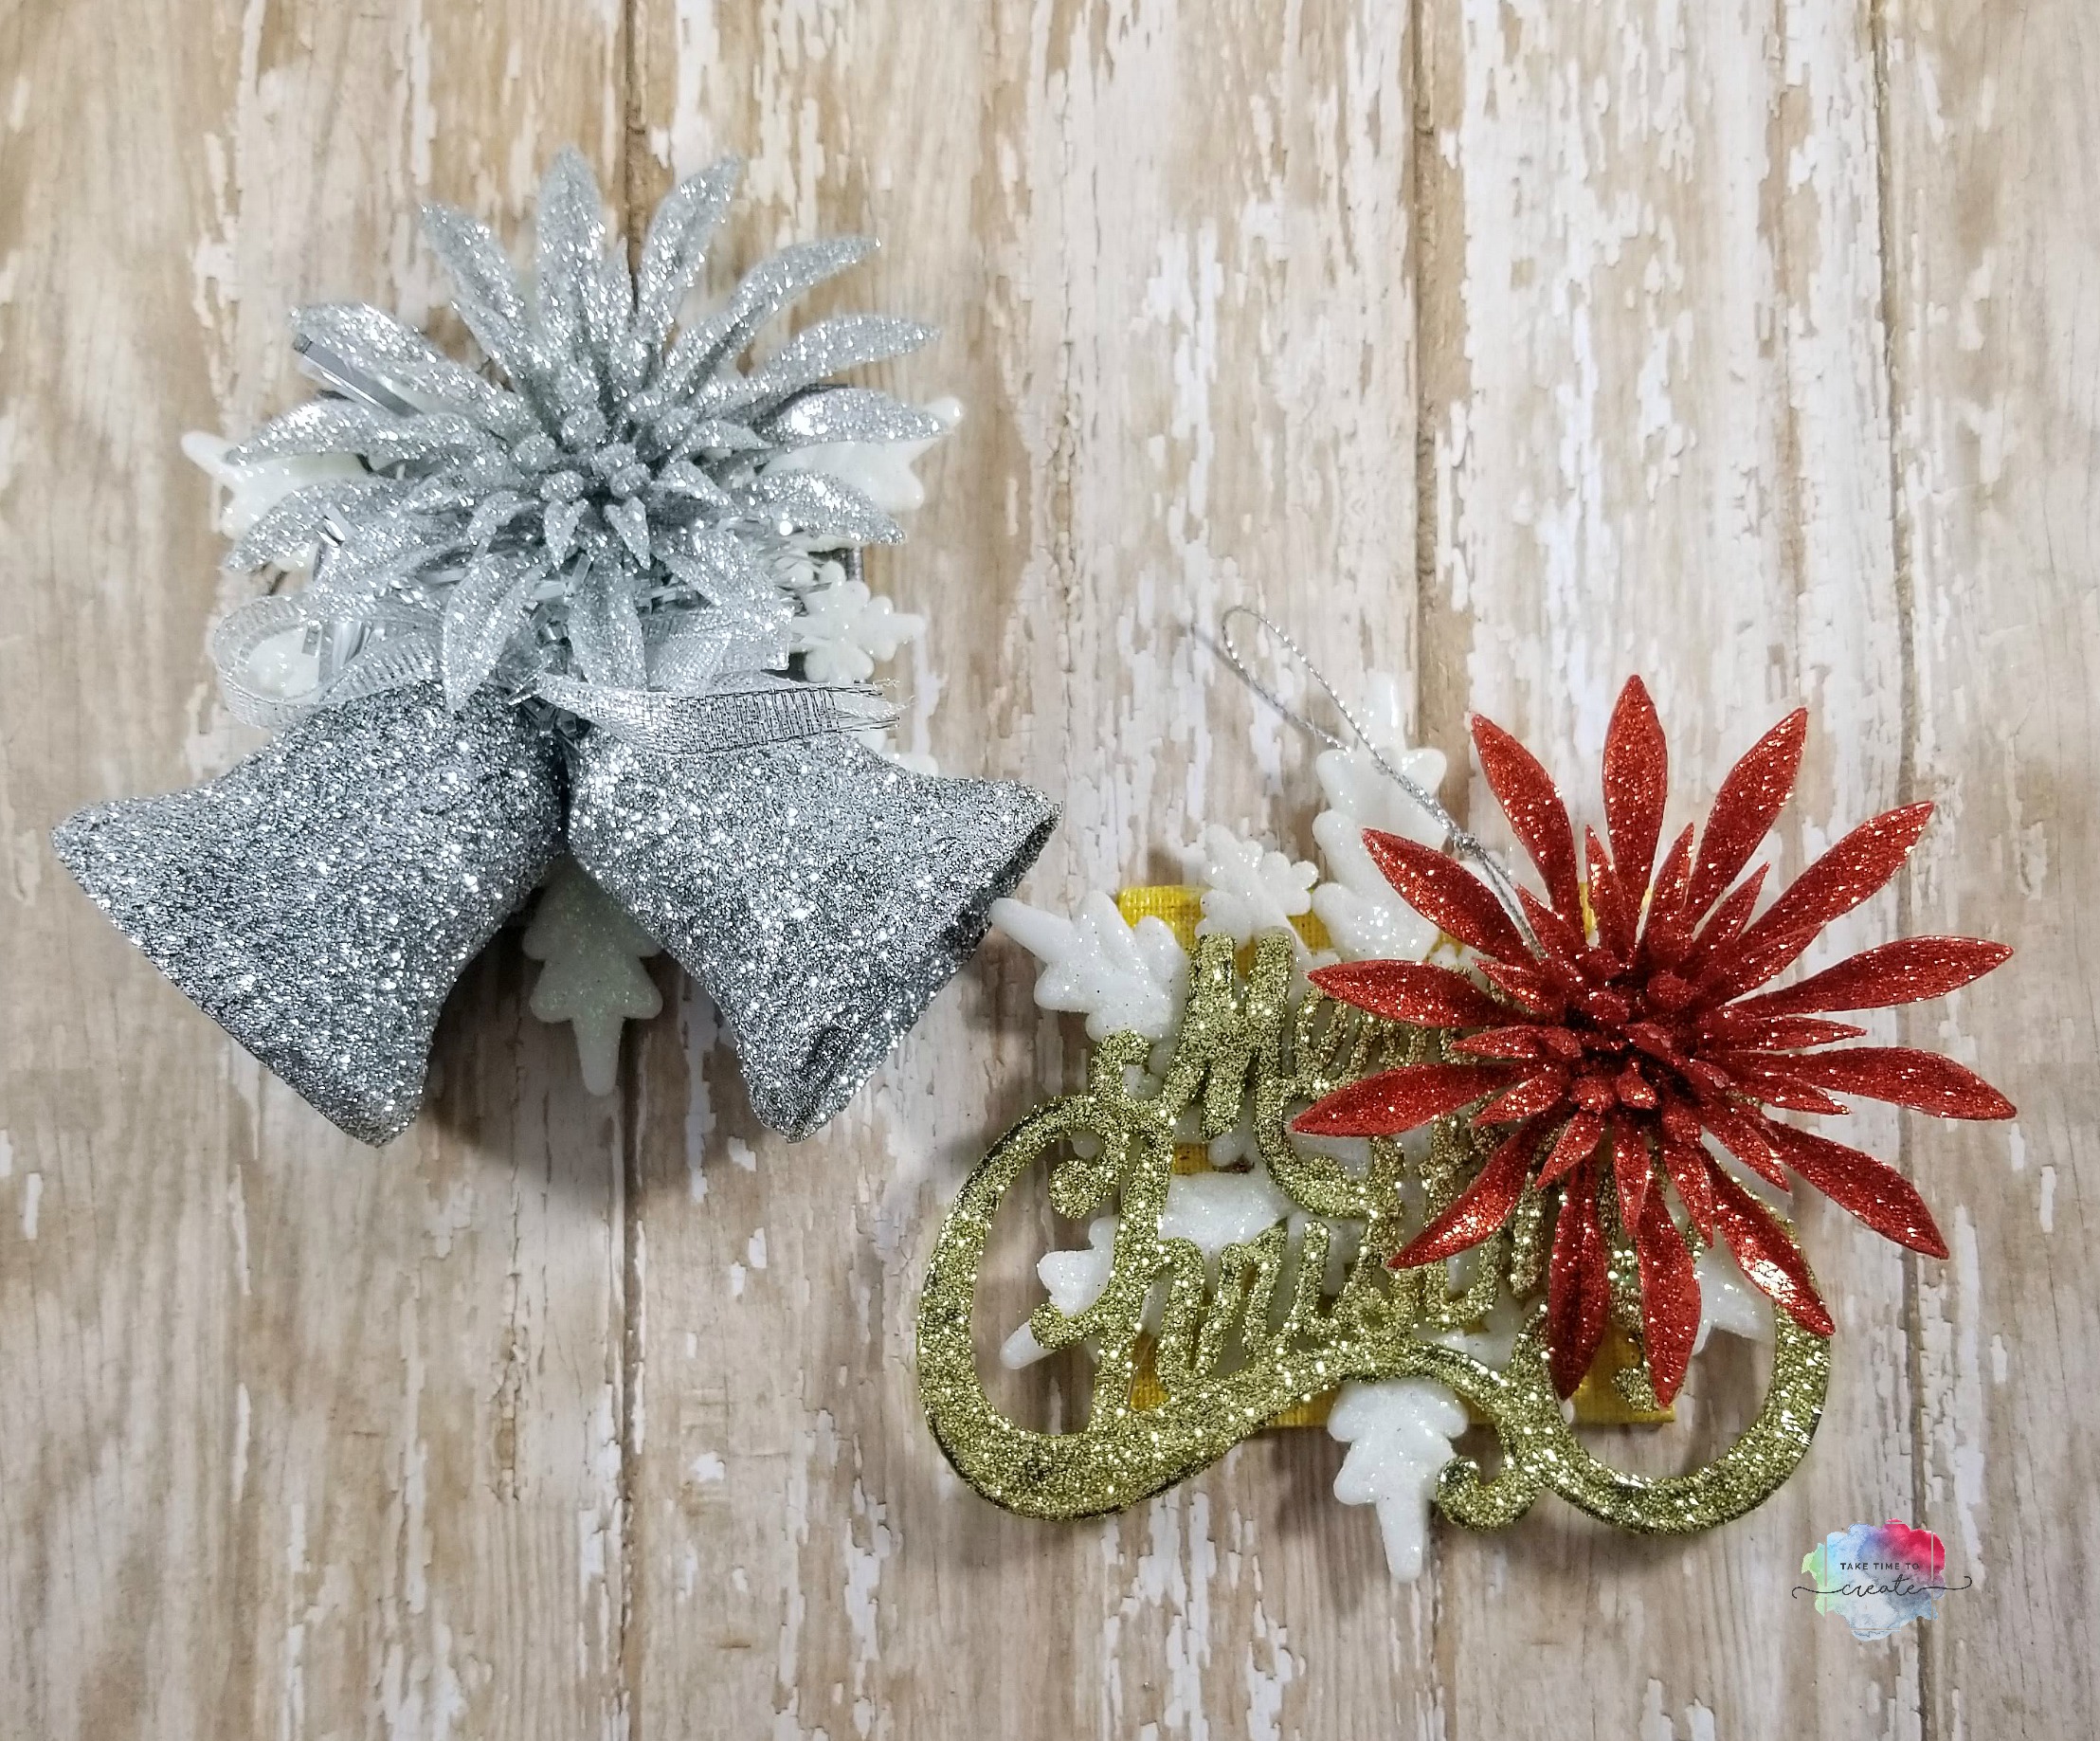
For this project grab a tiny canvas and paint it in any color you want, I used a silver and a gold.  (if you don’t have a canvas a piece of study cardboard or foam board will work)

ns.productsocialmetatags:resources.openGraphTitle

diy ornament


I saw it on DollarTree

ns.productsocialmetatags:resources.openGraphTitle

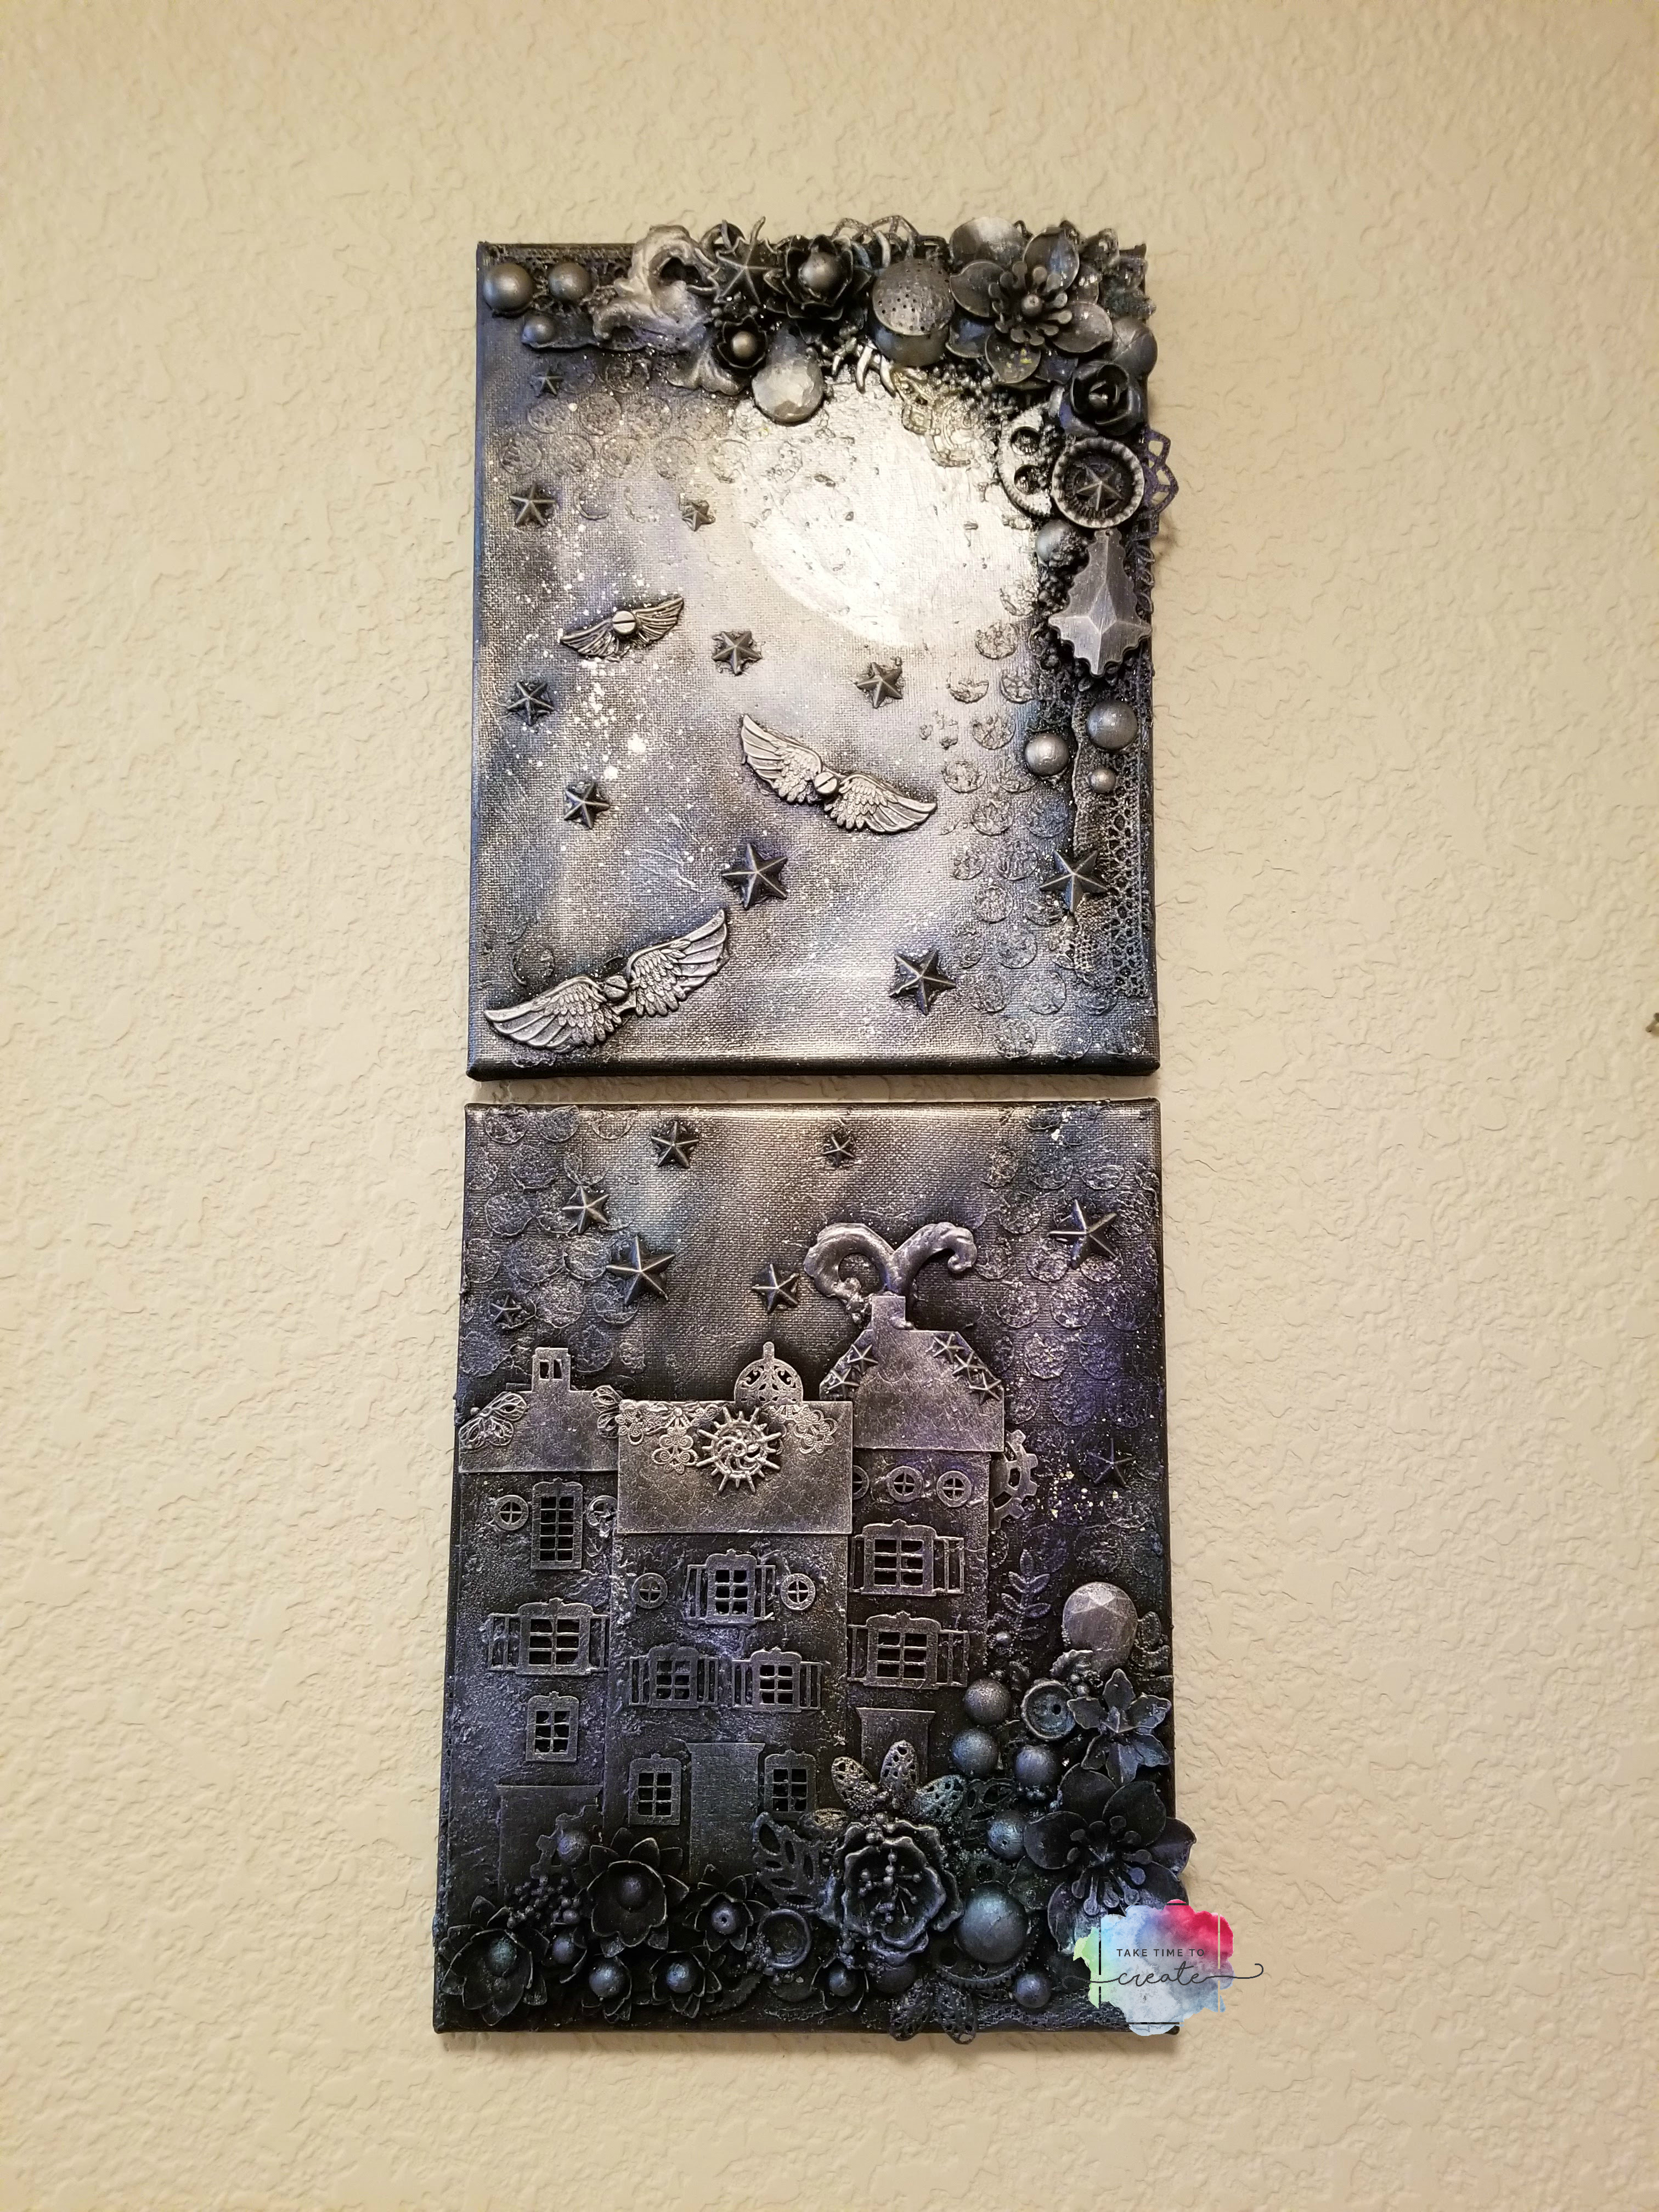
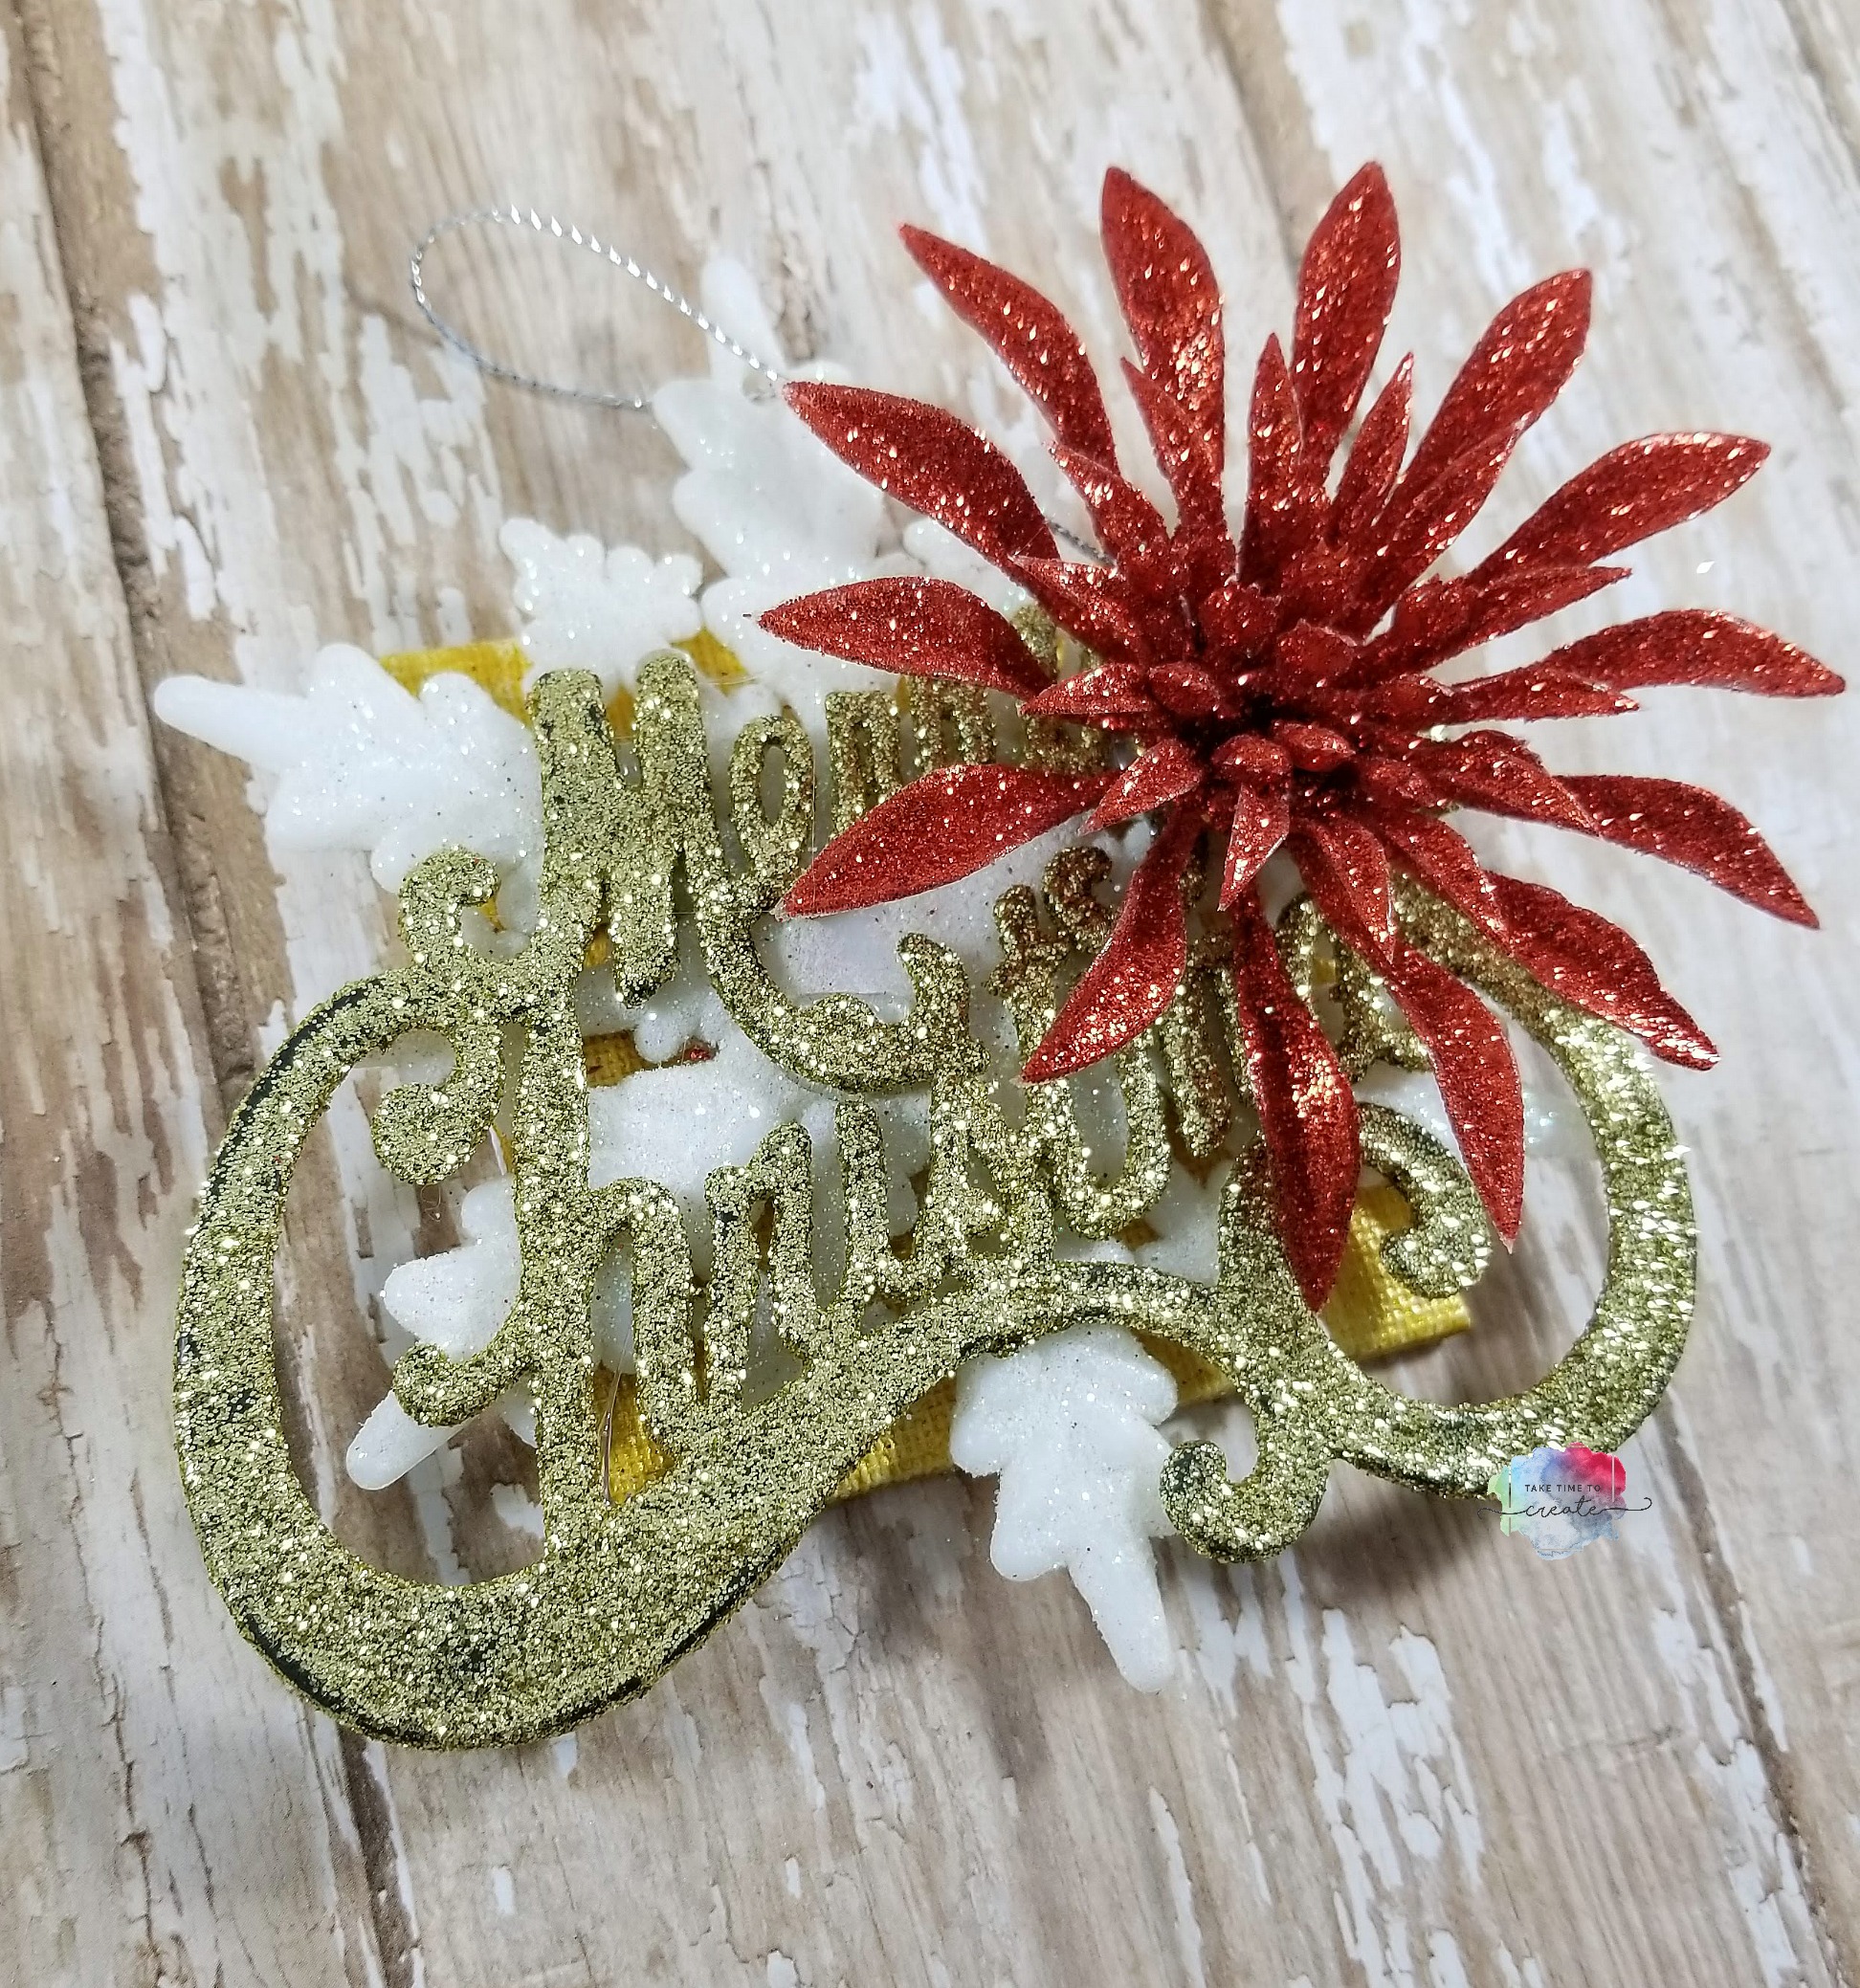
Once the paint is dry you can start layering your ornaments. I used hot glue to attach it.  I used 3 ornaments on each canvas to create an interesting look.

Just build your layers until you get what you are looking for and you are done! Add a string or ribbon to the back if needed.

diy ornament


This project is great to make unique ornaments for your tree, or you can use them as gift tags or gifts to just about anyone on your list.

Dollar Tree links:
Silver ornament bells- https://tinyurl.com/y74zglh8
Snowflake ornaments- https://tinyurl.com/y8m8couj
Wintery Ornaments https://tinyurl.com/ybw8jglg
Poinsetta Ornaments https://tinyurl.com/y9wkawc8

Amazon Affiliate links:
Tiny canvas https://tinyurl.com/ya7st5yb
Metallic paint- https://tinyurl.com/y7e2yvoc


the post DIY Dollar Tree Ornaments appeared first on Take Time To Create.

Mermaid Art Journal Page

Hello Everyone!

There is just some thing about mermaids, they are so wonderful and amazing. And yes, I think they are real, lol.  And since they are real I wanted to create a fun and easy art journal page using a metal die that I had in my stash.

This page was a lot of fun to create. I really enjoyed digging in my stash and finding old supplies that I haven’t used in a long time.

I did find this really great vellum paper from Stampin Up. It is really old, over 10 years is my guess, but it still works and looked really great on my page. (btw I am not a Stampin Up rep, lol, but I do have one. If you need a rep I did link my rep’s in at the bottom of this page. )

mermaid journal page

I also had a lot of fun using washi tape to create the underwater scene I was going for. I added a little texture with some stone effects from Finnabair and some netting from the Dollar Tree, together they brought the page together for the look I was going for.

mermaid journal page


It is a lot of fun going through your stash and finding things you forgot you had and putting them to use.  What have you found in you stash that you purchased a long time ago that you recently found and are now using?

mermaid journal page


I am not a Stampin Up Rep, but I do have one. If you need a rep my friend is really good. Here is her website: Stampin Wright

Affiliate links to supplies used of similar ones:


The post Mermaid Art Journal Page appeared first on take Time To Create.

Zipper and Buttons Art Journal Page

Hello Everyone!

The Sisterhood of the Traveling Art Journal strikes again, lol. New month, new theme! This month’s journal’s theme is sewing and I love it. There is a wonderful quote at the beginning of the books that states “My soul is fed by needle and thread.” and I just love that quote. The previous pages are wonderful and a huge inspiration for me.

I decided to take my page in a little different direction and create a page around buttons bursting out of a zipper.

I have done this technique in the past on a bottle, but not a journal page.  I did a blog post using a Mason Jar and sea shells, I think it turned out really cute, lol. You can see that post  by clicking here — Sea Shell Mason Jar. 


Zipper Art Journal Page

This was such a fun page to create! I added texture, paint, stamps, and other interest to the background. I played with my Dylustions paint for the background, I just love the way that paint applies.

Then I added the zipper, buttons, and butterflies to the page.  Then I painted everything with Finnabair waxes to create the aged look I was going for.

Zipper Art Journal Page

The only problem is that techniques like this can make your journal really bulky, lol. But I love when that happens because it just means that I am using my journal even more and doing even more creating! The bigger the better, lol.

Zipper Art Journal Page

I have to say I am still really loving my art journal group! I love working on different pages and trying new things. I can’t wait to see what next month will bring!

Also, don’t forget to check my events page to see when and where I am teaching, I would love to have you join me in my class!

Affiliate Links to products I used (or similar ones)

Ranger Journal: https://amzn.to/2A0ZjQ6
Dylusions Paint https://amzn.to/2IMwQR1
Zipper https://amzn.to/2E9miwt
Finnabair Mechanicals Butterflies https://amzn.to/2Eafuim
Finnabair Stencil https://amzn.to/2C3ZoUS
Finnabair stamp and stencil set https://amzn.to/2QEgvR3
Ranger Archival Ink https://amzn.to/2yaQv93
Finnabair modeling paste https://amzn.to/2ypTpGw
Finnabair Wax https://amzn.to/2C48jWi
pack of black buttons https://amzn.to/2y9MCBt

The post Zipper and Buttons Art Journal Page appeared first on Take Time To Create.


Ancestor Tribute Art Journal Page

Hello Everyone!

Recently I created another art journal page for the Sisterhood of the Traveling Art Journal! (This is the traveling art journal that I am a part of) If you have missed the explanation of the art journal  series you can see that post here- Sisterhood of the Traveling Art Journal.

The theme of this journal is cemeteries. This is a new theme for me, and I love expanding my creativity and seeing what I can do with a new theme. Rather than do a cemetery as a place I decided to a ancestor tribute art journal page to my Great Aunt Naomi who passed away in March. This seemed like the most appropriate way for me to express a cemetery.


For this journal page I wanted to be a little more subtle that I usually am. I know, big shock right, lol. I usually put everything including the kitchen sink on my journal pages, but this time I wanted to do a less is more theme.

ancestor art journal

I used her high school graduation picture and used that as my focal point (don’t use originals, this is just a print from Wal Mart). Once I knew my focal point the rest was easy to build upon.

I used lace, washi tape, Tim Holtz stickers and quotes, ripped book pages, Prima Marketing oil pastels, and Lindy’s Sprays.

ancestor art journal

I loved challenging myself by creating a simpler page. I love how it turned out and I think this is a perfect tribute to one of my favorite people on the planet.

ancestor art journal

This page has inspired me to create some additional pages that are in the simpler side, pages that showcase a photo and use a small amount of products rather than create a page that uses everything in my stash, lol. I am looking forward to the next page I create.

What do you do to get out of your comfort zone when creating?

Affiliate links:

The page Ancestor Tribute Art Journal Page appeared first on Take Time To Create.

Watercolor Green Galaxy Art Journal Page

Hello Everyone!

I have really been enjoying watercolors! This art journal was an experiment with a green galaxy rather than a pink or blue one. I really like the way it turned out!


Watercoloring is so freeing and expressive! I love that you can do so much with a watercolor and you can create some really cool textures and images with watercolors.

For this galaxy I wanted to use some yellows and greens and dark grays to create this galaxy. That bright yellow in the center is so fun and exactly what I was going for

watercolor galaxy art journal

I don’t have the skills to paint a whale, lol so I used this really cute whale I had in my stash, just the perfect touch for the journal page. I used a stencil from the Dollar Tree to create a mandala effect and i think it ties it all together

The last piece to the journal page was for me to add a quote. My handwriting is not the best, lol, but I really thought this quote was perfect for the page.

watercolor galaxy art journal


I really love how this all came together! Art journaling is becoming one of my favorite activities, I love that is is the perfect place to play and experiment with new techniques and ideas!

Affiliate Links

The post Watercolor Green Galaxy Art Journal Page appeared first on Take Time To Create.

Sailboat- a Mixed Media Fabric Canvas

Hello Everyone!

Are you ready for another Fabric Canvas? I am still loving the fabric and the process of creating a canvas with fabric.

This scene was inspired by our recent vacation to Ft Lauderdale. We saw a lot of boats on the water and they looked so peaceful and wonderful that I knew I had to create one on a canvas with fabric.

I did use a smaller canvas than normal, but I really liked how it turned out.  And I used a variety of blues for the water and sky. I wanted to create depths and dimension with just one color. There are so many blues out there it was fun to pick and choose which one to use to get the look I was going for.

sailboat canvas

I used a heavy body paint from Finnabair to paint the boat, and that added additional texture and dimension to the boat. I really enjoyed that paint and I am looking forward to using it even more.

sailboat canvas

The last details were painted on to the sky and water with regular acrylic paint and that is what the painting needed.  I didn’t add any metalic paints or sparks or glitter to this canvas. I kept it all matte and I think that was the right choice for this piece of art.

sailboat canvas

This was such a fun piece to create and it was a great way to commemorate a wonderful vacation.


Affiliate Links:

The post Sailboat- a Mixed Media Fabric Canvas appeared first on Take Time To Create


Art Journal Page- Travel Theme

Hello Everyone!

It is time for another art journal page! I am part of a group of artists, we call ourselves the Sisterhood of the Traveling Art Journal, lol. And what we do is everyone creates a page and then mails it to the next person on the list. Then when I get the next journal in the mail I add to it, using the theme they decided on. My journal is a travel theme, I love to travel so I figured this would be the best theme for my journal.

I am excited to see what people come up with and what their themes will be. I think this will take over a year to complete, so it is a long term project. I will share the pages when I get the next journal in and I will do tutorials on the pages I create.

I attached the video where I explain how I created my first page.

I did a generic travel page rather than an individual place or country. I thought this would really show my love of travel, no matter where I go, or who it is with.

art journal travel page

I used a ton of products to create a layered look, all surrounding the focal point.  I really enjoyed going through my stash and finding vintage looking papers, stickers, and embellishments.


art journal travel page

The journal I picked is the Dylusions art journal. It is the perfect size and easy to transport. I added a cover to protect it and a pocket in case someone wants to add goodies to send to the next person.


art journal travel page

Affiliate Links:


The post Art Journal Page- Travel Theme appeared first on Take Time to Create.

Summer Greeting Cards

Hello Everyone!

I just love the summer! Bright colors, warm weather, and sunshine! So when I saw the Bo Bunny Summer Mood Collections I knew I had to  make some summer greeting cards!

This post is sponsored by Scrapbookcollections.com, a one stop shop for an entire Scrapbook Collection! Perfect way to get everything you need all in one place.

Recently I have become pen pals with my sisters and I really like to make handmade cards to send them. Writing each other has helped us learn more about each other as adults and I have really been enjoying it!

You can create both of these cards with everything in the kit, you will just need to add a blank card, and adhesive.

This first card I used the bright yellow paper for the background then added the pretty circle cut out in the middle.

I added accents and rhinestones to jazz it up and the flower in the middle is raised just a little bit with foam tape. You don’t want to add too many embellishments if the card is going through the mail, you don’t want it to arrive damaged.

summer greeting card

This second card is not featured in the video, it is a bonus for my blog readers.

I took 2 different paper backgrounds and layered them together, then I added the typewriter from the Noteworthy pack. Then I added the flower to the corner. This is a perfect card to send to friends or family for almost any occasion.

summer greeting card

I think both cards turned out really cute and I am excited to send them to my sisters. And I am excited to create even more creations from this adorable scrapbook kit!

Use the code taketimesummer for a discount at Scrapbookcollections.com!

summer greeting card

The post Summer Greeting Cards appeared first on Take Time to Create.


Weekend Mixed Media Classes with Finnabair

Hello Everyone!

A couple of weekends ago I had the most magical, special weekend! I was able to take 4 mixed media classes from the amazing Finnabair! She is so wonderful and sweet and patient, and I learned a ton from her!

I did a try to keep my squeals and fan girling to a minimum, but I am not sure I succeeded, lol. It was just so awesome!

See here we are, bffs now, lol.


I am only kidding, but just a little bit. It was so nice to spend the time with her at Mojito Creek, a retreat in Colorado. I have been there before, and I love it there! You can read my review on the retreat here: Mojito Creek Review Link

You can check out Finnabair here: Finnabair’s website

And you can check out Mojito Creek here: Mojito Creek’s website

I did a video of the projects we completed and you can see that here:

At the end of this post I will add affiliate links to some of the supplies we used, but there was just too many to list all of them.

The first project we did is the Book of Rust. I loved learning more about the rust paste and how to use it and just to get better with it. I am going to incorporate more rust into my projects because I love the look of rusty old things.

The next project is the long skinny canvas with rust paste and patina. I loved learning about how to use the patina, I have the paint at home but I never use it. Now I know what it can do and I am excited to add this medium to my projects!

That wrapped up the classes for Friday. It was a long day full of learning and exploring and I was ready for bed that night! The next day we got up not too early and started our day learning how to do 2 more projects.

The first one was the journal. This picture is the cover we made, I don’t have a pic of it reassembled. But it did go back together nicely, lol. I love this journal and I have been using it to make art journal pages, which is so nice because I have missed making art journal pages.


The last project is the moonlight one. I have to say this is the one I was most excited to learn! I love the technique and the final canvas is just so pretty.

All of these projects were so much fun to make! And I actually finished all the projects while I was at Mojito Creek, so that was nice to actually come home with finished projects! If she comes to Colorado again I will be sure to sign up for her classes! This a dream come true and I can wait to incorporate what I learned into my projects!

Here is the list of some of the products I used (they are all affiliate links)

The post Weekend Classes with Finnabair appeared first on Take Time to Create.

Investigative Art Journal- Tube Watercolor to pans

Hello Everyone!

It has been a while since I posted. I have an Investigative Art Journal for you today. Today we are seeing how many half pans can you get from one tube of watercolors.

For this experiment I used Reeves Watercolors that I picked up at Michael’s. The affiliate link is listed here:

Reeves Watercolors: https://amzn.to/2pKk64e

watercolor tube

I found this a very interesting experiment, how much is actually in a watercolor tube? I was pleasantly surprised.

There are four and half, half pans in a tube!

watercolor tube

This is a great if you want to invest in higher quality watercolors, but you don’t think you can go through that many pans, so sharing with a friend or 2 is now a viable option.

There is plenty of product to go around to everyone!

Check out the video to see more on the experiment and there are links to my other Investigative Art Journals.

watercolor tube

What other experiments do you want me to do with watercolors?

The post Investigative Art Journal- Tube Watercolor to pans appeared first on Take Time To Create.

« Older posts Newer posts »

© 2024 Take Time To Create

Theme by Anders NorenUp ↑

Follow

Get the latest posts delivered to your mailbox:

%d bloggers like this: