Tag: craft (page 9 of 10)

DIY Painted Halloween Village

Hello Everyone!

Halloween is fast approaching, and of course I get it in my head that I want to do some new Halloween decor.  At least this year I am getting it done before Halloween and not after, haha.

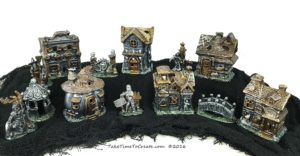
I saw a Halloween Village at the Dollar Store and thought it would be perfect to paint for Halloween

finished-village

Materials:

  • Ceramic houses (I found mine at the Dollar Store, but there are a lot of options out there. You could even use Christmas houses)
  • Metallic Paint
  • Gesso
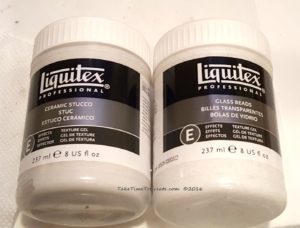
  • Brushes, Stucco, Beads

Instructions:

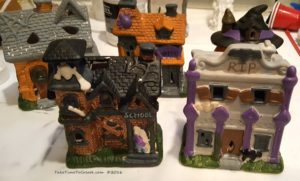
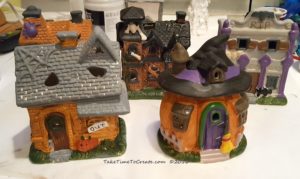
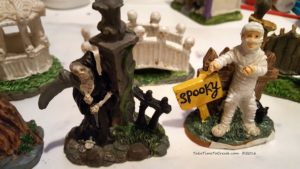
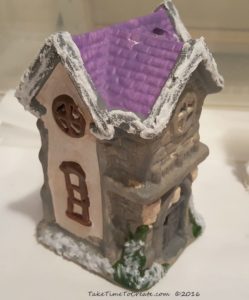
When I saw these houses I thought that they were very cute, but the colors were not great. I didn’t think that they went together very well and the figurines were terrible.

before-house-2

before-houses

before-up-close

Before the painting fun I had to prep the houses. I cleaned them then added a layer of Stucco to the roofs and anywhere there needed to be a rough detail. Then I added some beads to the grass area.


stucco-and-beads

add-stucco-and-micro-beads

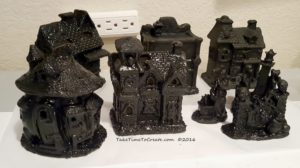
After the texture was dry I added a layer of black gesso. This gave me a blank canvas to work on. I did have to go back and touch up areas that I missed.

add-gesso

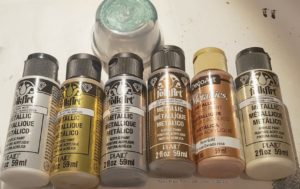
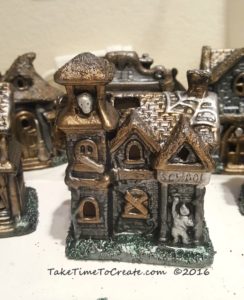
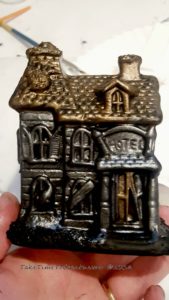
After the gesso was dry it was time for the fun painting! I used metallic acrylic paint and I mixed some Mica Powder with soft gloss gel for the green. I just dry brushed the colors onto the housed, adding and blending as I went. Once I was happy with the look I went on to the next house, until I was finished with the project.

paint-colors

keep-painting

start-painting

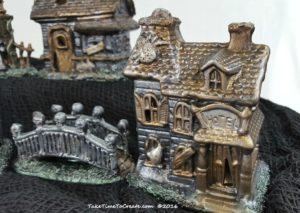
Here is an up close picture of the detail of one of the houses and the bridge.

up-close-detail

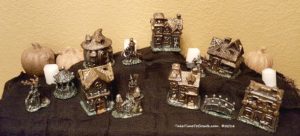
And here it is on display in my home. I really liked this project, it was fun to watch the housed change right before my eyes. Good thing I bought more houses from the Dollar Store, now I can create even more villages, haha

finished-houses-in-my-home


Dragon Mixed Media Canvas

Hello Everyone!

I am loving mixed media! It is quickly becoming one of my favorite forms of crafting. I love finding objects and combining them to create art.
This project is a Finnabair inspired mixed media. She is wonderful and her projects inspire me to create new things and expand my horizon. And I find that the more mixed media projects I do the better they turn out. It is fun to see how different my techniques is since I started.

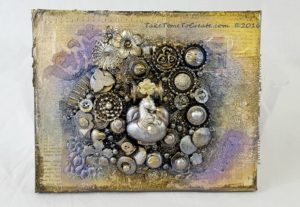
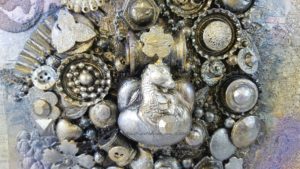
This time I did a Dragon themed collage. I found the really cute ceramic dragon and built the piece around that.  Here is how I made this collage.

mixed-media-dragon

Materials:

  • Canvas
  • Found objects, papers, rhinestones, microbeads, stencils
  • Papers, stencils
  • Soft Gloss Gel, 3D Gel, Mica Powders, paint brushes, gesso

Instructions:

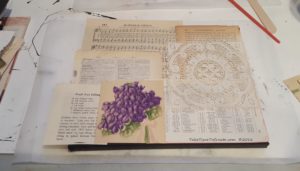
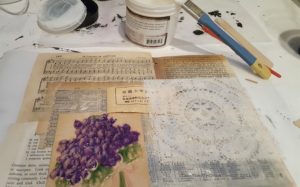
I had these really great old papers and doilies that I used as a base. The papers are a little fragile, but they make and interesting base.

base-layout

I glued the papers down with soft gloss gel and I added a top coat of soft gloss gel to protect the paper. The fragile, old papers did end up bubbling a tiny bit, but I think that adds to the character of the piece. The papers were just really thin and the gel soaked through and caused tiny wrinkles.  Let it dry before going on.

add-soft-gloss-gel

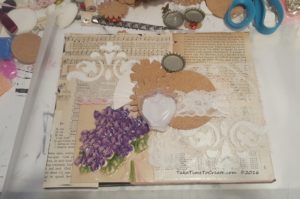
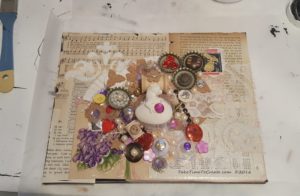
Next start arranging a layer on the canvas. I used a plastic heart and some lace and cork at this stage. I also used a stencil in the corners and added micro beads to the wet paste to add texture and interest.

start-adding-layers

Keep adding layers to create interest and details.

keep-layering

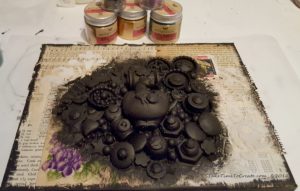
Once I was happy with the arrangement I used black gesso on the collage in the middle and I edged the canvas in black gesso. I faded the gesso out from the center to blend into the canvas.

add-black-gesso

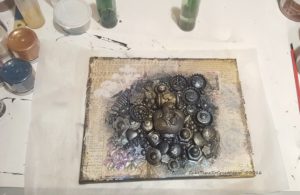
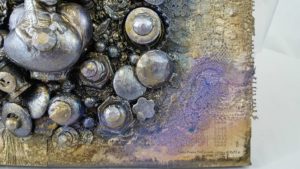
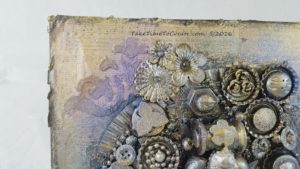
Next I started painiting. I added mica poswers to water to make a mist that I srayed in areas. But mostly I dry brushed the paint on the canvas. I mixed mica powders with soft gloss gel to create a paint.

start-painting

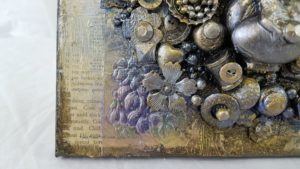
Just dry brush paint all around, hightlighting high points and emphasing different points of interest.

detail

more-detail

top-detail

Mixed Media is tons of fun and I can’t wait to complete my next project.

detail-of-mixed-media-dragon

Tonight I am taking an embroidery class so I will share what I learn and have some new projects for you in the coming weeks.

Related Posts

Mixed Media Angel

Another Mixed Media Angel

Frozen Mixed Media Canvas

Another Mixed Media Angel

*I am so sorry if you got this email twice. This is just one more speed bump I am trying to get over with my blog. Hopefully next week will be better. Thank you for your understanding and patience!*

Hello Everyone!

I am back! Thank you all so much for your patience with my long absence. It was never my intention to go silent for a month! I was trying to upgrade my blog to better serve you and in the process I broke it. In fact, it was so bad that tech support was baffled. They had no idea what I did and how they could fix it! (even my mom agreed that it is something that would only happen to me, haha) Anyway I am back online, and over the course of the next few weeks I will be working on cleaning up the blog and making it more used friendly. But for now I am back and I will be posting new projects weekly. I have a ton of ideas for Fall and Halloween so be on the look out of those projects in October.

If my blog ever goes down again you can keep up with me on Instagram

Let’s get into the latest project. I did another mixed media angel. I showed you how to make a mixed media angel that was black and gold. You can see it again here.

mixed-media-angel-1

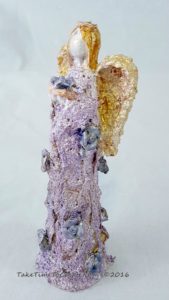
For this angel I went with lighter colors and I like the way it turned out.

Materials:

  • Angel
  • White Gesso, soft gloss gel, Mica Powder, brushes
  • Ribbon, roses, wire and other embellishments

Instructions:

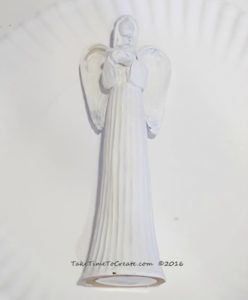
~ Make sure the angel is clean and dry,  then add a layer or 2 of gesso to get a good base for painting.

mixed-media-angel     mixed-media-angel-gesso

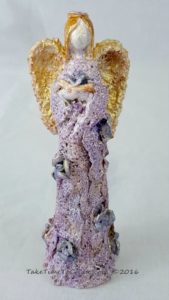
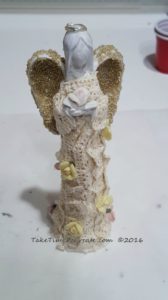
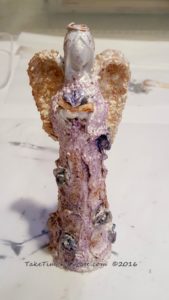
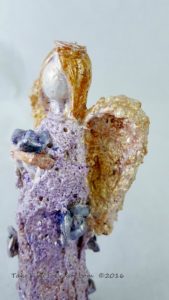
~ Start to add embellishments. Just like the previous angel I mixed micro bead with soft gloss gel for texture on the wings. Then I added ribbon for the dress, I just adhered it with 3D paste. Then I added some roses for interest and a wire halo and then I was done with the texture for the angel.

mixed-media-angel-with-embellishments

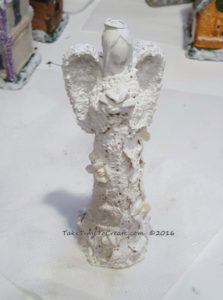
~ Once she was dry I added more gesso. I added a few layers to make sure she was all covered and ready for the paint.

mixed-media-angel-gesso-embellishements

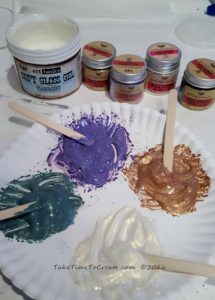
~ Now time for the fun part, adding paint! I mixed Soft Gloss Gel with Mica Powders to make my own paint and then I applied it to the angel. I did some dry brushing and some heavier paining. I just kept at it until I was done.

starting-to-paint-mixed-media-angel     paint

When I was happy with the final result I added a clear protective coat of spray paint. Then I let her dry and now she is ready to be displayed. I am having a blast with these mixed media projects! What should I do next?

mixed-media-angel-2     mixed-media-angel-3     mixed-media-angel-4

Related Posts  

Mixed Media Angel

Frozen Mixed Media

DIY Star Wars No Sew Tablet Cover

Hello Everyone!

Have you ever wandered around a fabric store and see some fabric that just jumps out at you and demands that you buy it? No, is that just me?

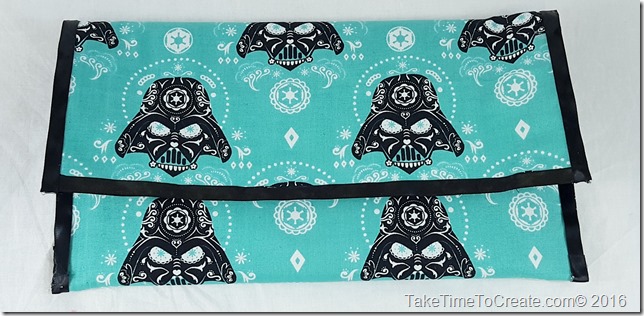
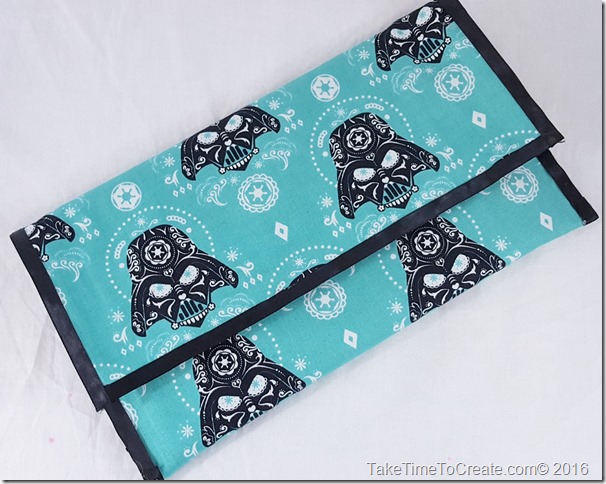
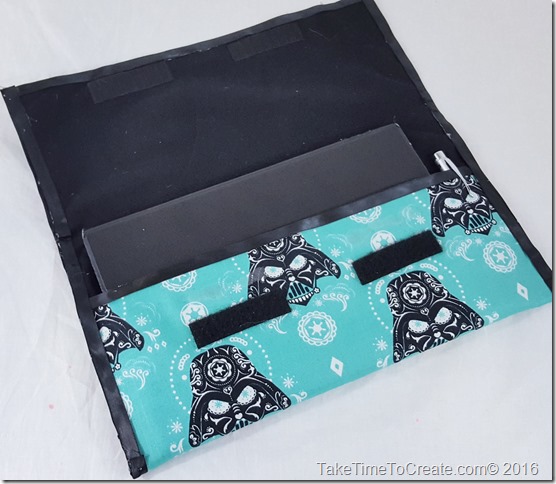
Well that is what happened with this Star Wars fabric, it demanded to go home with me and to be made into something awesome. I think I did the fabric justice by making a no sew tablet cover.

DIY Star Wars No Sew Tablet Cover

Materials:

~ Fabric I used this awesome Darth Vader fabric for the outside and I used sweatshirt fabric for the inside to help protect my tablet and provide a little cushion

~ Ribbon

~ Hot Glue and Velcro

Instructions:

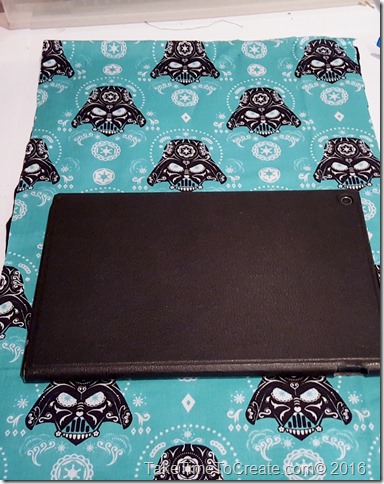
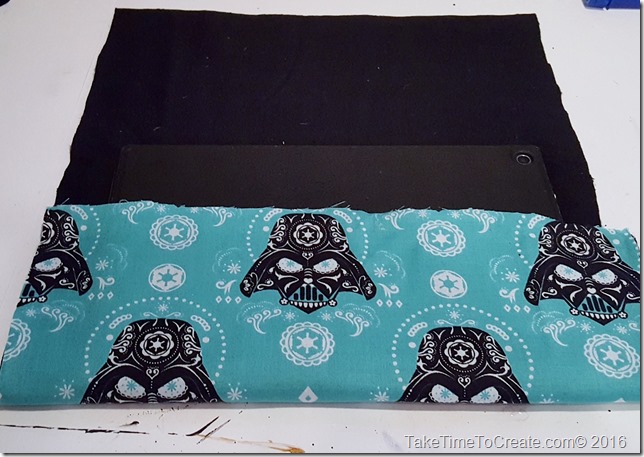
~ I laid out the 2 fabrics with wrong sides together and cut out how much I needed. There wasn’t any measuring just make sure you have a little room on the sides and enough on the length to create a flap. I left a little extra on the side (but not too much) so I had somewhere to put my stylus pen.DIY Star Wars No Sew Tablet Cover

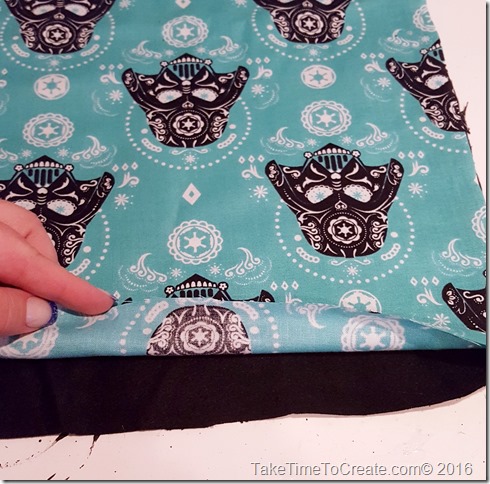
~ Hot glue the fabric together around the edges. I did a little at a time and used a popsicle stick to help smooth out the edges with out burning my fingers.

DIY Star Wars No Sew Tablet Cover

~Once you have the edges glued then fold up the fabric, make sure you have your tablet to measure what you want the pocket to end. Then glue the edges together.

DIY Star Wars No Sew Tablet Cover

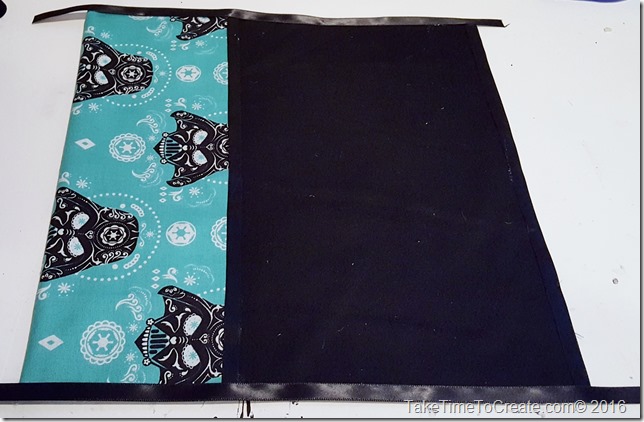
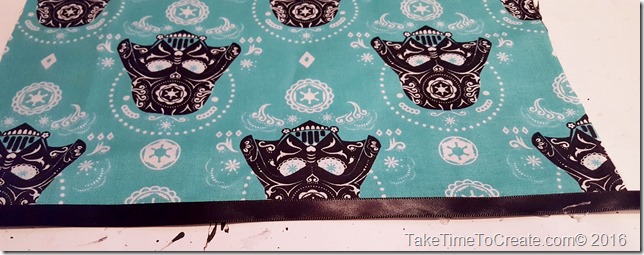
~ Then hot glue ribbon around the edges. My ribbon was not wide enough to wrap around the edge of the fabric so I glue some on the front and the back of the fabric. Glue ribbon every where that you see a raw edge.

DIY Star Wars No Sew Tablet Cover

DIY Star Wars No Sew Tablet Cover

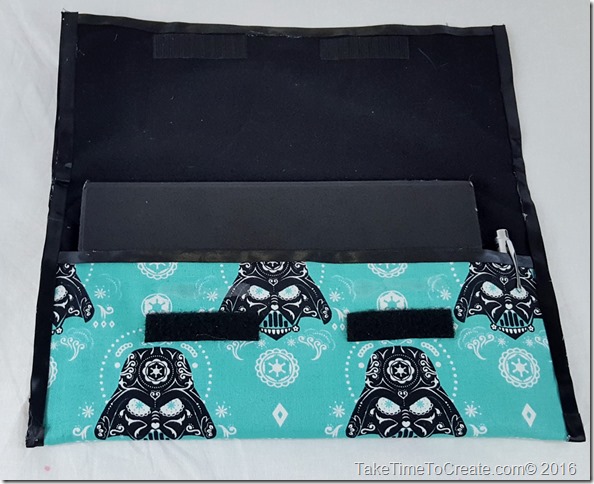
~ Then glue on Velcro to the flap to close your cover and you are done.

DIY Star Wars No Sew Tablet Cover

I am in love with the fabric, I think I need to go back and get more to make a circle skirt.

In a upcoming post I will show you how to make a sew version of a tablet cover.


DIY Star Wars No Sew Tablet Cover

DIY Star Wars No Sew Tablet Cover

How to Reupholster an Office Chair

Hello everyone!

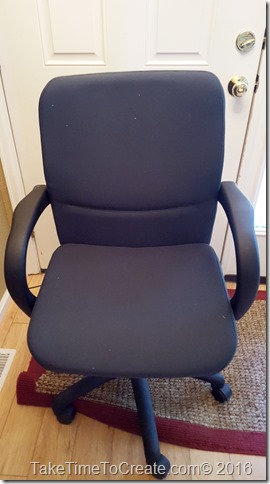
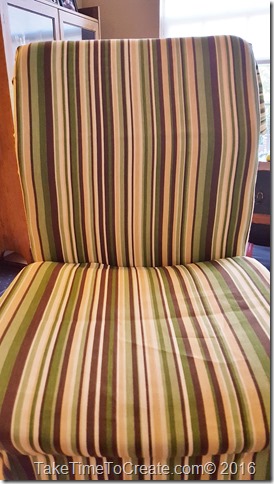
An office chair has got to be one of the most pieces of furniture that a person can own. You spend a ton of time in your chair so it should be comfortable and good looking. I had a chair that was wonderful, it worked great and I had it a long time. But it broke. So I had to search for a new one. After searching high and low I found one at a surplus store. It was in great condition and for only $15, I thought it was a steal. The only problem was the green fabric covering it. The color was ok, a dark green, but it was itchy and that was not ok. So I decided to recover so it didn’t drive me crazy sitting on it for 8 hours a day.

How to Reupholster an Office Chair

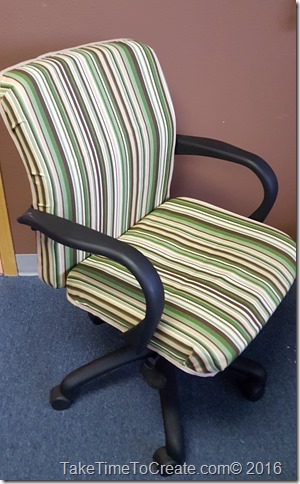
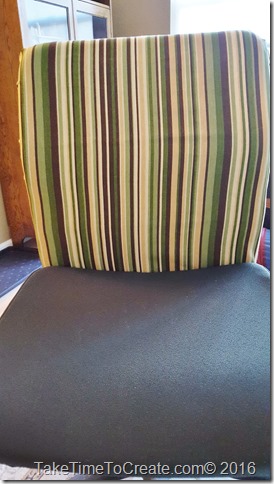
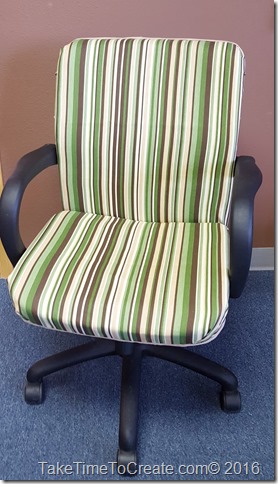
I think it turned out very cute. I found the fabric at Who Gives a Scrap. I talked about this awesome donation center last week. You can revisit that post here. They had this great upholstery fabric for only $2. Can’t beat that price. Here is how I went about recovering the chair.

Materials:

~Chair (this one wouldn’t be too bad if it wasn’t for the itchy fabric. Now I know why they had it for sale at the surplus store.)

How to Reupholster an Office Chair

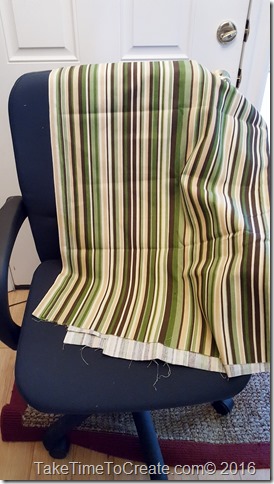
~ Fabric (The stripped patter is cute and for only $2 I could pass that up.)

How to Reupholster an Office Chair

~ Staple gun, screw driver, glue gun, ribbon for edging

Instructions:

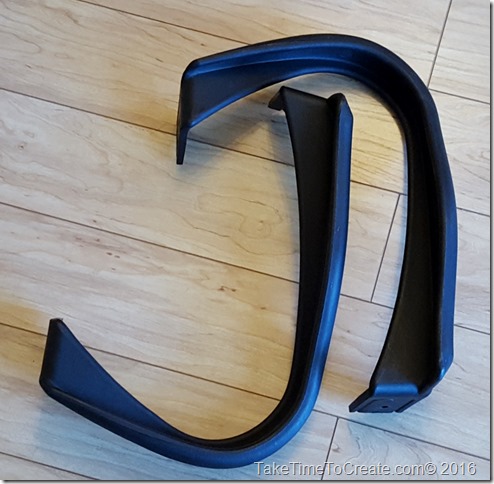
~ The first thing I did was take off the arm rests with the screw driver. I could have taken the whole chair apart and this might have made the process easier, but I decided to work around everything except the arm rests.

How to Reupholster an Office Chair

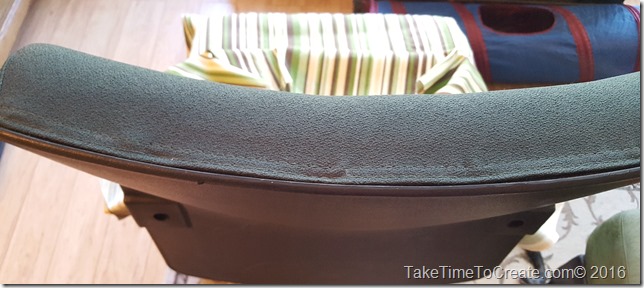
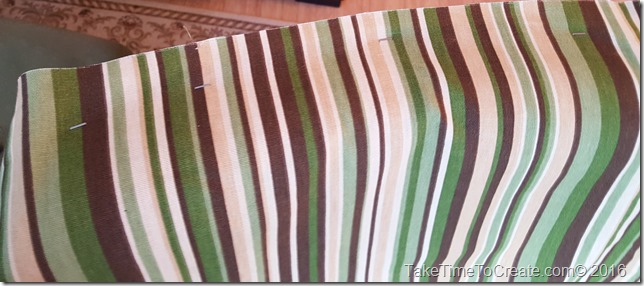
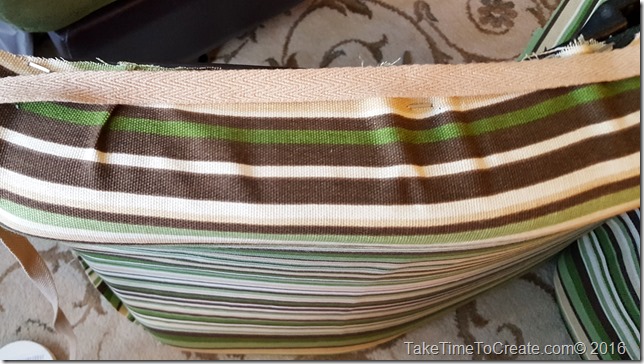
~ Then I measure the fabric and started stapling it on. The way this chair is constructed is a little weird. It has a plastic back and the original cover was Velcroed on, but I didn’t want to go that trouble so I decided to staple over everything.

How to Reupholster an Office Chair     How to Reupholster an Office Chair

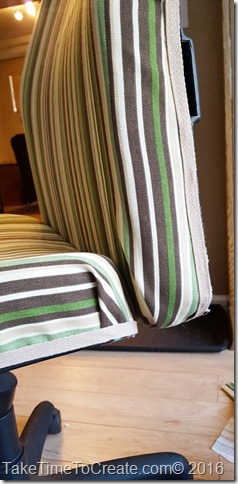
~ I got the top part done then I went to town on the seat of the chair. The stripes made it easy to match the top to the bottom. I stapled everywhere then I went back and added more. I wanted to make sure everything held.

How to Reupholster an Office Chair     How to Reupholster an Office Chair

~ Once everything was secure and stapled on I hot glued on a tan ribbon that coordinated with the fabric. Then I put the arms back on that that was it. It took me a couple of hours to complete but it was worth it to not have an itchy chair.

How to Reupholster an Office Chair     How to Reupholster an Office Chair

Once I finished my son loved it so much he has asked me to do a chair for him. But if my chair is ever missing I know who to took it. Smile

How to Reupholster an Office Chair

DIY Cell Phone Case From Old Tie

Hello Everyone!

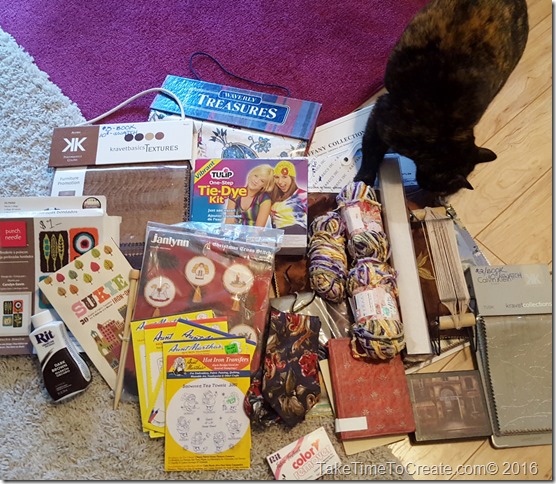
I found this fantastic store in town, it is call Who Gives A Scrap. (BTW I love the name!) Anyway, this store is so awesome it has all kinds of craft supply donations that are up for sale. The stock is always changing so you never know what you will find. If you follow me on Instagram you already saw my haul, but this what I scored yesterday for about $25! The item I am most excited about is the bead loom. I have tons of pins on Pinterest for the bead loom and now that I have one I am excited to learn how to use it. Does anyone have any experience or tips on how to use a bead loom? Please share if you do.

So many new things to play with and to use for my crafts and DIY projects. Even our cat, Starlight, approves. haha.
DIY Cell Phone Case From Old Tie


The other day my sister and I were having a Craftersation on Pinterest. (A Craftersation  is a craft conversation between pinners on Pinterest.) She has the best Pinterest boards and I think she has pinned just about everything on the internet, haha. You can follow her here.

Anyway she pinned this really cute cell phone case made from an old tie so I pinned a different version of the same thing. And on it went for while. We have a lot of Craftersations, it is a fun way to stay connected and see what each other is interested in even though we live almost a thousand miles apart.

When I was at Who Gives a Scrap I saw that they had some old ties that would be perfect to make a cell phone case out of. After I got home yesterday I made my version of what I saw on Pinterest.

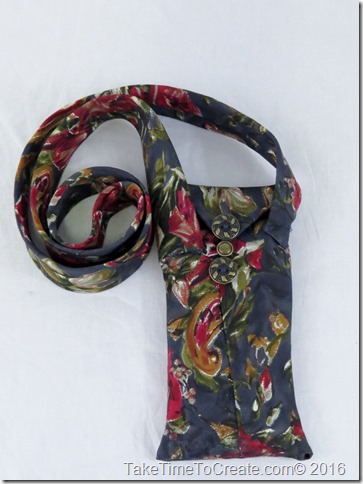
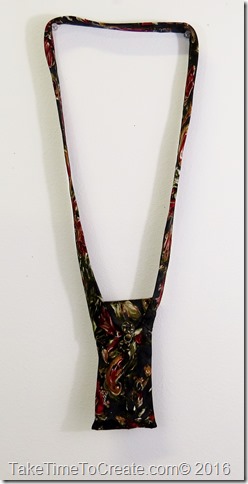
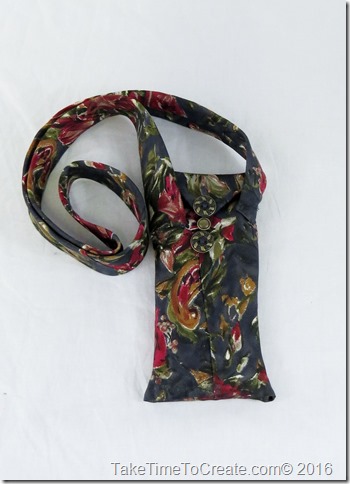
Here it is all done. I am in love with it!
DIY Cell Phone Case From Old Tie

Materials:

~Old Tie

~ Needle and thread, or sewing machine

~ Button or snap

Instructions:

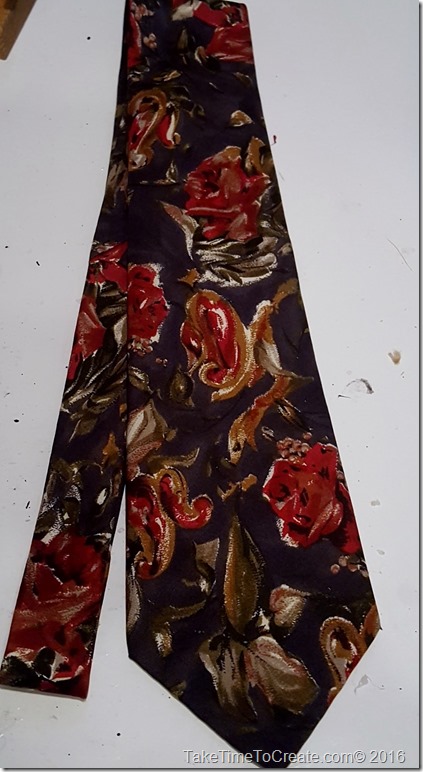
This is one of the ties that I picked up yesterday. Isn’t it wonderful? I fell in love with it on the spot. For this project the wider the tie the better. Skinny ties from the 80s won’t work, but those ties can be use for different projects.
DIY Cell Phone Case From Old Tie

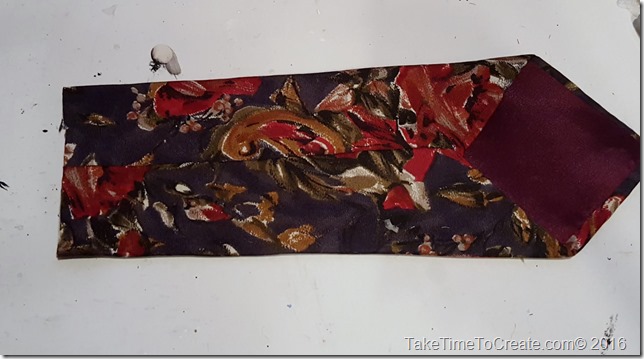
Next just measure how much space you need for your phone. The pointed part will be the flap, so factor that in. You will have to pick out the stitched that keep the flaps together so you can slide your phone in.
DIY Cell Phone Case From Old Tie

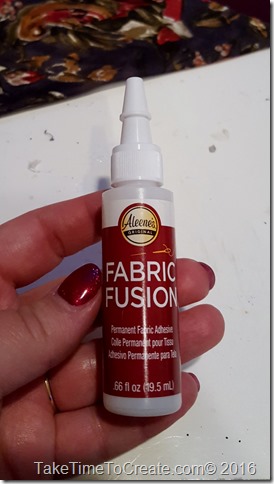
For this step I glued the ends together and the center flap closed using Fabric Fusion. I used clothes pins to hold it together while the glue dried. The glue worked just fine, but when I do this project again I think I will sew it all instead of using glue, I think it will be stronger and it will look better. You can hand stitch or use a machine.
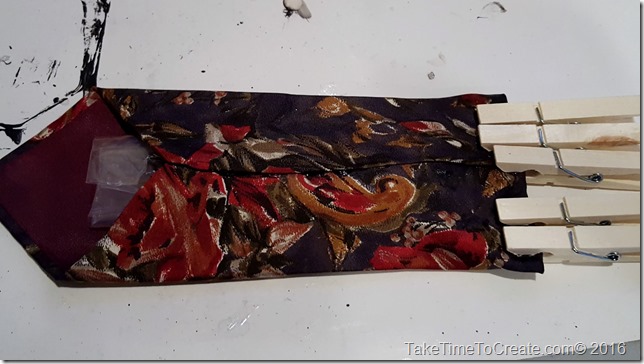
 

DIY Cell Phone Case From Old Tie      DIY Cell Phone Case From Old Tie

Next I hand stitched on these buttons I had in my stash. They are so cute, I got them from Patterns of Time. They have so many great items on their website, when I ordered last it was hard to narrow down the items in my shopping cart to a reasonable amount, haha.
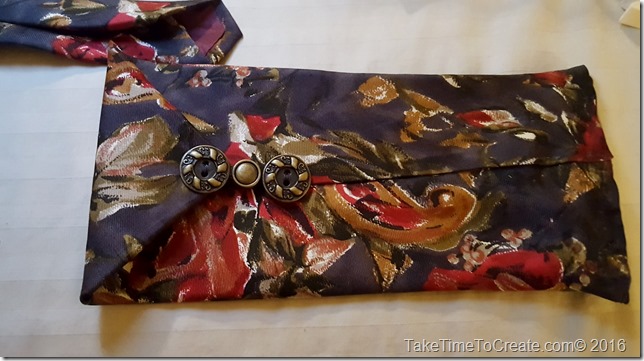
DIY Cell Phone Case From Old Tie

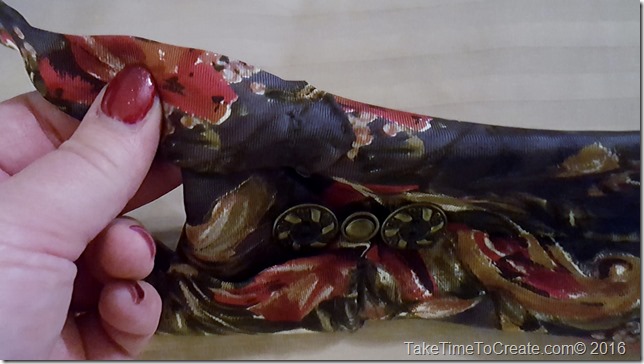
The case was all complete I thought it was very cute just the way it was but I decided that it should become a purse instead of just a case. This Tie Purse is perfect for me when I go out for an evening and my skirt doesn’t have pockets and I need to carry a phone and my ID and a credit card and some cash, it will all fit into this cute purse.

To add the straps all you do is hand sew the remaining part of the tie onto the sides of the case. And that is it.
DIY Cell Phone Case From Old Tie

Have you made one of these before? I would love to see it if you have. Stay tuned for more projects made from items I got from Who Gives A Scrap, that place rocks!!
DIY Cell Phone Case From Old TieDIY Cell Phone Case From Old Tie

There are no affiliate links in this post. All opinions are my own.
Mixed Media Angel

Hello Everyone!

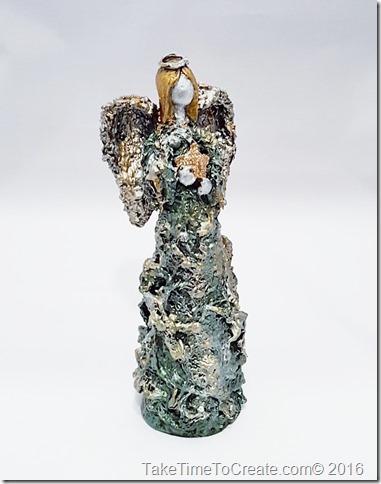
I am excited to show you this new project that I just finished. A little while ago I went on a girls retreat to Mojito Creek. This is a wonderful cabin in Colorado that was the perfect place to craft and recharge and relax! While I was there Tanya from Free Heart taught a mixed media class. Tanya teaches Finnabair inspired mixed media techniques. Tanya is a awesome teacher! I was so much and I was so inspired from the class that I went home and started painting everything! I can’t wait to take another class and learn more techniques!

Mixed Media Angel

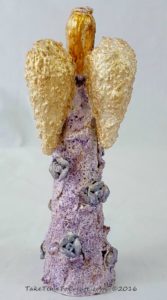
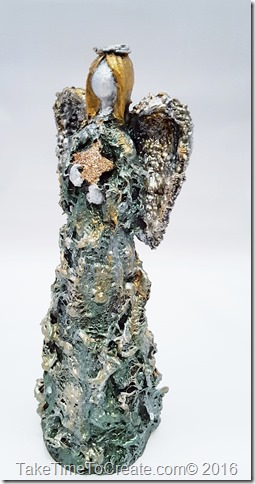
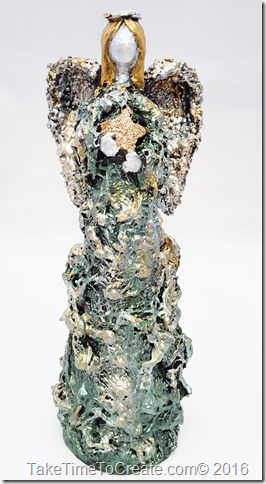
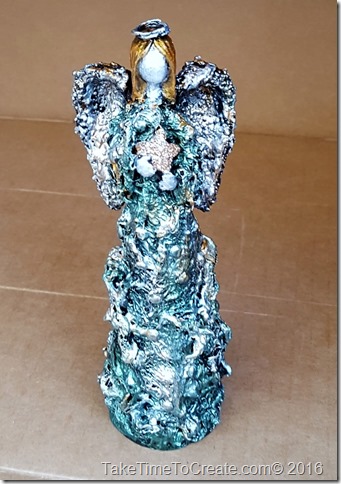
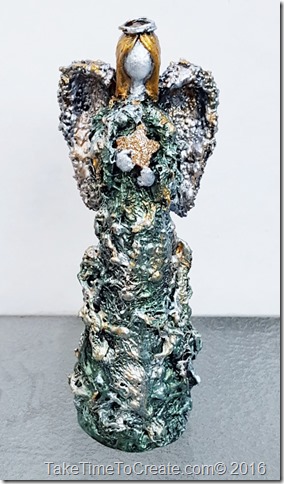
This is the angel that I just finished. She looks great on my mantle and I already have more ideas on what to do next.

Here is how I created this mixed media angel

Materials:

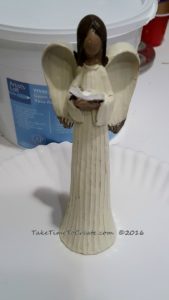
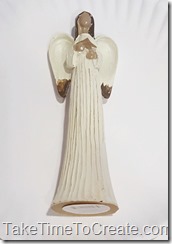
~ Angel (I found mine at the dollar store. Look for something that you like the overall look of, not necessary the colors because you will cover everything up)

Mixed Media Angel

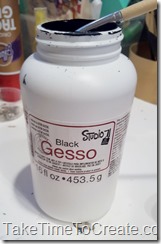
~ Black gesso

Mixed Media Angel

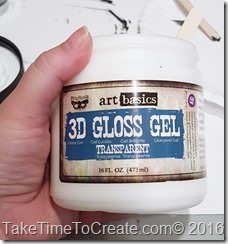
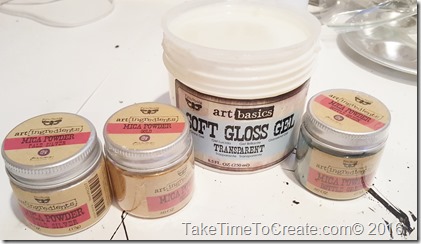
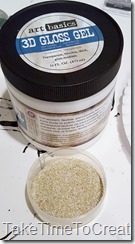
~ 3D Gloss Gel, Soft Gloss Gel, Mica Powder (I am using Art Basics from Prima Marketing, which is amazing!)

Mixed Media AngelMixed Media AngelMixed Media Angel

~ Paint brushes, cheese cloth, micro beads, wire, rhinestones, and anything else you want to use as texture

Instructions:

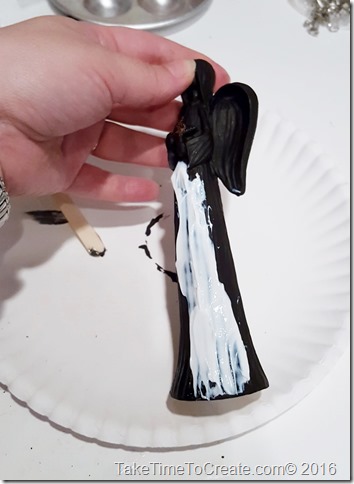
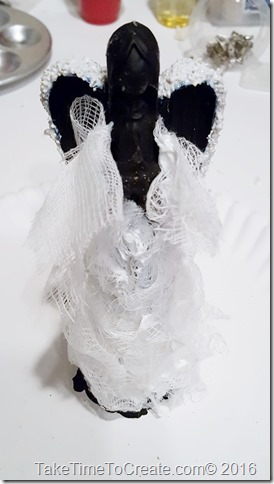
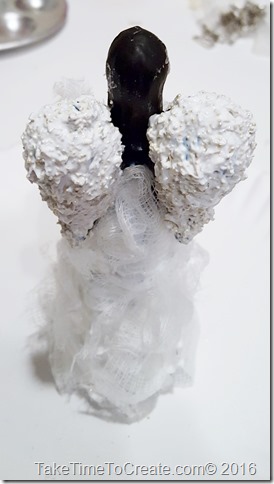
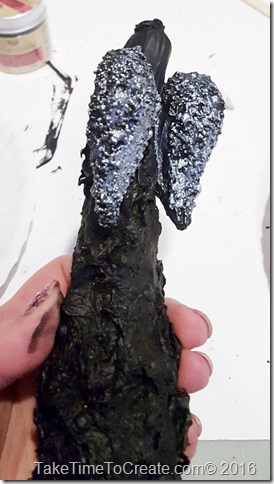
~ The first thing you do is paint the angel with gesso. This will cover her and get her ready for paint. Then I added cheese cloth to her body as a dress. I adhered it to her with 3D Gloss Gel.

Mixed Media AngelMixed Media Angel

~ Then I decided that her wings were too smooth and plain so I mixed micro beads with 3D Gloss Gel and sponged it on to the wings. This added a wonderful texture that looks great on the wings.

Mixed Media Angel

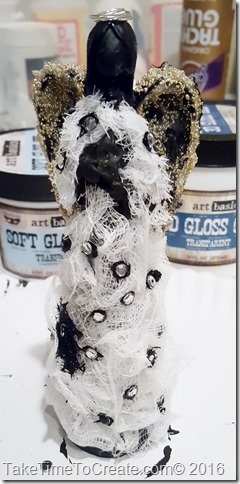
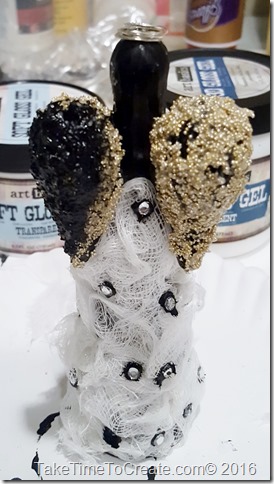
~ Then I added rhinestones to the skirt for more texture and dimension, and I made a halo with some left over wire that I had lying around.

Mixed Media Angel

~ Once I had her all glued and textured  she was ready for more gesso. I added about 1000 layers of black gesso. Just kidding, but I did add a lot of layers until everything was covered with black and ready for paint.

Mixed Media AngelMixed Media Angel

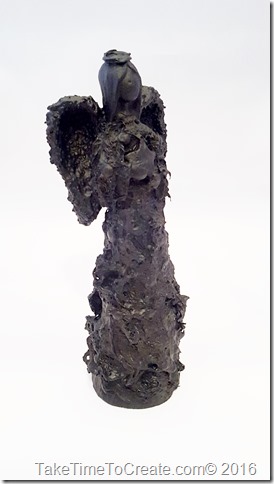
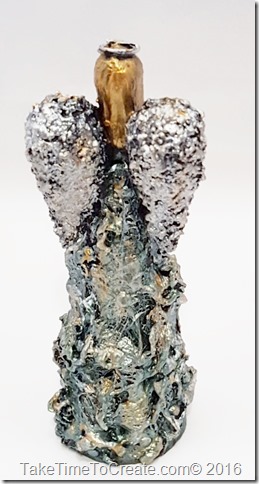
~ Once she was dry I started to paint her. This is the fun part, this is where all your hard work pays off. I mixed mica power with the soft gloss gel and went to town. I layered the paint and mixed colors until I liked the the look. For the star that she is holding I sponged on some glitter eye shadow.

20160727_164430

~ Once I was happy with the look and she was dry I took her outside and sprayed a layer of a clear gloss coat.

Mixed Media AngelMixed Media AngelMixed Media Angel

When I took her outside to put the clear coat on and I noticed how she looked different in the sunlight. I love how the mica powder is amazing and so versatile.

Mixed Media Angel

This was tons of fun! I have already started on a different angel, I can’t wait to see how she will turn out!

Mixed Media Angel


Please note there are no affiliate links in this post. All the links are for your reference.

Repurpose an old window into a Chalkboard

Hello Everyone!

As many of you already know I was working a project for a Mental Health Awareness charity auction. We were all repurposing and painting old windows. Here you can see my post about creating a shabby chic message board. Today I am going to walk you through how I made this chalkboard with an old window.

Repurpose an old window into a Chalkboard


Materials:

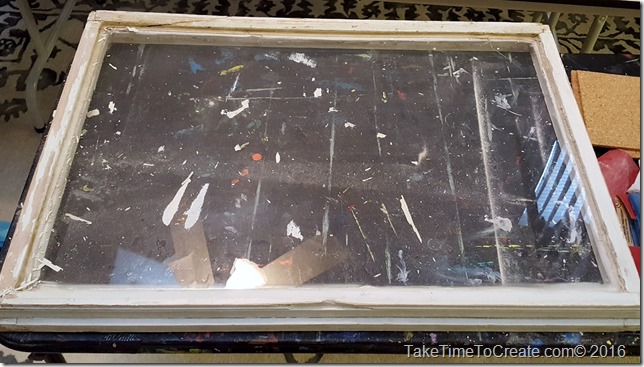
~Old window. This window had pealing paint and a crack in the Plexiglas, so it was perfect for this project.

~ Cleaning supplies and sandpaper

~ Paint, brushes, and tape for the frame

~ Primer, chalkboard paint, and brushes for the chalkboard part.


Instructions;

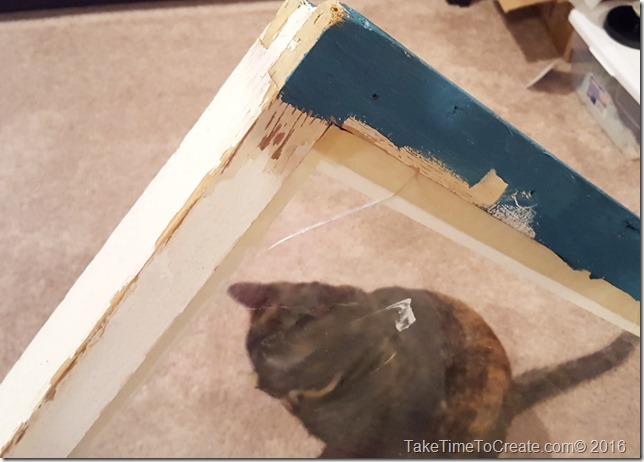
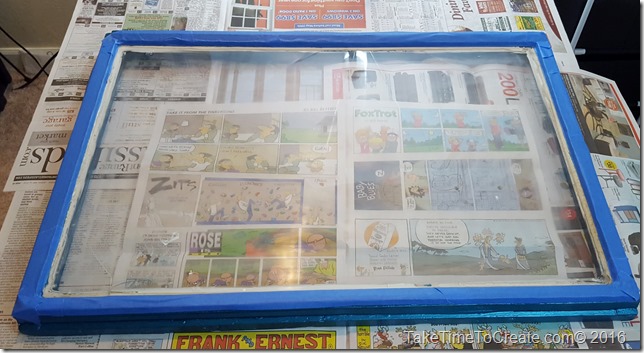
~ The first step is to prep the window. Not the most fun, but it is necessary for a successful project. I sanded all the edges until they were smooth and ready to paint. This took a while because the window was so rough.

Repurpose an old window into a Chalkboard

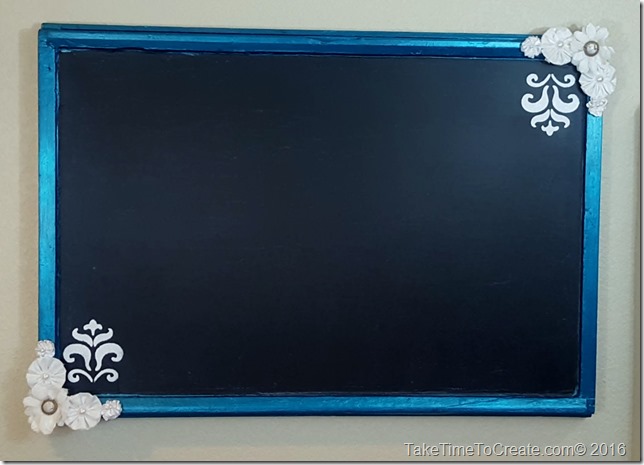
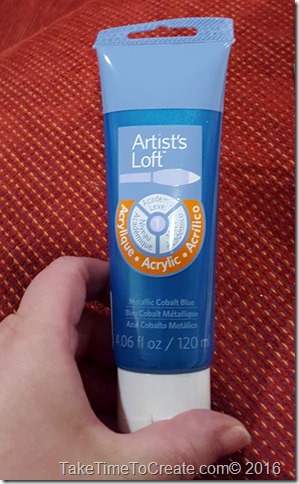
~ Then you paint the frame. I did tape off the Plexiglas because I am not the neatest painter. I used Artist’s Loft in Metallic Cobalt Blue, I love the iridescent quality of the blue paint.

Repurpose an old window into a Chalkboard

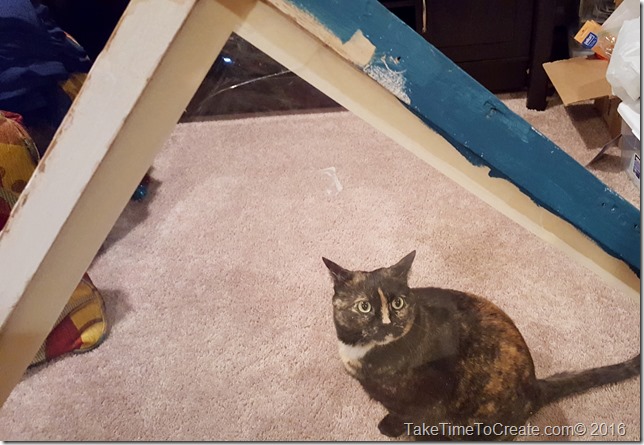
~ Paint away. Kitty help is essential to the success of any craft project Smile Starlight is my favorite kind of help, lol.

Repurpose an old window into a Chalkboard

Repurpose an old window into a Chalkboard

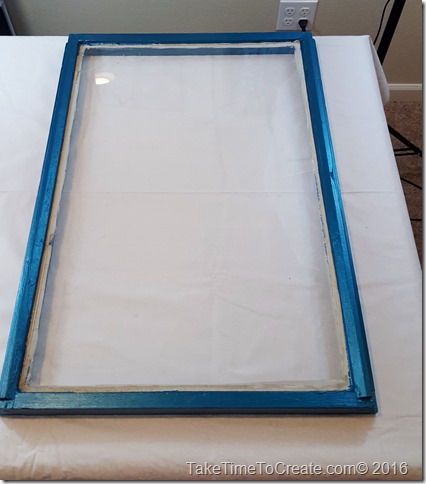
I did 2 coats of the blue

Repurpose an old window into a Chalkboard.

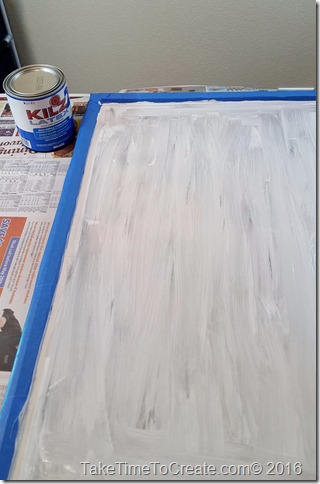
~ After the frame had dried for a day I taped off the frame part and prepped the Plexiglas. First I lightly sanded the glass so that the paint would adhere. Then I put a coat of primer on according to the directions. I used Kilz primer.

Repurpose an old window into a Chalkboard

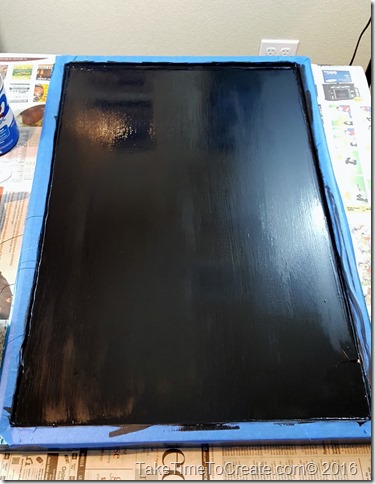
~ Once the primer was dry I painted 4 coats of chalkboard paint on according to the directions. I used Rustoleum Chalkboard paint. Once it was dry and cured for 3 days I conditioned the chalkboard according to the directions.

Repurpose an old window into a Chalkboard

Repurpose an old window into a Chalkboard

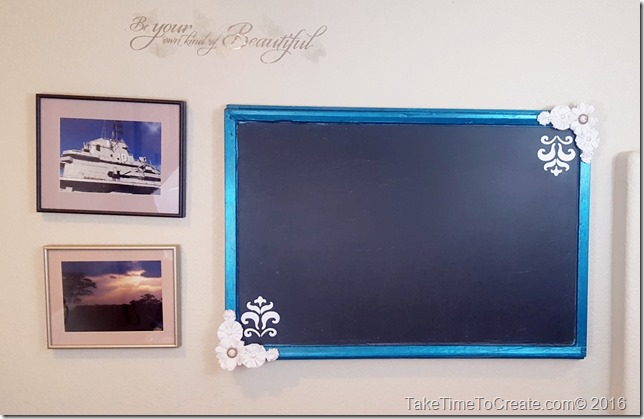
~ Once it was completely dry and conditioned I took a stencil and painted a design in the corners and added some flowers and that is it. A new chalkboard for an old window

Repurpose an old window into a Chalkboard

Have you painted and or repurposed an old window? How did it turn out? I would love to see pictures!

Re-purpose an old window into a shabby chic message board

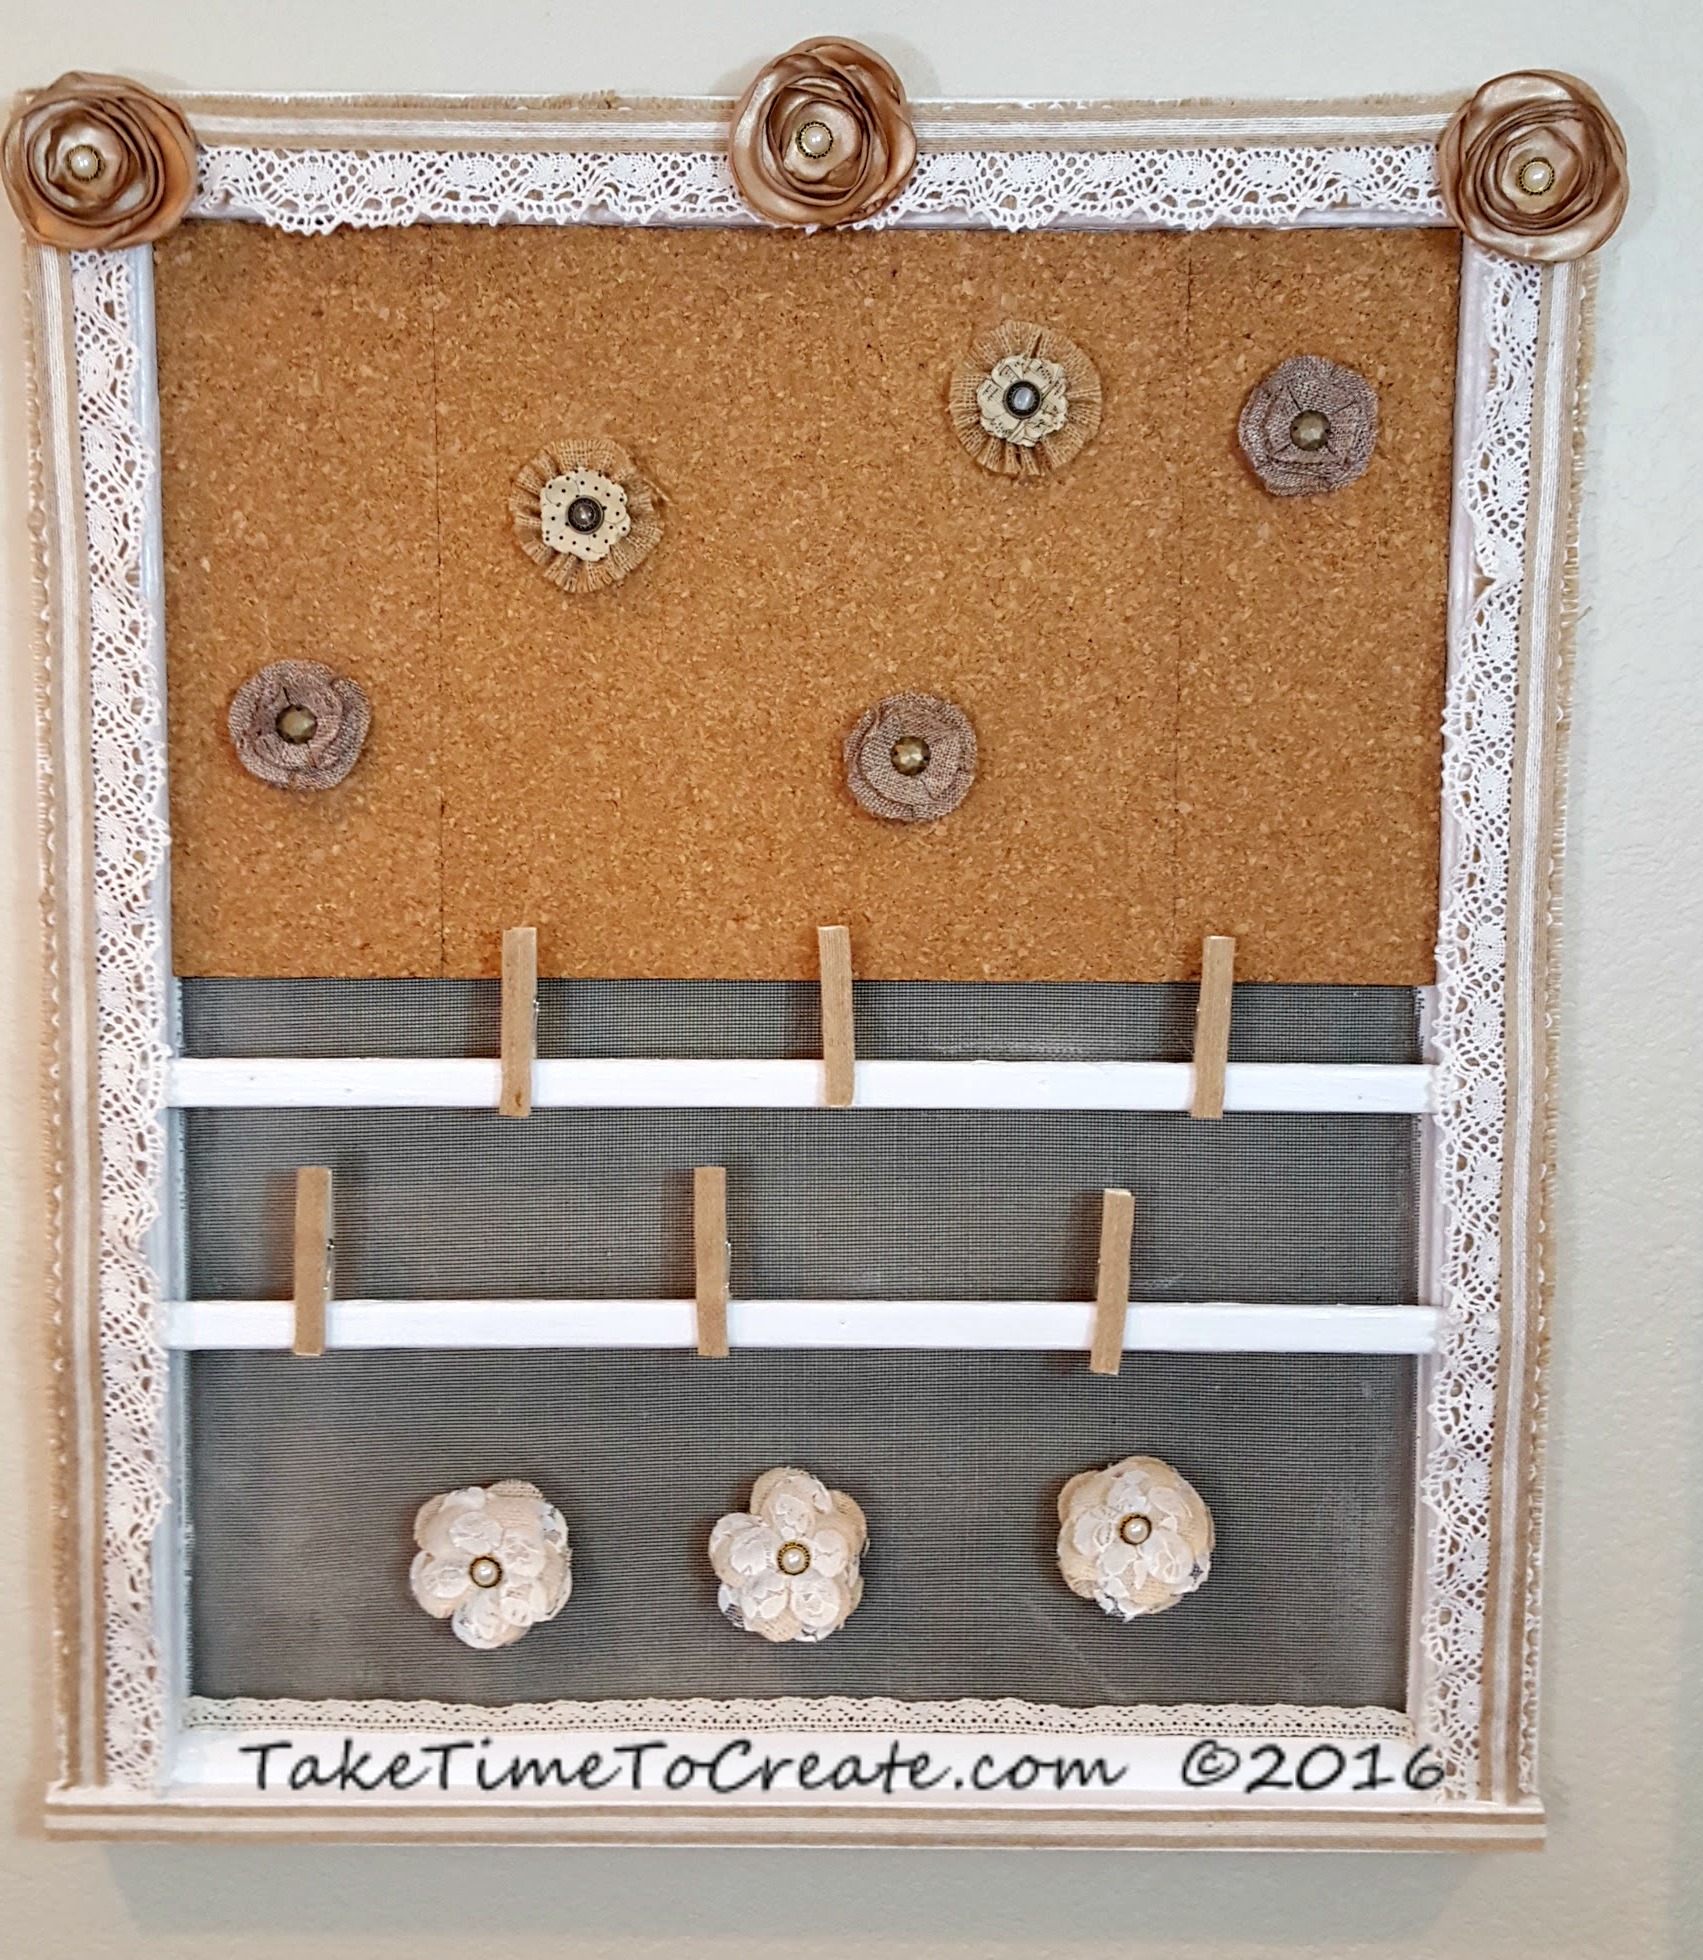
If you follow my Instagram (taketimetocreate) then I am sure you have already seen the reveal of this repurposed window. For those of you who don’t follow me there here the shabby chic message board!

repurpose window to shabby chic message board

I have to say I do love the way it turned out! This all started when my friend asked me to paint a window for a silent auction for mental health awareness. At first I wasn’t too interested, not because I didn’t believe in the cause (because this is one cause I totally support) it was because I wasn’t sure I had a design that would work. Most everyone else did a more traditional painted window with flowers on the glass and things like that. Well of course I didn’t follow the crowd. So I did my own thing and hopefully it will bring in a lot of money for the charity!

Here is how I did the repurposing.

Materials:
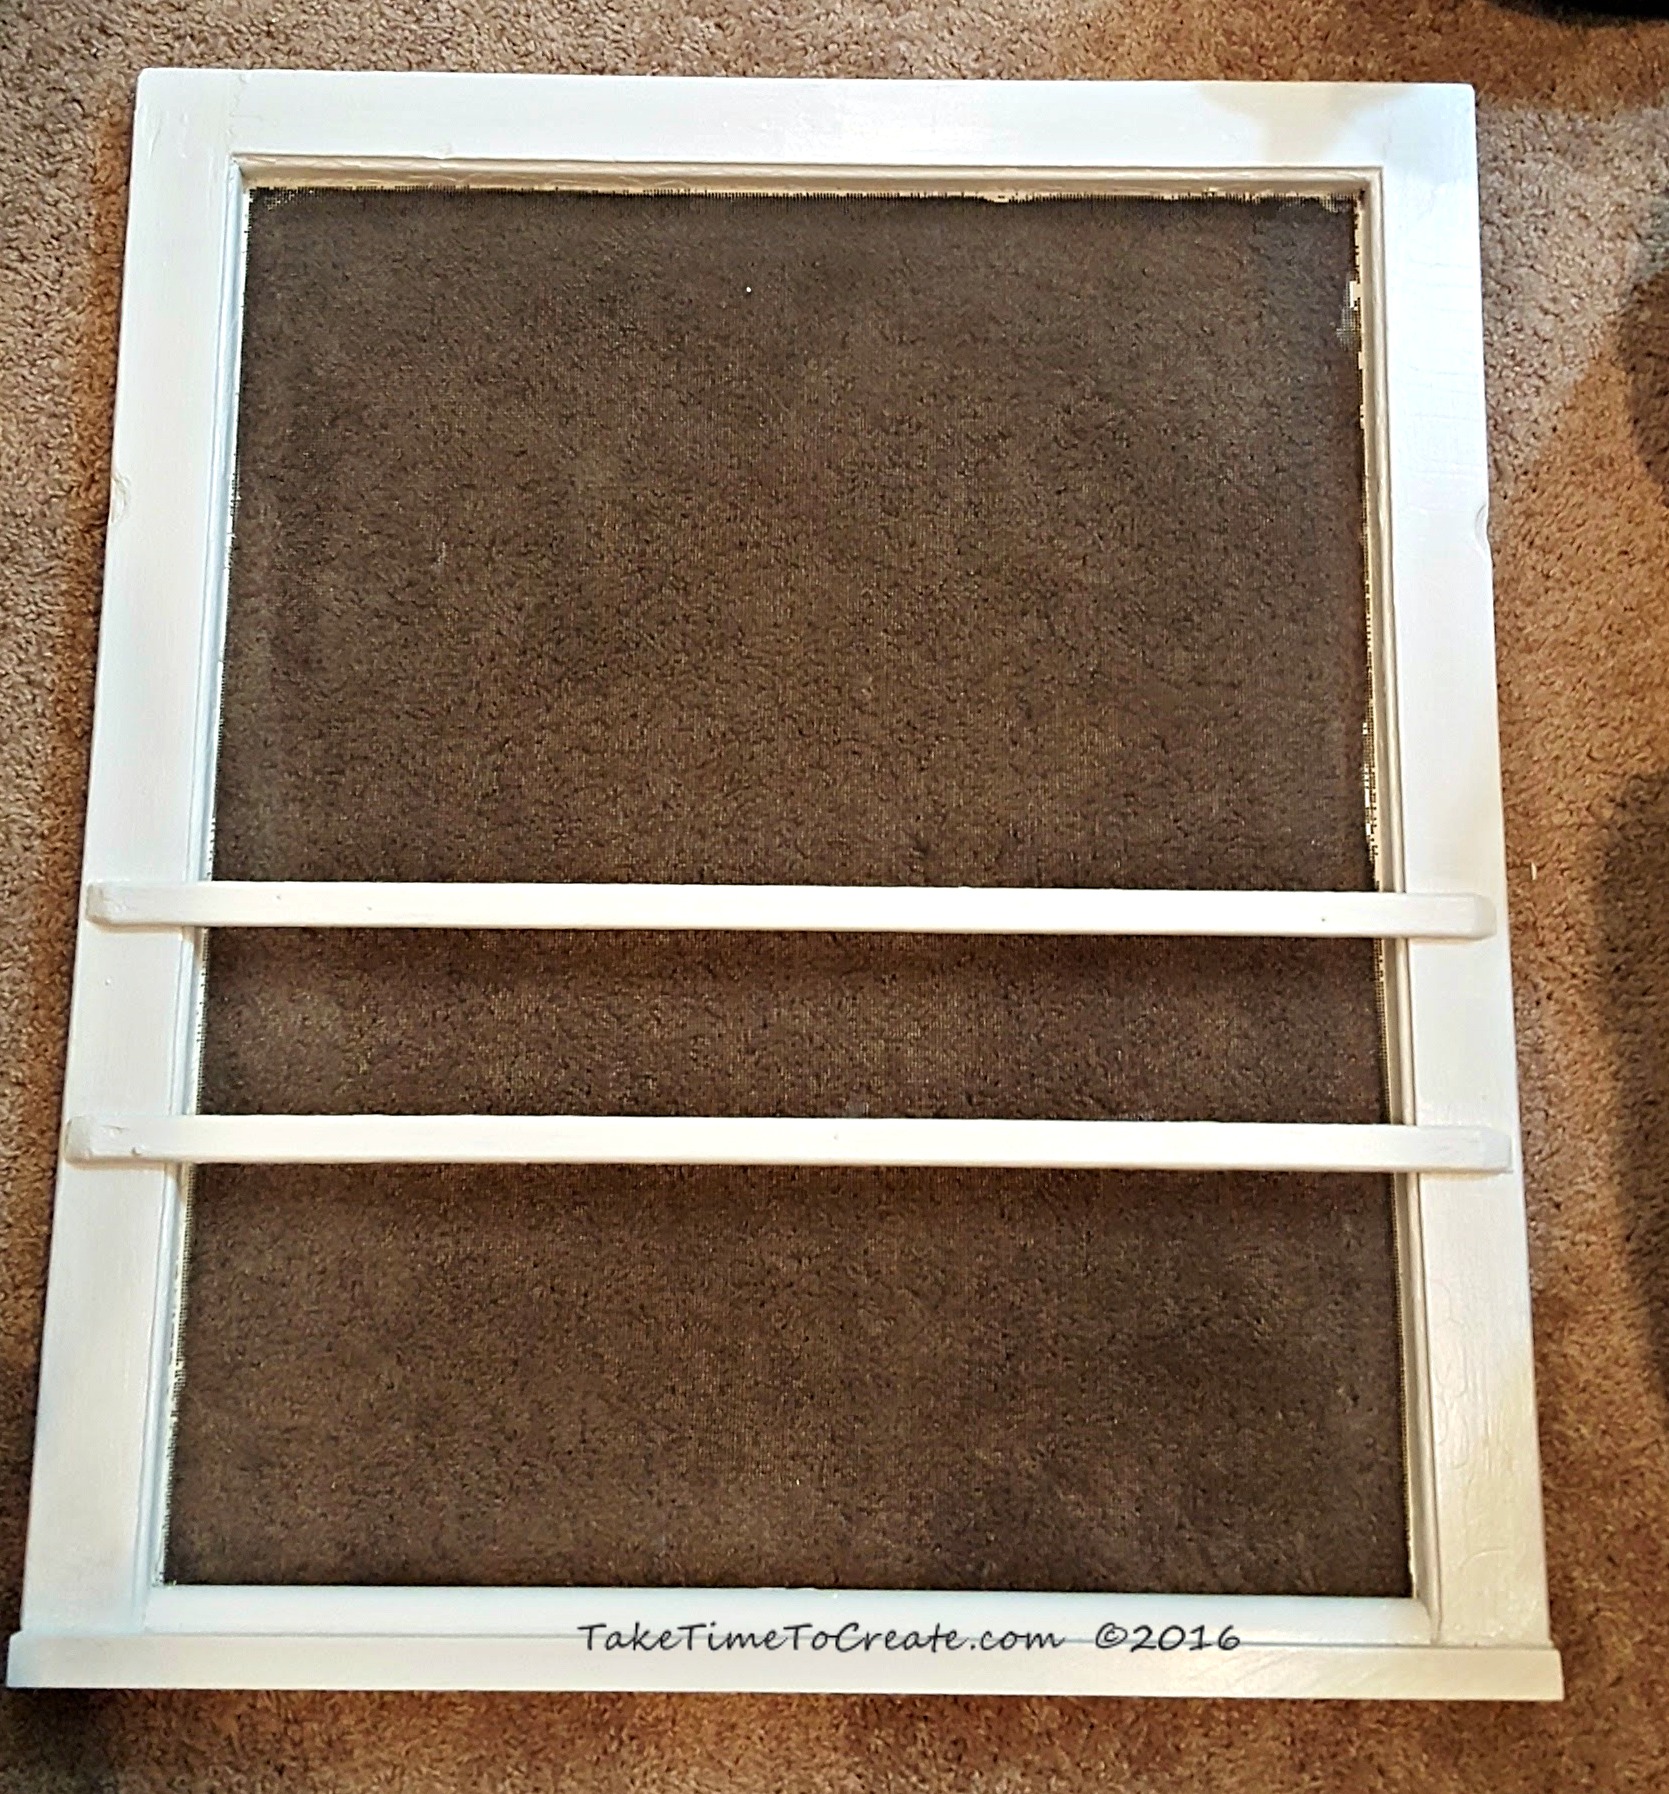
~ old window (for this to work you for magnets you will need one with a metal screen)
~ sandpaper, tape, cleaning supplies
~ paint and brush
~ cork
~ flowers, magnets, tacks, and clothes pins
~ ribbon and burlap

Instructions:
~ The first thing you will need to do is sand down all the rough edges and smooth it out. Once you like the feel of the window then give it a good cleaning.

window

~ Now you are ready to paint. I taped around the edges to help cut down on how much paint went on the screen, and this seemed to help.
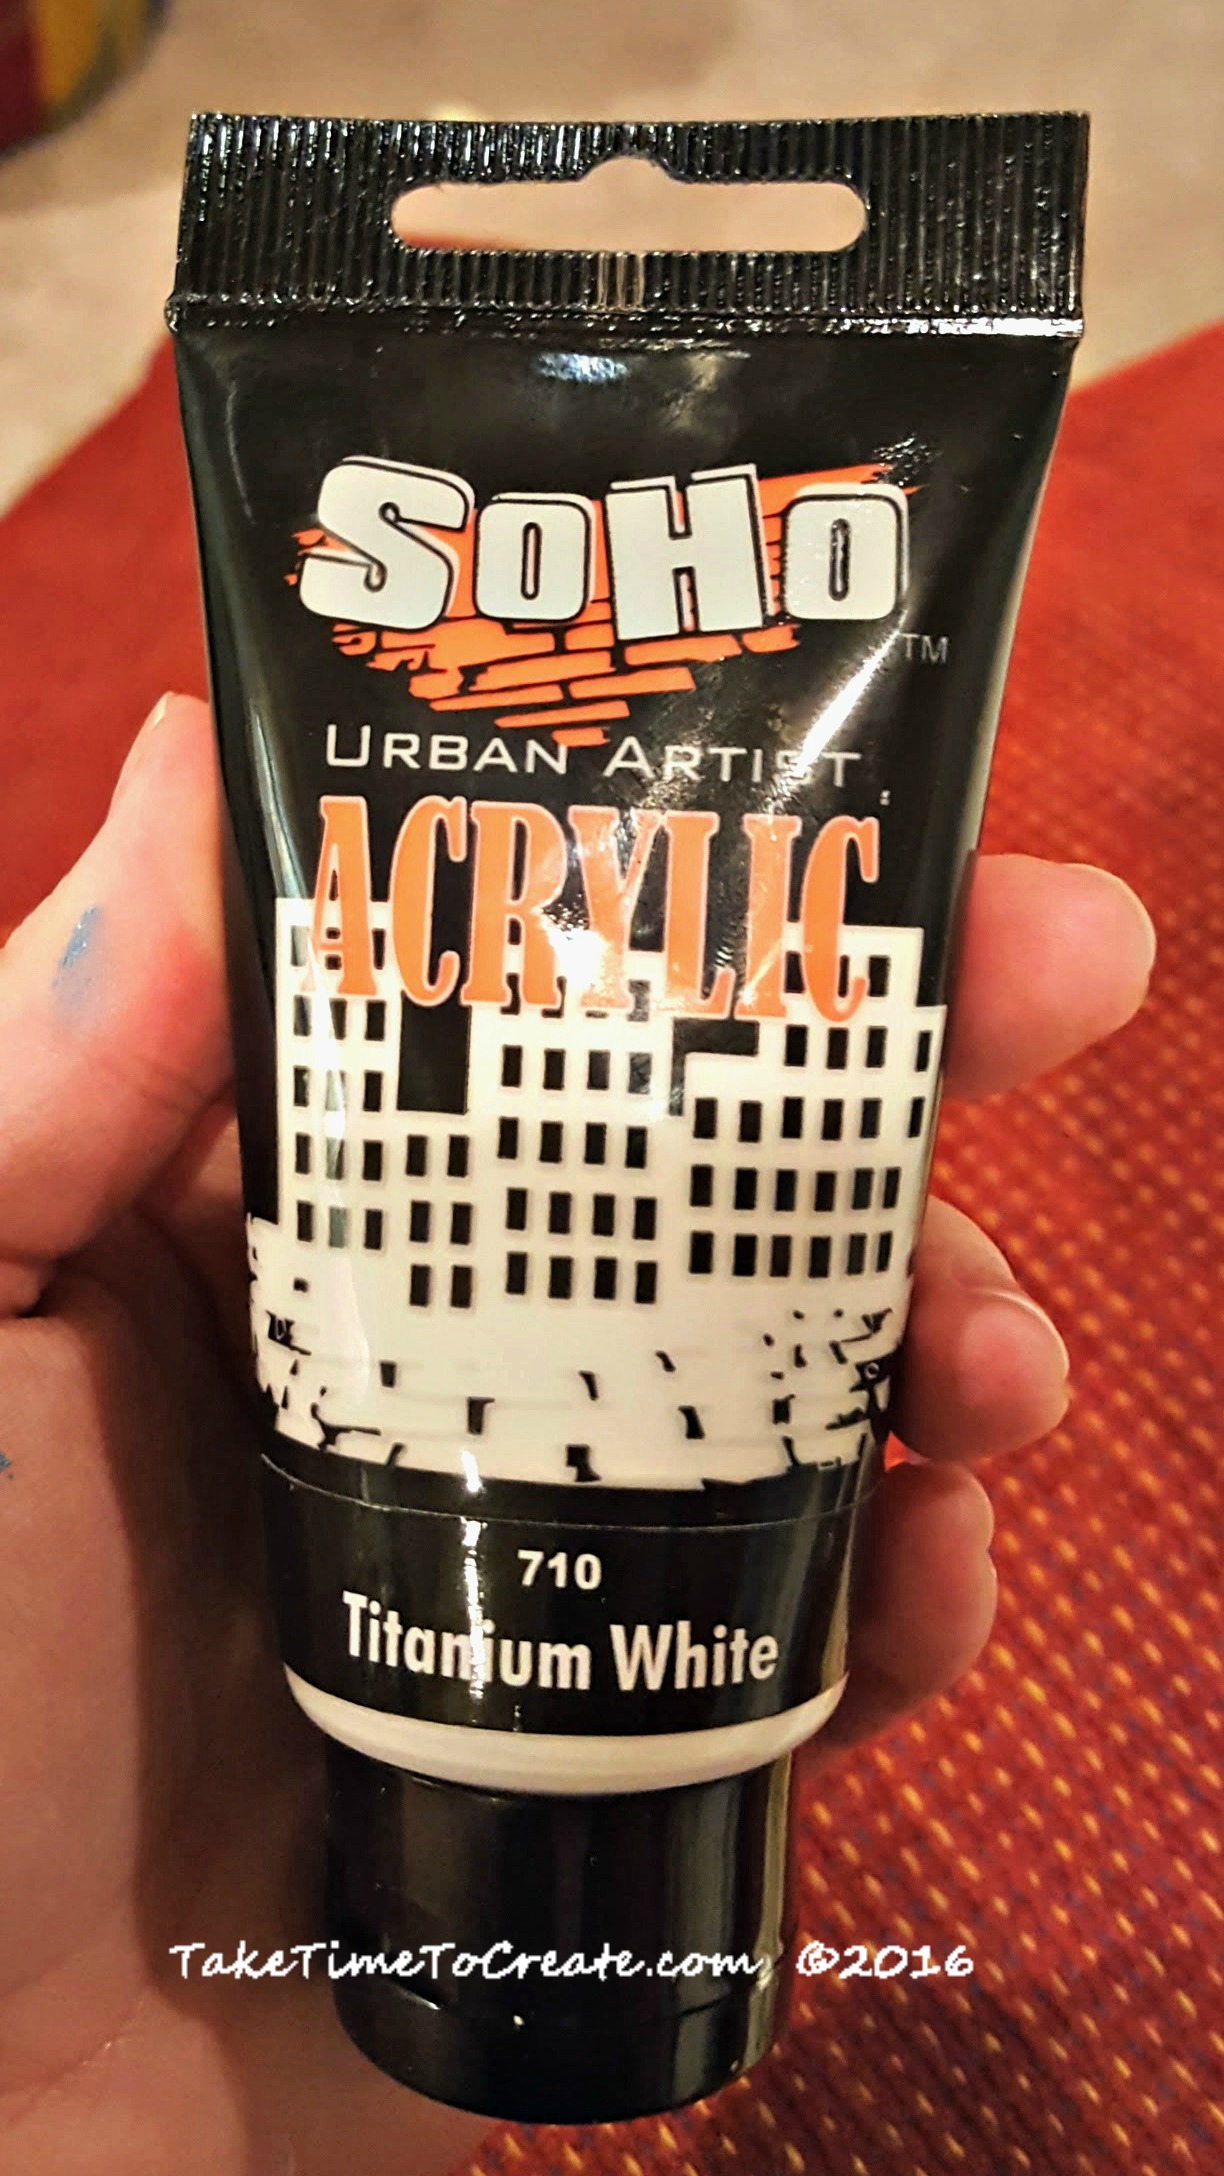
Paint a couple coats until you get it to how you like it. I used this white acrylic paint that I had on hand.

white acrylic paint

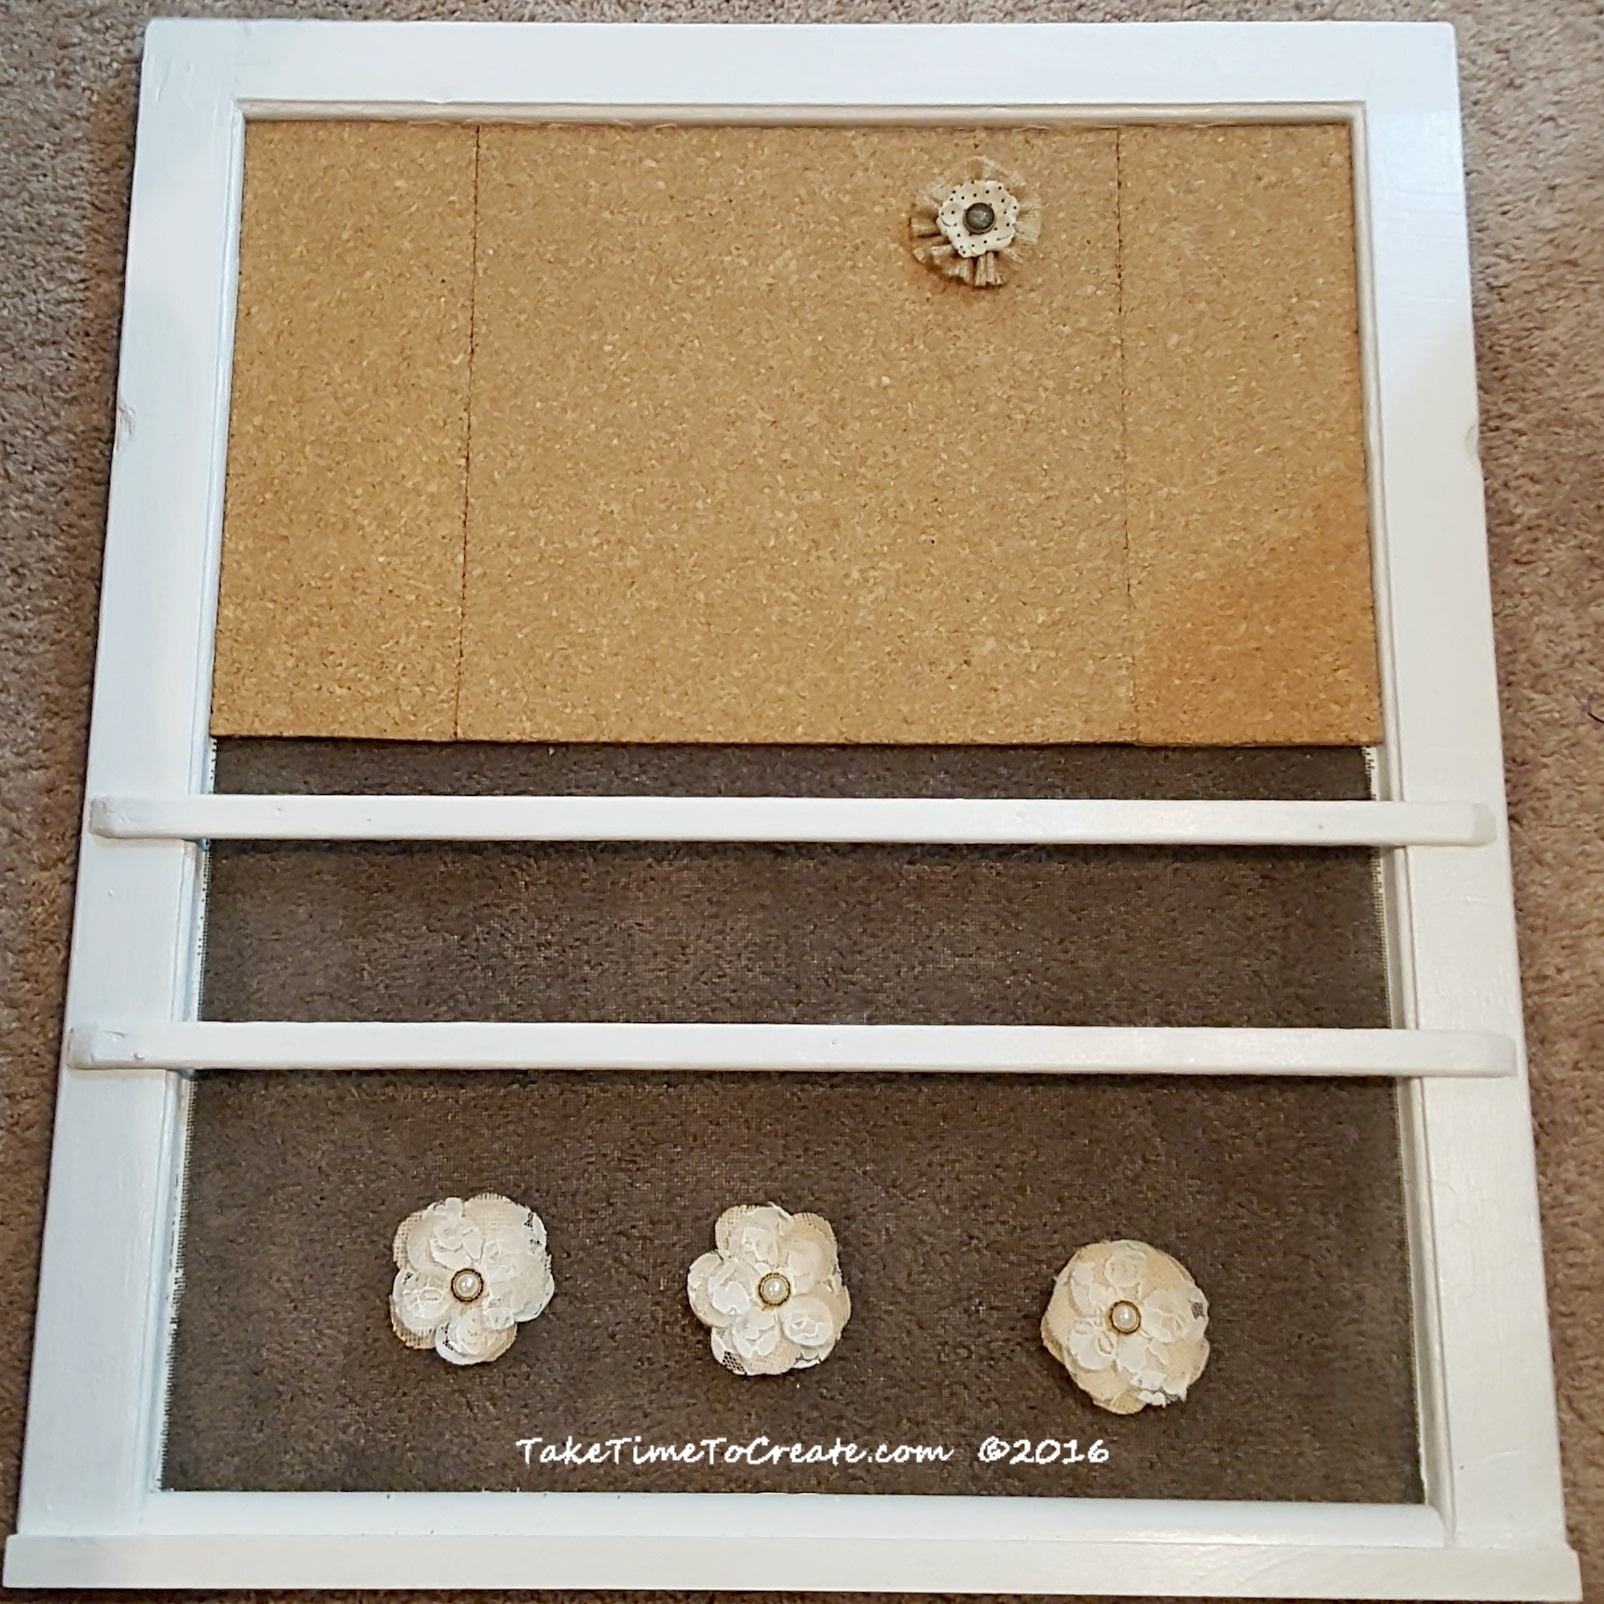
~ Cut your cork down to size and glue it on to the screen. I just glued the edges with a metal glue and that seems to hold it pretty well.

add cork to window

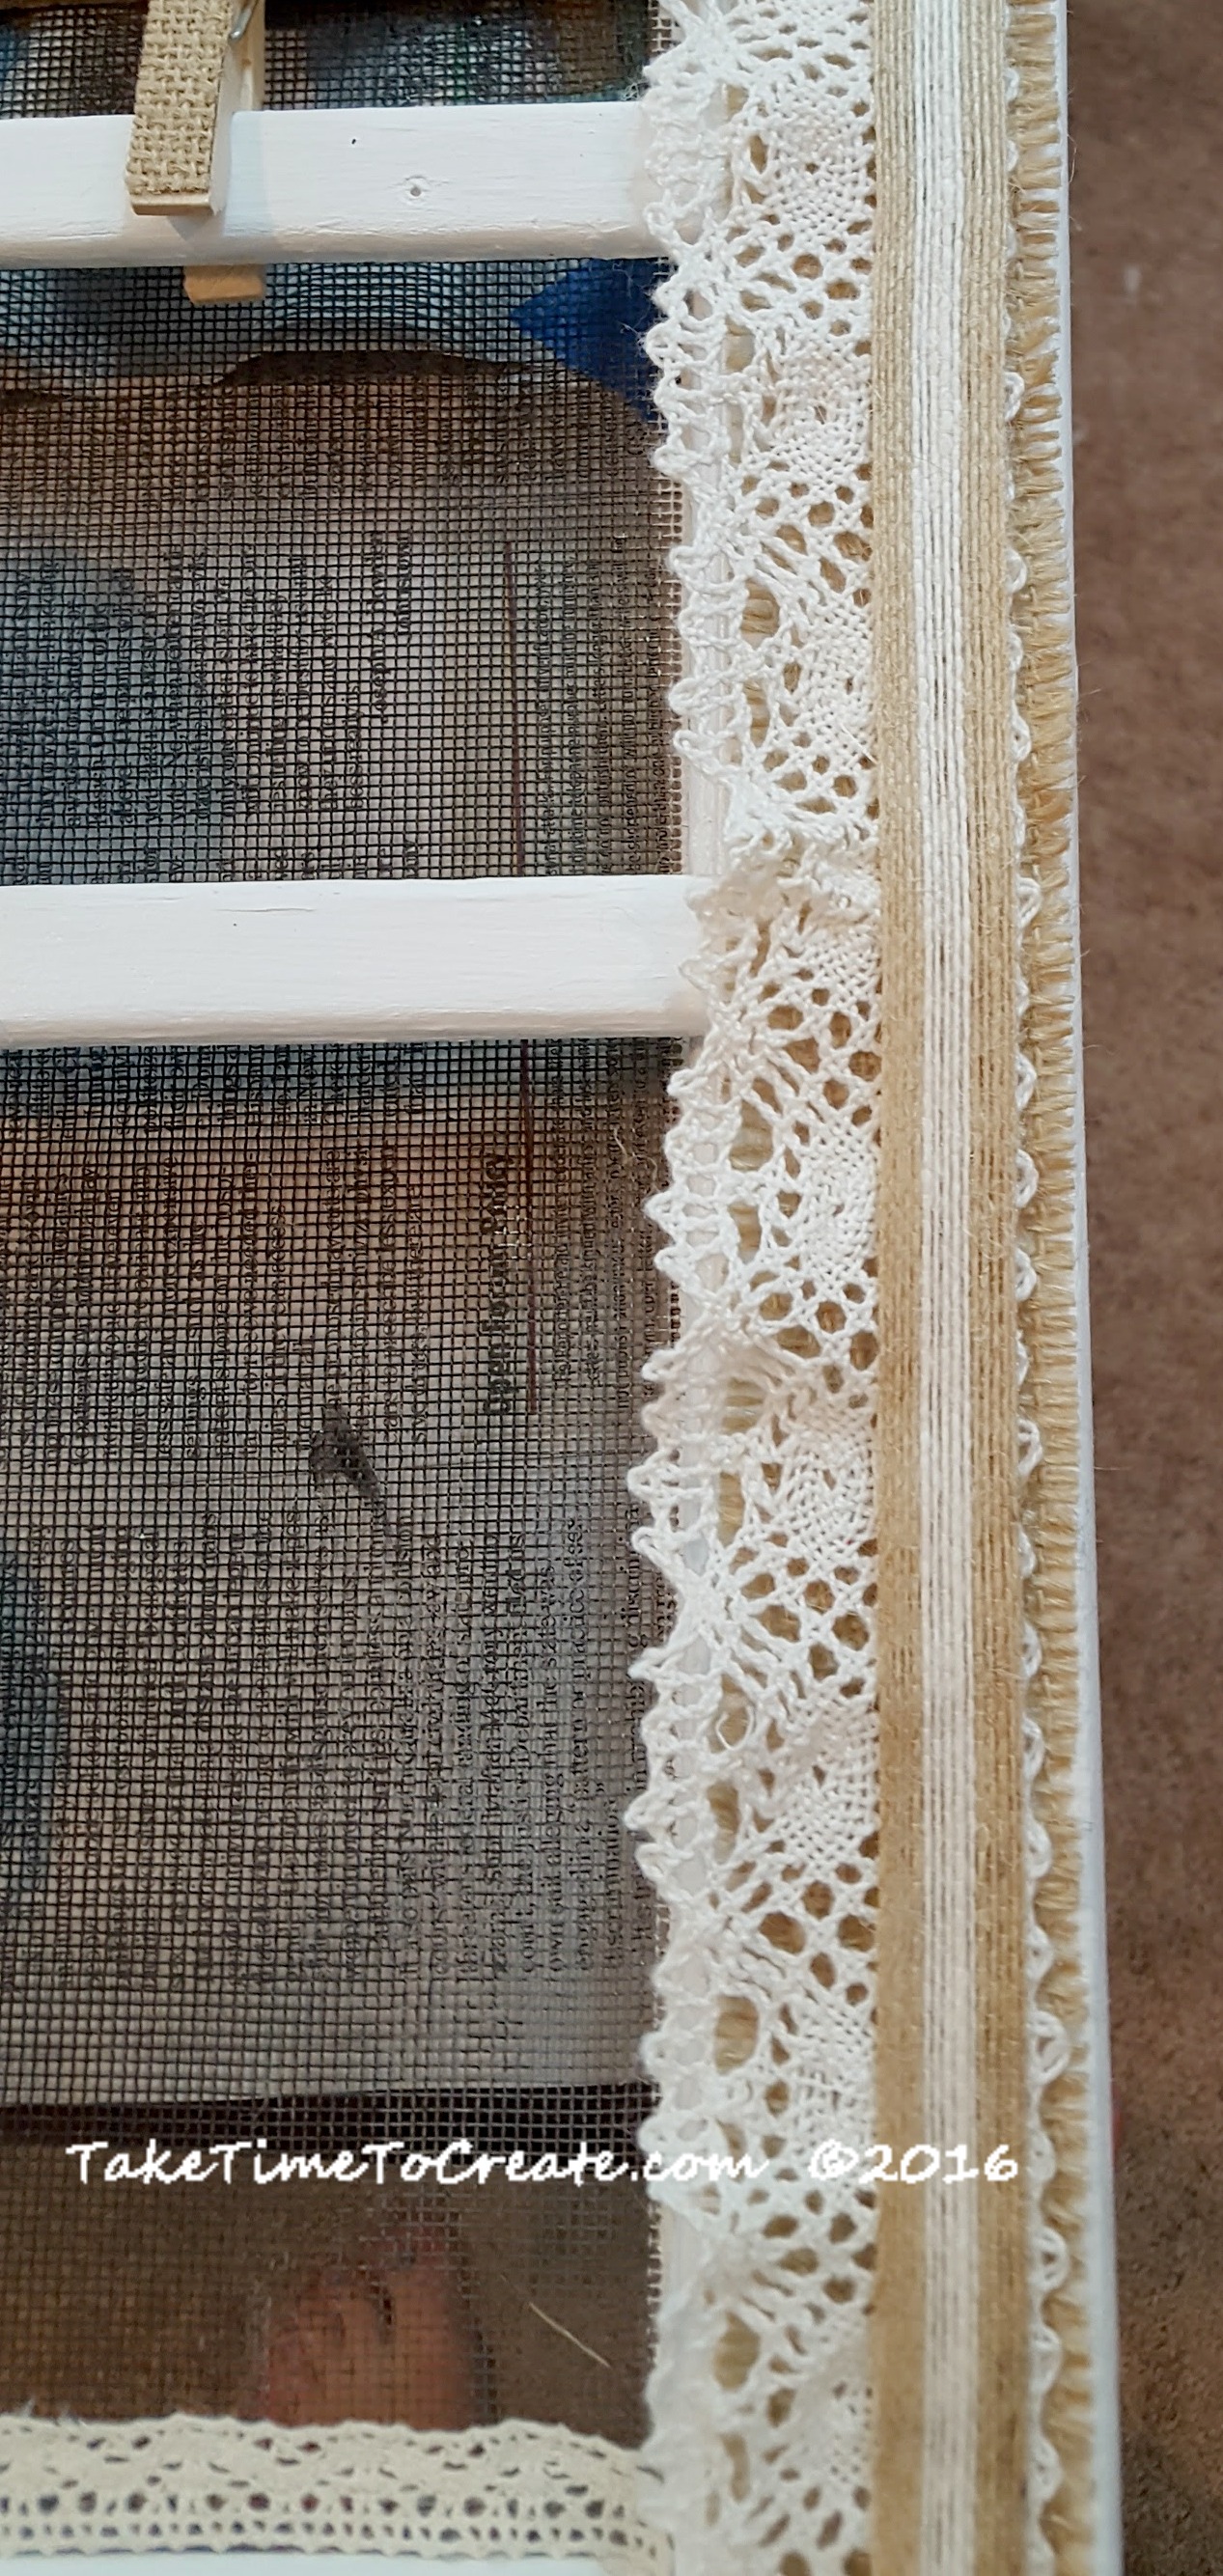
~Then I went to work decorating the edge. Shabby chic is all about layers so that is what I did. I put down a layer of burlap, the layered on a layer of crochet ribbon that I had in my stash.

add ribbon and burlap

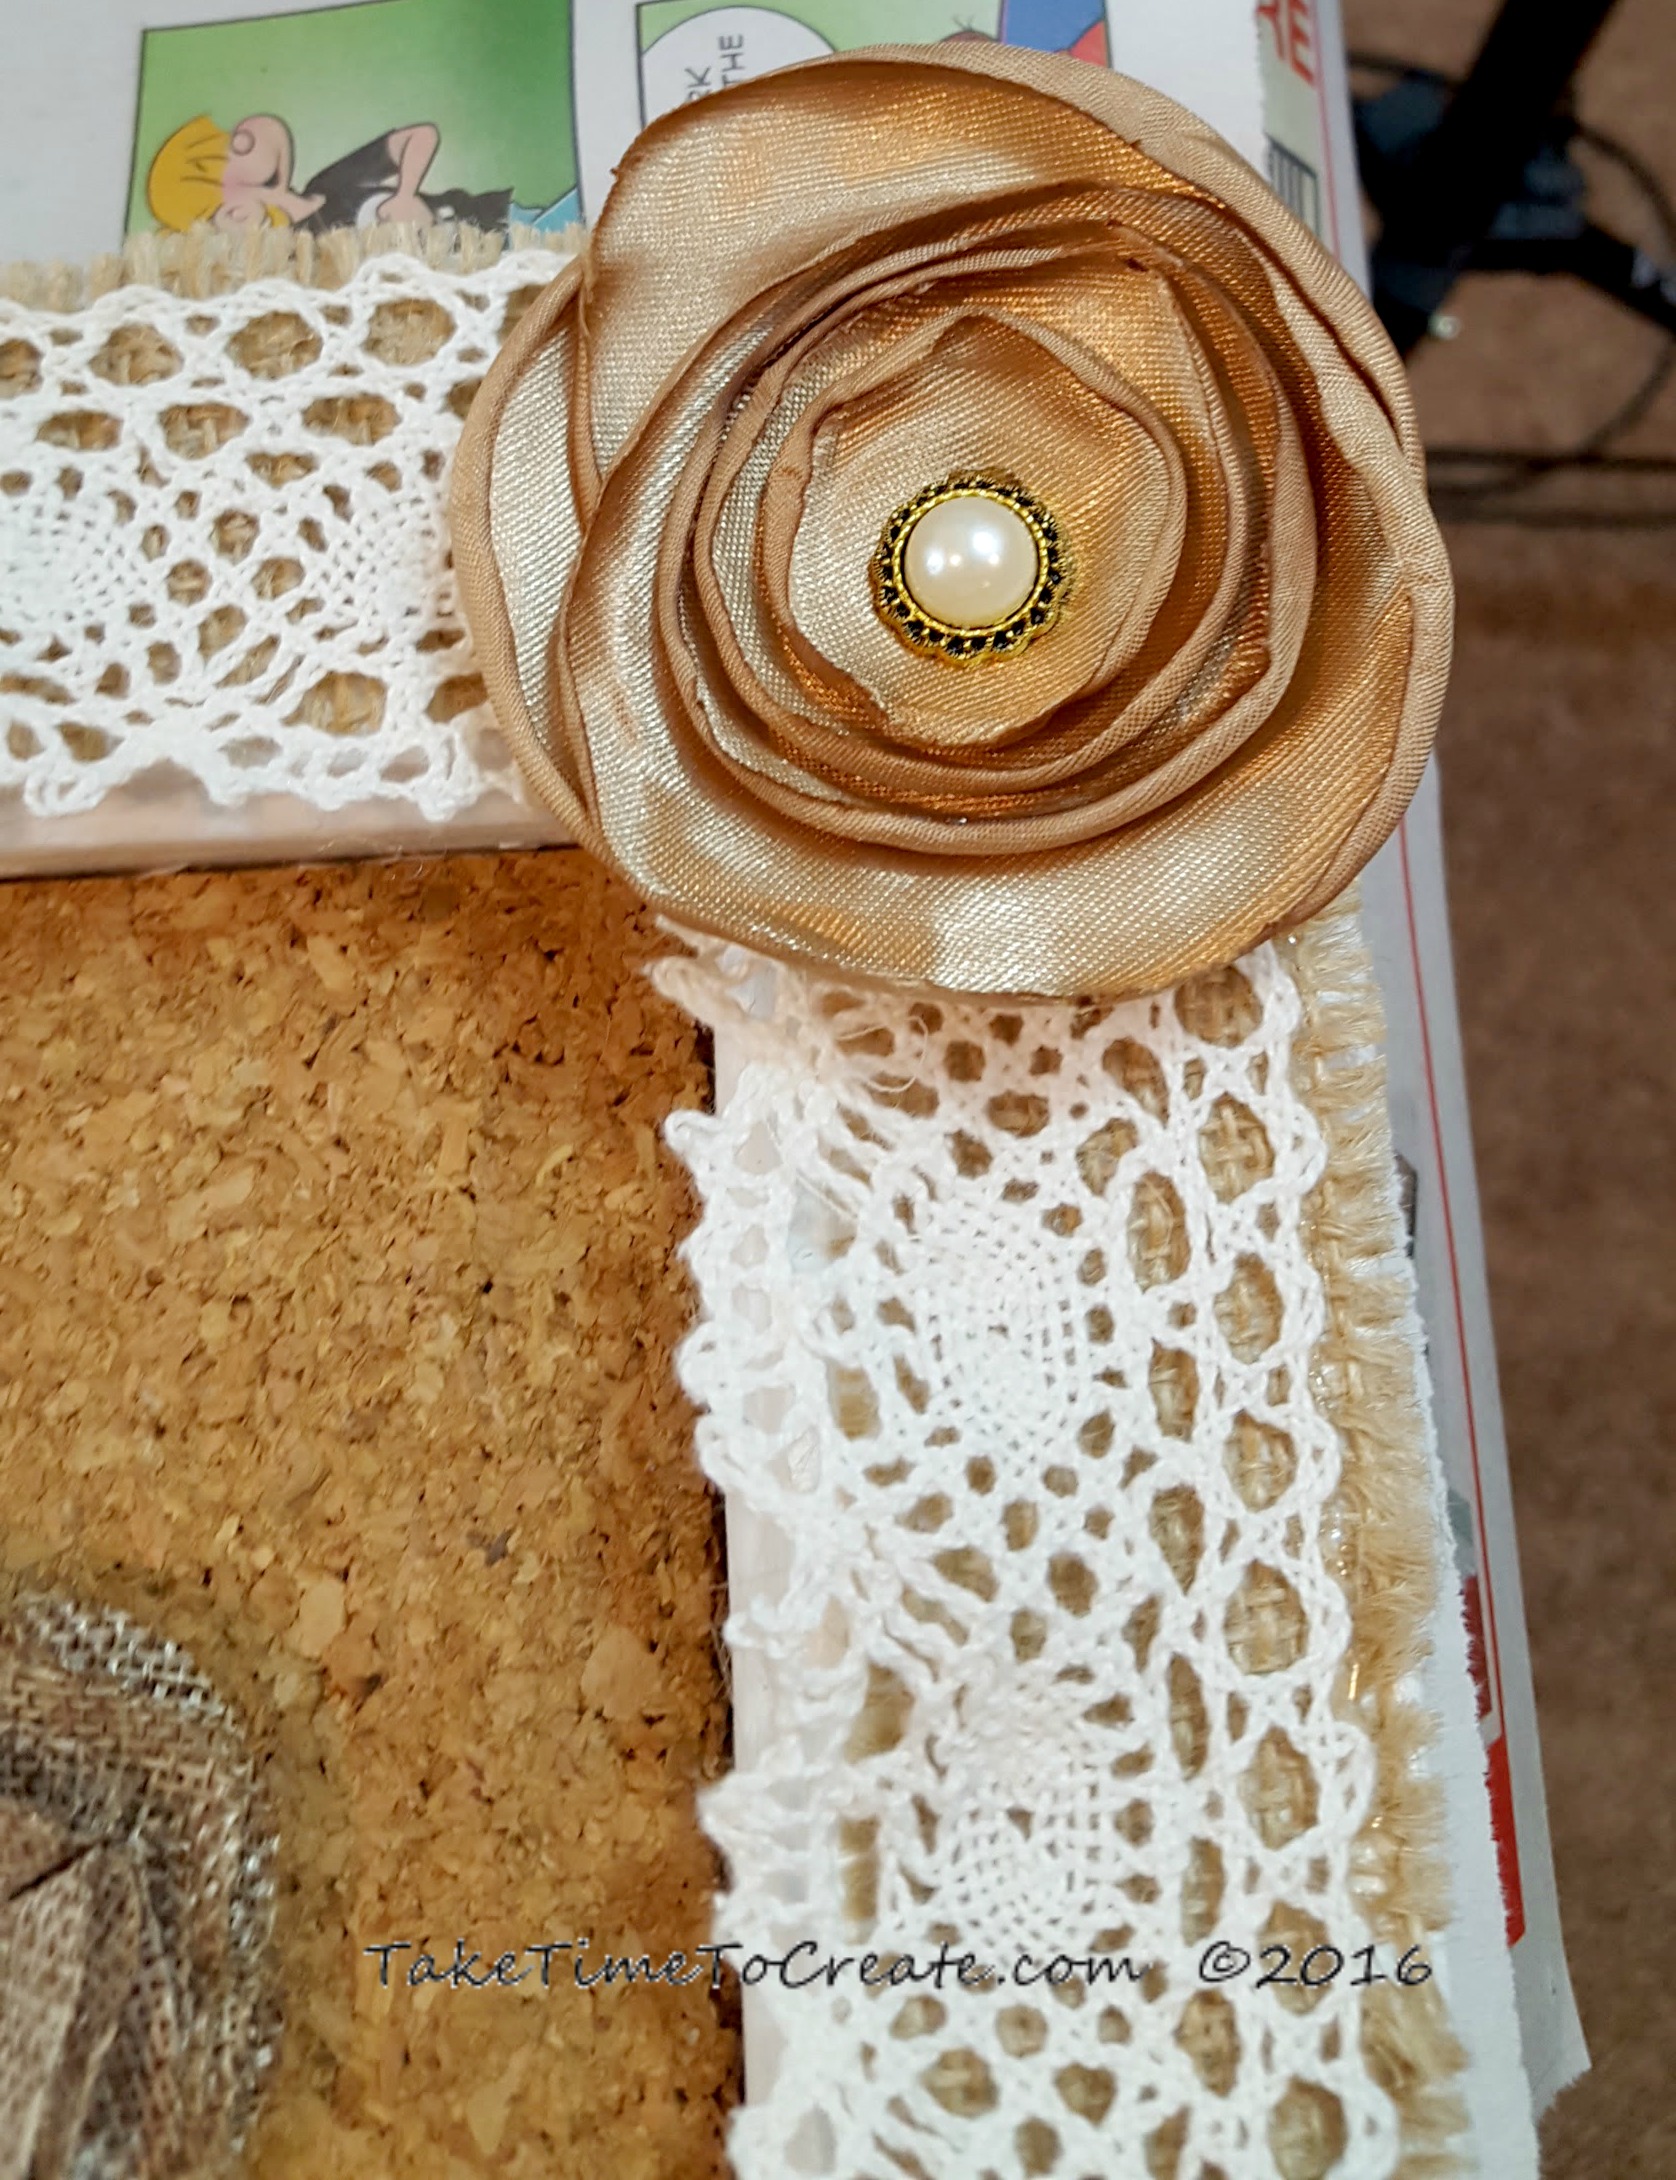
That looked good, but I felt like it was missing something, so I added a ribbon on top and flowers in the corners.

add more ribbon

Then I added ribbon to the bottom of the screen and to the bottom of the window. Once that was done it was time to add the flower decorations.

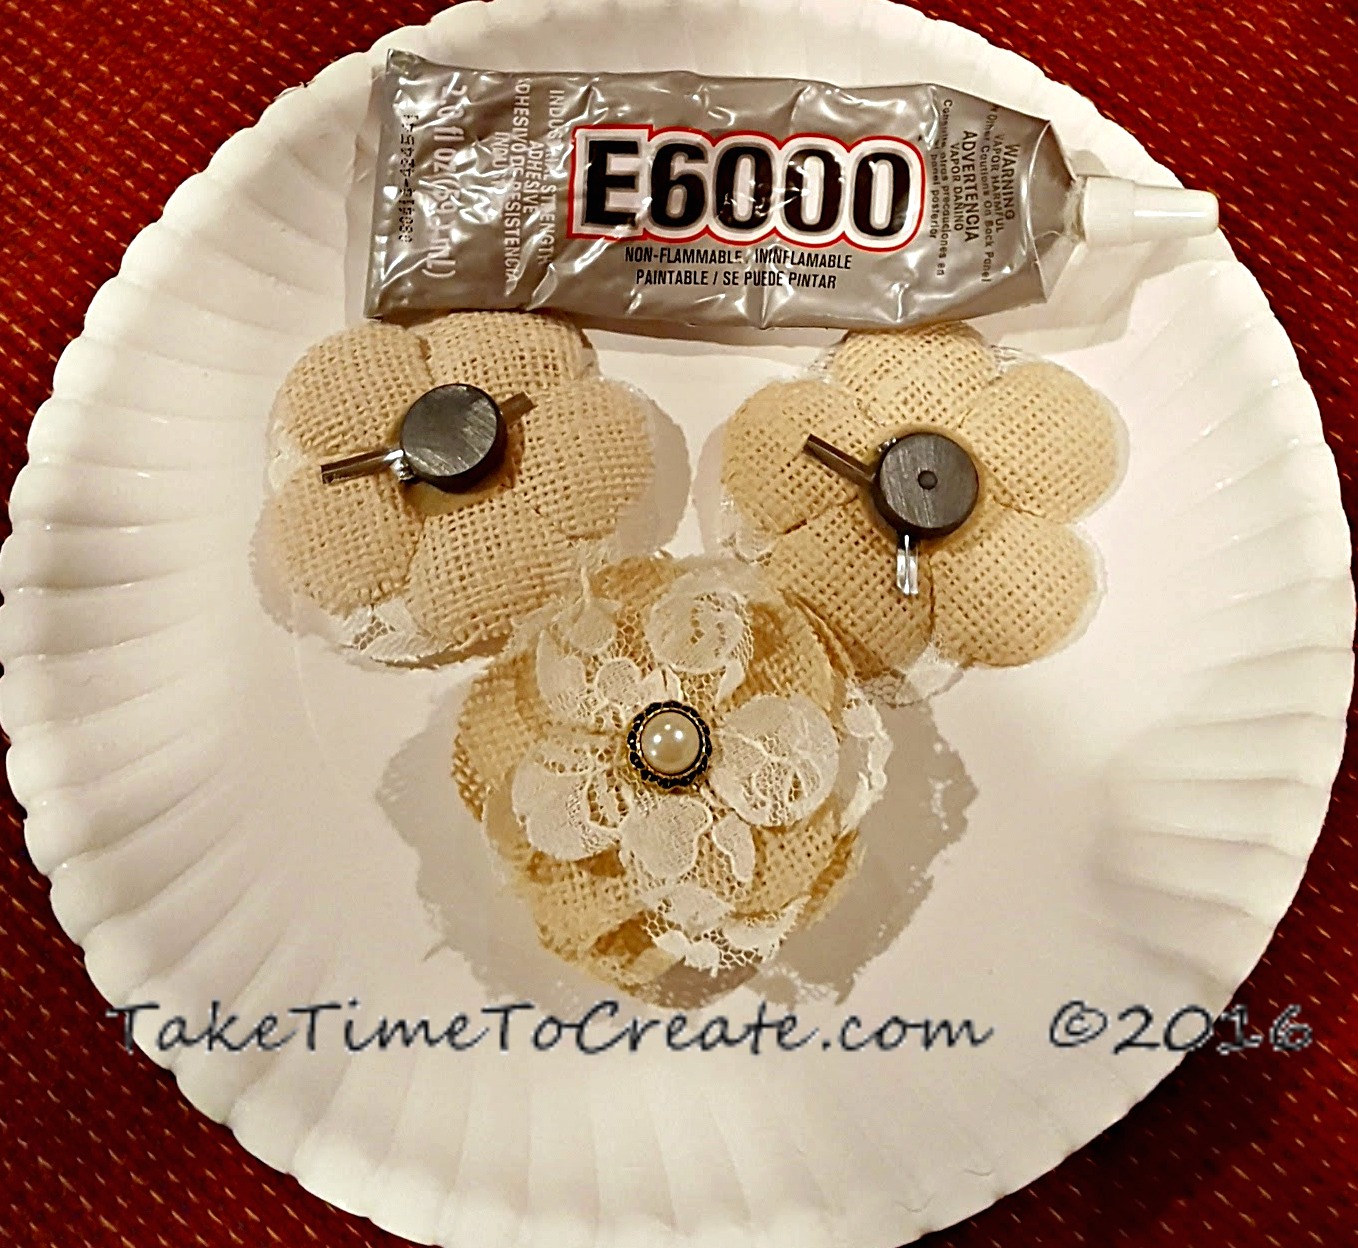
~ For the flowers add a magnet the back of some and tack to the others. For the clothes pins I just added ribbon to a plain clothes pin I got from the dollar store.

glue magnets to flowers

And that is it. This is a very fun project that is easy to do and I loved using what I had on hand. I can’t wait for the auction and hopefully they will make a lot of money for their cause!

repurpose window to shabby chic message board

Monogram Wood Burn Coasters

Hello Everyone!

Before I get into my DIY I just wanted to let you know that there will be some updates coming to the blog. The design will be getting an overhaul. All the same content will be here, hopefully it will be easier to find and navigate to.

I am excited for the updates, and I will keep you posted on the progress.


Last week I told you guys about my cousin getting married (I made a clutch to go with my shoes. You can see that post here) The wedding was beautiful! I am so happy for them.

I wanted to give them something special for their wedding so I decided to try out my wood burning tool. (I have had it for a while, just never used it)

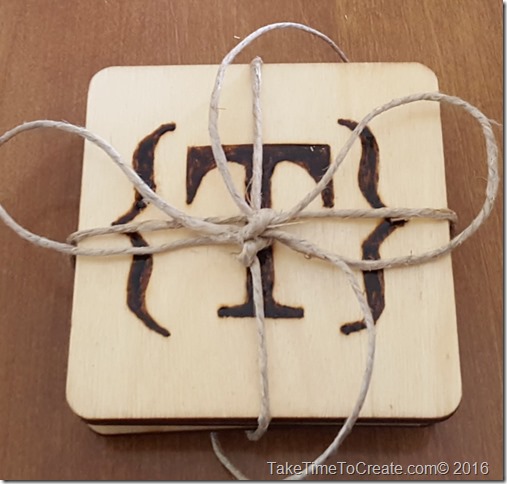
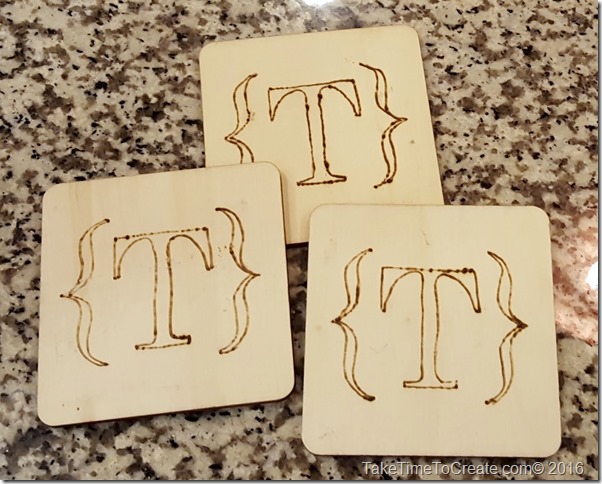
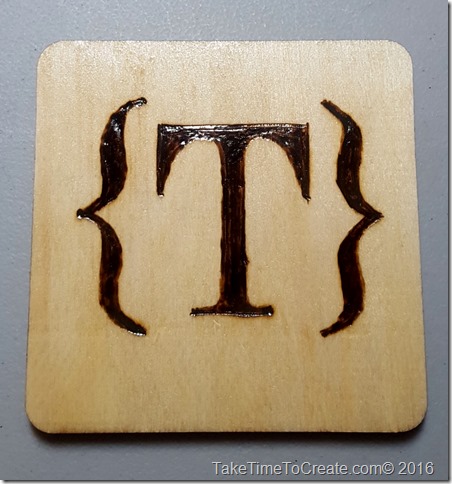
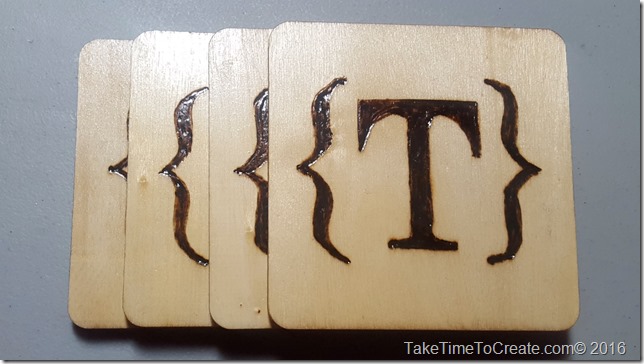
I thought coasters would be good for the newly weds,  and a monogram of their last name would be perfect.

monogram wood burn coaster

Materials:

~ wood ( You can use scraps you have around, or pick some up at a store. I found mine at Michaels)

~ Wood burn tool

~ graphite paper

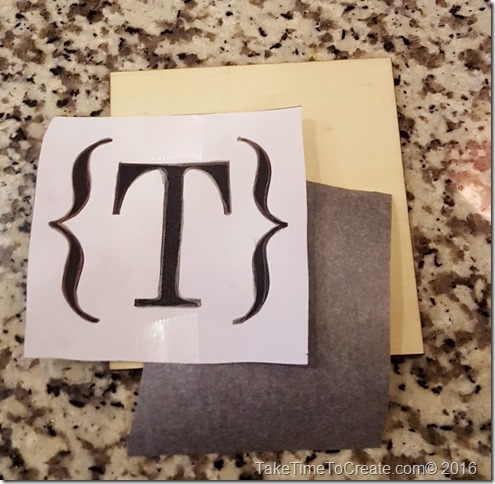
~ print out of what you want to wood burn (I just created my monogram in word and printed it on my computer)

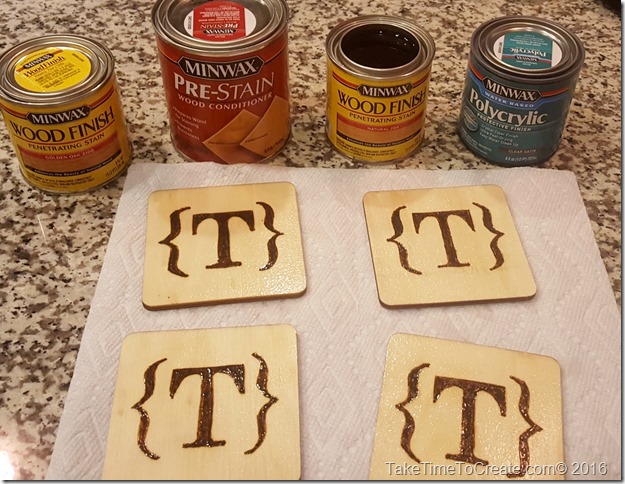
~ Stain (I used a pre stain because of the nature of the soft wood I was using, then I used a natural stain, and finished with a clear coat)

~sandpaper and foam paint brushed

~ Felt or cork for the back

Instructions:

First you lightly sand the wood to make sure it is nice and smooth.

Then you transfer the design onto the wood. I traced the design with a pencil using graphite paper. This worked really well.

monogram wood burn coaster

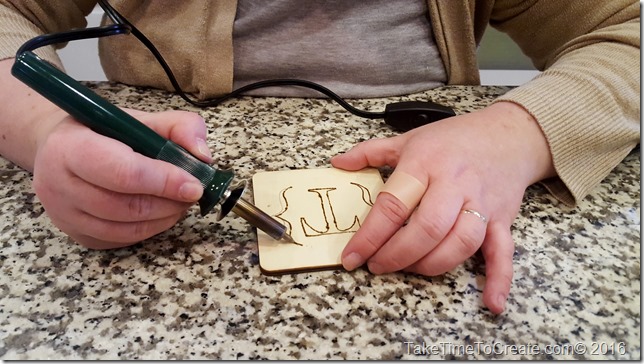
Then I stared to outline the monogram with the wood burn tool.

 monogram wood burn coaster

This was my first attempt at making something with the wood burn tool and I learned to go at a steady pace with even pressure. 

 monogram wood burn coaster

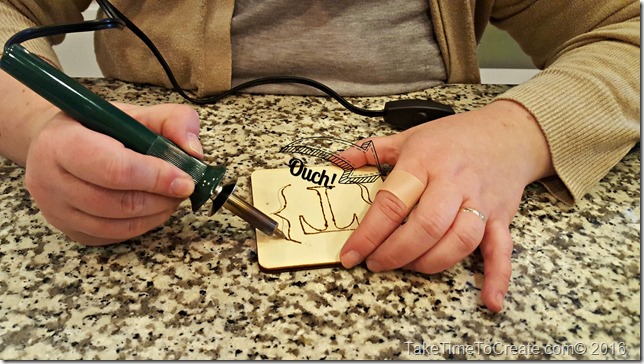
Also be very careful, the tool is HOT. I even have the band aid to prove how hot the tool can get Smile

monogram wood burn coaster

Once it was completed and I was happy with the design I pretreated the wood with a Pre-Stain. Then I followed up with a natural stain and finished with a clear coat. Follow the directions on the stain to get the best results.

monogram wood burn coaster

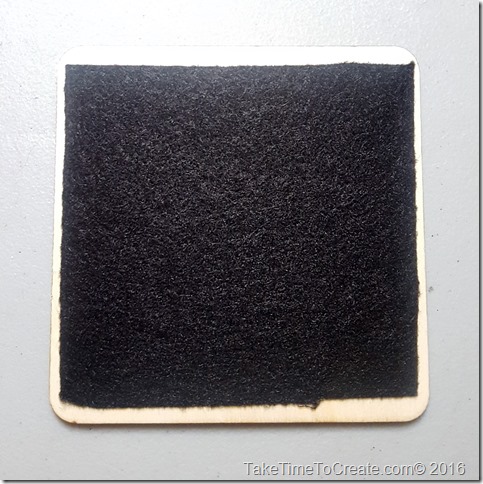
Then I put self adhesive felt on the back, and then I was done!

monogram wood burn coaster

This was such a fun project!  It did take a little while to get the hand of wood burning, but now that I get it I have a ton of other projects that I have in mind! These are perfect gifts for everyone!

monogram wood burn coaster

monogram wood burn coaster

« Older posts Newer posts »

© 2024 Take Time To Create

Theme by Anders NorenUp ↑

Follow

Get the latest posts delivered to your mailbox:

%d bloggers like this: