Tag: accessories (page 2 of 2)

DIY Skeleton Jewelry and Hair Clips

Hello Everyone!

Another day in Oct and another Halloween Craft. This time it is some DIY jewelry.  This is perfect for people who want to celebrate Halloween without going for the full blown costume. You can wear this at work or school without going over the top and it is easy to take off if needed.

Skeleton Jewerly

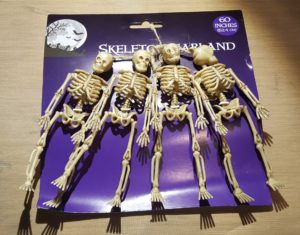
This is an easy project that looks so cute when you are done. First find some plastic Skeleton Garland. I found mine at the Dollar Store.

Skeleton garland

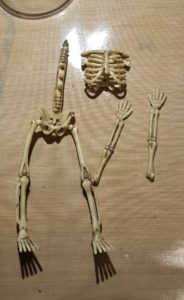
Then take it apart. I used different piece for different types jewelry and hair clips.

take the garland apart

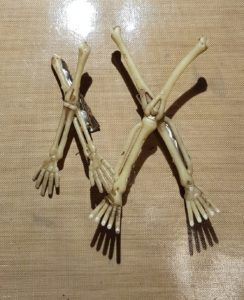
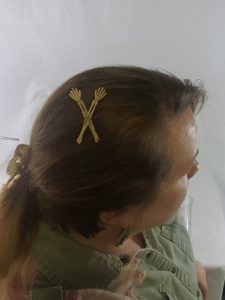
I used the arms and legs from 1 skeleton to make hair clips. Just cut off the arms and legs and hot glue them to an alligator clip.

hair clips

arm bones hair clip

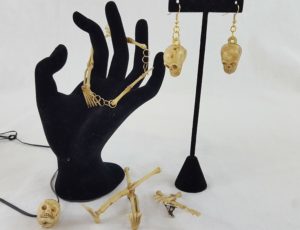
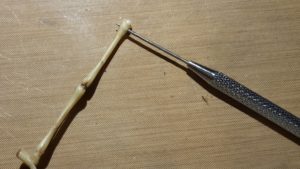
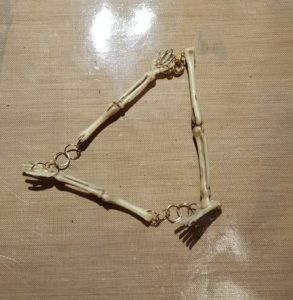
For the bracelet cut off some arms and legs, then punch a hole near the top. I used a needle punch, then I added jump rings to connect the pieces. Add a clasp and you are done.

punch a hole

bracelet

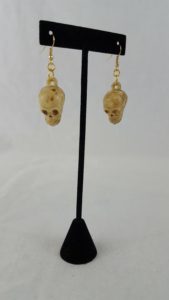
I make a pair of skull earrings by adding jump rings and a french hook. Easy to do, and so cute when completed.

skull earrings

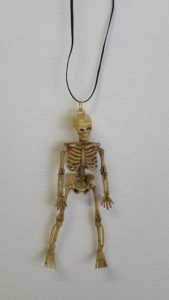
For the necklace I just added a jump ring to the top of a whole skeleton. I also made a necklace out of just the head.

skeleton necklace

I also made a hair clip out of a whole skeleton. This one was fun to wear.

skeleton hair clip

The skeletons made great jewelry and hair clips, they were fun to take apart and reassemble in new ways. And since they are light weight they are easy to wear for long periods of time.  These are great for almost anyone to celebrate Halloween or for anytime when they want to wear skulls and skeletons.

The post DIY Skeleton Jewelry and Hair Clips appeared first on Take Time To Create

DIY Cell Phone Case From Old Tie

Hello Everyone!

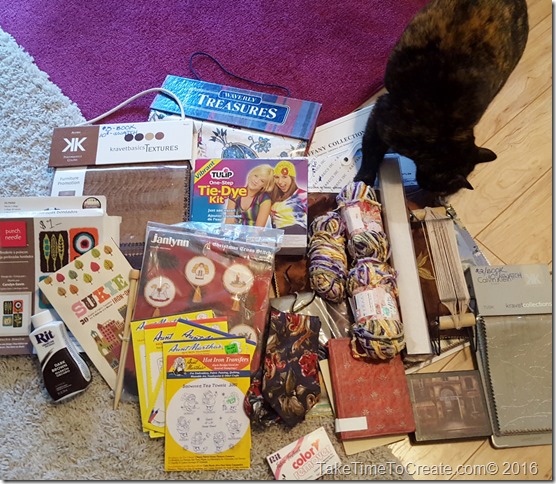
I found this fantastic store in town, it is call Who Gives A Scrap. (BTW I love the name!) Anyway, this store is so awesome it has all kinds of craft supply donations that are up for sale. The stock is always changing so you never know what you will find. If you follow me on Instagram you already saw my haul, but this what I scored yesterday for about $25! The item I am most excited about is the bead loom. I have tons of pins on Pinterest for the bead loom and now that I have one I am excited to learn how to use it. Does anyone have any experience or tips on how to use a bead loom? Please share if you do.

So many new things to play with and to use for my crafts and DIY projects. Even our cat, Starlight, approves. haha.
DIY Cell Phone Case From Old Tie


The other day my sister and I were having a Craftersation on Pinterest. (A Craftersation  is a craft conversation between pinners on Pinterest.) She has the best Pinterest boards and I think she has pinned just about everything on the internet, haha. You can follow her here.

Anyway she pinned this really cute cell phone case made from an old tie so I pinned a different version of the same thing. And on it went for while. We have a lot of Craftersations, it is a fun way to stay connected and see what each other is interested in even though we live almost a thousand miles apart.

When I was at Who Gives a Scrap I saw that they had some old ties that would be perfect to make a cell phone case out of. After I got home yesterday I made my version of what I saw on Pinterest.

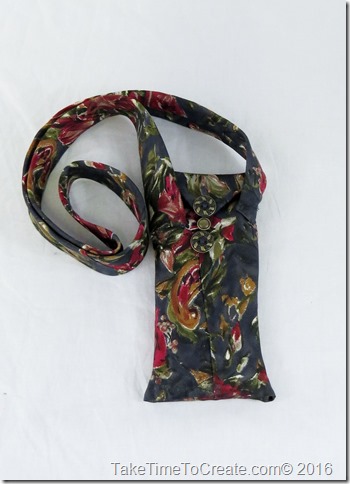
Here it is all done. I am in love with it!
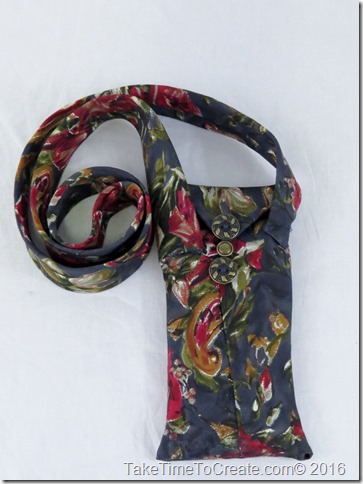
DIY Cell Phone Case From Old Tie

Materials:

~Old Tie

~ Needle and thread, or sewing machine

~ Button or snap

Instructions:

This is one of the ties that I picked up yesterday. Isn’t it wonderful? I fell in love with it on the spot. For this project the wider the tie the better. Skinny ties from the 80s won’t work, but those ties can be use for different projects.
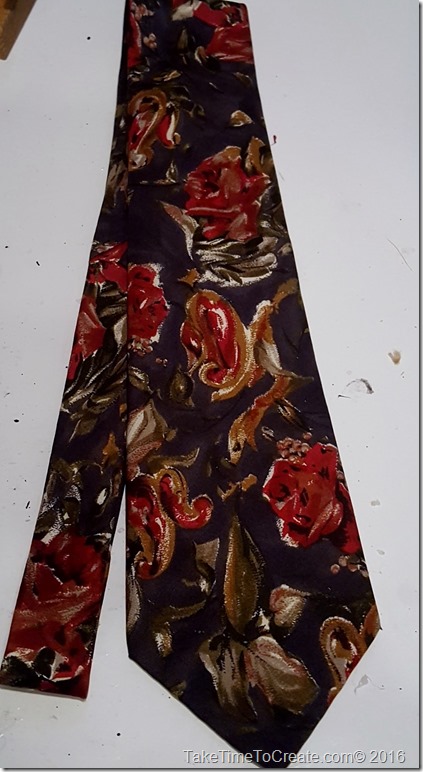
DIY Cell Phone Case From Old Tie

Next just measure how much space you need for your phone. The pointed part will be the flap, so factor that in. You will have to pick out the stitched that keep the flaps together so you can slide your phone in.
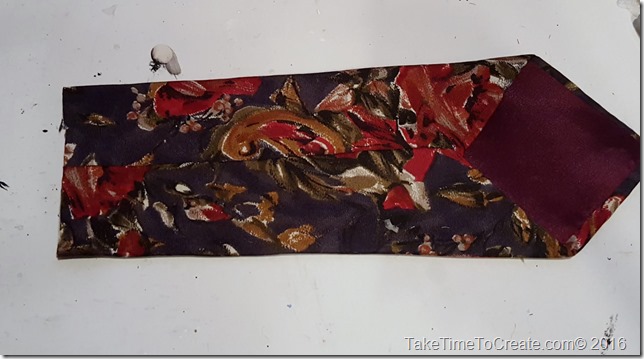
DIY Cell Phone Case From Old Tie

For this step I glued the ends together and the center flap closed using Fabric Fusion. I used clothes pins to hold it together while the glue dried. The glue worked just fine, but when I do this project again I think I will sew it all instead of using glue, I think it will be stronger and it will look better. You can hand stitch or use a machine.
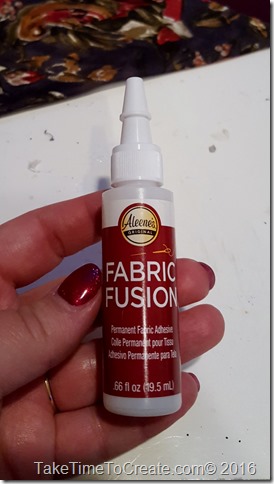
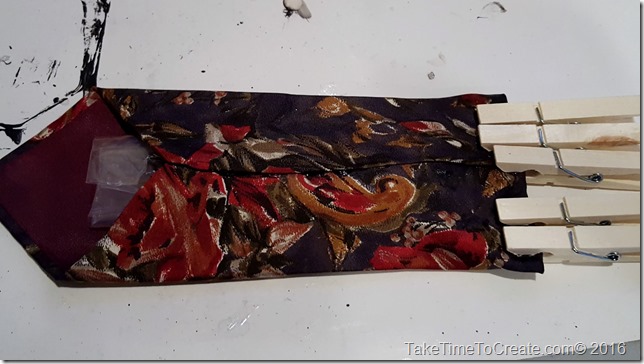
 

DIY Cell Phone Case From Old Tie      DIY Cell Phone Case From Old Tie

Next I hand stitched on these buttons I had in my stash. They are so cute, I got them from Patterns of Time. They have so many great items on their website, when I ordered last it was hard to narrow down the items in my shopping cart to a reasonable amount, haha.
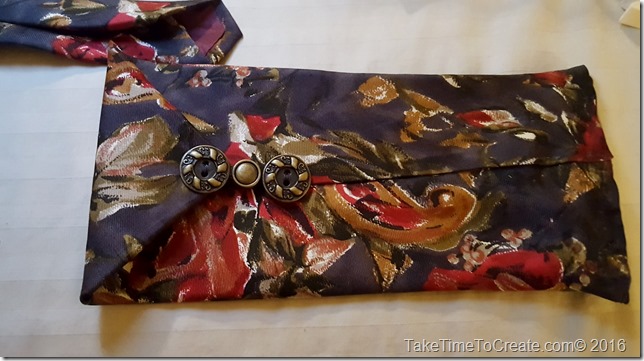
DIY Cell Phone Case From Old Tie

The case was all complete I thought it was very cute just the way it was but I decided that it should become a purse instead of just a case. This Tie Purse is perfect for me when I go out for an evening and my skirt doesn’t have pockets and I need to carry a phone and my ID and a credit card and some cash, it will all fit into this cute purse.

To add the straps all you do is hand sew the remaining part of the tie onto the sides of the case. And that is it.
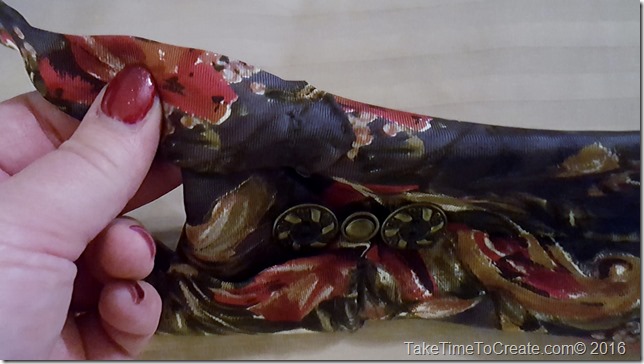
DIY Cell Phone Case From Old Tie

Have you made one of these before? I would love to see it if you have. Stay tuned for more projects made from items I got from Who Gives A Scrap, that place rocks!!
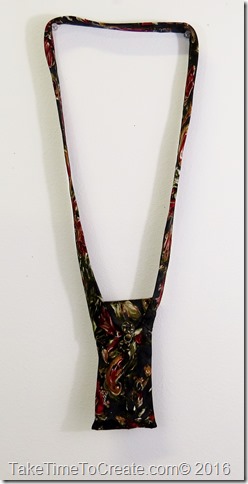
DIY Cell Phone Case From Old TieDIY Cell Phone Case From Old Tie

There are no affiliate links in this post. All opinions are my own.

DIY Rhinestone Clutch

Hello Everyone!

DIY Rhinestone Clutch

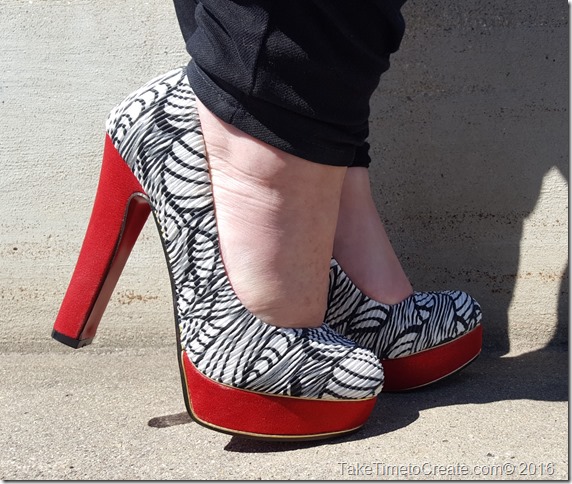
I just had to make this clutch all because of this fantastic pair of shoes! (I think all great stories start with shoes)


Anyway, here is the story, my cousin is getting married on Sat (YAY) I am so happy for him. (His bride-to-be is wonderful and I think they will be very happy together. )

And since I have these great shoes that I never get to wear (they are a little impractical for work, haha) I decided to wear them to the wedding. Buuuut, I didn’t have a clutch to match. So I decided to make one.

DIY Rhinestone Clutch

Aren’t these shoes great?

Anyway here is how to make this DIY Rhinestone Clutch.

Material:

~ Fabric (I am using a faux leather that I had in my craft room, but any fabric that is slightly stiff will work. I did not line it, but you can if your fabric is not stiff enough)

~ zipper (I am using a plastic zipper that I had laying around, it is not the perfect red, but I think it works)

~ Sewing Machine, or needle and thread

~ Rhinestone and glue (I used Aleene’s jewel it glue)

~ Decoration for zipper if desired


Instructions:

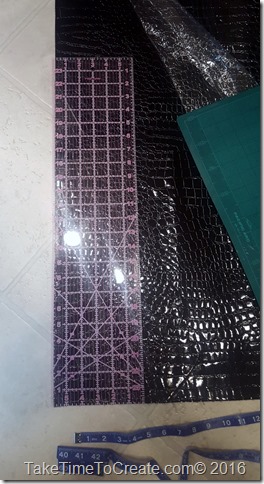
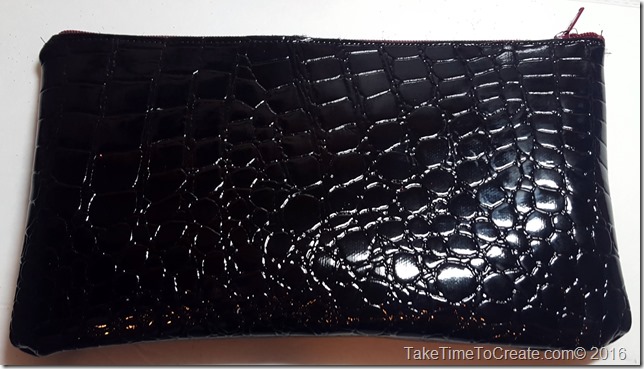
~ First cut your clutch. I cut 2 pieces that were 10 inches x 6 inches. (this was big enough to put my lipstick, phone, gum, and blotting papers in)

DIY Rhinestone Clutch

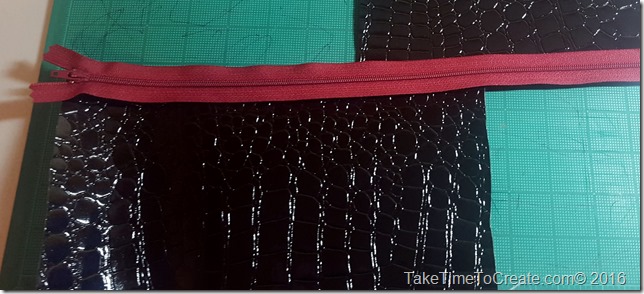
~ Once your fabric is cut them measure your zipper. If it is too long then measure how long you want it, then place a few stitches there. Once it is secure then cut off the excess.

DIY Rhinestone Clutch

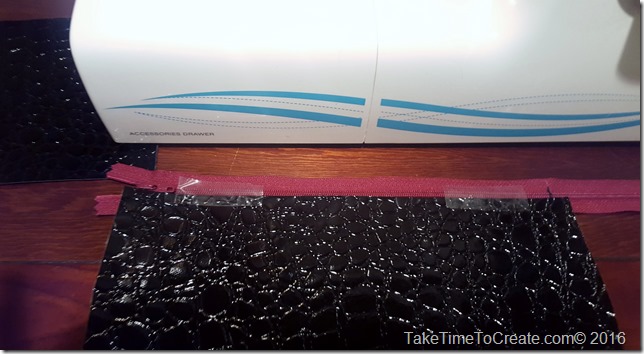
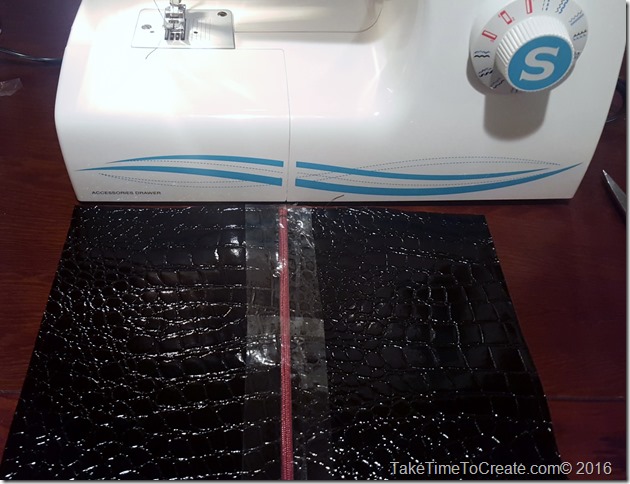
~ Next is place the fabric on the zipper and sew the fabric on the zipper. I held it together with tape since I didn’t want puncture holes in it from needles.

DIY Rhinestone Clutch

~ Do this step to both sides of the zipper

DIY Rhinestone Clutch


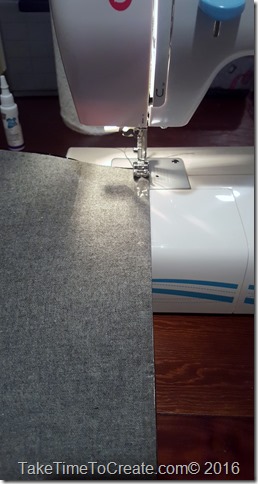
~ Turn your work so that right sides are together and stitch around the edges. Make sure you leave the zipper open so you can get your hand in to turn your work right side out.

DIY Rhinestone Clutch

~Once you have stitched all 3 sides turn your work right side out and there you have a really cute new clutch!

DIY Rhinestone Clutch

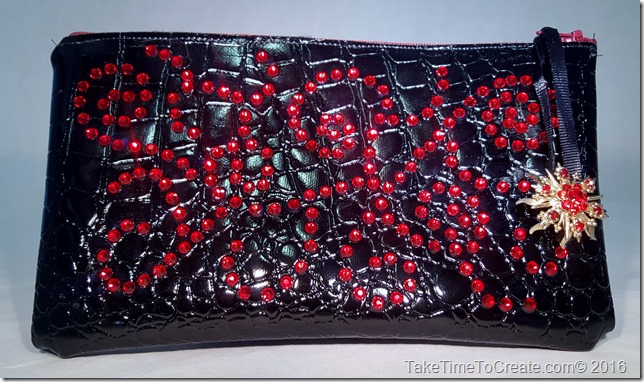
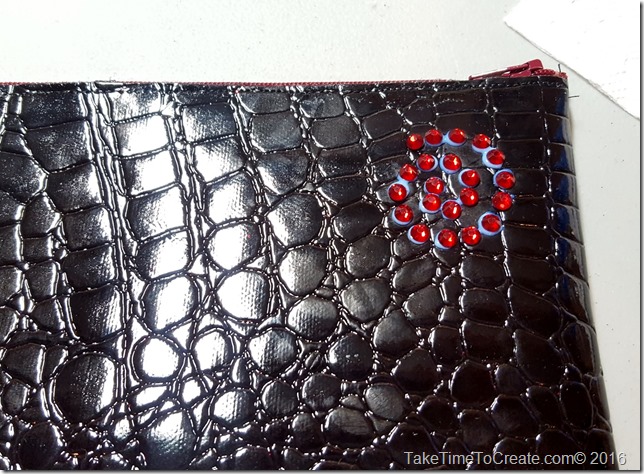
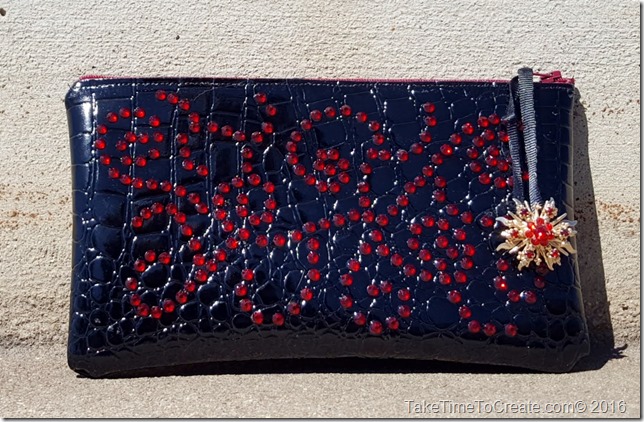
~ Ok by now you all know me well enough that you know I can leave anything that plain. I just knew it needed rhinestones. So I placed dots of glue in a swirl type pattern all over the clutch. Then I decided that wasn’t quite enough Smile so I added to wonderful broach that my mom gave me, with a little ribbon, I thought it was the perfect accent to the clutch.


DIY Rhinestone Clutch

There you have it. What do you think? Pretty easy right. Now on the the wedding celebration on Sat.

DIY Rhinestone Clutch

Jazzing Up a Simple T-shirt

Jazzing Up a Simple T-shirt

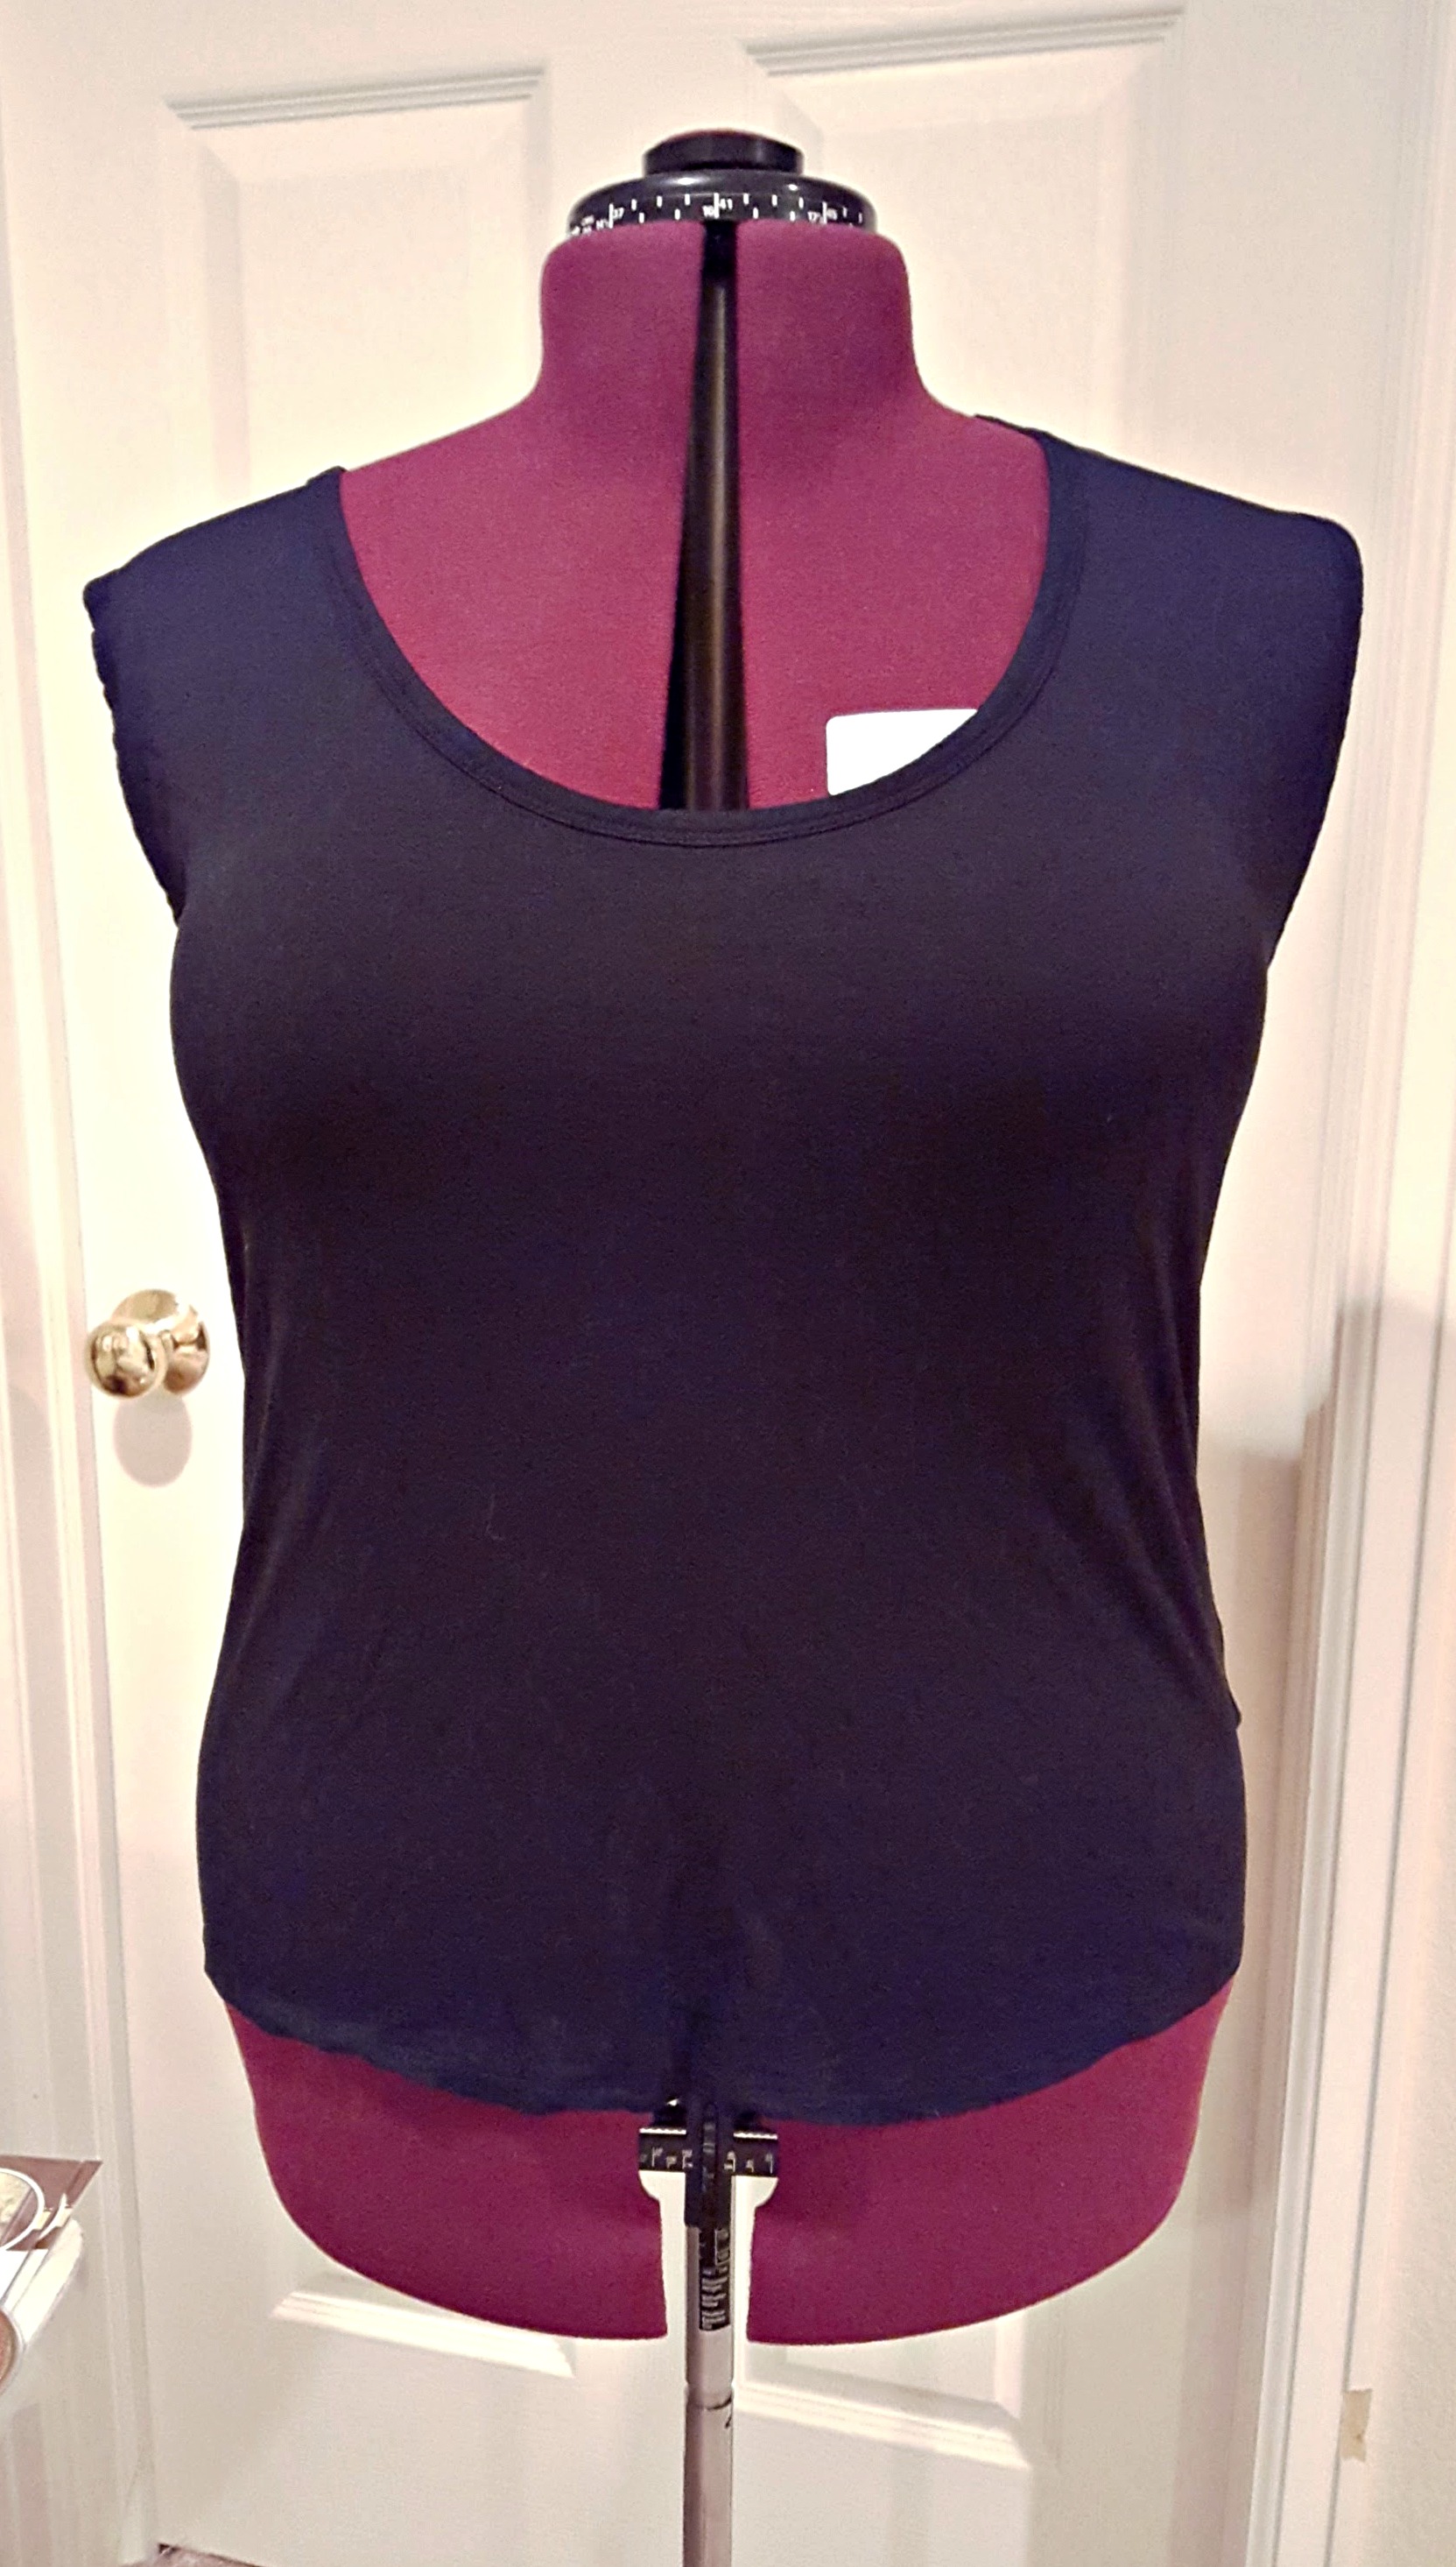
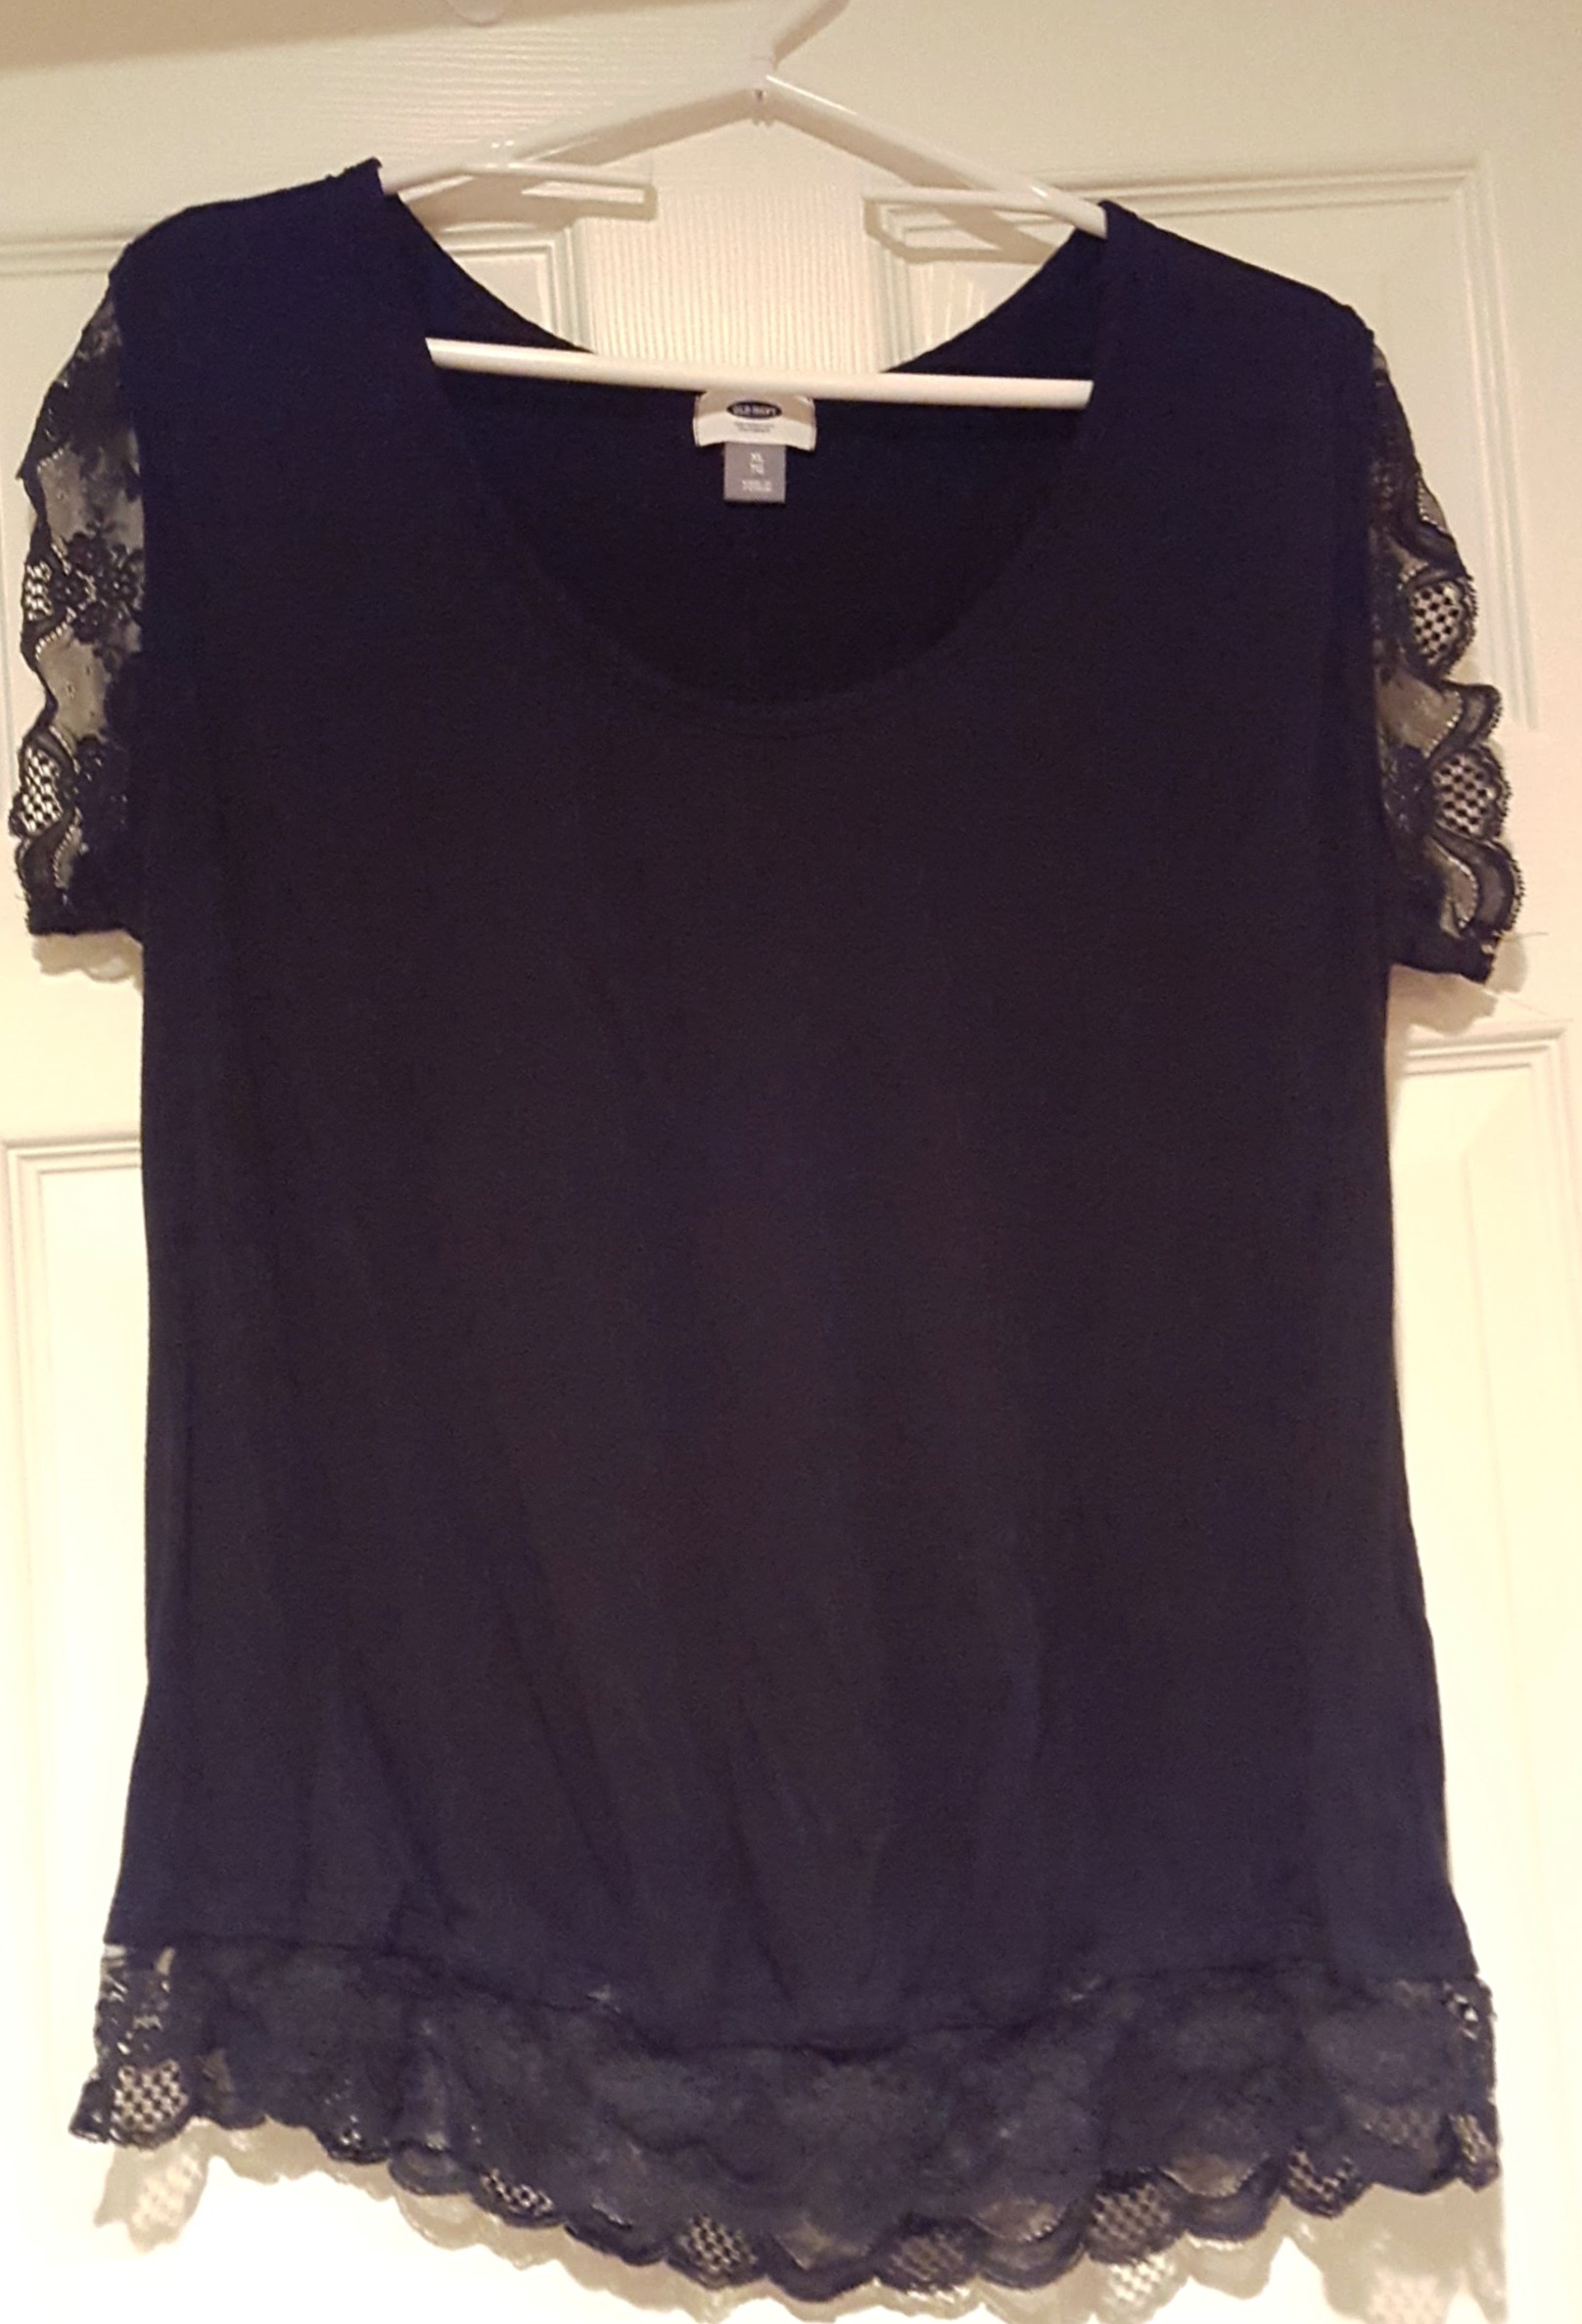
Continuing with another DIY for my birthday dinner I will show you what I did to jazz up a simple t-shirt from Old Navy. I had this plain black shirt in my closet that I never wore. I have a lot of plain black shirts, but this one never called out to me choosing my outfit for the day. So I decided it was time to spruce it up with some lace. A very easy DIY that turned a boring shirt into something that I wear all the time.

diy lace shirt

Here is how you do it:

Materials:

~ pre-washed t-shirt (you want make sure it is washed first in case there is shrinkage) I got mine from Old Navy on clearance

jazz up a plain t shirt with lace

~ lace

~ needle and thread, or sewing machine or glue

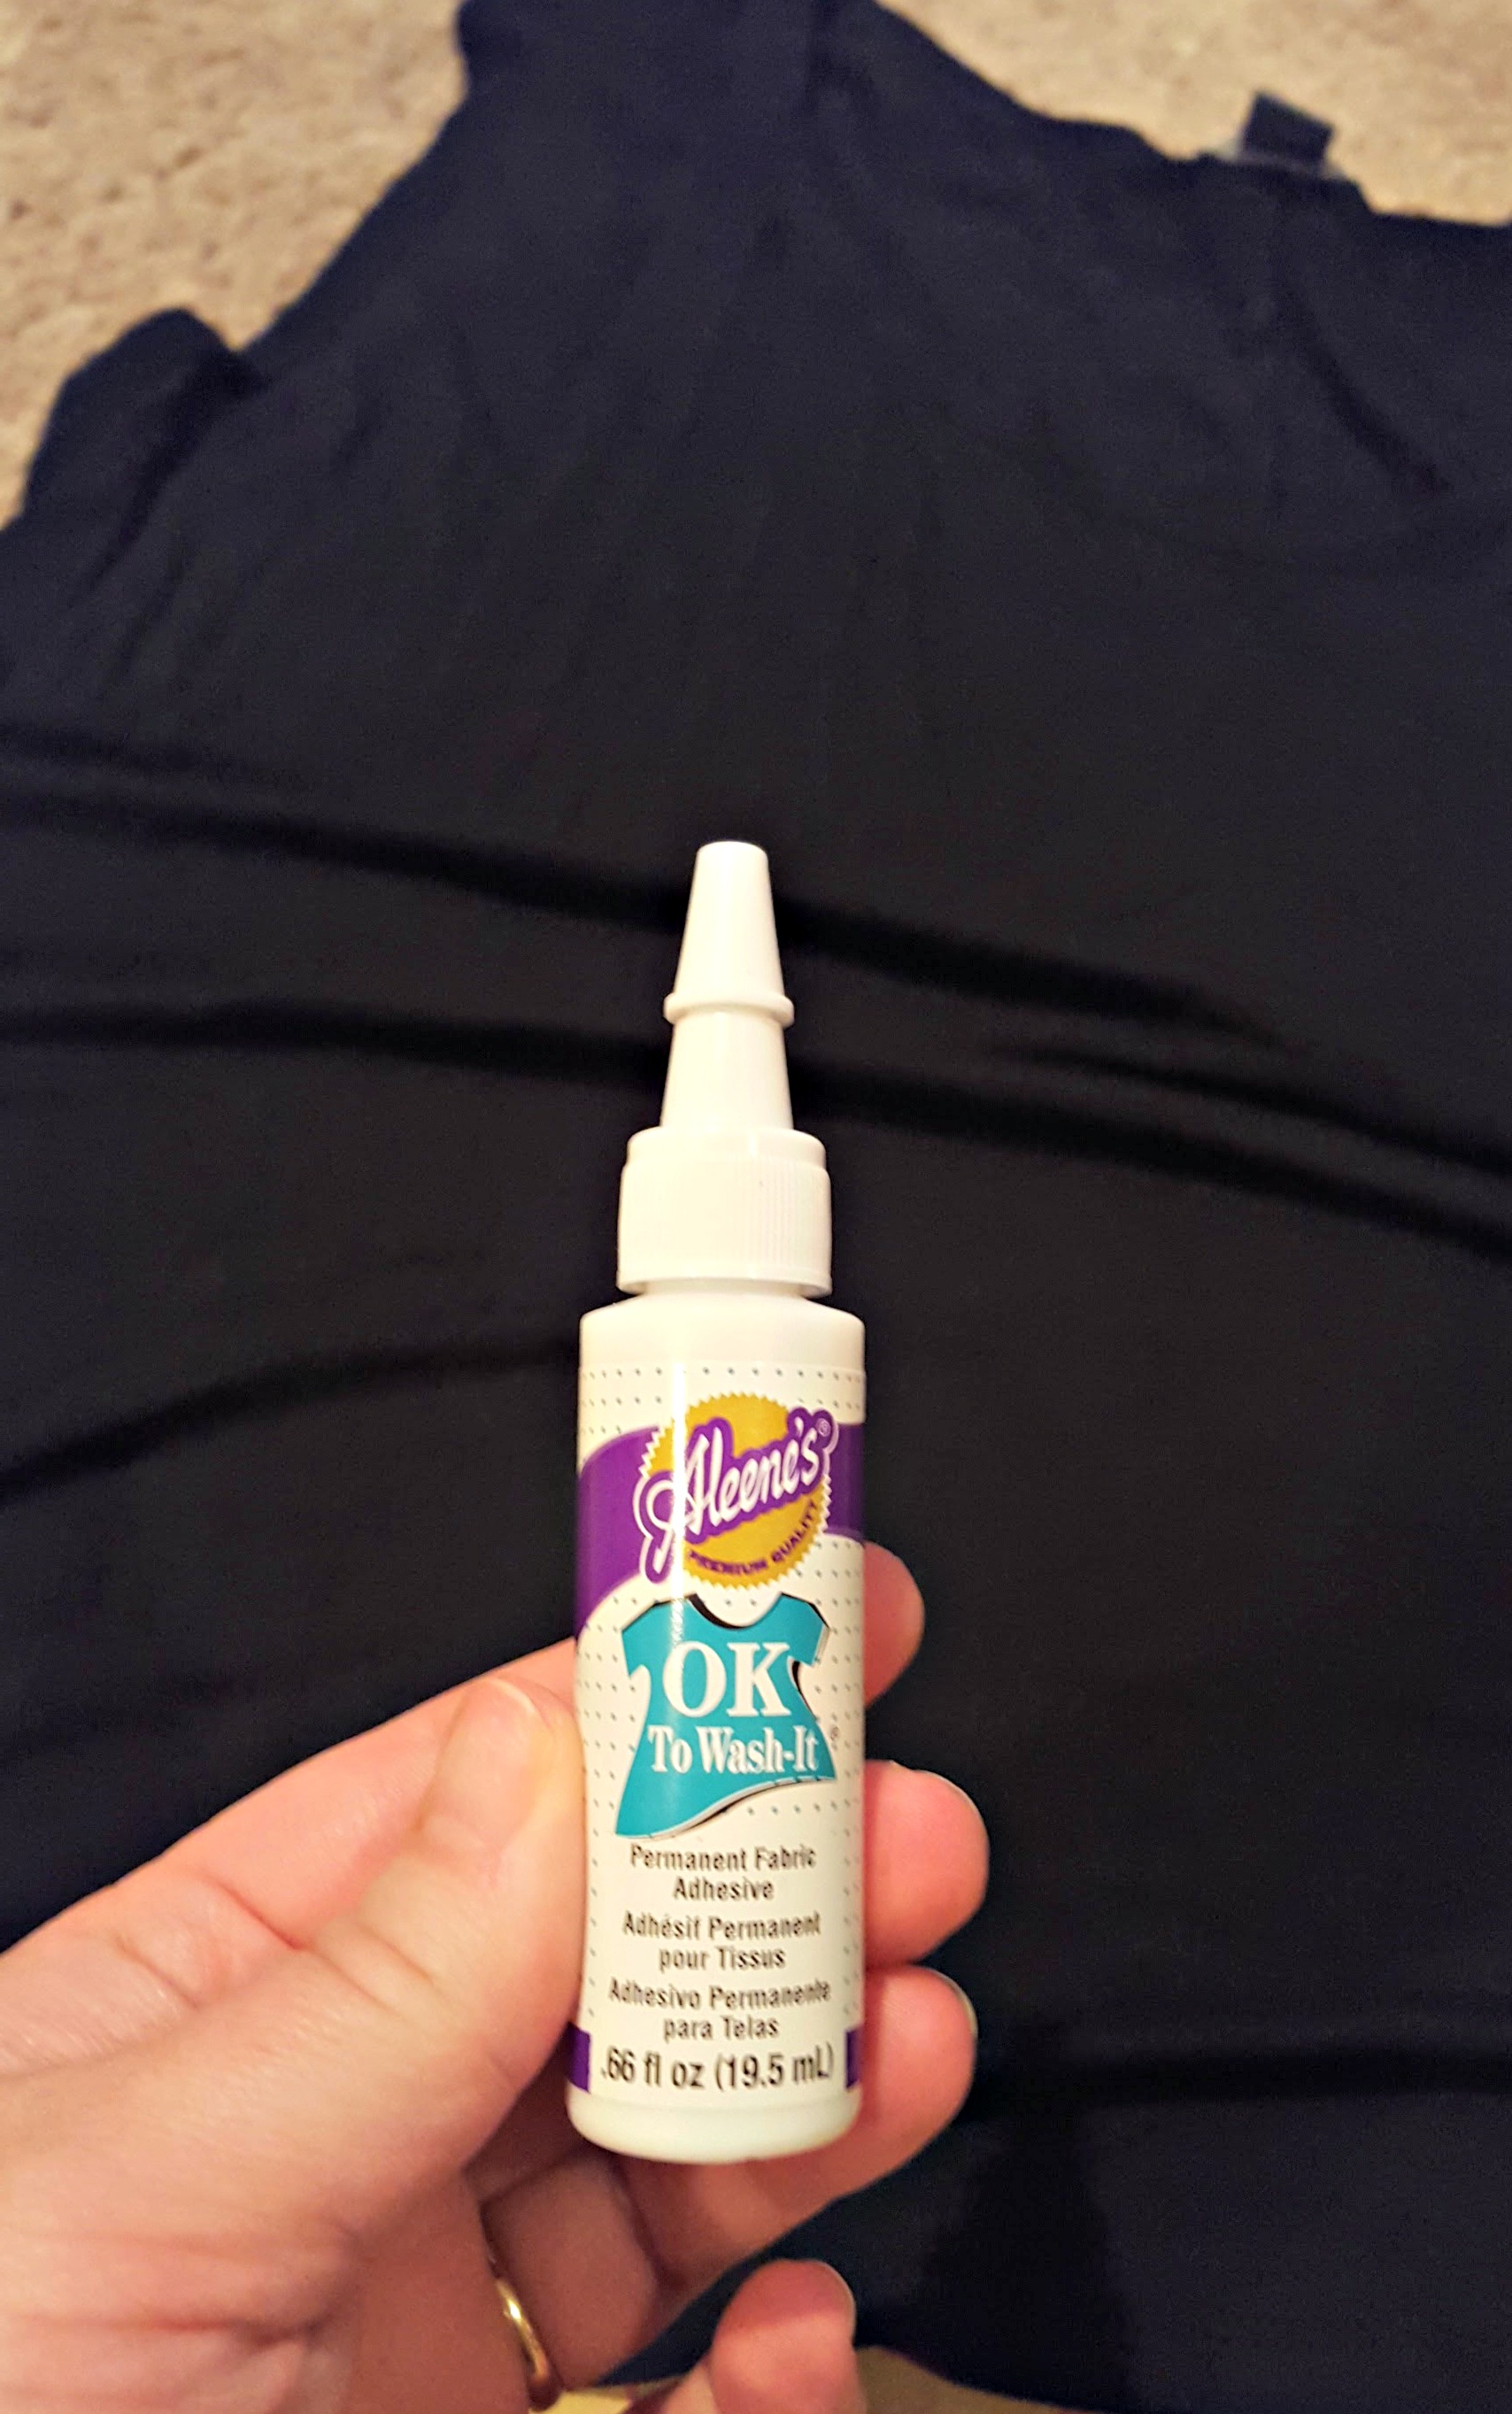
fabric glue

Instructions:

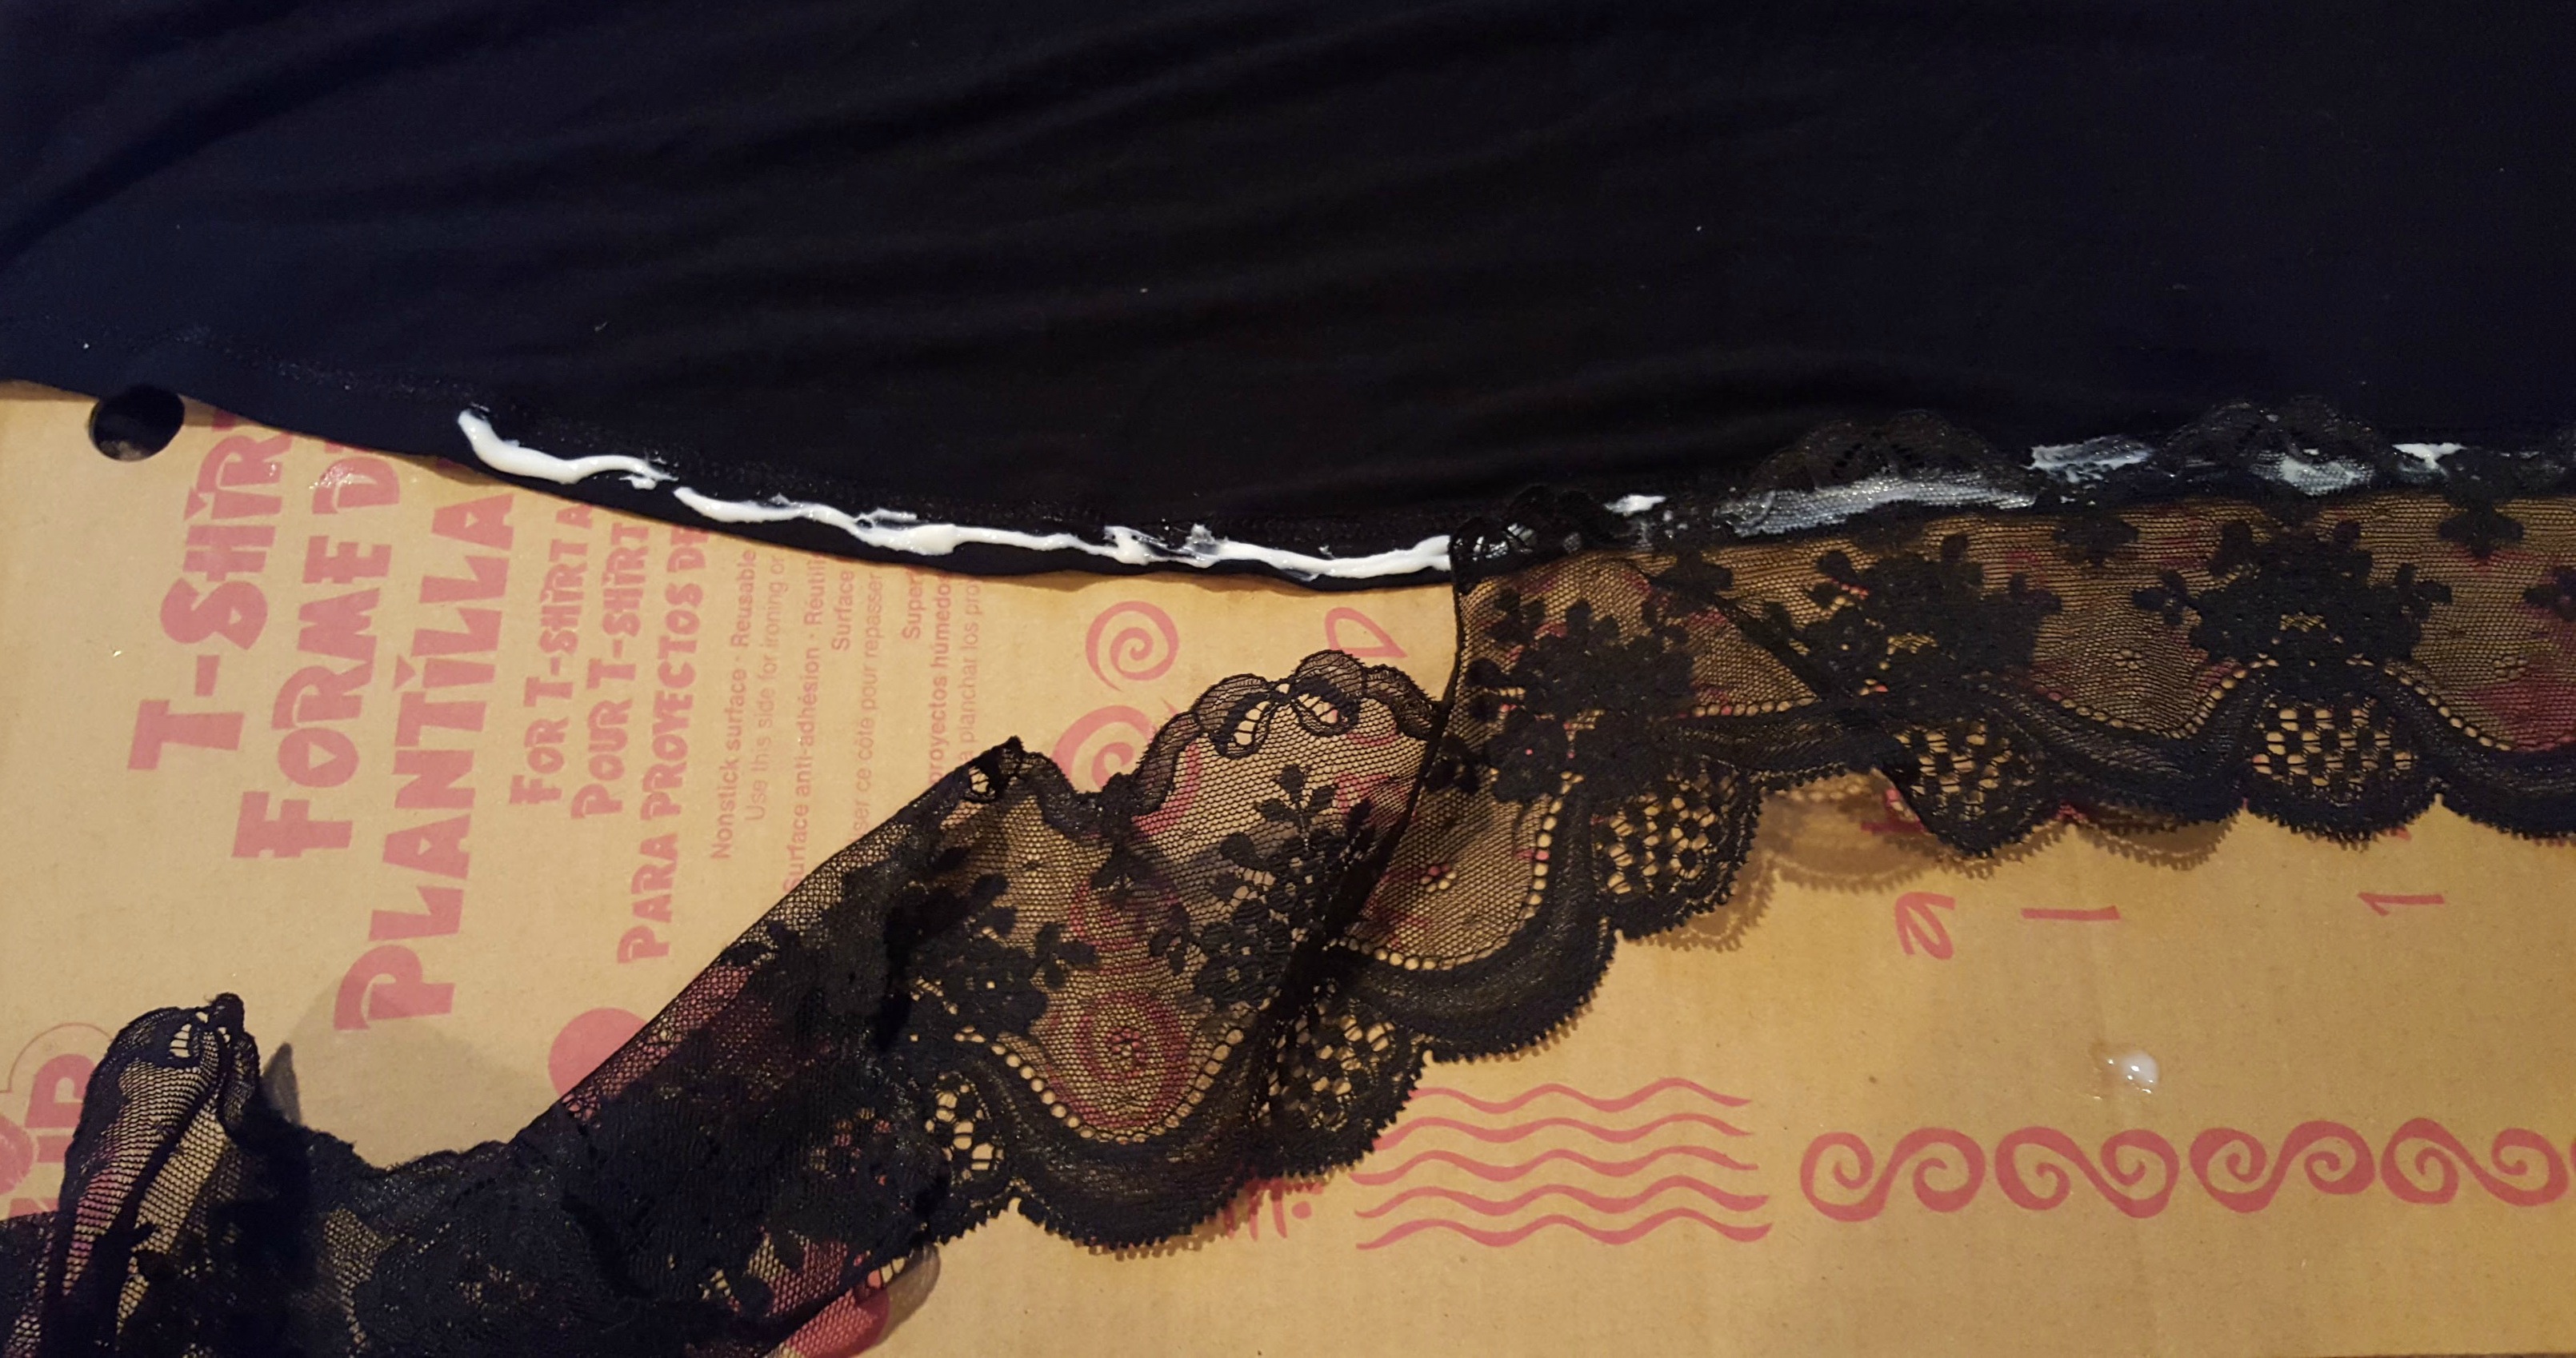
~ I wanted to try gluing the lace, I have never used this glue so I thought I would give it a try. I just glued the lace to the bottom of the shirt. The glue hold well and did wash well, but it took longer than sewing that is because I had to do it in sections and wait for each section to dry before I could move on to the next one.

glue lace to shirt

~ Since my lace does not stretch I decided to start and stop the lace at the seams on the bottom, that is so there is stretch and movement. I am not sure this was necessary, but it worked for this shirt. There is a small gap on the sides of the shirt, but it look intentional.

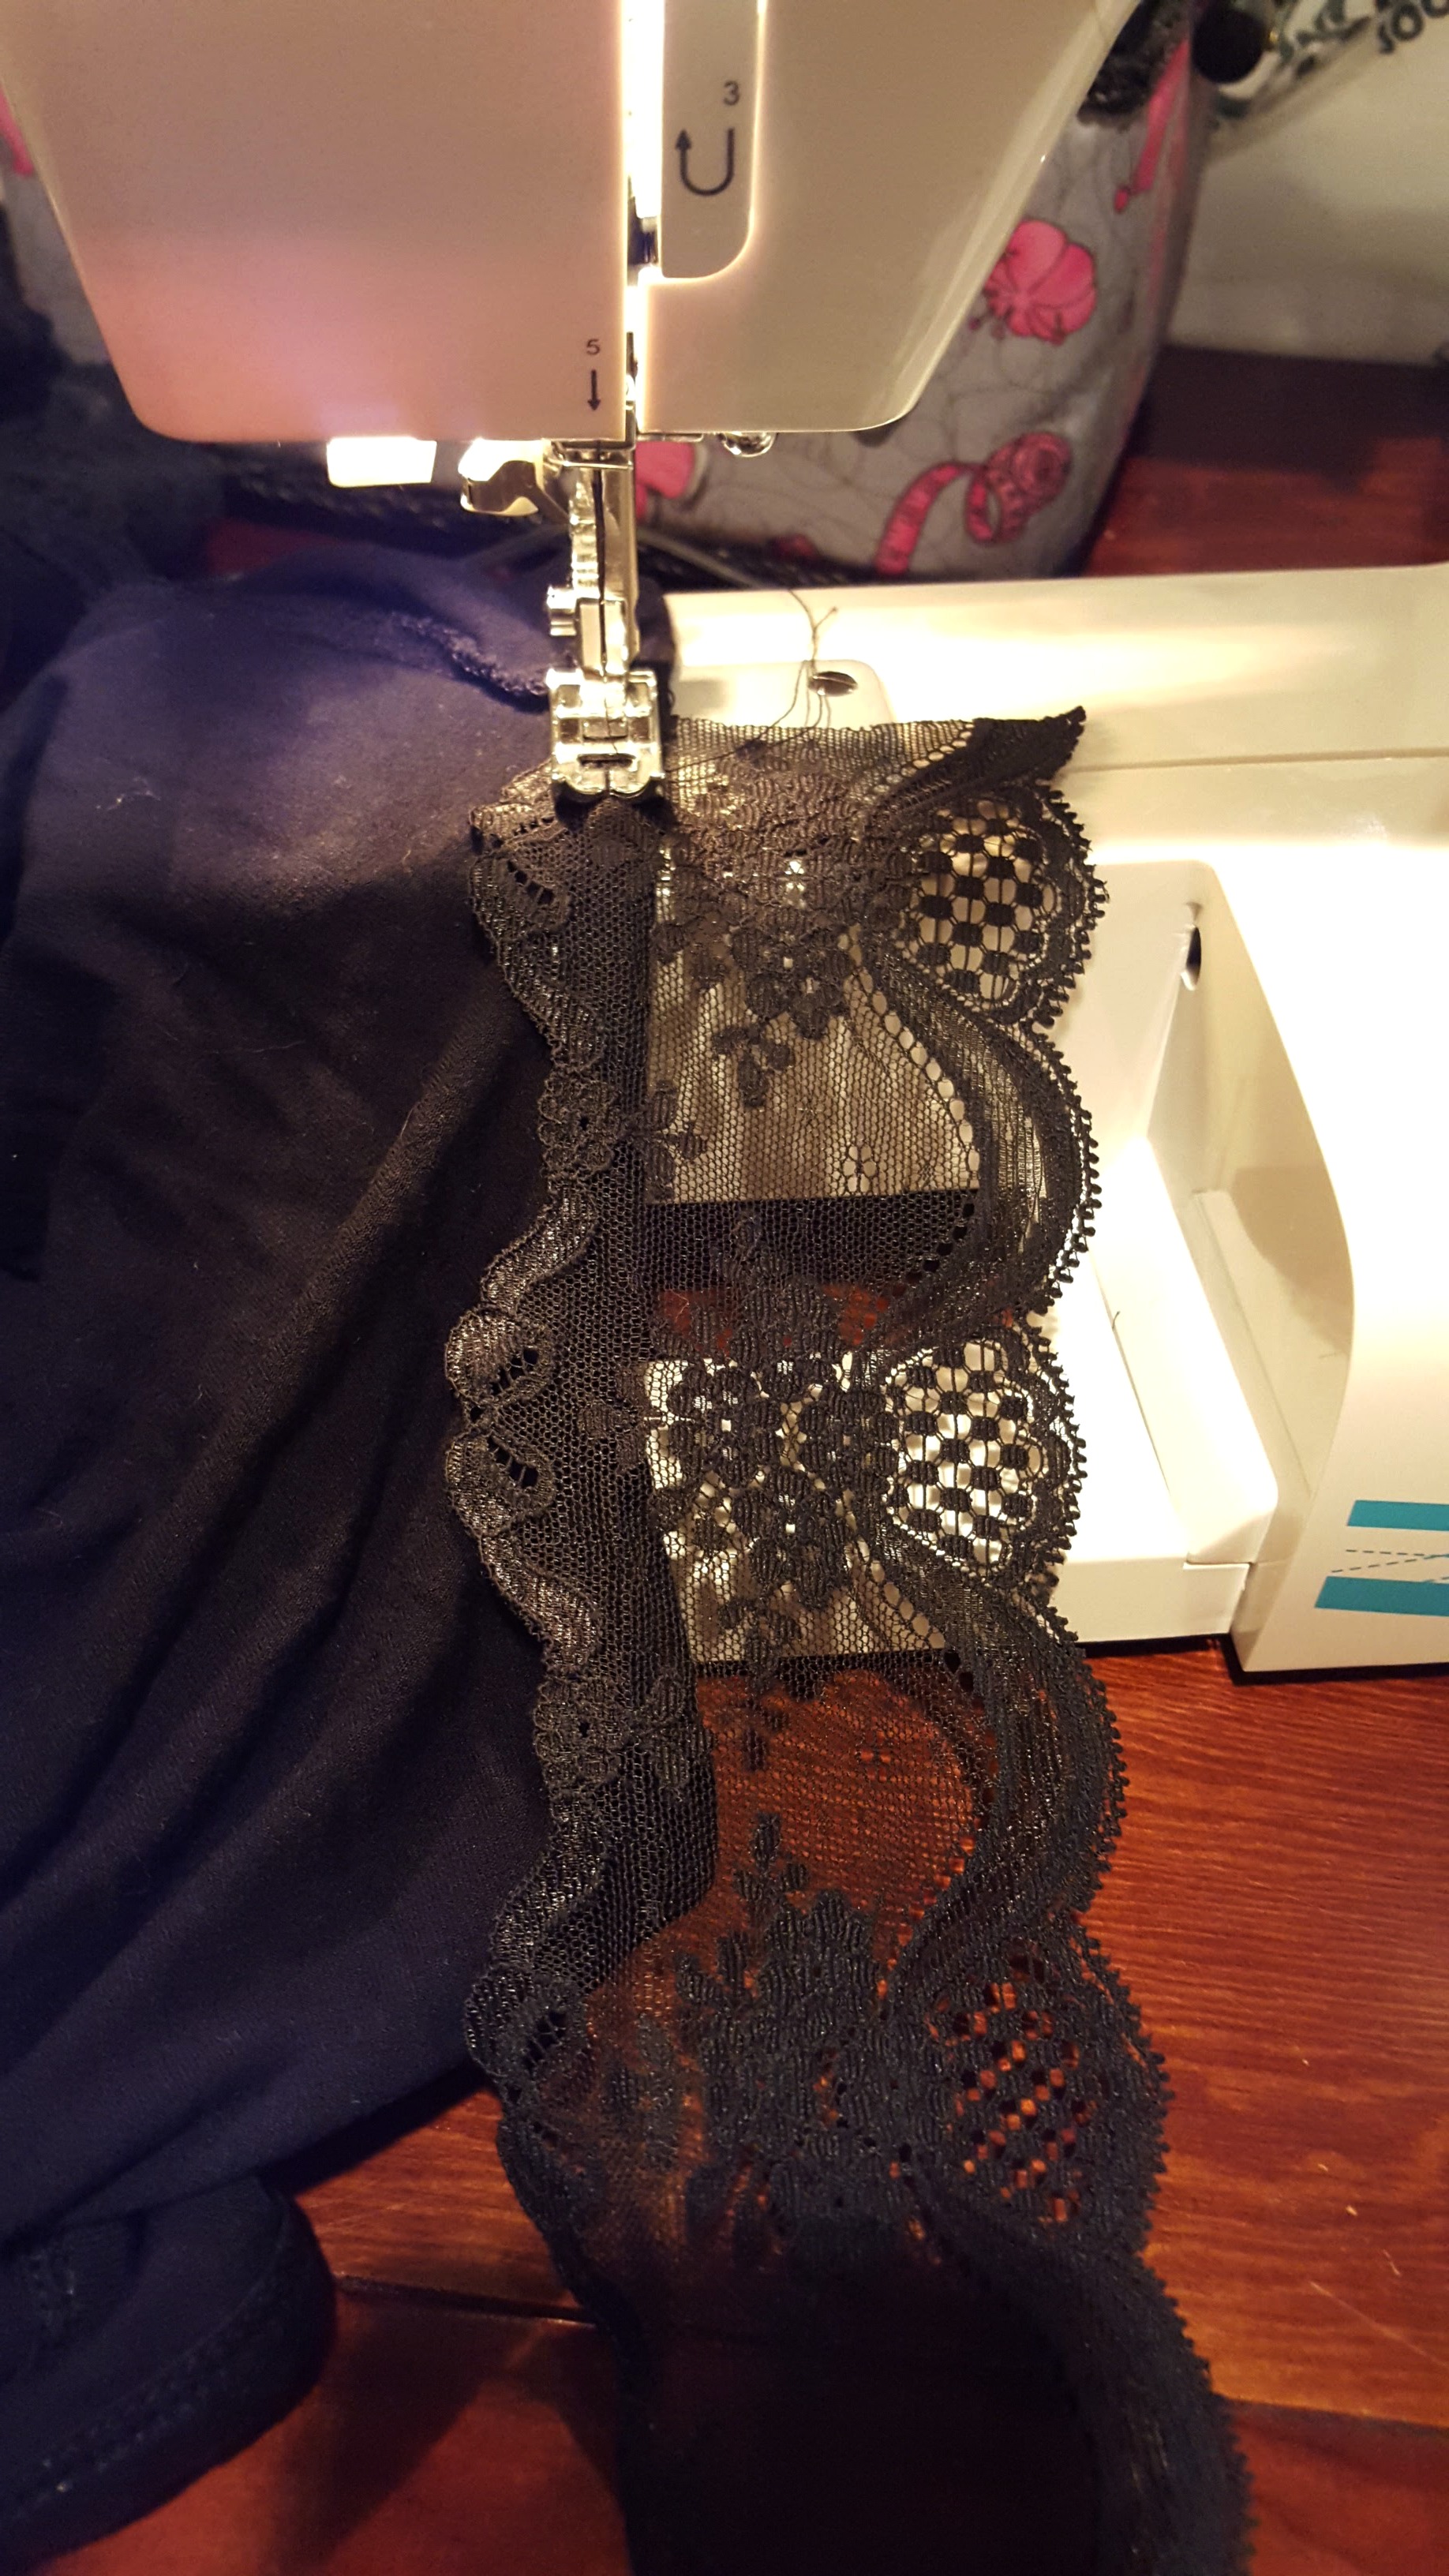
~ I sewed the lace to the sleeves, this was easier and faster than gluing. Just take the lace and sew a straight seam around the sleeve. This shirt is more like a tank top so the lace only covers a small part of my shoulder.

sew lace to shirt

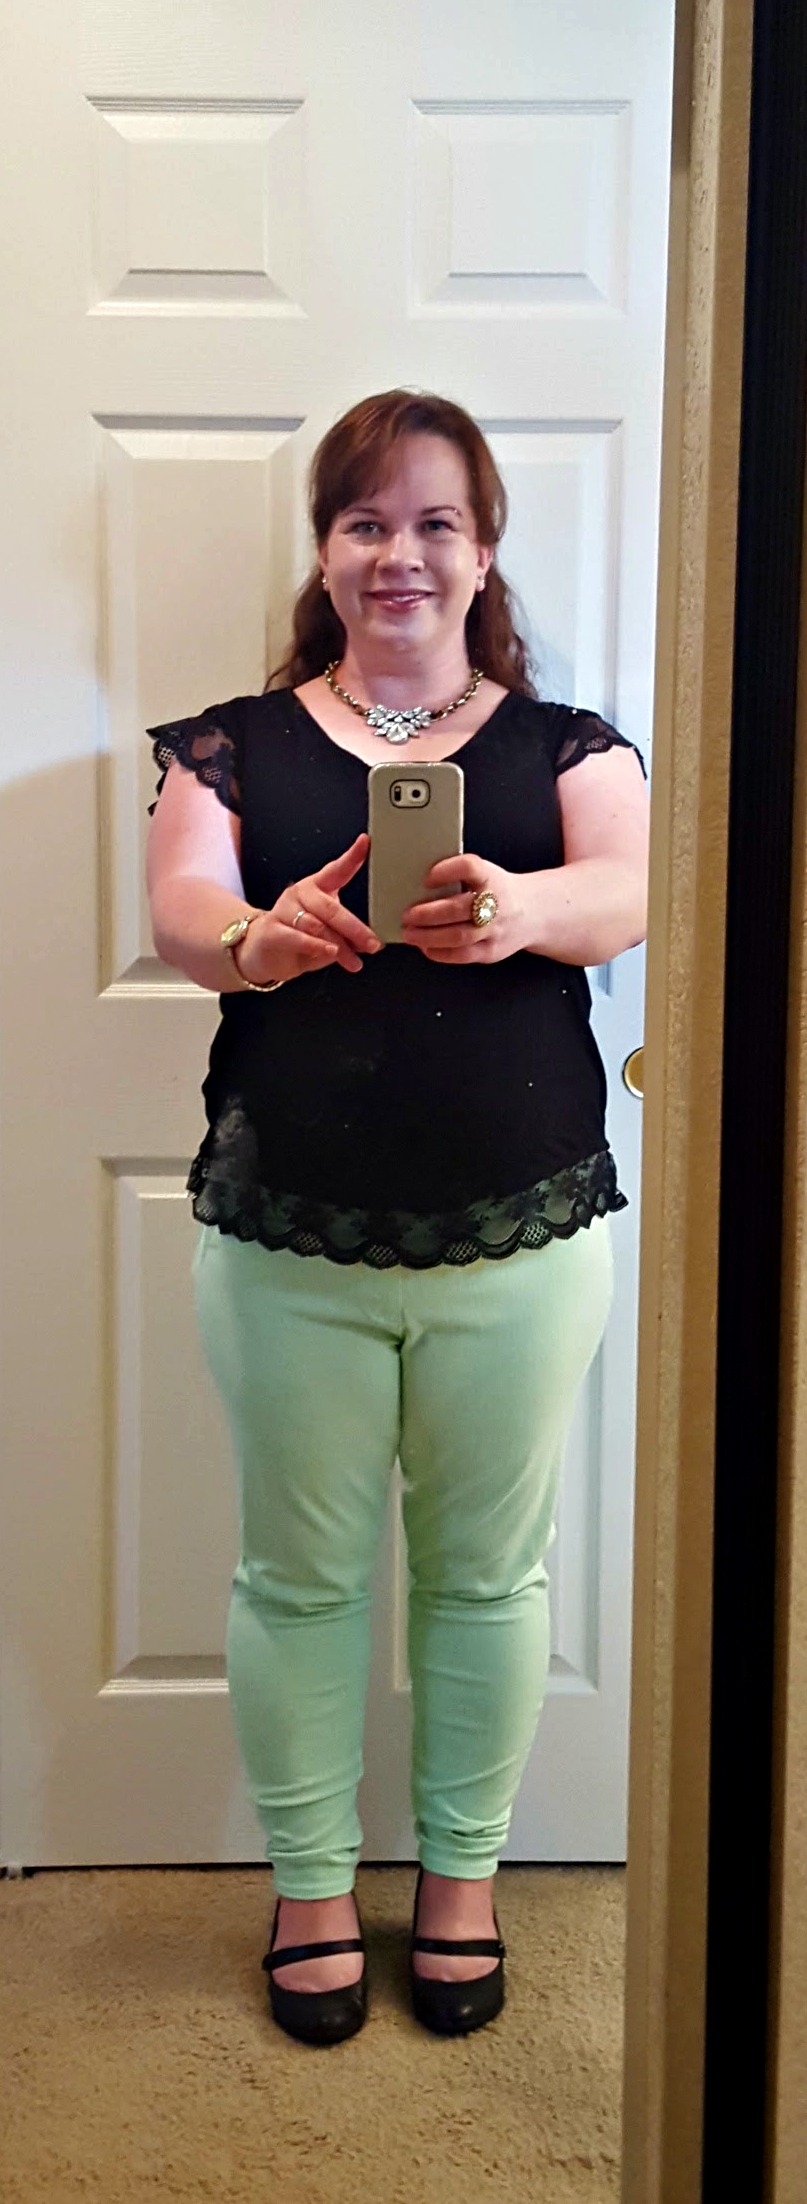
I am loving how this turned out and I have worn it a few times since I make it. It can be dressed up for an evening out or dressed down for something more casual.

Easy diy add lace to a t shirt

I think I have a few more shirts in my closet that might need a little TLC.

diy lacy shirt

DIY Altered Necklace I wore to my Birthday Dinner

Hi All!

I am happy to be back in the swing of things and I am starting today off with a DIY necklace. I showed you this necklace last week, it is the one I wore to my birthday dinner with my hubby. It is just a simple alteration to make it more my style.

I think the results work for me, what do you think?

Linda getting ready for her birthday dinner

Here is how I did it.

Materials:

~ Necklace

~ Needle Nose pliers

~ Jump Rings or extra chain length

~ Metal Clippers


Instructions

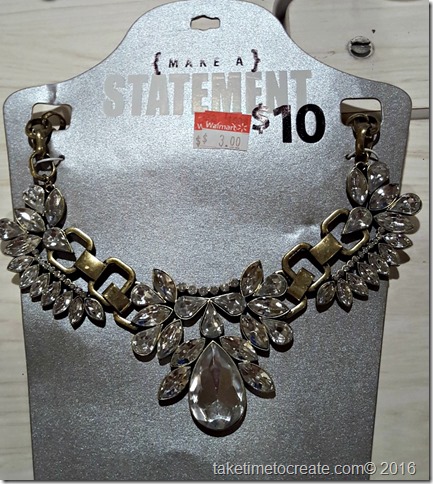
~ I found this necklace at Wal-Mart on clearance. Yikes, it was a little much for me. I am not very tall (as in I  reach 5’1” if I stretch Smile  ) so when I wear  a necklace that is too big for me it looks like I am weighed down. For someone of my height more is not always better Smile

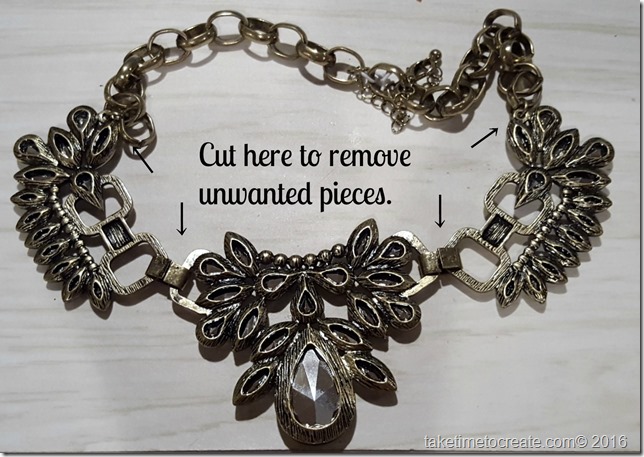
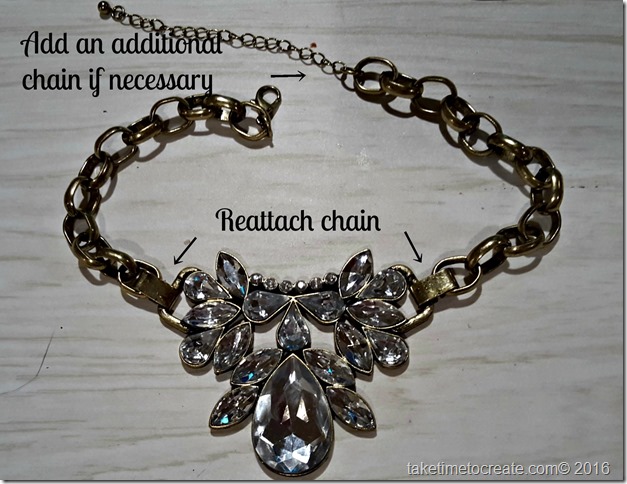
~ Take your necklace and cut off the parts you don’t want. I am saving them for another project.

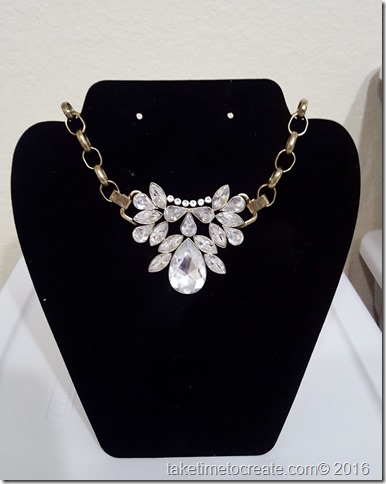
alltered necklace

~ After I took off the parts I didn’t like I found that that the necklace was a little short, so I added a length of chain so that it fit me.

~ When you cut off the unnecessary pieces, save what you can  you might need it for later. I reused the metal clips holding the two pieces together.

Altered necklace cutting instructions


altered necklace reattached instructions

And that is it! Simple alteration to make the necklace into a necklace that I will wear all the time.

20160103_160703

Happy New Year!

Happy New Year!

New Years Day is always a fun one for me. Not only is it a start to a new year, but it is my birthday. I find it is nice to reflect on the year that has passed, but it is fun to wonder and speculate about the upcoming year.

This blog has been so much fun and I can’t wait to see where it goes next year! You guys are the best, I thoroughly enjoy all the comments and suggestions you give me. You guys make me want to create more, you inspire me.

I have big plans for the blog this year. I want to do 2 projects a week (ambitious I know, but I think I can make it happen most of the time) and I will feature new and old products so you guys can see what I use and what is out there for your projects.

It is going to be a fun year and I am excited that you will make the journey with me.

Linda

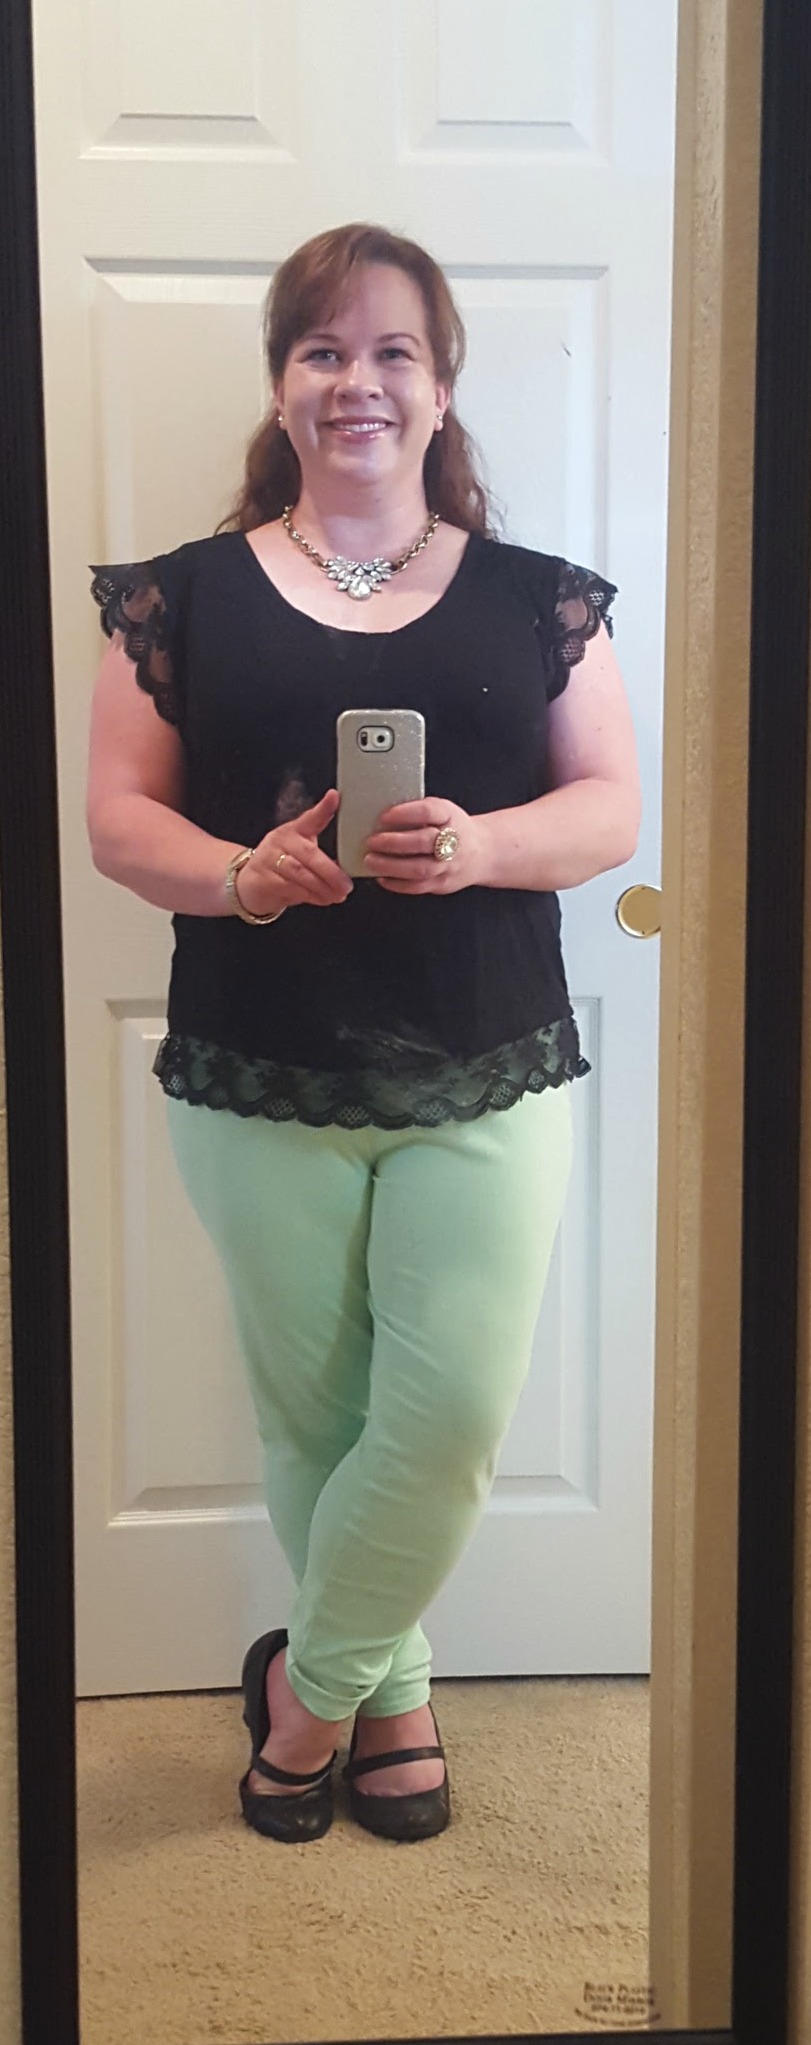
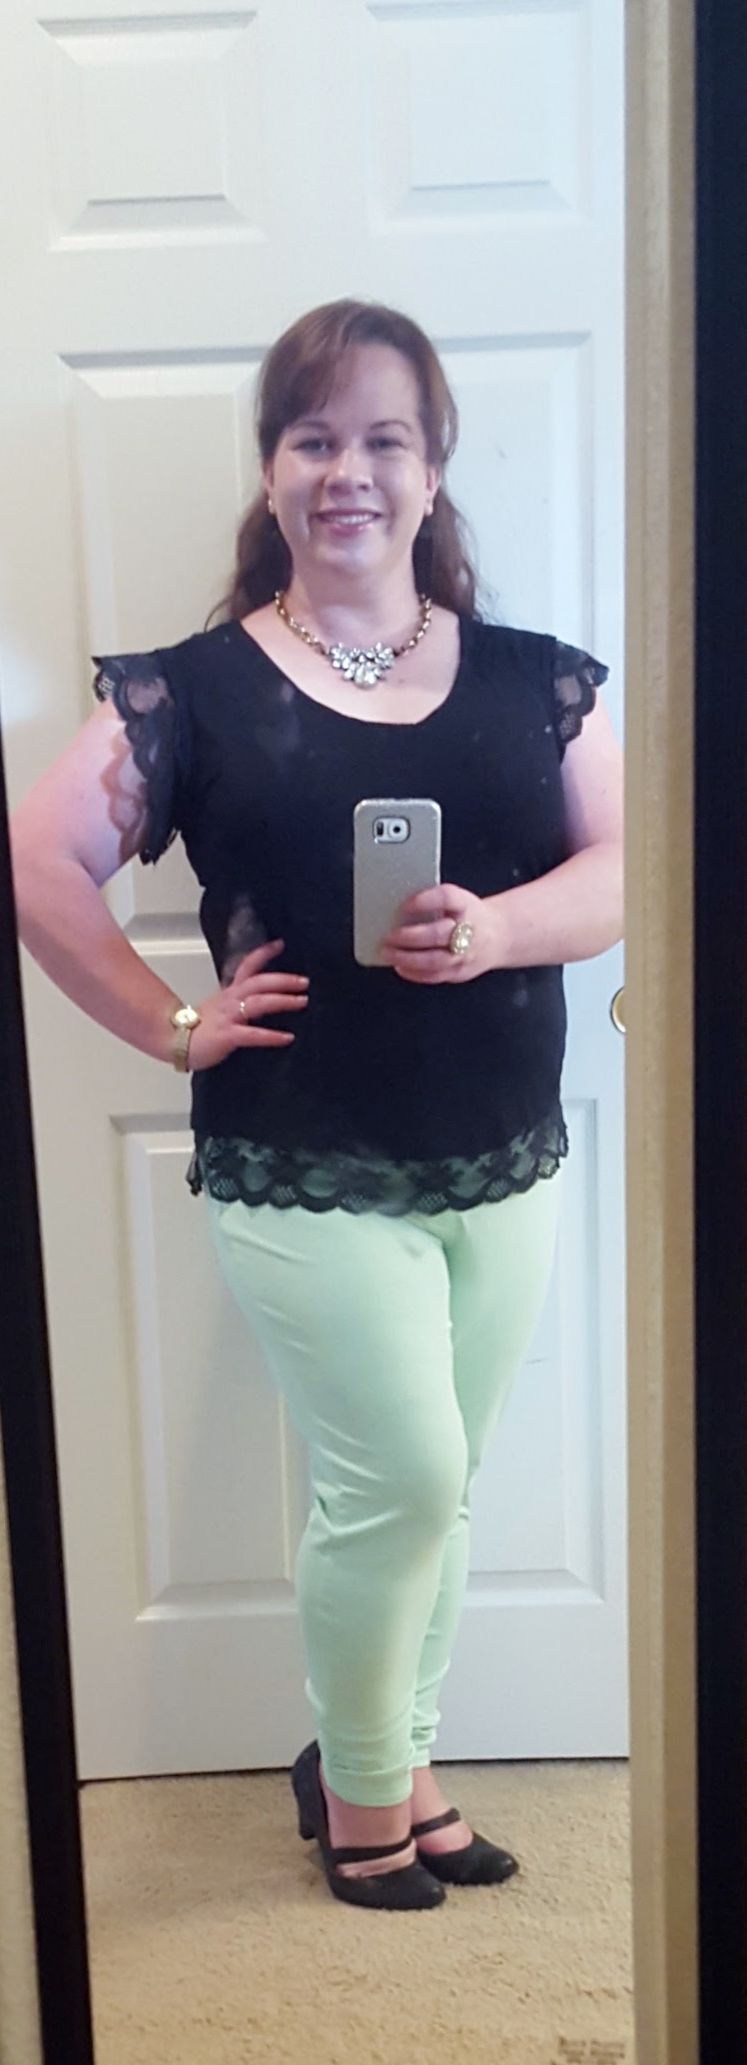
Here is a sneak peak of next week’s projects. I wore this outfit for my birthday dinner with my hubby. I am wearing an altered necklace and I added lace to my shirt. I will show you how next week.

20160101_150243

DIY Shirt and altered necklace

20160101_150441

DIY Shirt and altered necklace

DIY Shirt and altered necklace


Continue reading

Easy DIY Scarf Holder

I know I am way late to the scarf train, but now that I am aboard I am all about scarfs! I love how you can take a basic outfit and dress it up with a simple scarf, and they make your wardrobe so much more versatile!

Well now that I have accumulated a fair number of scarfs I ran in to the problem of where to store them. I wanted the in a location that I could see them so I didn’t forget about them in the morning. Also I wanted the scarfs to hang so they didn’t get too wrinkly (less ironing, which is always a good thing)

So we can up with the solution of finding a way to hang them on the back of the closet door. Please excuse any mess you see in my closet, organization is an ongoing problem in there.

Easy DIY Scarf Holder

This is a fast and easy way to hang your scarfs

Materials:

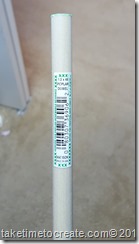
~ Dowel Rod

Easy DIY Scarf Holder

~ Adhesive hooks (I used 3M Command hooks)

~ Level (for hanging)

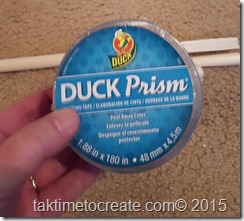
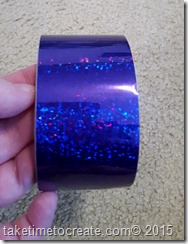
~ Duck Tape (Used this great purple Prism color)

Easy DIY Scarf HolderEasy DIY Scarf Holder

Instructions:

~ cut your dowel to length. I wanted 2 rows, so I just cut them the length I needed. We had a saw at home, but the home improvement store can cut it for you if needed.

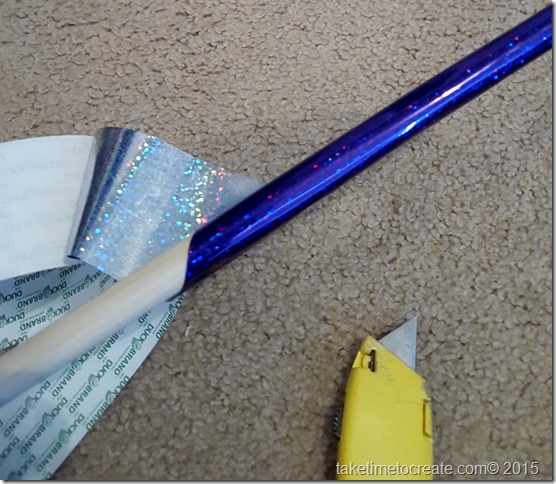
~ I was worried about the wood snagging my scarfs so I decided to wrap it in Duck tape. It also has the added benefit of being purple and sparkly.

Easy DIY Scarf Holder

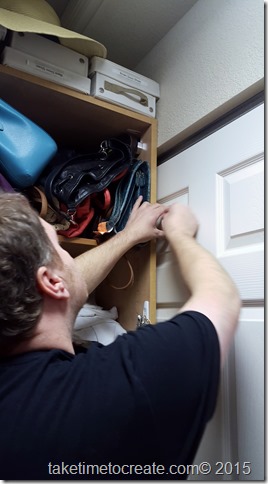
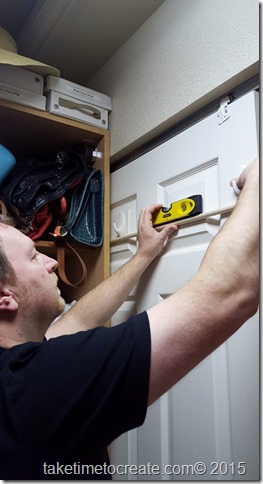
~ Attach your hooks to your door, or where ever you want your scarf holder. (My fabulous husband was nice enough to help me hang it up and make sure it was level)

Easy DIY Scarf Holder

Easy DIY Scarf Holder

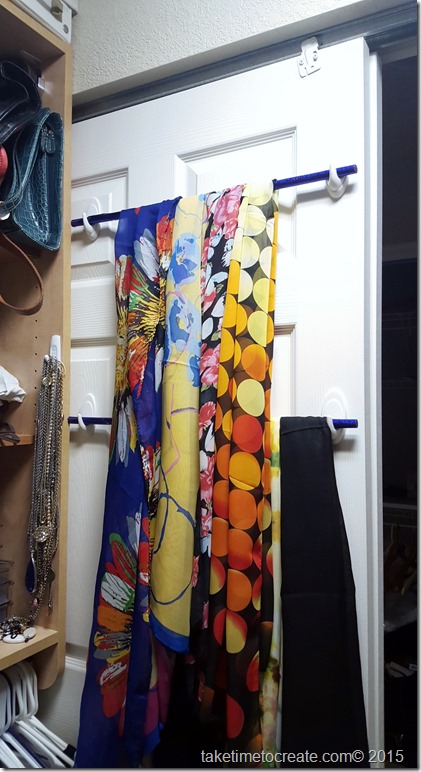
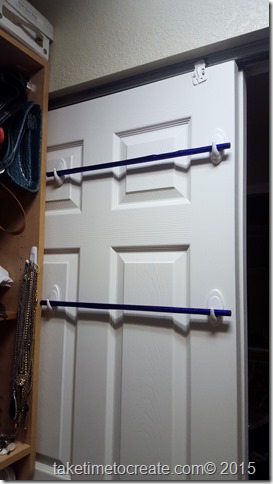
~ Add the dowel rods

Easy DIY Scarf Holder

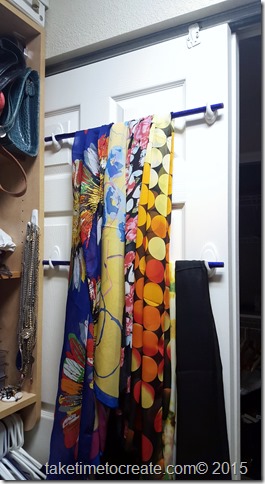
~ Add your scarfs and you are done!

Easy DIY Scarf Holder


It was that easy!

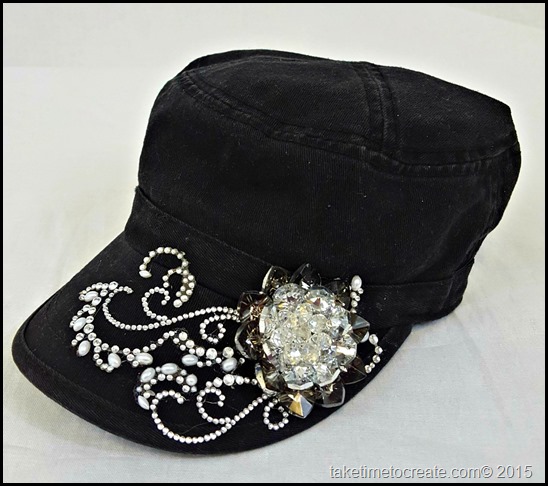
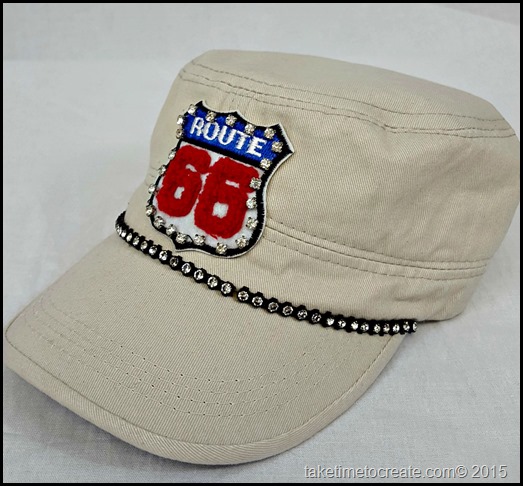
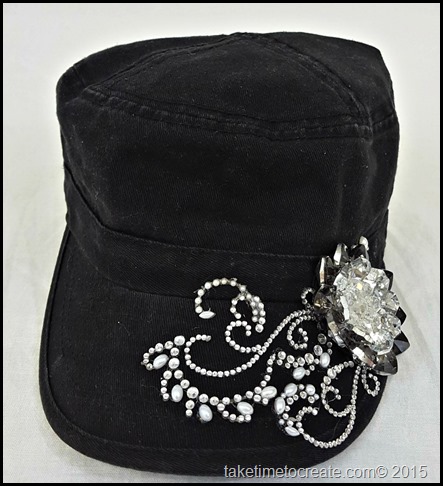
Turn a plain cadet hat into something that will turn heads

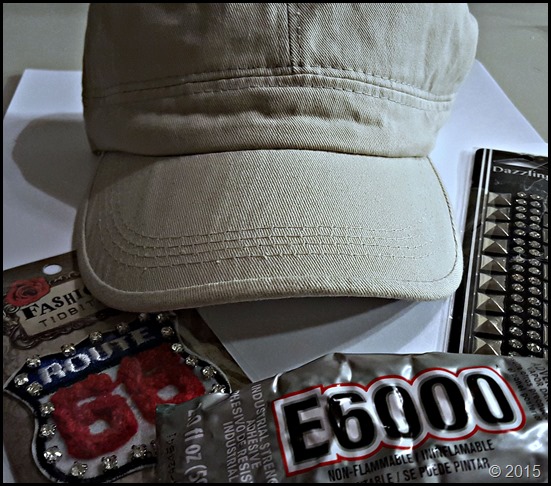
As you all know by now I can’t leave well enough alone. I had these two cadet hats that were fine plain, but not I knew that I could make them better with just a few items.

black cadet hat side view     route 66 cadet hat side


Materials:

~ Hat, almost any hat will do

~ Bling, whatever you want to decorate your hat with

~ E-6000 glue

~ scissors


Instructions:

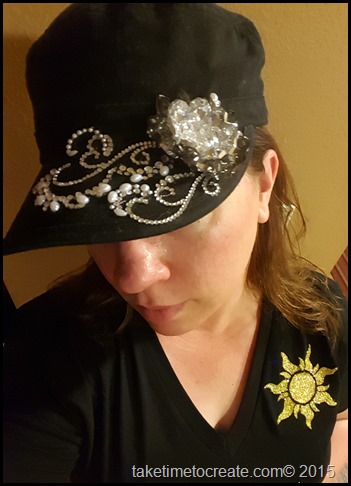
Black Hat:

1. Plan out your design. This is important so you can make sure you have room for your wonderful design

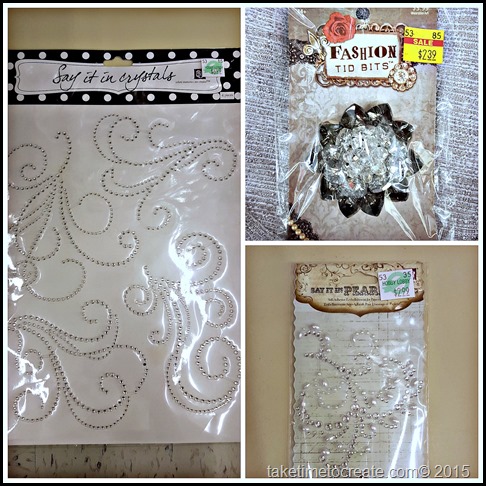
~ The black hat I used pieces from Hobby Lobby. The big flower is a Fashion Tid Bit and the swirls are from the scrapbook section. I forgot to take pictures while I was working so I went back to Hobby Lobby and took pictures after the fact. That is why you can still see the price tag in the picture.

~ I just cut the swirls out and shaped them to get the look I was going for. I didn’t use the whole package, which is good because that means there is more for me use on a different project!

crystals

black cadet hat

2. Glue the design down with E-6000. Even though the swirls have adhesive on them I sill glued them so they would stick really good.

3. Wait 24 hours before wearing to make sure the glue is nice and dry.


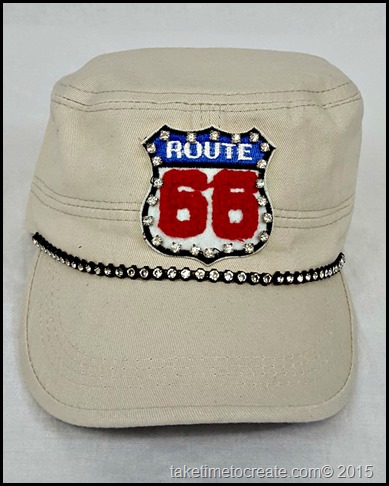
Tan hat:

1. Plan the design

route 66 cadet hat

2. Glue the row of rhinestones on near the brim of the hat. I had to cut one of the rhinestone rows to make sure it fit.

3. Glue the patch on the center of the hat.


route 66 cadet hat front

4. Wait 24 hours before wearing to make sure the glue is nice and dry.


Here I am wearing the black hat before I went to Disneyland for the day (so please excuse the lighting Smile ). It held up great, the glue held perfectly and nothing has fallen off yet!

20150803_061422


And here I am wearing it at the Hoover Dam with my son.

It is always a lot more fun to wear things you make, do you think? What are your ideas for a new hat?


20150802_105153

Newer posts »

© 2025 Take Time To Create

Theme by Anders NorenUp ↑

Follow

Get the latest posts delivered to your mailbox:

%d bloggers like this: