Hello Everyone!
Isn’t Ikea one of the most wonderful places on Earth? I mean they have everything, all in one place!
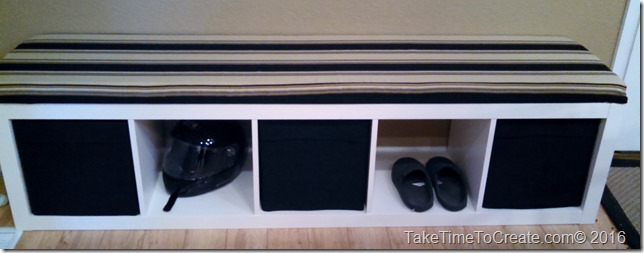
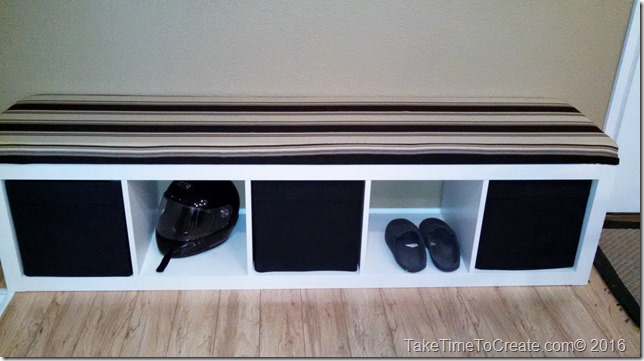
Well a little while ago I was looking for the perfect bench to put in my kitchen, near the door. I couldn’t find anything that I liked, but I did see people on Pinterest turning an Ikea bookcase into a bench.
It is very simple to do.
Materials:
~ bookcase the is strong enough to handle the weight when tipped on its side. I used the Ikea Expedit, but I don’t think they have that anymore. But check around they might have a suitable alternative.
~ Plywood for the top
~ Foam cushion
~ Fabric
~ Staple gun
Instructions:
~ First assemble the bookcase. They might take awhile and you might need help. If you want to raise the height now is the time to add legs to the bench. I didn’t want them, but you may want something different
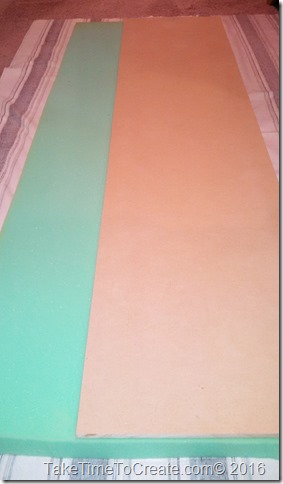
~ For the cushion, cut the plywood the size of the bench top
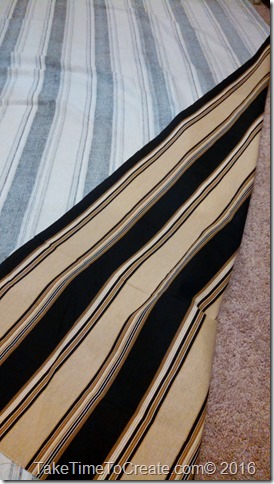
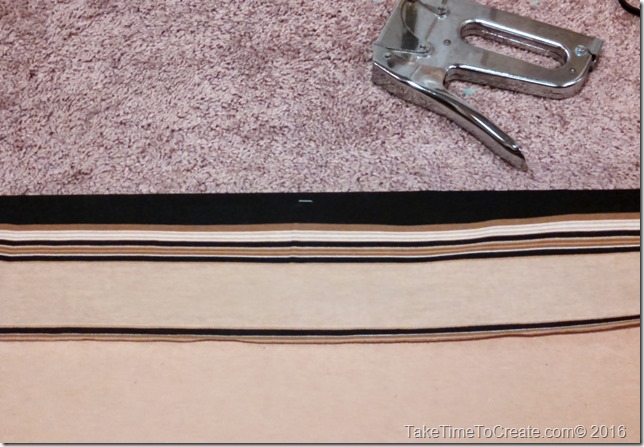
~ Then you make a sandwich of fabric on the bottom, ( I used a strip to help me keep it all in line. The fabric possibilities are endless) then the foam and lastly the plywood. Then stretch and staple all around.
I used this same technique when we redid the entry closet. You can see that transformation: here
And that is it. A very easy way to transform a room and increase your storage.
Is there any Ikea transformations that you have done in your house?
18

April 14, 2016 at 6:01 pm
I like that. The Expedit was so versatile
April 14, 2016 at 9:00 pm
Thanks ♡ I agree the Expedit was very versatile, and perfect for almost anything
April 15, 2016 at 3:40 am
I used the Hemnes TV stand base, but I had to add legs for strength. It’s a little wider, though, so it makes a better bench for sitting on sideways. Yours looks great!
April 15, 2016 at 2:31 pm
That is a fantastic idea! I just may have to use that in our basement 🙂 Thanks for sharing.
April 27, 2016 at 9:31 pm
First of all, thank you for visiting my blog & liking my post! Second, and more importantly, this is a great tutorial! I’ve been meaning to do something like this for a window seat & I love how clear & simple your instructions are. Can’t wait to try this soon!
April 27, 2016 at 10:33 pm
Thanks for stopping by! I am glad that you like the tutorial and I can’t wait to see yours when it is done 🙂