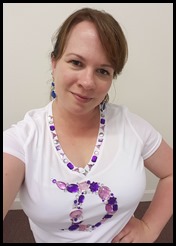
Ok I am going to be honest with you, I did not come up with this idea on my own. I follow the blog InspiredbyDis.com and I love everything she posts, including instructions on how to do this t-shirt! I saw her post on how to do a Disneyland “D” t-shirt for the Disneyland 60th anniversary, and I just knew I had to do one as well. So my friend came over and we worked on our shirts together, awesome way to spend the afternoon.
I followed Mindy’s instructions and it worked perfectly!
Materials:
1. Pre washed t-shirt
2. stencil from her blog (link to blog here)
3. rhinestones (I found mine at Hobby Lobby, and to be honest the little crowns on the collar are actually confetti found at the dollar store, so anything goes)
3. E6000
Instructions
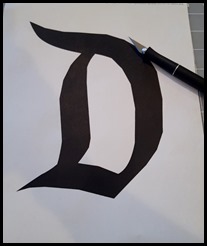
1. print and cut out stencil
2. position it on your shirt, with cardboard under it so the glue doesn’t leak to the back
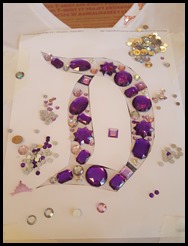
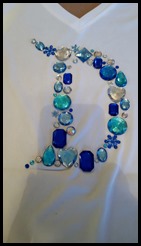
3. Start laying out your design. It took me a few tries, but I found one that worked for me. InspiredbyDis did hers in blue for Disneyland’s 60 Anniversary, but I decided on a pink and purple design.
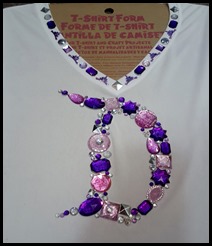
4. Start gluing with your E6000.
5. Because I love adding bling, I decided to add some more rhinestones along my collar. It added the right amount of sparkle to make my shirt complete.
6. That is it, wait until it is completely dry to wear and wash. I would wash on cold and line dry.
7. Go to Disney and show off your awesome shirt!
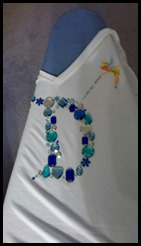
Here is my friend’s shirt, I love the blue! She didn’t add any to the collar, but she did add an iron on Tinkerbell that she printed off her computer onto iron on transfer paper (sorry the pic is fuzzy). I love the detail, it finishes out her shirt perfectly.
if imitation is the highest form of flattery, what have you copied in your crafting journey?
15

July 31, 2015 at 8:46 pm
They look awesome! Great job!