Tag: rhinestones

Rhinestone Globe

Hello Everyone!

What do you do when your globe is just a boring black and gold? You add rhinestones! So many rhinestones!

This is not a difficult craft, but it is time consuming. It did take me many hours, so put on a movie and go to town. It may take a long time but it is so worth it in the end.


Rhinestone globe

You can add rhinestones to anything I already have a lot of things lined to to be blinged out. 

Affiliate links

DIY Rhinestone Clutch

Hello Everyone!

DIY Rhinestone Clutch

I just had to make this clutch all because of this fantastic pair of shoes! (I think all great stories start with shoes)


Anyway, here is the story, my cousin is getting married on Sat (YAY) I am so happy for him. (His bride-to-be is wonderful and I think they will be very happy together. )

And since I have these great shoes that I never get to wear (they are a little impractical for work, haha) I decided to wear them to the wedding. Buuuut, I didn’t have a clutch to match. So I decided to make one.

DIY Rhinestone Clutch

Aren’t these shoes great?

Anyway here is how to make this DIY Rhinestone Clutch.

Material:

~ Fabric (I am using a faux leather that I had in my craft room, but any fabric that is slightly stiff will work. I did not line it, but you can if your fabric is not stiff enough)

~ zipper (I am using a plastic zipper that I had laying around, it is not the perfect red, but I think it works)

~ Sewing Machine, or needle and thread

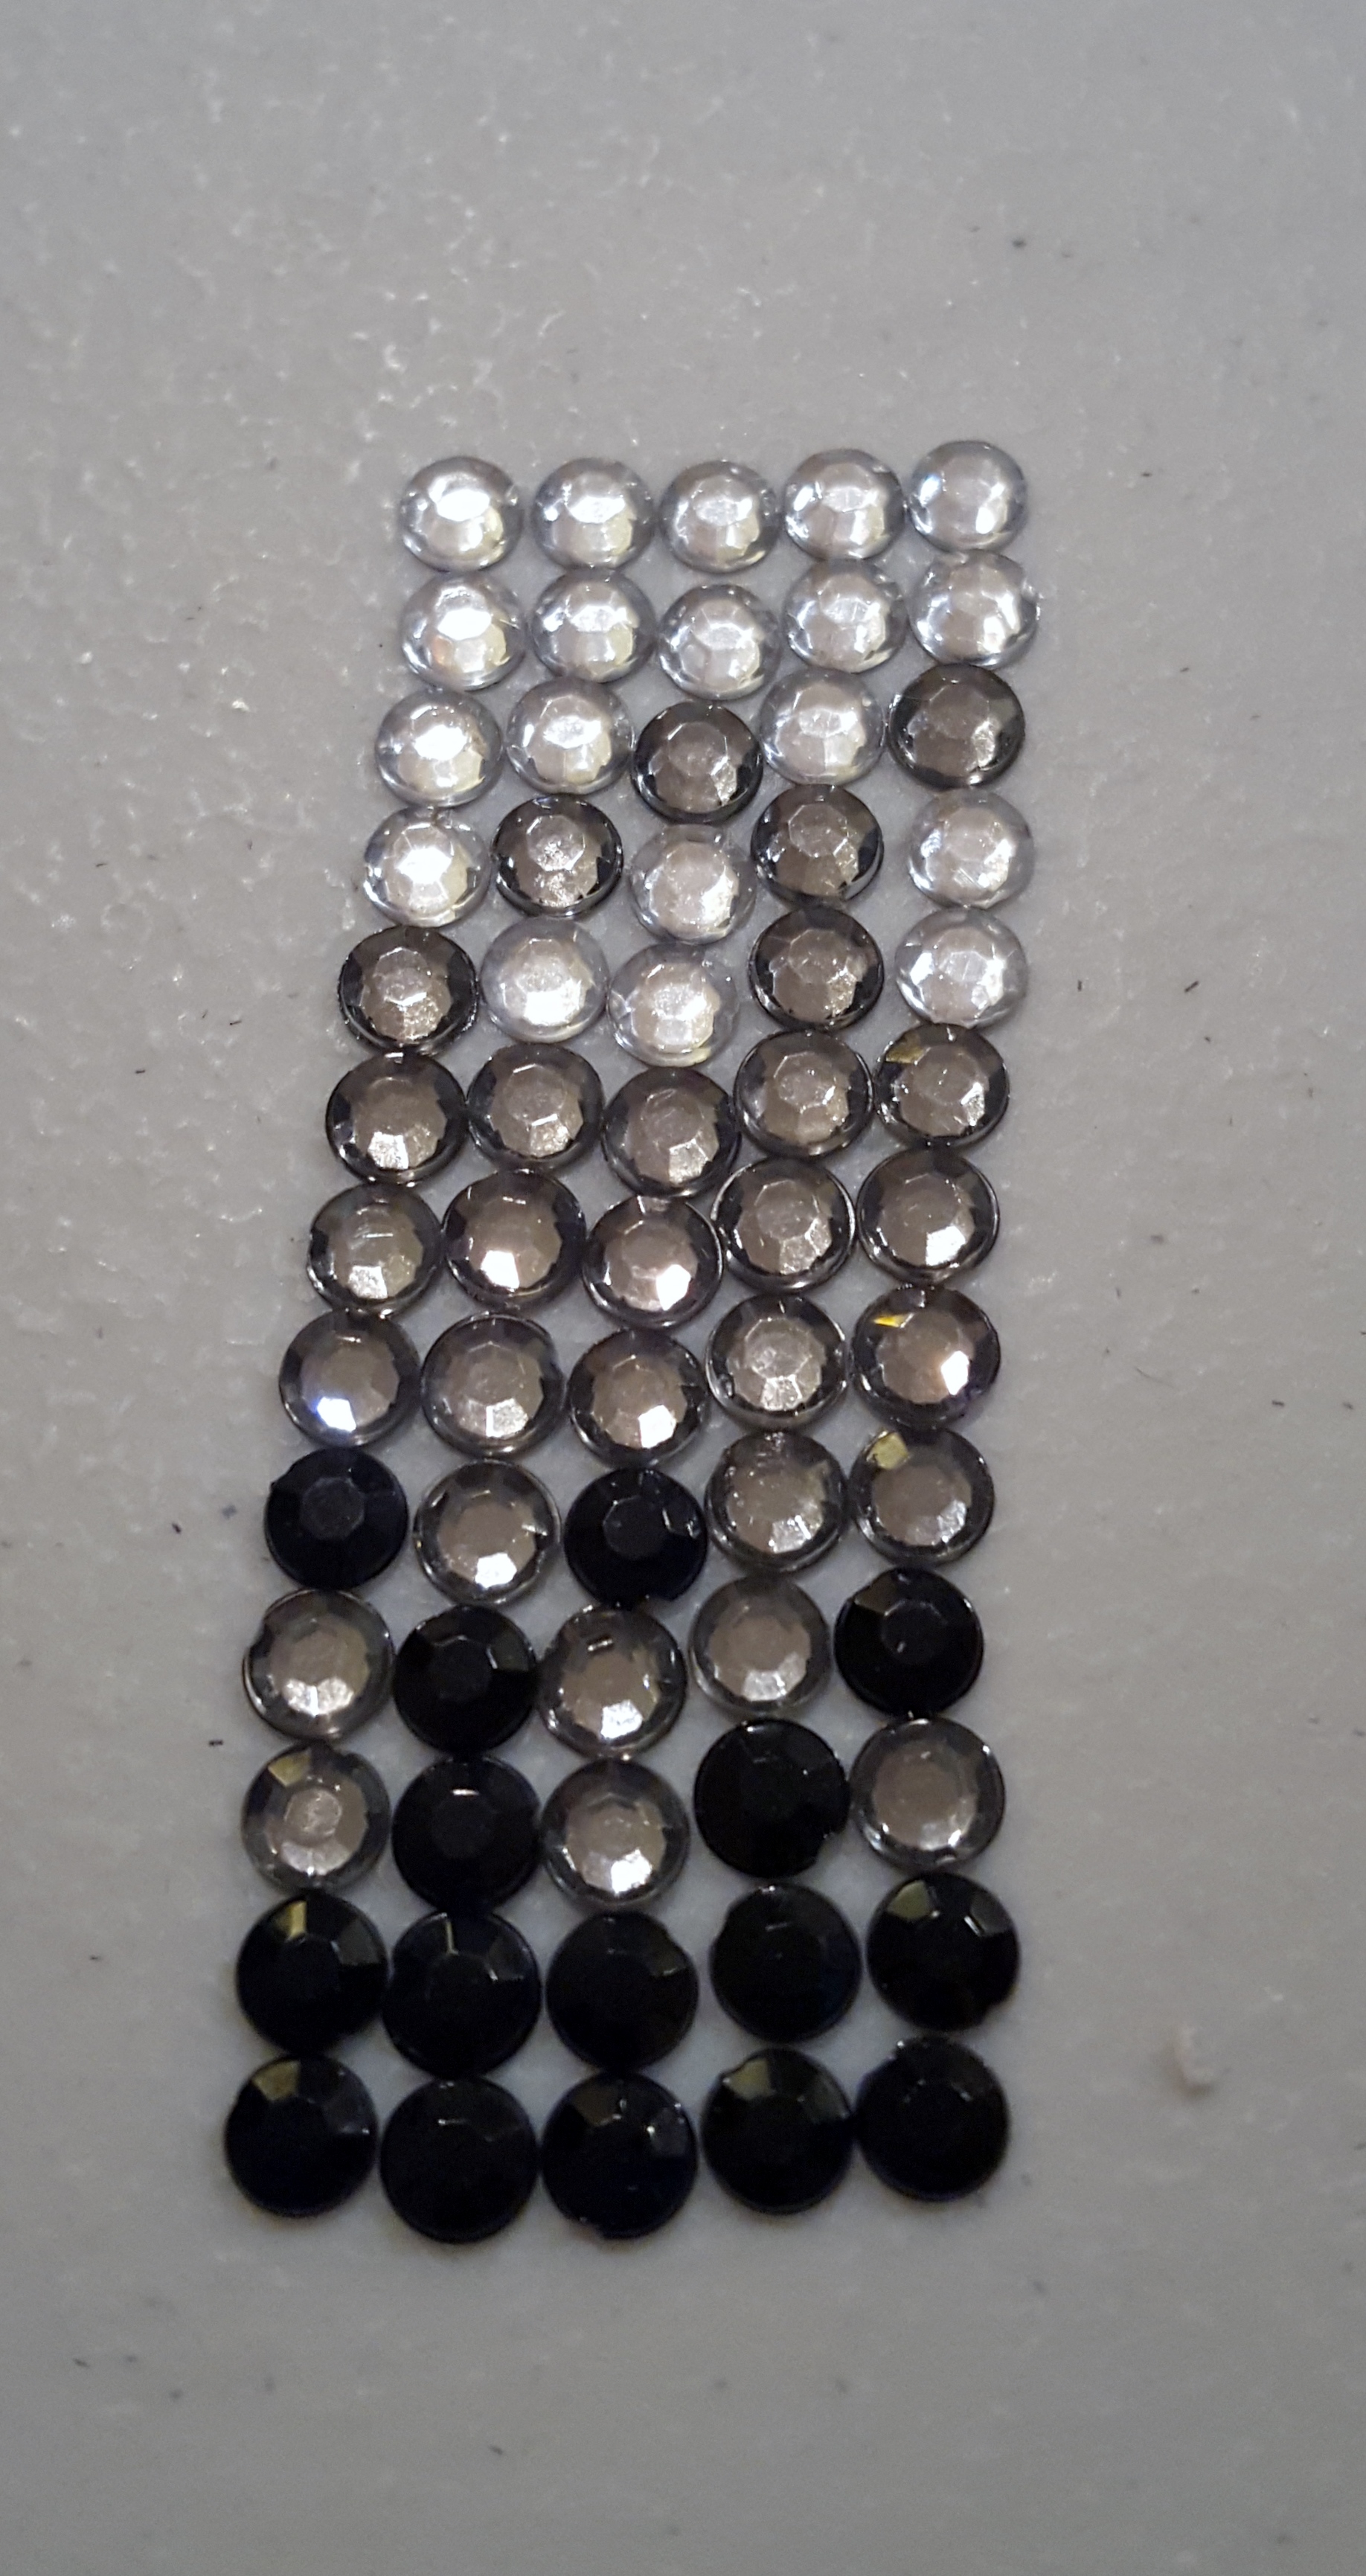
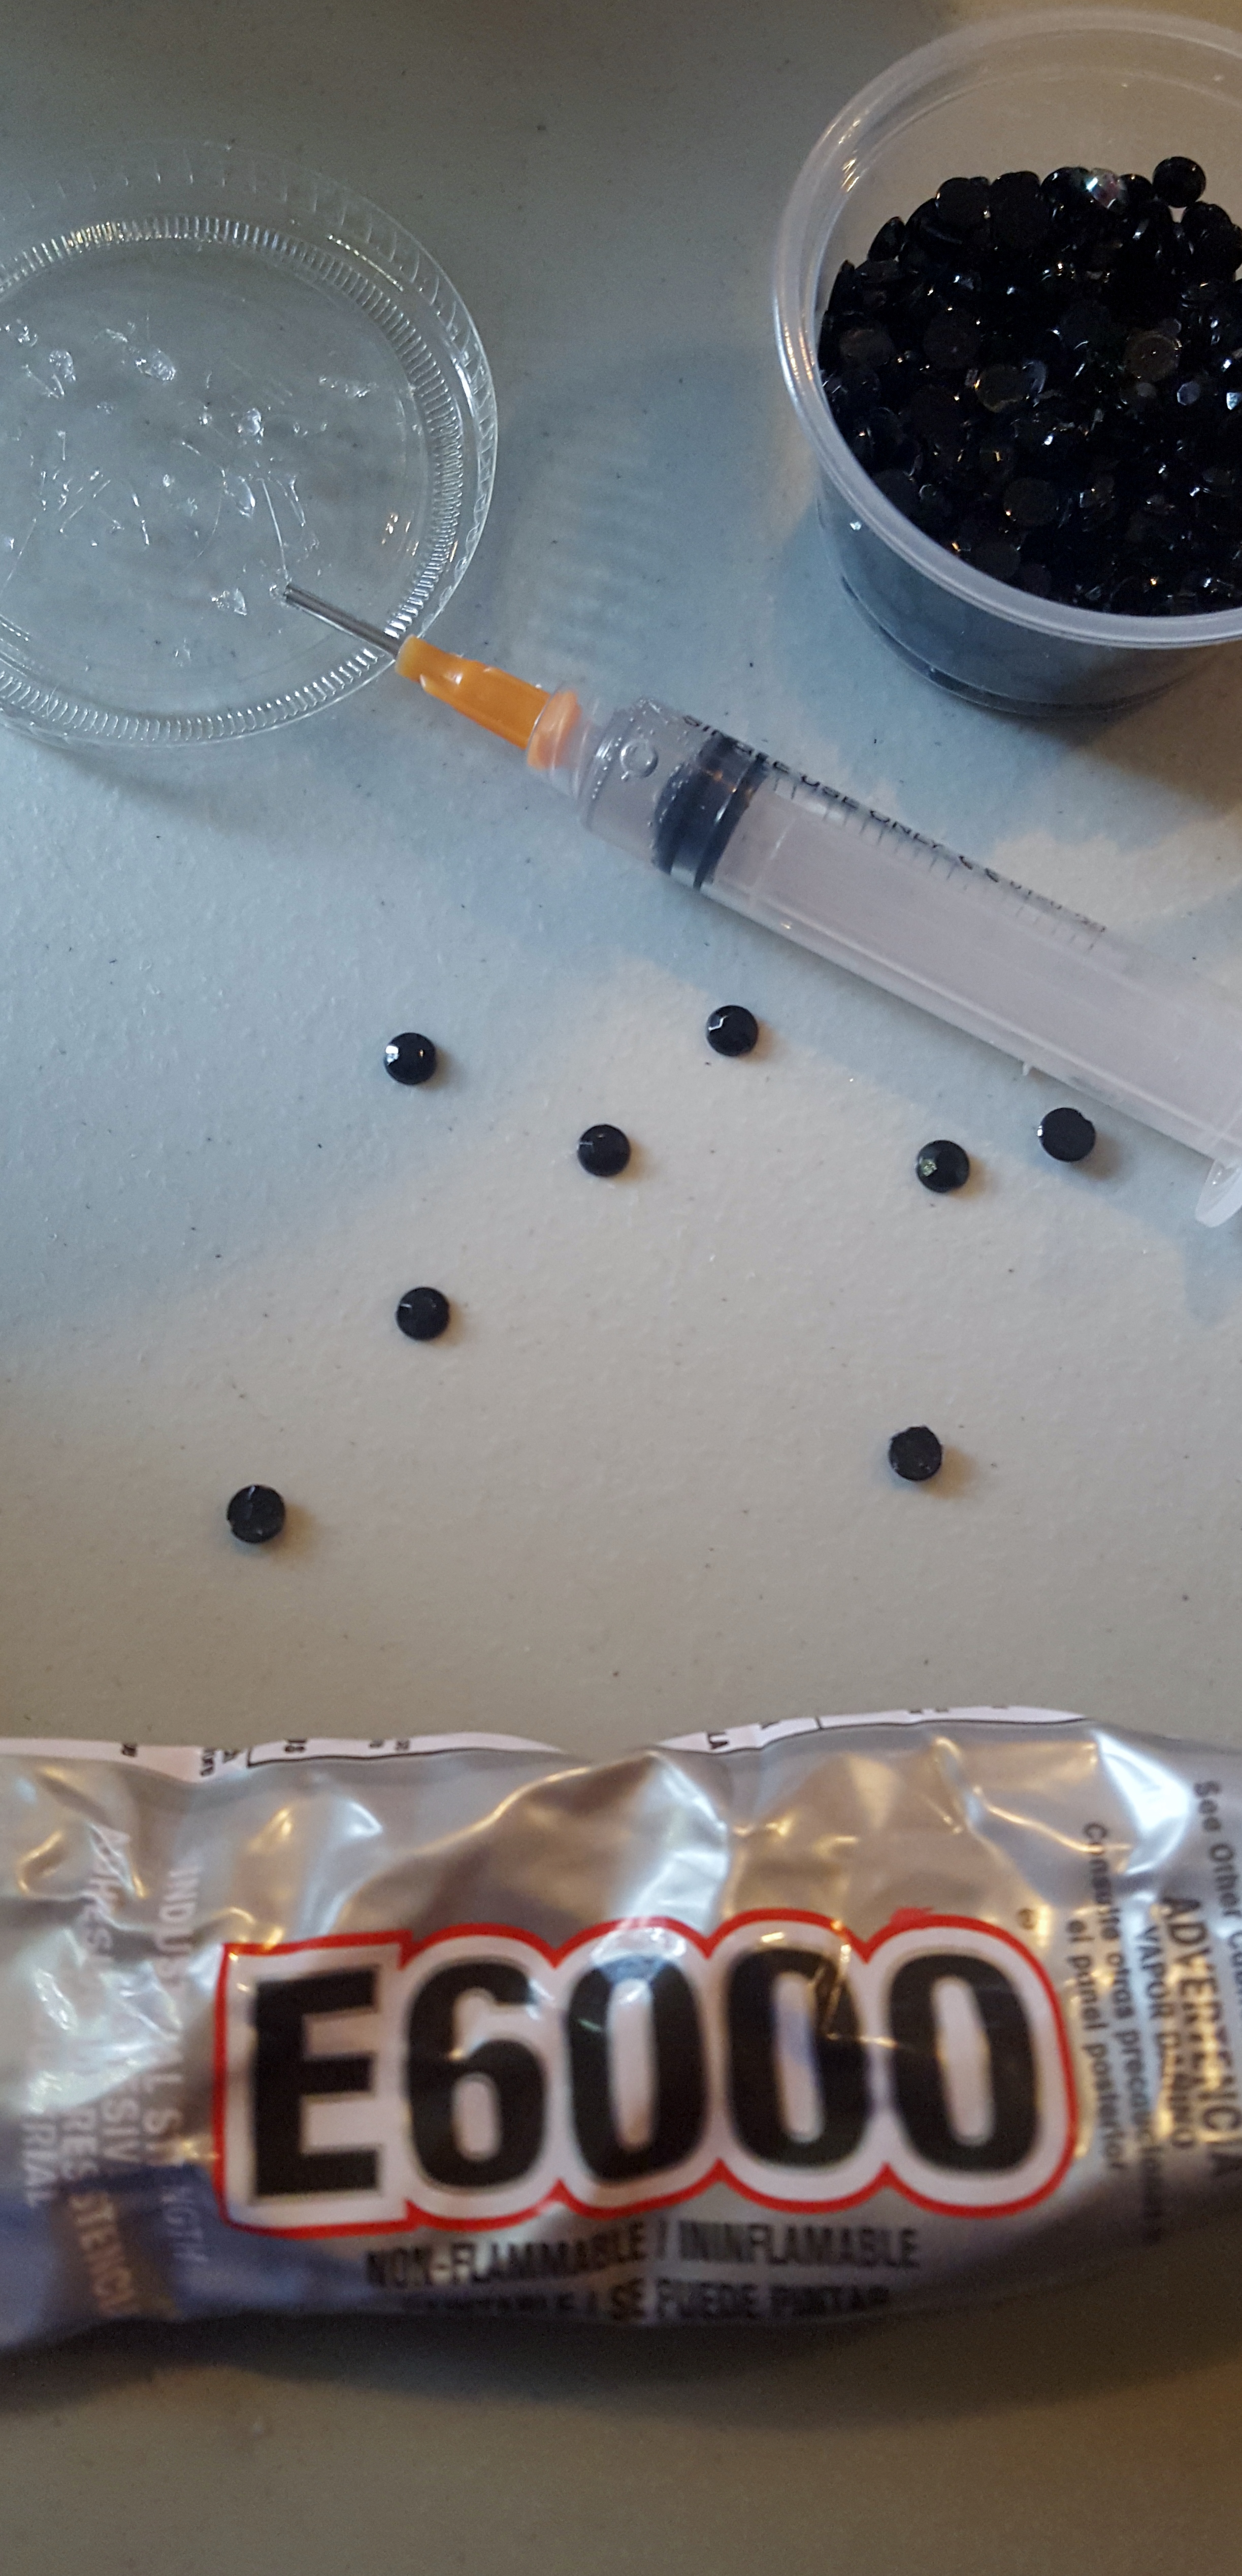
~ Rhinestone and glue (I used Aleene’s jewel it glue)

~ Decoration for zipper if desired


Instructions:

~ First cut your clutch. I cut 2 pieces that were 10 inches x 6 inches. (this was big enough to put my lipstick, phone, gum, and blotting papers in)

DIY Rhinestone Clutch

~ Once your fabric is cut them measure your zipper. If it is too long then measure how long you want it, then place a few stitches there. Once it is secure then cut off the excess.

DIY Rhinestone Clutch

~ Next is place the fabric on the zipper and sew the fabric on the zipper. I held it together with tape since I didn’t want puncture holes in it from needles.

DIY Rhinestone Clutch

~ Do this step to both sides of the zipper

DIY Rhinestone Clutch


~ Turn your work so that right sides are together and stitch around the edges. Make sure you leave the zipper open so you can get your hand in to turn your work right side out.

DIY Rhinestone Clutch

~Once you have stitched all 3 sides turn your work right side out and there you have a really cute new clutch!

DIY Rhinestone Clutch

~ Ok by now you all know me well enough that you know I can leave anything that plain. I just knew it needed rhinestones. So I placed dots of glue in a swirl type pattern all over the clutch. Then I decided that wasn’t quite enough Smile so I added to wonderful broach that my mom gave me, with a little ribbon, I thought it was the perfect accent to the clutch.


DIY Rhinestone Clutch

There you have it. What do you think? Pretty easy right. Now on the the wedding celebration on Sat.

DIY Rhinestone Clutch

DIY Mickey Messenger Bag

When we went to Disneyland I decided that I “needed”  a new bag to hold my wallet and essentials. I didn’t want it too big, just big enough to carry what I needed for the day. Of course I decided that I needed this bag the day before we left. And of course I wanted to use a product that I have never used before. Nothing can go wrong with this scenario, right?? wrong! All kinds of things happened and and few tries later I ended up with a new bag. It only took me 3 times as long, but it did get done Smile 

DIY Disney Mickey messenger Bag


I will give you the instructions on how you should do it  and I will even tell you what not to do, haha!

Materials:

~ messenger bag

~ stencil of what you want to create

~ Graphite paper

~ rhinestones

~ fabric paint

~ E-6000 glue

~ Silver Sharpie


Instructions:

1. Pick out the messenger bag you want to decorate. I found this black on at Hobby Lobby, and I used a coupon so it wasn’t too expensive. Much cheaper than anything I would find at Disney in their stores Smile . It worked very well, except with all the decoration the flap was a little heavy and when I snapped it the flap would fold weird. So I just never snapped the flap and let it hang, and that worked out just fine.


messenager bag     messenager bag

2. Print out what you what to put on your bag, I found a Mickey head silhouette and the quote. I downloaded a free Disney font and typed the quote in a word processing program and printed it at home. (here is the first problem I had. Instead of the stencil I cut out the Mickey shaped with  glitter iron on transfer paper. then I tried to iron it onto the bag.  It didn’t iron on well and was pealing up. I decided to try again, so I picked off the first one and made a new Mickey head and ironed it on again. Once again it did not work. So I picked off what I could and went on to plan B.  I am going to have to figure out what I did wrong. Do you guys have any thought or suggestions?)

3. Place your stencil and quote on the bag.

lay out stencil and quote


4. Cut out some graphite, big enough to put under the quote. Trace the quote onto the bag and the graphite paper will transfer the quote onto the bag. The graphite paper I had was hard to read, but manageable

Graphite paper     Lay out quote

5. Trace the words with a silver Sharpie. I traced it about 3 times. A fabric marker would work as well.

trace quote with sharpie

6. I used Stickles in 2 colors to fill in the stencil. This is another example of a project not working as well as I thought. Stickles are not really good for fabric. We all know this, but if you remember I was doing this the night before we left so I had to use what I had on hand and that was Stickles. I put 2 coats of Stickles on then put a coat of E-6000 glue over the top to seal it in. It worked ok and held up for the week, but I think it would have been better with fabric paint.

lay out stencil

7. Once your Mickey is on and your quote is good to go then add Rhinestones all over. Originally I planned on the bag with no rhinestones, but it was a little too plain for my tastes and I added the sparkle.


posing with the bag

That is it. It held up all week with only a few rhinestones falling off, but that is not bad considering all the problems I had along the way.

What ideas do you have for a bag?

What problems have you had with your crafting projects and how did you fix them?

Turn a plain cadet hat into something that will turn heads

As you all know by now I can’t leave well enough alone. I had these two cadet hats that were fine plain, but not I knew that I could make them better with just a few items.

black cadet hat side view     route 66 cadet hat side


Materials:

~ Hat, almost any hat will do

~ Bling, whatever you want to decorate your hat with

~ E-6000 glue

~ scissors


Instructions:

Black Hat:

1. Plan out your design. This is important so you can make sure you have room for your wonderful design

~ The black hat I used pieces from Hobby Lobby. The big flower is a Fashion Tid Bit and the swirls are from the scrapbook section. I forgot to take pictures while I was working so I went back to Hobby Lobby and took pictures after the fact. That is why you can still see the price tag in the picture.

~ I just cut the swirls out and shaped them to get the look I was going for. I didn’t use the whole package, which is good because that means there is more for me use on a different project!

crystals

black cadet hat

2. Glue the design down with E-6000. Even though the swirls have adhesive on them I sill glued them so they would stick really good.

3. Wait 24 hours before wearing to make sure the glue is nice and dry.


Tan hat:

1. Plan the design

route 66 cadet hat

2. Glue the row of rhinestones on near the brim of the hat. I had to cut one of the rhinestone rows to make sure it fit.

3. Glue the patch on the center of the hat.


route 66 cadet hat front

4. Wait 24 hours before wearing to make sure the glue is nice and dry.


Here I am wearing the black hat before I went to Disneyland for the day (so please excuse the lighting Smile ). It held up great, the glue held perfectly and nothing has fallen off yet!

20150803_061422


And here I am wearing it at the Hoover Dam with my son.

It is always a lot more fun to wear things you make, do you think? What are your ideas for a new hat?


20150802_105153

DIY Rhinestone Mickey Shirt

If you follow my instagram you know all about my trip to Disneyland. It was beyond awesome! We had a wonderful time.

As you probably guessed, I will be showing you all the things I made for the trip. I have almost as much fun crafting for my Disney trips as I do at Disney!

This time I made a Mickey with flower rhinestones. I used the same technique that I made this other Disney shirt.


2015-08-06 08.29.02

The process is the same, just a different design. I have washed these shirts when I got back in cold water and line dried. Everything stayed on! Whoo Hoo! I don’t know how many washings it will take, but for now it is ok.

Materials;

~ t-shirt (I found mine at Hobby Lobby), pre wash

~ Rhinestones (I found the flower ones at the dollar store about a year ago, but just about anything will work)

~ Mickey stencil (I just googled online for one that I liked)

~ tape to hold the stencil in place

~ E-6000 glue

~ Cardboard


Instructions:

1. Put cardboard under your shirt where you are going to glue


2. Place the stencil where you want it and tape it down

20150729_213304

3. Start laying our your design. I used the flowers and added other rhinestones to fill in the blank spaces. This is where your creativity can really take off.

20150729_214204

4. Once you have your design in place, start gluing.

20150729_220742

5. Once everything is glued on let it dry overnight and there you have it, a new shirt to where to Disney, or wherever you want to show your Disney pride! Or this technique can work with any stencil. What ideas do you have for a rhinestone shirt?

Disneyland Bling T-shirt DIY

Ok I am going to be honest with you, I did not come up with this idea on my own. I follow the blog InspiredbyDis.com and I love everything she posts, including instructions on how to do this t-shirt! I saw her post on how to do a Disneyland “D” t-shirt for the Disneyland 60th anniversary, and I just knew I had to do one as well.  So my friend came over and we worked on our shirts together, awesome way to spend the afternoon.

I followed Mindy’s instructions and it worked perfectly!

Materials:

1. Pre washed t-shirt

2. stencil from her blog (link to blog here)

3. rhinestones (I found mine at Hobby Lobby, and to be honest the little crowns on the collar are actually confetti found at the dollar store, so anything goes)

3. E6000

Instructions

1. print and cut out stencil

2. position it on your shirt, with cardboard under it so the glue doesn’t leak to the back

3. Start laying out your design. It took me a few tries, but I found one that worked for me. InspiredbyDis did hers in blue for Disneyland’s 60 Anniversary, but I decided on a pink and purple design.

4.  Start gluing with your E6000.

5. Because I love adding bling, I decided to add some more rhinestones along my collar. It added the right amount of sparkle to make my shirt complete.

6. That is it, wait until it is completely dry to wear and wash. I would wash on cold and line dry.

7. Go to Disney and show off your awesome shirt!

Here is my friend’s shirt, I love the blue! She didn’t add any to the collar, but she did add an iron on Tinkerbell that she printed off her computer onto iron on transfer paper (sorry the pic is fuzzy). I love the detail, it finishes out her shirt perfectly.

20150725_164927

2015072795183524


if imitation is the highest form of flattery, what have  you copied in your crafting journey?

Super Sparkly Rhinestone DIY Beats Headphones

I am a firm believer that you can never have too much glitter and rhinestones! That being said, I thought I would fix my boring Beats headphones by adding rhinestones. Now they are acceptable to wear out in public 🙂 (You can see that even my sunglasses have rhinestones on them.)20150630_131118

A few weekends ago I went to Estes Park, CO with a few of my girlfriends. If you have never been there, you are missing out, it is one of the most beautiful towns in Colorado. During our girls weekend in between laughing, taking naps, visiting, watching movies, and catching up we spend our time doing crafts. Some scrapbook, some crochet and other just do general crafts. this year I decided to make my headphones sparkle. This is very easy to do, you just have to have patience.

All you need for materials are:

  1. Rhinestones. I used 5mm rhinestones purchased from Amazon
  2. E6000 (any glue that stick to plastic will work)
  3. headphones
  4. Sandpaper
  5. Syringe to help apply the glue. I purchased mine from Amazon
  6. Styrofoam head to help hold the headphone. This is not necessary, but I finds that is helps.
  7. Wax stick for picking up the rhinestones. I purchased mine from Amazon

Steps:

  1. Lightly sand the headphone. This is just to rough up the surface do that the glue will adhere better
  2. Clean the headphones. This is get all the dust off and get them ready for gluing.
  3. Lay out your pattern. I decided on a ombre look, but do what makes you happy. You can’t see it too well in the photos, but I promise is ombre and it looks pretty cool, if I do say so 😉

    20150619_212833

    My ombre pattern

    4. Put your headphones on the Styrofoam head and get ready for gluing!

20150619_161909

5. Start gluing! I found these terrific syringes that really help with the application of the glue. All you do is put some glue in the syringe and then you put a few dots of glue on the headphones.Take your wax applicator to pick up the rhinestone and place it in the glue. Easy as that.

20150619_161936

6. Keep going until you are done. Let it dry over night then you are ready to rock out to your new headphones!

20150620_153816

20150619_161915

20150630_131047

20150630_131125

© 2024 Take Time To Create

Theme by Anders NorenUp ↑

Follow

Get the latest posts delivered to your mailbox:

%d bloggers like this: