DIY Repurposing a Sweater to a Hat

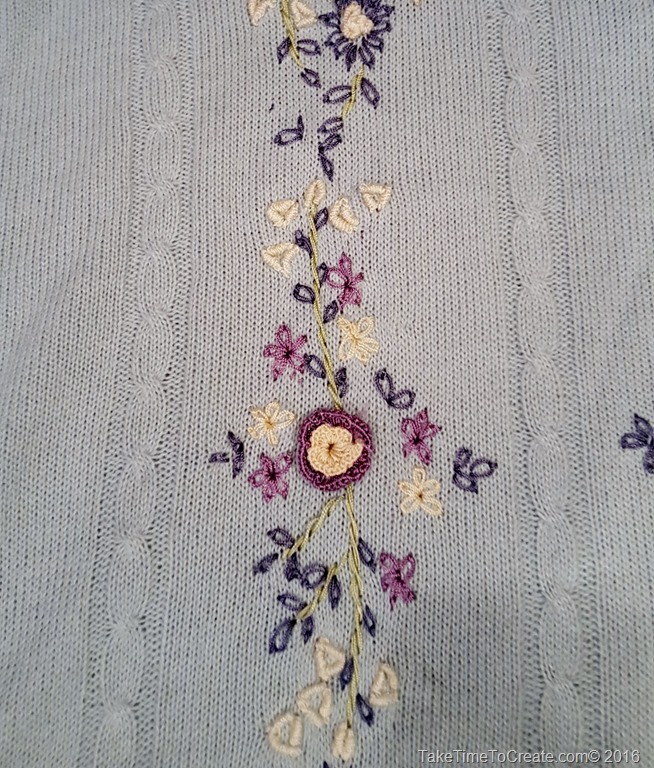
Have you ever seen a sweater that is just not in style anymore and you know that it could be something else? I had that thought when I saw this sweater my mom was donating. It was wonderful with the embroidery detail, but a little dated.

DIY Repurposing a Sweater to a Hat

I mean, check out this detail! pretty great.

DIY Repurposing a Sweater to a Hat

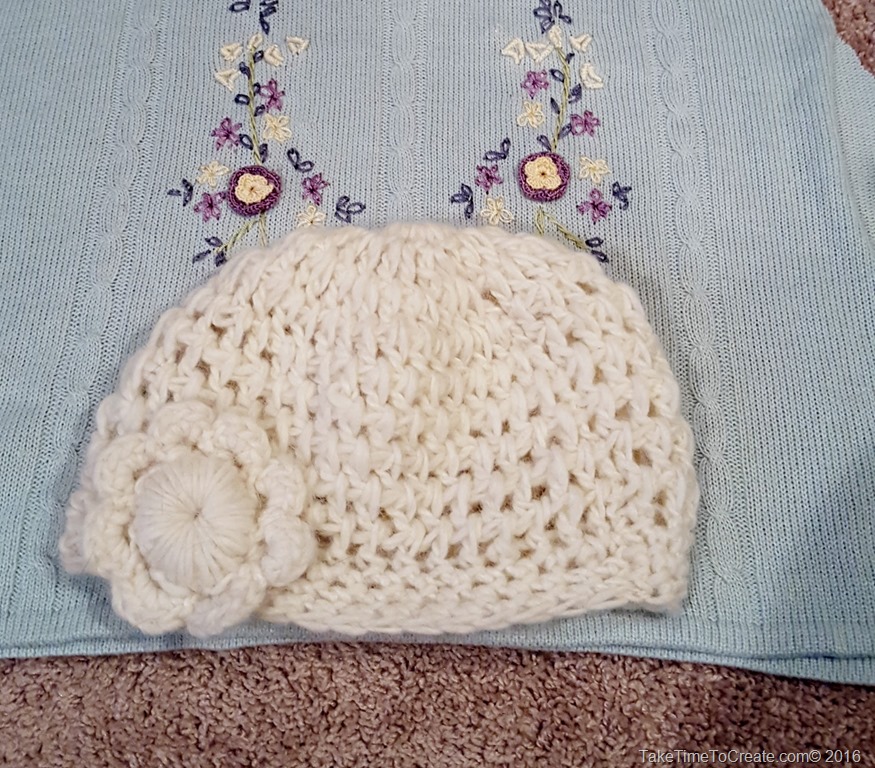
So I decided to repurpose it into a hat!

DIY Repurposing a Sweater to a Hat

This is a very easy tutorial.

Here is what you do:

Materials:

~Sweater

~A hat that fits you

~needle and thread or sewing machine.

Instructions:

I lined up a hat that fit me (I love this hat but since it is wool I itch every time I wear it. But I got it in Iceland and it fits perfectly so I keep it. I just need to sew a lining in the hat then I can wear it all the time. That is a project for another time…)

DIY Repurposing a Sweater to a Hat

Cut around the hat (make sure you don’t cut your hat) and add a seam allowance

DIY Repurposing a Sweater to a Hat

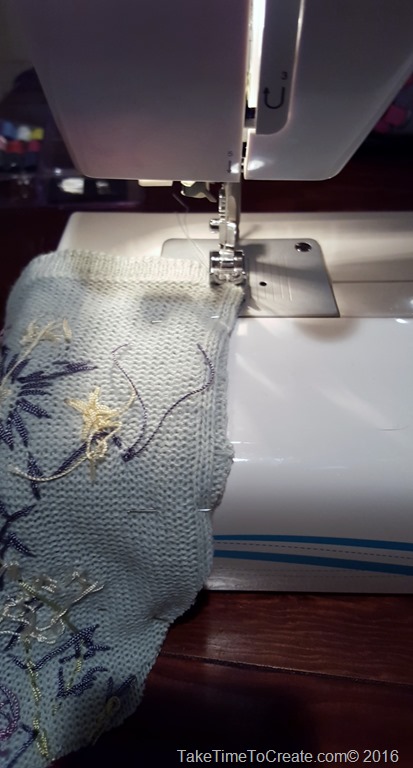
Turn inside out and pin and sew around the edge. If you line up your new hat with the bottom of the sweater you won’t need to worry about hemming a bottom edge!

DIY Repurposing a Sweater to a Hat


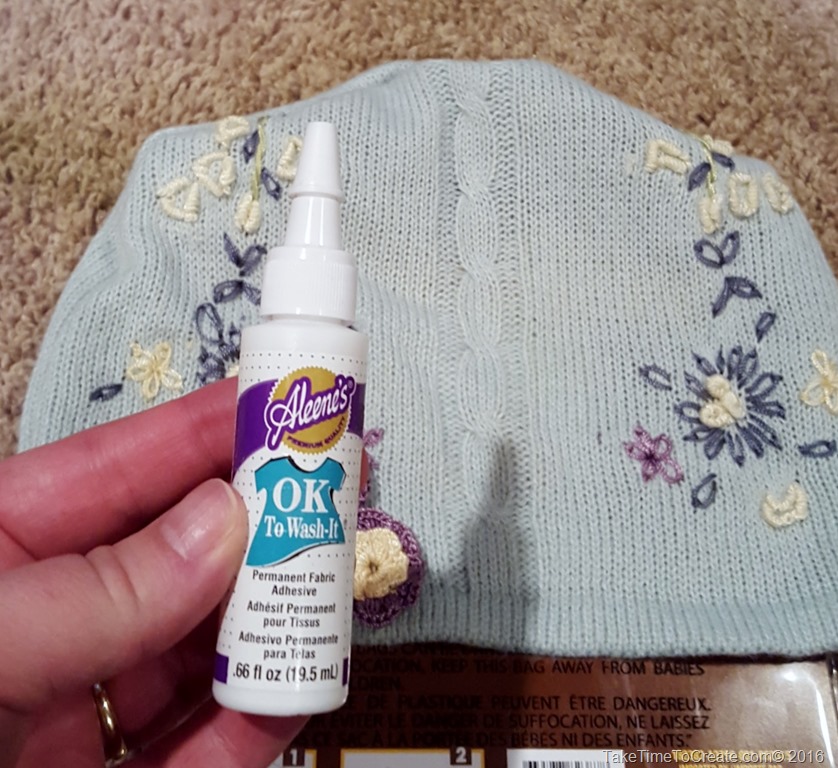
Turn right side out and you are done. I decided to cut off some of the really cool flowers and add them to the hat with fabric glue.

DIY Repurposing a Sweater to a Hat     DIY Repurposing a Sweater to a Hat


All done! Nice and easy repurposing and now you have a cute hat to rock. Good thing March is typically a snowy month for us, I might be able to wear it this year.

DIY Repurposing a Sweater to a Hat

DIY Repurposing a Sweater to a Hat

DIY projects with glass animals

My Grandpa was a rock hound, he searched and collected rock for as long as I knew him. He loved rocks and he created some wonderful, beautiful jewelry with his rocks.

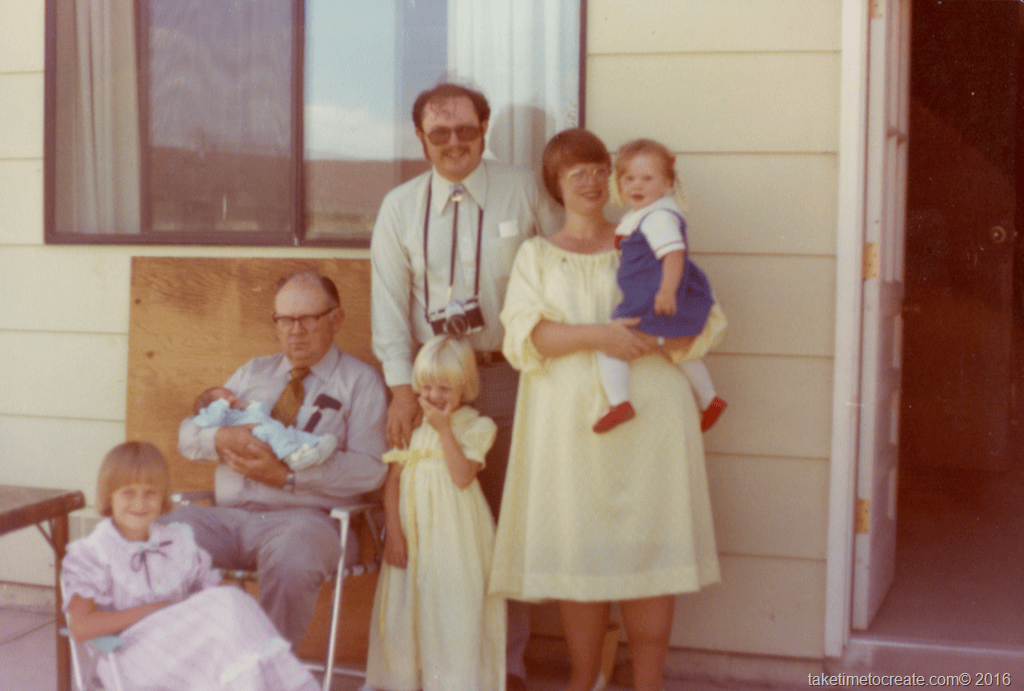
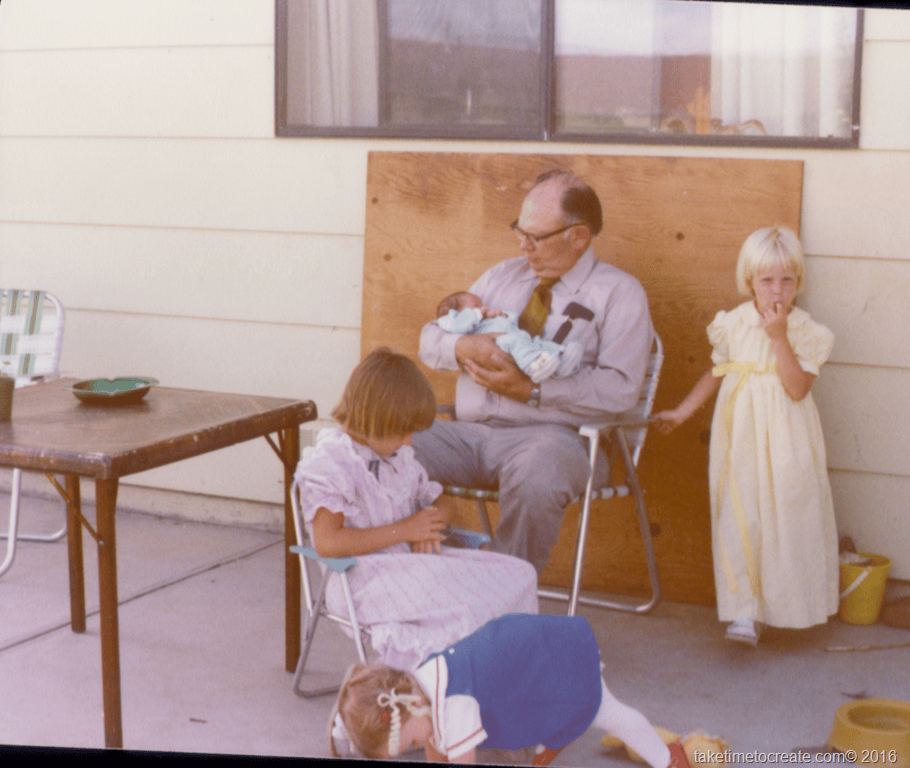
Here is a 70s fantastic picture with my Grandpa. I love this pic, it was taken not long after my brother was born (he is the baby in my Grandpa’s arms). I am the little cutie in my mom’s arms, my sister Valerie the cute little blondie, and my other sister Kim is the cutie sitting down.

diys with glass animals

And what I love best about the above picture is about 5 seconds after it was taken this next picture was taken (or maybe it was 5 seconds before the actual photo when my folks were trying to set everything up). But either way the before and after is funny. It is almost impossible to keep 4 kids in one place. It just makes me giggle every time I see it.

diys with glass animals

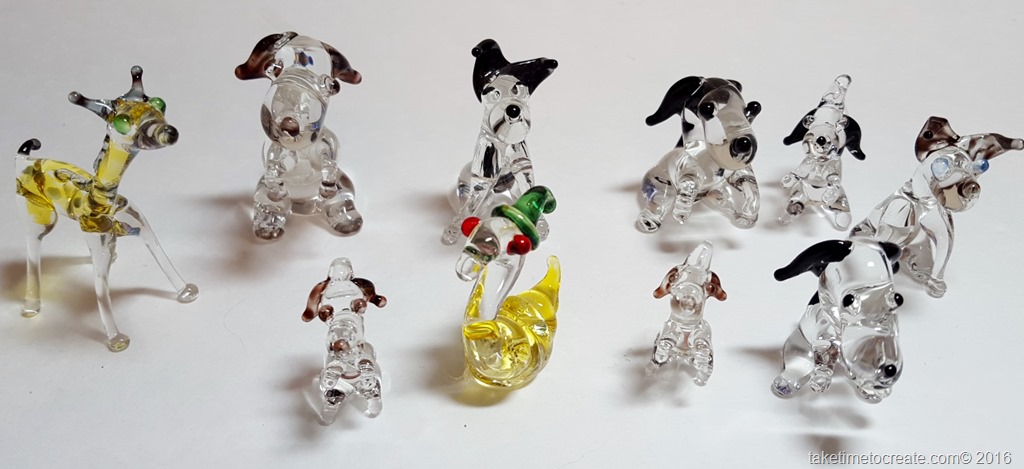
Anyway, I digress. As I said my Grandpa was a rock hound. It was fun to spend time in his rock shop and see his tools and rock and various treasures. When he passed my oldest sister, Kim, got almost all his rocks and tools. Well, I was visiting Kim a few weeks ago I spent some time digging around in the rocks she had. And I come home with a treasure trove! My Grandpa had these really cute glass animals, I knew I could do something with them. Be prepared for more future posts with rocks, I may have collected a ton from my sister….

diy with glass animals

Aren’t they cute! But you know real life happens and before I even started my craft projects Cole had to take a few (or 10) so this is all the remains. LOL. He also had first dibs on all the rocks I brought home, so I have significantly less than what I started with.  I love how interested he is  in rocks and nature.

I made some necklaces and some little decorations with the glass animals. I will divide this post into 2 parts, starting with the jewelry.

Materials:

~ Glass animals (you can get these almost anywhere. I would look on Amazon, eBay, or do a quick Google search, or sometimes rock and or bead shops might have them)

~ Wire, pliers, jump rings

diy with glass animals

Instructions:

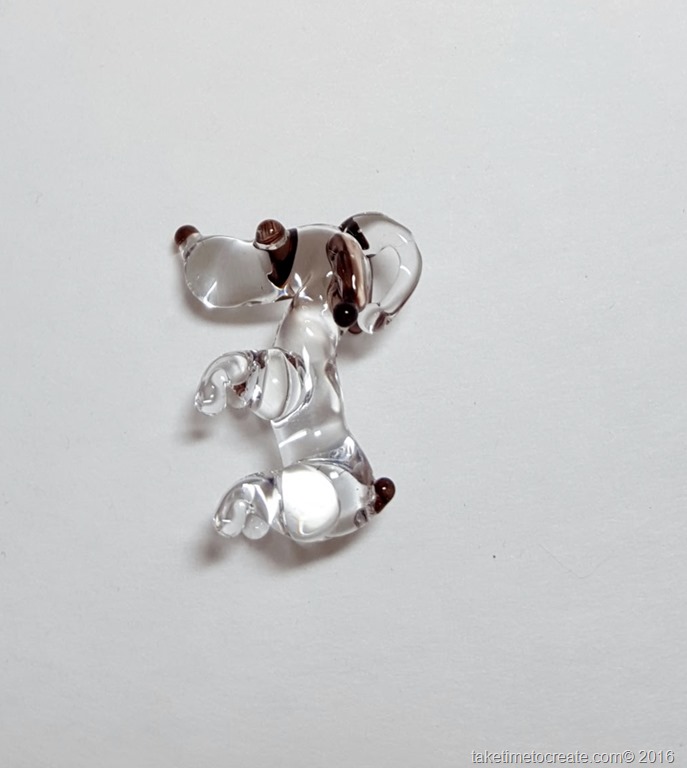
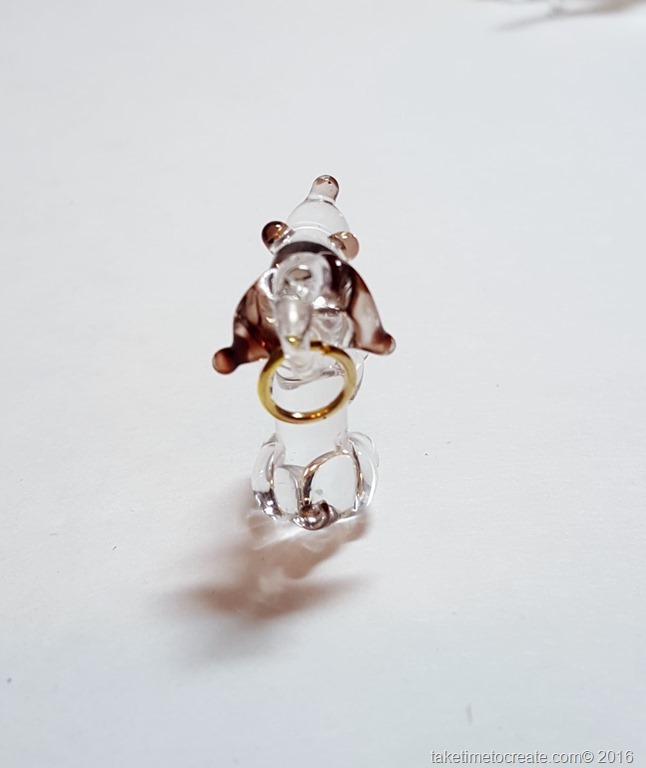
~ The little dogs had a little glass bump that was perfect for a jump ring. Add a jump ring  and a chain and you are good to go. I think this is the easiest project ever!

diy with glass animals     diy with glass animals

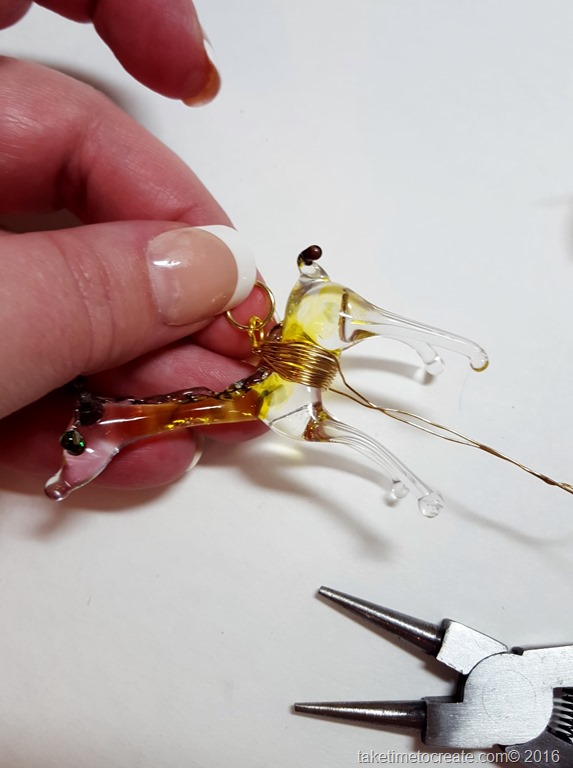
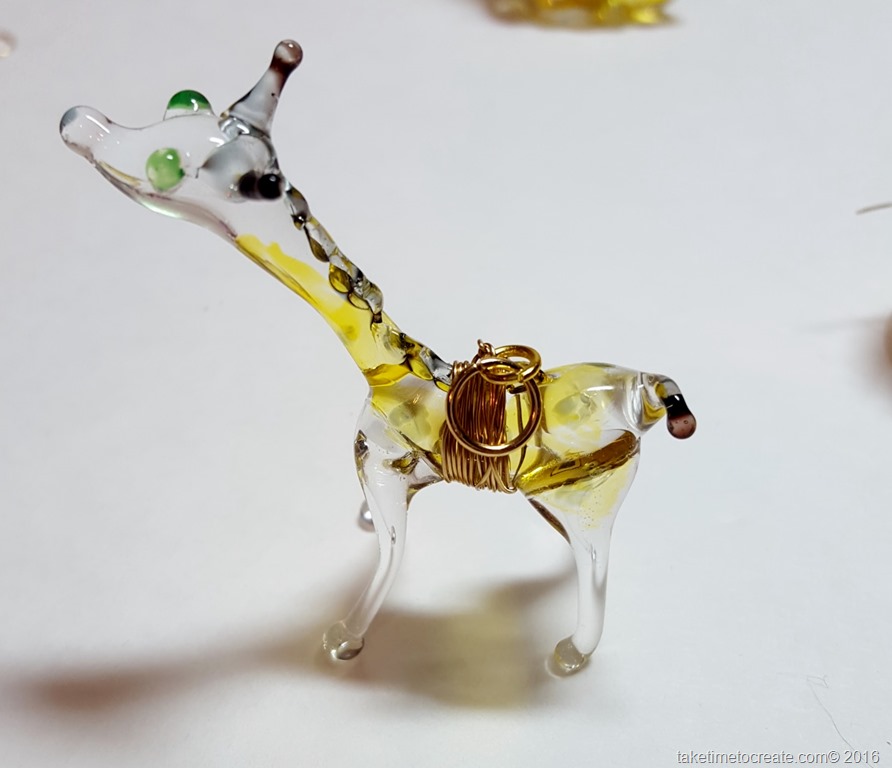
~ The giraffe was a little harder, but not much. Just take some wire and wrap it around the body of the giraffe.

Once you have wrapped it as much as you want then twist it at the top and add a jump ring, just watch for the center of gravity. You want to make sure your jump ring is in a place to make sure the giraffe will hang right. Then take the wire and twist to the bottom and secure and cut off extra. I am thinking that I will need to add a dab of glue to make sure it is secure.

diy with glass animals     diy with glass animals     diy with glass animals

~ Please note that these are glass and to be very careful when you wear them. These might not be suitable for children, they might break.

diy with glass animals     diy with glass animals

Making Glass Animal decorations

Materials:

~ Rocks

~ Glue (I used Loctite, but E6000 would probably work, or any other glue like that)

~ Glass animals

Instructions:

~ Gather your rocks and animals. As you can see I have a lot, but this isn’t even a tiny fraction of what I brought home. I am so excited for all the rock projects I have in store!


diy with glass animals

~ Then glue your animals to the rock base and that is it! Display them on your favorite shelf. Reminder that these are glass and fragile, so you should be careful handling them and these are probably not for kids to play with.


diy with glass animals


Nice and easy for this Wonderful Wednesday! Check out my Etsy shop to purchase some of these creations. TakeTimeToCreate.etsy.com


There are no affiliate links in this post

DIY Coloring Page Holder

I have a confession, I love to color. In fact I have been coloring long before it became the popular thing to do. I have always found it a great way to relieve stress and relax me. So when adult coloring books starting becoming popular I was literally giddy with so much happiness! So many possibilities and options! But, they are more expensive than the kids coloring books I usually found in the dollar store. So I started to look online and print them out at home. You can find tons of free coloring pages online, it is almost overwhelming. But with all these pages I needed a way to contain them, a cute holder of some sort.

Here is what I came up with.

20160204_174227

DIY Coloring Page Holder

I found this folder at the dollar store and while it works just fine all plain and boring, I just couldn’t leave it like that. (surprised?) Next to the folder was the really cute sparkly tape. Perfect for the folder.

Materials:

~Tape and file folder

20151106_184219

Sparkly tape

20151106_184133

Folder from Dollar Store

~Coloring pages or coloring book and crayons

I just placed the awesome tape around the edges and that was it. Nice and easy and it made the folder so much cuter.

20151106_184506

Front of Folder

Just fill with coloring pages that you printed or that wonderful coloring book that you have been working on. Keep your crayons in the folder as well and you are good to go.

20160204_174142

Fill with Coloring Pages and Crayons

So do you love coloring as much as I do? Don’t you think this would make a great gift?

Have you embraced the new trend or are you passing on this trend?

20160204_174227

Front of Folder

20160204_174304

Back side of folder

Repurpose Your Old Keys

Hello Everyone!

One of my goals this year is to use what I already have. I am trying not to purchase new things and to up cycle, repurpose,  and recycle as many items as I can.

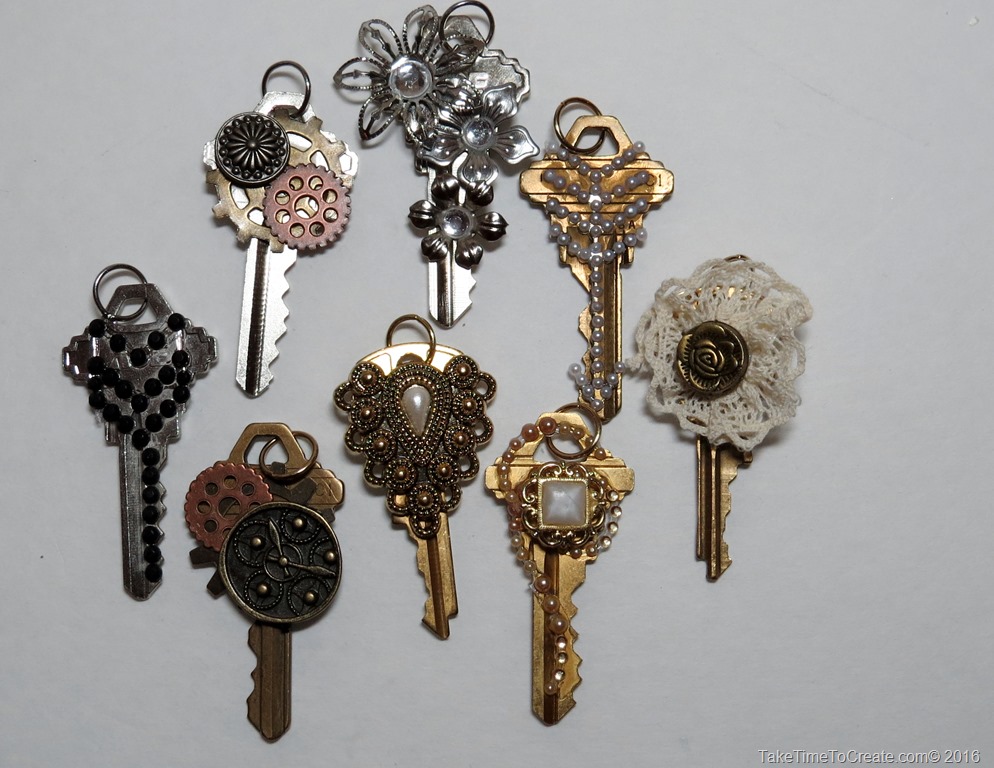
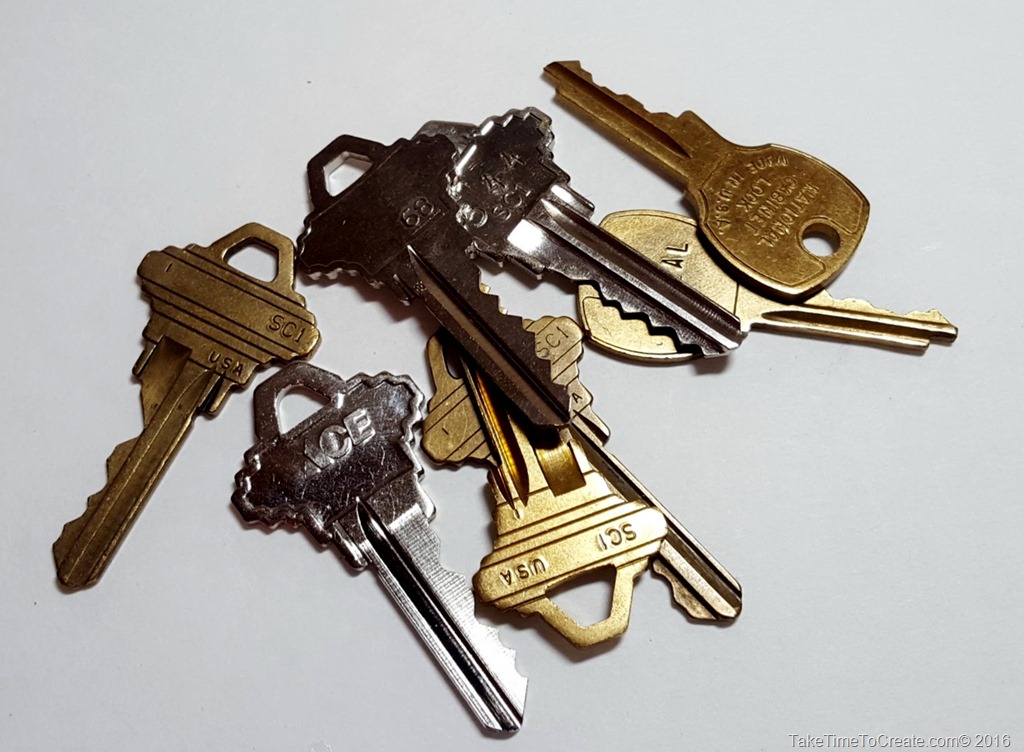
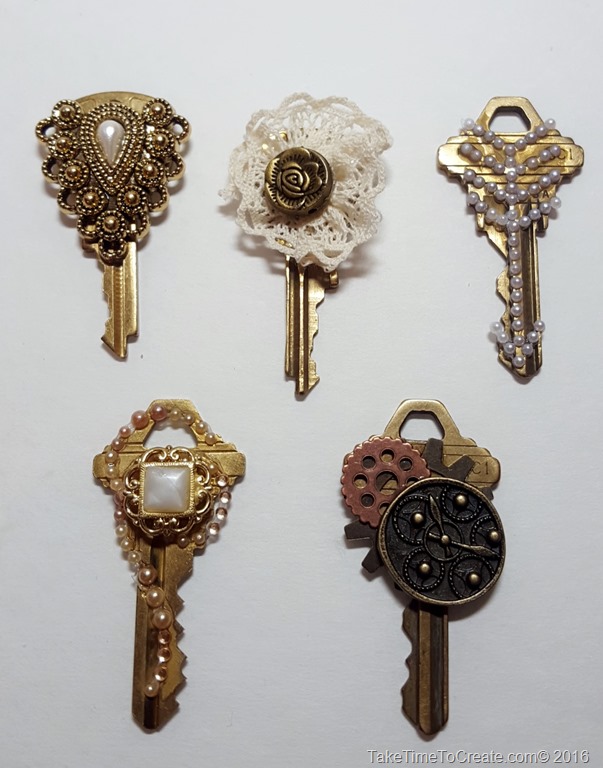
With that in mind I decided to repurpose some old keys I found in my desk drawer at work. After making sure they didn’t work or went to anything important I went to town making them awesome.

Repurpose old keys

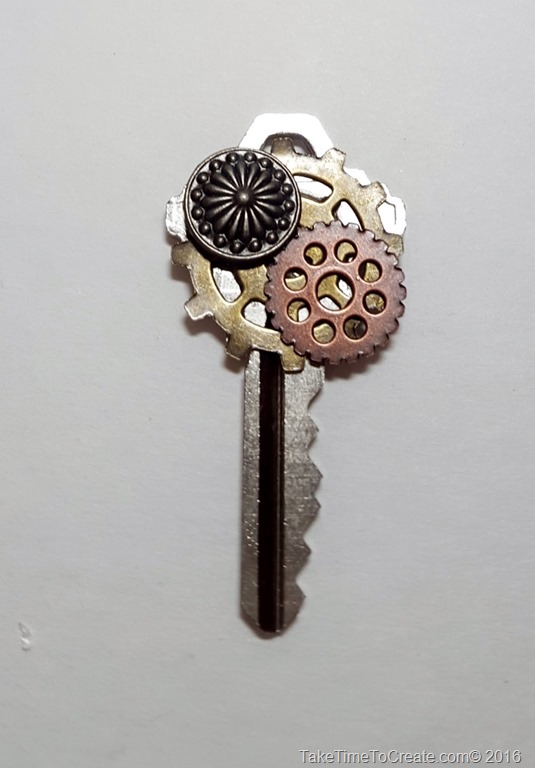
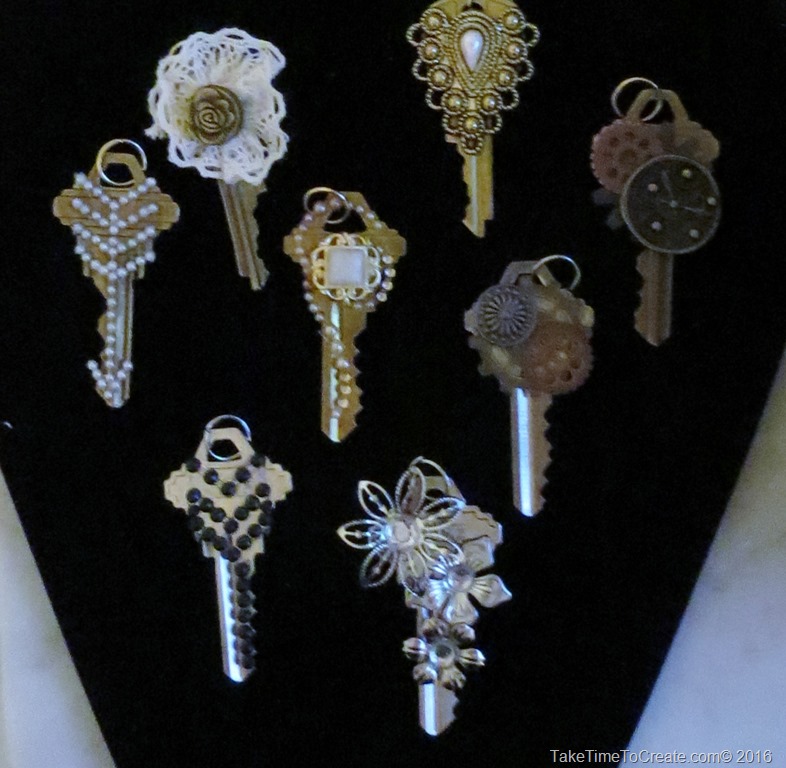
They are easy to do, just glue on some flower, rhinestones, button, or brad. Add a jump ring and you are done.

Here is my pile of plain keys.

Repurposed old keys

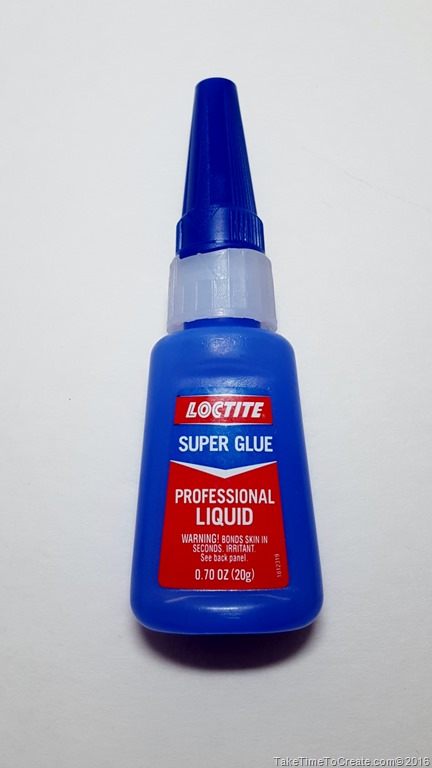
I used Loctite glue and it is holding really well.

Repurpose old keys

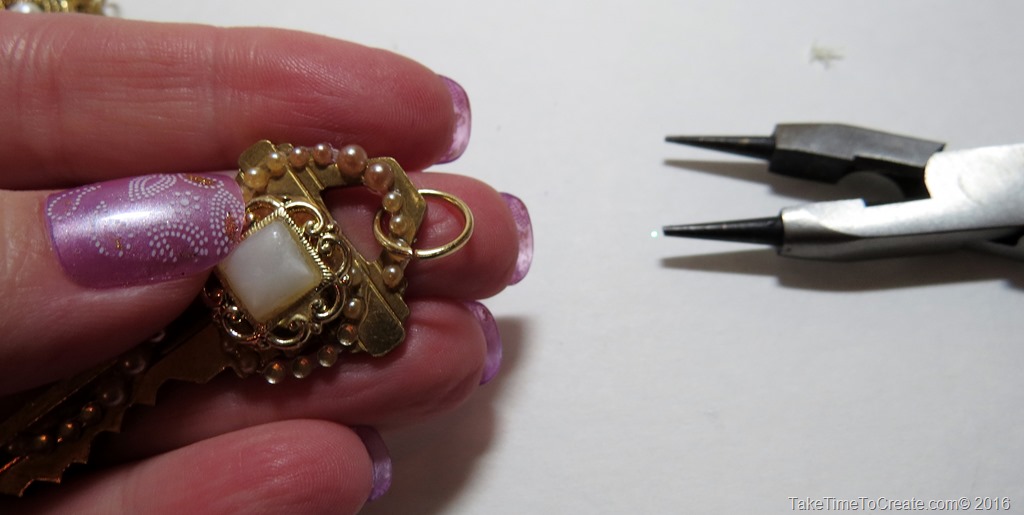
Adding the jump ring is easy to do

Repurpose old keys

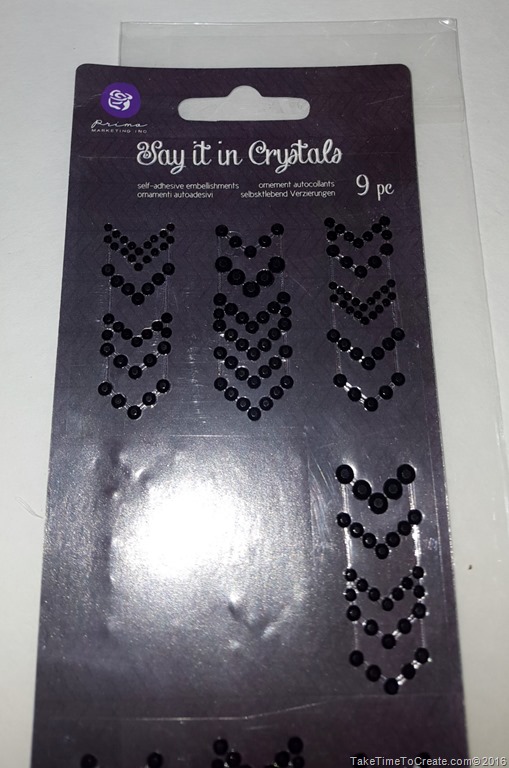
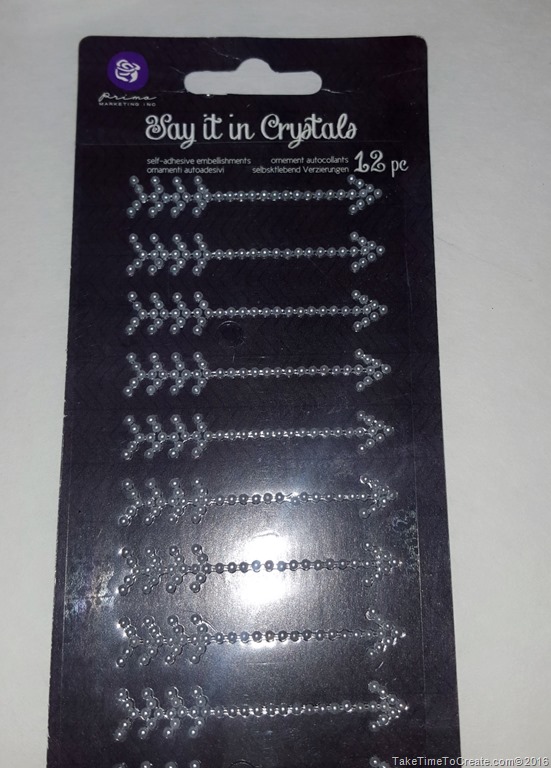
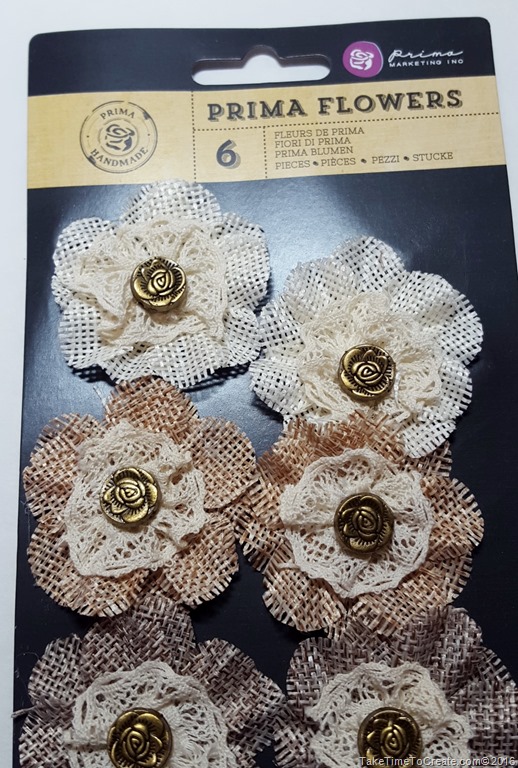
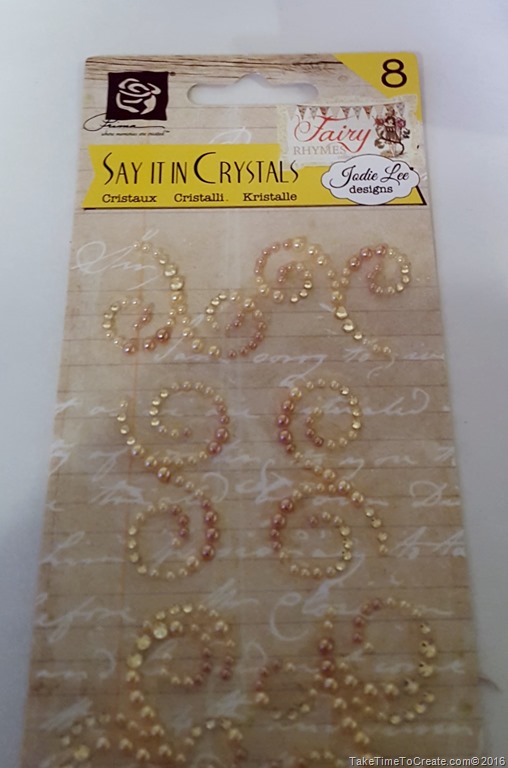
Here are some of the rhinestones and flowers I used. I am loving the rhinestone brand Say It With Crystals and the flower brand Prima Flowers.

Repurpose old keys     Repurpose old keys     Repurpose old keys     Repurpose old keys


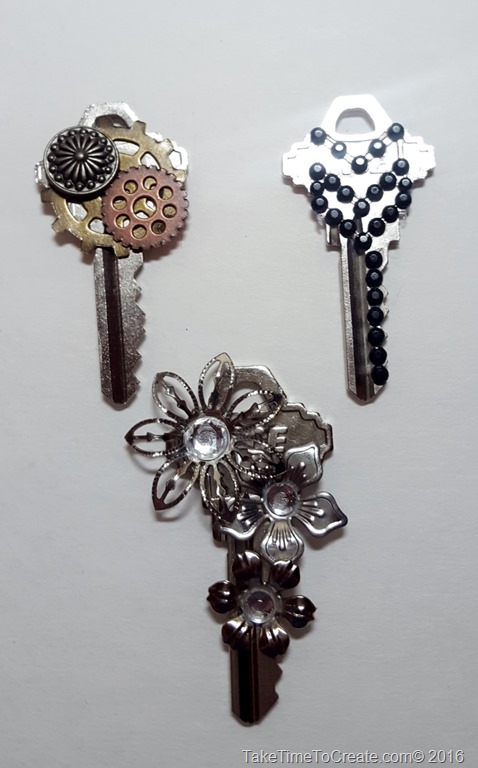
As for the steampunk keys I just found some steampunk doo dads at Michaels in the jewelry/bead  department. I had some old brads in my stash and bent the ends off and glued them on. As for the buttons I just cut the shank off and glued it on. The metal flowers are something I had laying around,I am sorry I can’t remember where I got them, but I added a rhinestone and jazzed it up and I think I turned out great.

Repurposed old keys     Repurposed old keys

Repurposed old keys     Repurposed old keys


Don’t be afraid to mix and match things, you might surprise your self with your creations.  I even removed part of the flower for one of the keys, It was too big otherwise.  I would love to see what you come up with.

Repurpose old keys

I will have some of these keys in my Etsy shop, along with other creations. TakeTimeToCreate.etsy.com

Disclaimer: There are no affiliate links in this post
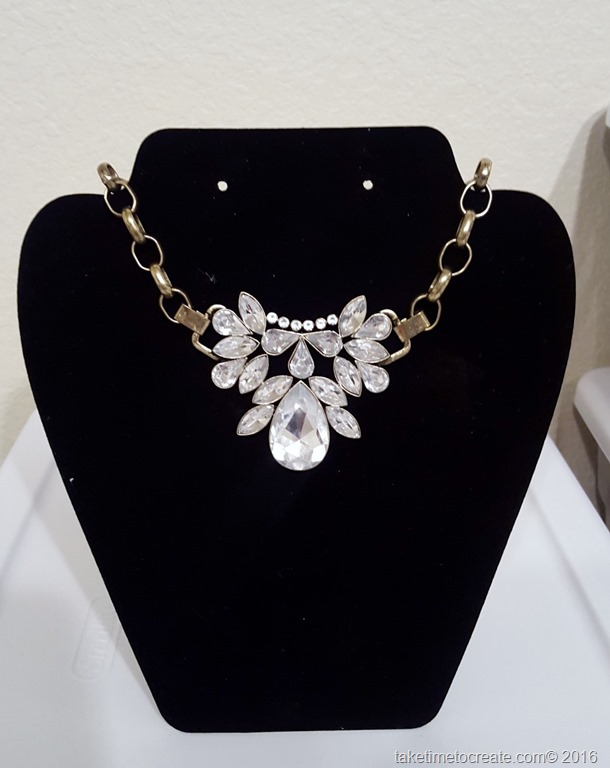
Alter a Statement Necklace into a Hair Barrette

Hello everyone!

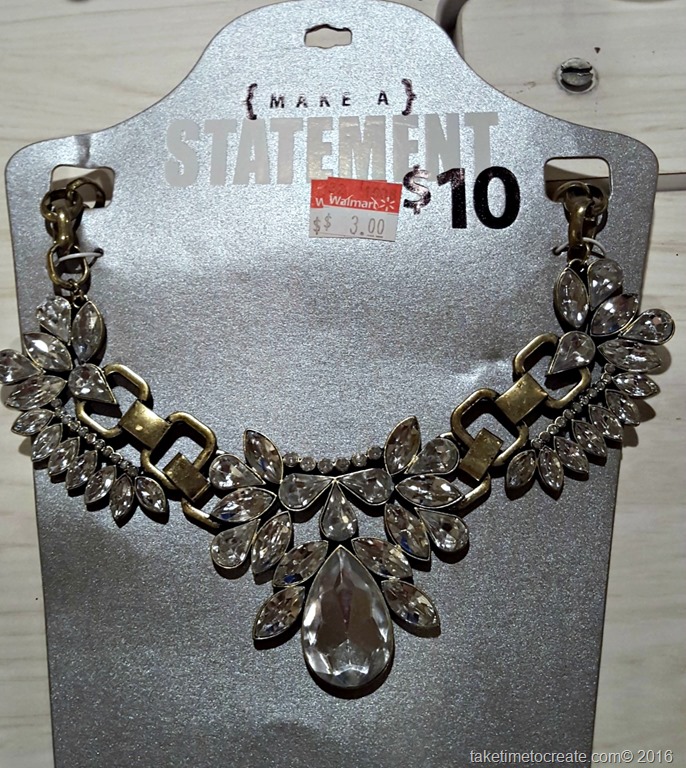
Today I am showing you how I altered another one of those Statement Necklaces I got from Wal-Mart a few months ago. In case you forgot about these Statement Necklaces  here are a few posts about how I altered different necklaces.

You can see them Here, Here, and Here

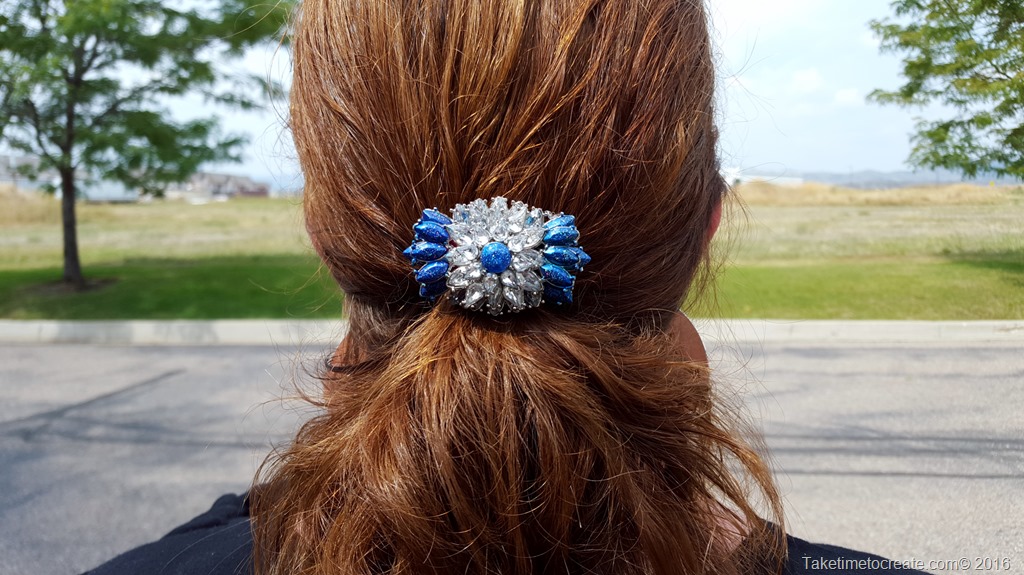
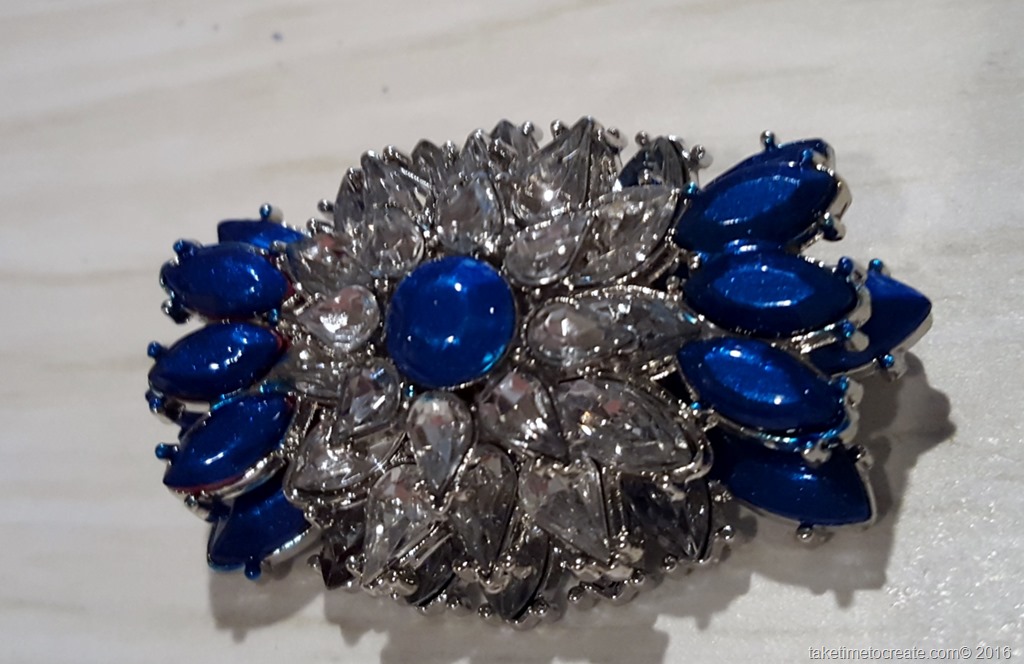
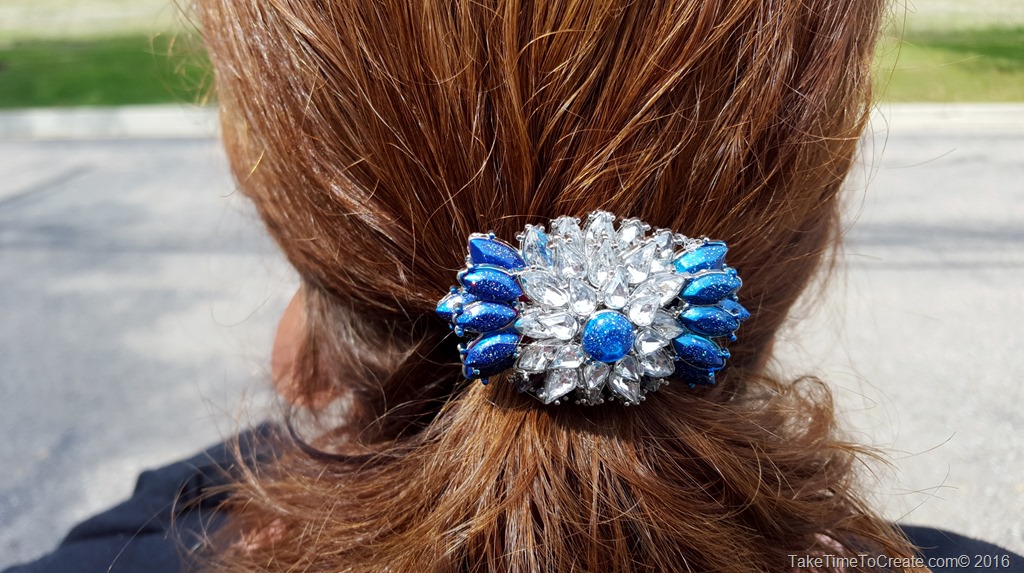
Part of this necklace will become a new, pretty barrette.

alter a necklace into a barrette


Materials:

~ Statement Necklace

~ Wire cutters

~ Glue (I used E-6000)

~ Barrette or alligator clip

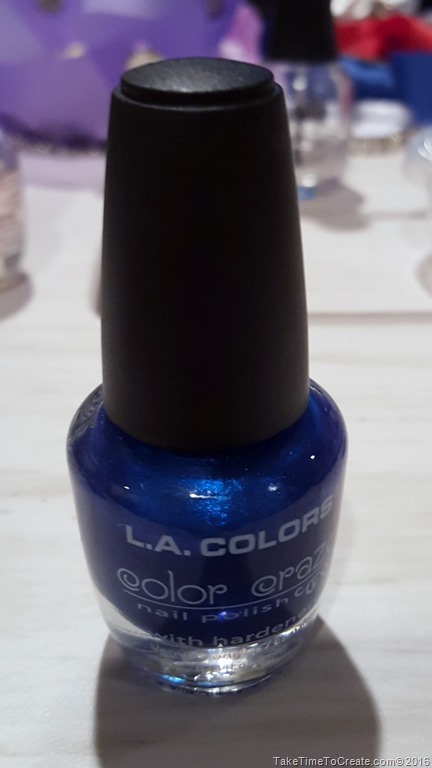
~ Nail Polish, I used this LA Colors nail polish from the Dollar Store and for the glitter top coat I used a Wet n Wild glitter top coat.

alter necklace into a barrette


Instructions:

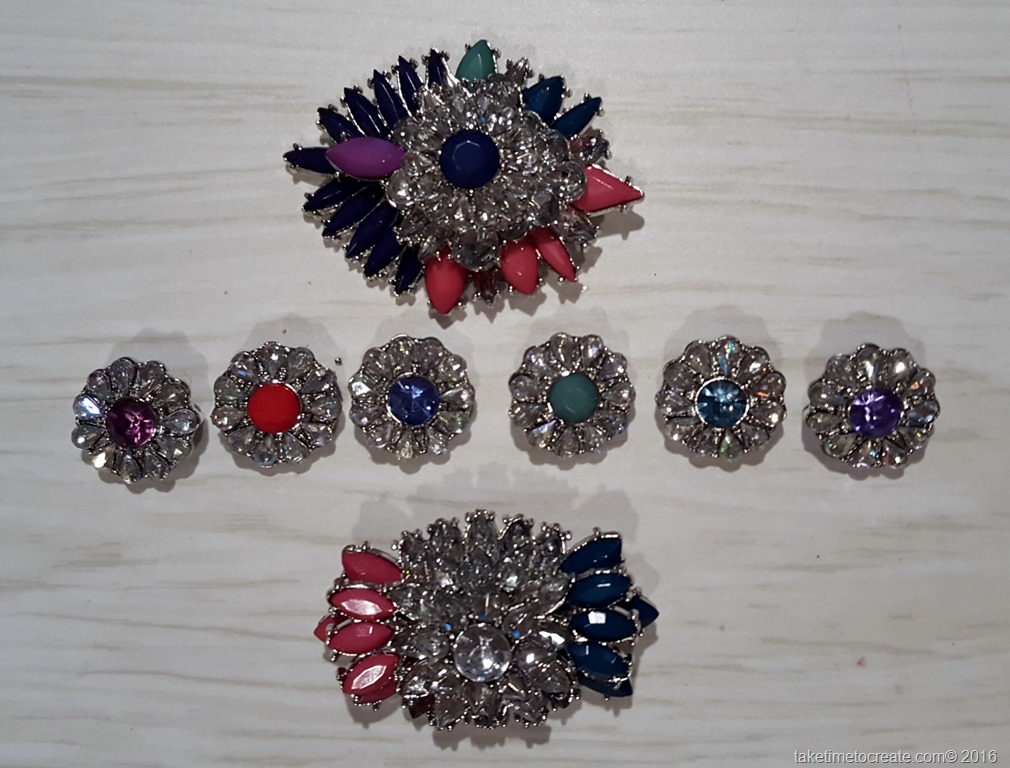
~ Here is my necklace in all its glory. There are a ton of colors going on and it is too much, even for me.  Here is a side by side image with what I started with and what I ended up with.

Alter necklace to a barrette


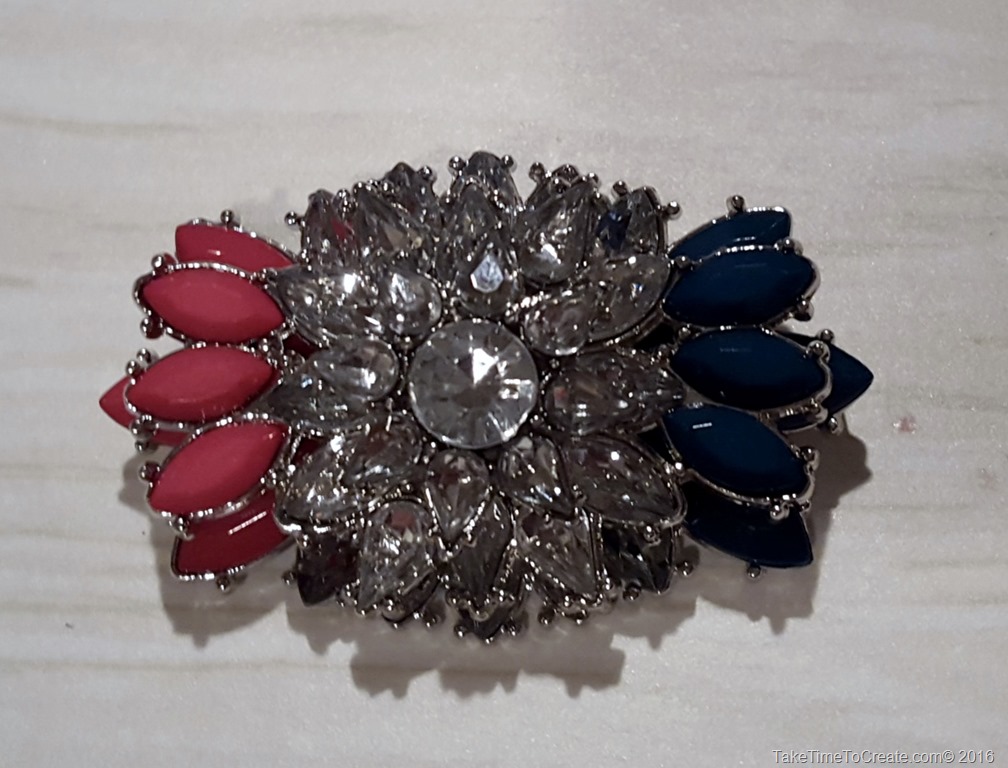
So the first thing you do is take  your wire cutters and cut the necklace apart. You want to separate the clusters.

 alter necklace into a barrette alter necklace into a barrette


~ Then I painted all the multicolored sections with nail polish a beautiful blue. In hindsight I probably should have painted a base coat of white before I painted the blue, you can see that the colors are slightly different, but not too much. I put on about 3 coats.

alter a necklace into a barrette

~ it is pretty, but it needed a little sparkle. So I painted a glittery top coat. Ahh, much better. You can see the glitter in this pic.  Let it dry completely

alter necklace into a barrette


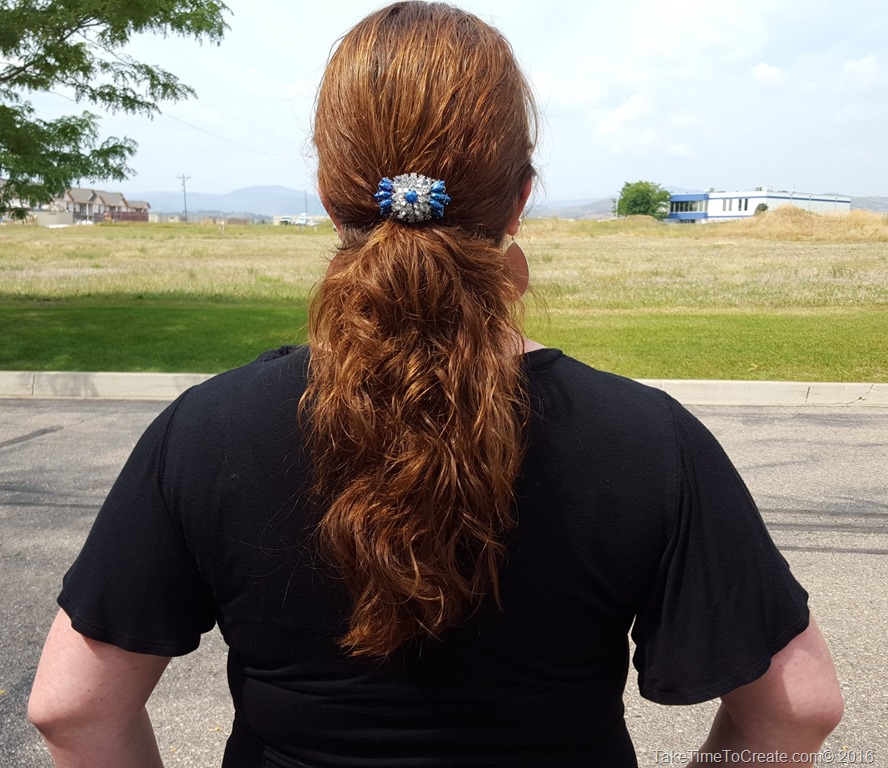
~ Glue a barrette or alligator clip to the back and you are done.


Nice and easy, and it looks so cute.


alter necklace into a barrette

Vintage Button Magnets

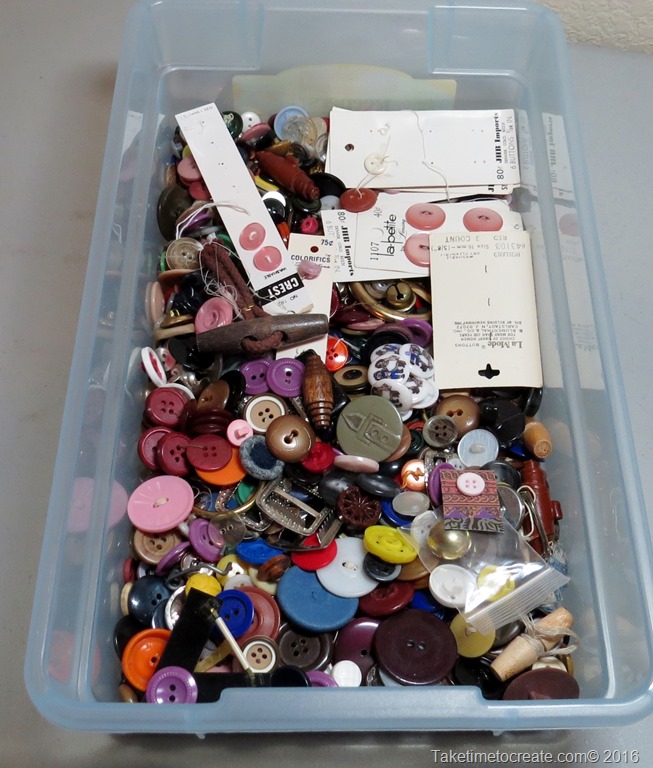
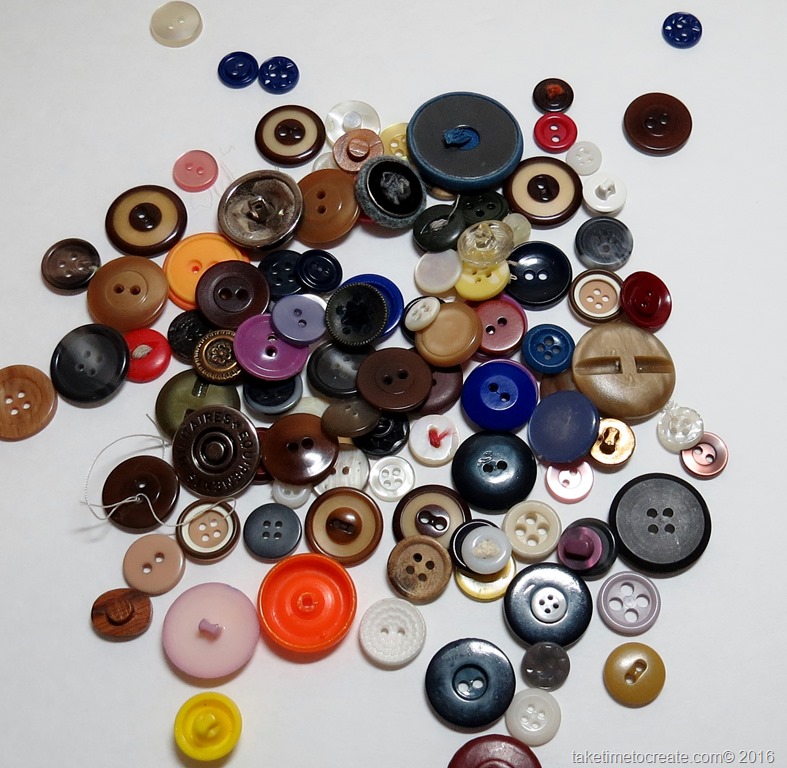
So as you all probably know by now I love buttons. I made this letter S a few years ago and I still love it. Buttons are so much fun to go through and sort and reminisce about. I think they are one of my favorite crafting item.

So I made another craft with buttons. This time I made button magnets.

In addition to the crafting I decided to reopen my Etsy store and sell some of the things I make here on this blog. Stop by and check it out: TakeTimeToCreate.

Here is how you can make your own button magnets

Materials:

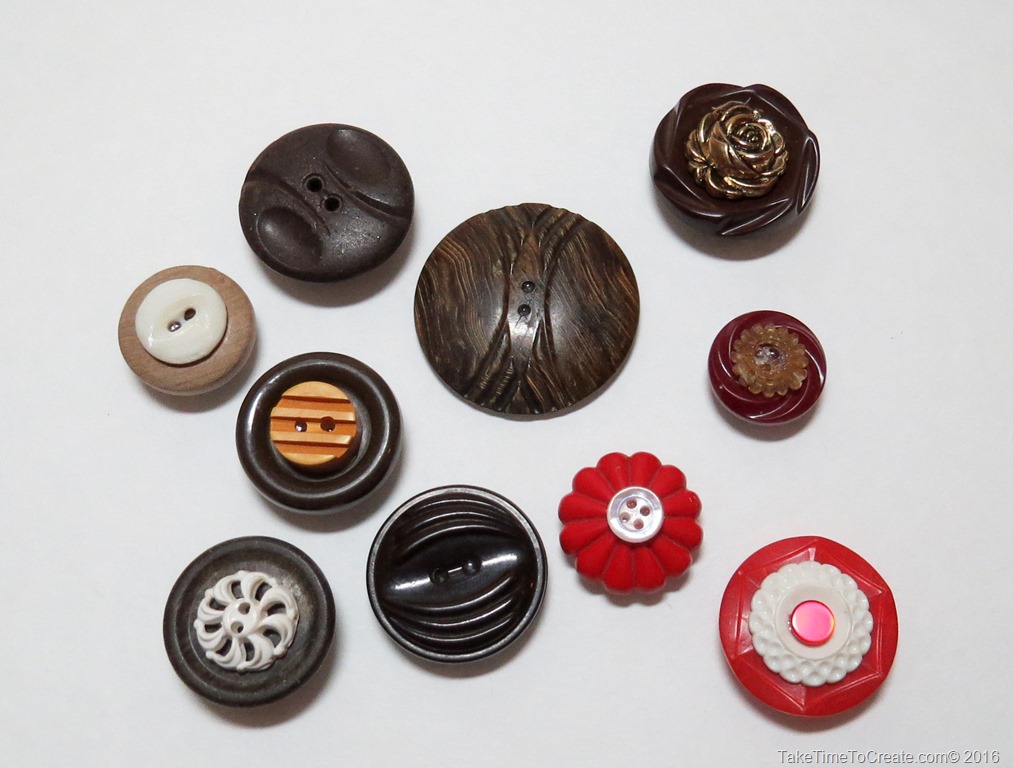
~ Buttons (so many buttons!!! And this is only a small portion of what my mom gave me! She is the best!)

Box of buttons     Buttons

~ Magnets

~ Glue (I am using my trusty E-6000)

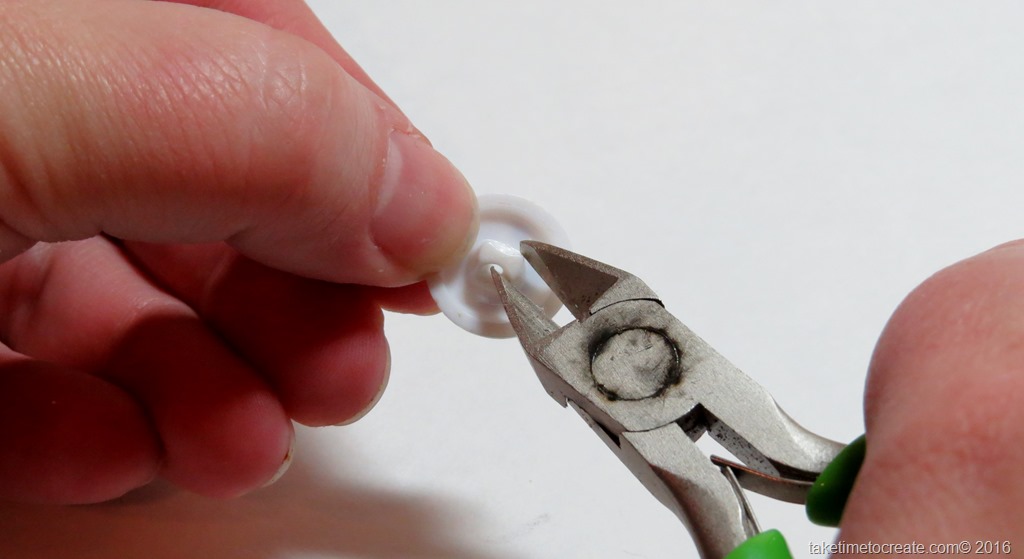
~ Clippers or something to cut the shank off


Instructions

~ prep the buttons. You might need to clean them a bit or snip off the shank. Be careful because pieces of plastic might go flying.

Cut off the shank

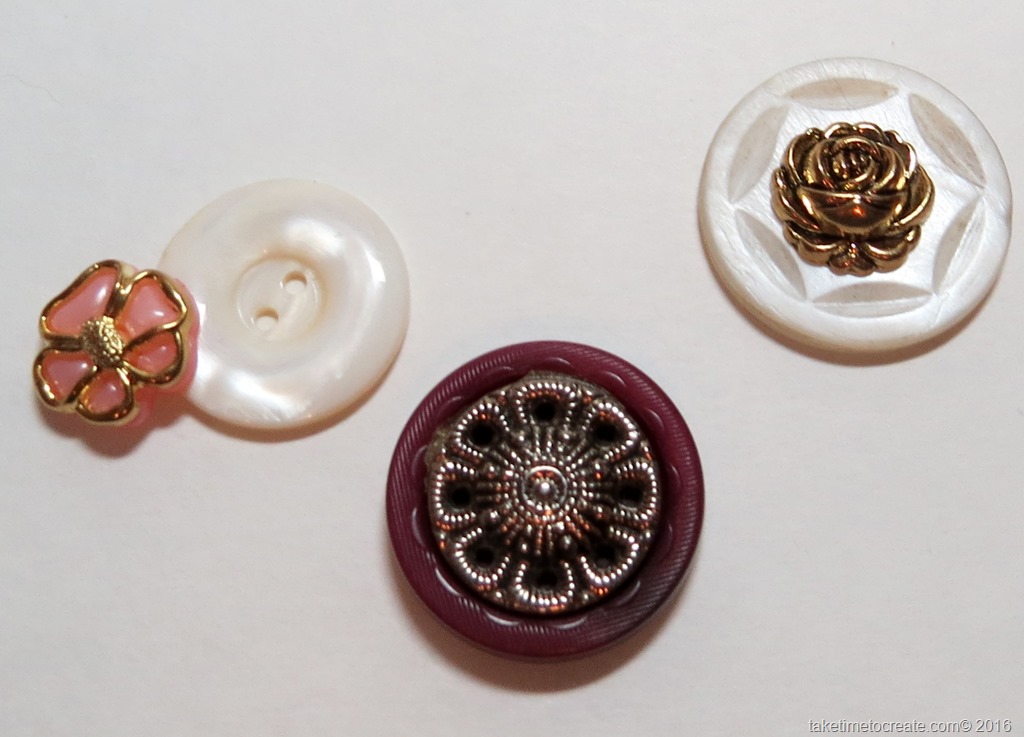
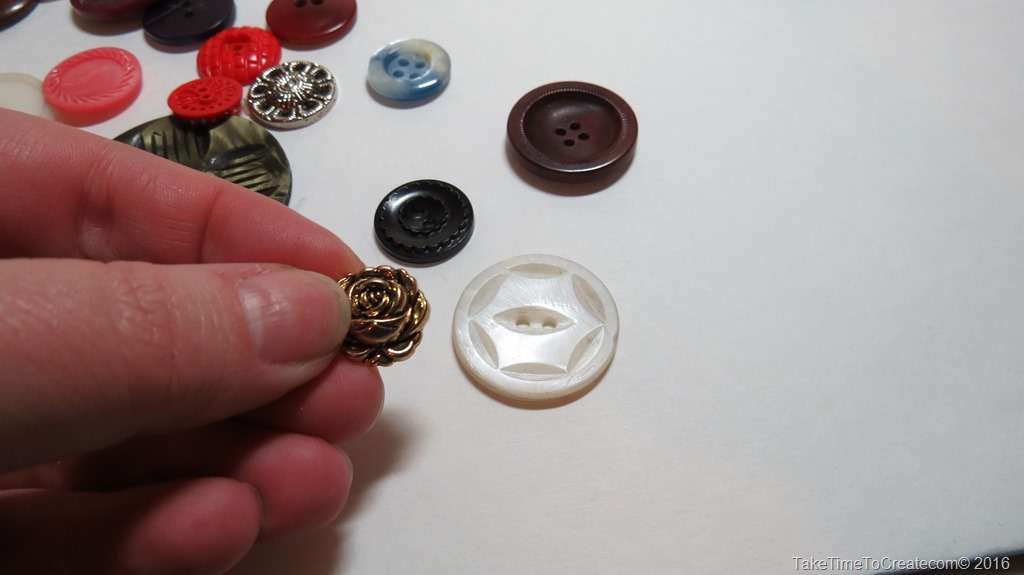
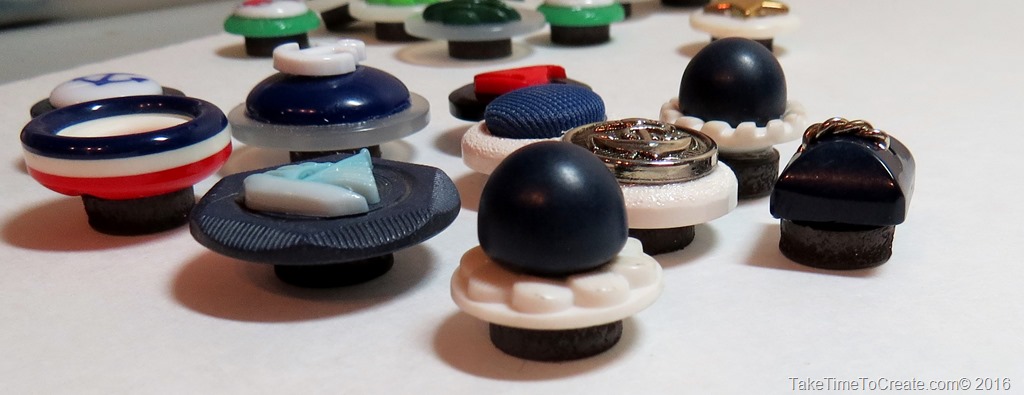
~ Stack the buttons to create a different looks. Glue the stacks as necessary.

layer the buttons     layer the buttons

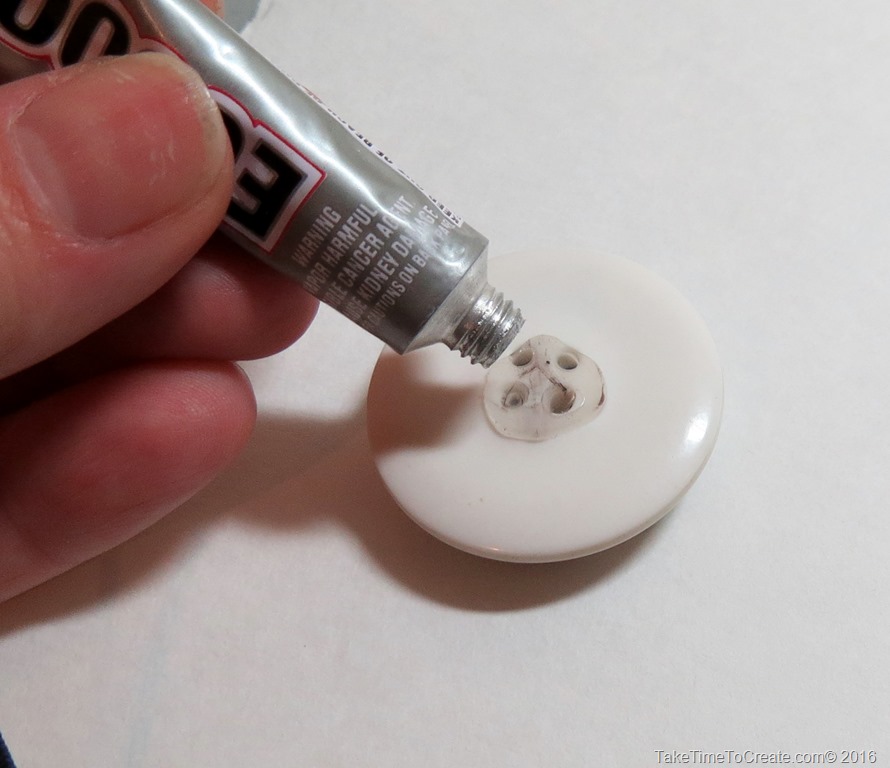
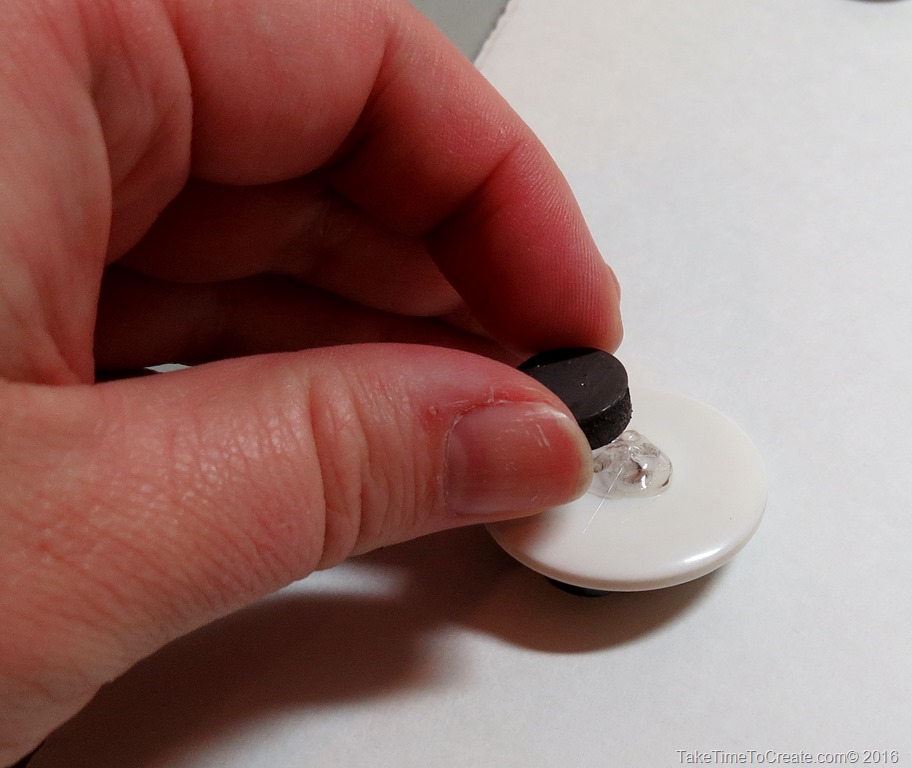
~ Glue the back of the button and add the magnet

Glue on the back of buttonAdd magnet to backAdd magnet to Button

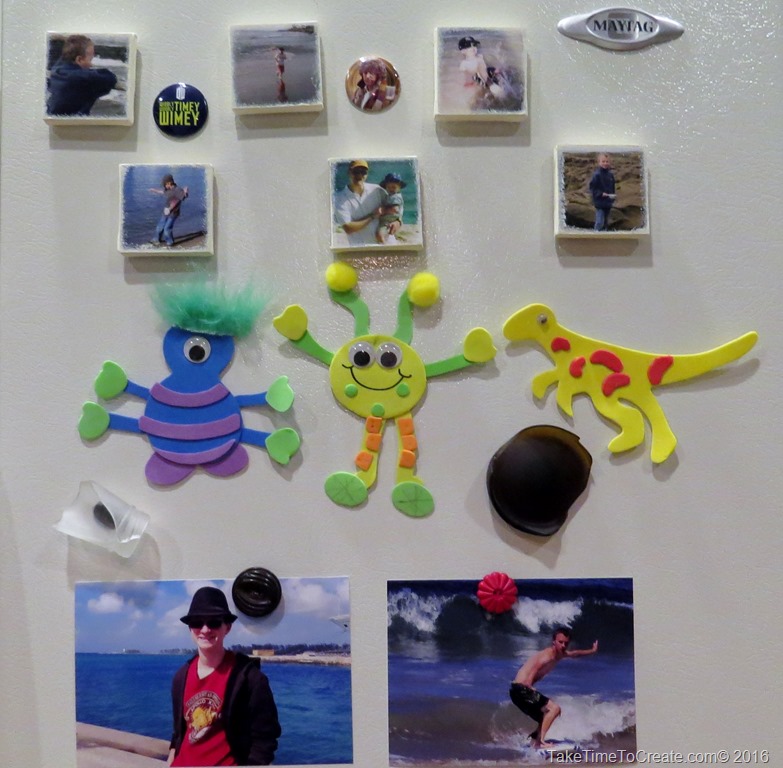
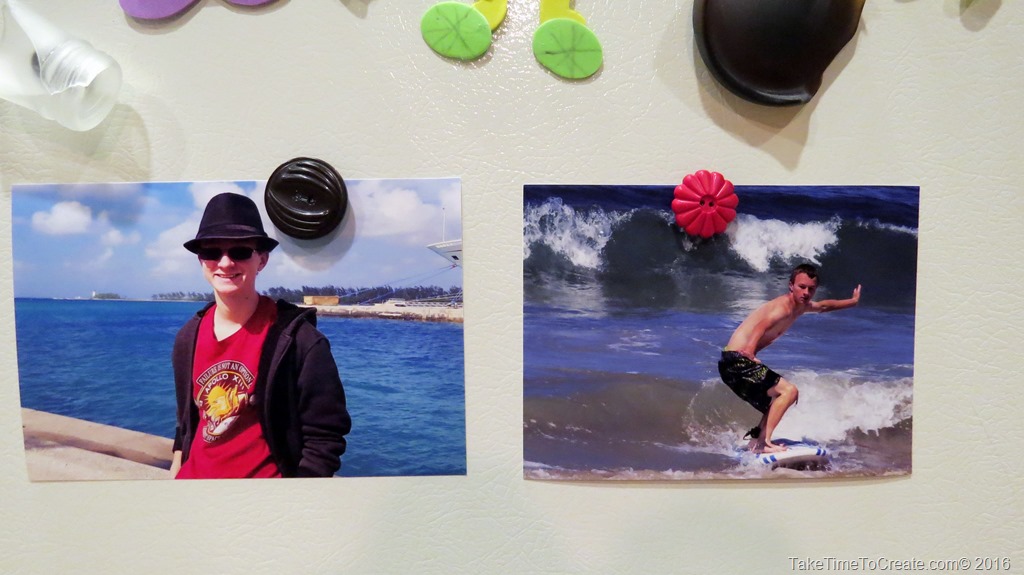
~ Wait for them to dry and then put them up on your fridge. You can see I use them to hold pictures of Cole. I love his monster and dino magnets he made when he was little. So cute! Sigh he is not so little anymore.

Stay tuned for DIYs on how I made the little canvas magnets and the bottle glass magnets.

Display button magnet     Display button magnet

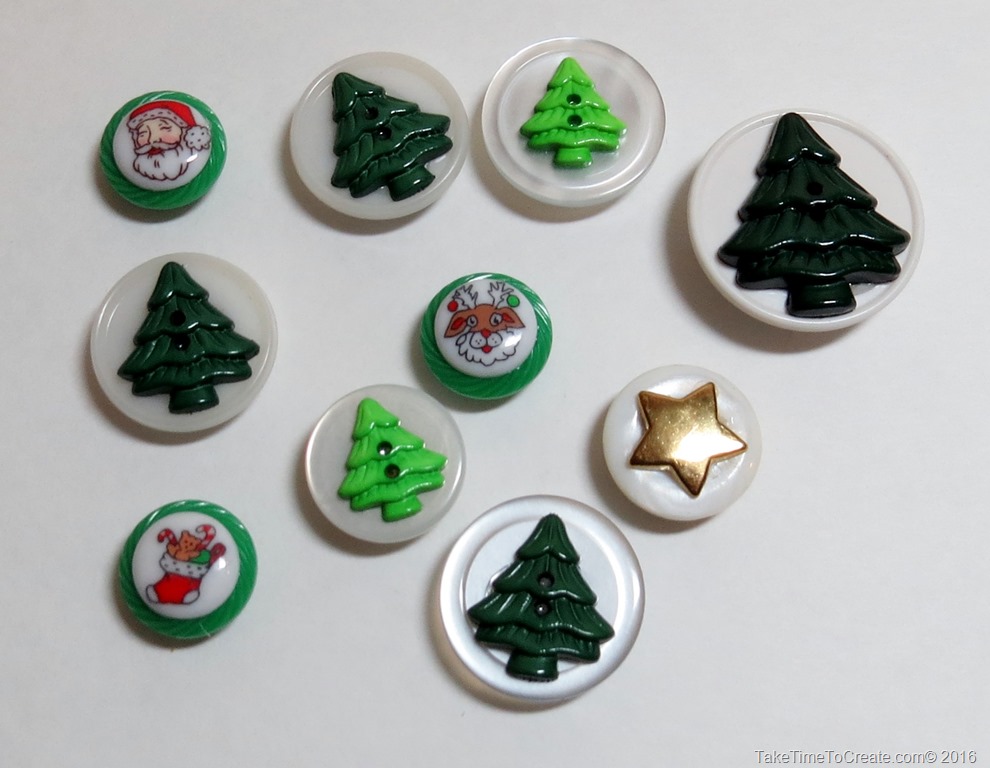
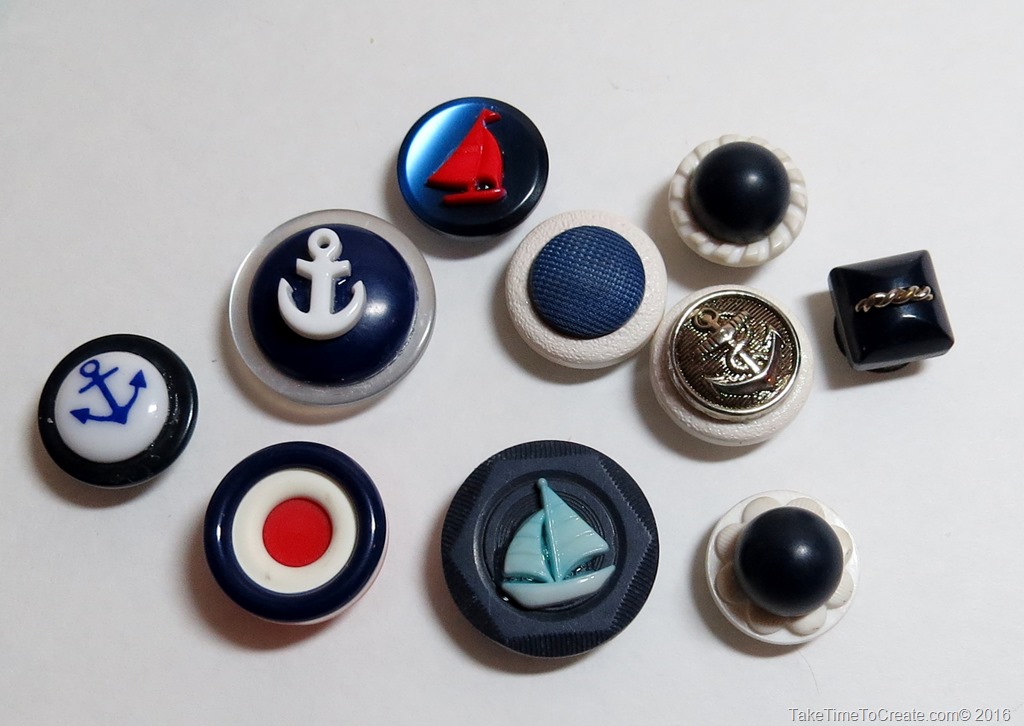
Here are some of the completed magnet sets that I have on Etsy just to give you an idea of what you can do with magnets and buttons. These make great house warming gifts!

Button magnets     Button magnets

Button magnets     Button magnets

Make Yarn Out of an Old T-shirt

Hello Everyone!

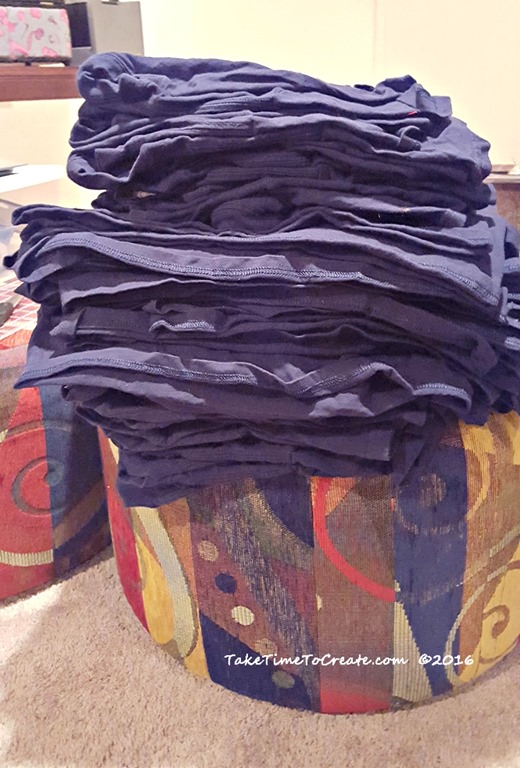
I hope your years is getting off to a great start. I am pretty excited because I have started on a project that I have been wanting to get started on for a long time. I got this huge stack of old t-shirts that had the wrong logo on them (this pic is only part of what I got). And since the shirts can’t be sold my friend gave them to me to make into yarn. This is not a new technique, but it is new to me and I am pretty excited in how it turned out. It is a perfect activity to do while I am watching TV. I am only part way through the stack, but eventually I will be done and then I am going to make rugs out of the yarn. Great way to upcycle old t-shirts and make something new.

stack of shirts

I didn’t connect the balls of yarn to make one big ball because I am not sure if I am going to braid the rug or crochet it. (if I crochet the rug I will need to combine the yarn, if I braid it then I will need to sew together the strips.) Either way when I do the rug I will be sure to do a  tutorial for you guys.

Here is how you turn in old t-shirt into yarn.

Materials

~Old T-shirt (make sure it is washed, if it is new this will take the sizing out and if it is from a thrift store it will make sure it is clean)

~ Scissors

~ ruler if you want, I didn’t use one but a ruler might make it easier to cut the strips.

Instructions

~ Lay the clean shirt on a flat surface. As you can see from the pics I am working on the floor, but that is just my preference. Make sure the shirt is flat and as smooth as possible.

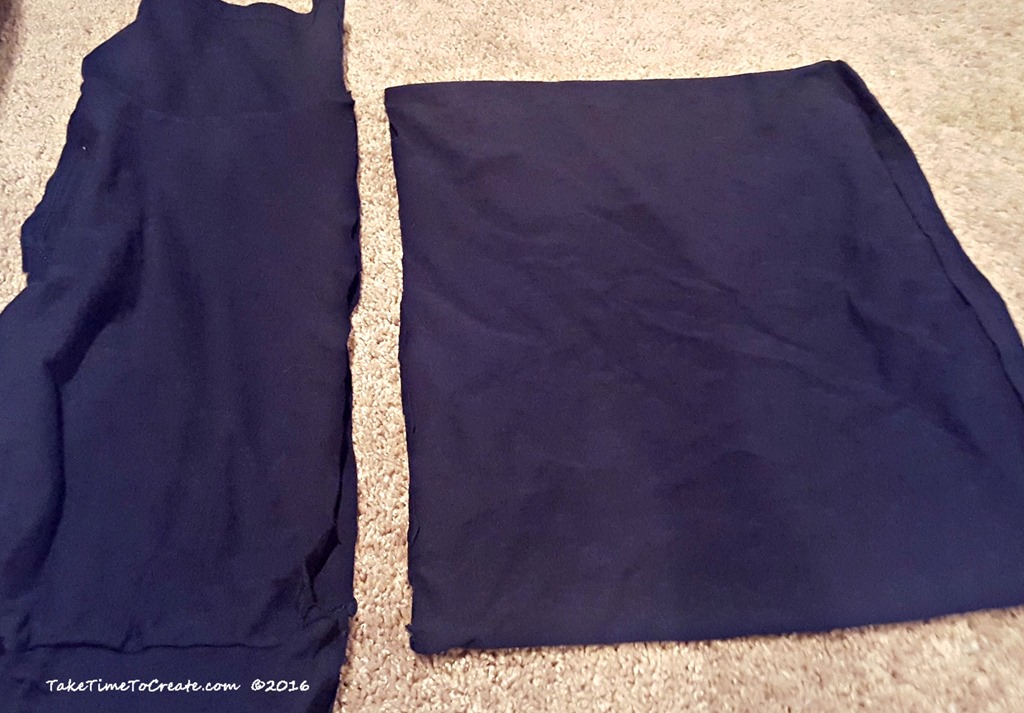
~Cut the top off right under the sleeves. (I am keeping this top part, not sure what I am going to do with them but I just can’t throw it away) Then Cut off the bottom hem. (I threw that part away)


Cut top and bottom off

top cut offbottom cut off

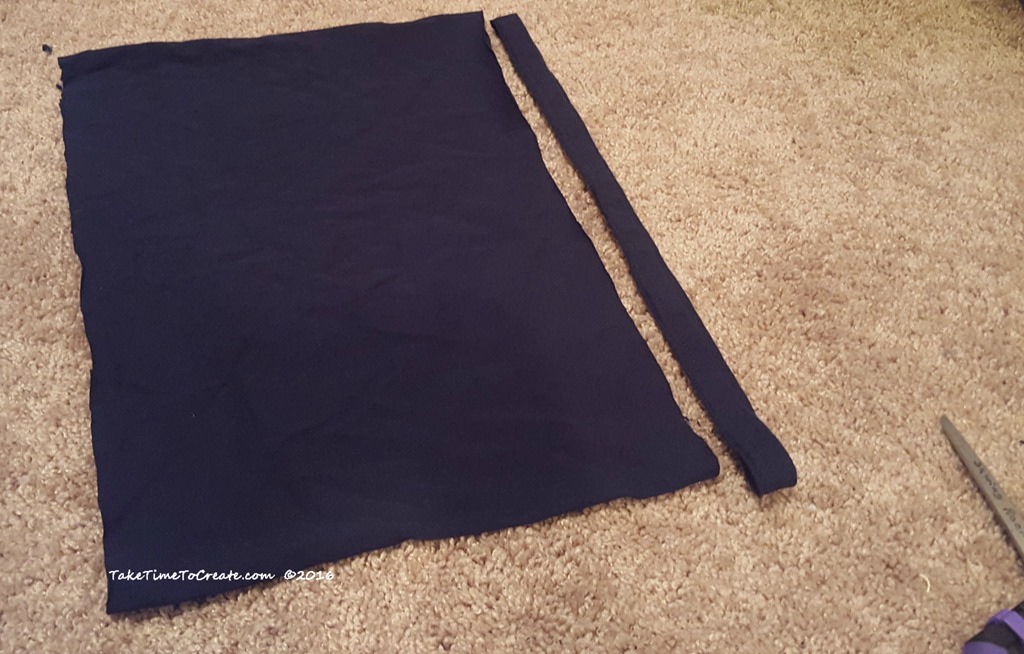
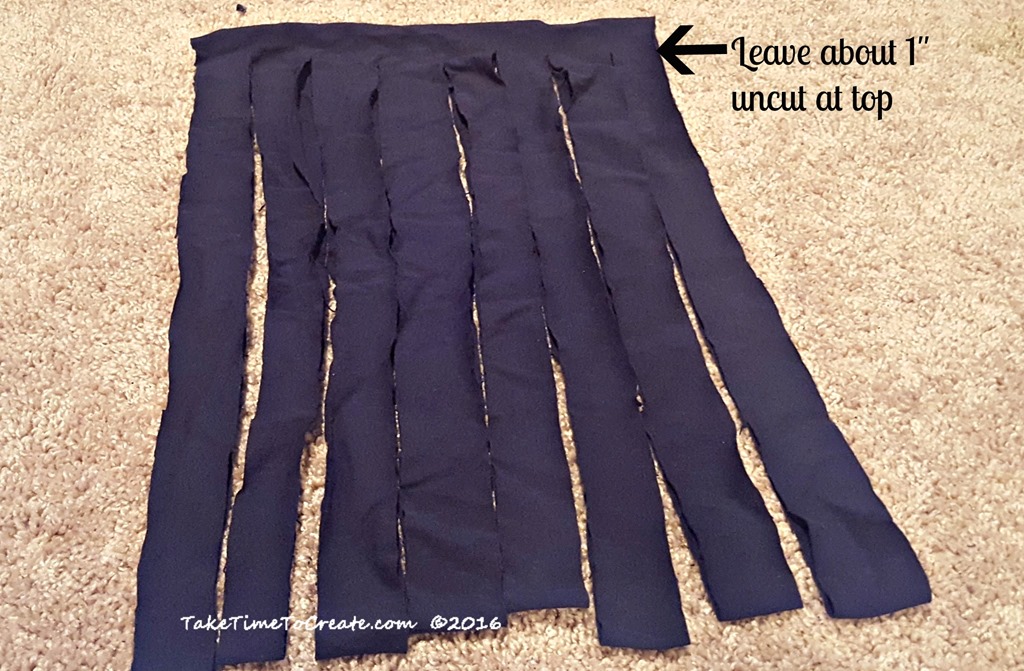
~ Then you want to cut the remaining shirt into strips. I cut mine about 1-1.5” wide.

***This is Important! Make sure you don’t cut all the way to the top! You will need this uncut area to make the yarn into one continuous length.

cut into strips

angeled cuts to make 

(This is what the top looks like with the uncut areas. You will cut it at an angle to make the strips, starting at the right end)

~ For this part refer to the pics, and please let me know if you have any questions.

To make the yarn cut off starting at the last strip and make an angle cut to the edge. Then cut the rest of the strips in an angle until you get to the end. I place the shirt on my arm and make the cuts on there, that just helps me keep track of were I need to go next.


cutting t shirt yarnwhere to cut for t shirt yarn

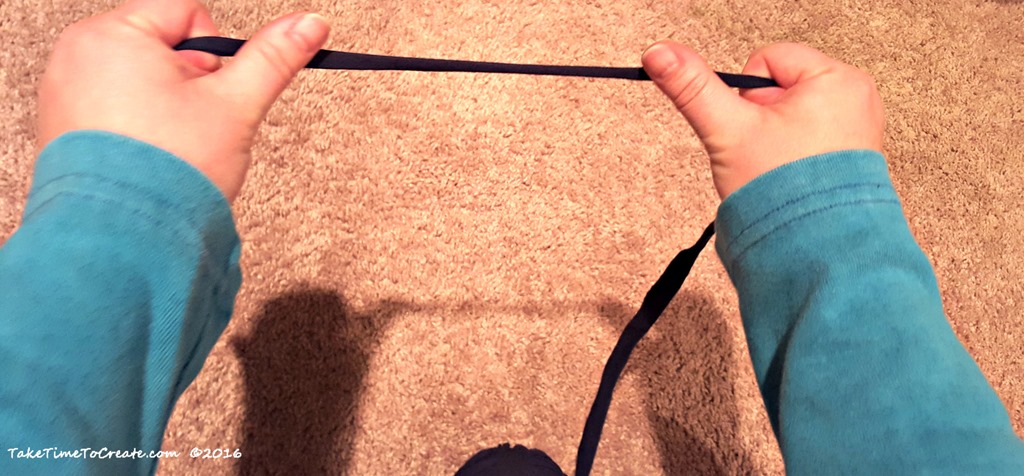
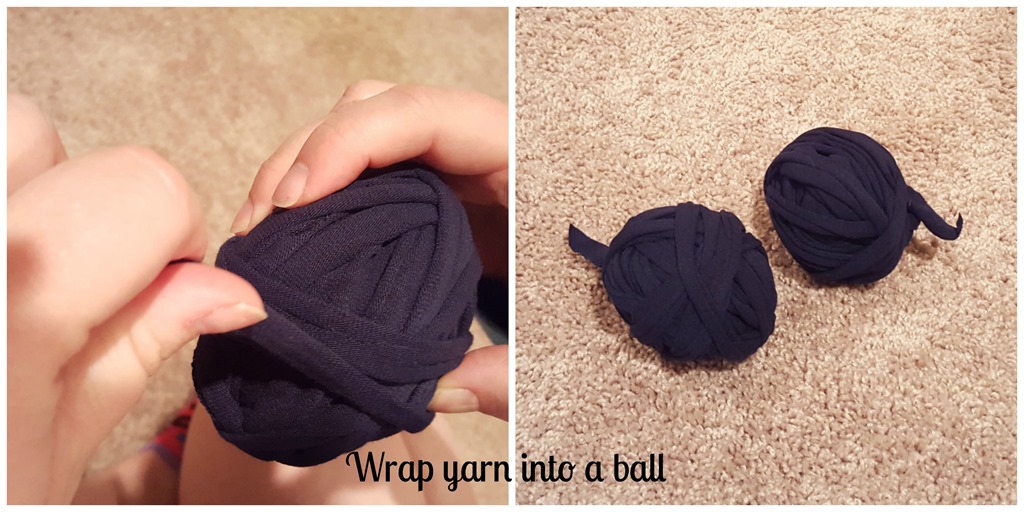
~ Once you have cut the entire shirt you should have on long length of T-shirt Yarn. Then gently stretch the yarn and then wrap it into a ball. I made individual balls because I am not sure if I want to combine them into one length or not, but this way I am keeping it all nice and neat until I am ready to use it.

stretch yarnwrap yarn

I know this may seem a little confusing, but I am here if you have any questions. Have any of you made t-shirt yarn before? I would love to some tips and tricks to make it better and or easier.

Jazzing Up a Simple T-shirt

Jazzing Up a Simple T-shirt

Continuing with another DIY for my birthday dinner I will show you what I did to jazz up a simple t-shirt from Old Navy. I had this plain black shirt in my closet that I never wore. I have a lot of plain black shirts, but this one never called out to me choosing my outfit for the day. So I decided it was time to spruce it up with some lace. A very easy DIY that turned a boring shirt into something that I wear all the time.

diy lace shirt

Here is how you do it:

Materials:

~ pre-washed t-shirt (you want make sure it is washed first in case there is shrinkage) I got mine from Old Navy on clearance

jazz up a plain t shirt with lace

~ lace

~ needle and thread, or sewing machine or glue

fabric glue

Instructions:

~ I wanted to try gluing the lace, I have never used this glue so I thought I would give it a try. I just glued the lace to the bottom of the shirt. The glue hold well and did wash well, but it took longer than sewing that is because I had to do it in sections and wait for each section to dry before I could move on to the next one.

glue lace to shirt

~ Since my lace does not stretch I decided to start and stop the lace at the seams on the bottom, that is so there is stretch and movement. I am not sure this was necessary, but it worked for this shirt. There is a small gap on the sides of the shirt, but it look intentional.

~ I sewed the lace to the sleeves, this was easier and faster than gluing. Just take the lace and sew a straight seam around the sleeve. This shirt is more like a tank top so the lace only covers a small part of my shoulder.

sew lace to shirt

I am loving how this turned out and I have worn it a few times since I make it. It can be dressed up for an evening out or dressed down for something more casual.

Easy diy add lace to a t shirt

I think I have a few more shirts in my closet that might need a little TLC.

diy lacy shirt

DIY Altered Necklace I wore to my Birthday Dinner

Hi All!

I am happy to be back in the swing of things and I am starting today off with a DIY necklace. I showed you this necklace last week, it is the one I wore to my birthday dinner with my hubby. It is just a simple alteration to make it more my style.

I think the results work for me, what do you think?

Linda getting ready for her birthday dinner

Here is how I did it.

Materials:

~ Necklace

~ Needle Nose pliers

~ Jump Rings or extra chain length

~ Metal Clippers


Instructions

~ I found this necklace at Wal-Mart on clearance. Yikes, it was a little much for me. I am not very tall (as in I  reach 5’1” if I stretch Smile  ) so when I wear  a necklace that is too big for me it looks like I am weighed down. For someone of my height more is not always better Smile

~ Take your necklace and cut off the parts you don’t want. I am saving them for another project.

alltered necklace

~ After I took off the parts I didn’t like I found that that the necklace was a little short, so I added a length of chain so that it fit me.

~ When you cut off the unnecessary pieces, save what you can  you might need it for later. I reused the metal clips holding the two pieces together.

Altered necklace cutting instructions


altered necklace reattached instructions

And that is it! Simple alteration to make the necklace into a necklace that I will wear all the time.

20160103_160703

Happy New Year!

Happy New Year!

New Years Day is always a fun one for me. Not only is it a start to a new year, but it is my birthday. I find it is nice to reflect on the year that has passed, but it is fun to wonder and speculate about the upcoming year.

This blog has been so much fun and I can’t wait to see where it goes next year! You guys are the best, I thoroughly enjoy all the comments and suggestions you give me. You guys make me want to create more, you inspire me.

I have big plans for the blog this year. I want to do 2 projects a week (ambitious I know, but I think I can make it happen most of the time) and I will feature new and old products so you guys can see what I use and what is out there for your projects.
It is going to be a fun year and I am excited that you will make the journey with me.

Linda

Here is a sneak peak of next week’s projects. I wore this outfit for my birthday dinner with my hubby. I am wearing an altered necklace and I added lace to my shirt. I will show you how next week.

20160101_150243

DIY Shirt and altered necklace

20160101_150441

DIY Shirt and altered necklace

DIY Shirt and altered necklace


Continue reading →