We went to Walt Disney World in January so we got to try out the new Magic Bands. This was my first time using them, and overall I was impressed. But I couldn’t just leave it plain, oh no! I needed to decorate it!
I decided on a Steampunk tribute to Beauty and the Beast.
Update 4.4.2017: I just uploaded a video to You Tube describing this in more detail. Check it out: Steampunk Magic Band You Tube Video
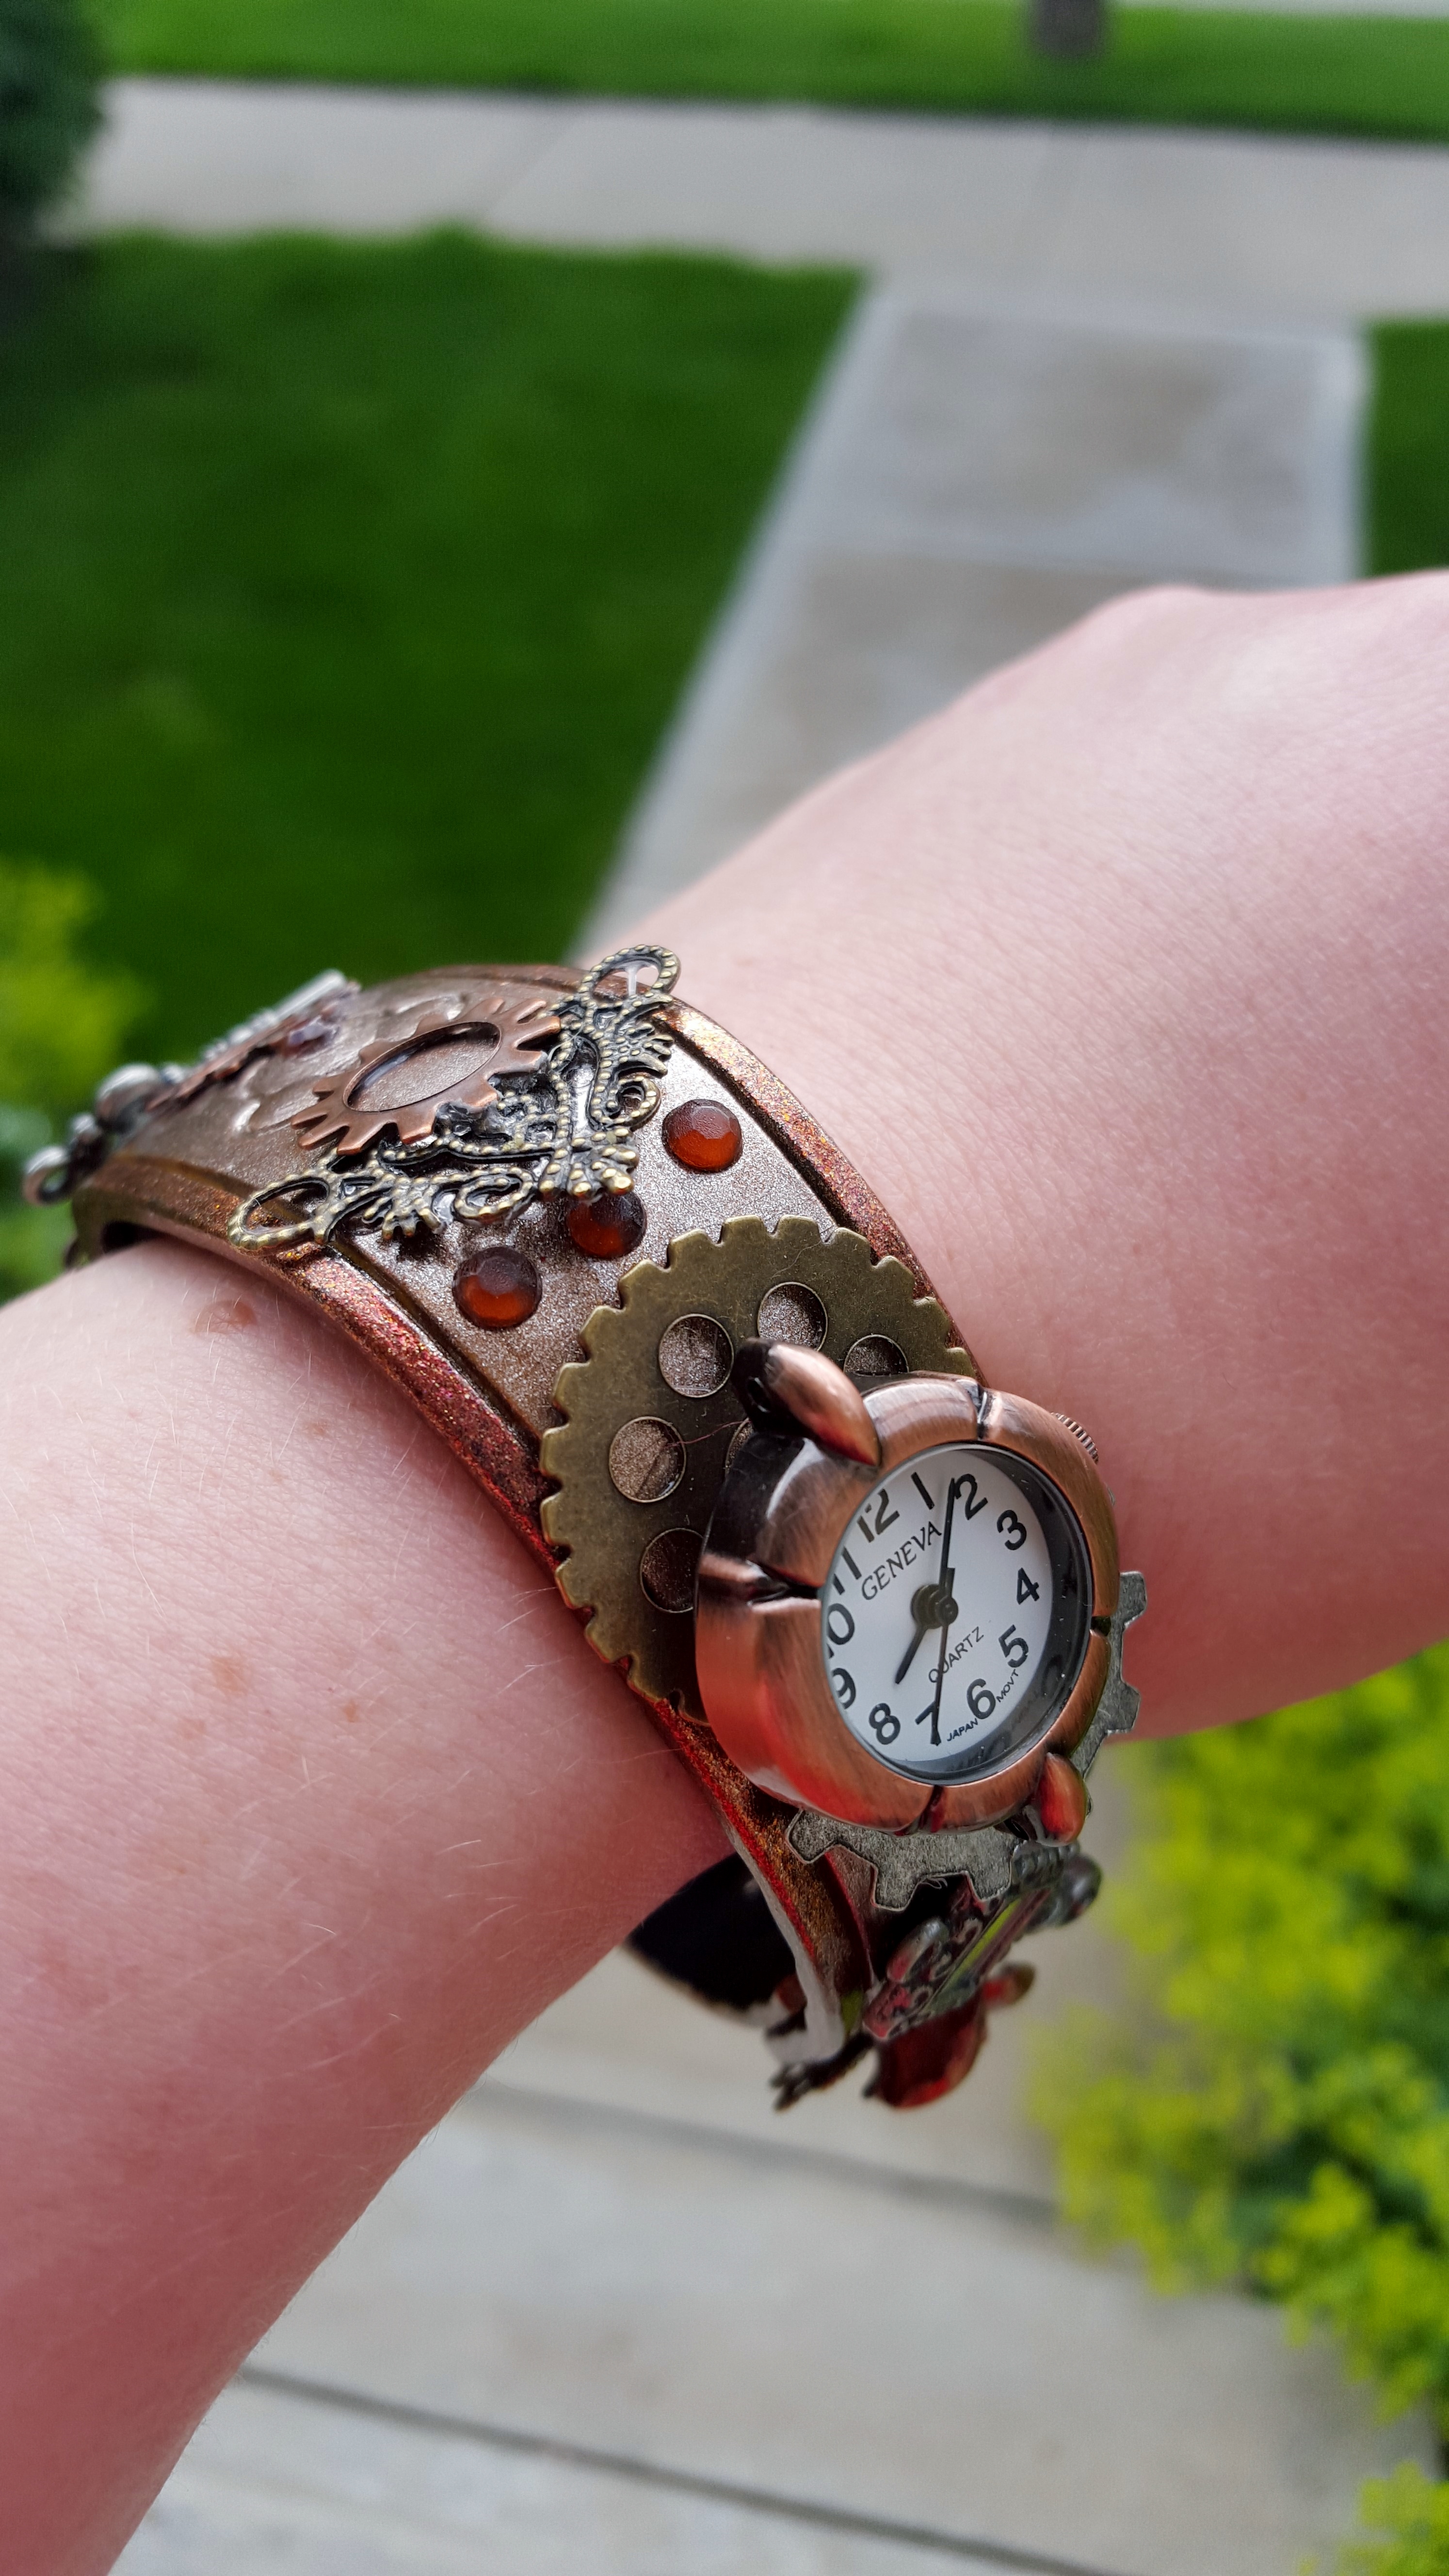
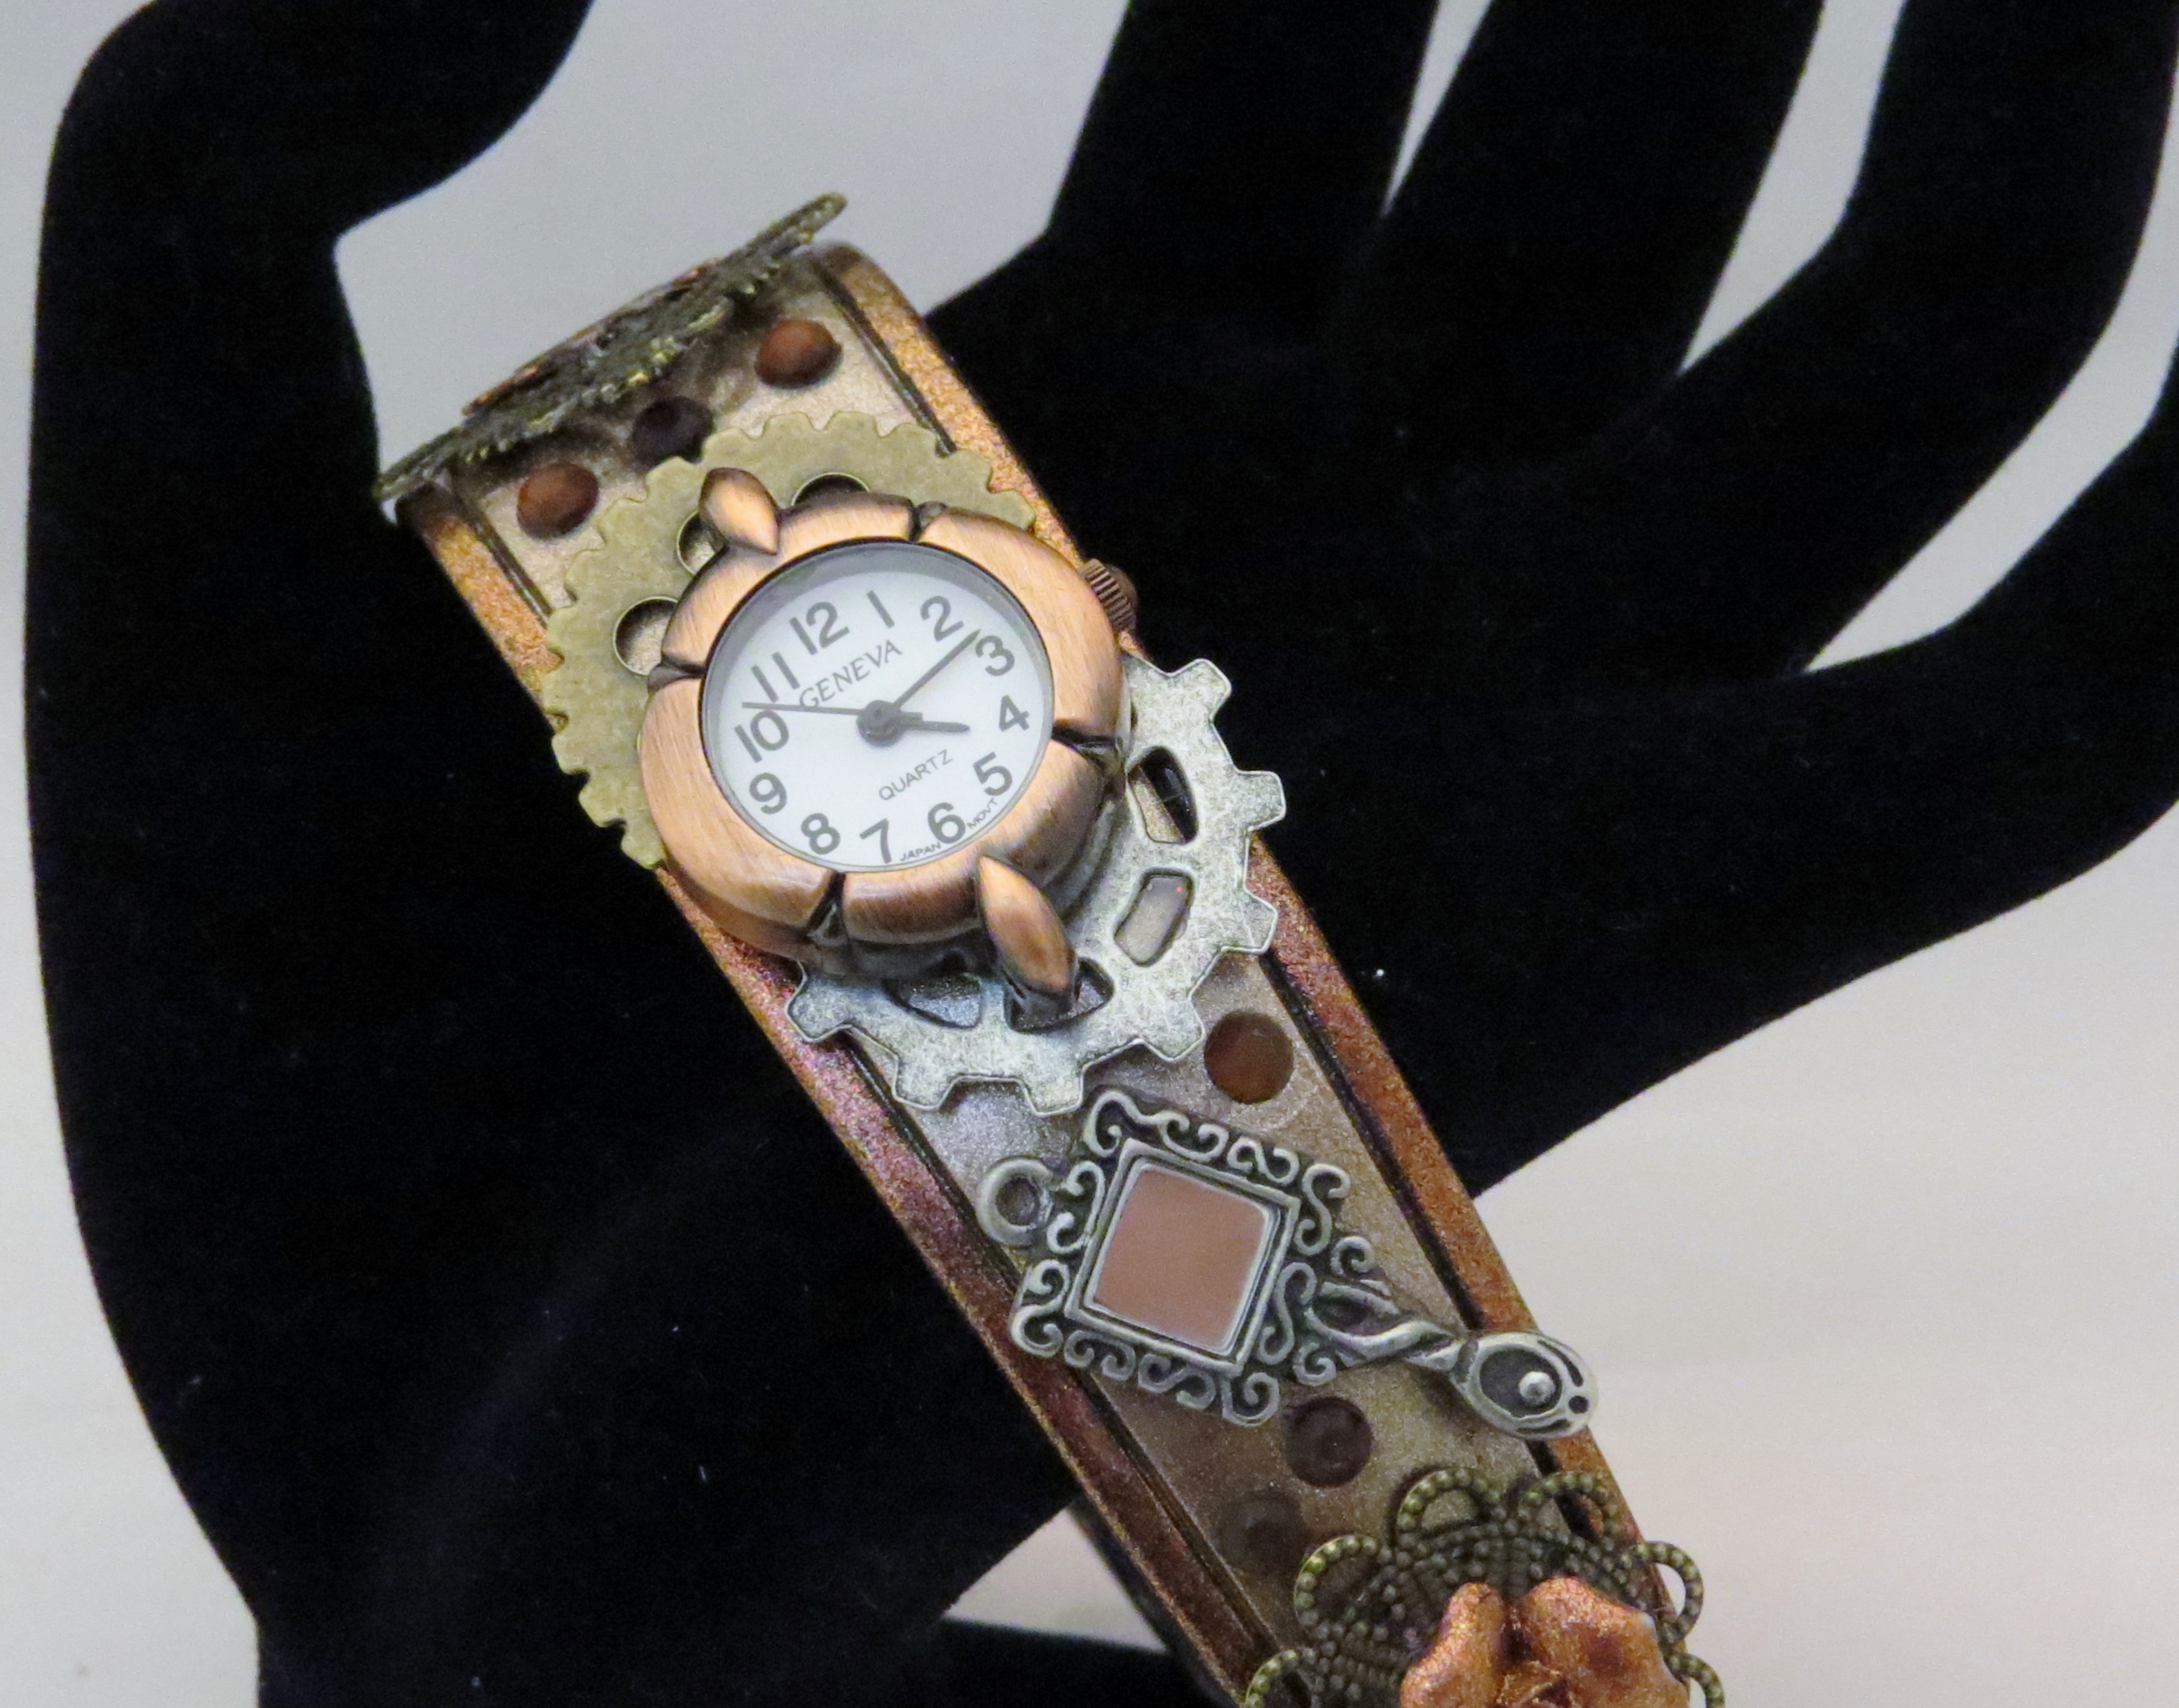
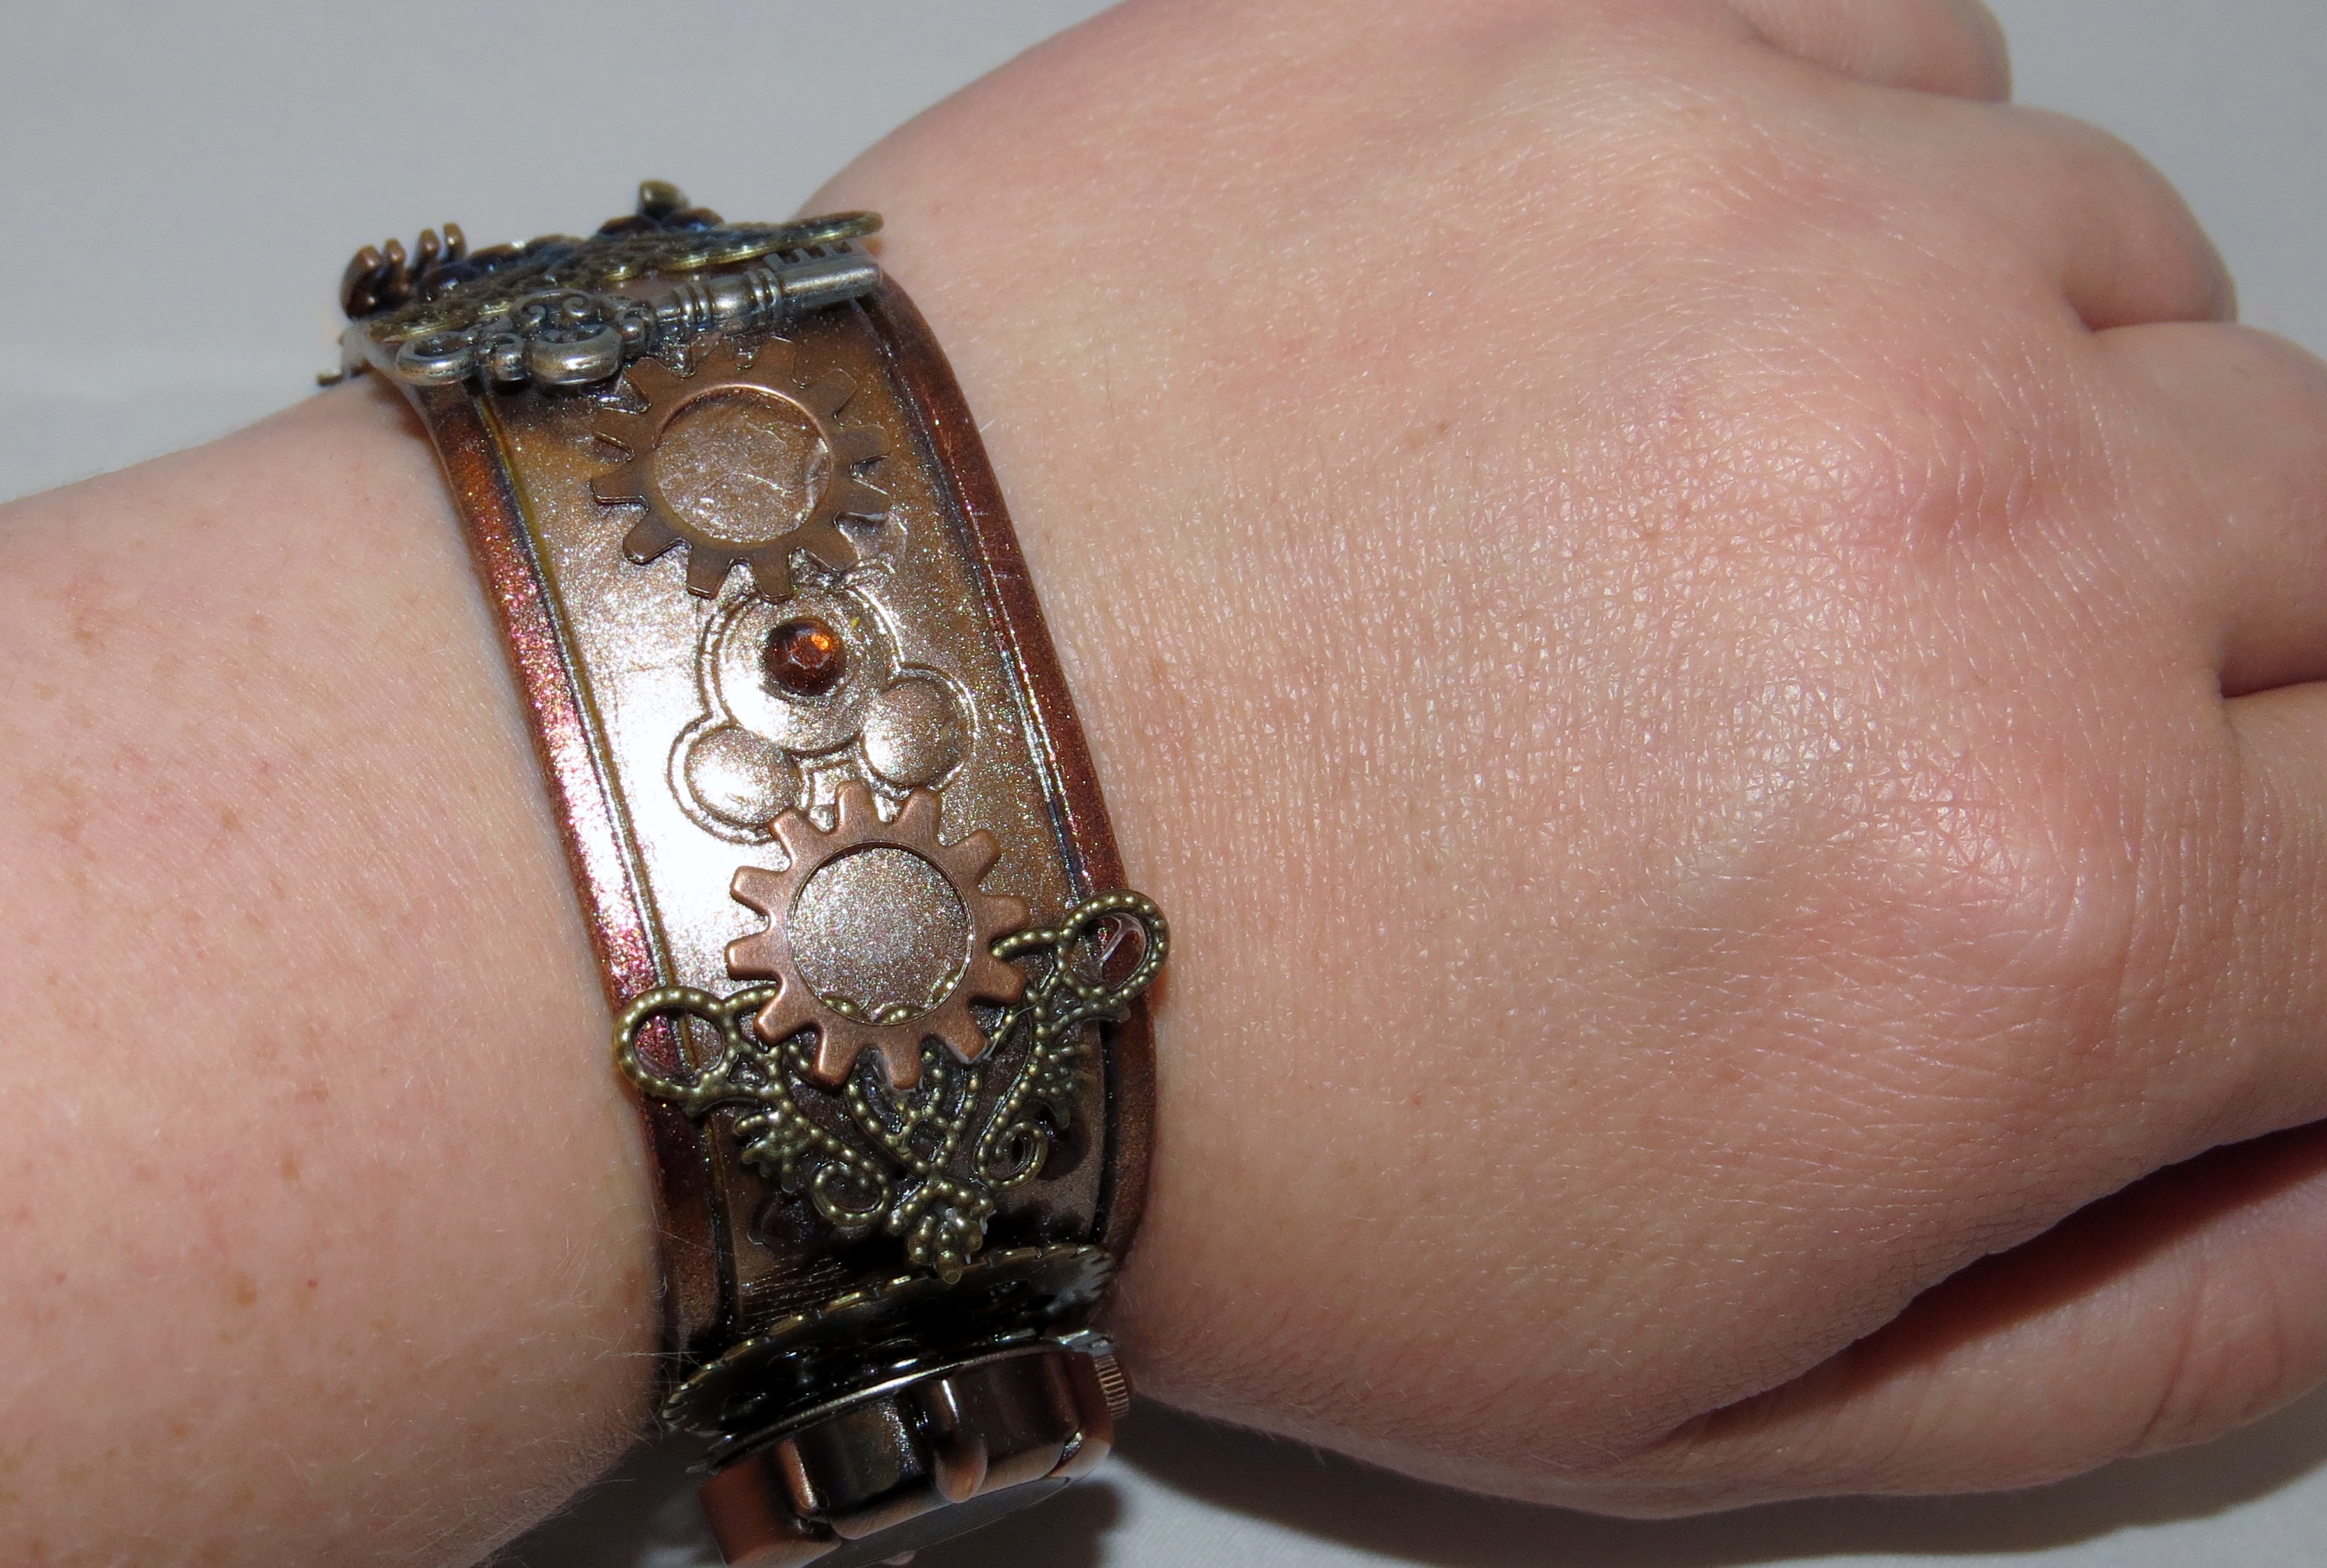
Here is the finished Magic Band! I have to say, I really love how it turned out!

Finished Magic Band
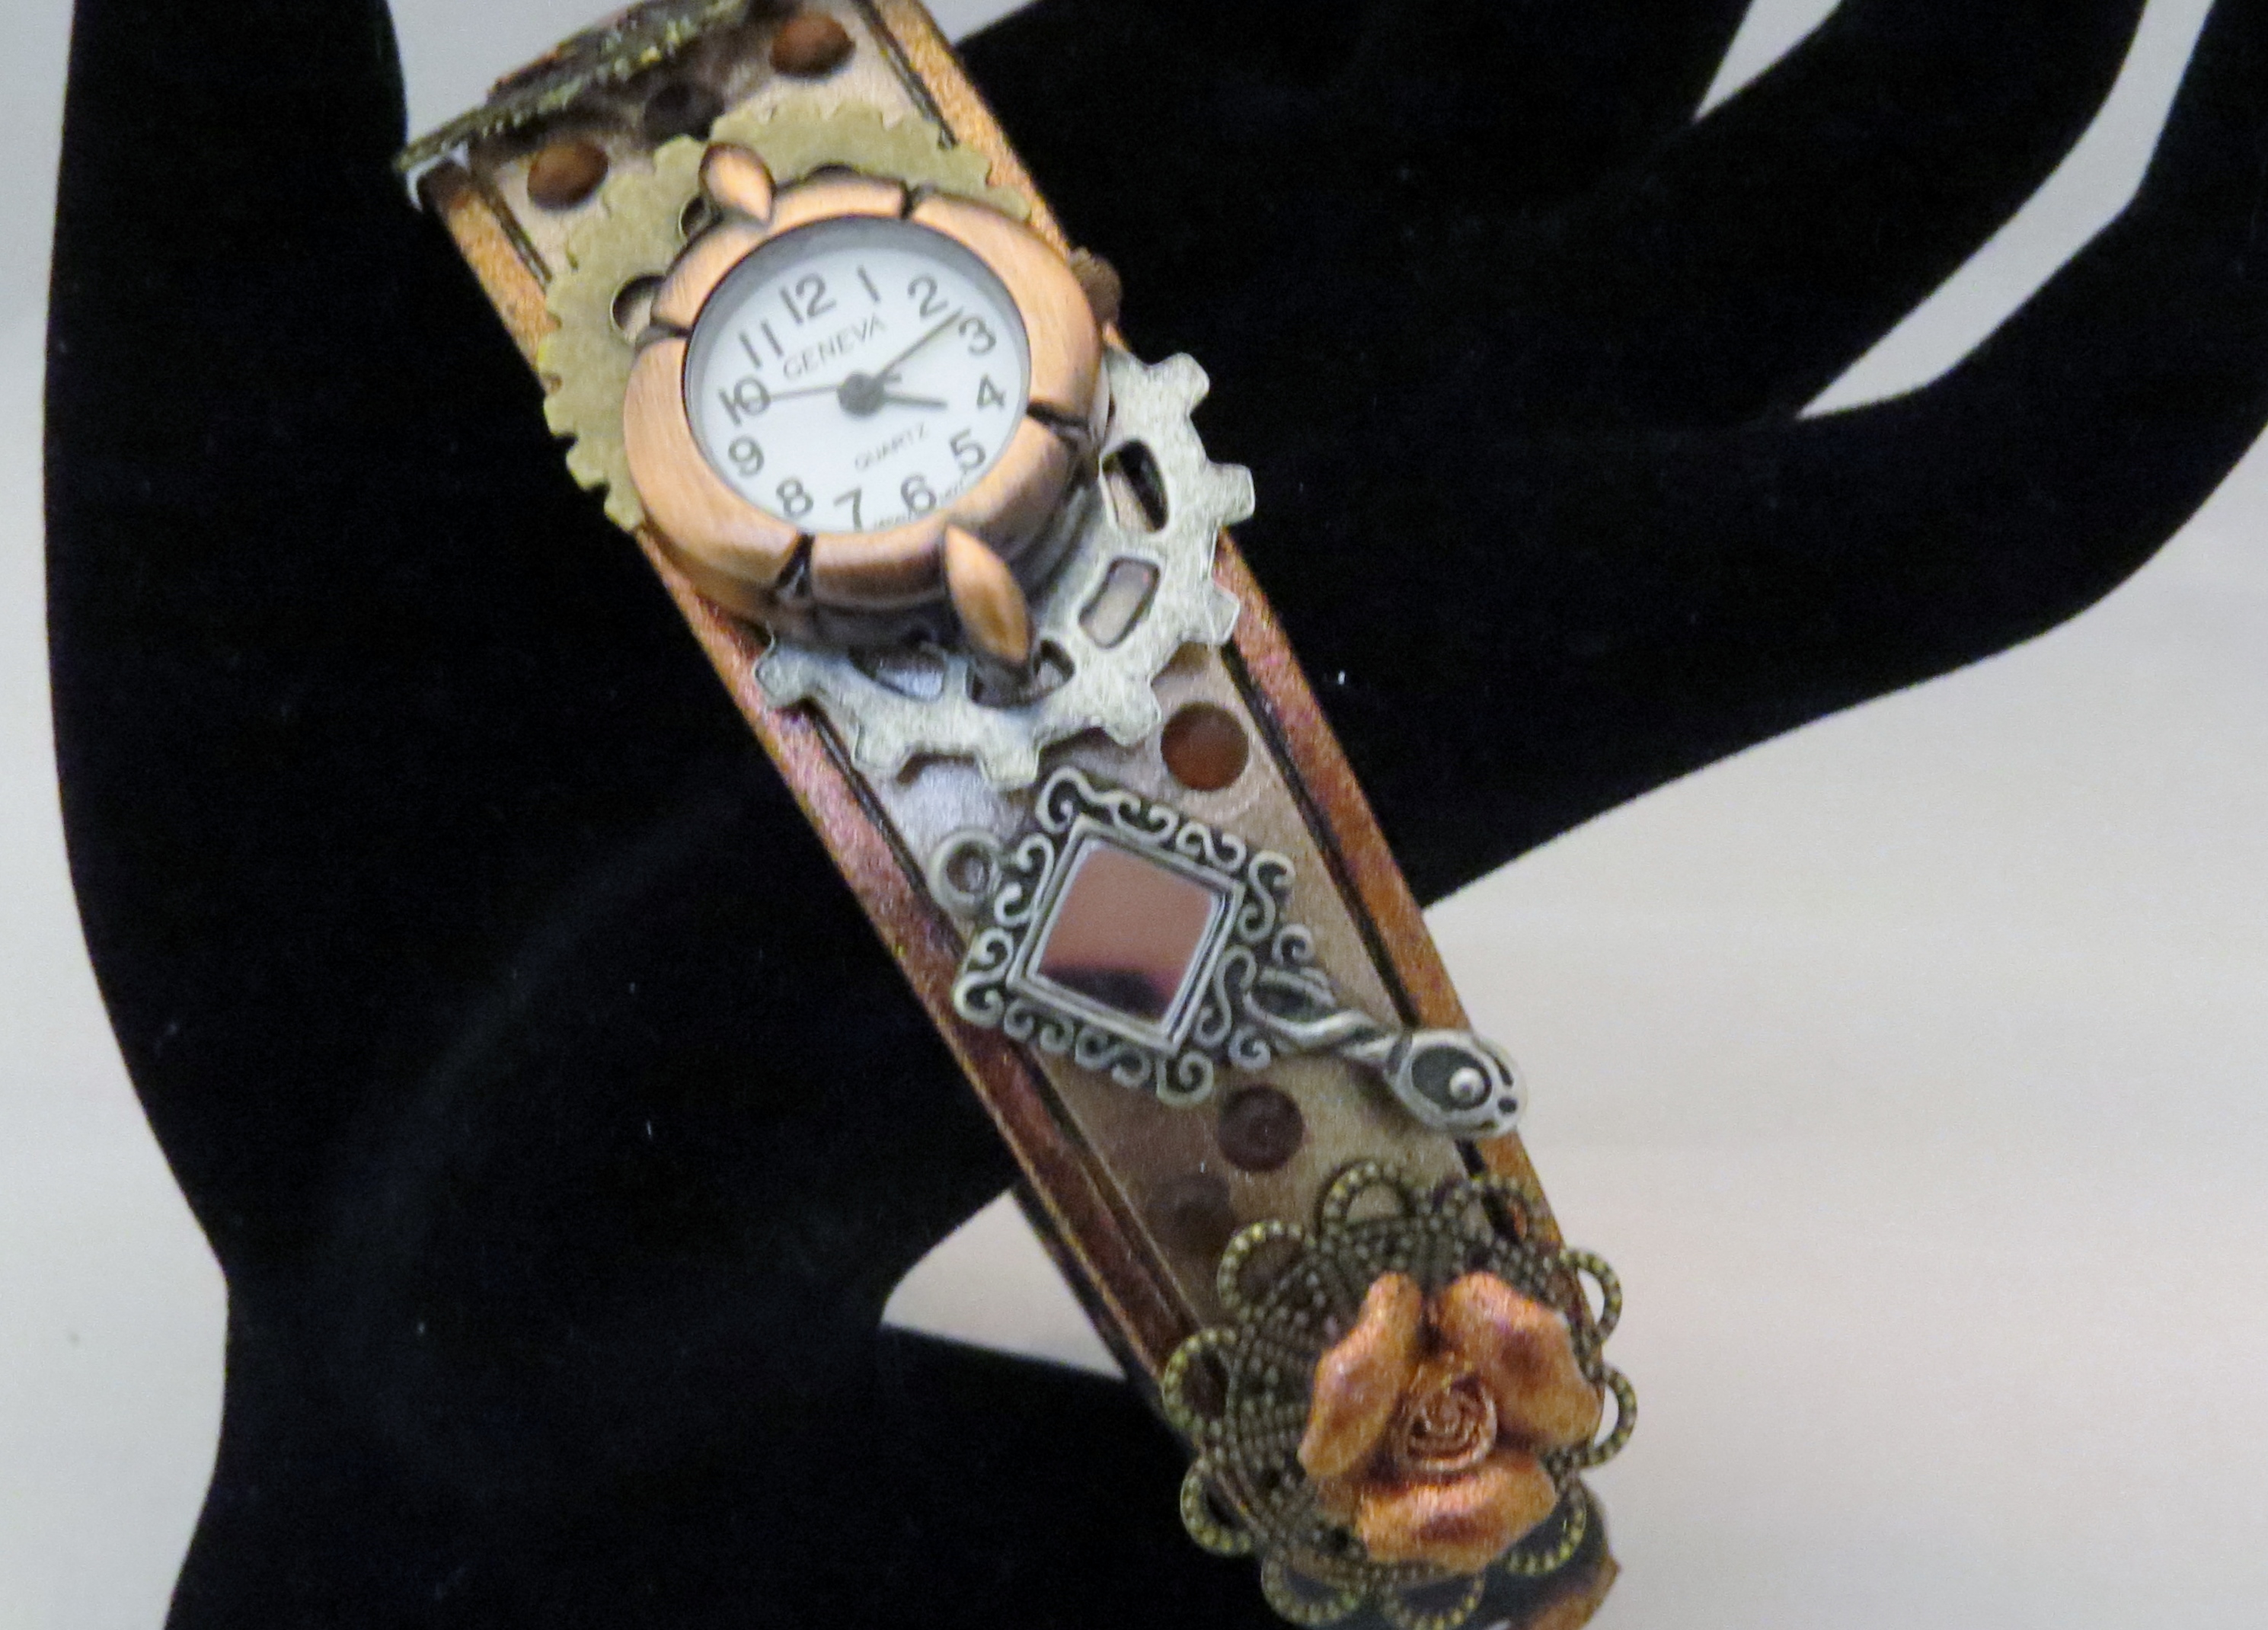
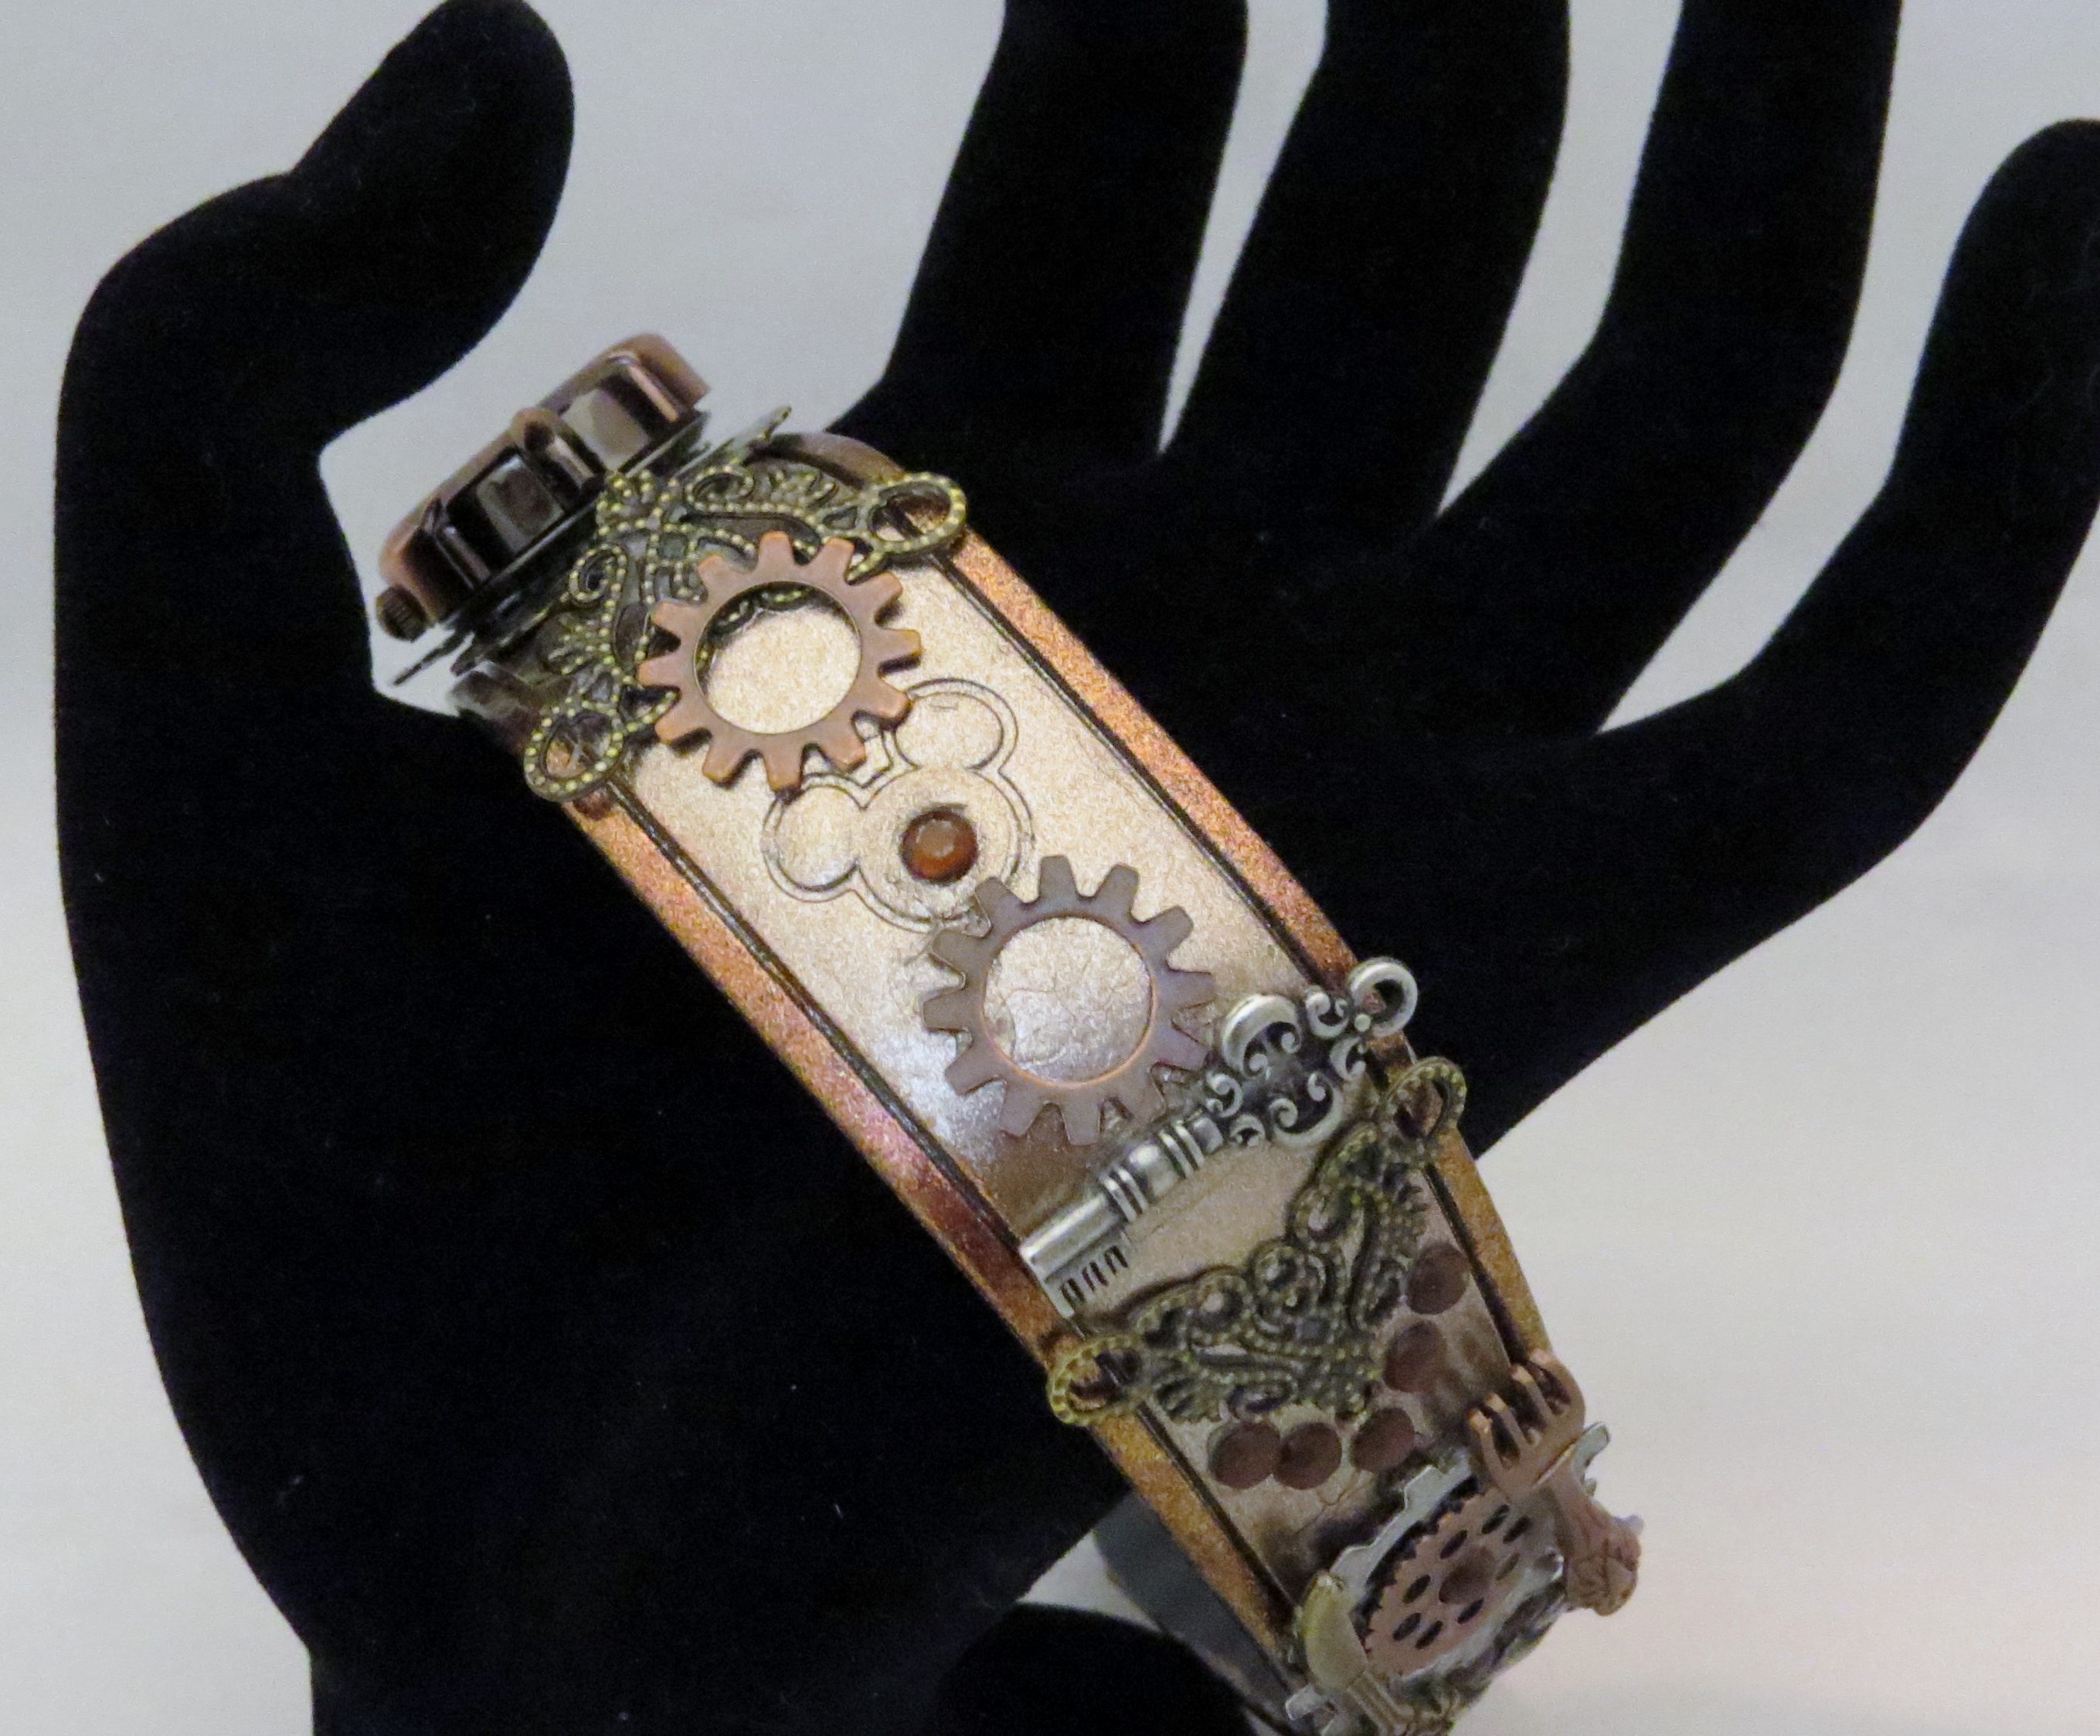
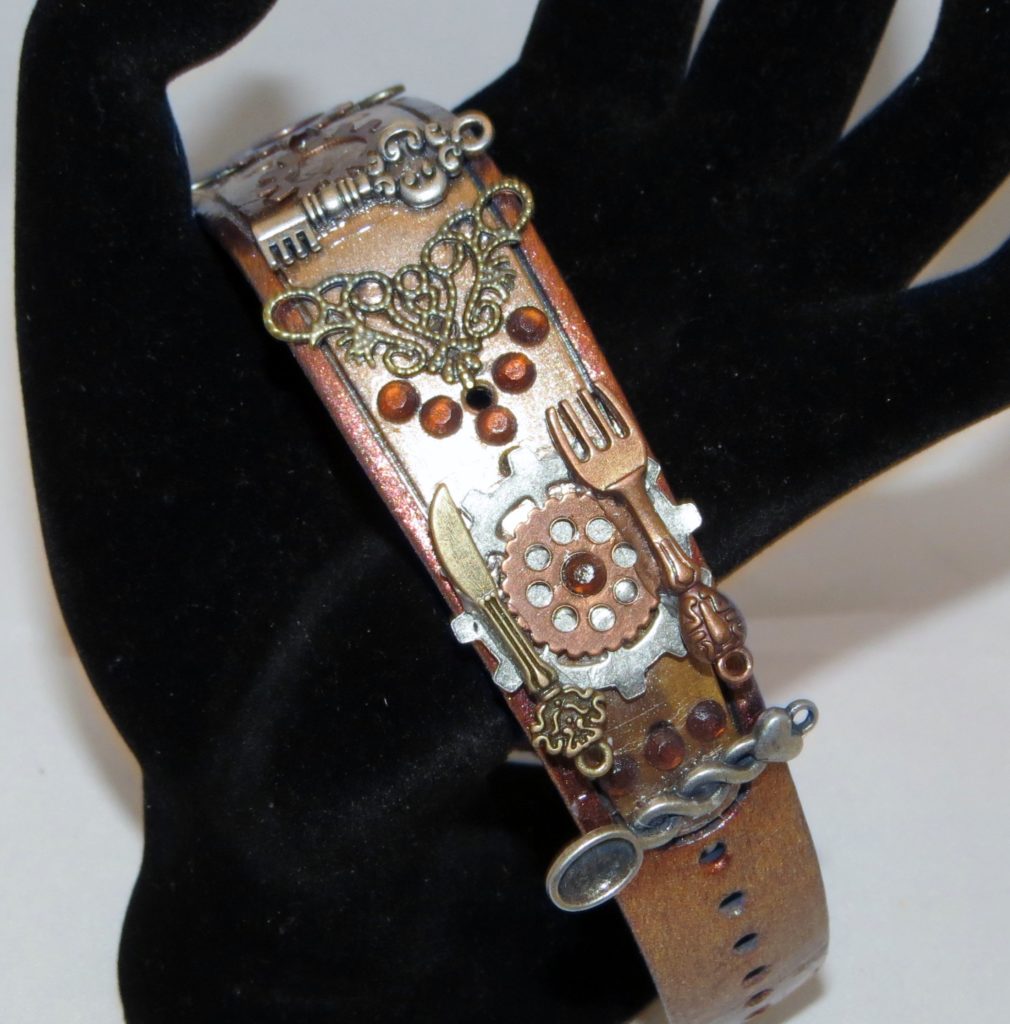
Top of finished magic band
I think it turned out pretty cool. Unfortunately there are no pictures of me during the creation processes, but I do have the finished product. I wore it every day for a week and it held up great. I was gentle with it, but not overly so. I only had 1 piece fall off and I just replace it that night. I brought with me a small bottle of E6000 and some spare pieces for just such an occasion.
Material needed
- E6000
- Steampunk pieces ( I found mine in the jewelry section at Michael’s)
- Watch face (I found mine on Etsy)
- Rhinestones (again, Michael’s to the rescue).
- Nail polish and top coat
- Empty water bottle to hold Magic Band while you are working
Here is what I did to decorate the Magic Band
- I cut the band down to size so it fit me.
- I put the band around a water bottle so that I could work on it.
- I painted the band with nail polish in 2 colors. I can’t remember what the colors were but one was a Sally Hansen and the other was an OPI. I used several coats to get the color I wanted. The inside part is a different color from the outside edge.
- Then I put a few layers of top coat of nail polish on.
- Then I started gluing on the pieces with E6000. I started with a few pieces and then started adding a few more. I wanted a layered look that had a lot going on, but not too much…
- I went over the top of the rhinestones with top coat so that they would stay down. This did take away from the shine, but they stuck better.
- As you decorate make sure you don’t cover your Mickey head, it won’t work if you do (believe me, originally I did have something covering the Mickey and it didn’t work so I had to take my repair kit out and fix it…)
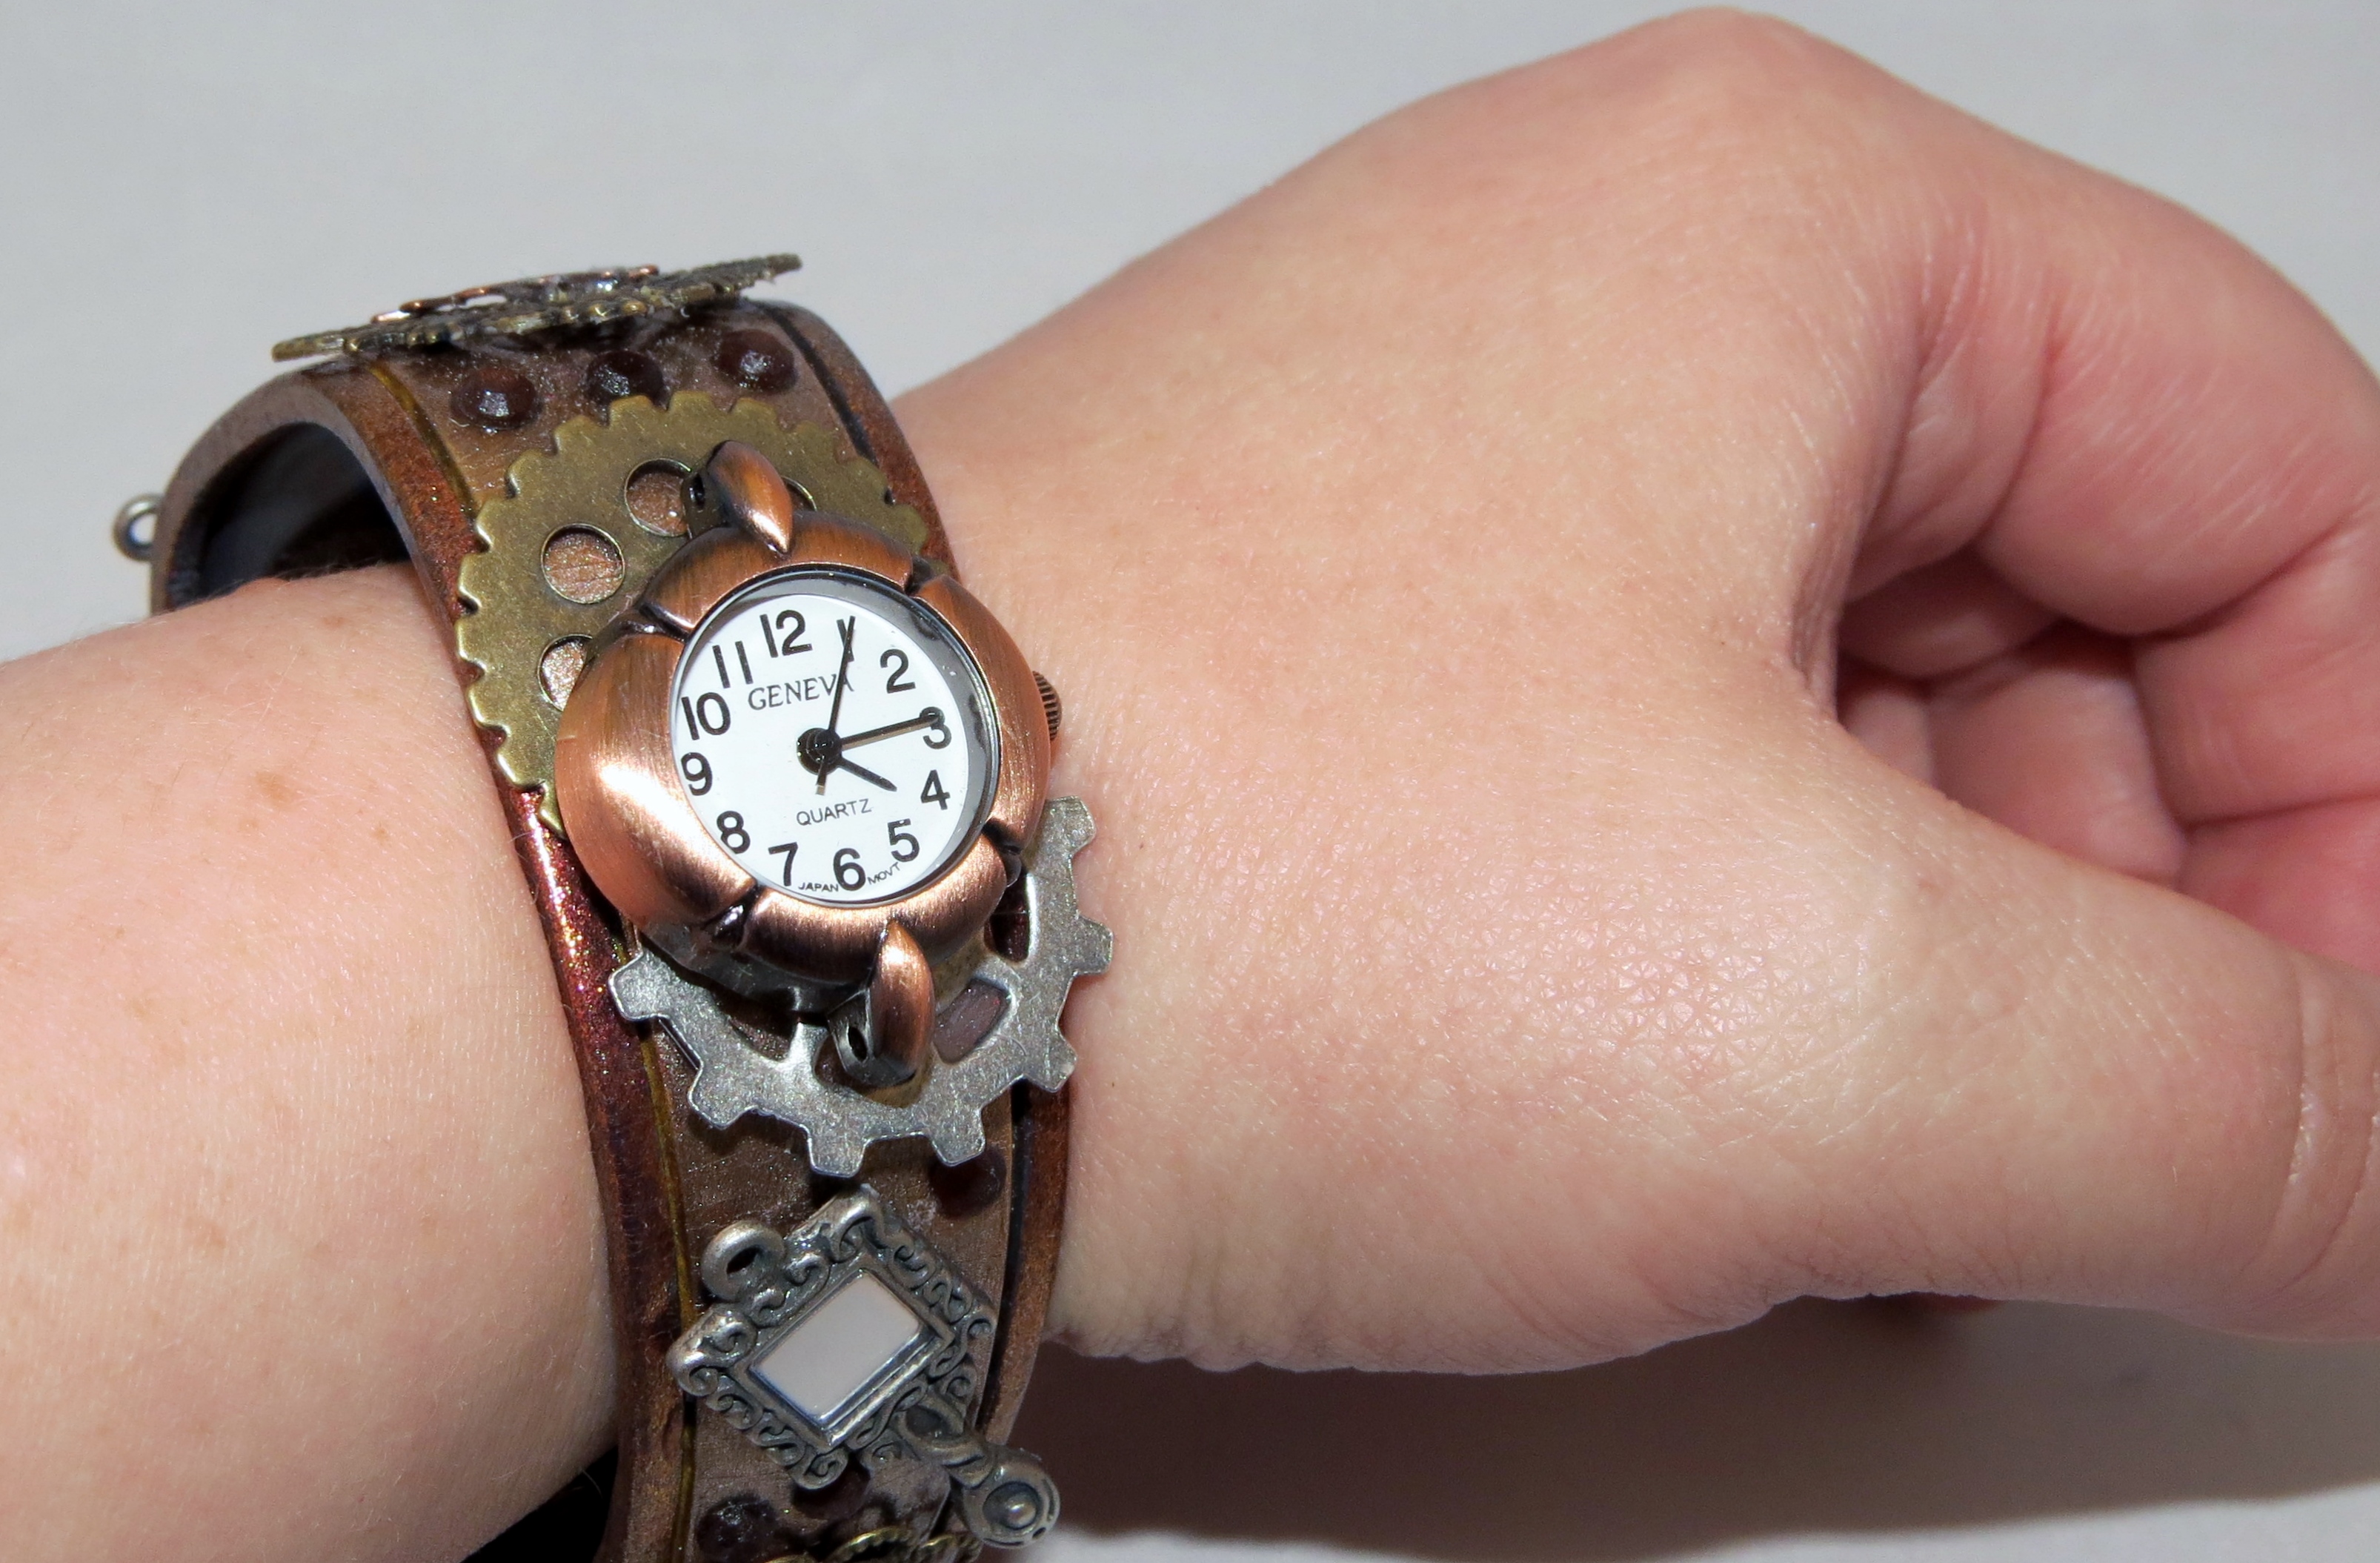
- I added a watch face to my Magic Band. I wore it on my left wrist, right where I wear my watch and I didn’t want to have to wear both, so I added a watch to my Magic Band. It worked great! The watch stayed on perfectly and worked the whole time!
I think that is everything I did. Let me know if you have questions and I will be happy to answer. I would love to see your versions of your Magic Bands!
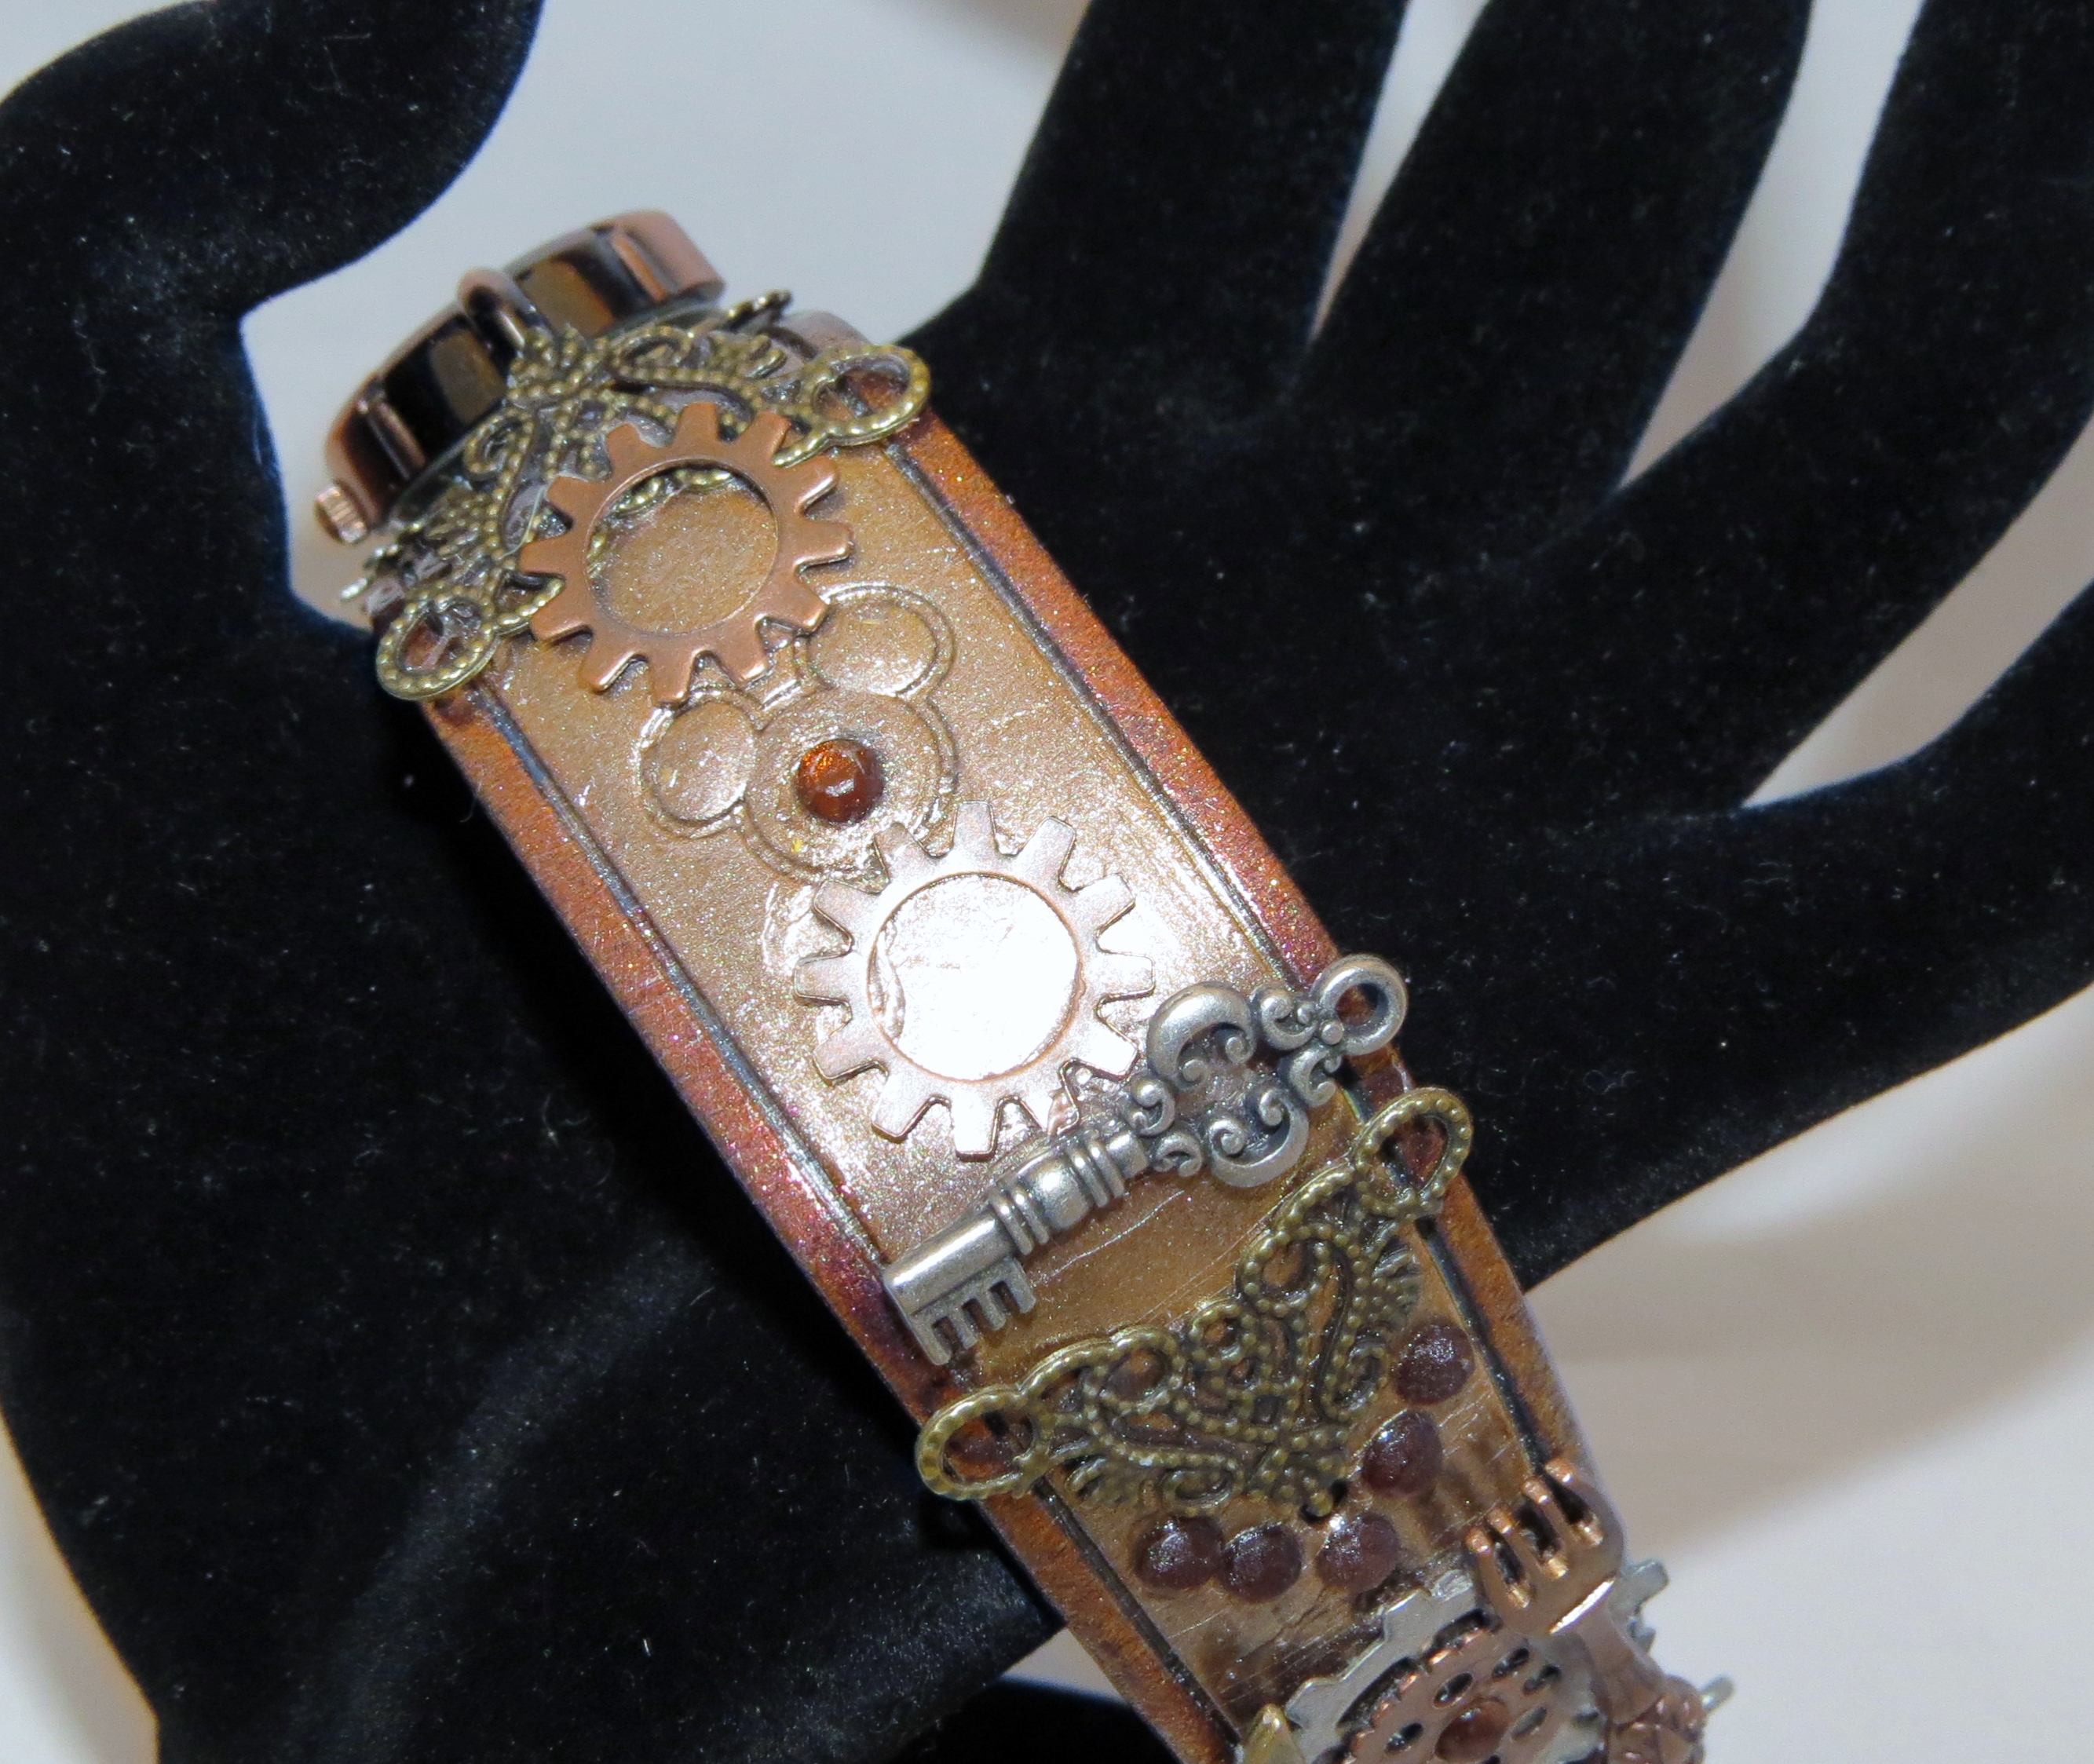
Here are a few more pictures from all different angles. I wore it with the Mickey facing out and the watch face on the inside so I could see it.

Side of the magic band that faces inside, with the watch facing me


Like this:
Like Loading...

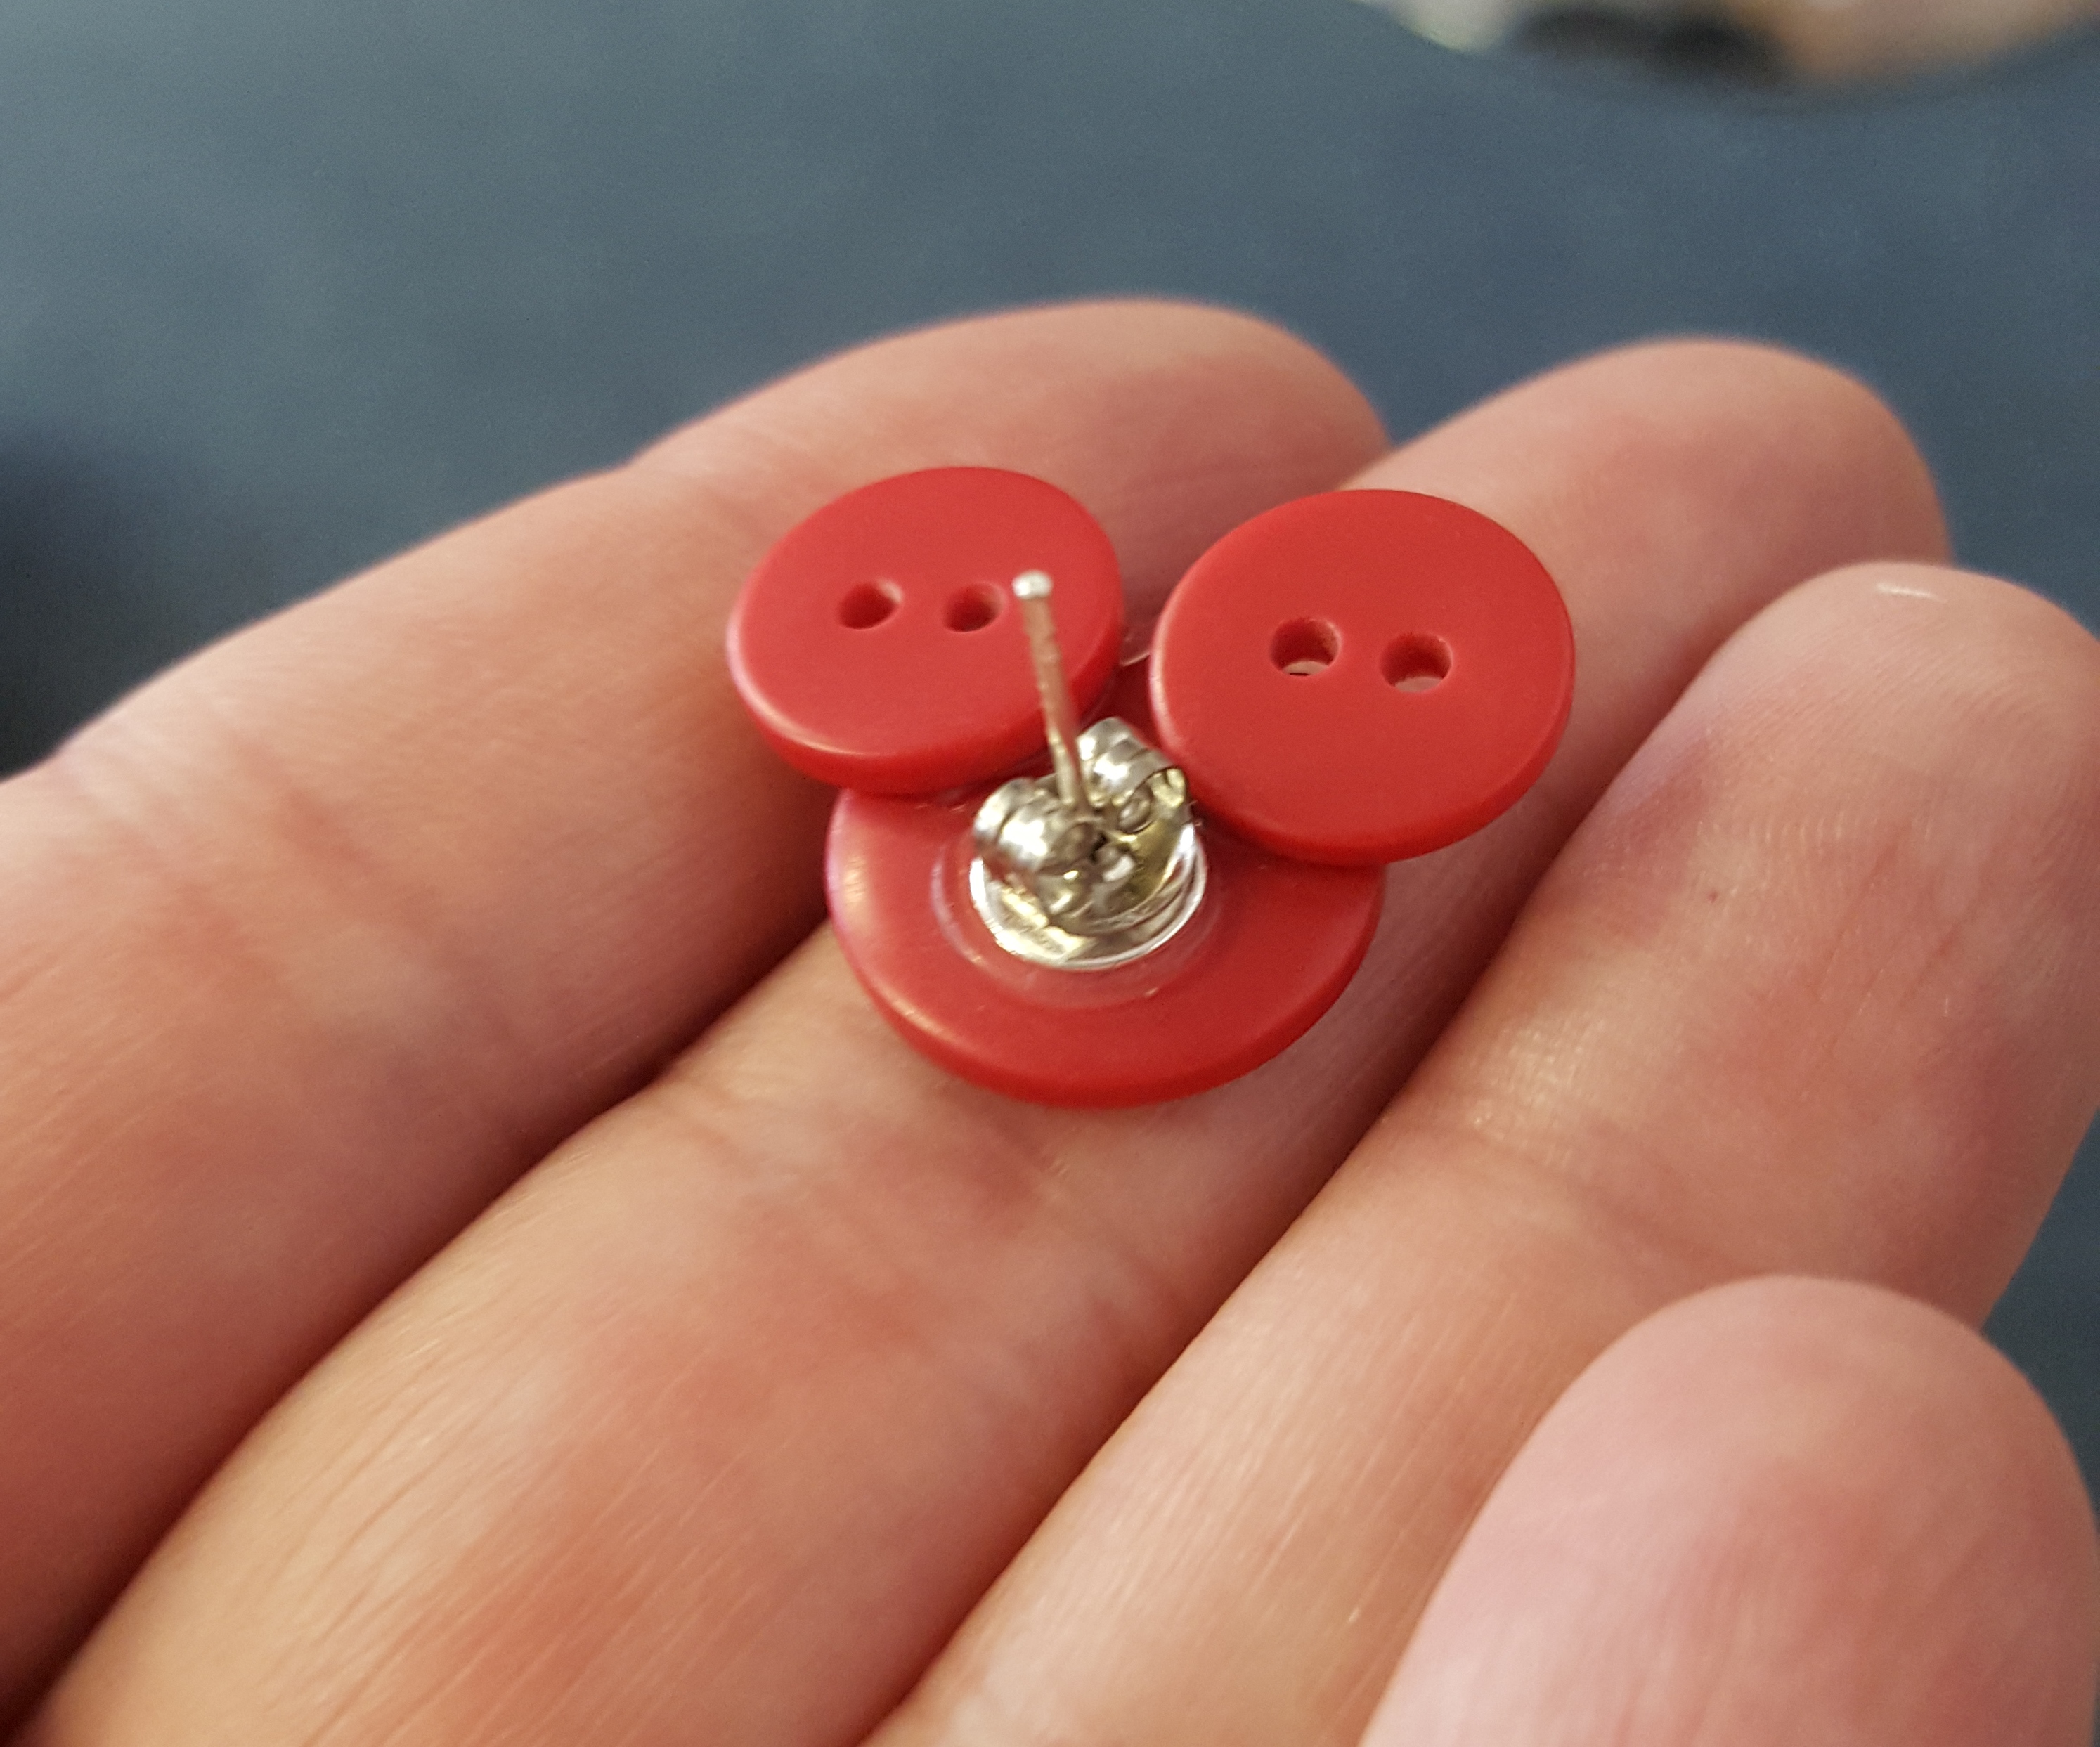
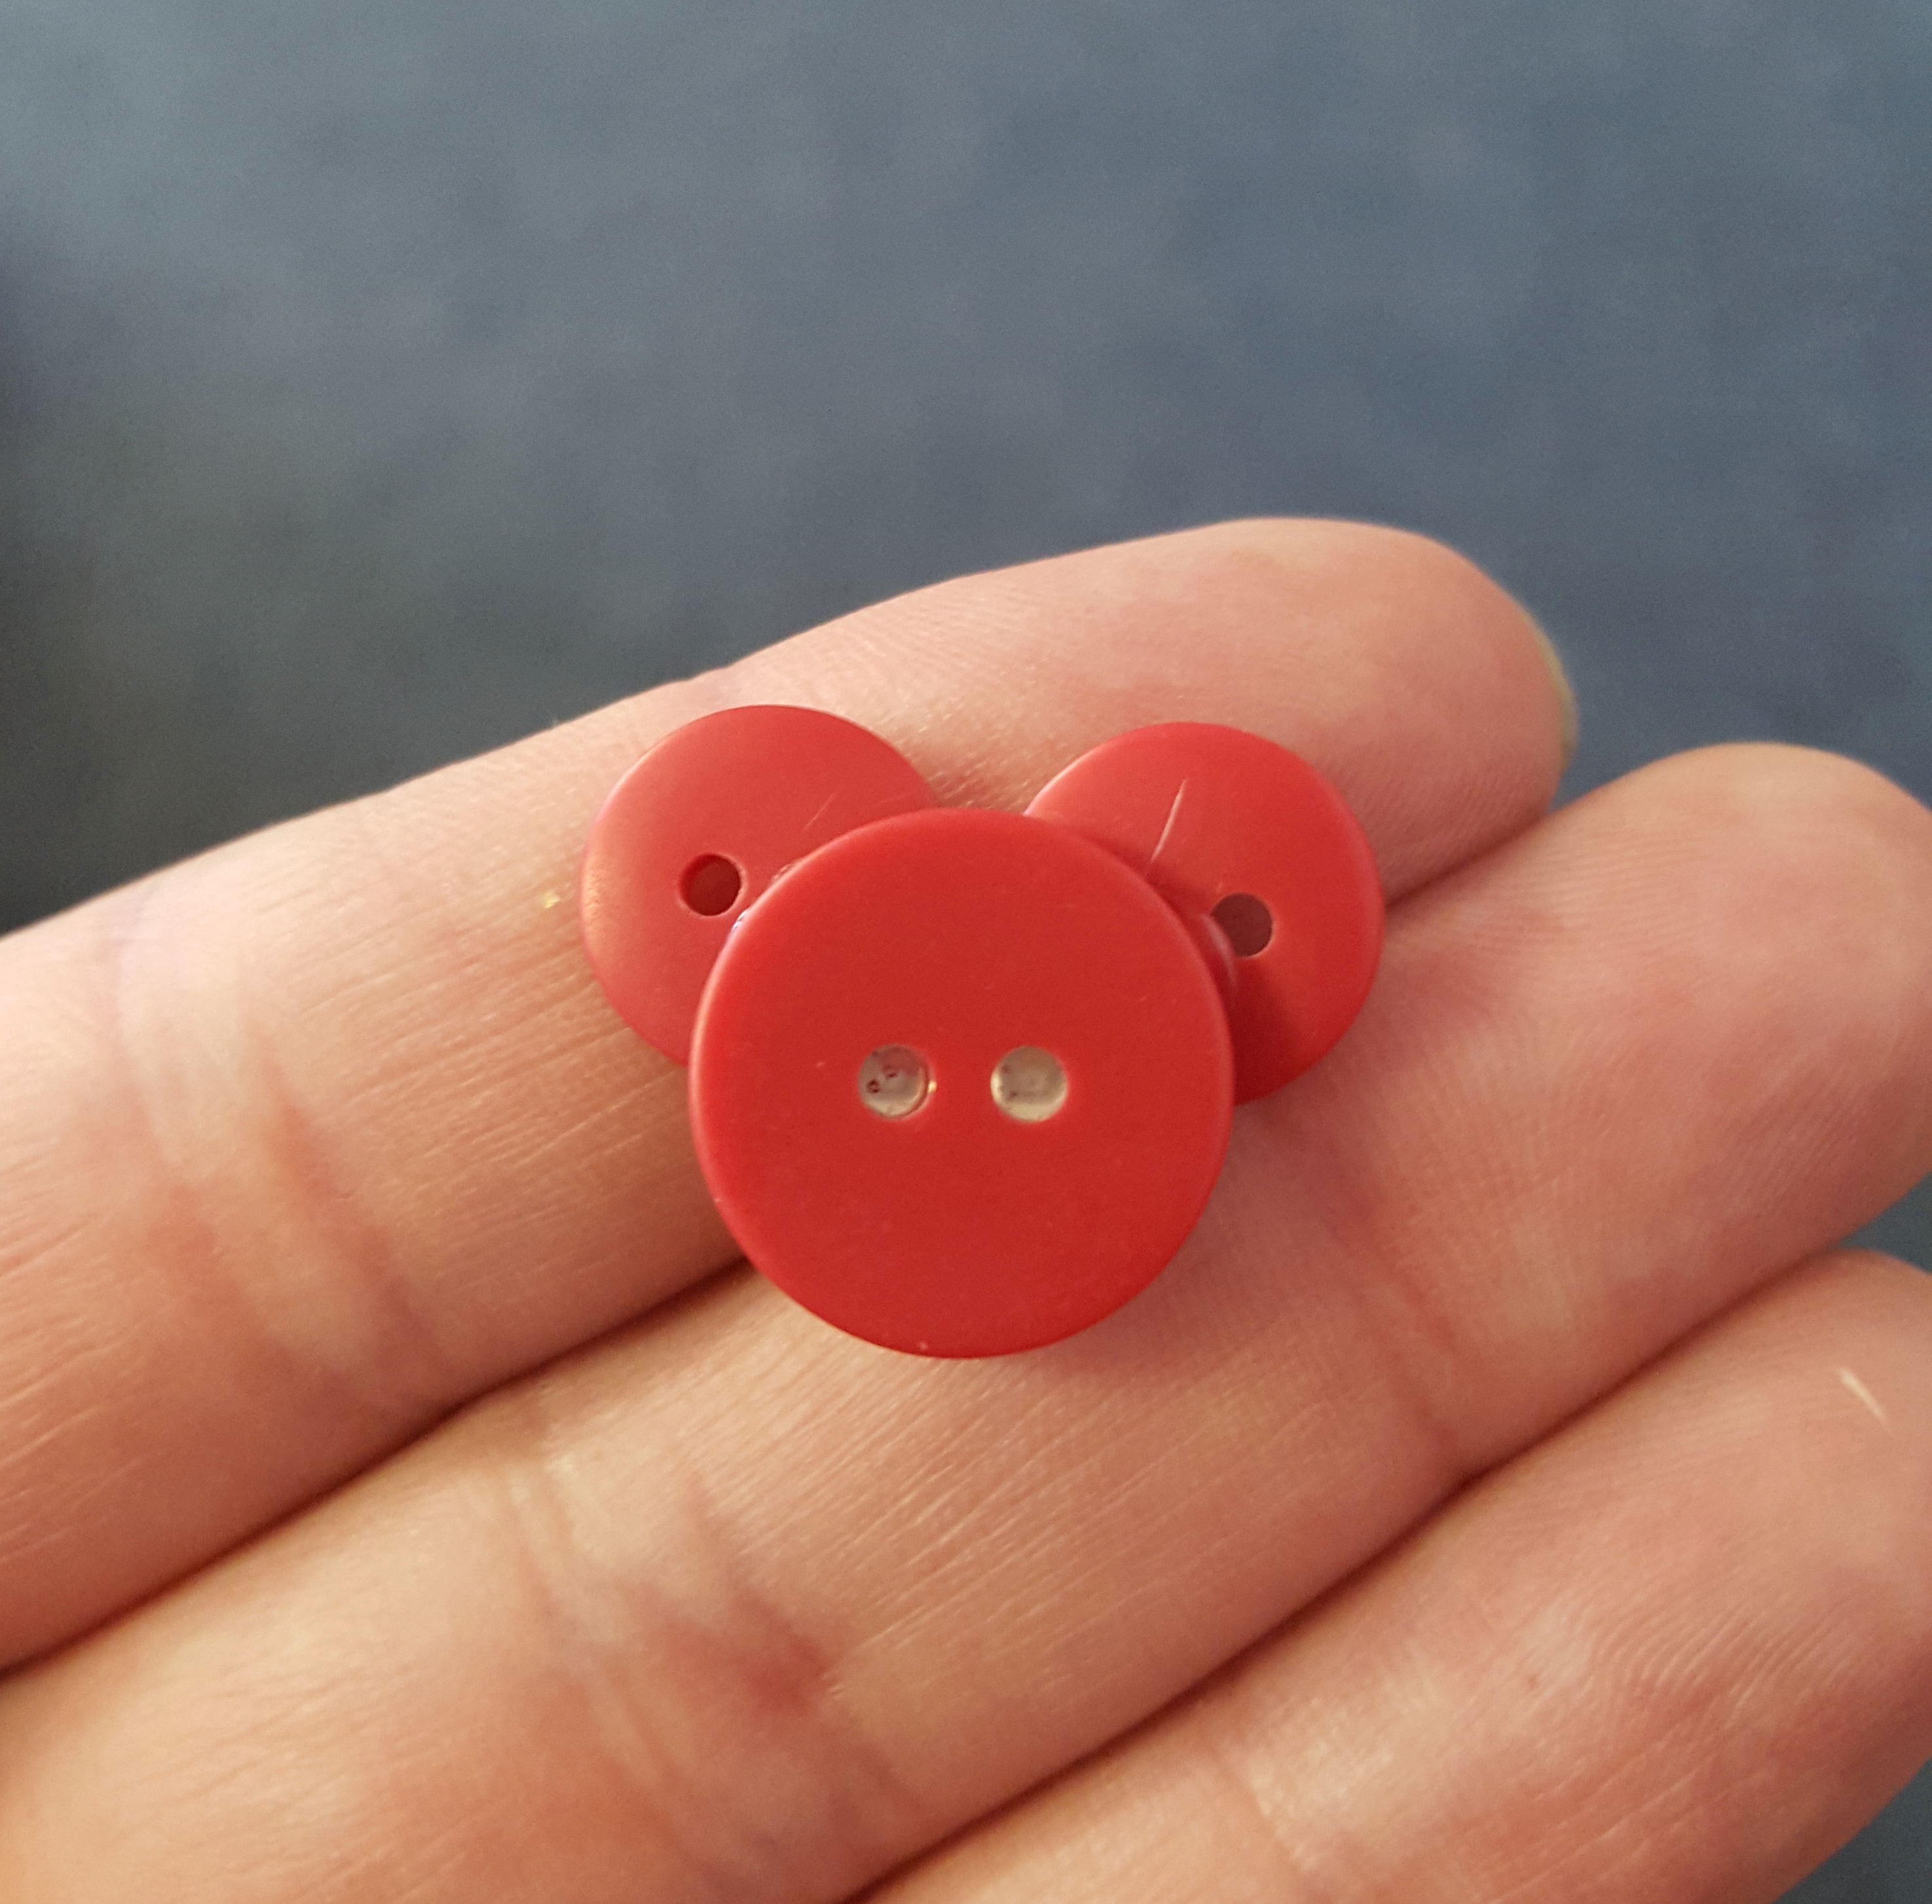
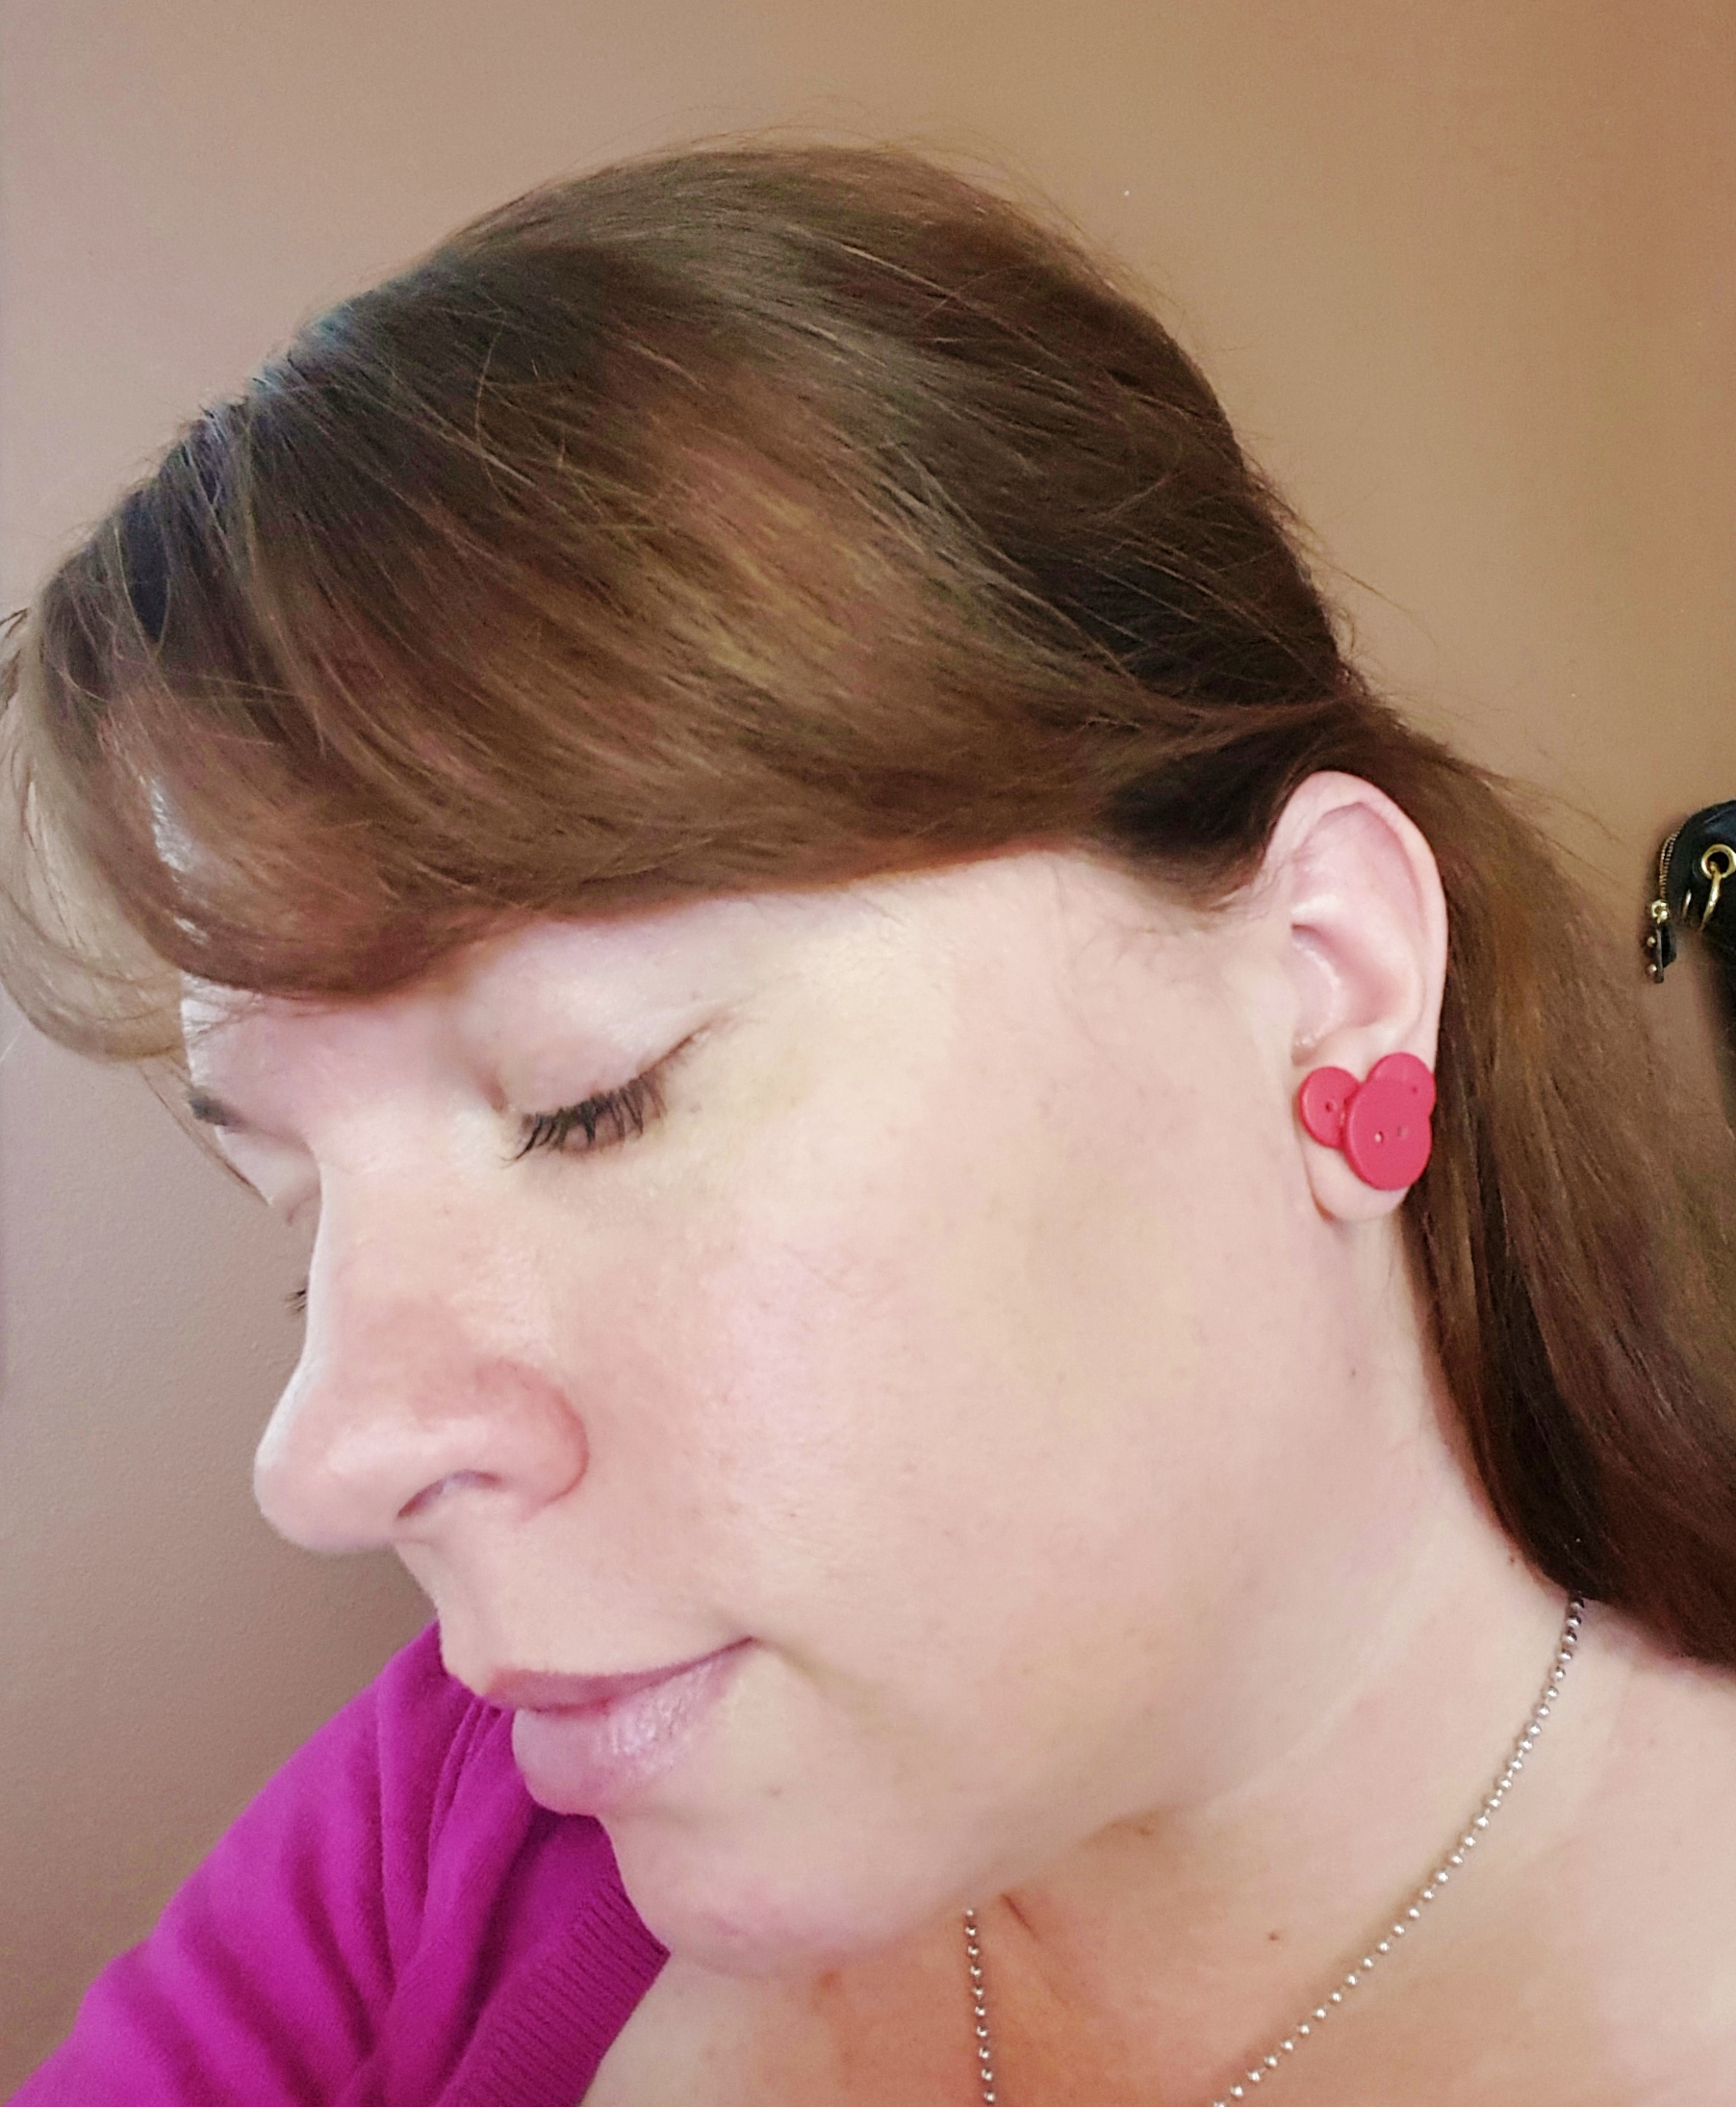
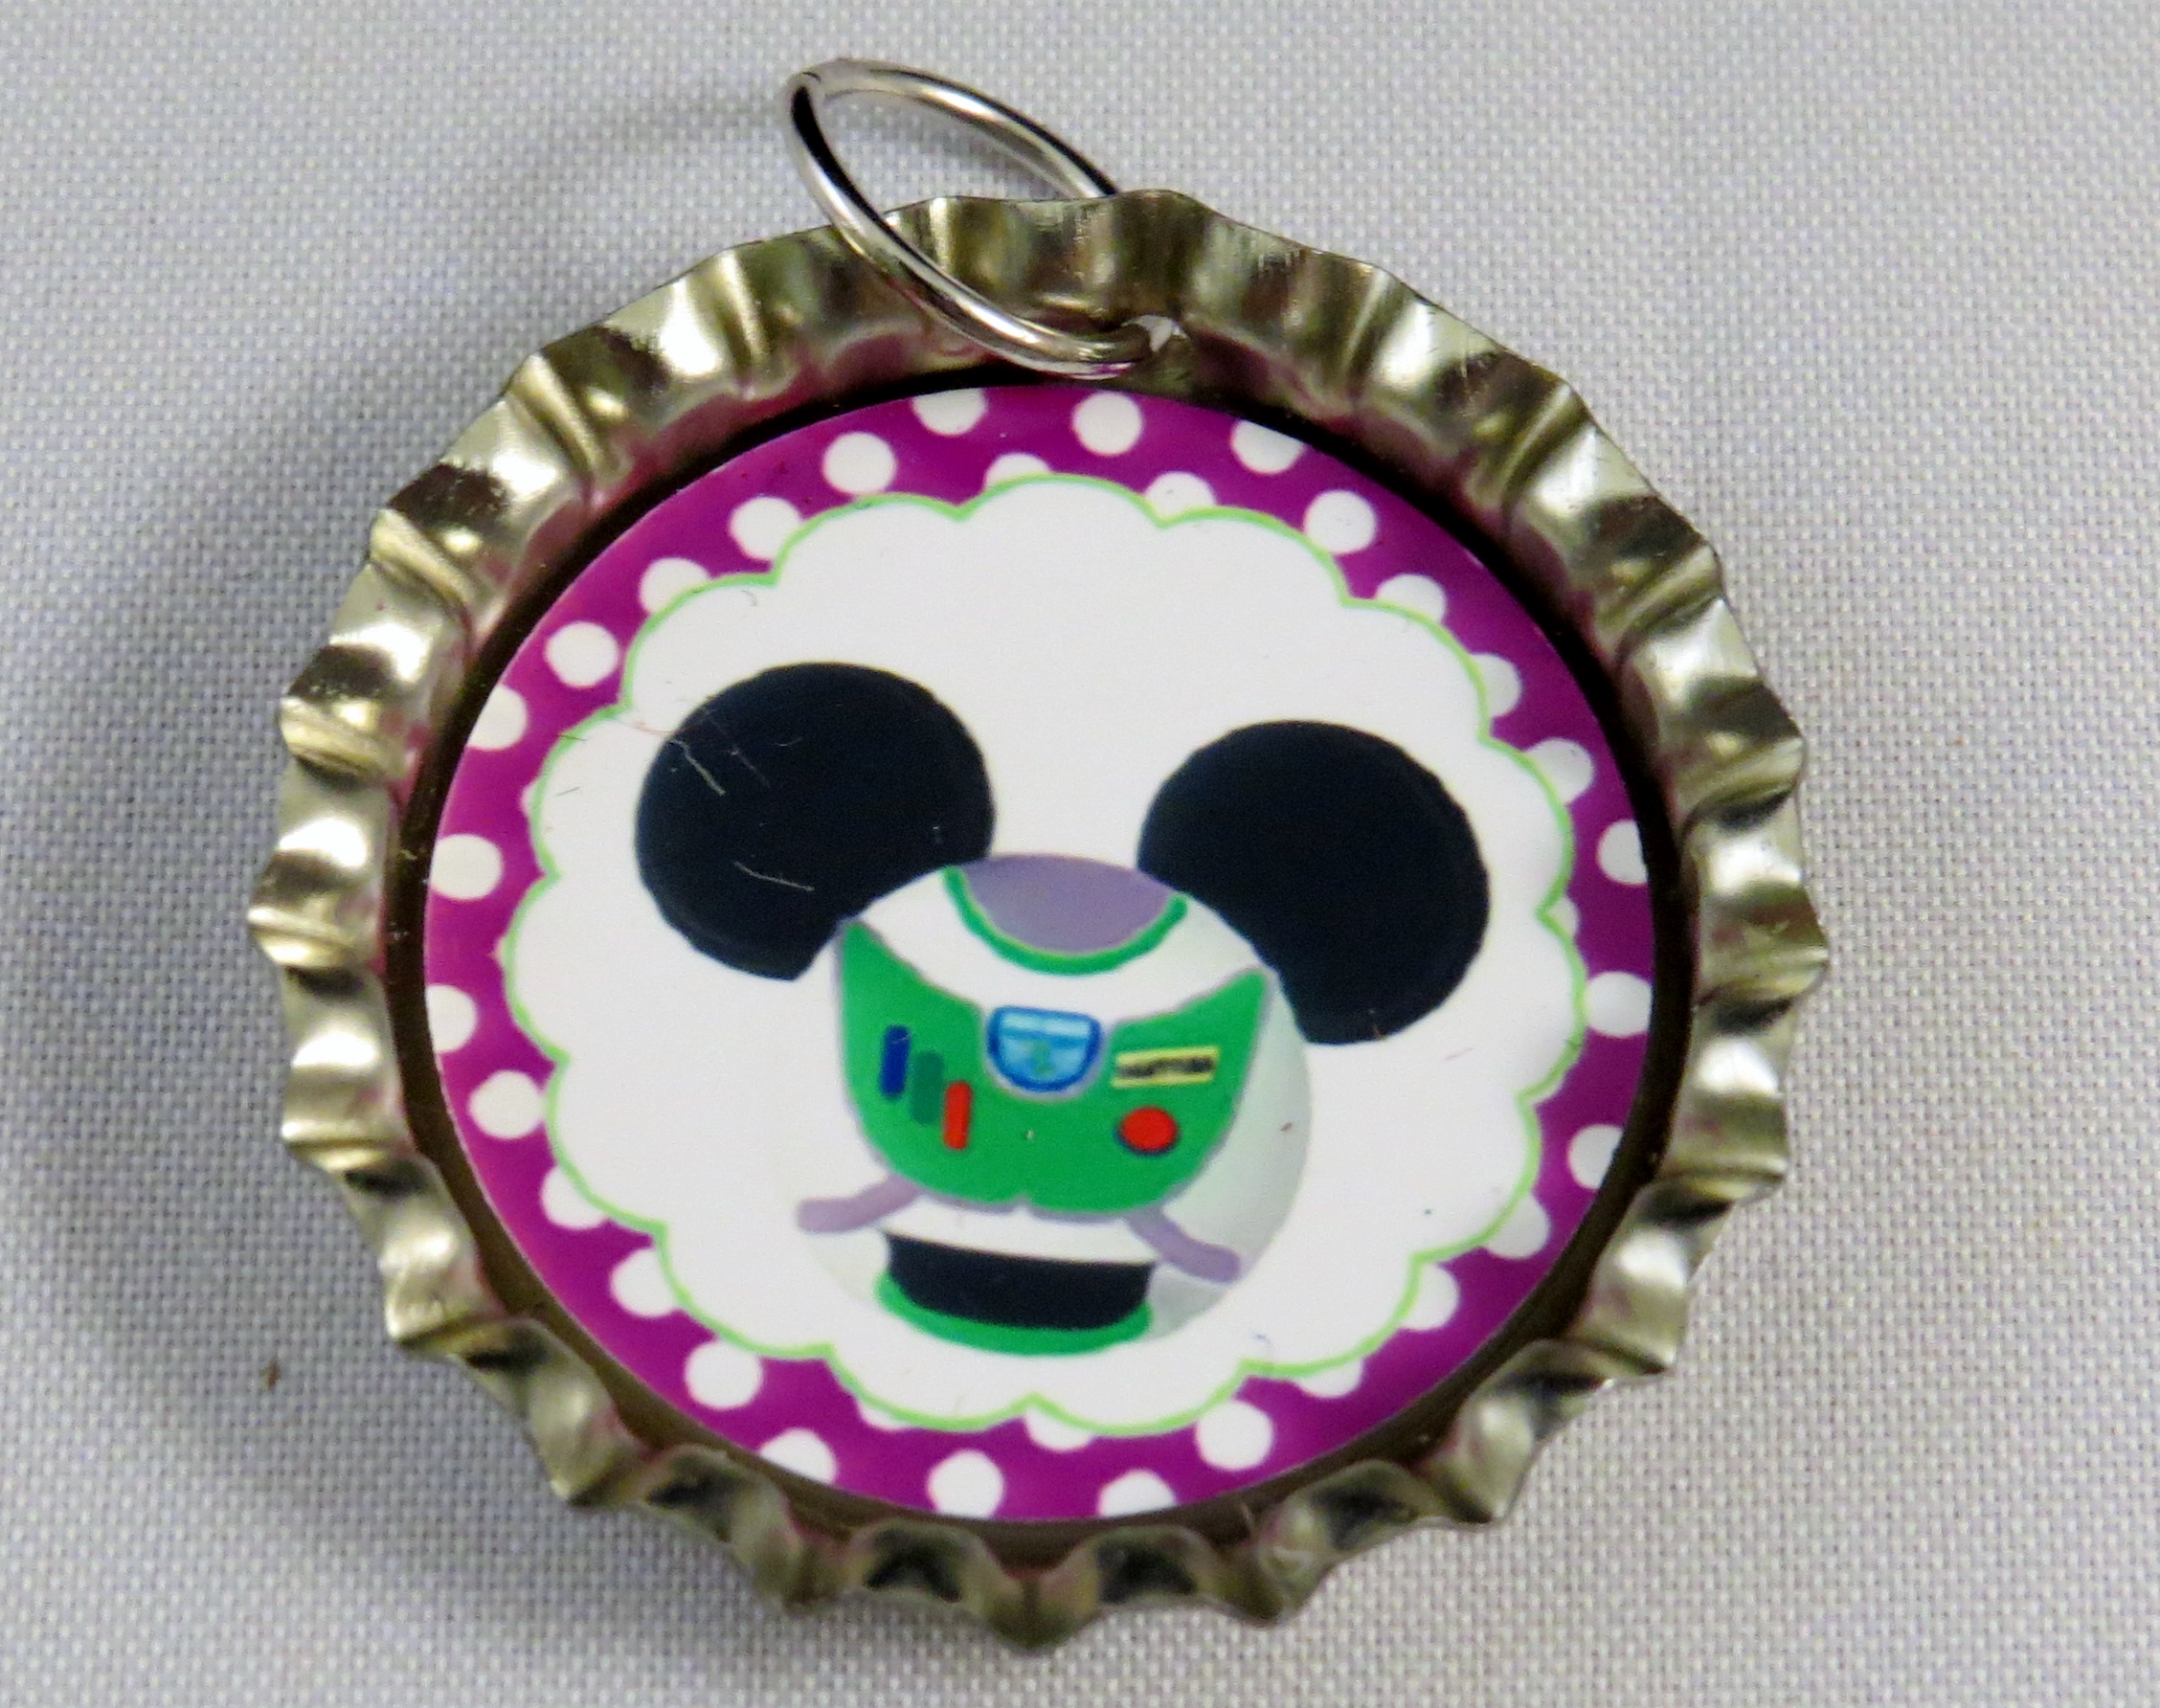
 These are super simple, and are easy enough to make a bunch or have your kiddos help.