Month: July 2015

Disneyland Bling T-shirt DIY

Ok I am going to be honest with you, I did not come up with this idea on my own. I follow the blog InspiredbyDis.com and I love everything she posts, including instructions on how to do this t-shirt! I saw her post on how to do a Disneyland “D” t-shirt for the Disneyland 60th anniversary, and I just knew I had to do one as well.  So my friend came over and we worked on our shirts together, awesome way to spend the afternoon.

I followed Mindy’s instructions and it worked perfectly!

Materials:

1. Pre washed t-shirt

2. stencil from her blog (link to blog here)

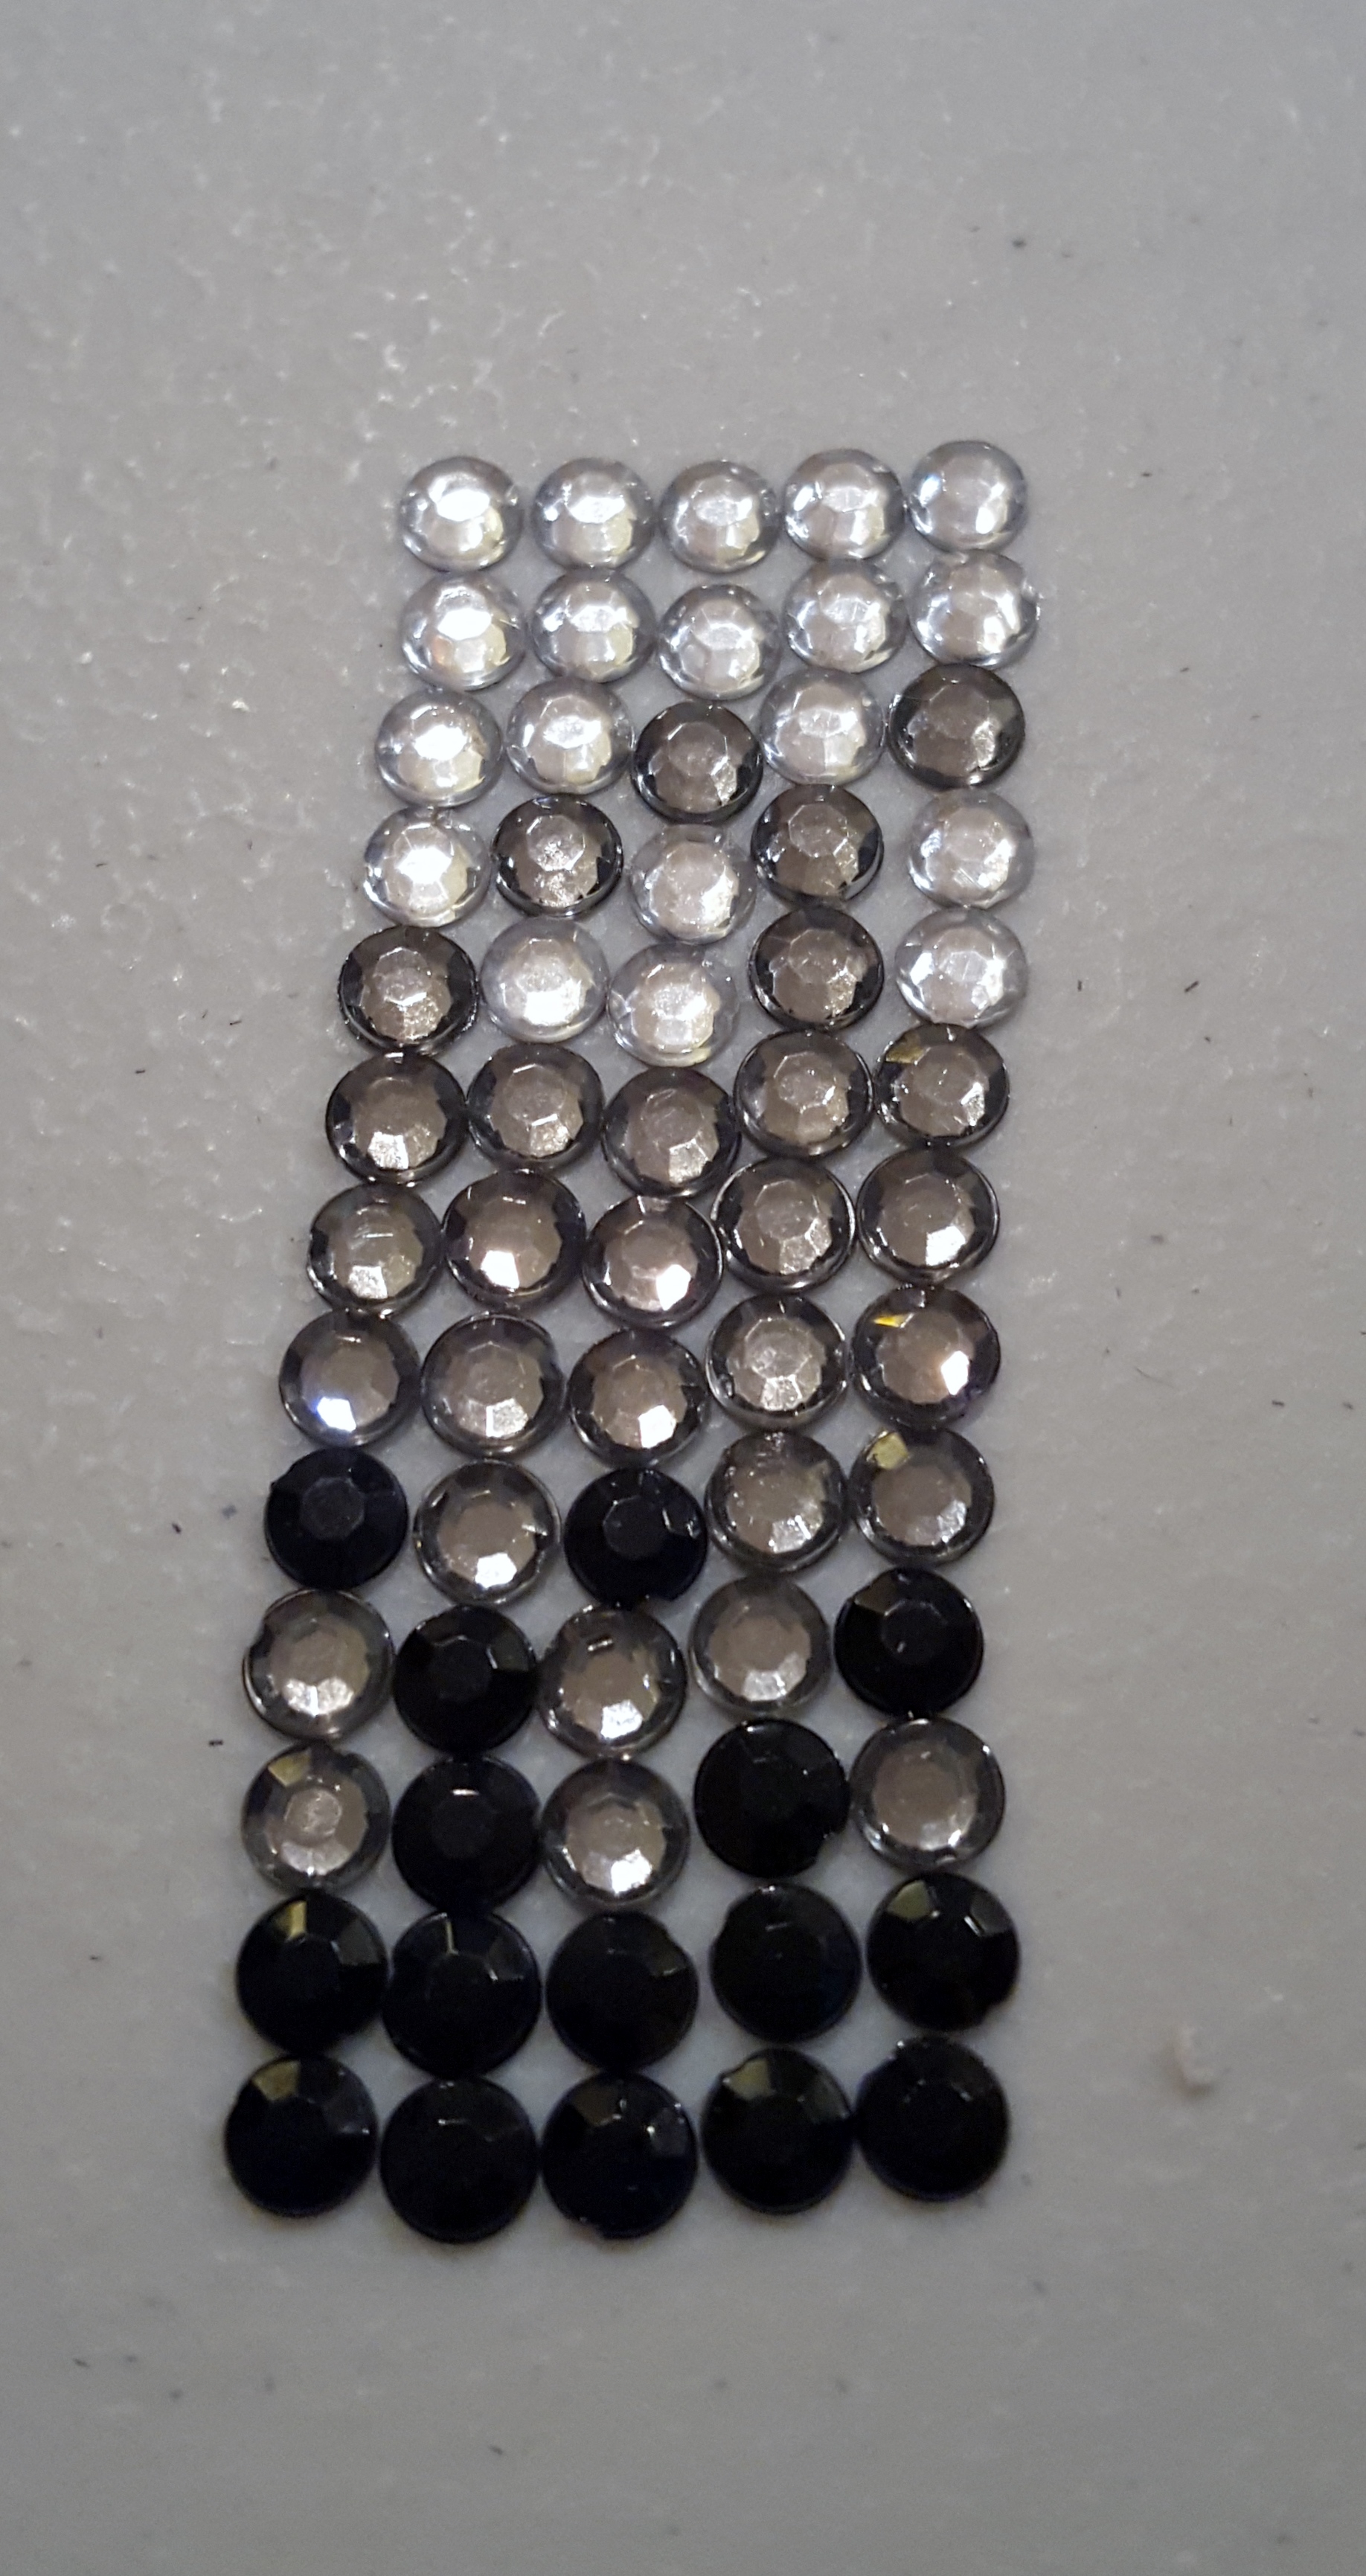
3. rhinestones (I found mine at Hobby Lobby, and to be honest the little crowns on the collar are actually confetti found at the dollar store, so anything goes)
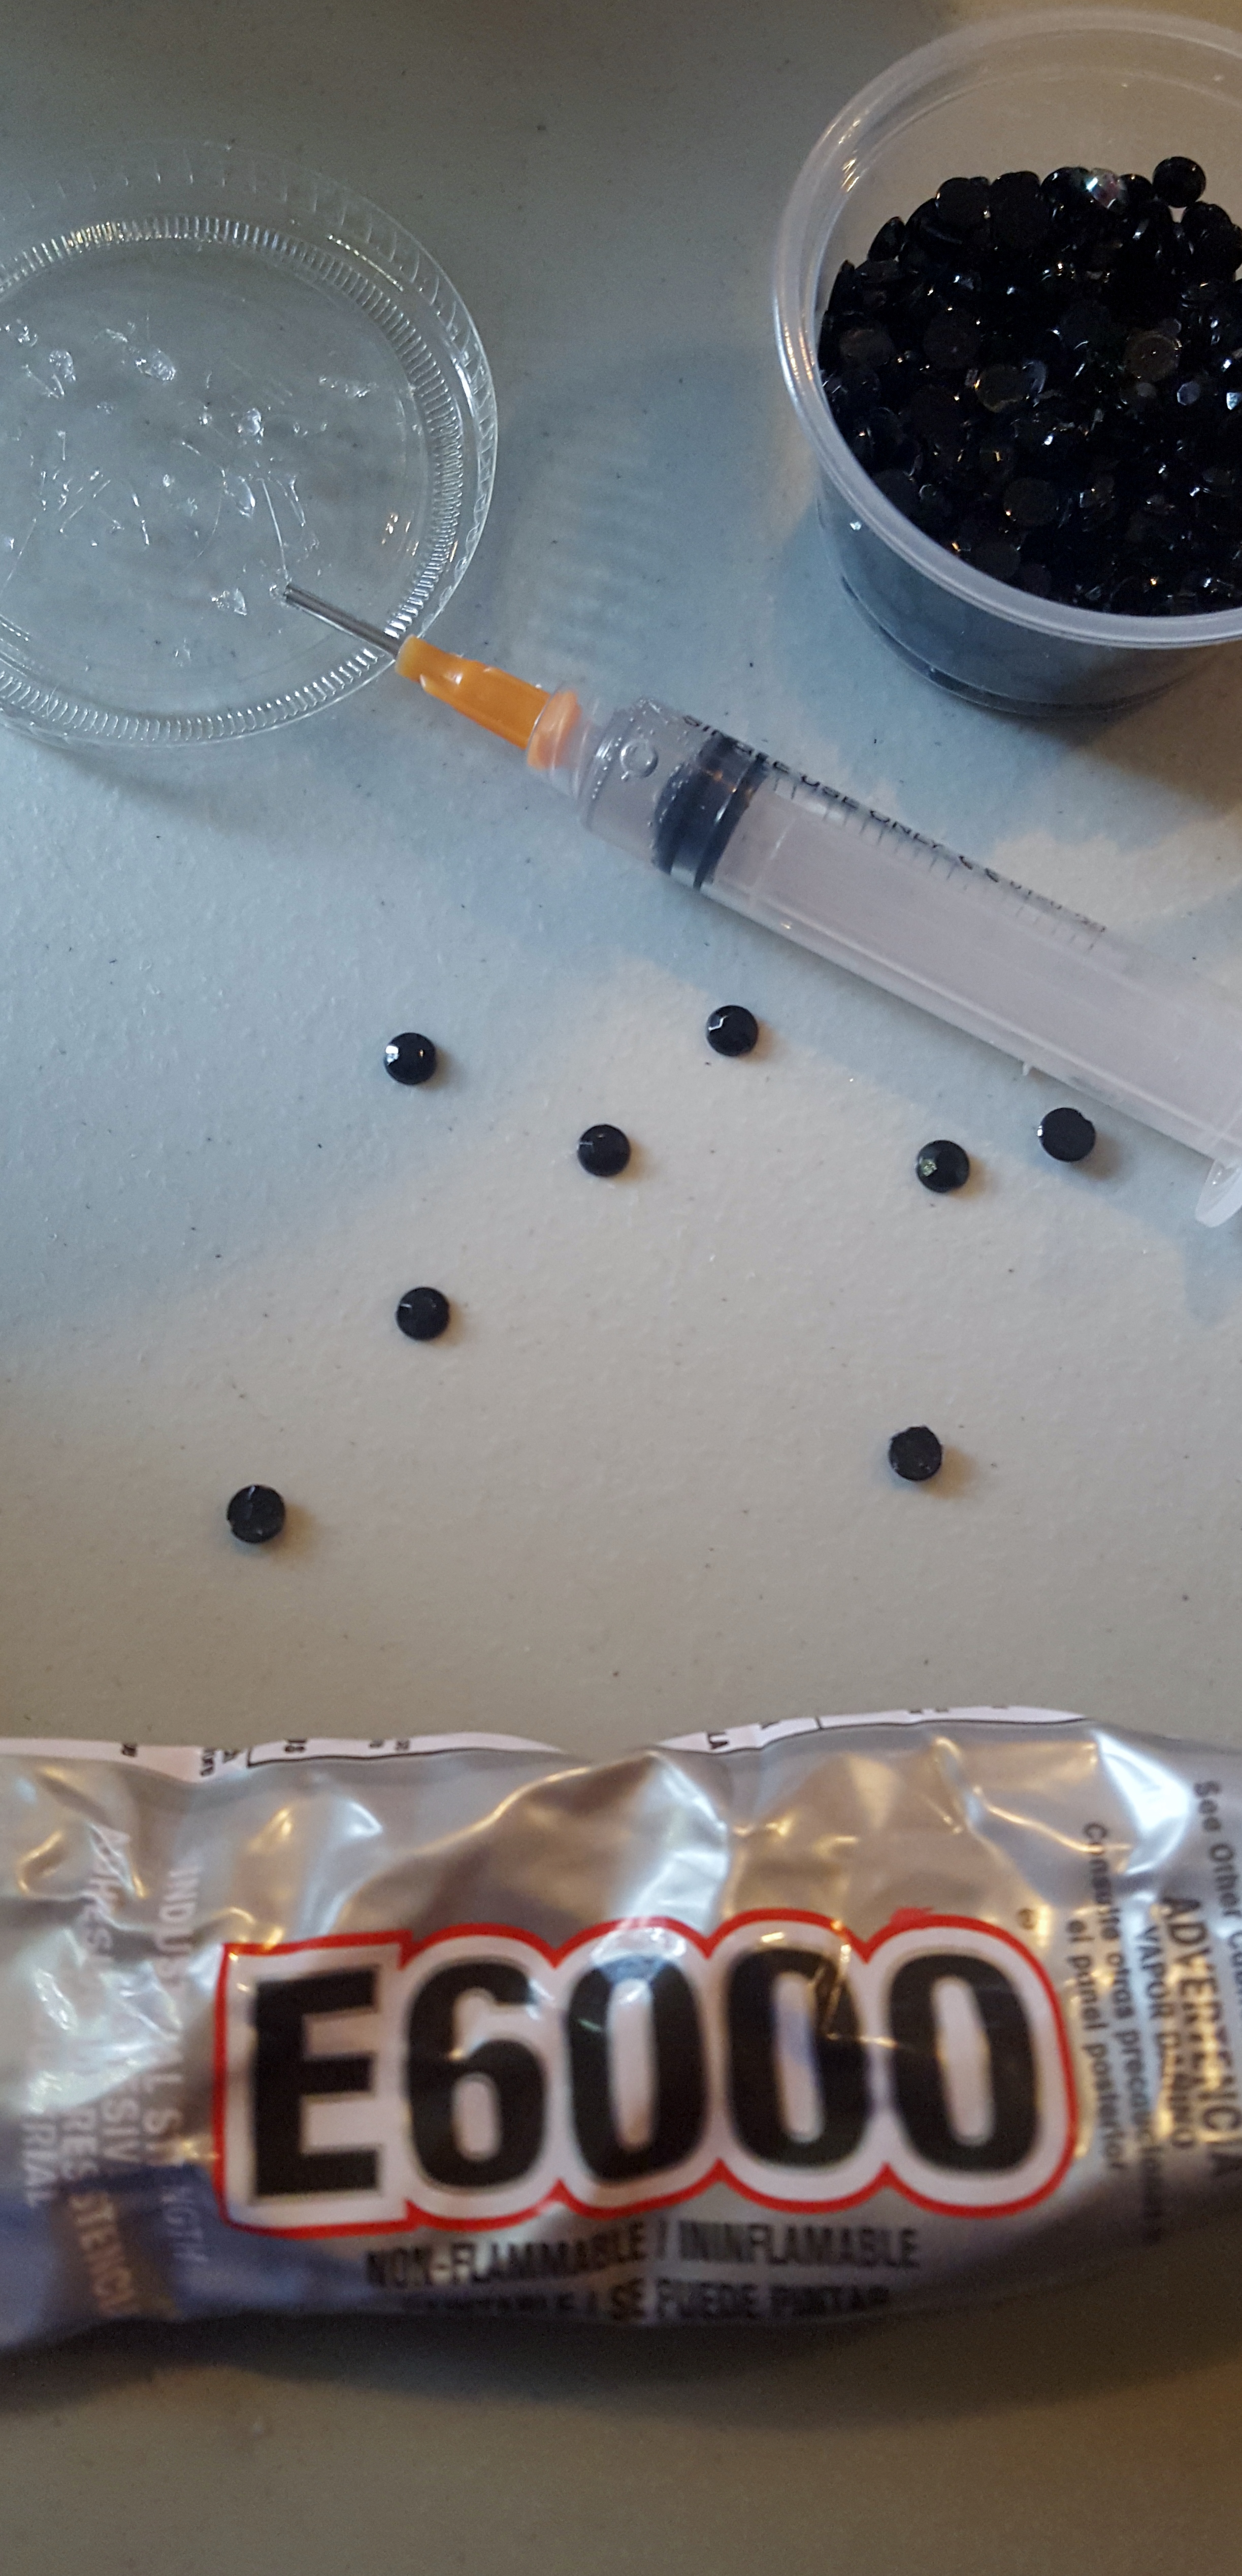
3. E6000

Instructions

1. print and cut out stencil

2. position it on your shirt, with cardboard under it so the glue doesn’t leak to the back

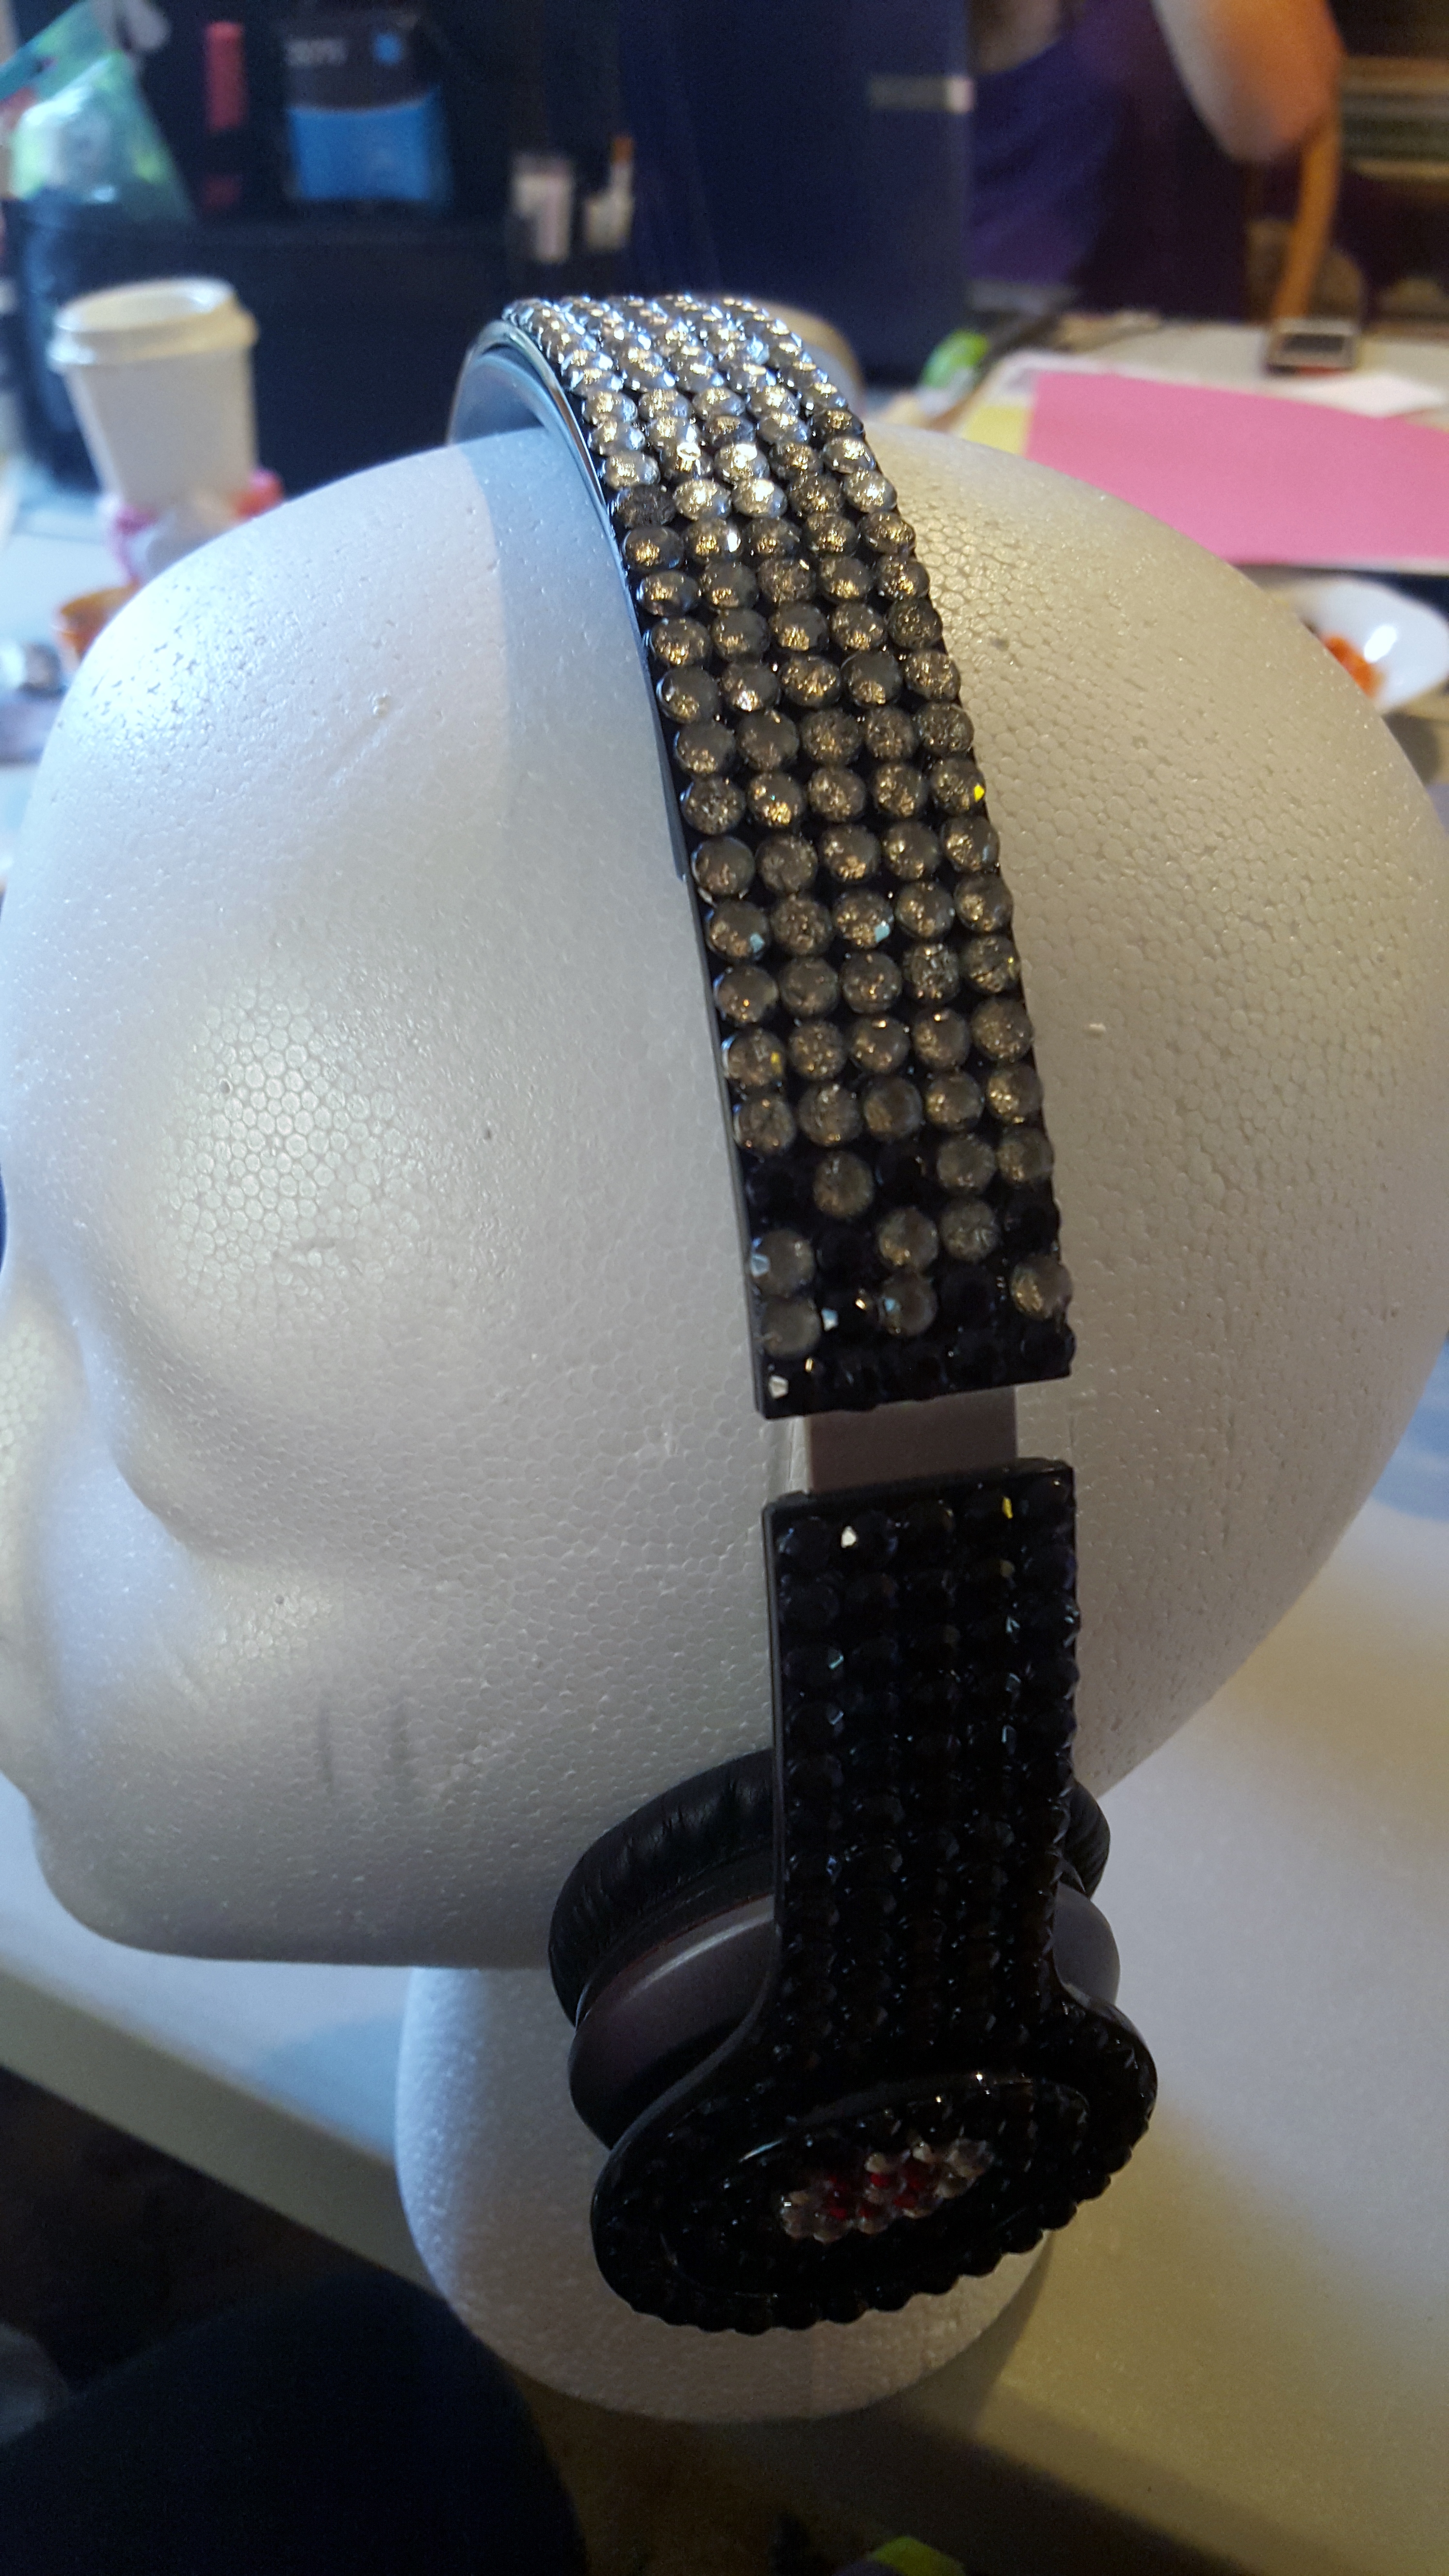
3. Start laying out your design. It took me a few tries, but I found one that worked for me. InspiredbyDis did hers in blue for Disneyland’s 60 Anniversary, but I decided on a pink and purple design.

4.  Start gluing with your E6000.

5. Because I love adding bling, I decided to add some more rhinestones along my collar. It added the right amount of sparkle to make my shirt complete.

6. That is it, wait until it is completely dry to wear and wash. I would wash on cold and line dry.

7. Go to Disney and show off your awesome shirt!

Here is my friend’s shirt, I love the blue! She didn’t add any to the collar, but she did add an iron on Tinkerbell that she printed off her computer onto iron on transfer paper (sorry the pic is fuzzy). I love the detail, it finishes out her shirt perfectly.

20150725_164927

2015072795183524


if imitation is the highest form of flattery, what have  you copied in your crafting journey?

DIY glow in the dark Minnie Ears

Well I did a post on Glow in the dark Mickey Ears that I made for my boys. So I decided to make a set of Minnie ears for me. These are even easier than the Mickey ears!

20150725_135544


Here I am wearing them in my backyard during the day so you can see that they still look great in the day time.

Material

1. Headband

2. bow ( I used a premade bow, but you can make your own)

3. Glow in the dark bracelets

4. Electrical tape

5. Hot glue


Instructions:

1. Take the bracelet connector and tape it using electrical tape to the headband. I used electrical tape because it is black and blends in better. I did try to glue the connector, but it did not stay at all. So tape was the way to go.


IMG_4613     IMG_4611

2. Hot glue the bow to the head band

3. Crack the bracelet and connect it to the headband and then you are done! Easy as that!

IMG_4605


Now you have easy DIY glow in the dark ears that didn’t break the bank!

DIY Glow in the Dark Mickey Ears

To really enhance your Disney Experience Glow in the Dark ears are a must. I just wasn’t willing to pay a ton of money for the ears. And, my husband only wanted to wear his ball cap that he already owned because he is cheap and didn’t want to spend the money for a new hat and he loves how it fits him (at least it is a Disney one.)  So I decided to create my own glow it the dark ears with a hat he already owned. It worked so well I made them for the whole family. I made a Minnie Ears for me, I will do a post on those later.

IMG_20150125_180333_956 My son is such a good sport, even though he is a teenager, he wore his Mickey ears all week! Red heart


By using a ball cap and some safety pins and glow in the the dark bracelets you can create an interchangeable glow in the dark hat.

We would put a new bracelet at night and enjoy the evening festivities then in the morning we would leave the bracelets in the hat even thought they didn’t glow anymore. Then in the evening we would throw the bracelet away and put a new one so we would be ready to glow the night away.

This is so easy, and the best part is when you get home you take off the safety pins and  your cap is back to normal


Materials:

1. Hat

2. Safety Pins

3. Felt

4. Glue (I just used hot glue)

5. Glow in the dark bracelets (here are some from Amazon) I got mine from the dollar store, 20 for a dollar!! Necklaces were too big so


Instructions:

1. Get a hat you would like to add ears to.

2. I used 2 safety pins and glued them to a small piece of felt. Make sure you don’t glue the safety pin closed, I learned this from personal experience.

3. Glue the bracelet connector piece to the felt. This part will stay and you just change out the bracelet part.

IMG_4623   IMG_4624   IMG_4628     IMG_4630

4. Pin the safety pins to the hat. This took me a couple of tries to get the right placement. And the ears tended to flop around until someone was wearing it.

5. Crack the bracelet to activate the glow and insert it into the connector.

IMG_4592   IMG_4594

6. Wear your hat with pride and love that you are glowing for just a few pennies!

IMG_20150125_180403_069 Wearing the hats in the daytime

IMG_20150130_195101_813 Wearing the hats at night.

We got tons of complements on our hats, day and night!

I would love to see your hats that you create!

Crochet keyboard cover for my tablet

I got a tablet a few years ago and I absolutely love it. But I discovered that it was hard for me to type on the screen, so I opted to get a Bluetooth keyboard. Much better. However, the problem with the keyboard was that it didn’t have a cover. I didn’t want it to get damaged, and I needed to practice my crochet skill (a win-win all around) so I decided to create a custom sleeve for my keyboard.

20150531_171048       20150531_171100   20150531_171110

I don’t really have a pattern, but I will walk you through what I did and hopefully you can recreate it if you would like. Please ask questions about what I did, and if you create one as well feel free to post it, I would love to see it.

Material:

  • 1 ball of yarn for the main color (I used Sugar ‘n’ Cream Crown Jewels Ombre. I loved the colors and pattern is awesome as you crochet along)
  • 1 ball of yarn for the edges (I used Crafter’s Secret Lavender)
  • crochet hook ( I used size H)
  • Scissors
  • needle to weave ends in


Instructions:

1. Decide what you want to make a cover for. I figured this was a perfect project for my tablet keyboard.

IMG_20150416_200118_060

2. You can measure the width to get an idea of how long to make your chain row, but I didn’t. In fact I didn’t do any measuring, and this became a bit of a problem later…

IMG_20150413_150711_536


3. Start with your chain row and single crochet until you get the length you want.

IMG_20150416_195640_447

4. Then you make the next panel and single crochet along until you get it long enough to cover your object and to wrap around to create a flap. This is where I figured out that I should have measured more. I didn’t make my panels wide enough, so when I held the two together it was too small for the keyboard. That is why I have a purple boarder Smile I did two rows of single crochet around each panel. Now that it is done I really like how it turned out. The extra purple was a happy accident.


IMG_20150416_195851_637

4. To connect the panels- I did a row of single crochet on the outside of the panels, I started right below the flap on one side and went all around the edge to the other flap.


IMG_20150419_185301_759   IMG_20150419_201844_738

5. Then I made a small loop with just a row of single  crochet in the middle of the flap to make a button hole

6. Sew on a button and you are done

Please let me know if you have any questions, or if you need clarification on this project. I hope this inspires you to create a cover for some of your electronics.


20150531_171048

Crochet ear buds

As you can probably tell from my super, sparkly Beats post I am not one to leave my headphones alone. Recently I got a new phone and I came with a set of ear buds. I don’t usually use ear buds, but on occasion I do. But I couldn’t just leave them plain, no way! Crocheting is my new yarn hobby and it is super simple to crochet around any cord. I hope this tutorial makes sense, I just started crocheting and I haven’t created any tutorials for crochet. (and I am finding it is harder than it looks Smile)

20150528_072306   Here is my fantastic son modeling the before picture of the ear buds. He is a good sport.


Here are the materials you need:

  • Yarn (I am loving the bon-bons by Lion Brand. They are the perfect size and the colors are great!)
  • crochet hook
  • scissors
  • needle to weave the ends in with.
  • Ear buds

20150528_072120 (2) Here are my ear buds looking all plain and boring. But not for long!

Instructions:

  • Start at the top of one the ears.  Tie a knot with your crochet hook in it. Then take your hook under the cord, yarn over, bring the yarn and hook around to the top, yarn over, and bring through the 2 loops.
  • It is essentially a single crochet with a cord in the middle

20150528_074522   20150528_074615   20150528_074629

  • Continue down one side of your ear buds until you get to the junction where they combine into one cord. Make a big loop and cut the yarn. Don’t weave in the end yet and keep the loop. After you do the other side you will take this loop and combine it with the other side and continue down the cord.

      20150704_090722   20150704_090935   20150704_091248

  • Crochet the down the other side of the ear bud. Join the two loops in the middle and continue down the cord until you get to the end.


  • I found that I had to stop occasionally and squish it all together so it looked better, otherwise it was too spread out and you could see the cord through the stitches. 

20150528_074700   20150528_075741   20150528_074836

  • Once you get to the ends tie a knot and weave in the ends. Then wear your new stylish ear buds with pride!

A side bonus is they are less prone to tangling, which is always a good thing!

20150717_111138Here is my wonderful son modeling the finished ear buds. Please excuse his wild, unbrushed hair.  Smile


Please let me know if you have any questions, I would love to help you create your own awesome ear buds.  And I would love to see your finished ear buds!

Super Sparkly Rhinestone DIY Beats Headphones

I am a firm believer that you can never have too much glitter and rhinestones! That being said, I thought I would fix my boring Beats headphones by adding rhinestones. Now they are acceptable to wear out in public 🙂 (You can see that even my sunglasses have rhinestones on them.)20150630_131118

A few weekends ago I went to Estes Park, CO with a few of my girlfriends. If you have never been there, you are missing out, it is one of the most beautiful towns in Colorado. During our girls weekend in between laughing, taking naps, visiting, watching movies, and catching up we spend our time doing crafts. Some scrapbook, some crochet and other just do general crafts. this year I decided to make my headphones sparkle. This is very easy to do, you just have to have patience.

All you need for materials are:

  1. Rhinestones. I used 5mm rhinestones purchased from Amazon
  2. E6000 (any glue that stick to plastic will work)
  3. headphones
  4. Sandpaper
  5. Syringe to help apply the glue. I purchased mine from Amazon
  6. Styrofoam head to help hold the headphone. This is not necessary, but I finds that is helps.
  7. Wax stick for picking up the rhinestones. I purchased mine from Amazon

Steps:

  1. Lightly sand the headphone. This is just to rough up the surface do that the glue will adhere better
  2. Clean the headphones. This is get all the dust off and get them ready for gluing.
  3. Lay out your pattern. I decided on a ombre look, but do what makes you happy. You can’t see it too well in the photos, but I promise is ombre and it looks pretty cool, if I do say so 😉
    20150619_212833

    My ombre pattern

    4. Put your headphones on the Styrofoam head and get ready for gluing!

20150619_161909

5. Start gluing! I found these terrific syringes that really help with the application of the glue. All you do is put some glue in the syringe and then you put a few dots of glue on the headphones.Take your wax applicator to pick up the rhinestone and place it in the glue. Easy as that.

20150619_161936

6. Keep going until you are done. Let it dry over night then you are ready to rock out to your new headphones!

20150620_153816

20150619_161915

20150630_131047

20150630_131125

© 2024 Take Time To Create

Theme by Anders NorenUp ↑

Follow

Get the latest posts delivered to your mailbox:

%d bloggers like this: