Mixed Media Angel

Hello Everyone!

I am excited to show you this new project that I just finished. A little while ago I went on a girls retreat to Mojito Creek. This is a wonderful cabin in Colorado that was the perfect place to craft and recharge and relax! While I was there Tanya from Free Heart taught a mixed media class. Tanya teaches Finnabair inspired mixed media techniques. Tanya is a awesome teacher! I was so much and I was so inspired from the class that I went home and started painting everything! I can’t wait to take another class and learn more techniques!
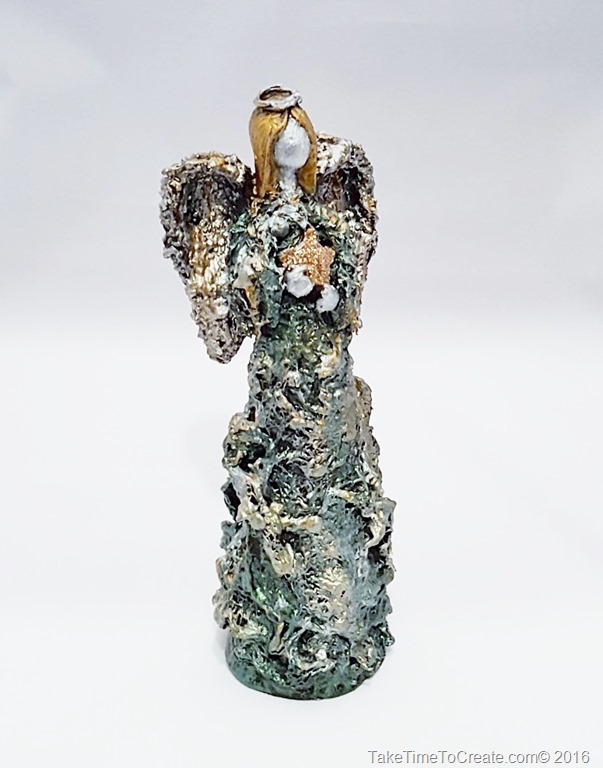
Mixed Media Angel

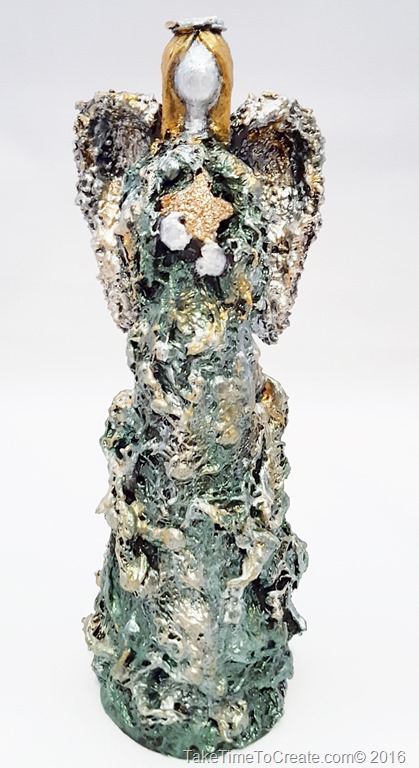
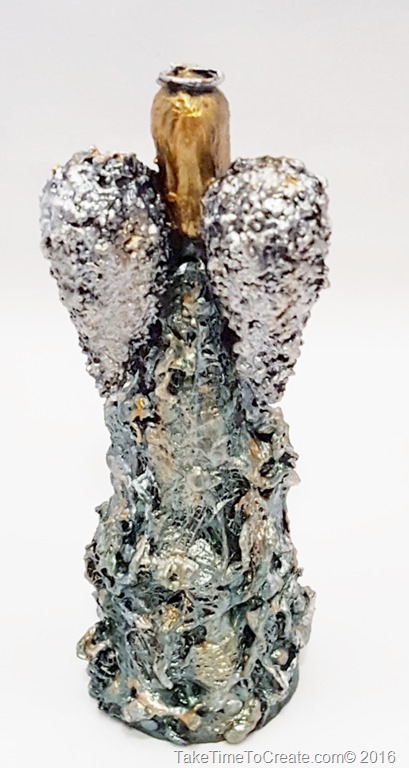
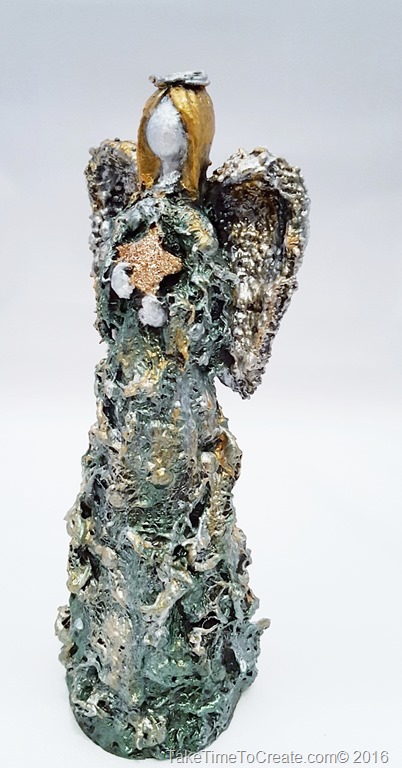
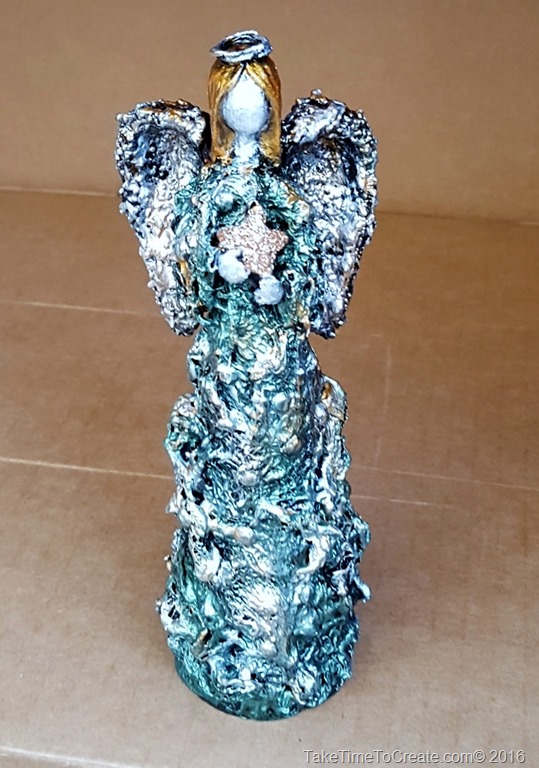
This is the angel that I just finished. She looks great on my mantle and I already have more ideas on what to do next.

Here is how I created this mixed media angel

Materials:

~ Angel (I found mine at the dollar store. Look for something that you like the overall look of, not necessary the colors because you will cover everything up)

Mixed Media Angel

~ Black gesso

Mixed Media Angel

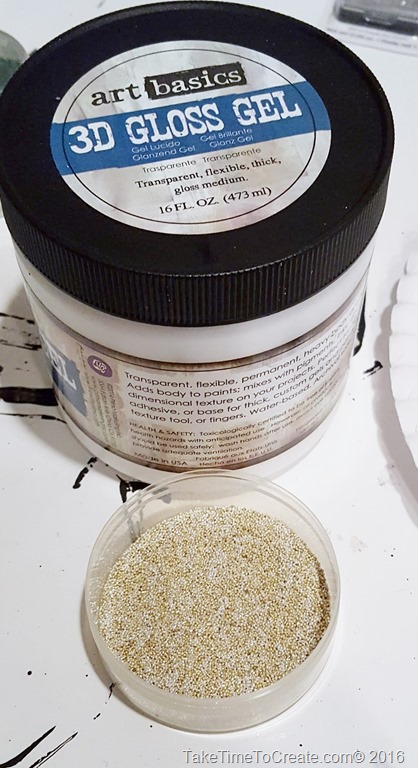
~ 3D Gloss Gel, Soft Gloss Gel, Mica Powder (I am using Art Basics from Prima Marketing, which is amazing!)

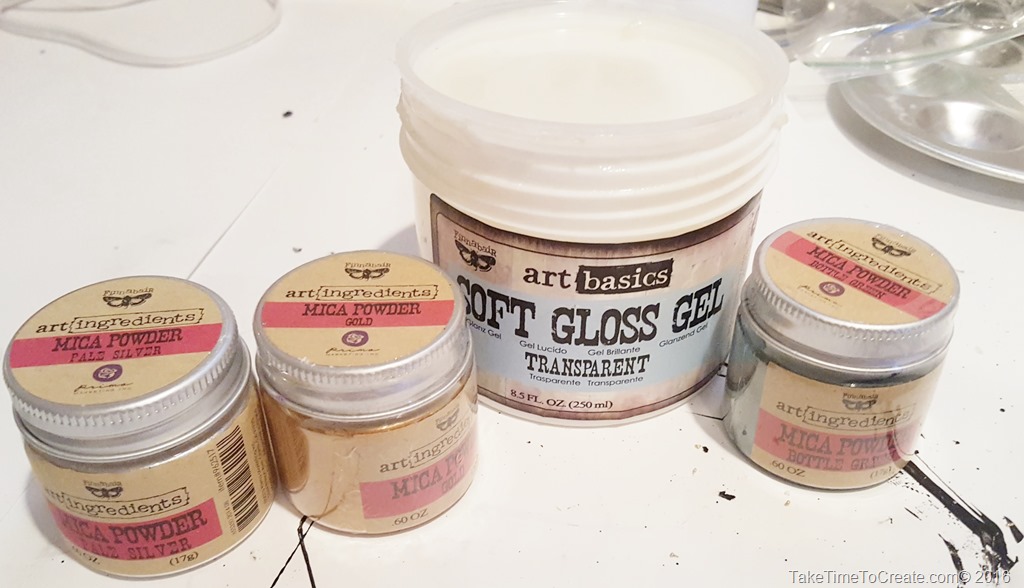
Mixed Media AngelMixed Media AngelMixed Media Angel

~ Paint brushes, cheese cloth, micro beads, wire, rhinestones, and anything else you want to use as texture

Instructions:

~ The first thing you do is paint the angel with gesso. This will cover her and get her ready for paint. Then I added cheese cloth to her body as a dress. I adhered it to her with 3D Gloss Gel.

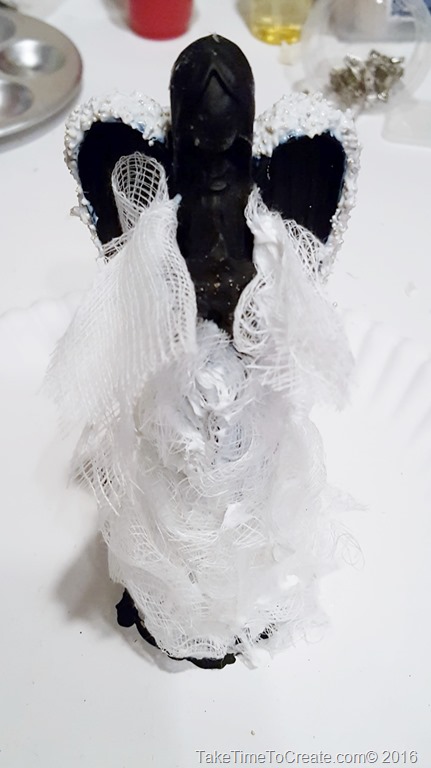
Mixed Media AngelMixed Media Angel

~ Then I decided that her wings were too smooth and plain so I mixed micro beads with 3D Gloss Gel and sponged it on to the wings. This added a wonderful texture that looks great on the wings.
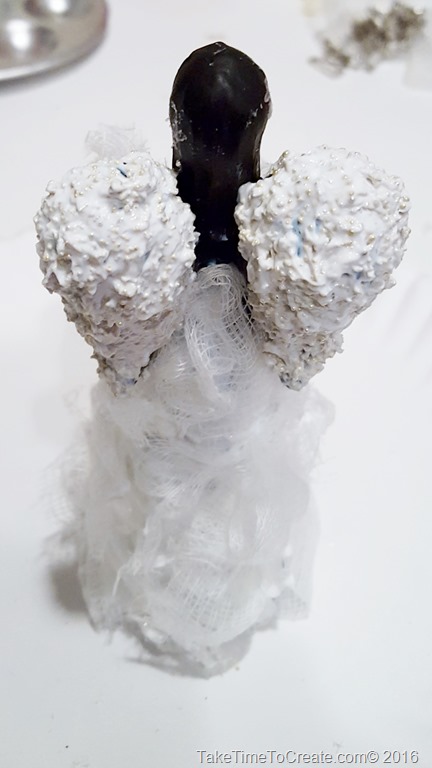
Mixed Media Angel

~ Then I added rhinestones to the skirt for more texture and dimension, and I made a halo with some left over wire that I had lying around.
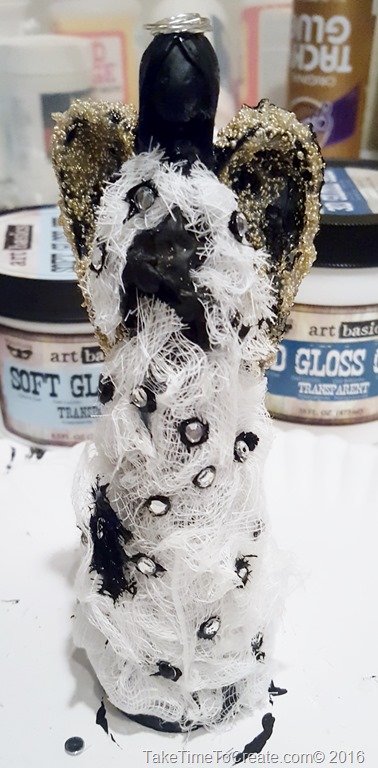
Mixed Media Angel

~ Once I had her all glued and textured  she was ready for more gesso. I added about 1000 layers of black gesso. Just kidding, but I did add a lot of layers until everything was covered with black and ready for paint.
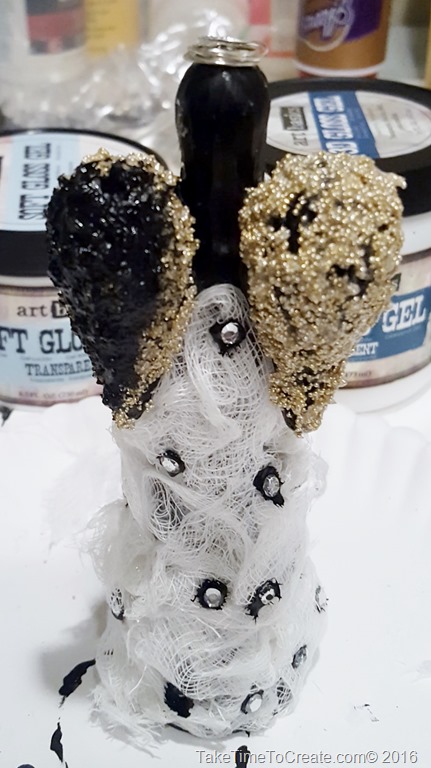
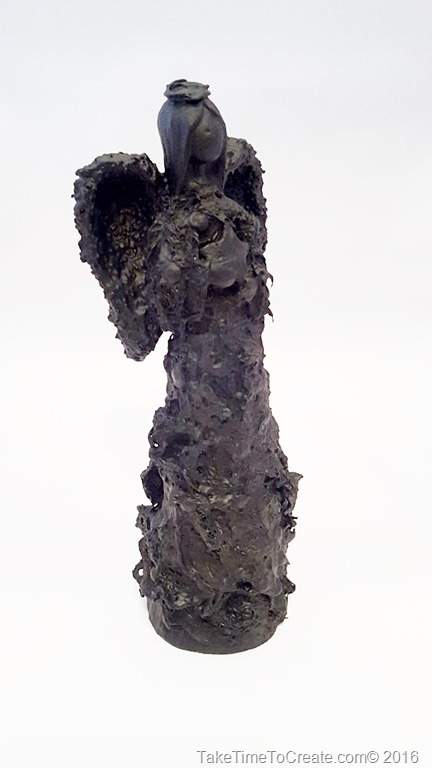
Mixed Media AngelMixed Media Angel

~ Once she was dry I started to paint her. This is the fun part, this is where all your hard work pays off. I mixed mica power with the soft gloss gel and went to town. I layered the paint and mixed colors until I liked the the look. For the star that she is holding I sponged on some glitter eye shadow.
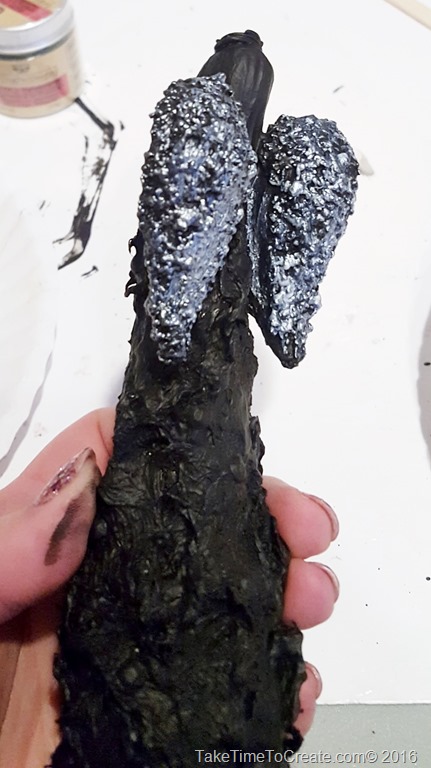
20160727_164430

~ Once I was happy with the look and she was dry I took her outside and sprayed a layer of a clear gloss coat.
Mixed Media AngelMixed Media AngelMixed Media Angel

When I took her outside to put the clear coat on and I noticed how she looked different in the sunlight. I love how the mica powder is amazing and so versatile.
Mixed Media Angel

This was tons of fun! I have already started on a different angel, I can’t wait to see how she will turn out!

Mixed Media Angel


Please note there are no affiliate links in this post. All the links are for your reference.
DIY Locker Magnets

Hello Everyone!

Recently I told my son some bad news, I told him that school is starting soon…haha.  He is not too excited, but when I was his age I was excited for back to school. Not necessary for school to start, but mostly for the school supplies. I do love school supplies. I still do, I am always buying pencils, pens, notebooks, and other supplies. You can never have too many pens, haha.

Anyway, with back to school nearly here there are lockers that will need to be decorated. So when my sister and her family were visiting last week  my niece and I decided to make some locker magnets because she going into middle school in the fall and she will have a locker for the first time! Her locker will be all kinds of awesomeness! .

DIY locker magnets

Together we made magnets for her locker using stickers and flowers! This is an easy craft that kids can do to personalize their space.
Materials:

~Stickers and flowers

~Powder (I used foot powder, but baby powder would work)

~magnets

~Glue


Instructions

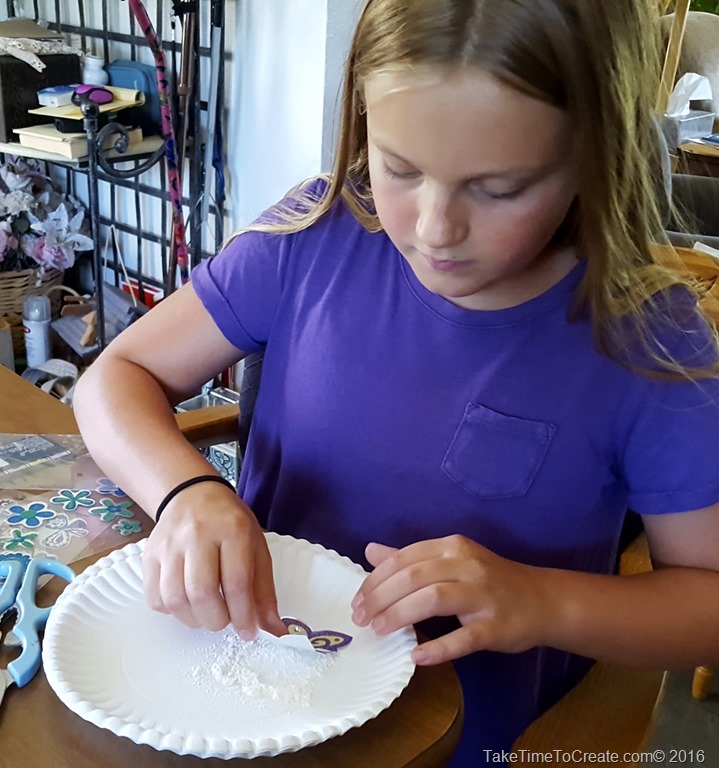
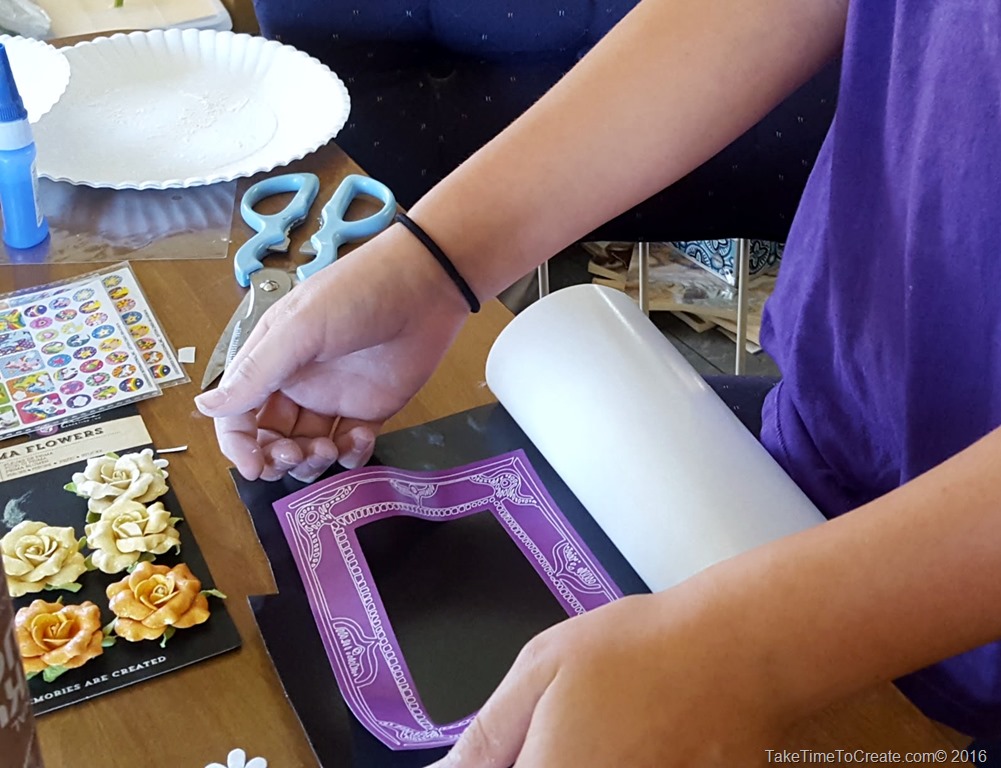
First take the sticker you want to use and put powder on the back. (I have a ton of stickers that I have collected through out the years, I seem to always pick up stickers when ever I am at the store. I just love stickers) Using powder is the trick to keeping the sticker from sticking to everything. I used foot powder because this is all I had, but baby powder works too. The powder sticks to the sticky part then you can put a magnet on.
DIY locker magnets


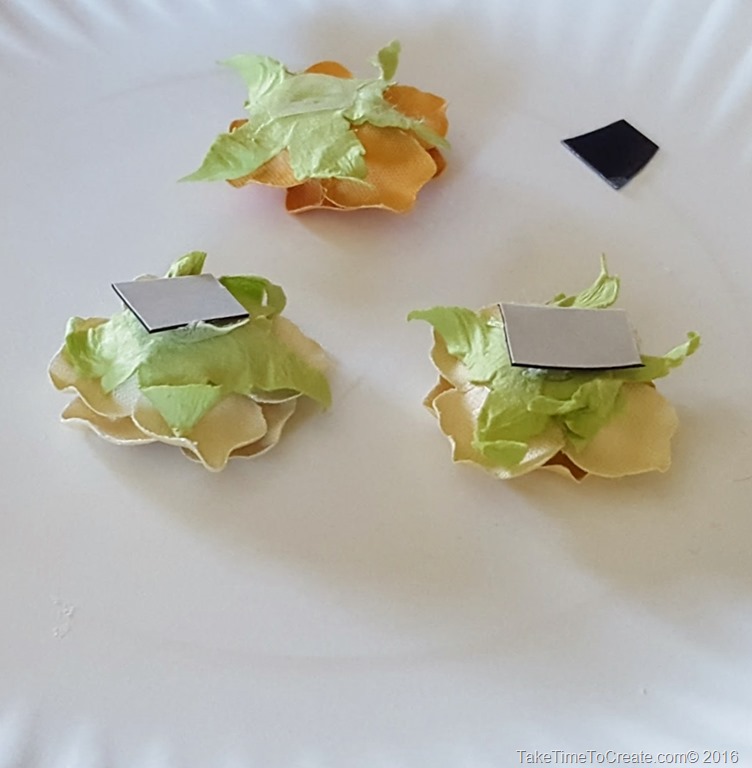
We glued the magnet on (the magnets are sticky on the back, but I didn’t trust it so we glued it on) We used a magnetic sheet that we cut into smaller pieces.

DIY locker magnetsDIY Locker Magnet

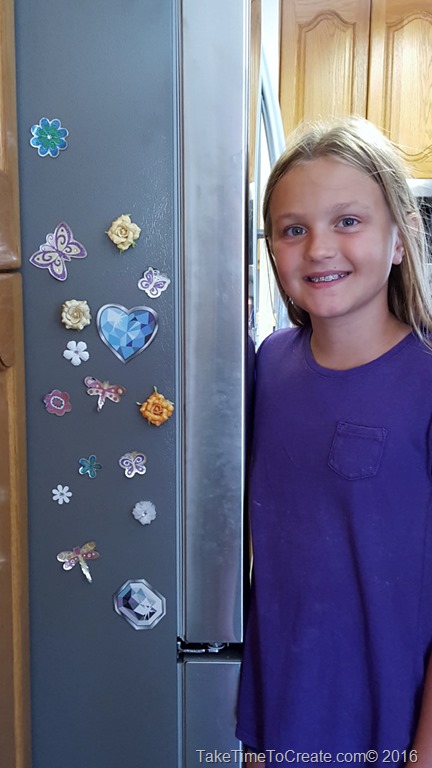
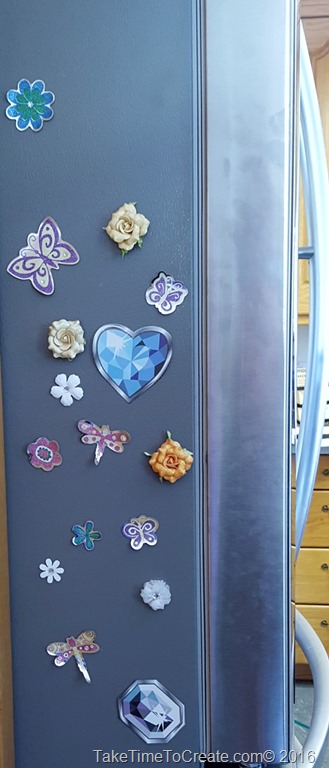
We made a ton of sticker magnets and then we put magnets on some flowers I had. These all turned out super cute!

DIY Locker Magnet

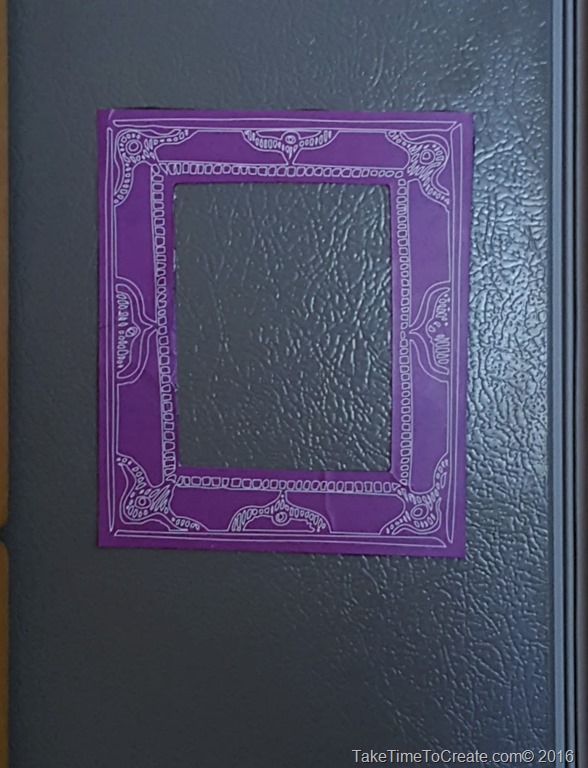
Also, I had these super cute Wall stickers that I got from the dollar store that look like frames. These are so cute so we made one of the stickers into a magnet frame. This will be perfect for her to show off her friends in her locker.

DIY Locker MagnetDIY Locker Magnet

Here are the finished magnets. Isn’t she a cutie! I can’t believe that she is old enough to go to middle school. Time flies so fast!


DIY Locker Magnet

Bonus Craft!

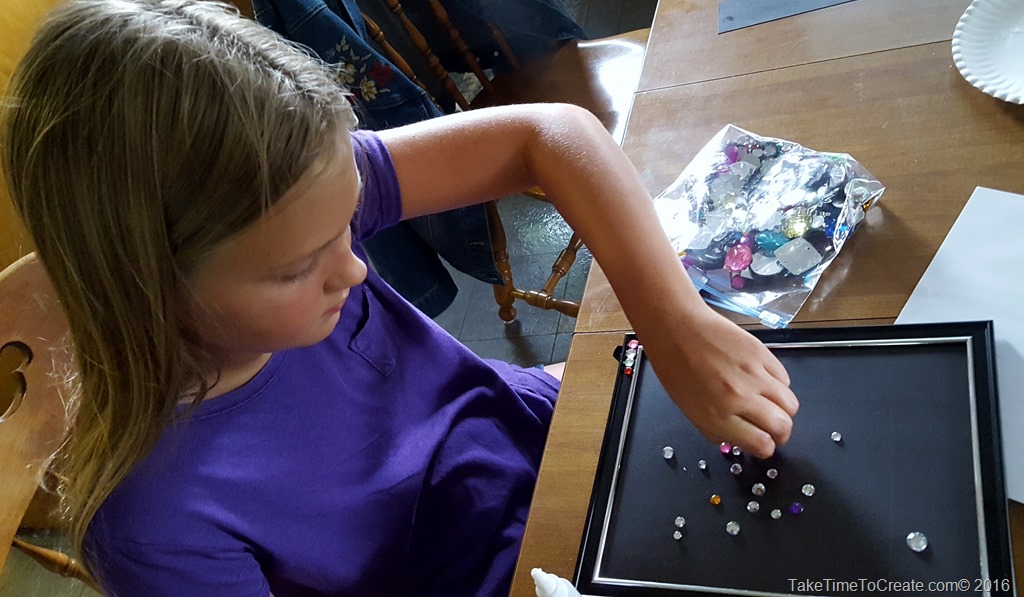
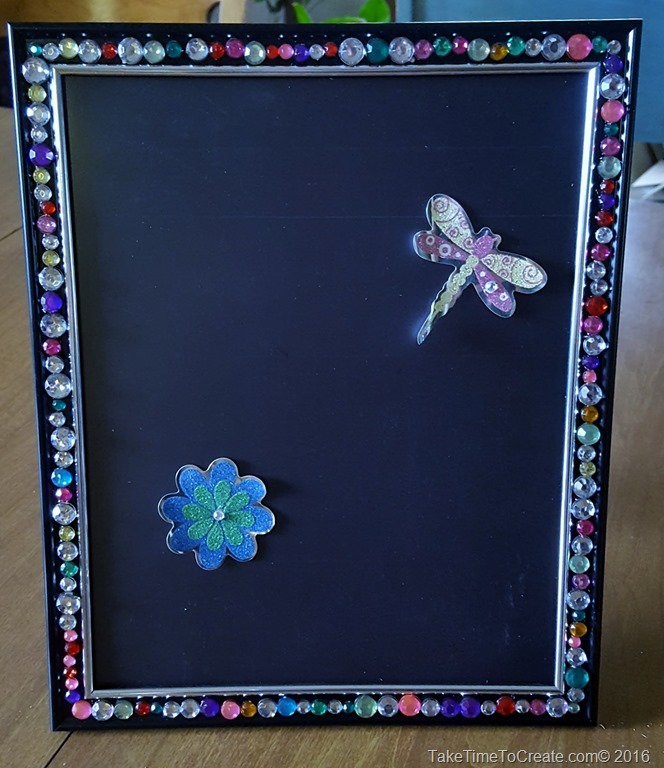
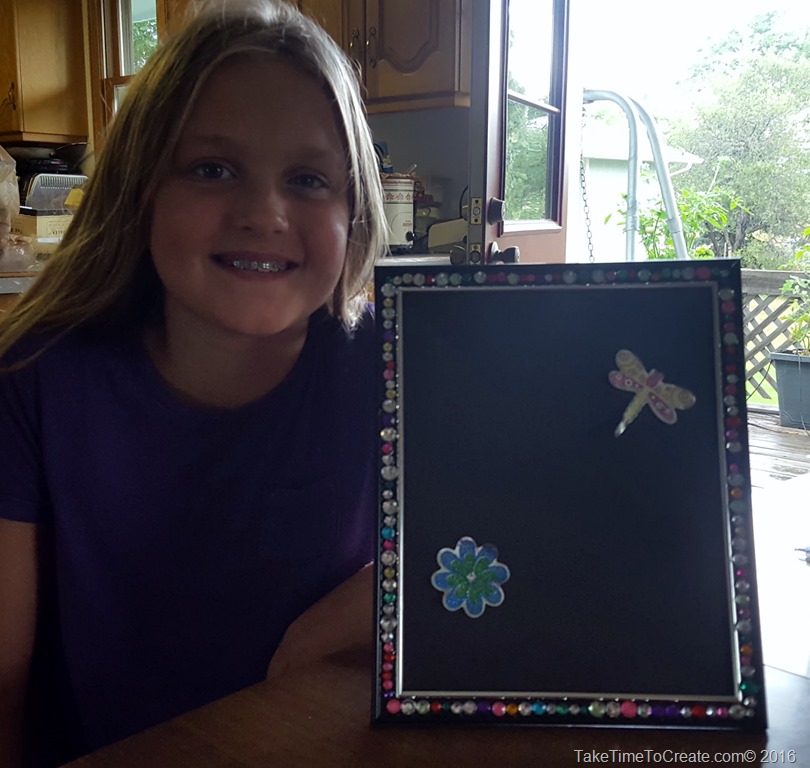
While she was in town we decided to make a magnetic board. We just took a dollar store frame and put a magnetic sheet in the frame. Then she decorated it will rhinestone (she is a girl after my own heart, you can never have too many rhinestones!)

 DIY Locker MagnetDIY Locker Magnet

I think it turned out awesome. (sorry the photo is backlit, but you can still see how cute she is.) It was so much fun to have a crafting buddy, I can’t wait until she comes back to town so we can do more projects together!

DIY Locker Magnet

TBT Restoration Hardware Chandelier DIY

Hello Everyone!

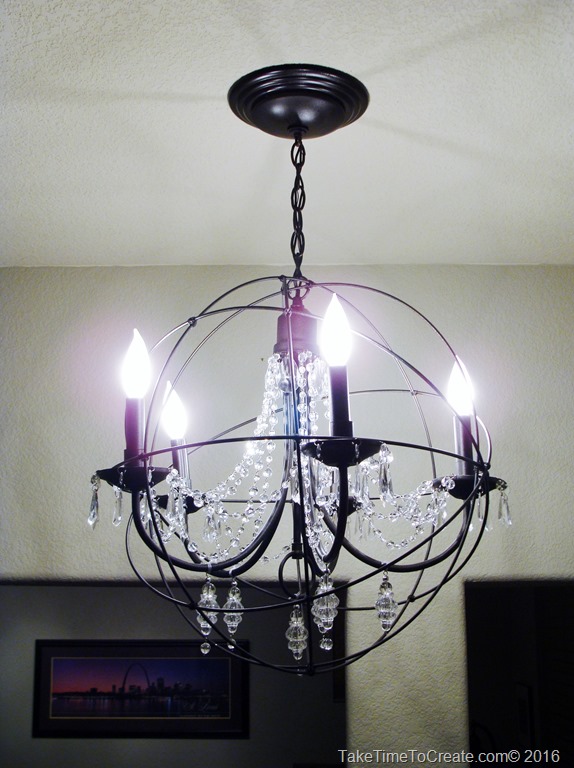
I wanted to take a few minutes today to do a TBT. I made this chandelier about 4 years ago and I still love it! Here is the original blog post: Restoration Hardware Chandelier

The DIY took me a while to complete, but it still is one of my favorite projects! I hope you all enjoy the walk down memory lane.

Restoration Hardware Chandelier DIY

I have a lot of new readers so I wanted to share this DIY with everyone.

Restoration Hardware Chandelier DIY

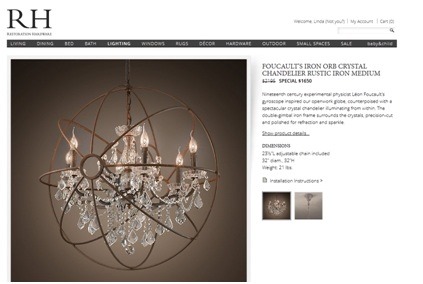
When I saw this RH chandelier I fell in love! I mean it is a perfect blend of sparkle and fancy with rustic, industrial elements. But I did not fall in love with the cost.

Chandelier

The Full instructions are in the original post, but here are the abbreviated instructions

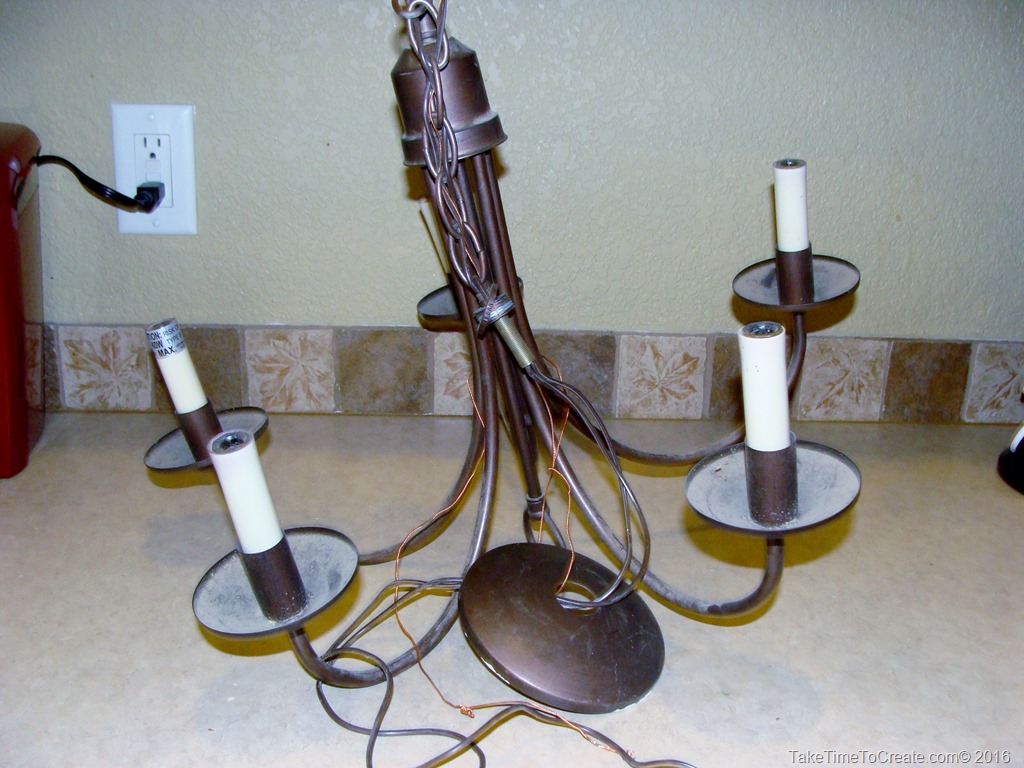
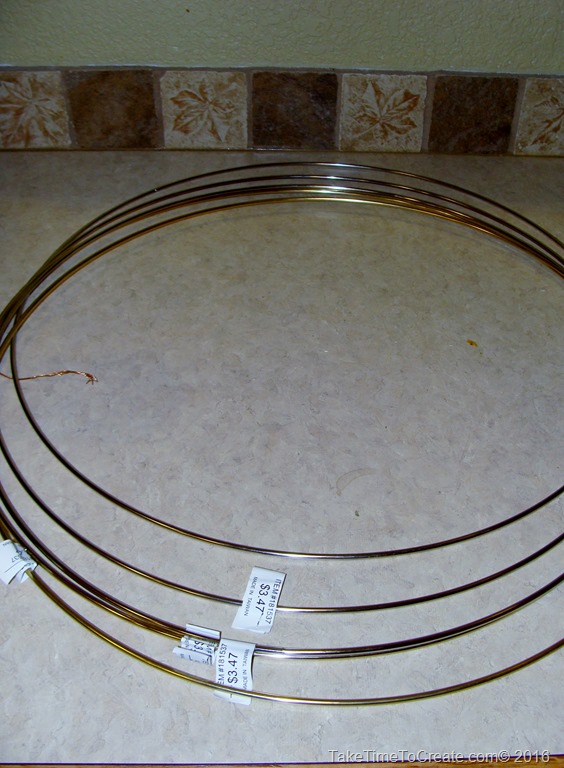
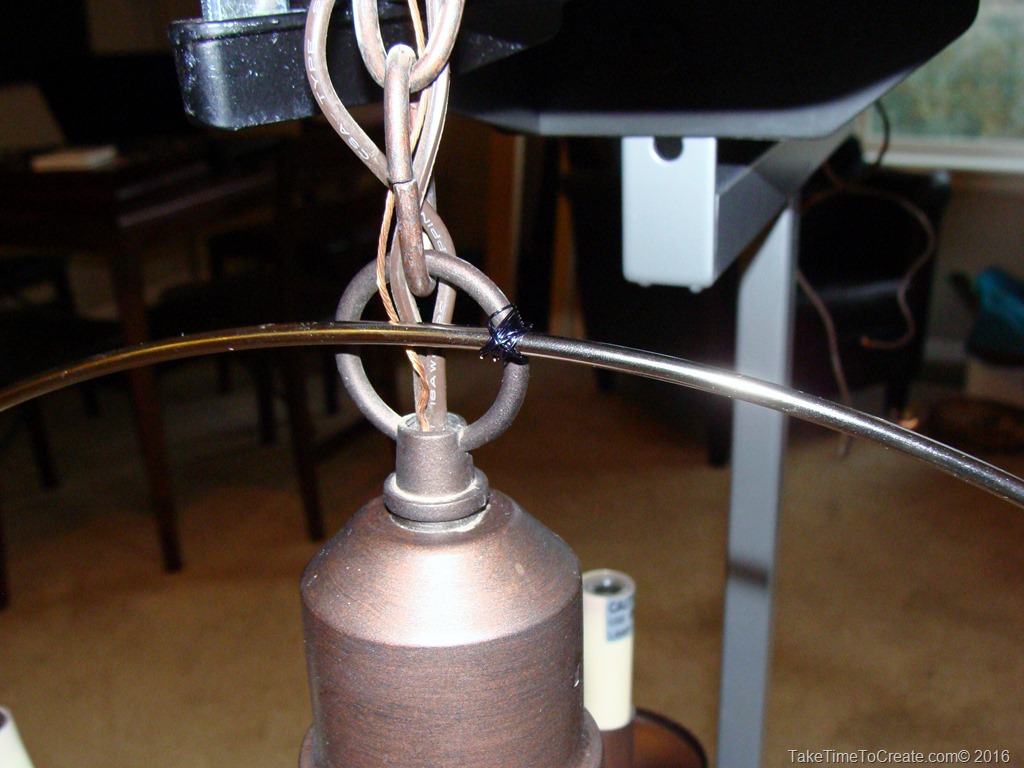
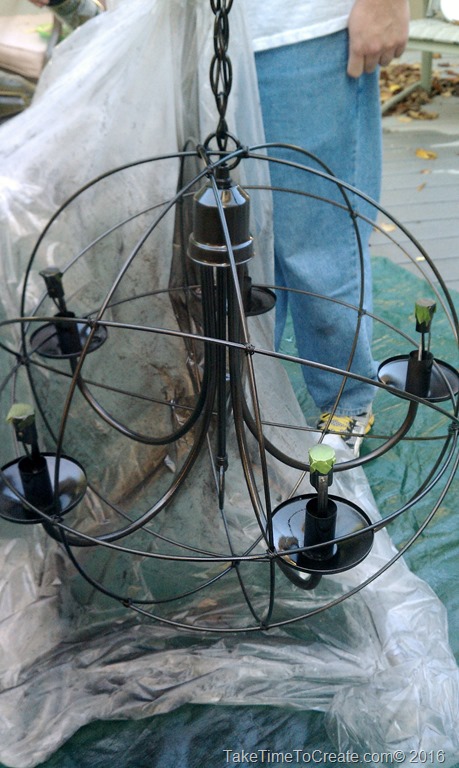
I found this old light fixture and added some hoops that I found at the craft store.

Restoration Hardware Chandelier DIYRestoration Hardware Chandelier DIY

After adding the hoops I spray painted everything with Rusteloem Oil Rubbed Bronze (my favorite spray paint)

Restoration Hardware Chandelier DIY

Restoration Hardware Chandelier DIY

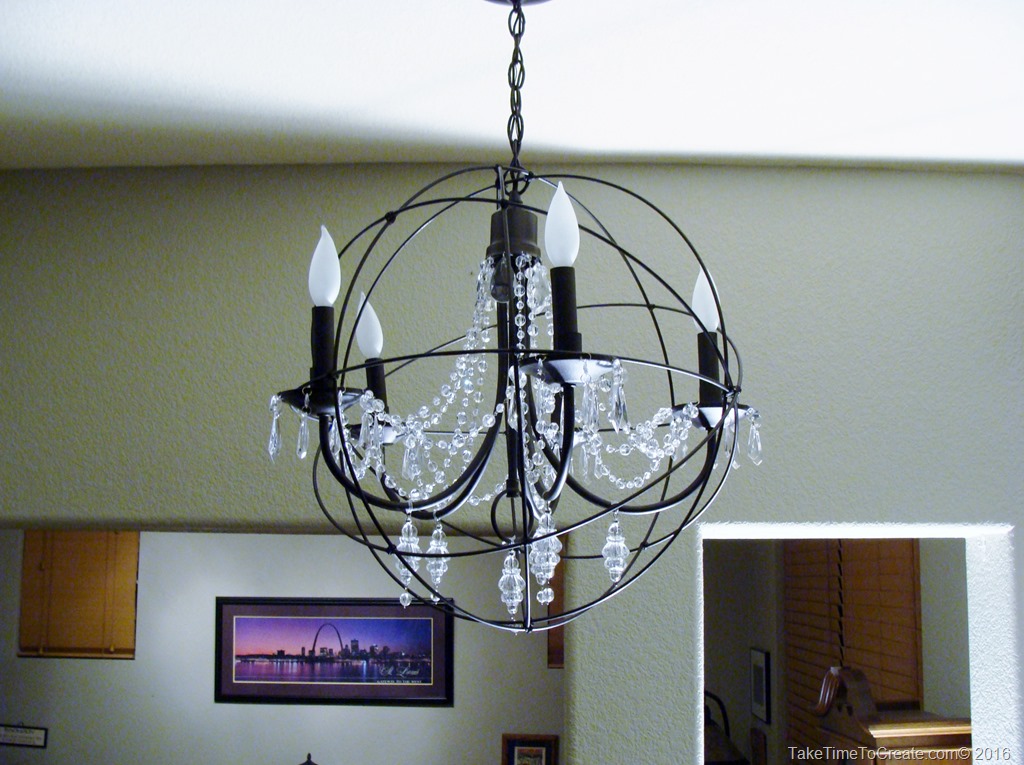
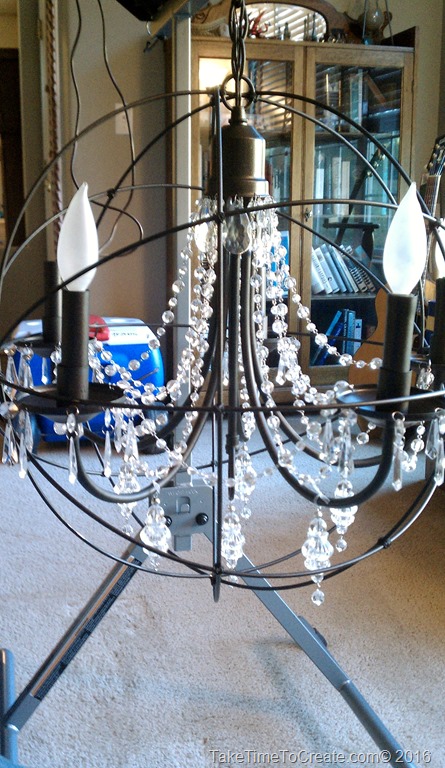
Then I added all the crystals and light bulbs

Restoration Hardware Chandelier DIY

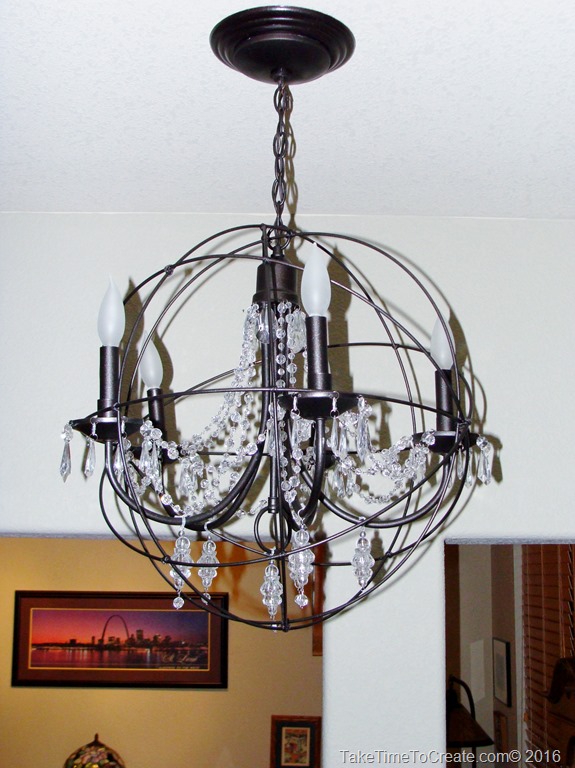
Then we hung it up and it looks awesome! People are always surprised when I say that I made it!

What DIY projects have you done that were inspired by Restoration Hardware?

Restoration Hardware Chandelier DIY

Recycled Glass Vase DIY

Hello Everyone!

I hope you are all having a great week. Last weekend we had a wonderful relaxing weekend, with not much on the schedule!  In fact, over the weekend is when I finished this recycled glass vase project.

recycled glass vase diy

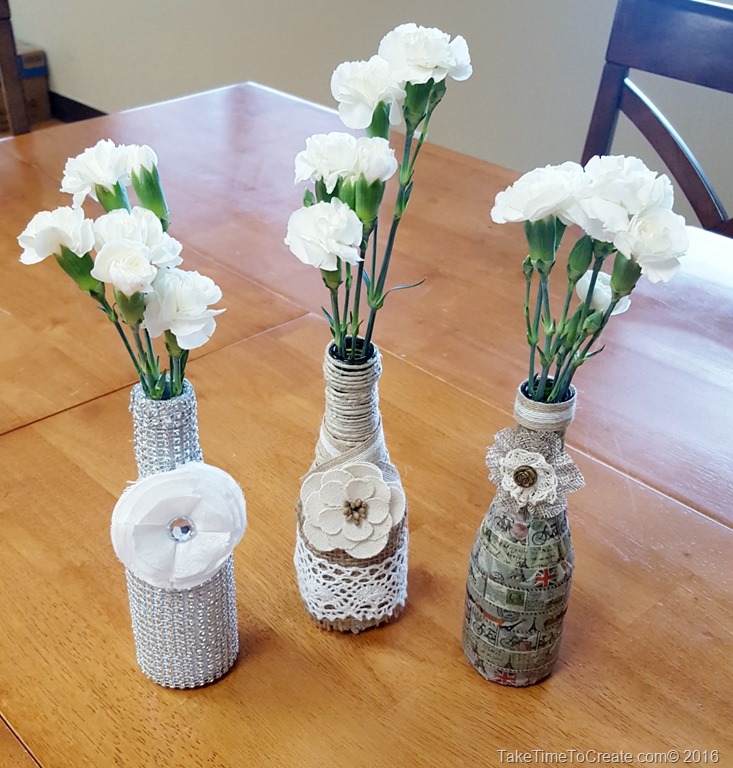
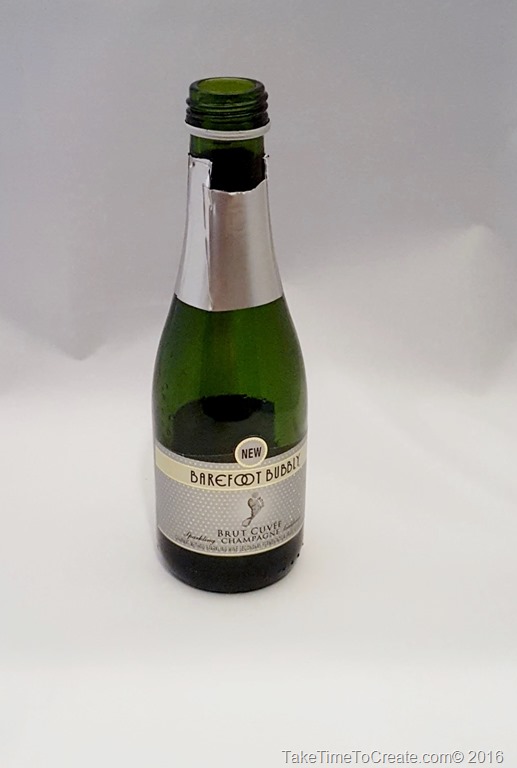
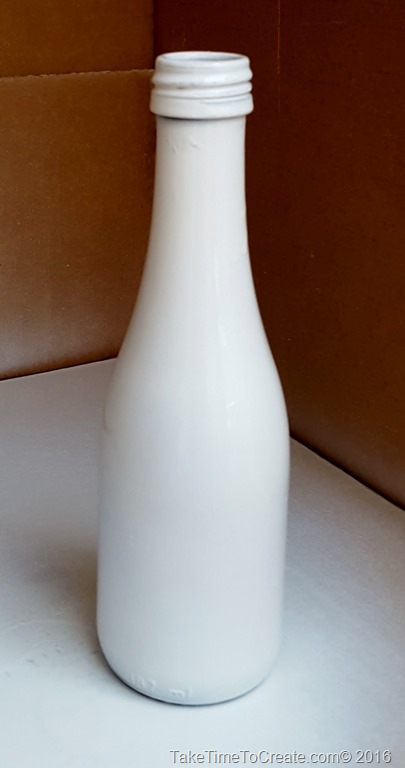
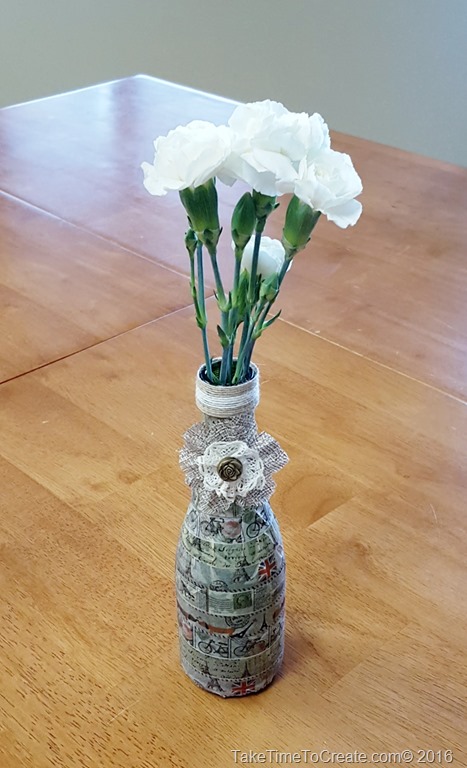
I have had these little champagne bottles for ever. They were just too cute to throw in the recycling bin and I knew that I  would eventually find the perfect project for them. And I did, I made these cute vases!

Materials:

~ Glass bottle. (I used the champagne bottle, but you can use almost anything else. For instance a used olive oil bottle. )

Recycled Glass Vase DIY

~ raffia, jute, cord, burlap, ribbon, flowers

~ washi tape and anything else you want to glue on your new vase!

~ Hot glue

Instructions:

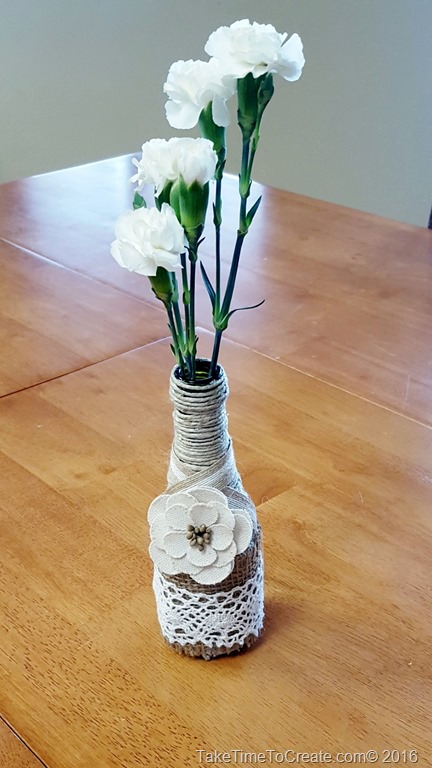
#1. The Shabby Chic Vase

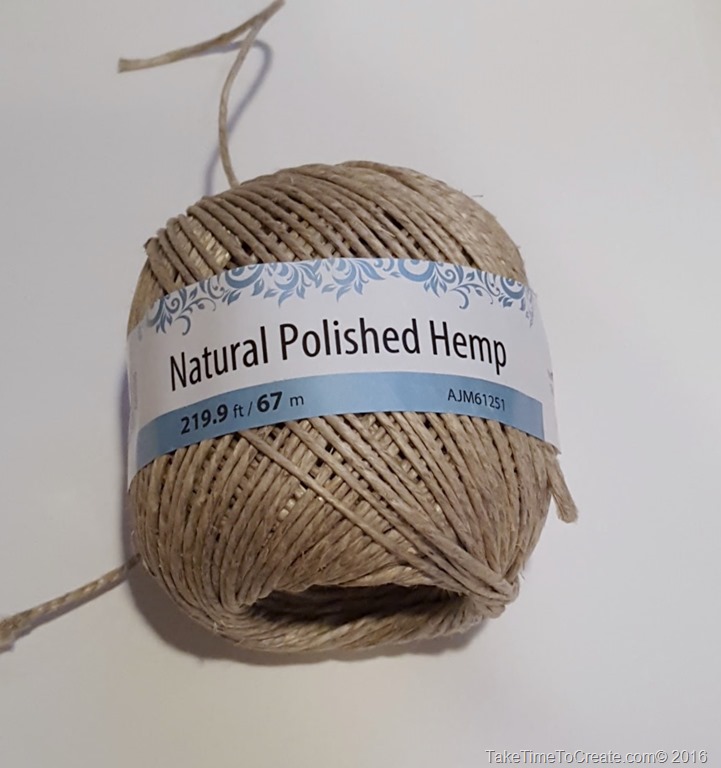
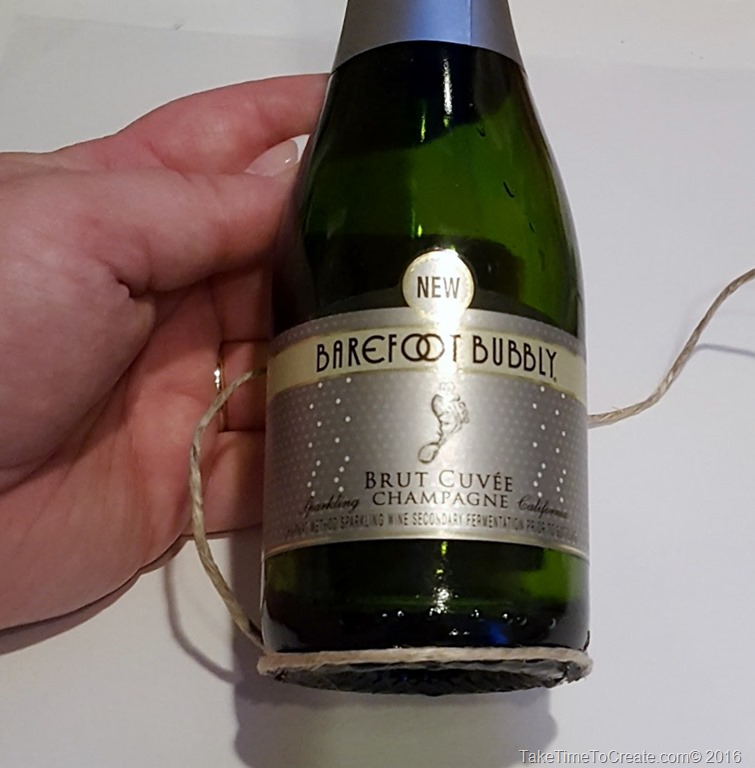
~For this vase I used this Natural Polished Hemp and wrapped it around the entire bottle. I did not take of the labels for this vase and the cord did a good job of covering the labels. But if I were to do it again I would take them off. Just keep gluing and wrapping until you cover the bottle. This will take awhile so put a tv show on and go to town.

Recycled Glass Vase DIYRecycled Glass Vase DIY

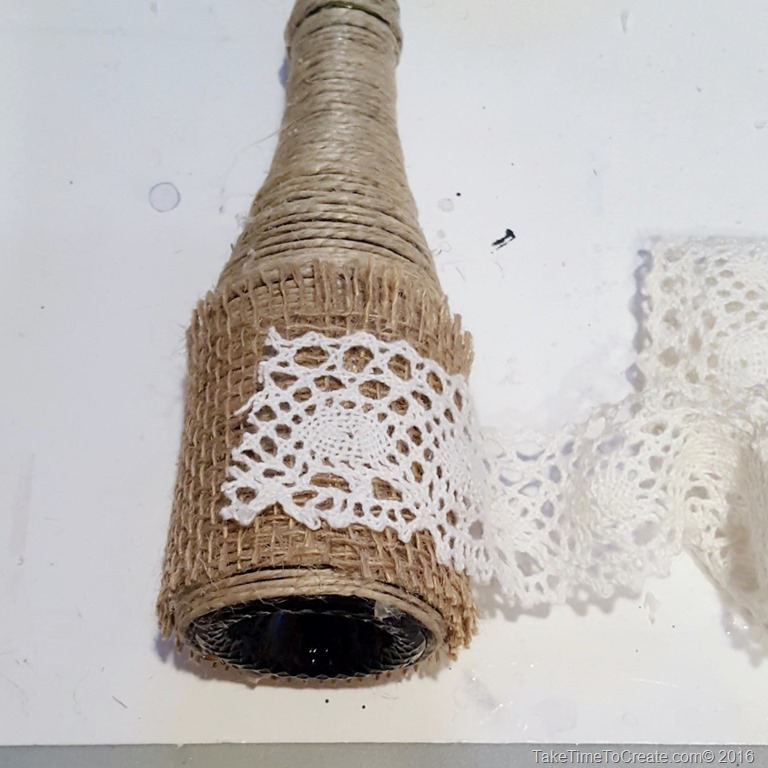
~ One I was done wrapping I added some burlap ribbon to the base area and then a layer of pretty ribbon.

Recycled Glass Vase DIY

~On the neck I added some brown ribbon and a flower. And there you have it, a cute shabby chic vase. 

Recycled Glass Vase DIY

#2 The Diamond Wrap Vase

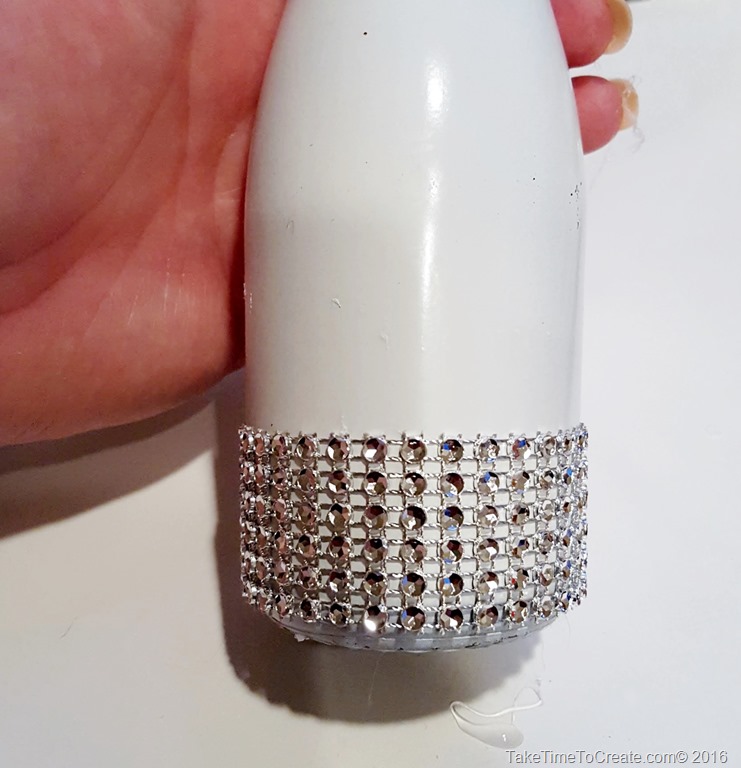
~ For this vase I wanted a really fancy, blinged out vase and I think I achieved that look, haha. To start take the labels off and then take the bottle to a well ventilated area to spray paint it. (Confession time: I am not very good at spray painting, I am too impatient to wait between layers and I always make a mess. So usually my hubby takes care of  my spray painting, but I really wanted to get this project done so I didn’t wait for him to get home from work. I thought my cardboard box was good enough to keep the spray paint contained, buuuuuut I may or may not have painted the glass my outside table… Oh well, I guess refinishing the table will be a new project for me to work on this summer. lol)

 Recycled Glass Vase DIYRecycled Glass Vase DIY

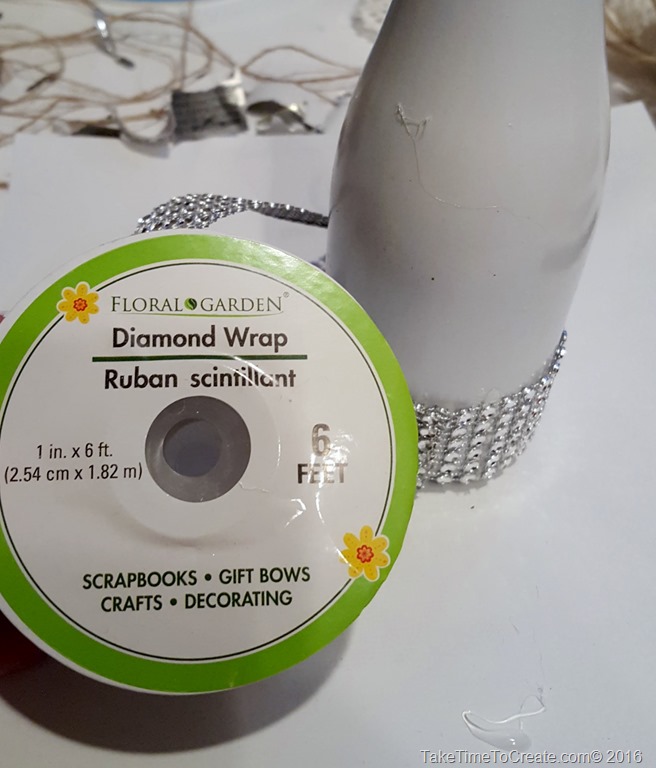
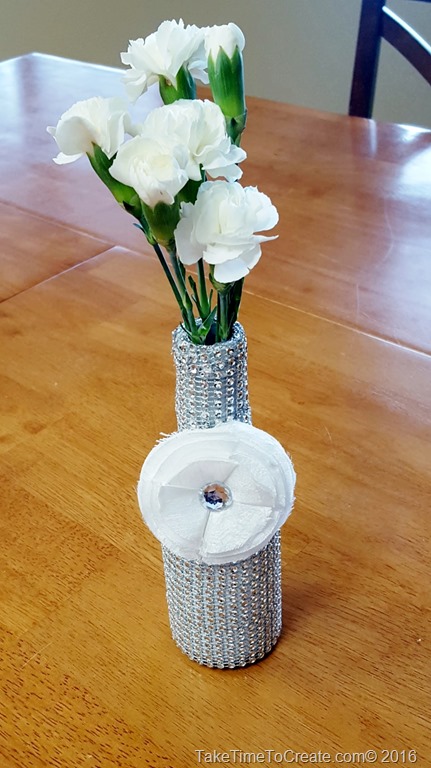
~Anyway when you are done painting and it is dry start wrapping the bottle with Diamond Wrap (I found this at the dollar store) Add a flower to the top and you are done. This is perfect for the dinner table or for holidays. Imagine how cool this vase would look in candle light?


Recycled Glass Vase DIYRecycled Glass Vase DIY

Recycled Glass Vase DIY

#3 The Washi Tape Vase

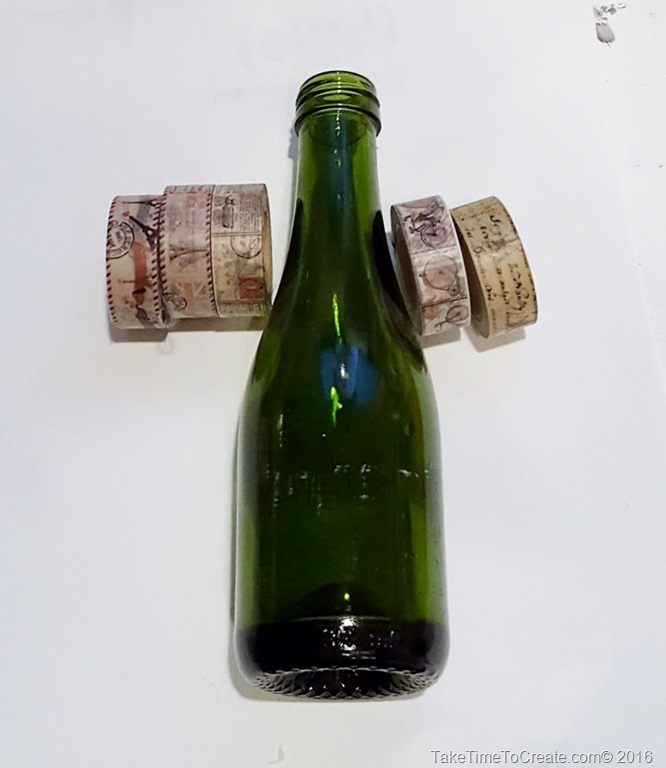
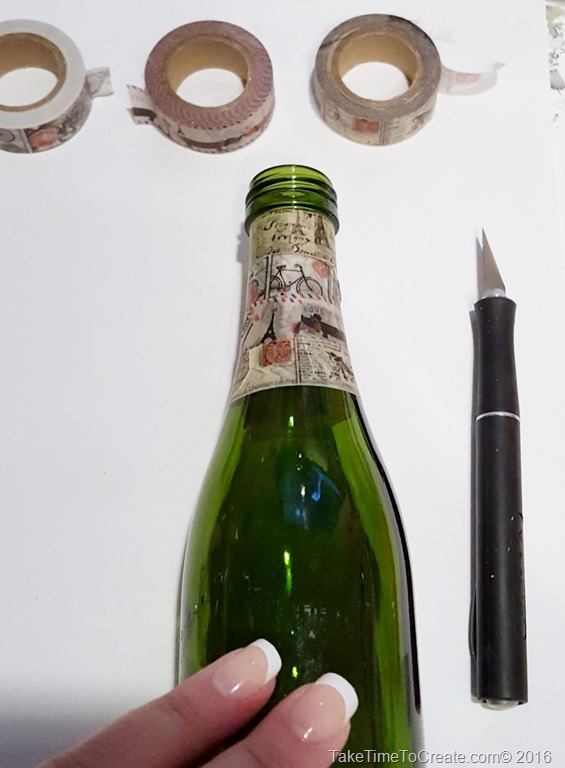
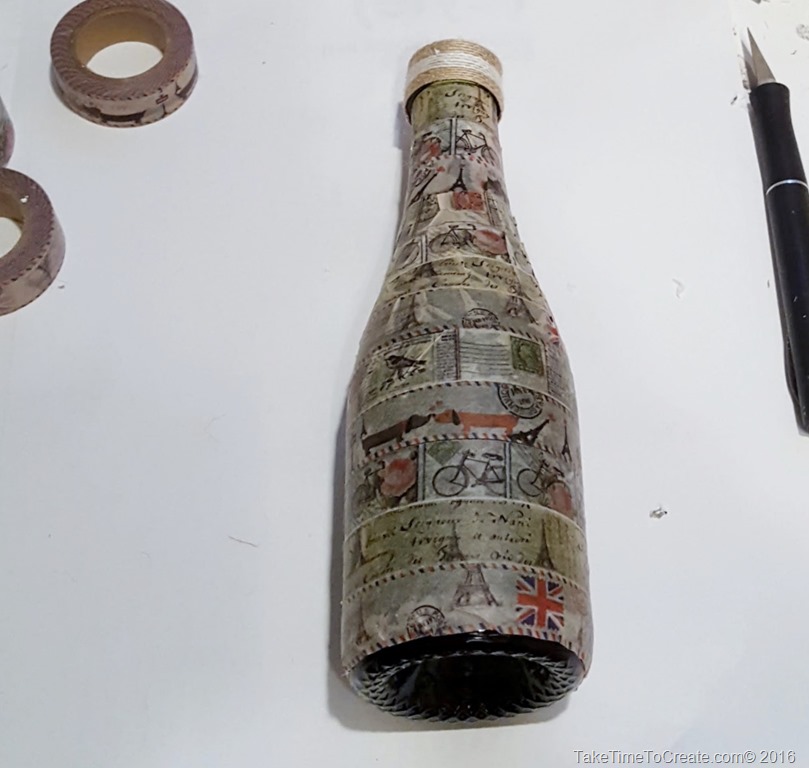
~ I have this wonderful washi tape that I found on Amazon and I thought would look great on the bottle. I just started wrapping the bottle using a different tape for each layer.

Recycled Glass Vase DIYRecycled Glass Vase DIY

~ Just keep going until you are done. Since the bottle is curved the tape didn’t lay flat in all areas, but that is ok, I think it look like it has been aged in a attic for a long time.

Recycled Glass Vase DIY

~ Add a ribbon to the top and a flower and you are done!

Recycled Glass Vase DIY

There you have it, some great vases made from a glass bottles that were headed to the recycling bin!

What have you used to make a vase out of?


Recycled Glass Vase DIYRecycled Glass Vase DIYRecycled Glass Vase DIY

There are no affiliate links in this blog post

DIY laptop cover

Hello everyone!

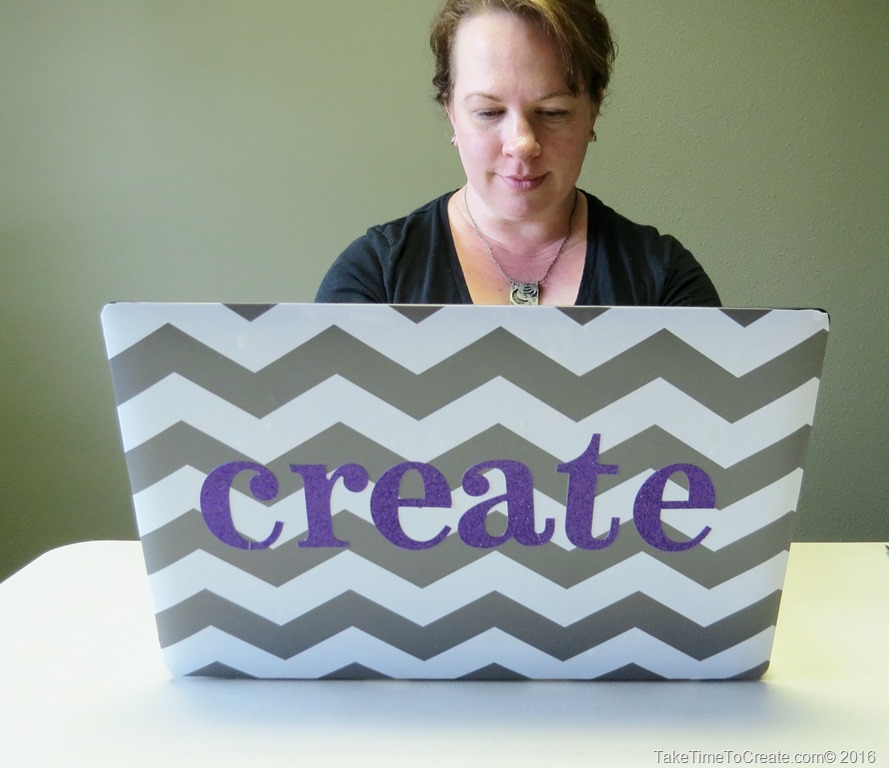
The other day I was working on my laptop and just kept getting distracted about how boring it is. I mean, the laptop is just black, no color at all. And you all know me by now, so you know that this just won’t do. I had to fix it!

DIY laptop cover

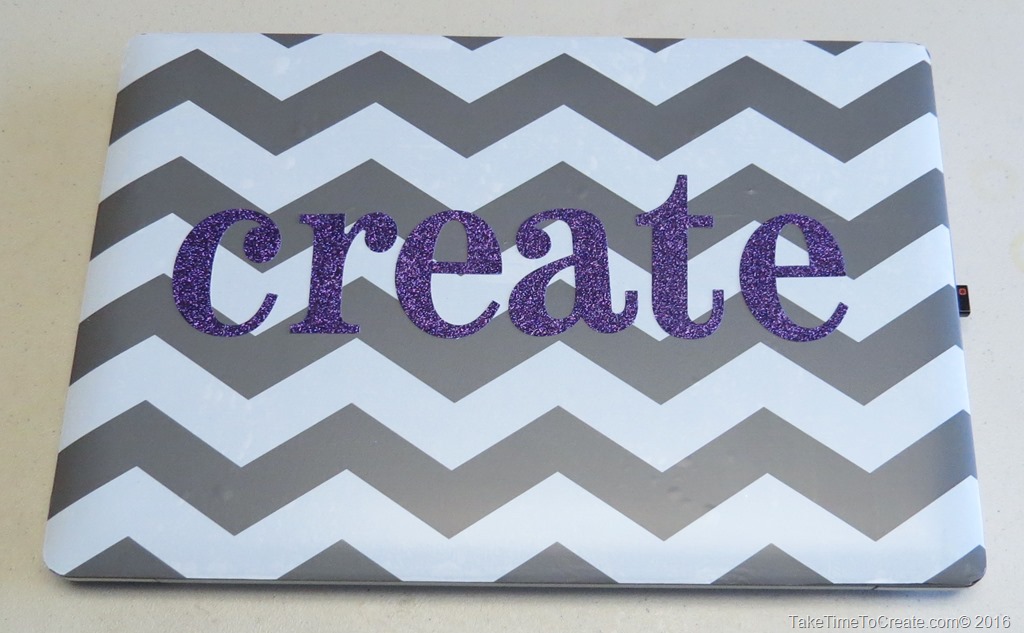
See much better!

Materials:

~ Laptop or any electronic

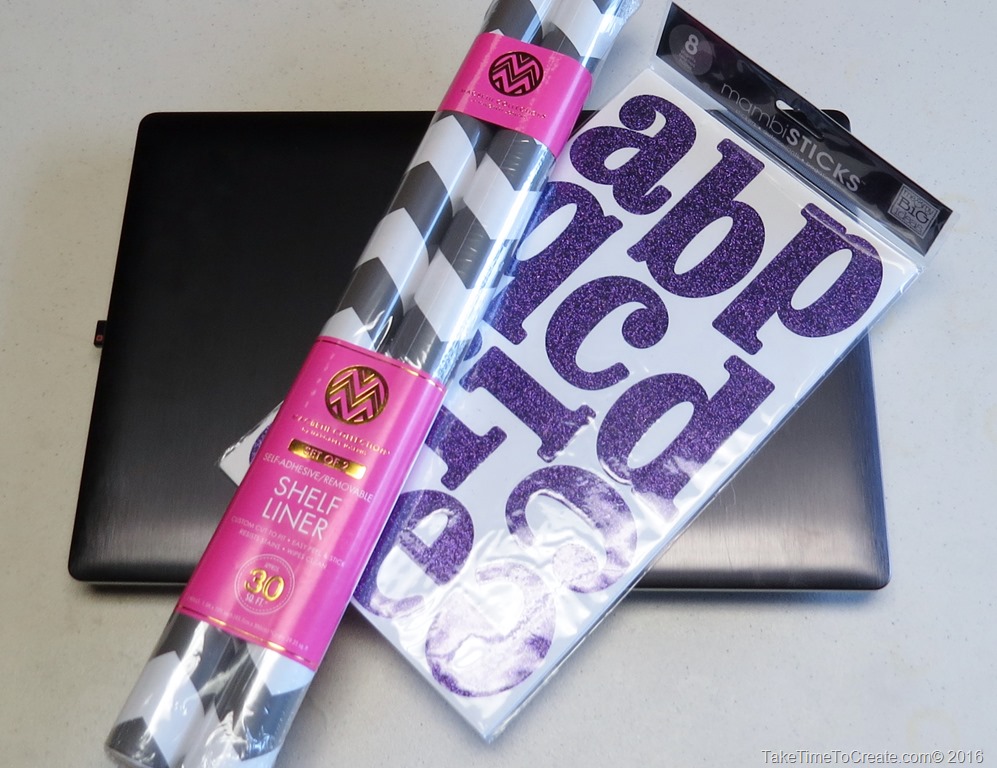
~ contact paper (I found mine on Amazon)

DIY laptop cover

~ Letter stickers (I found mine on Amazon)

~ Exacto knife and scissors


Instructions

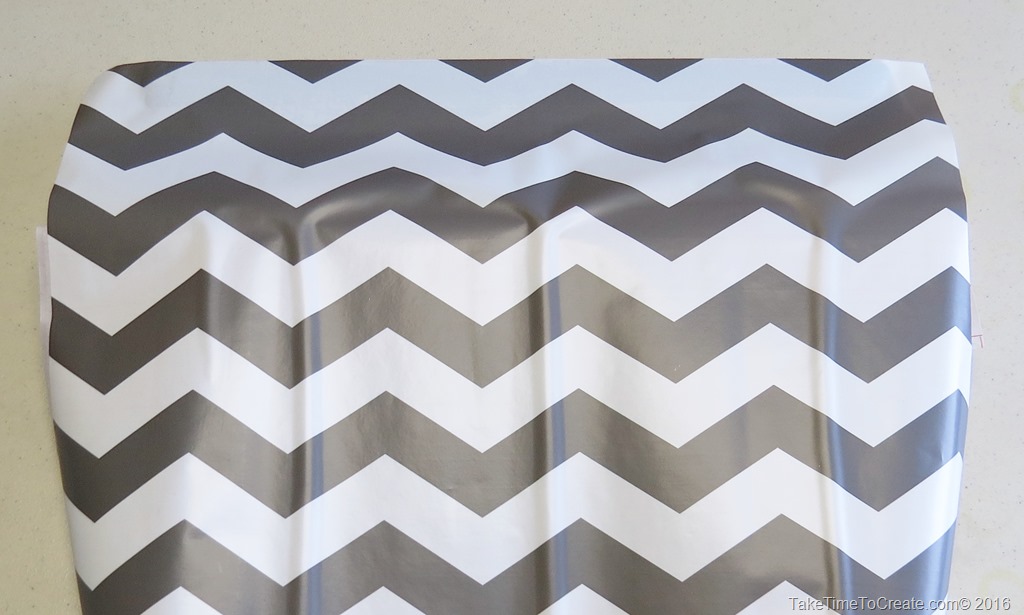
~ Cut your contact paper a little bigger than the laptop

DIY laptop cover

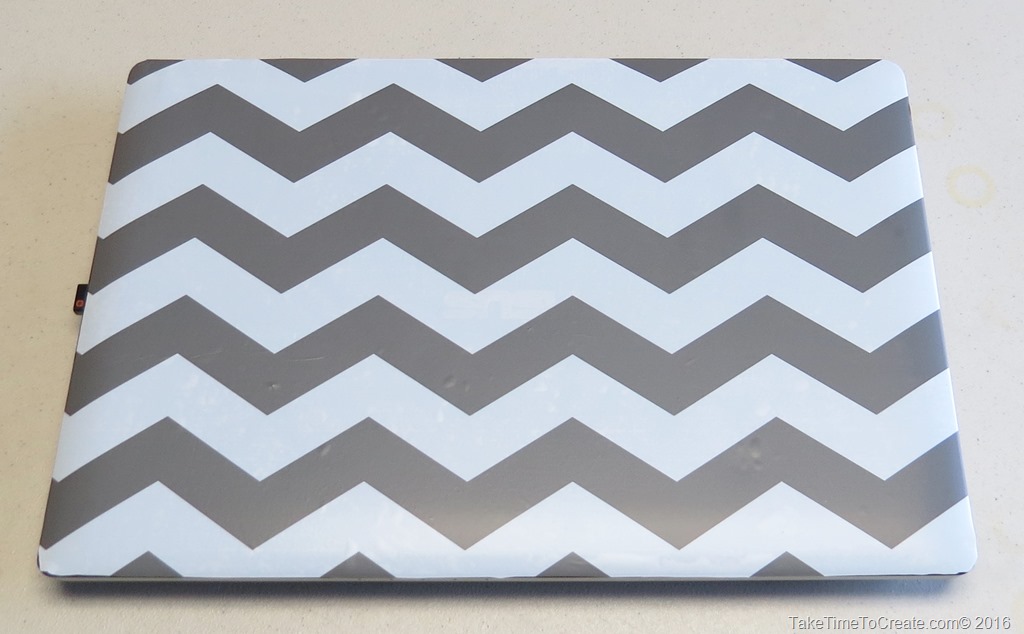
~ Slowly and carefully peal the back off the contact paper and adhere to your laptop. Try to keep it straight and try and keep the bubbles out. I still ended up with bubbles, but that is ok. I think it adds to the creativity

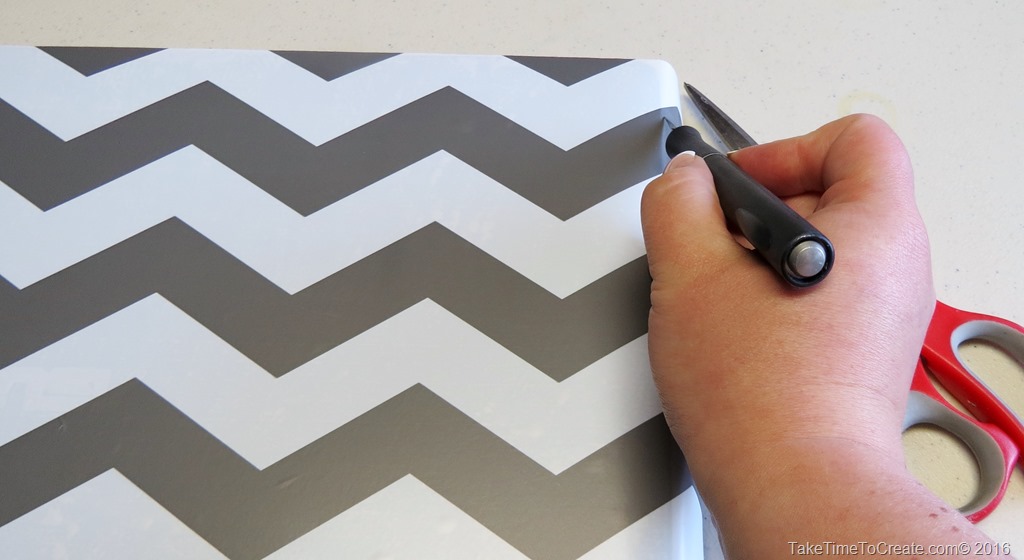
~ Once the contact paper is on then carefully trim the edges with an Exacto knife. Smooth it all down and make sure it is secure

DIY laptop cover


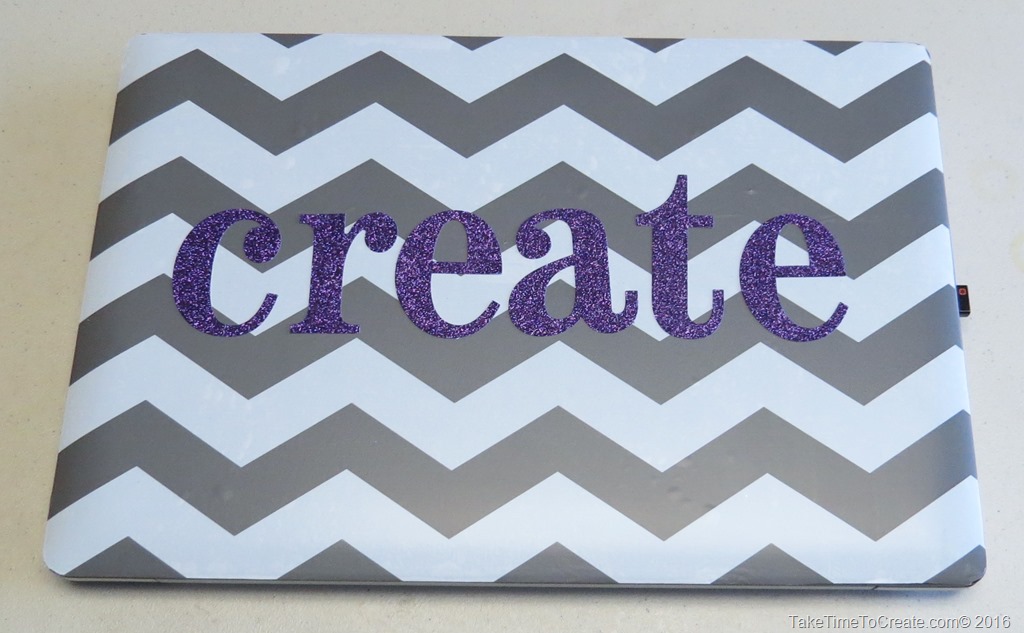
~ I love the chevron pattern, but I felt like it needed more so I added the purple, glitter letters. I think that was the right touch.

DIY laptop cover

IMG_0106

DIY laptop cover


That is it! It is a great way to add character and personality to you electronics, and I already feel more productive!

And the best part is this was easy enough that you can change your design often. I have seen some really cute contact paper designs at the dollar store.

Turn Gift Bags into Wall Art

Hello Everyone!

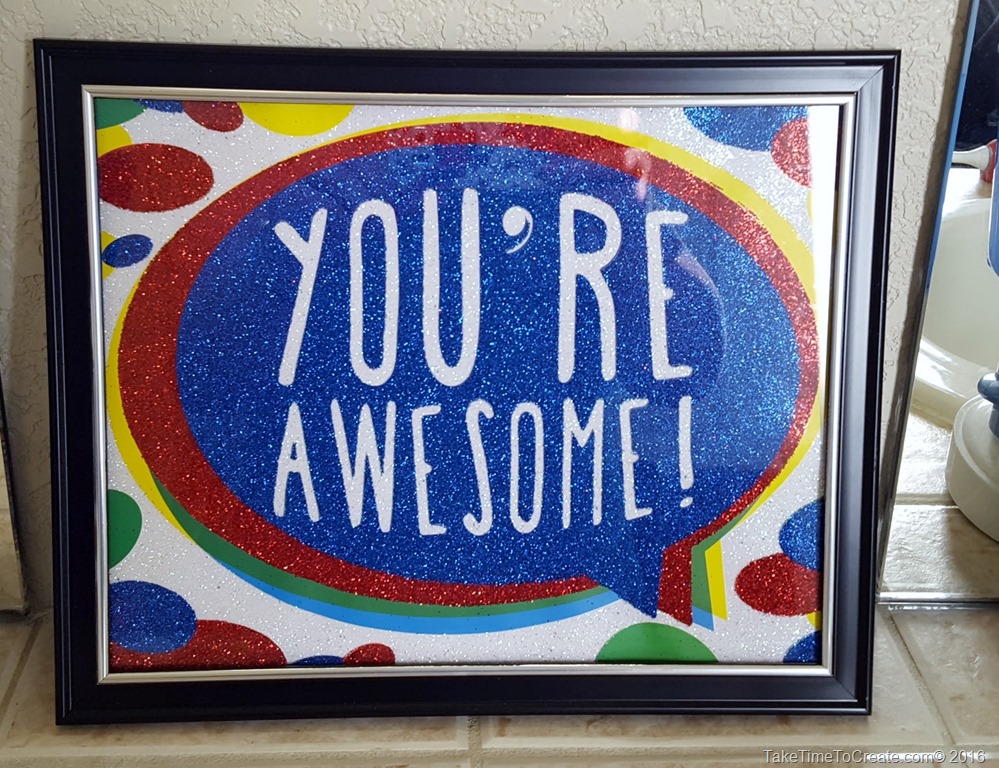
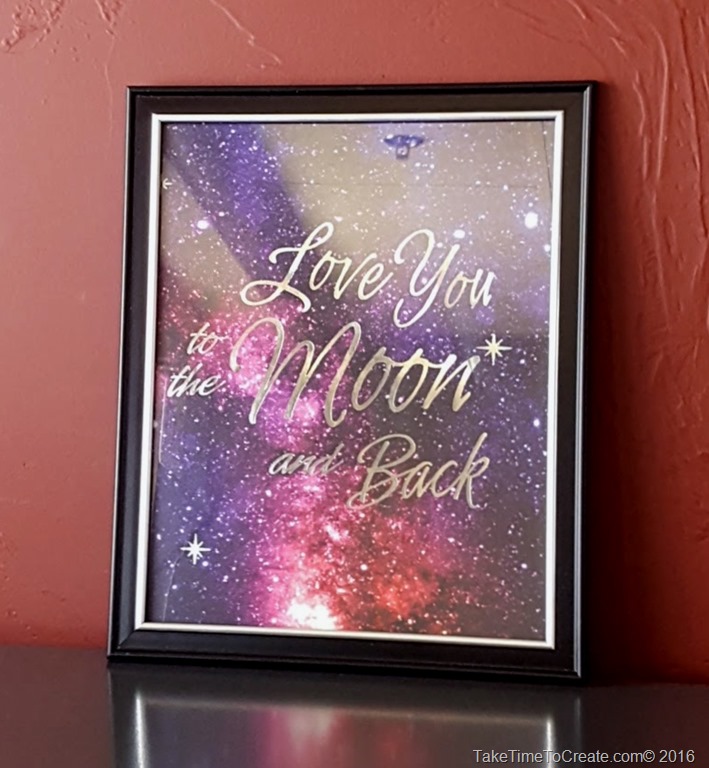
I have a serious question for you, have you seen the awesome gift bags at the dollar store? They are amazing! So cute and every design imaginable. When I see them I think that these should be hung on the wall and not given away. And that is just what I did.

Turn Gift Bags into Wall Art

This one I put in my teenage son’s bathroom. He got a kick out of it. We will see how long it stays there, haha.

This is not the most complicated DIY that I have ever done, but it is easy and fun and you can have new art work for a couple of bucks.

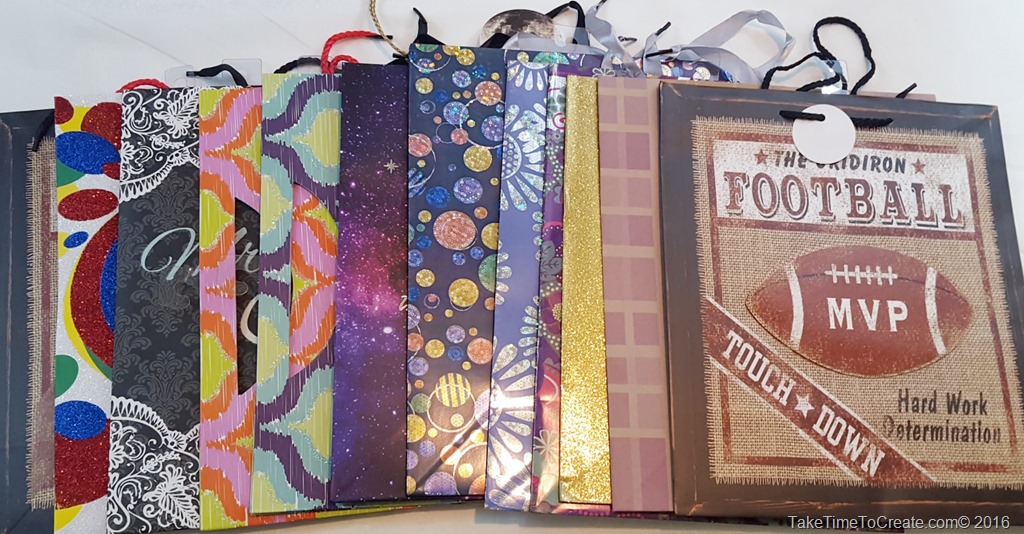
All  you need are gift bags from the dollar store (from this picture you can see that I might have a problem collecting too many….. nah, I think I don’t have enough, lol)

Turn Gift Bags into Wall Art

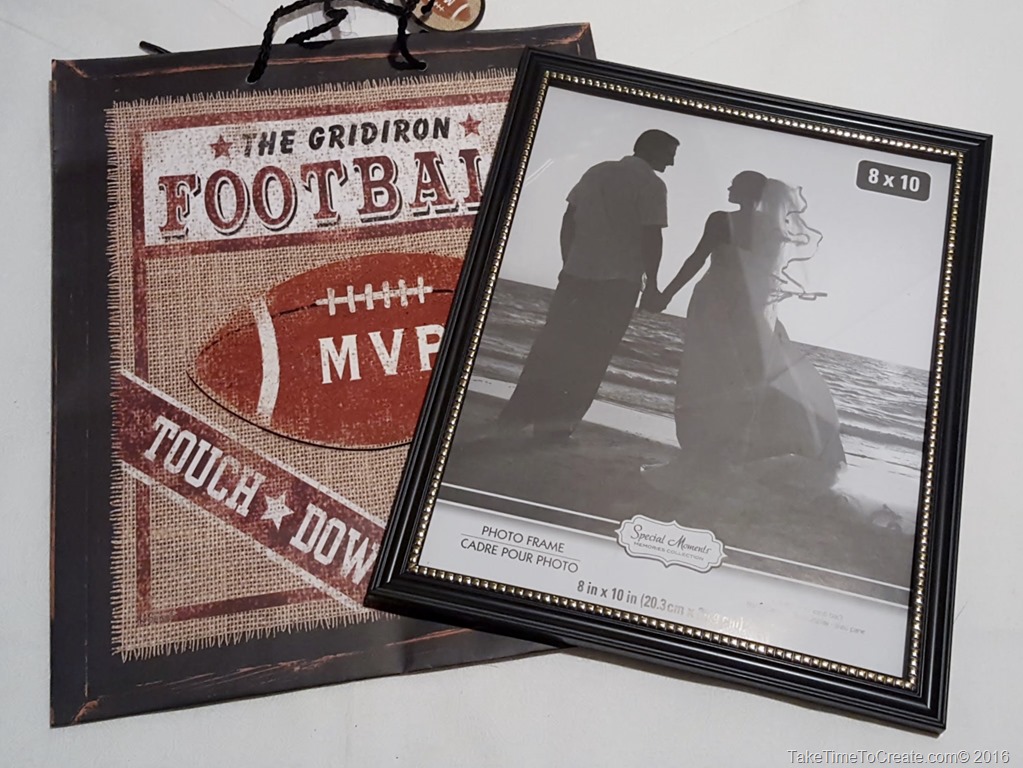
And a frame ( I got mine from the dollar store as well)

Turn Gift Bags into Wall Art

Just use the glass from the frame to see where to cut and cut out the design and put in the frame and that is it! All done.

Turn Gift Bags into Wall Art

Think about all the options, you can switch out for the holidays (the dollar store always had gift bags around Christmas)

You can give  a gift in the bag and give them a frame to use after they open the gift. It is like a 2 for 1 deal.

Turn Gift Bags into Wall Art

I thought that this one was very sweet, wouldn’t this look perfect in a nursery?

Turn Gift Bags into Wall Art

This one would look so cute in a nursery as well.

Turn Gift Bags into Wall Art

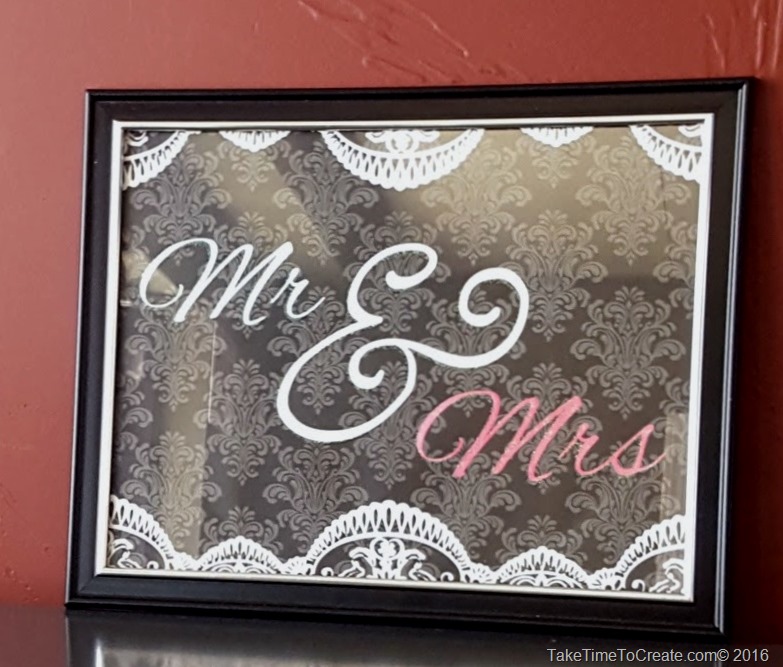
This one would great for newly weds, or even as a decoration at a wedding reception.

Turn Gift Bags into Wall Art

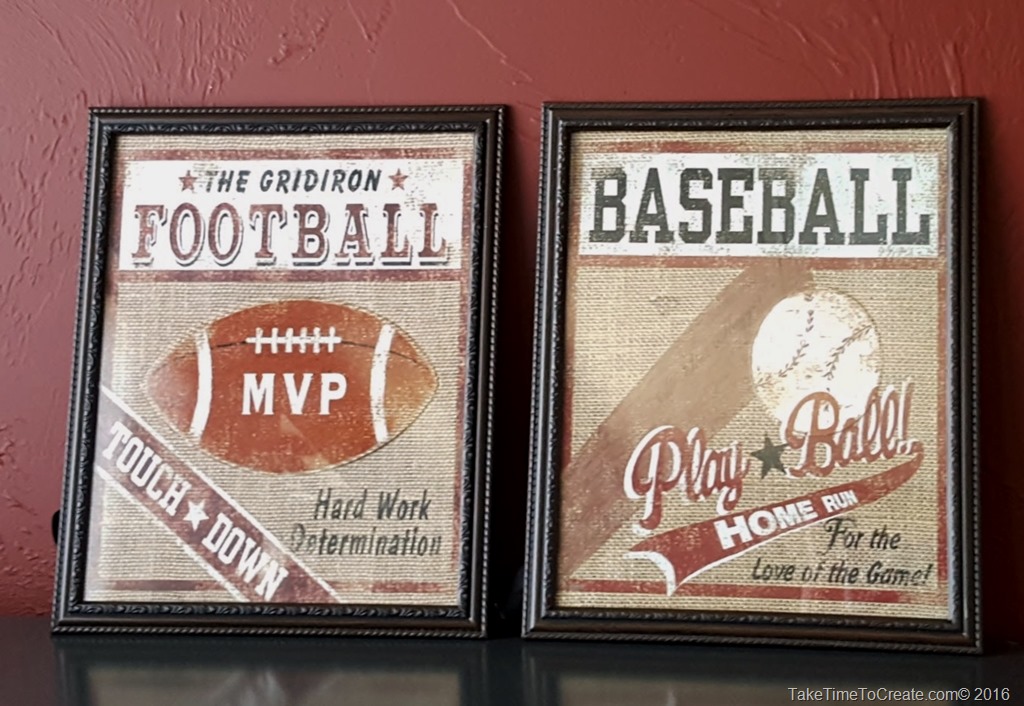
This one would be great for a boy’s room or a man cave. The possibilities are endless.

And the best part is that there is usually an identical design on the front and back so you can get twice as many pictures out of 1 bag. This is great if you have 2 kids that want the same art and you only want to buy 1 bag.

I did save the back of the bag for different projects in the future, so look forward to seeing these designs again.

I hope you can find some really great bags to hang on your walls.

Repurpose an old window into a Chalkboard

Hello Everyone!

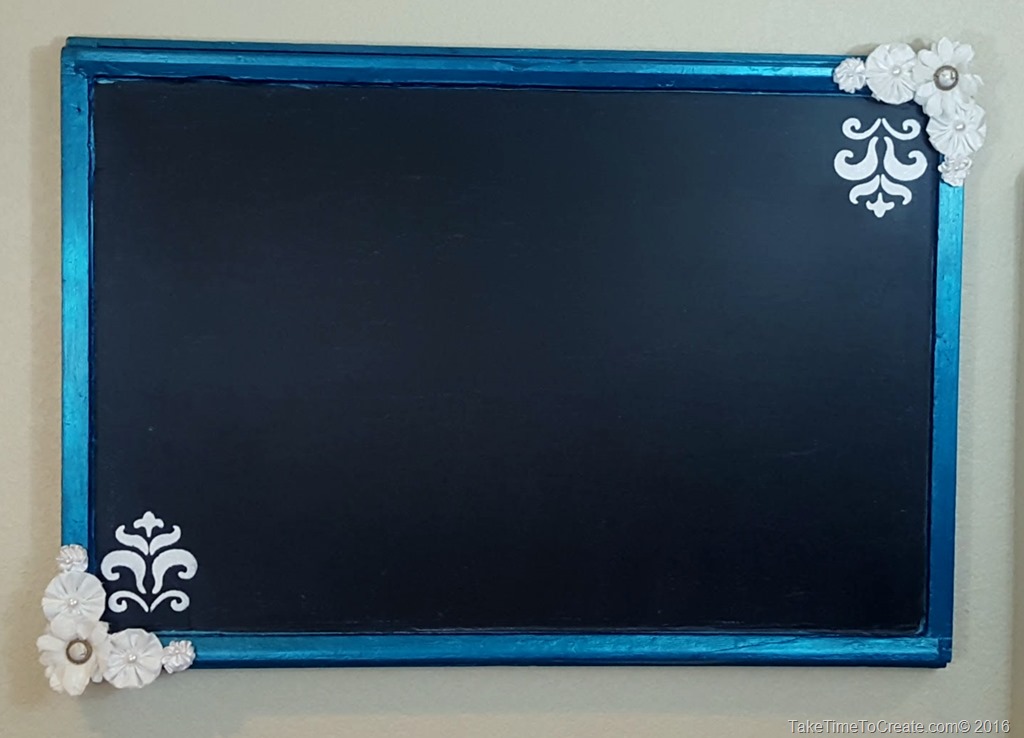
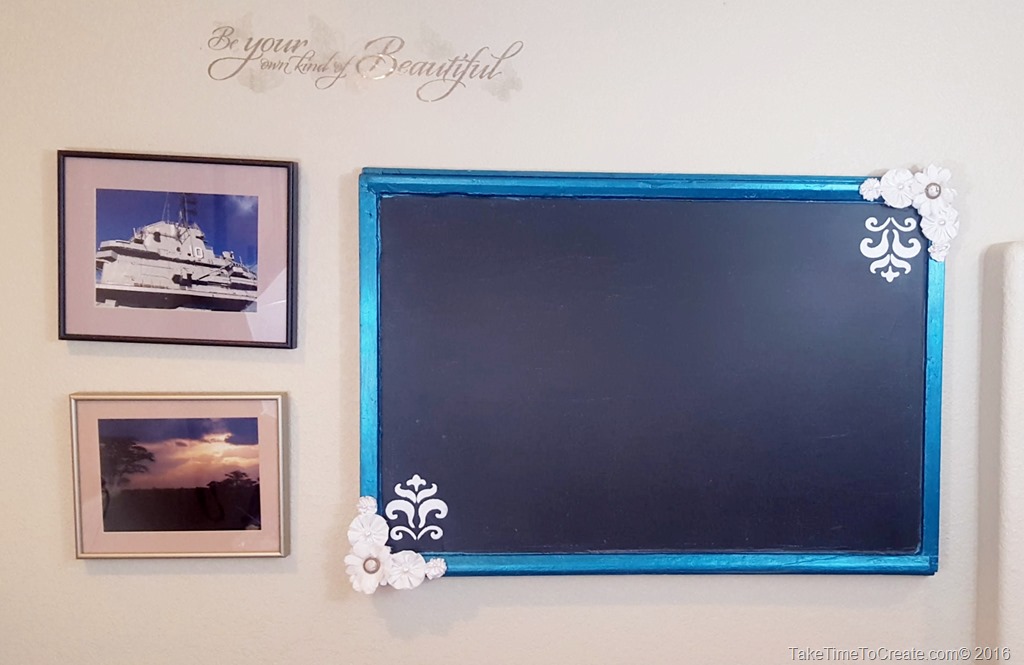
As many of you already know I was working a project for a Mental Health Awareness charity auction. We were all repurposing and painting old windows. Here you can see my post about creating a shabby chic message board. Today I am going to walk you through how I made this chalkboard with an old window.

Repurpose an old window into a Chalkboard


Materials:

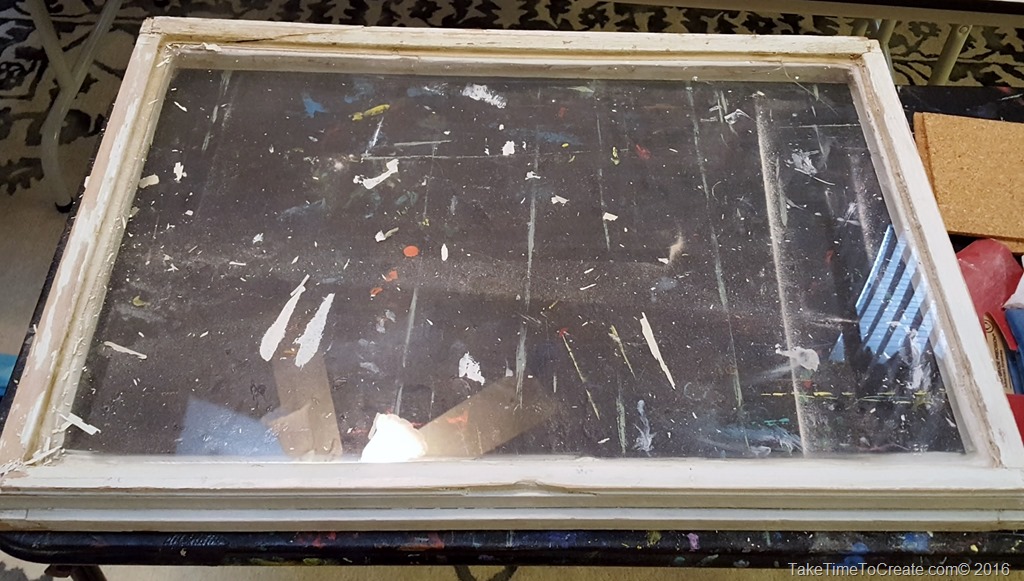
~Old window. This window had pealing paint and a crack in the Plexiglas, so it was perfect for this project.

~ Cleaning supplies and sandpaper

~ Paint, brushes, and tape for the frame

~ Primer, chalkboard paint, and brushes for the chalkboard part.


Instructions;

~ The first step is to prep the window. Not the most fun, but it is necessary for a successful project. I sanded all the edges until they were smooth and ready to paint. This took a while because the window was so rough.

Repurpose an old window into a Chalkboard

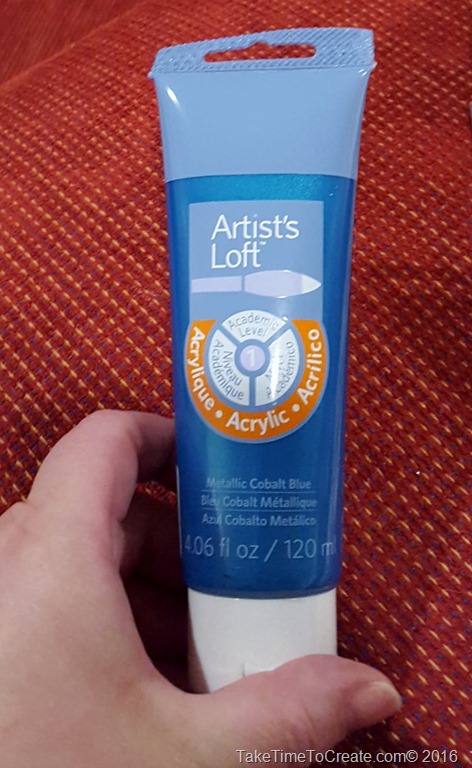
~ Then you paint the frame. I did tape off the Plexiglas because I am not the neatest painter. I used Artist’s Loft in Metallic Cobalt Blue, I love the iridescent quality of the blue paint.

Repurpose an old window into a Chalkboard

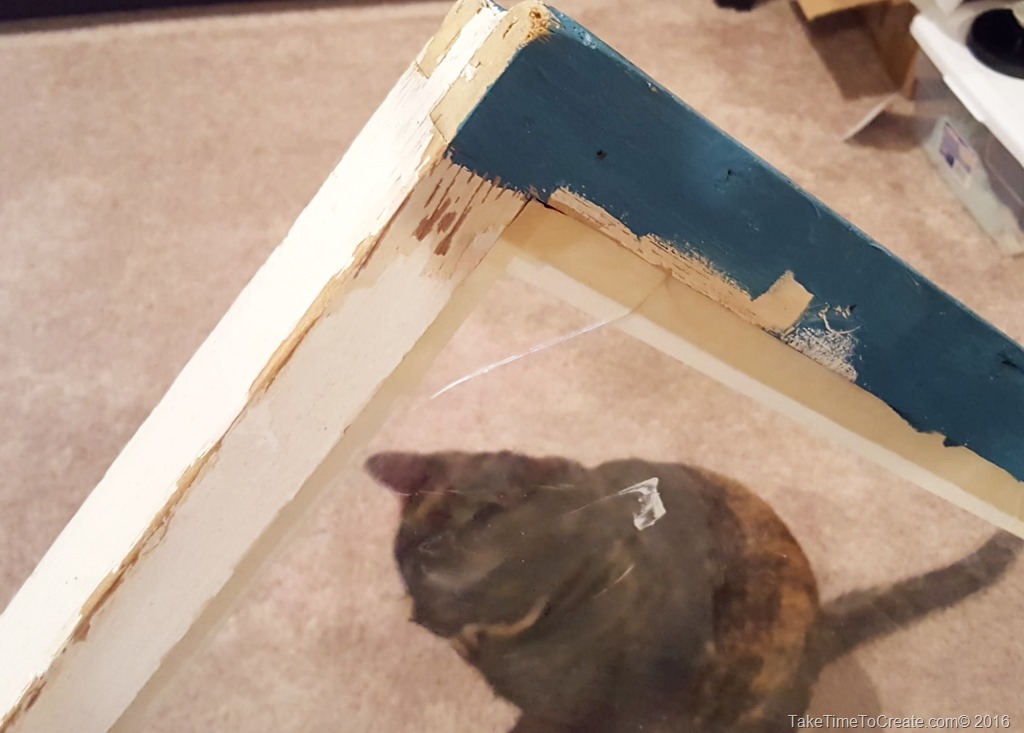
~ Paint away. Kitty help is essential to the success of any craft project Smile Starlight is my favorite kind of help, lol.

Repurpose an old window into a Chalkboard

Repurpose an old window into a Chalkboard

I did 2 coats of the blue

Repurpose an old window into a Chalkboard.

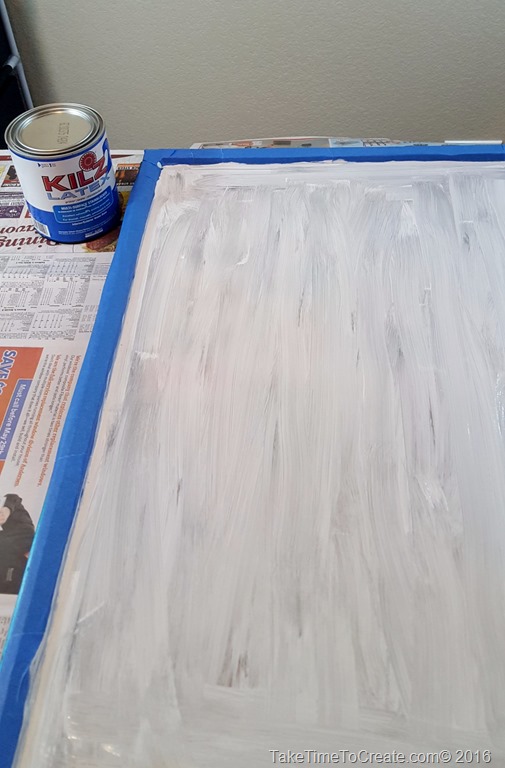
~ After the frame had dried for a day I taped off the frame part and prepped the Plexiglas. First I lightly sanded the glass so that the paint would adhere. Then I put a coat of primer on according to the directions. I used Kilz primer.

Repurpose an old window into a Chalkboard

~ Once the primer was dry I painted 4 coats of chalkboard paint on according to the directions. I used Rustoleum Chalkboard paint. Once it was dry and cured for 3 days I conditioned the chalkboard according to the directions.

Repurpose an old window into a Chalkboard

Repurpose an old window into a Chalkboard

~ Once it was completely dry and conditioned I took a stencil and painted a design in the corners and added some flowers and that is it. A new chalkboard for an old window

Repurpose an old window into a Chalkboard

Have you painted and or repurposed an old window? How did it turn out? I would love to see pictures!

Re-purpose an old window into a shabby chic message board

If you follow my Instagram (taketimetocreate) then I am sure you have already seen the reveal of this repurposed window. For those of you who don’t follow me there here the shabby chic message board!

repurpose window to shabby chic message board

I have to say I do love the way it turned out! This all started when my friend asked me to paint a window for a silent auction for mental health awareness. At first I wasn’t too interested, not because I didn’t believe in the cause (because this is one cause I totally support) it was because I wasn’t sure I had a design that would work. Most everyone else did a more traditional painted window with flowers on the glass and things like that. Well of course I didn’t follow the crowd. So I did my own thing and hopefully it will bring in a lot of money for the charity!

Here is how I did the repurposing.

Materials:
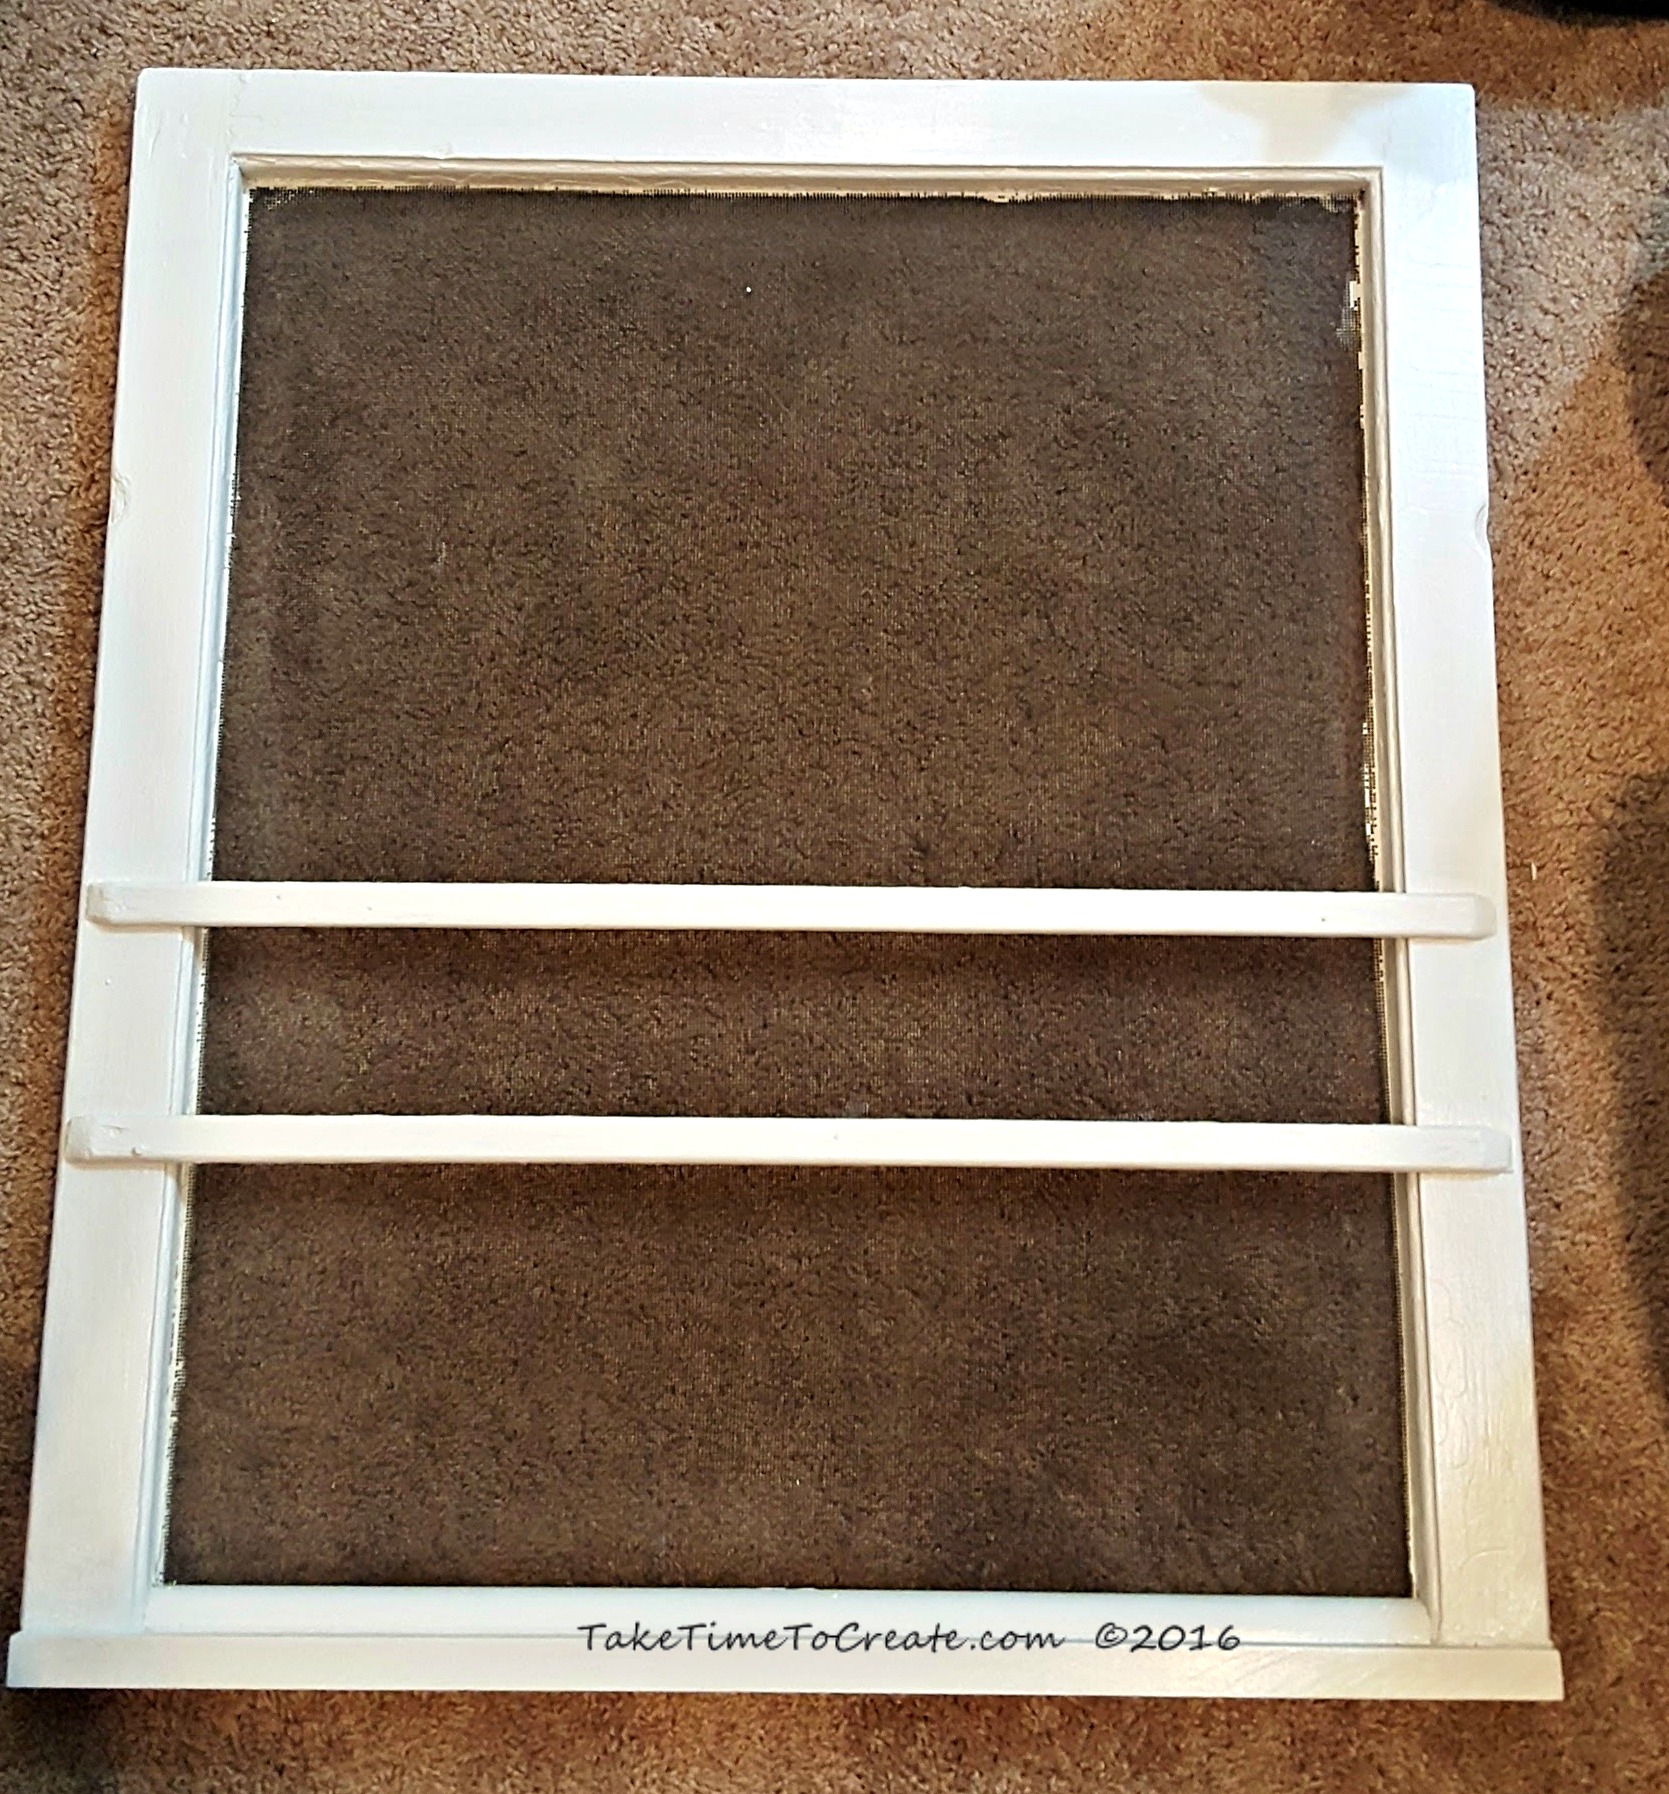
~ old window (for this to work you for magnets you will need one with a metal screen)
~ sandpaper, tape, cleaning supplies
~ paint and brush
~ cork
~ flowers, magnets, tacks, and clothes pins
~ ribbon and burlap

Instructions:
~ The first thing you will need to do is sand down all the rough edges and smooth it out. Once you like the feel of the window then give it a good cleaning.

window

~ Now you are ready to paint. I taped around the edges to help cut down on how much paint went on the screen, and this seemed to help.
Paint a couple coats until you get it to how you like it. I used this white acrylic paint that I had on hand.

white acrylic paint

~ Cut your cork down to size and glue it on to the screen. I just glued the edges with a metal glue and that seems to hold it pretty well.

add cork to window

~Then I went to work decorating the edge. Shabby chic is all about layers so that is what I did. I put down a layer of burlap, the layered on a layer of crochet ribbon that I had in my stash.

add ribbon and burlap

That looked good, but I felt like it was missing something, so I added a ribbon on top and flowers in the corners.

add more ribbon

Then I added ribbon to the bottom of the screen and to the bottom of the window. Once that was done it was time to add the flower decorations.

~ For the flowers add a magnet the back of some and tack to the others. For the clothes pins I just added ribbon to a plain clothes pin I got from the dollar store.

glue magnets to flowers

And that is it. This is a very fun project that is easy to do and I loved using what I had on hand. I can’t wait for the auction and hopefully they will make a lot of money for their cause!

repurpose window to shabby chic message board

Artwork from a Dollar Store Placemat

I have this little area in my office that needs some artwork. It is near the coffee pots, so you know it is one of the most important areas in the office Smile 

Artwork from a Dollar Store Placemat

Anyway I was at the dollar store and saw these really cute placemats and thought they were perfect. With some dollar store frames I was able to get 6 pictures for $7! What a deal!

Here is how I did it:

Materials:

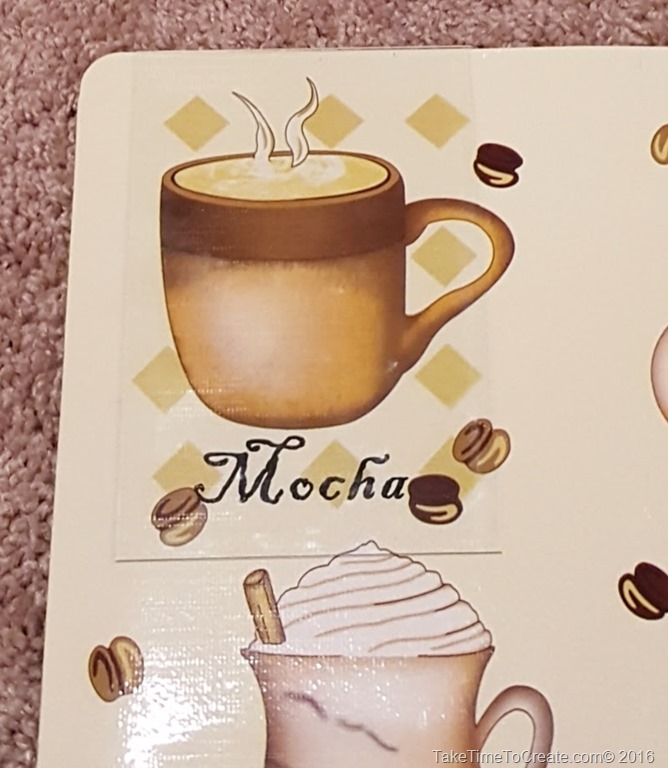
~ Placemat (I got mine from the dollar store)

Artwork from a Dollar Store Placemat

~ frames ( I got mine from the dollar store)

~ pencil

~ Scissors

Instructions:

~ I used the glass from the frame as a template for the correct size, and I just drew around the glass

Artwork from a Dollar Store Placemat


~ Then I cut the placemat along the pencil lines.

Artwork from a Dollar Store Placemat


~ Place it in the frame and you are done! Some patterns might be too close together so you might want 2 placemats so you have a little more freedom as to where to cut out the desired design.

Artwork from a Dollar Store Placemat

20160525_185946


And that is it! A very easy project that didn’t cost too much and it will be a perfect addition to the office!

Artwork from a Dollar Store Placemat

DIY Magnet Chip Board Letters

Hello everyone!

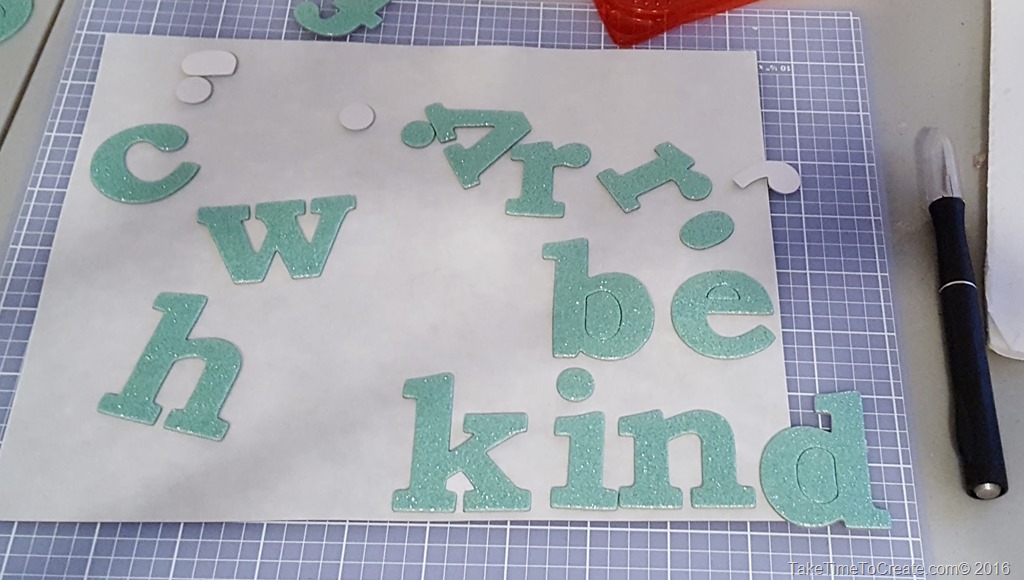
I have these left over chip board glitter letters. I love the color and and glitteryness but I only have a few letters left, so I though they would be perfect for this magnet project. But with so few options I had to figure out what to spell and “Be Kind” just stood out.

DIY Magnet Chip Board Letters

Be Kind is a motto that I try and live by. I don’t know what people are going through so I always try to be kind, no matter what the situation. So this is a nice reminder that I put in my office at work. I think being kind to each other is one of the most important things we can do.

So here is how I made these chip board magnet letters.

Materials:

~ Letters

~ magnetic sheets

~ glue (I used Loctite)

~ scissors and Exacto knife


Instructions:

~ The letter have an adhesive back so I pealed off the paper backing and I pealed off the paper protecting the magnetic sheet

DIY Magnet Chip Board Letters

DIY Magnet Chip Board Letters

~ Glue on the letter to the magnet. This is probably not necessary, but I like to be sure it won’t come off so I thought a little glue was a good idea.

DIY Magnet Chip Board Letters

DIY Magnet Chip Board Letters

~ Cut around the letter. I used scissors and an Exacto knife to get around all the edges.

DIY Magnet Chip Board Letters

And you are done. I think they turned out super cute. What letters do you need to use up and what do they spell?