DIY Magnet Chip Board Letters

Hello everyone!

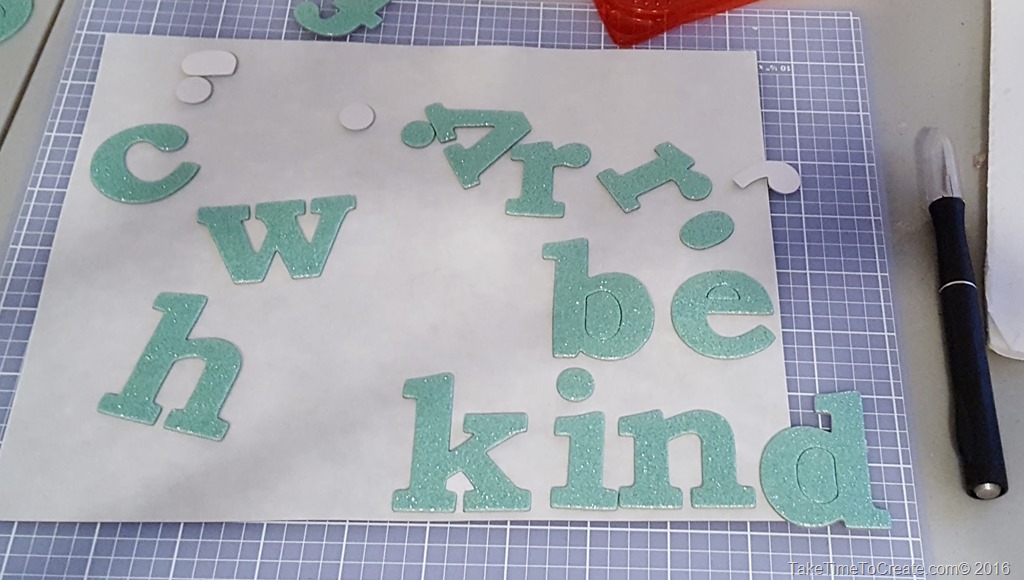
I have these left over chip board glitter letters. I love the color and and glitteryness but I only have a few letters left, so I though they would be perfect for this magnet project. But with so few options I had to figure out what to spell and “Be Kind” just stood out.

DIY Magnet Chip Board Letters

Be Kind is a motto that I try and live by. I don’t know what people are going through so I always try to be kind, no matter what the situation. So this is a nice reminder that I put in my office at work. I think being kind to each other is one of the most important things we can do.

So here is how I made these chip board magnet letters.

Materials:

~ Letters

~ magnetic sheets

~ glue (I used Loctite)

~ scissors and Exacto knife


Instructions:

~ The letter have an adhesive back so I pealed off the paper backing and I pealed off the paper protecting the magnetic sheet
DIY Magnet Chip Board Letters

DIY Magnet Chip Board Letters

~ Glue on the letter to the magnet. This is probably not necessary, but I like to be sure it won’t come off so I thought a little glue was a good idea.

DIY Magnet Chip Board Letters

DIY Magnet Chip Board Letters

~ Cut around the letter. I used scissors and an Exacto knife to get around all the edges.

DIY Magnet Chip Board Letters

And you are done. I think they turned out super cute. What letters do you need to use up and what do they spell?
Disney Action Figures from the Dollar Store

Hello Everyone!

I hope you all are having a great week so far. Our weekend snow storm ended on Sun and now the sun is out and the weather is beautiful. I love spring in Colorado!

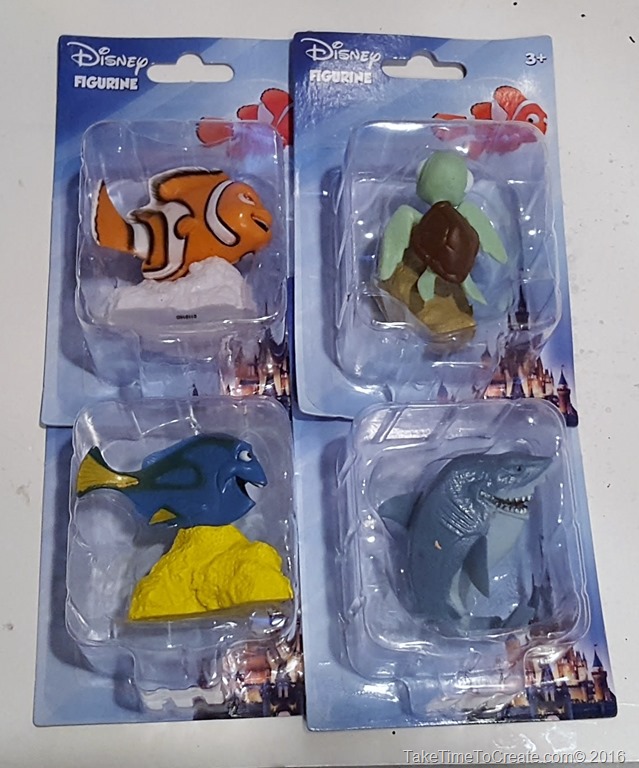
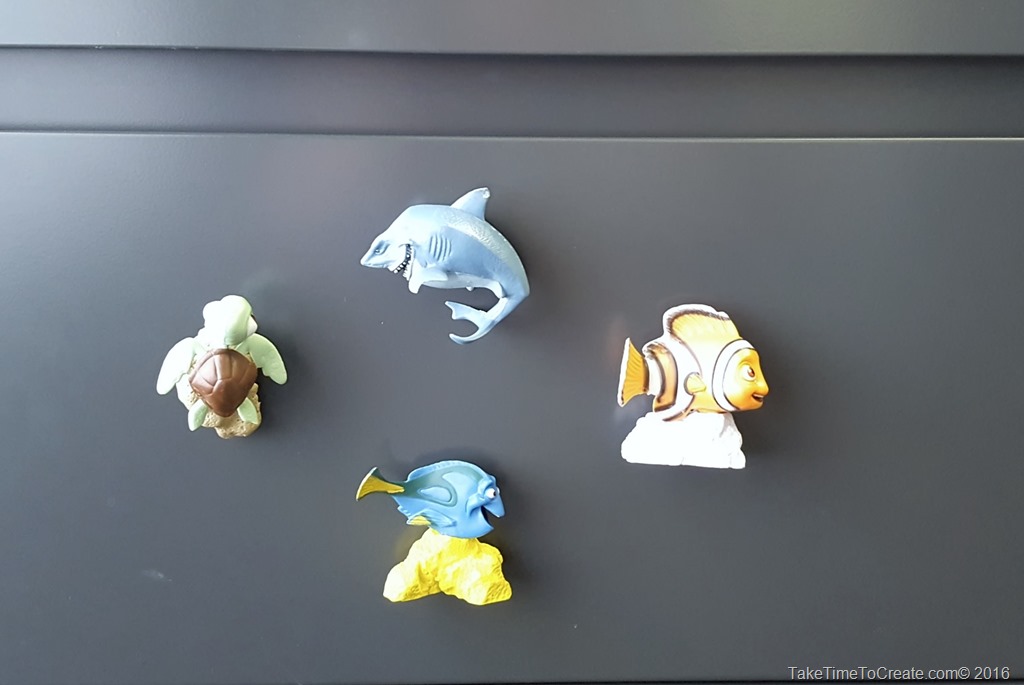
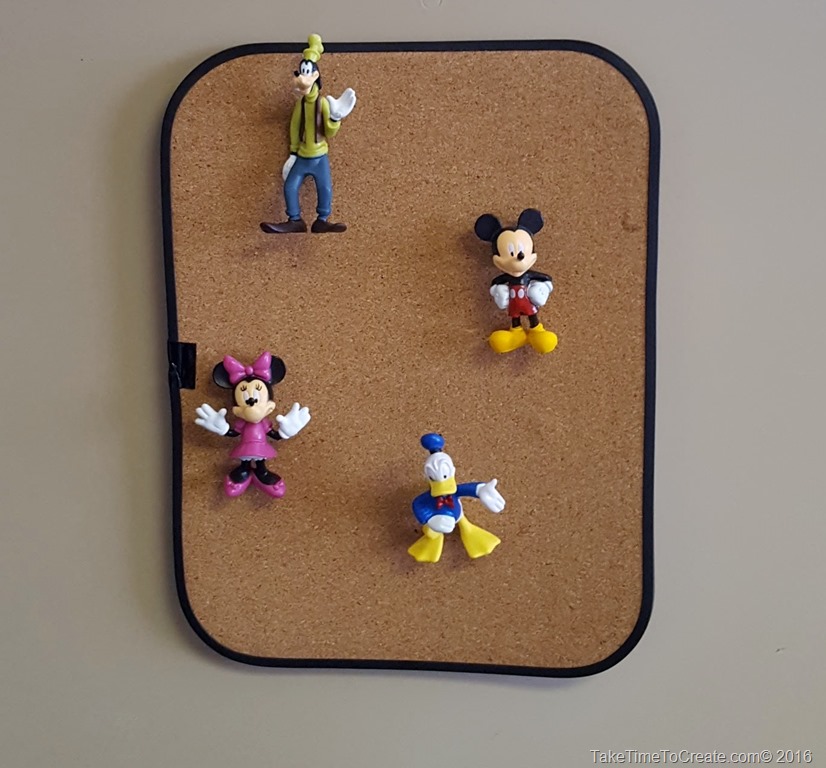
Anyway, I was at the Dollar Store the other day (of course I was at the Dollar Store… I seem to be there a lot, haha) and while I was there I saw these really cute Disney action figures. Once I saw them I knew they would be perfect as magnets and tacks for my office.

DIY Disney Action Figures from the Dollar Store

DIY Disney Action Figures from the Dollar Store

This is a pretty easy DIY so here you go.

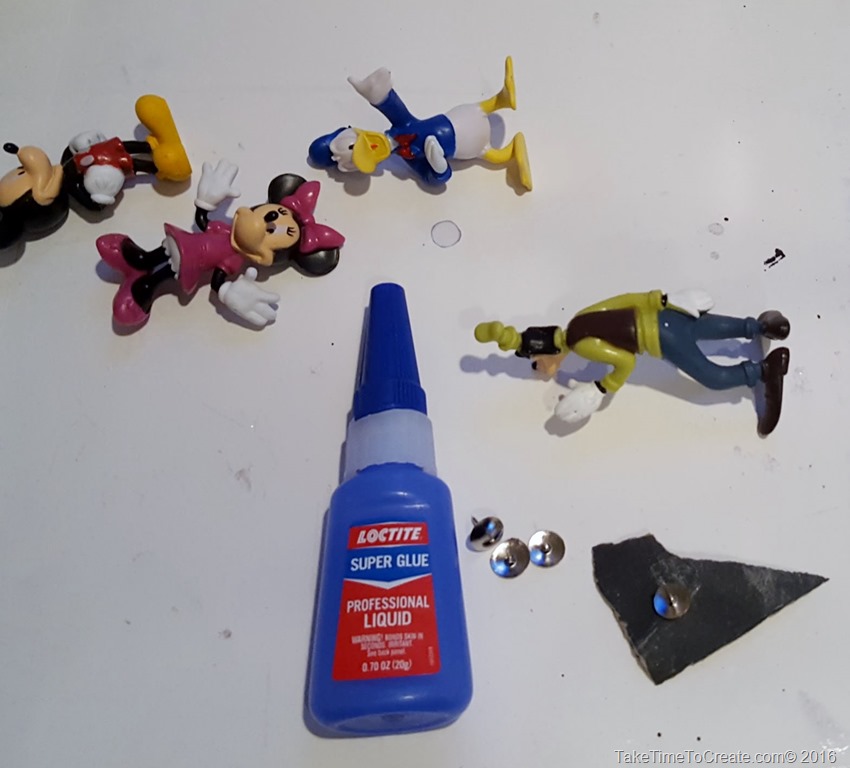
Materials:

~Action Figures

DIY Disney Action Figures from the Dollar StoreDIY Disney Action Figures from the Dollar Store

~ magnets or tacks

~ glue (I used Loctite)

~ Sandpaper

~ Masking tape

Instructions:

~ Find where you want to place the tack or magnet, some of the action figures are easier to figure out than others. I had a little bit of a hard time with Donald because of the way his back is arched, but eventually I did find a good spot to glue his tack on.

DIY Disney Action Figures from the Dollar Store

~ I rough up the spot where I wanted to glue down the magnet or tack, this will help adhere the glue. I also roughed up the tack.

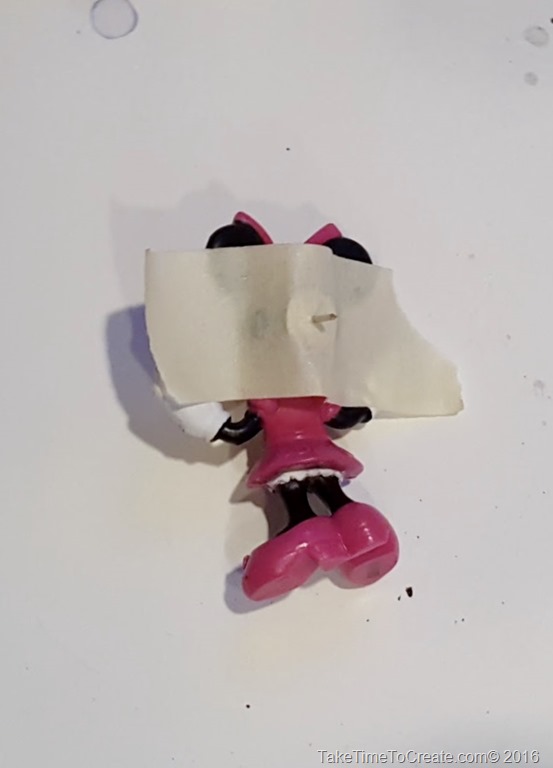
~ glue the magnet or tack in place. I put masking tape over the magnet or tack to help hold it in place while the glue was drying.

DIY Disney Action Figures from the Dollar StoreDIY Disney Action Figures from the Dollar Store

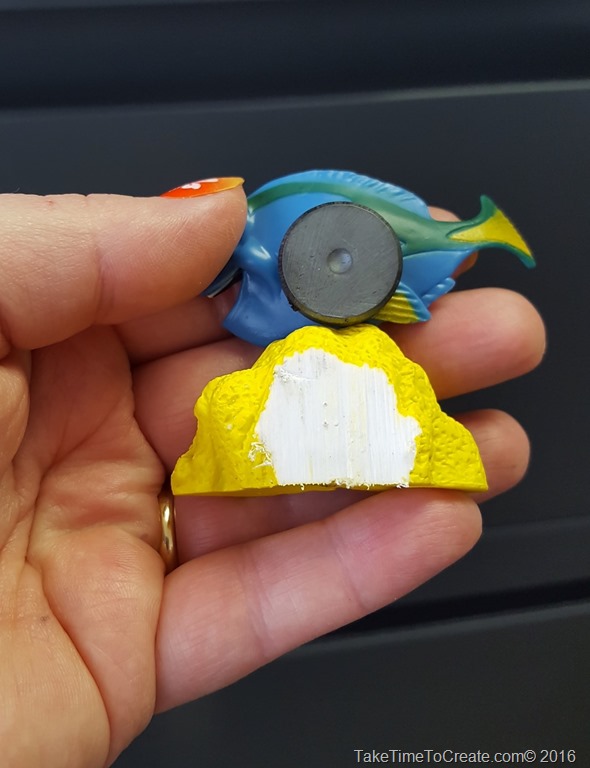
~ FYI Dory had to be trimmed in the back so she could lay flat. Some of your action figures may need to be trimmed as well.

DIY Disney Action Figures from the Dollar Store

And that is it, I can’t wait to go back to the dollar store and see what other action figures they have and see what I can do with them!

DIY Disney Action Figures from the Dollar Store

Monogram Wood Burn Coasters

Hello Everyone!

Before I get into my DIY I just wanted to let you know that there will be some updates coming to the blog. The design will be getting an overhaul. All the same content will be here, hopefully it will be easier to find and navigate to.

I am excited for the updates, and I will keep you posted on the progress.


Last week I told you guys about my cousin getting married (I made a clutch to go with my shoes. You can see that post here) The wedding was beautiful! I am so happy for them.

I wanted to give them something special for their wedding so I decided to try out my wood burning tool. (I have had it for a while, just never used it)

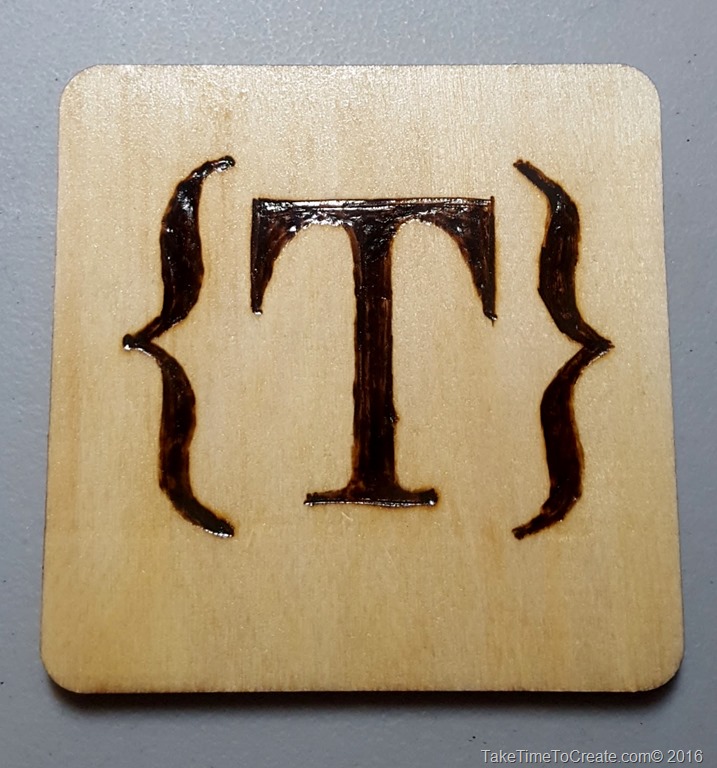
I thought coasters would be good for the newly weds,  and a monogram of their last name would be perfect.

monogram wood burn coaster

Materials:

~ wood ( You can use scraps you have around, or pick some up at a store. I found mine at Michaels)

~ Wood burn tool

~ graphite paper

~ print out of what you want to wood burn (I just created my monogram in word and printed it on my computer)

~ Stain (I used a pre stain because of the nature of the soft wood I was using, then I used a natural stain, and finished with a clear coat)

~sandpaper and foam paint brushed

~ Felt or cork for the back

Instructions:

First you lightly sand the wood to make sure it is nice and smooth.

Then you transfer the design onto the wood. I traced the design with a pencil using graphite paper. This worked really well.

monogram wood burn coaster

Then I stared to outline the monogram with the wood burn tool.

 monogram wood burn coaster

This was my first attempt at making something with the wood burn tool and I learned to go at a steady pace with even pressure. 

 monogram wood burn coaster

Also be very careful, the tool is HOT. I even have the band aid to prove how hot the tool can get Smile

monogram wood burn coaster

Once it was completed and I was happy with the design I pretreated the wood with a Pre-Stain. Then I followed up with a natural stain and finished with a clear coat. Follow the directions on the stain to get the best results.

monogram wood burn coaster

Then I put self adhesive felt on the back, and then I was done!

monogram wood burn coaster

This was such a fun project!  It did take a little while to get the hand of wood burning, but now that I get it I have a ton of other projects that I have in mind! These are perfect gifts for everyone!

monogram wood burn coaster

monogram wood burn coaster

DIY Rhinestone Clutch

Hello Everyone!

DIY Rhinestone Clutch

I just had to make this clutch all because of this fantastic pair of shoes! (I think all great stories start with shoes)


Anyway, here is the story, my cousin is getting married on Sat (YAY) I am so happy for him. (His bride-to-be is wonderful and I think they will be very happy together. )

And since I have these great shoes that I never get to wear (they are a little impractical for work, haha) I decided to wear them to the wedding. Buuuut, I didn’t have a clutch to match. So I decided to make one.

DIY Rhinestone Clutch

Aren’t these shoes great?

Anyway here is how to make this DIY Rhinestone Clutch.

Material:

~ Fabric (I am using a faux leather that I had in my craft room, but any fabric that is slightly stiff will work. I did not line it, but you can if your fabric is not stiff enough)

~ zipper (I am using a plastic zipper that I had laying around, it is not the perfect red, but I think it works)

~ Sewing Machine, or needle and thread

~ Rhinestone and glue (I used Aleene’s jewel it glue)

~ Decoration for zipper if desired


Instructions:

~ First cut your clutch. I cut 2 pieces that were 10 inches x 6 inches. (this was big enough to put my lipstick, phone, gum, and blotting papers in)

DIY Rhinestone Clutch

~ Once your fabric is cut them measure your zipper. If it is too long then measure how long you want it, then place a few stitches there. Once it is secure then cut off the excess.

DIY Rhinestone Clutch

~ Next is place the fabric on the zipper and sew the fabric on the zipper. I held it together with tape since I didn’t want puncture holes in it from needles.

DIY Rhinestone Clutch

~ Do this step to both sides of the zipper

DIY Rhinestone Clutch


~ Turn your work so that right sides are together and stitch around the edges. Make sure you leave the zipper open so you can get your hand in to turn your work right side out.

DIY Rhinestone Clutch

~Once you have stitched all 3 sides turn your work right side out and there you have a really cute new clutch!

DIY Rhinestone Clutch

~ Ok by now you all know me well enough that you know I can leave anything that plain. I just knew it needed rhinestones. So I placed dots of glue in a swirl type pattern all over the clutch. Then I decided that wasn’t quite enough Smile so I added to wonderful broach that my mom gave me, with a little ribbon, I thought it was the perfect accent to the clutch.


DIY Rhinestone Clutch

There you have it. What do you think? Pretty easy right. Now on the the wedding celebration on Sat.

DIY Rhinestone Clutch

What to with left over yarn?

Hello Everyone!

12x12 crochet square

Now that I have learned how to crochet I always seem to have a project or two going on. But I have noticed that I leftovers, a skein, or a partial skein that I am not sure what to do with. I have seen tons of ideas on Pinterest from blankets to hats. I settled on making 12×12 squares of this really soft Bernat blanket  yarn that I used to make blankets for Christmas presents. Once I am done with all the squares I will see how many I have and decide on blanket sizes and how many I can make.  I have 3 colors of yarn that I am creating squares from. I am not sure I will mix and match or I will keep the blankets all one color, I guess it will depend on how any squares I make.

20160417_172716 

(Please ignore my messy desk in the background. I have never been good at keeping a neat work space. But I guess that messiness breads creativity, right? Smile)

So far I have one block completed! Whoo Hoo! I love how portable this project is. The temperature blanket I am working on is getting to big to take with me everywhere I go. I like to have a project with me at all times (you never know when you have a spare moment to work on your crochet) Once I have all the squares done and I make it into a blanket I think will donate it to a Women’s shelter, they are always in need of blankets.

Here is the pattern:

Chain 25

Single crochet 25 rows (or as many rows it takes to make a square)

That is it, I am keeping it pretty simple.

12x12 crochet square

And the best part of making these squares is that I will be freeing up space in my craft room for more yarn! Yay! More Yarn!

12x12 crochet square

Turn an Ikea bookcase into a bench

Hello Everyone!

Isn’t Ikea one of the most wonderful places on Earth? I mean they have everything, all in one place!

Well a little while ago I was looking for the perfect bench to put in my kitchen, near the door. I couldn’t find anything that I liked, but I did see people on Pinterest turning an Ikea bookcase into a bench.

Turn an Ikea bookcase into a bench

It is very simple to do.

Materials:

~ bookcase the is strong enough to handle the weight when tipped on its side. I used the Ikea Expedit, but I don’t think they have that anymore. But check around they might have a suitable alternative.

~ Plywood for the top

~ Foam cushion

~ Fabric

~ Staple gun

Instructions:

~ First assemble the bookcase. They might take awhile and you might need help. If you want to raise the height now is the time to add legs to the bench. I didn’t want them, but you may want something different

~ For the cushion, cut the plywood the size of the bench top

~ Then  you make a sandwich of fabric on the bottom, ( I used a strip to help me keep it all in line. The fabric possibilities are endless) then the foam and lastly the plywood. Then stretch and staple all around.

Turn an Ikea bookcase into a benchTurn an Ikea bookcase into a bench

Turn an Ikea bookcase into a bench

I used this same technique when we redid the entry closet. You can see that transformation: here

Turn an Ikea bookcase into a bench

And that is it. A very easy way to transform a room and increase your storage.

Is there any Ikea transformations that you have done in your house?

What I am working on

Hello everyone!

I thought I would add a new segment to my blog, it is all about what I am currently working on. With all crafting going on, things take time and I usually get started on a project and get sidetracked to some new and shinier. But I want to show you what I have going on in my craft room. (well, just a few of the things going on, because let’s be honest, there are always tons of projects that have been started and not finished.)

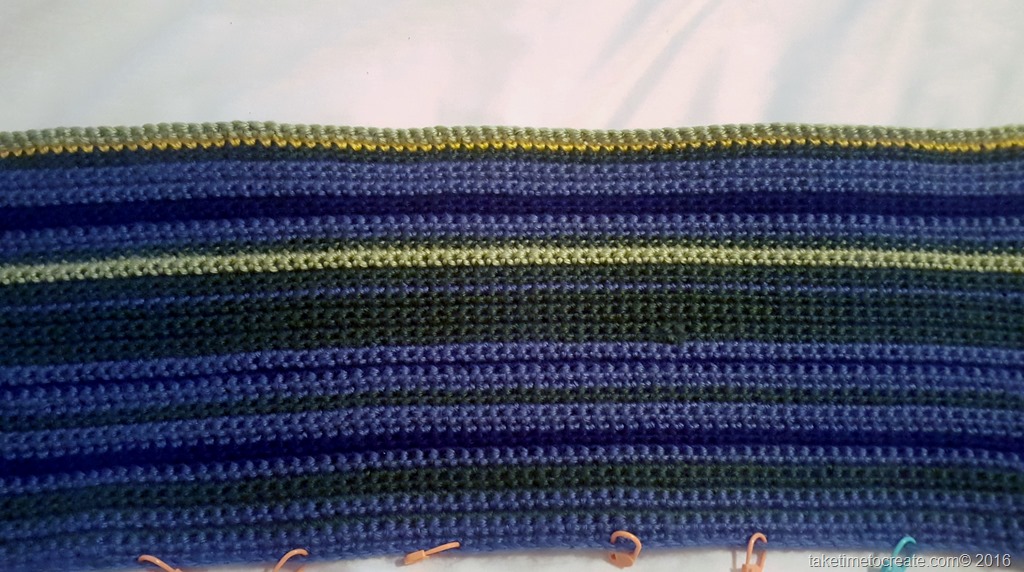
The first item is the Crochet Temperature blanket. Here is the link to the original post about it: 2016 Temperature Blanket

If you follow me in Instagram you probably have already seen this (if you don’t follow me you can find me  @taketimetocreate) As you can see, I am still working away. It is fun to see all the new colors and a pattern is starting to emerge. But,  I am still waaaaay behind (I am still working on February) but I just keep plugging away.

Temperature blanket

A few weeks ago I learned how to do a Finnabair inspired mixed media art (You can see the Finnabair blog here: Finnabair). I took the class from Tanya with Free Heart at a retreat called Mojito Creek.  (click on the name to follow the link to their websites)

Tanya is amazing and wonderfully patient. I loved creating new things and learning new techniques. And the retreat is beautiful, and relaxing, and I would say just about perfect!

Here is one of my completed items that I made in the class:

Mixed media canvas


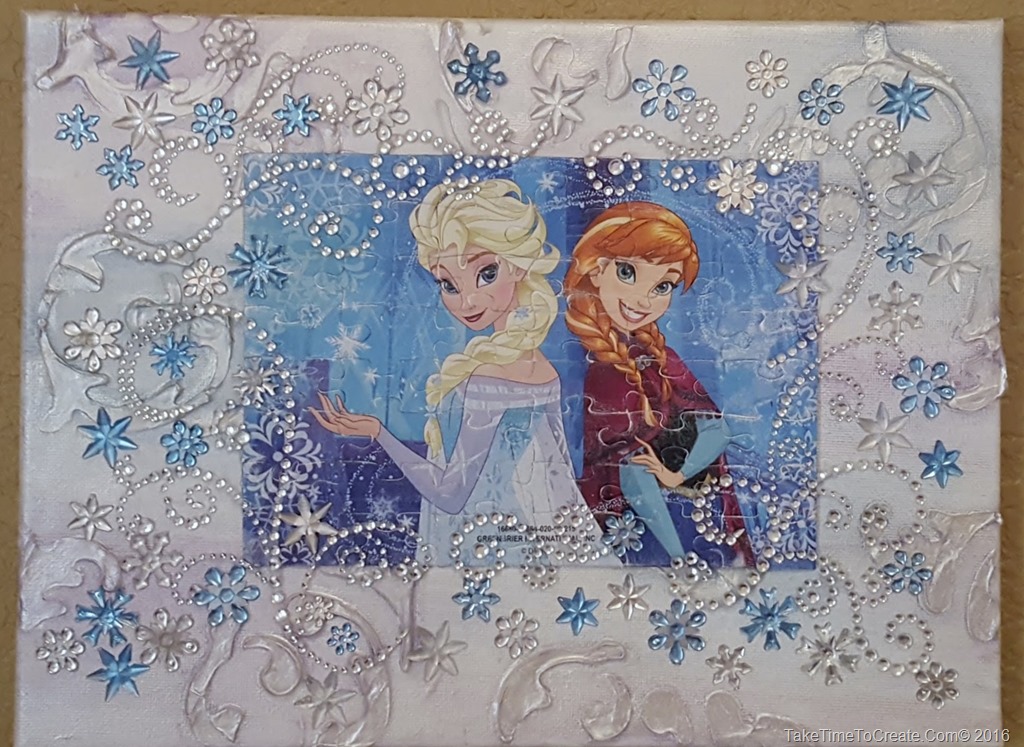
Here is an item that I made using a puzzle I found at the dollar store (I just couldn’t resist), and stencils, and mica powder and all kinds of things. I still need to do some final touchups, but when it is done I will list it in my Etsy shop.

Mixed media canvas

The last item I am working on is another mixed media that says “Beautiful” This on will take a while because of all the nooks and crannies, but I think it will turn out great in the end.

Mixed media canvas


So what are you working on?


No affiliate links in this post. All opinions are my own.

Dollar Store Puzzle Coaster DIY

Hello Everyone!

have you ever been to the dollar store and you see something really cute and you just know that you can do an awesome DIY with it? Well that is what happened to me with these puzzles I found at the Dollar Store.

dollar store puzzle coaster diy

They were just so cute I knew I needed to make something with them and I thought they were the perfect size for coasters.

dollar store puzzle coaster diy

dollar store puzzle coaster diy

Easy DIY, so here I goes:

Materials:

~ Puzzles

~ glues (I used Tacky glue and Mod Podge)

~ Exacto knife or scissors

~ Backing (I used some leftover fleece, but felt or cork would work)

~ Cardboard or poster board (optional)

Instructions:

~ First you have to assemble the puzzles. This is a really fun part!

dollar store puzzle coaster diy

~ Once they are all put together I spread a layer of Mod Podge on the front. I wanted a glossy look so I used Gloss A helpful hint is when you are gluing the back layers on to put something heavy on the coaster so that it will dry flat.

dollar store puzzle coaster diy

~ After that has dried then spread a layer of tacky glue to the back and adhere it to the fleece (or what ever you choose)

dollar store puzzle coaster diy

~ before you do the above step you might want to make the coasters a little more durable. So for the 2nd set I put a layer of cardboard, but I found that almost too thick. Poster board would be a happy medium. But they still work perfectly without any additional layers (my first set didn’t have anything extra and they work great)

~Once you are done with the fleece then cut it out.

dollar store puzzle coaster diy

And you are done! Ready to enjoy your new coasters.

dollar store puzzle coaster diy


dollar store puzzle coaster diy

Have you found something at the Dollar Store that you just needed to DIY? I would love to see what you came up with!

Making a Dollar Store Cell Phone Case Super Cute

Hello everyone!

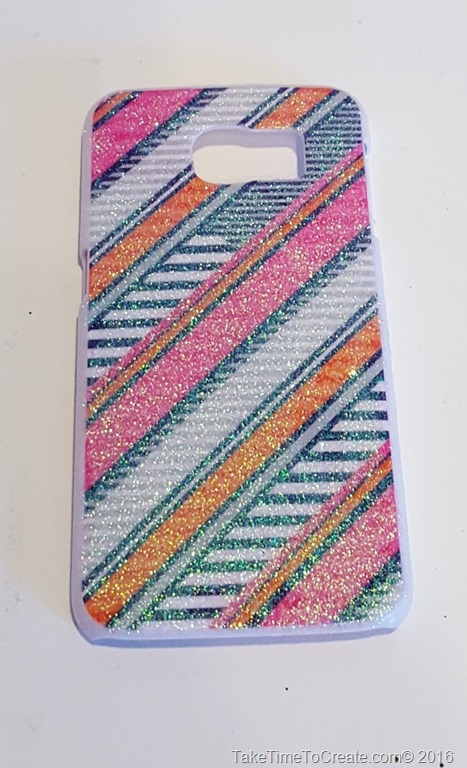
Once again I found myself at the Dollar Store. I always seem to find something I just *need* when I go. Well this time I found all these super cute cell phone cases. If you follow me in Instagram you already know all about them. you can follow me at @taketimetocreate on Instagram

Dollar store cell phone case diy

I will show you what I did with each case and have fun making your own!

Materials:

You will need a variety of materials, I just depends on what you want to do. Here is a short list of some of the things I used:

~ Glue ( I used E-6000 and Loctite)

~glitter

~stickers

~rhinestones

~Soft gloss gel paint medium

~mica powder

~Chip board letters

Instructions:

1st case

For the first case I decided that it needed glitter! So I coated the outside of the case with a layer of E6000.

Dollar store cell phone case diy

Sprinkle glitter on it, shaking off the excess.

Dollar store cell phone case diy

Once it is dry coat it with a layer of Mod Podge to keep the glitter from going everywhere.

Dollar store cell phone case diy 

I love how it turned out!

2nd Case

This one I just wanted to put a pink rhinestone where the plaid patter intersects.

Just put a dab of E6000 where you want the rhinestone and put the stone on the case. To make things easier I use a syringe when doing precision gluing and a wax tipped tool to help pick up the rhinestone.

Dollar store cell phone case diy

I forgot to take a pic when I was done, but you get the idea! Smile

3rd Case

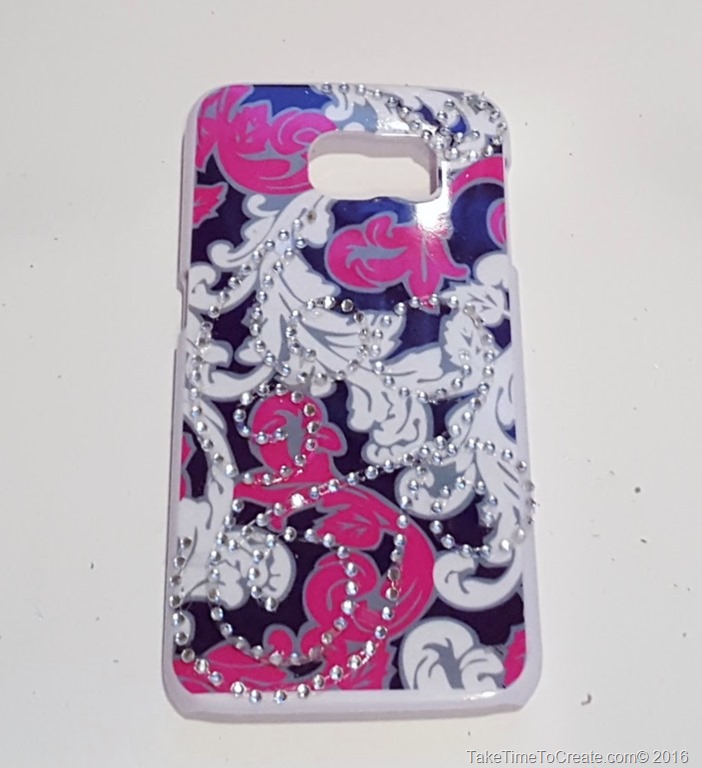
This beautiful swirly case needed some rhinestones. I just found some swirly ones and put Locktite glue on the stickers and added them to the case.

Dollar store cell phone case diy

It was quick and easy, and I love the added detail to the case.


Dollar store cell phone case diy

4th Case

This one was just as easy as the rest. I just used some chevron stickers to add detail to the white areas.

Dollar store cell phone case diy

Just be sure to glue the sticker down with Locktite

Dollar store cell phone case diy

Fun!

5th Case

This one is fun. The pattern was already bold, but I thought it needed more. So I added a chipboard letter and parentheses with Loctite and it is good to go!

I really like how this one turned out.

Dollar store cell phone case diy

6th Case

last but not least. This one was a little more involved, but not much. The case was not plastic, but more like a fabric on the area I painted.

I used come soft gloss gel and mixed in some Mica Powder on a small plate. You only need a little bit of each.

Dollar store cell phone case diy

Then I painted stripes and blended them together.

This one was fun to make and I have to say I love how it turned out.

Dollar store cell phone case diy


have you decorated a dollar store cell phone case? If you have I would love to see it!

2016 Crochet Temperature Blanket

Hello Everyone!

This week I wanted to tell you about my year long project. I am making a crochet temperature blanket! For those of you that don’t know what that is I will tell you.

2016 Crochet Temperature Blanket

I take the high temperature for my city and I crochet a row. I am using Caron Simply Soft Yarn (you can pick it up at Michaels, Joanns or online). It feels great and with no lot tracking it is easy to pick up more yarn as needed because it is impossible to judge how much I will need of each color for the year.

2016 Crochet Temperature Blanket

I created a chart that is in 10 degree increments and correlated that to a color and that is what I use for the row for that day (I did find examples online and used them as a guide line, but ultimately I used colors that work in my house). For example,  I use the Sunshine color when the temperatures are between 70-79 degrees Fahrenheit.

 2016 Crochet Temperature Blanket

I wanted it lap blanket sized so I crocheted 120 chain stitches (I added stitch markers every 10 stitches to help with my counting and I wanted to make sure the blanket stays close to rectangle by the end) Then I am just crochet using a single crochet stitch, one row for each day. I figured that this will help my practice my single stitch and it will keep the blanket from getting too big. As it is by the time I am done with the blanket and the boarder it will be over 44,000 stitches! So far I am behind (I am still working on February) but I am working hard to catch up and I will keep you updated on my progress. (I may end up finishing the blanket in 2020….) And that is is it, I just keep going until 2016 is done.

2016 Crochet Temperature Blanket

Are you working on any year long projects? I would love to see what you are working on!

2016 Crochet Temperature Blanket

This post does not contain affiliate links.