Tag: needle art

Beginner Tries Punch Needle Kit

Hello Everyone

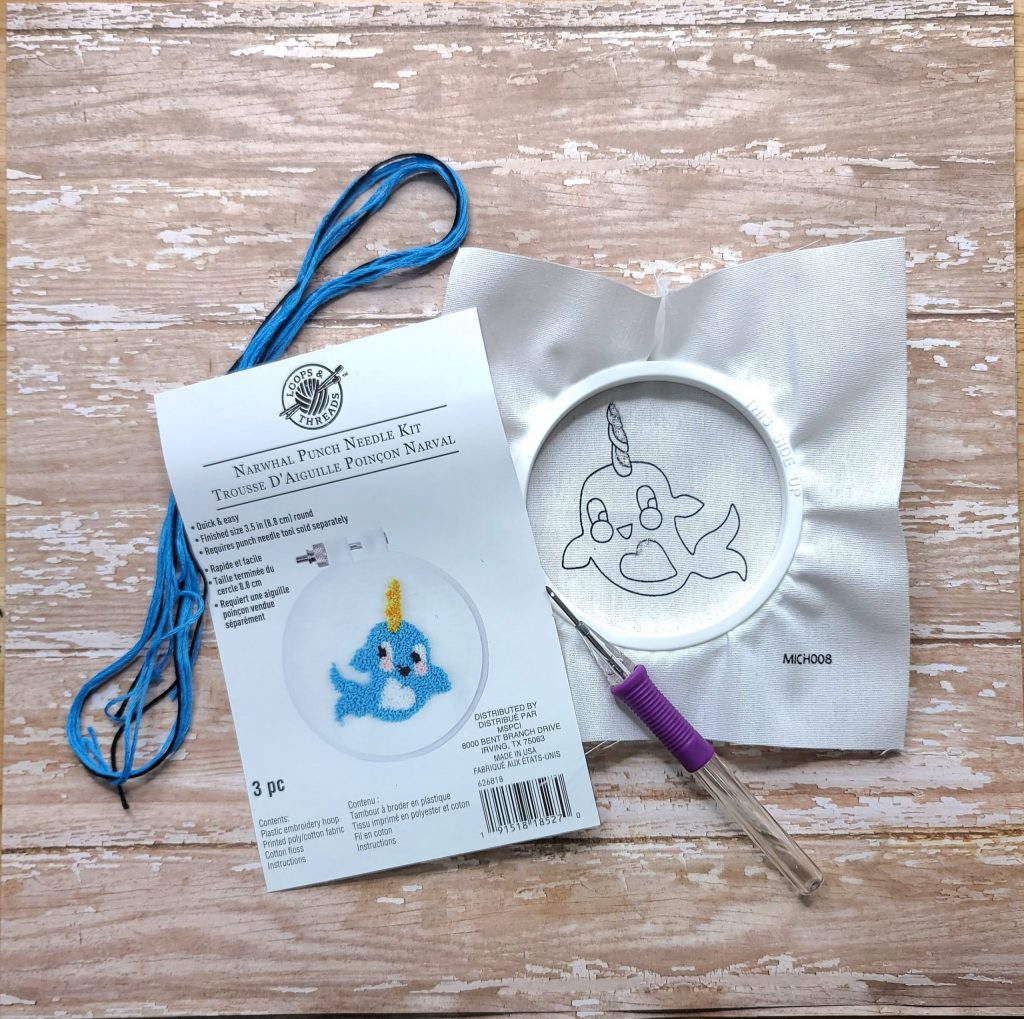
Have you ever seen a kit in the craft store and just knew you had to try it? Well that happened to me last week. I went to Michaels and saw this punch needle kit and picked it up to try it out. 


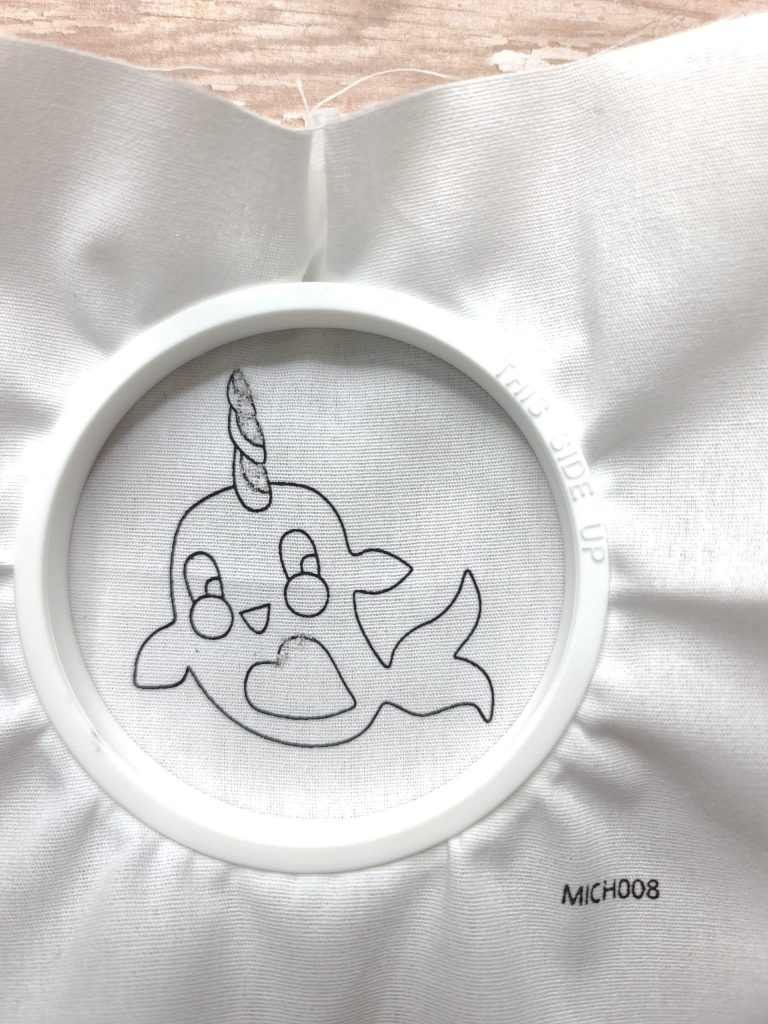
Well I got home and tried it out and ran into so many problems. The biggest problem I found was the fabric did not seem to be the right fabric for the punch tool. I am a beginner, I have never done punch art so this observation is just my opinion. In my video I go though my steps and struggles. 

punch needle

As you can see in the picture above the fabric did not handle the punching very well. The stitches fell out and did not look right. Granted, I am new at this, but I don’t think that is they way it is supposed to look. 

punch needle

Overall I did really enjoy doing punch need art. I liked the activity, so I am on the hunt for a new beginner friendly punch needle art kit. If anyone has any suggestions I would love to hear them. 

So even though this was a fail, I leaned a lot and I am happy I tried this kit and I can’t wait to try this again. 

Craft Supply Thrift Haul and Tips and Tricks

Hello Everyone!

If you are like me you love to get a bargain, especially for craft supplies. Craft supplies can be very expensive, but you can find some great deals at creative reuse centers, or thrift stores.

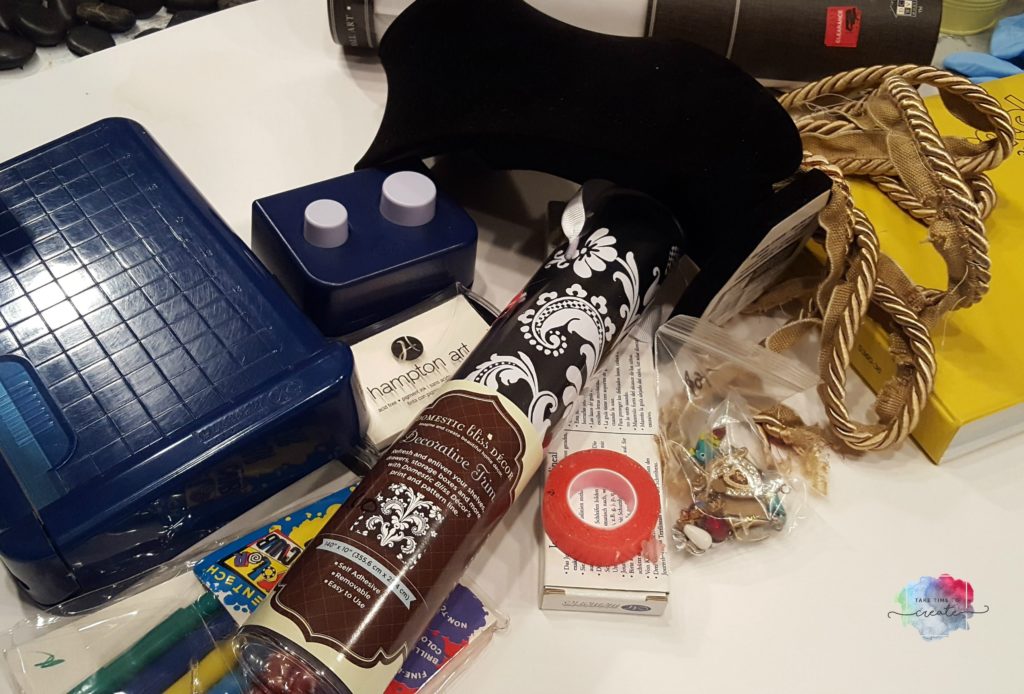
Recently I went to my favorite creative reuse center, Who Gives a Scrap, and I have a craft supply thrift haul video for you.

Also, I wanted to give you a few tips, tricks and hints when shopping for craft supplies at a creative reuse center or thrift store.

Before I get into the tips, the biggest piece of advice I can give you is to buy what you need. If you buy everything that looks good, or interesting, you will be over run with stuff very quickly!

And always ask a person working at the store before trying out something when you trying to determine if the item still works or has ink left in it.

Things to look out for when shopping for Fabric:

  • Size- is it the size I need
  • Condition- are there any rips, tears, or stains that can’t be fixed or worked around

Things to look out for when shopping for Punches or Scissors:

  • Test to make sure they work! Try them out on a piece of paper

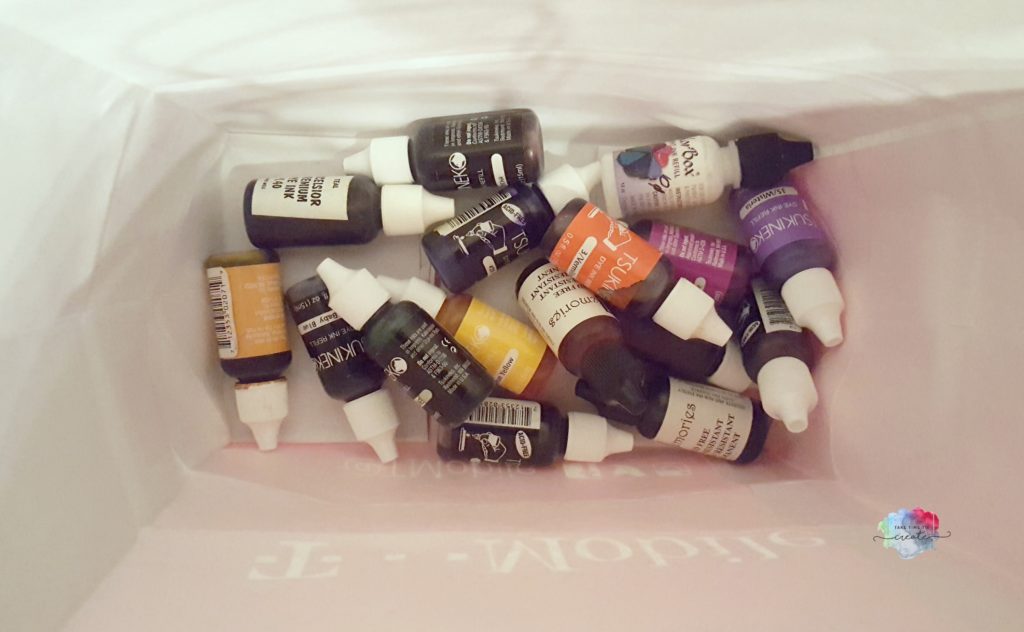
Things to look out for when shopping for Paint or Ink or Markers:

  • Open it to make sure the paint is not dried out, and there is still plenty left
  • Smell it, sometimes paint can start to smell a little funky and you don’t want that, lol
  • Scribble the markers to make sure they work, you don’t want to purchase dried out markers.

Thrift haul

Things to look out for when shopping for Books:

  • Check for pages torn out, if there are missing pages it might be a vital instruction that you are missing, lol
  • Check for overall condition, can you still use it?

Things to look out for when shopping for Embroidery/Cross Stitch/Needle Point Kits:

  • Check to see if it is unopened, if that is the case then you are good to good
  • But if it is open, check to make sure it has the floss, instructions, and anything else you need to complete the kit.

Thrift haul

Things to look out for when shopping for Charms or Jewelry Making supplies:

  • Check to make sure there is enough to complete  your project
  • Check the condition of the beads and tools, if it is not in usable condition then pass on the item.

There you have it, my tips, tricks, suggestions, and hints I use when I go thrift shopping for craft items. Any reputable thrift store, like Who Gives a Scrap, will have quality items that work and are ready for you to use. Keep your eye out, you never know what bargain you can find!

What tips do you use when you go craft supply thrift shopping?

The post Craft Supply Thrift Haul and Tips and Tricks appeared first on Take Time To Create.


Imagine Embroidered Garland

Hello Everyone!

Do you feel like your creative space is always neglected, like it is a just a cluttered room that has no real style? I do, all the time. I go and work in my craft room and then leave. There is constant disorganization and no real style in my room.

So, I decided to make this embroidered garland to hang over my window. (I am not showing you my window because I don’t even have a window treatment covering it, just a Transformers sheet that was my son’s. Pretty sad, right?) I am putting the skills I learned in my embroidery class to good use.

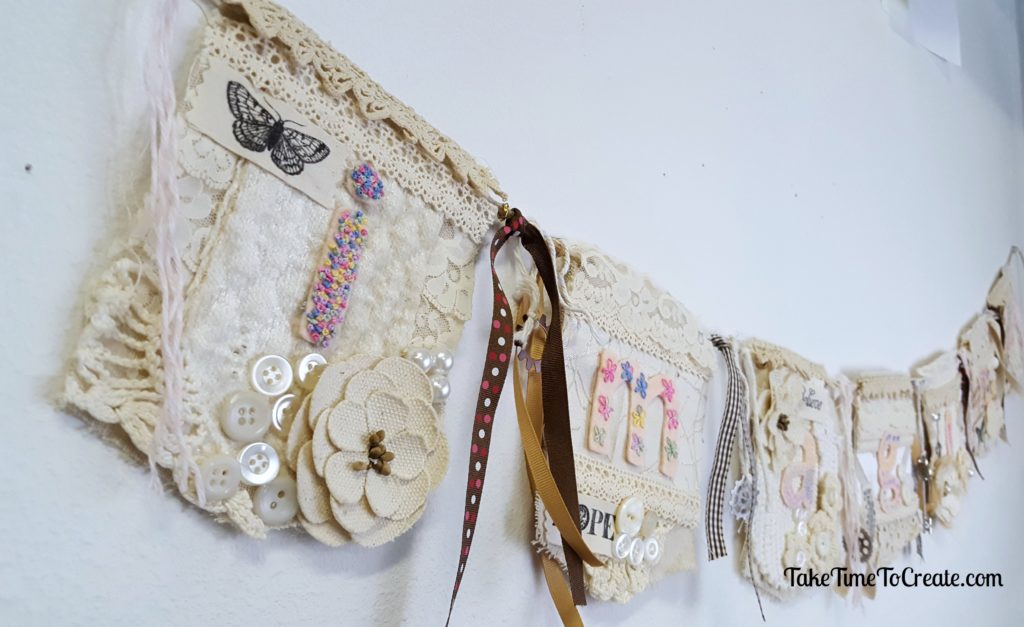
Imagine embroidery garland bunting


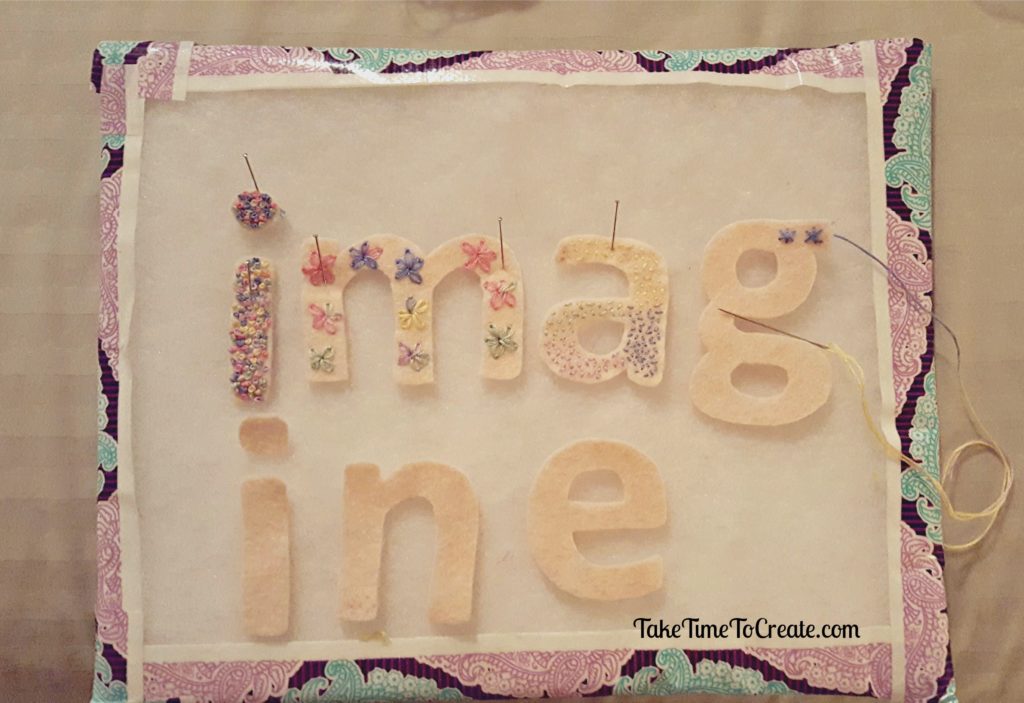
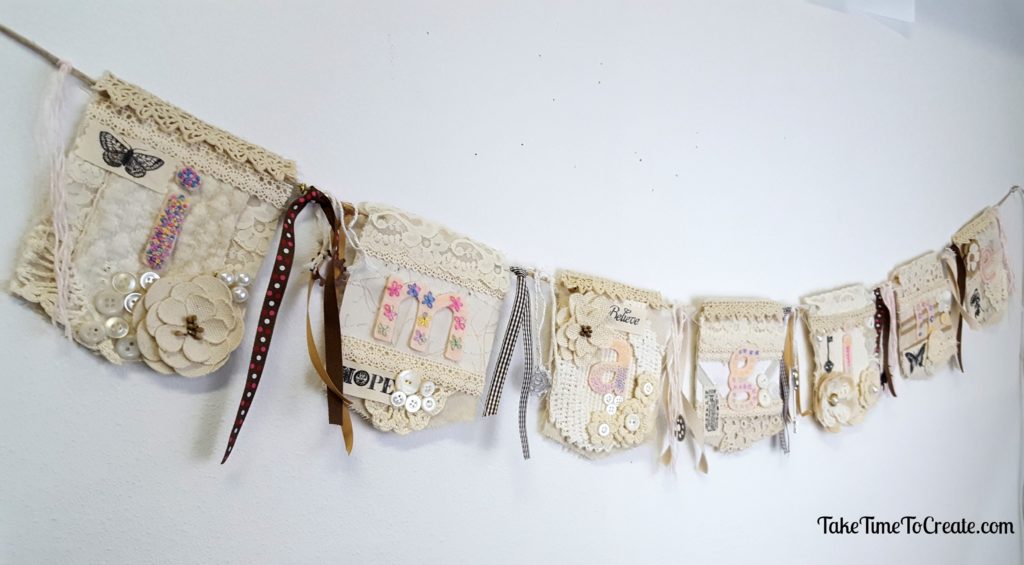
The first thing I did was cut out my word out of felted wool. (I found a font I liked and printed the word I wanted to embroider). Then I did a different embroidery stitch on each letter. I really liked how it was all a little different, yet unified.

Imagine embroidery garland bunting

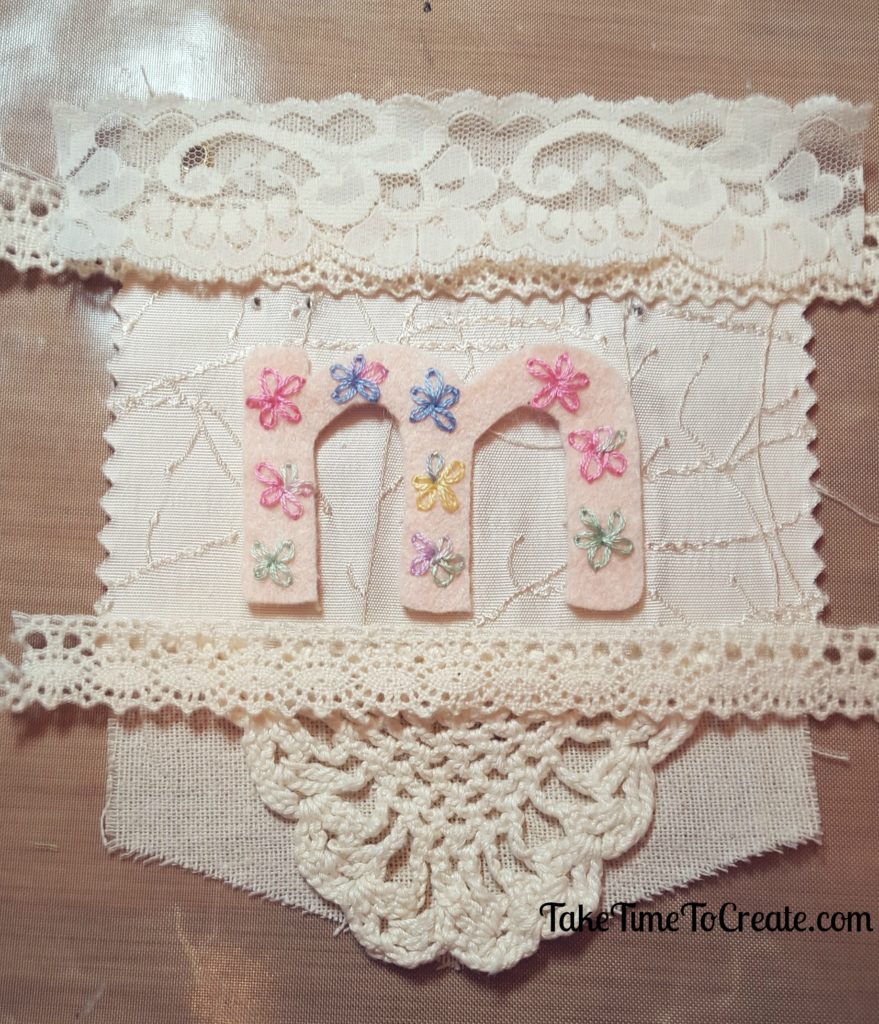
Then I started adding ribbon and lace and bits and bobs to a piece of burlap. I was going for a shabby chic look, that was monochromatic, and I think I came pretty close. Hot glue is your friend in this step, everything is hot glued down.

Imagine embroidery garland bunting

Next I added all the words to a string, leaving space between each letter. In the space I added ribbon, and charms and anything else I could find. I think it turned out really cute, perfect for the blank, boring spot above my window.


Imagine embroidery garland bunting

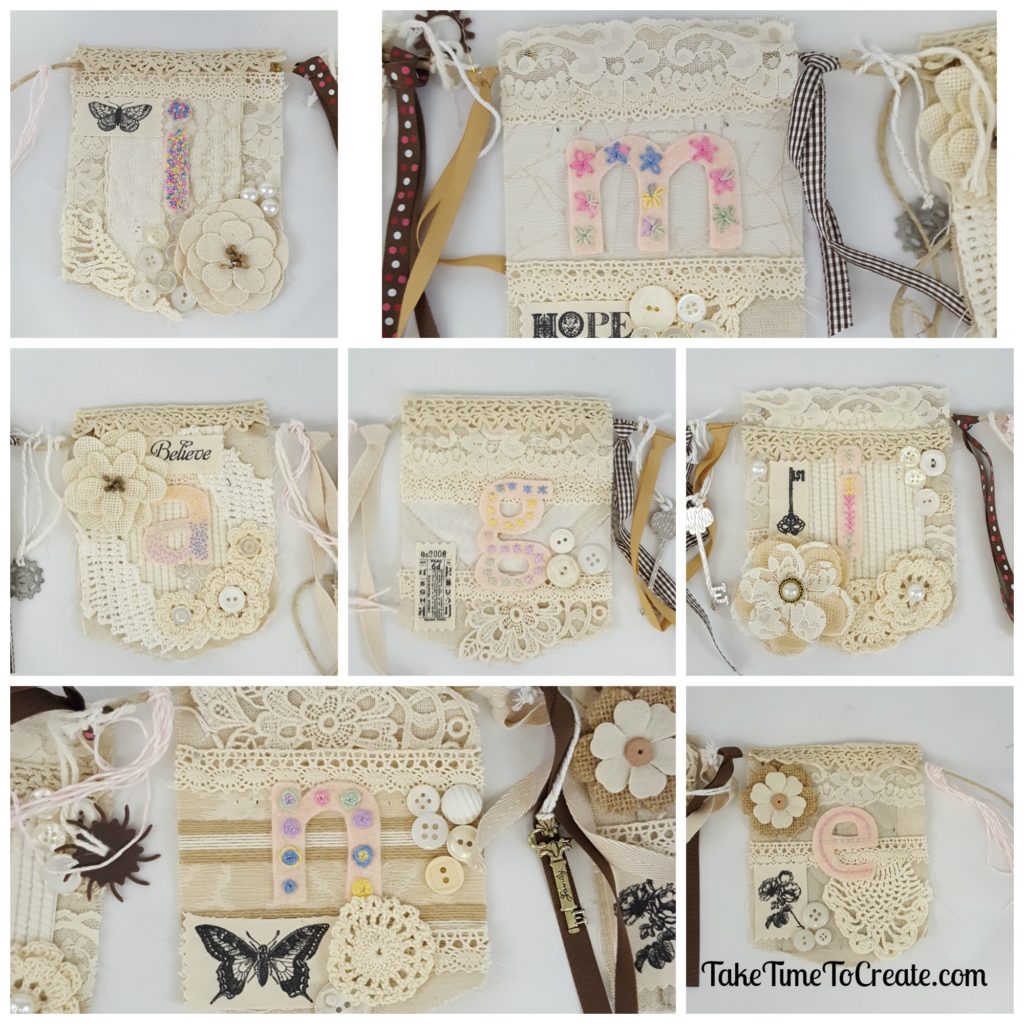
Here is a close up of all the letters. Each letter is a little different, but similar enough to belong together.

Imagine embroidery garland bunting

I am in love with this embroidered garland, and it is the perfect start to decorating my craft room. I am looking forward to creating not only a creative, crafty space, but a welcoming one as well.

Imagine embroidery garland bunting

The post Imagine Embroidered Garland appeared first on Take Time To Create.

You Tube Channel and Yarn Bowl

YouTube Channel and Yarn Bowl

Creating a yarn bowl is a great way to use up all you scraps of yarn. 

Hello Everyone!

I am so excited to tell you that I have just started my You Tube Channel! As of today there is only one video, lol, but I will be adding more as the days go by. It is so fun to show you more with my videos and it will help my explain some of my processes better! I will also be videoing some of my art journals and hauls and all kinds of other things.

I would love for you to subscribe to my channel here: Take Time To Create You Tube Channel

Now on to the craft of the week.

Yarn Bowl

This is a pretty easy project that is similar to the leaf bowl that I made a few months ago. You can see that video here: Leaf bowl

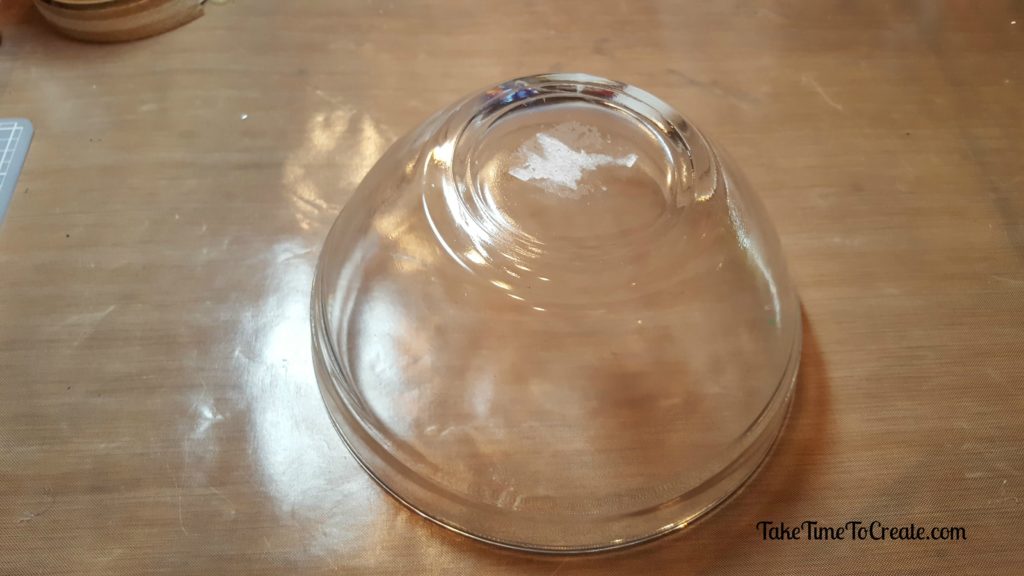
Take any bowl with a shape that you like and wrap it with plastic wrap.

Yarn Bowl

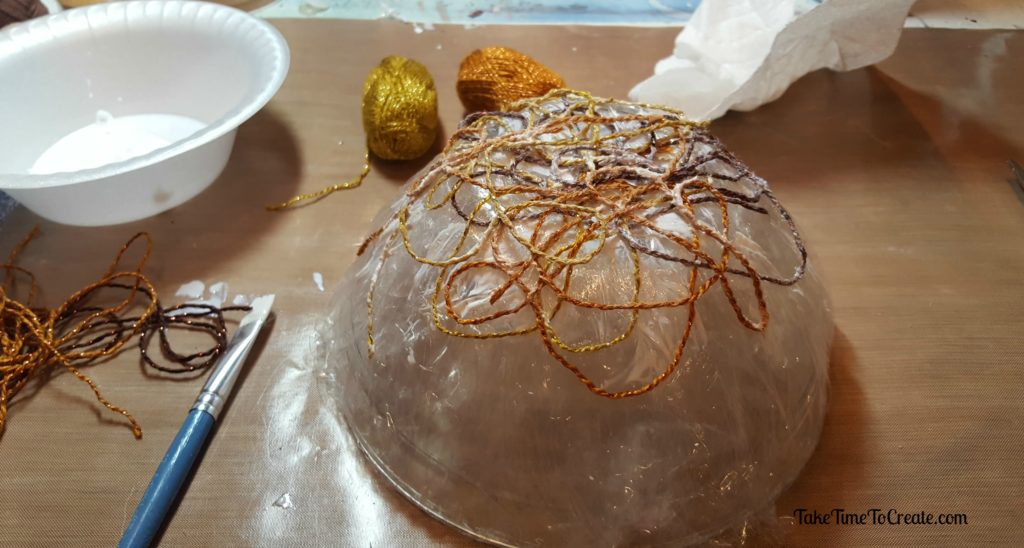
Get your yarn ready by cutting it into smaller pieces if you want, I used pieces that were about a foot or more long. This is really up to you how you want your bowl to look. Then I used a lot of Mod Podge to glue it all down. In the future I won’t be using Mod Podge, I don’t think it holds the finished bowl stiff enough.

I think I am going to try Aleene’s Tacky Glue for my next bowl. I have seen on Pinterest where people heat up a glue mixture for their yarn bowl but since I don’t get along with my oven I am trying to stay away from that process, lol.  I will let you know hw my experiments go.

Yarn Bowl

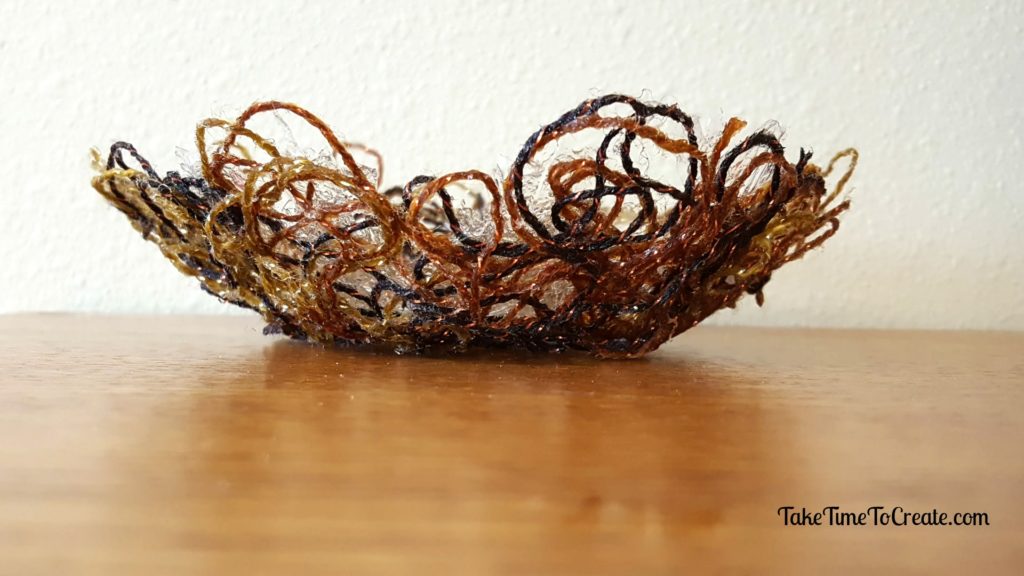
Let it dry completely and carefully remove it from the bowl. Reshape as necessary. So very cute! 
Yarn Bowl

What other ways do you use up your yarn scraps?

This post You Tube Channel and Yarn Bowl appeared first on Take Time To Create.

Teacup Embroidery Kindle Cover

Teacup Embroidery Kindle Cover

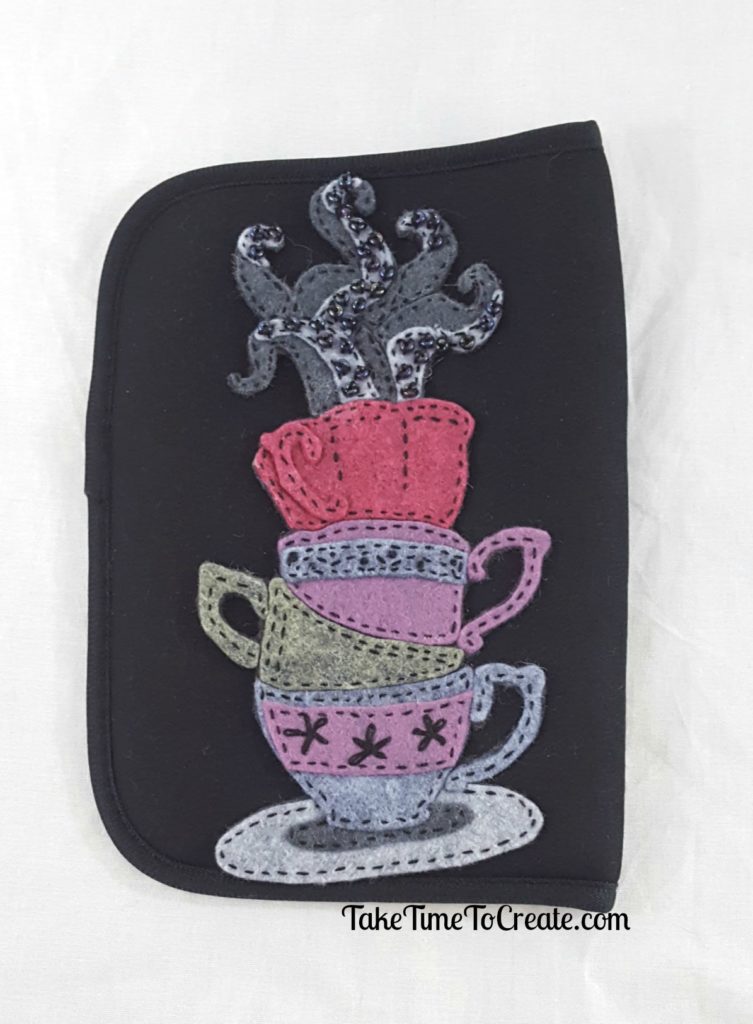
Embellishing your Kindle cover with an embroidered teacup motif is a great way to personalize your cover 

Hello Everyone!

I think almost everyone has a favorite item, something that goes with them everywhere they go. For me it is my Kindle. I have had many Kindles and I love everyone one (I will say that there needs to be some improvement to the reader app, but that is a discussion for another day) I take my Kindle everywhere I go and any time I have a minute I open it up and read.

With something that I enjoy so much I thought it needed a better cover than just  a plain black one.

teacup embroidery

If you remember from a previous post I am taking an embroidery class at the Loopy Ewe. You can see my other project here: Embroidery ElephantI am loving this class and I am learning a ton of things. For this practice project I wanted to do something a little different so I decided to embellish my Kindle cover. 

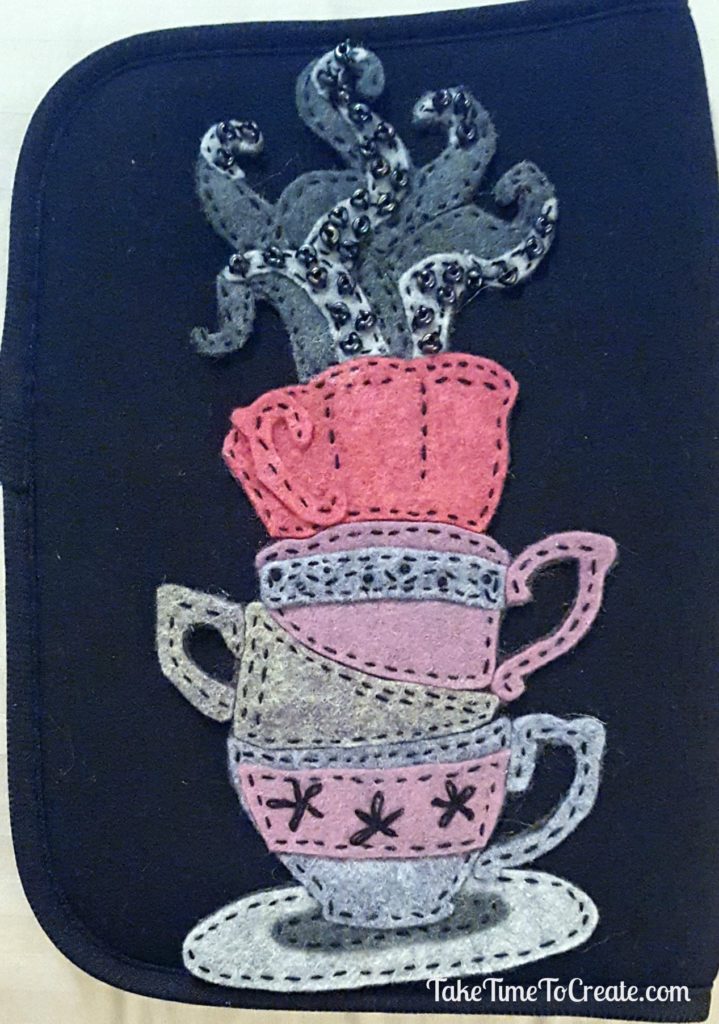
I found these great patterns at Urban Threads! I have to say they have the best patterns, so creative and they seem to have something for almost every project I need to do. For this project I actually used 2 patterns and combined them to what you see here.

teacup embroidery

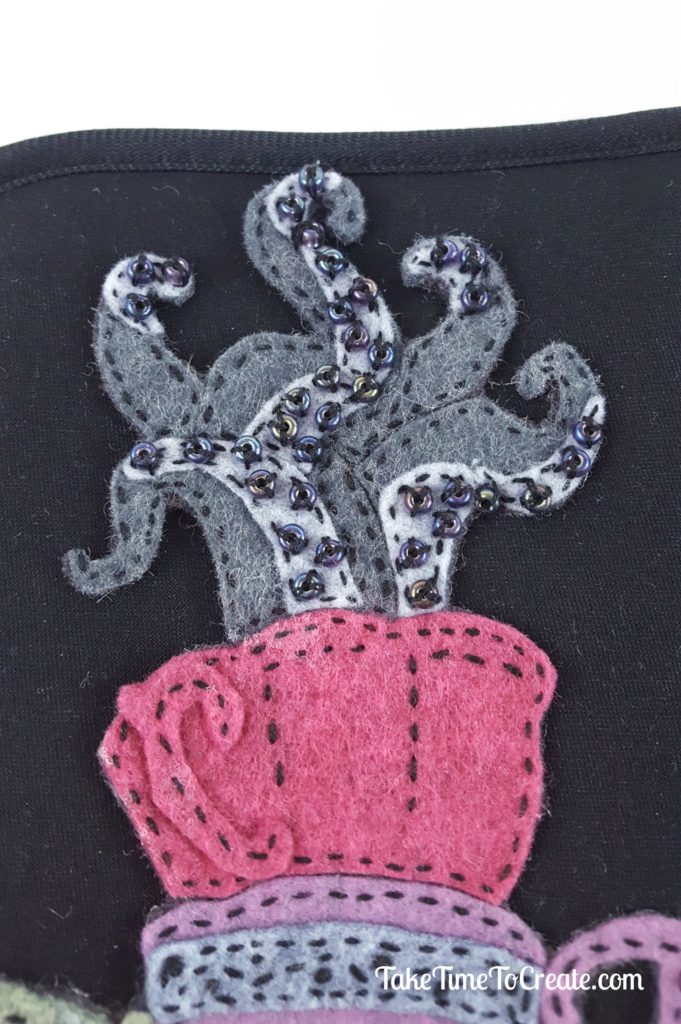
The tentacles needed to have a little more detail added so I stitched on these beads. I think they were the perfect touch for this project.

teacup embroidery

I have been really enjoying creating new thing and learning a new skill. This has been a great class to help me expand my horizons and explore a new hobby. I can’t wait to show you what I make in the next class!

The post Teacup Embroidery Kindle Cover appeared first on Take Time To Create.

Elephant Applique Embroidery Mixed Media

Elephant Applique Embroidery Mixed Media

Hello Everyone!

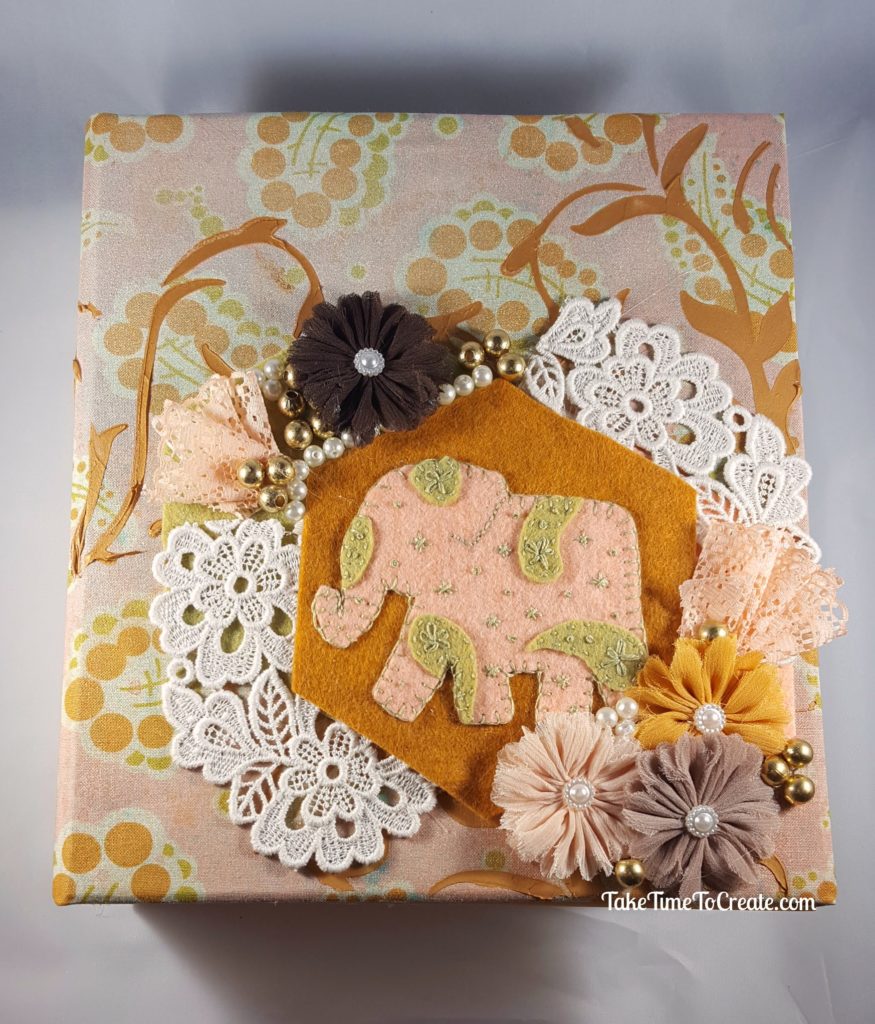
An appliqued elephant makes the perfect focal point on any mixed media
Embroidery, when I think of embroidery I think of my grandmother or of delicate items, gifts to be given or received. It is not something that I have every really tried. I have little patience and embroidery tends to stretch my patience to the limit. But I like to try new things, so I signed up to take a year long embroidery class at my local fabric shop, the Loopy Ewe. I love this place, they have everything and they are so friendly and helpful.

Every month we have a class and we learn new stitches then we apply what we learn at home and bring in our finished pieces. Well, I tend not to do what everyone else is doing, lol.

This month we were supposed to create an embroidered piece (I did that part) but we were also supposed to sew a binder cover on. I don’t always get along with my sewing machine and this month I didn’t want to fight with it. So I did a mixed media binder instead.  I have to say, I really love how it turned out. It is perfect for me and now it is cut and ready for me to store my patterns.

Materials

  • Binder- I was proved a 2″ binder. This is one of the shorter binders
  • Embroidery- need applique item, thread, needle
  • For the mixed media- fabric, paper, lace and trims, beads, ink sprays.

Instructions

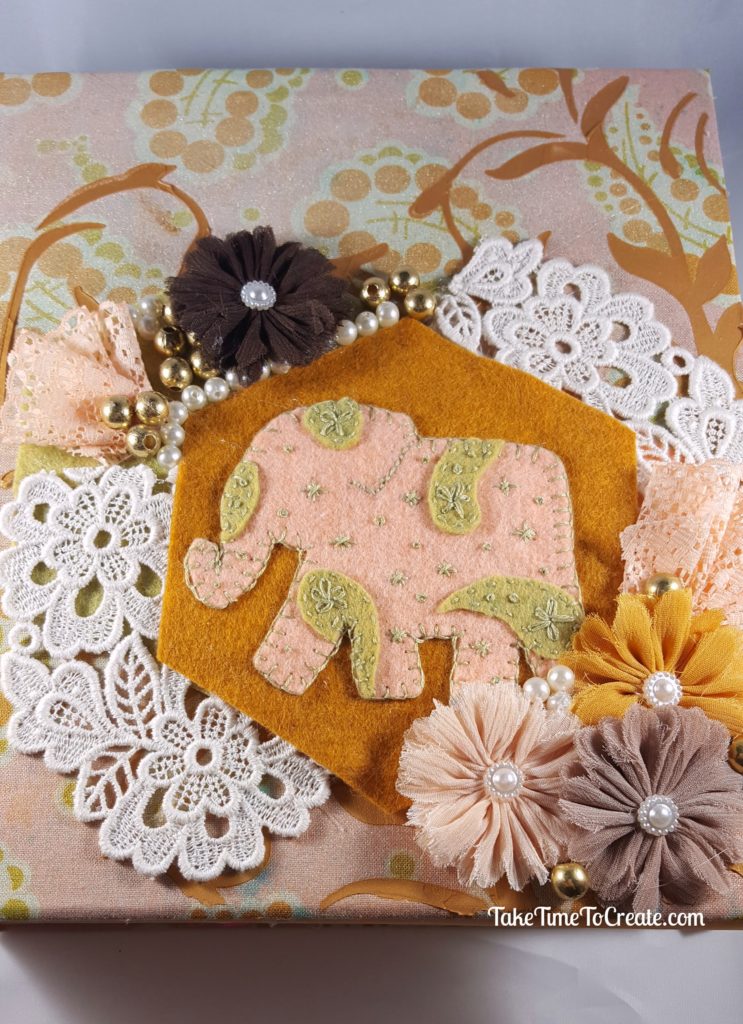
The first thing you do is cut your hex shape and elephant and paisley pattern.  Then stitch the elephant together. I won’t go into detail about applique embroidery because there are far better tutorials out there but I can tell you what stitches I used. I did a running stitch to secure the paisleys, a blanket stitch around the edge, colonial knots, and a lazy daisy for the flowers.
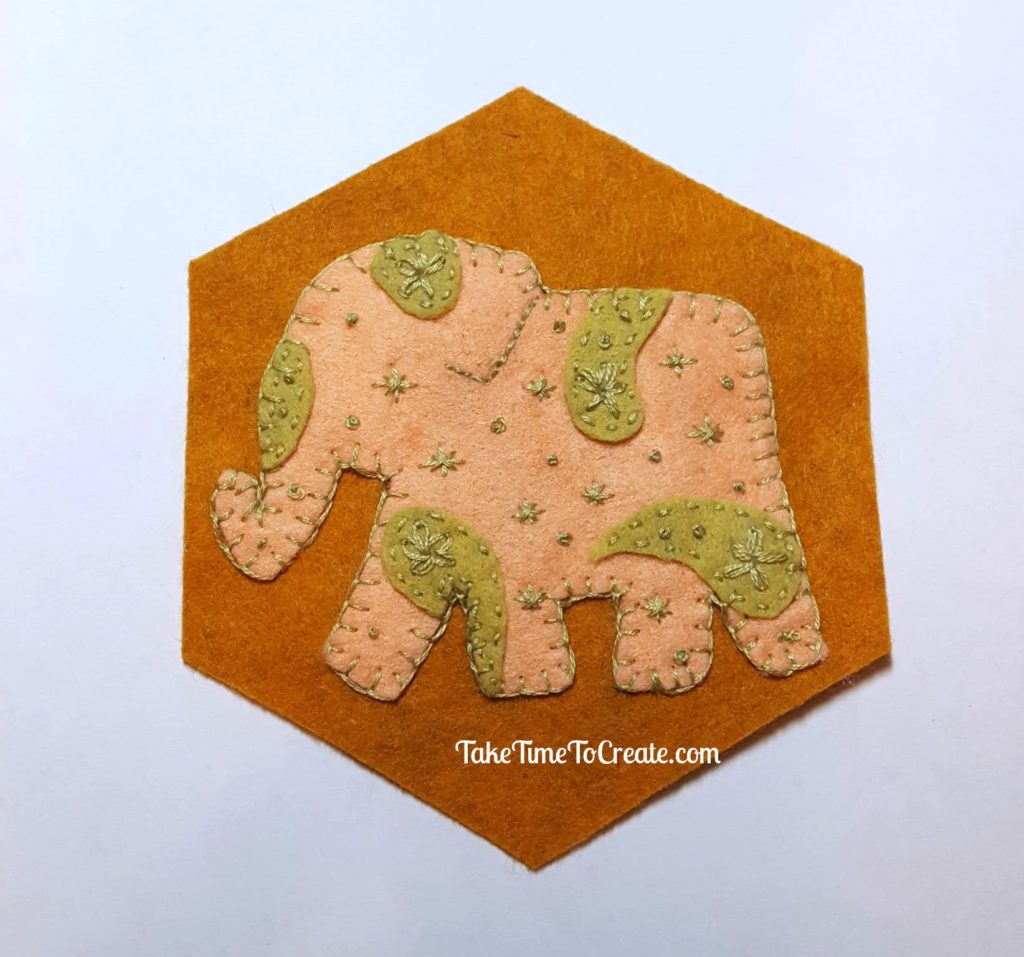
Once my embroidery was complete it was time to start on the binder. I covered the binder in this great fabric.

Then I sprayed ti with some ink sprays to give it interest. To add even more interest I stenciled this scrolling pattern on the cover and spine
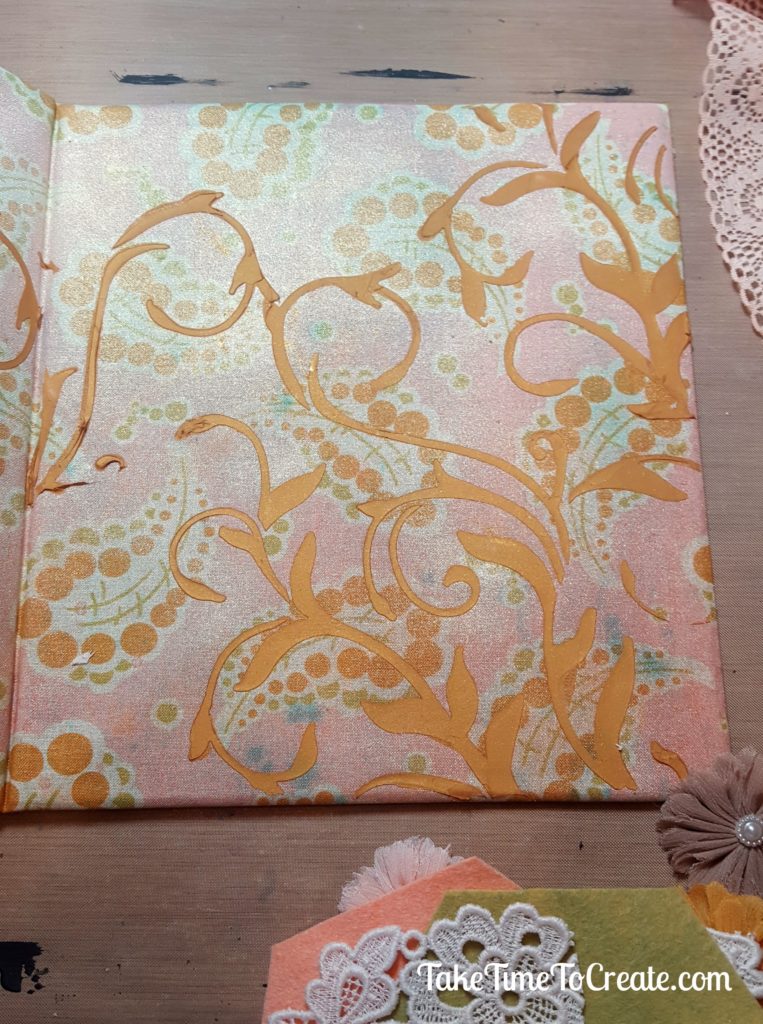
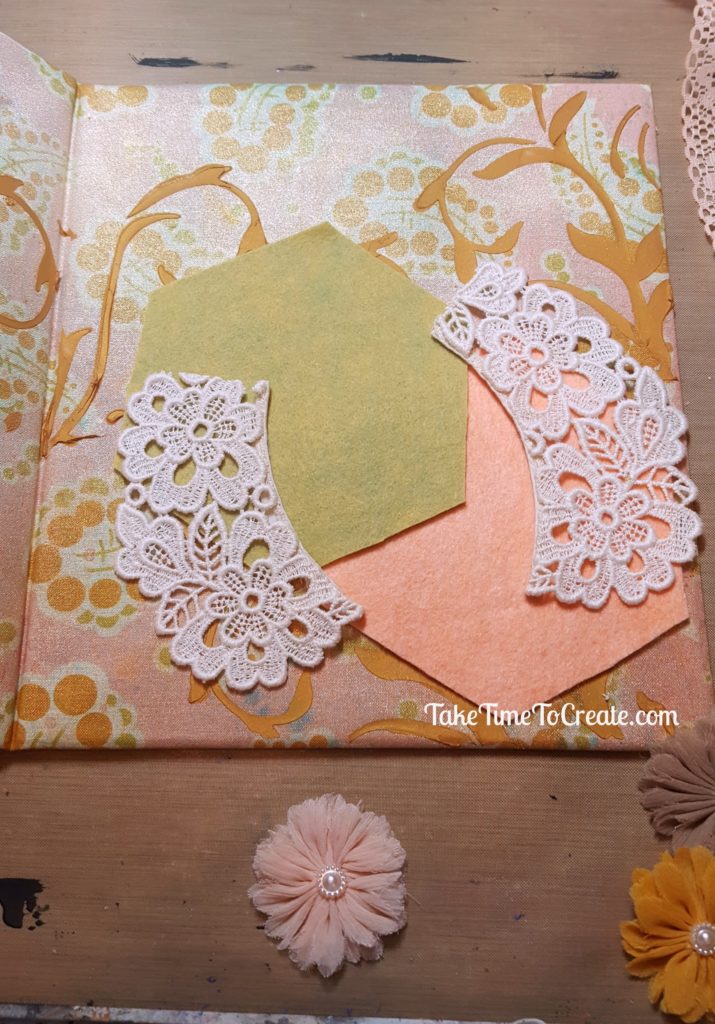
Then I started playing around with textures and fabrics to try and get a focal point that worked for me
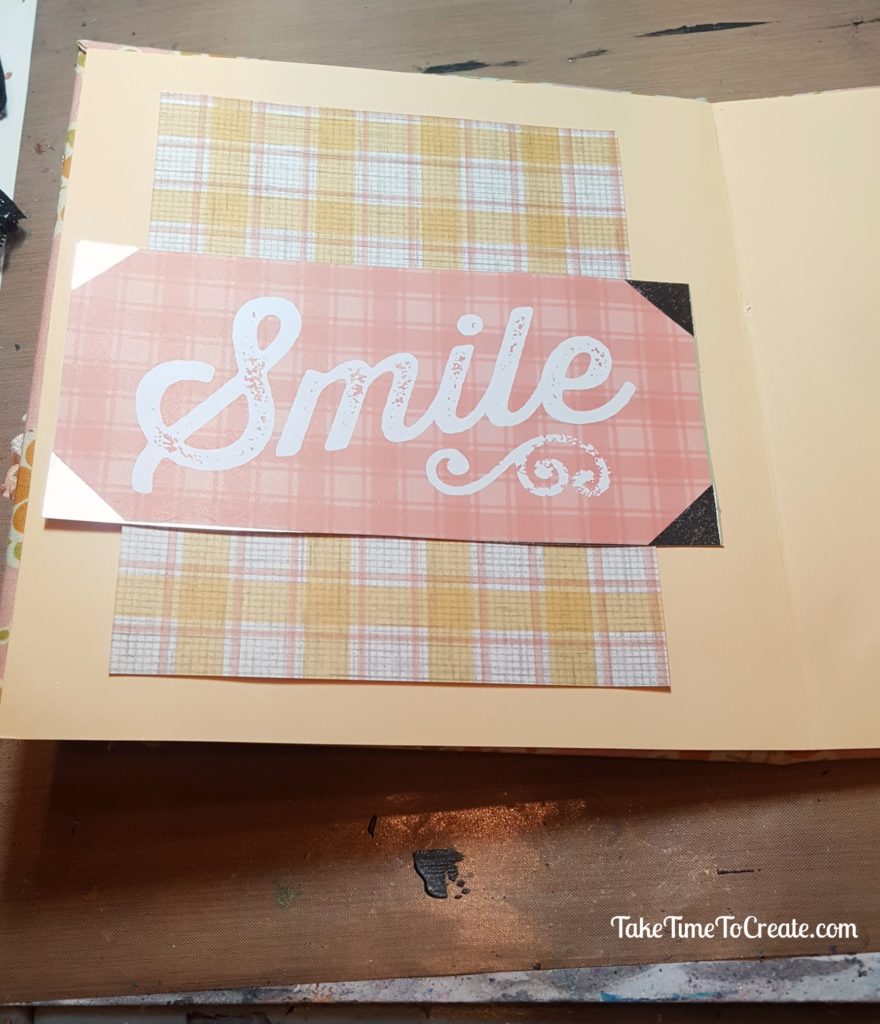
Then I added some paper to the inside, no boring inside for me. Everything must be decorated.
The completed outside of the binder has fabric, beads, Prima flowers, lace, and of course the Elephant Applique Embroidery.

I think this turned out so cute, and I am glad that I made it something that I will use and I made it in my own way, lol.
What have you created instead of following all the instructions? How did you make it your own?

The post Elephant Applique Embroidery Mixed Media appeared first on Take Time To Create.

© 2024 Take Time To Create

Theme by Anders NorenUp ↑

Follow

Get the latest posts delivered to your mailbox:

%d bloggers like this: