Page 18 of 18

Disney Bottle cap Jewelry

I love going to Disney, I think I have mentioned it once or twice:)

20150611_070727

So every time I go I make new things to take with me. Well, we are headed to Disneyland in a few weeks so I decided I needed new jewelry. These are so easy to make.

Materials

Bottle caps (I found a bunch on Amazon)

Bottle caps prints (I just Googled for free images, but you can purchase some really cool images from Etsy). After I found my prints I just printed them up on my little photo printers so that the images were glossy. You can send them out to print or print them on you home printer. If you use regular paper in an ink jet printer I would coat the top with mod podge or some kind of sealer.

Circle punch about the same size as your image, or if you are steady you can free hand cut out the image

glue, I hot glued the image to the bottle cap and used e6000 to glue the cap to the jewelry. But you can use what works for you.

Directions:

This is so simple:

  1. print images
  2. cut out images
  3. glue to bottle cap
  4. coat image if needed (I didn’t with the photo paper)
  5. glue the bottle cap to your ring or
  6. punch hole in the top of the bottle cap and add a jump ring for a necklace or add a hook earring for earrings or glue a pin back on for a pin. The options are endless!

That is it, pretty easy right? Now you have really cool custom jewelry to wear at Disney, or all the time.

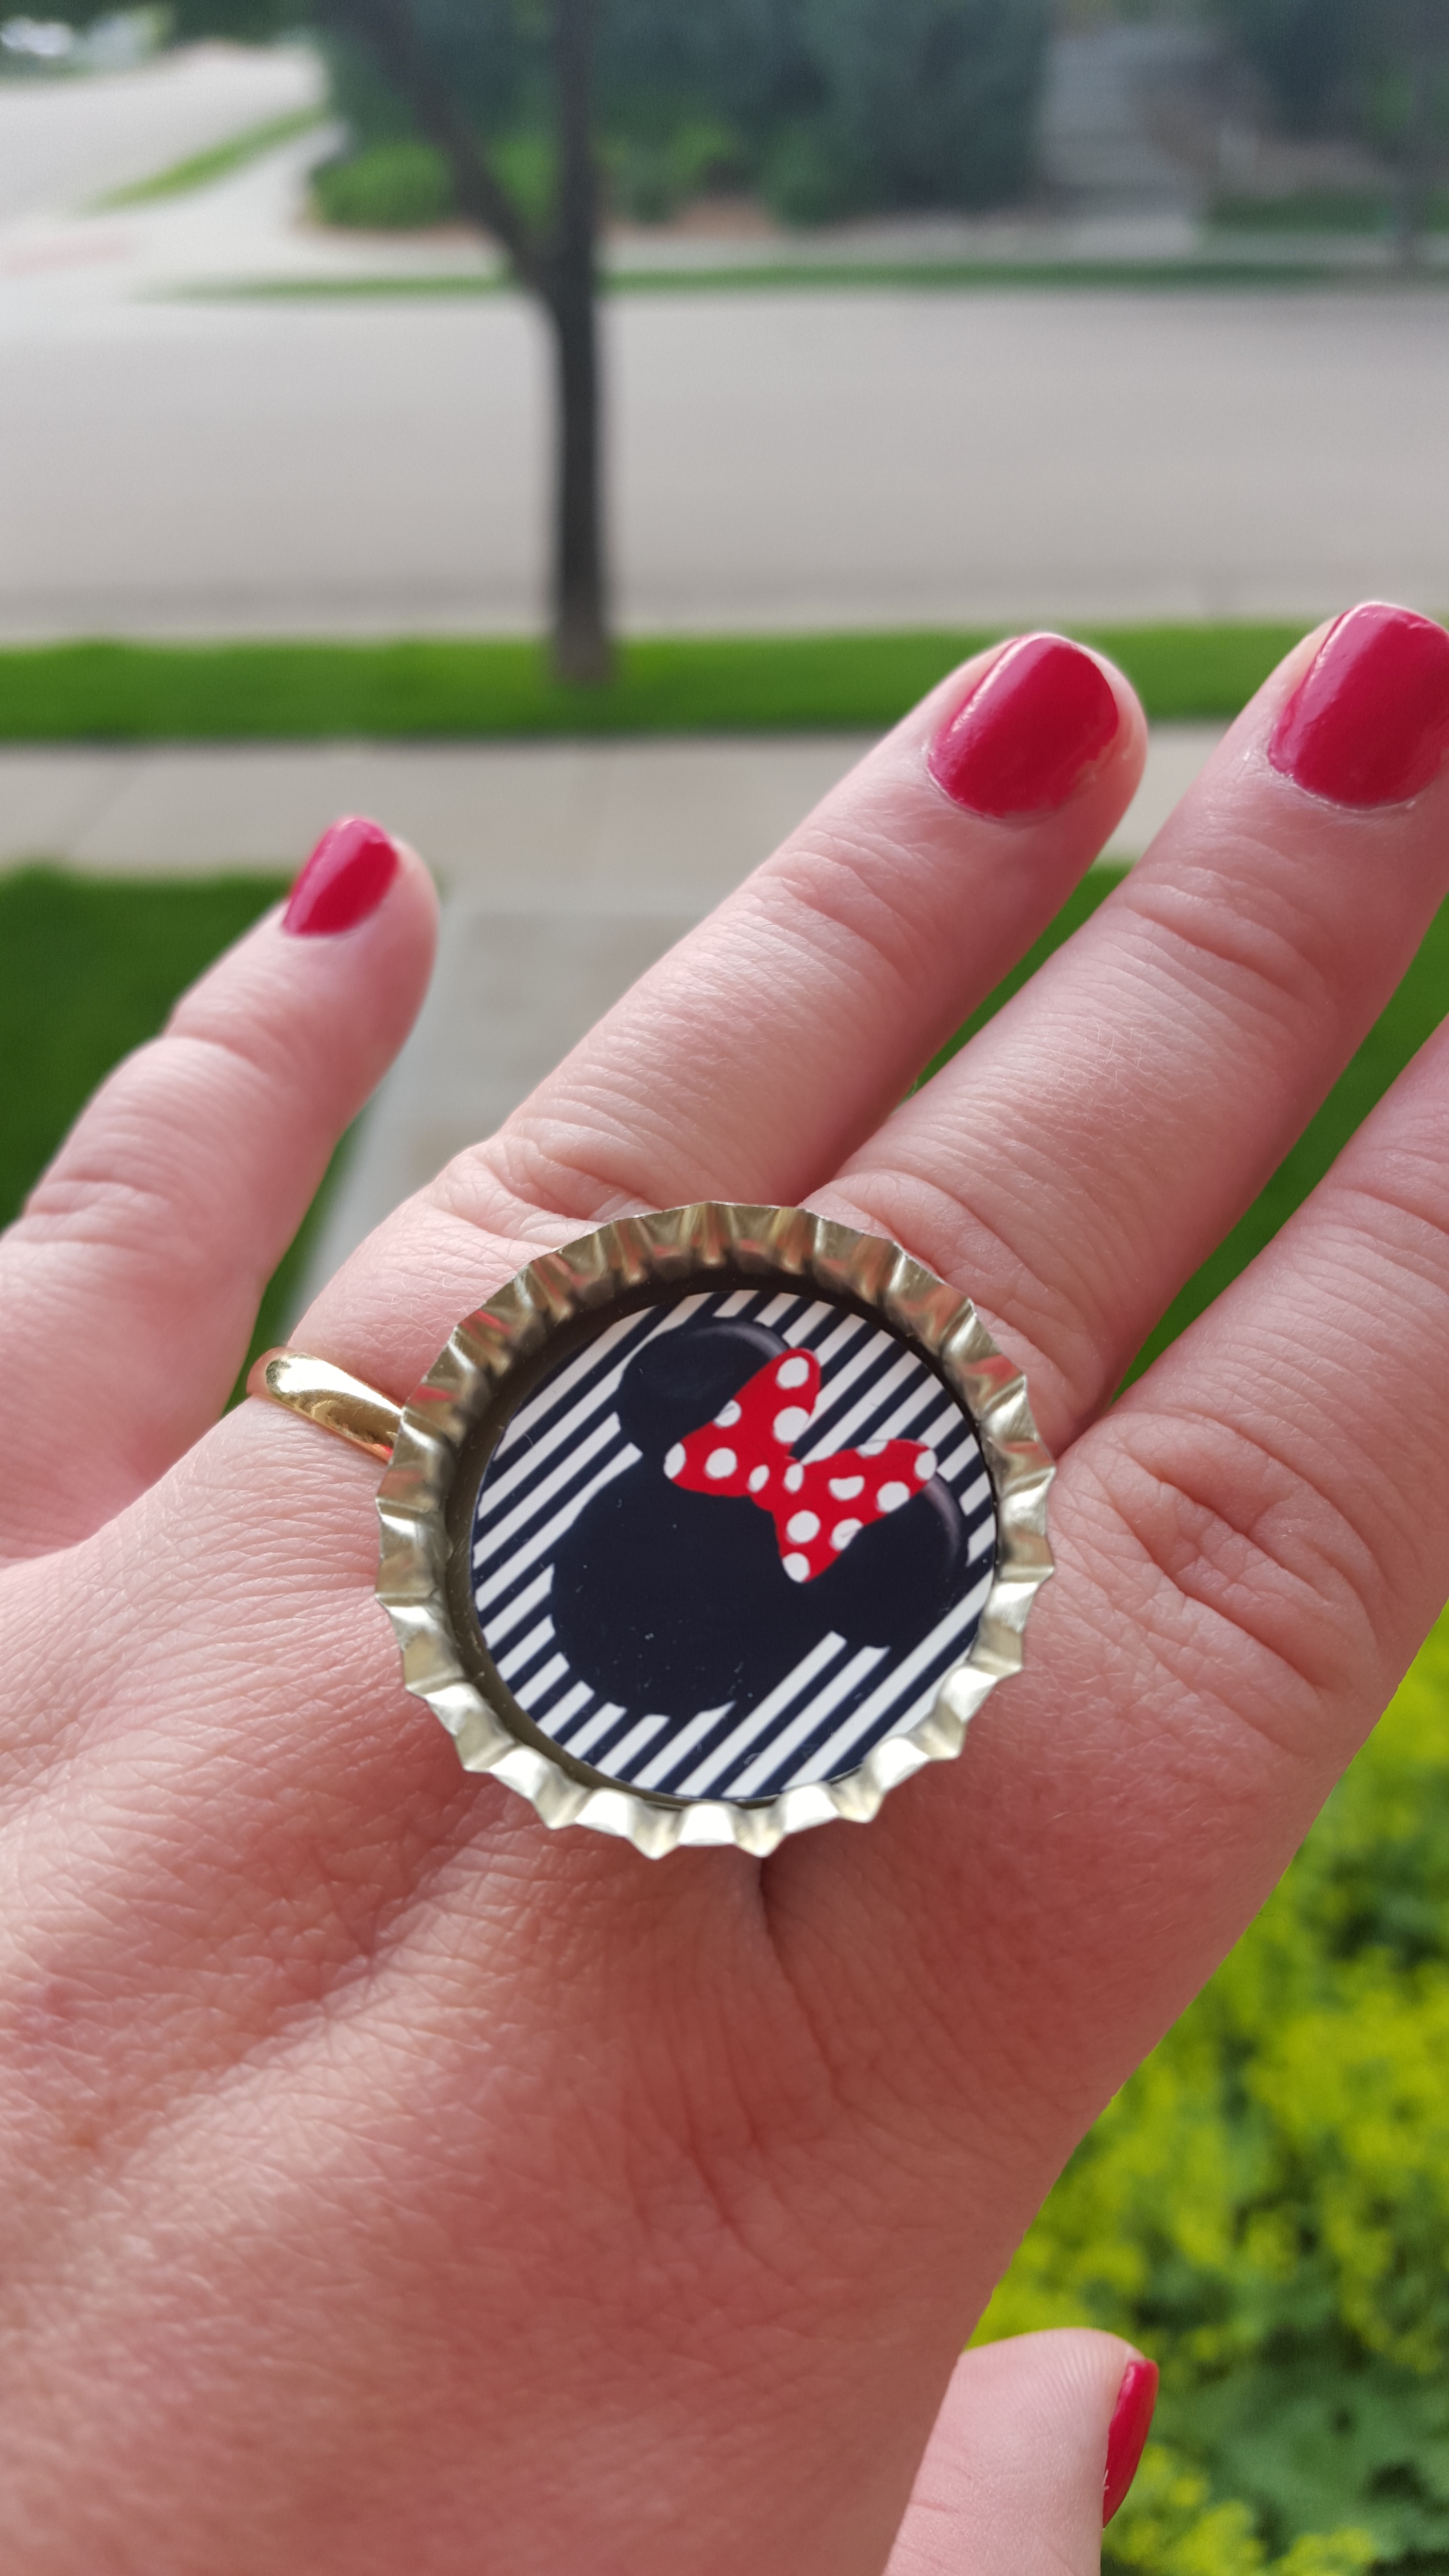
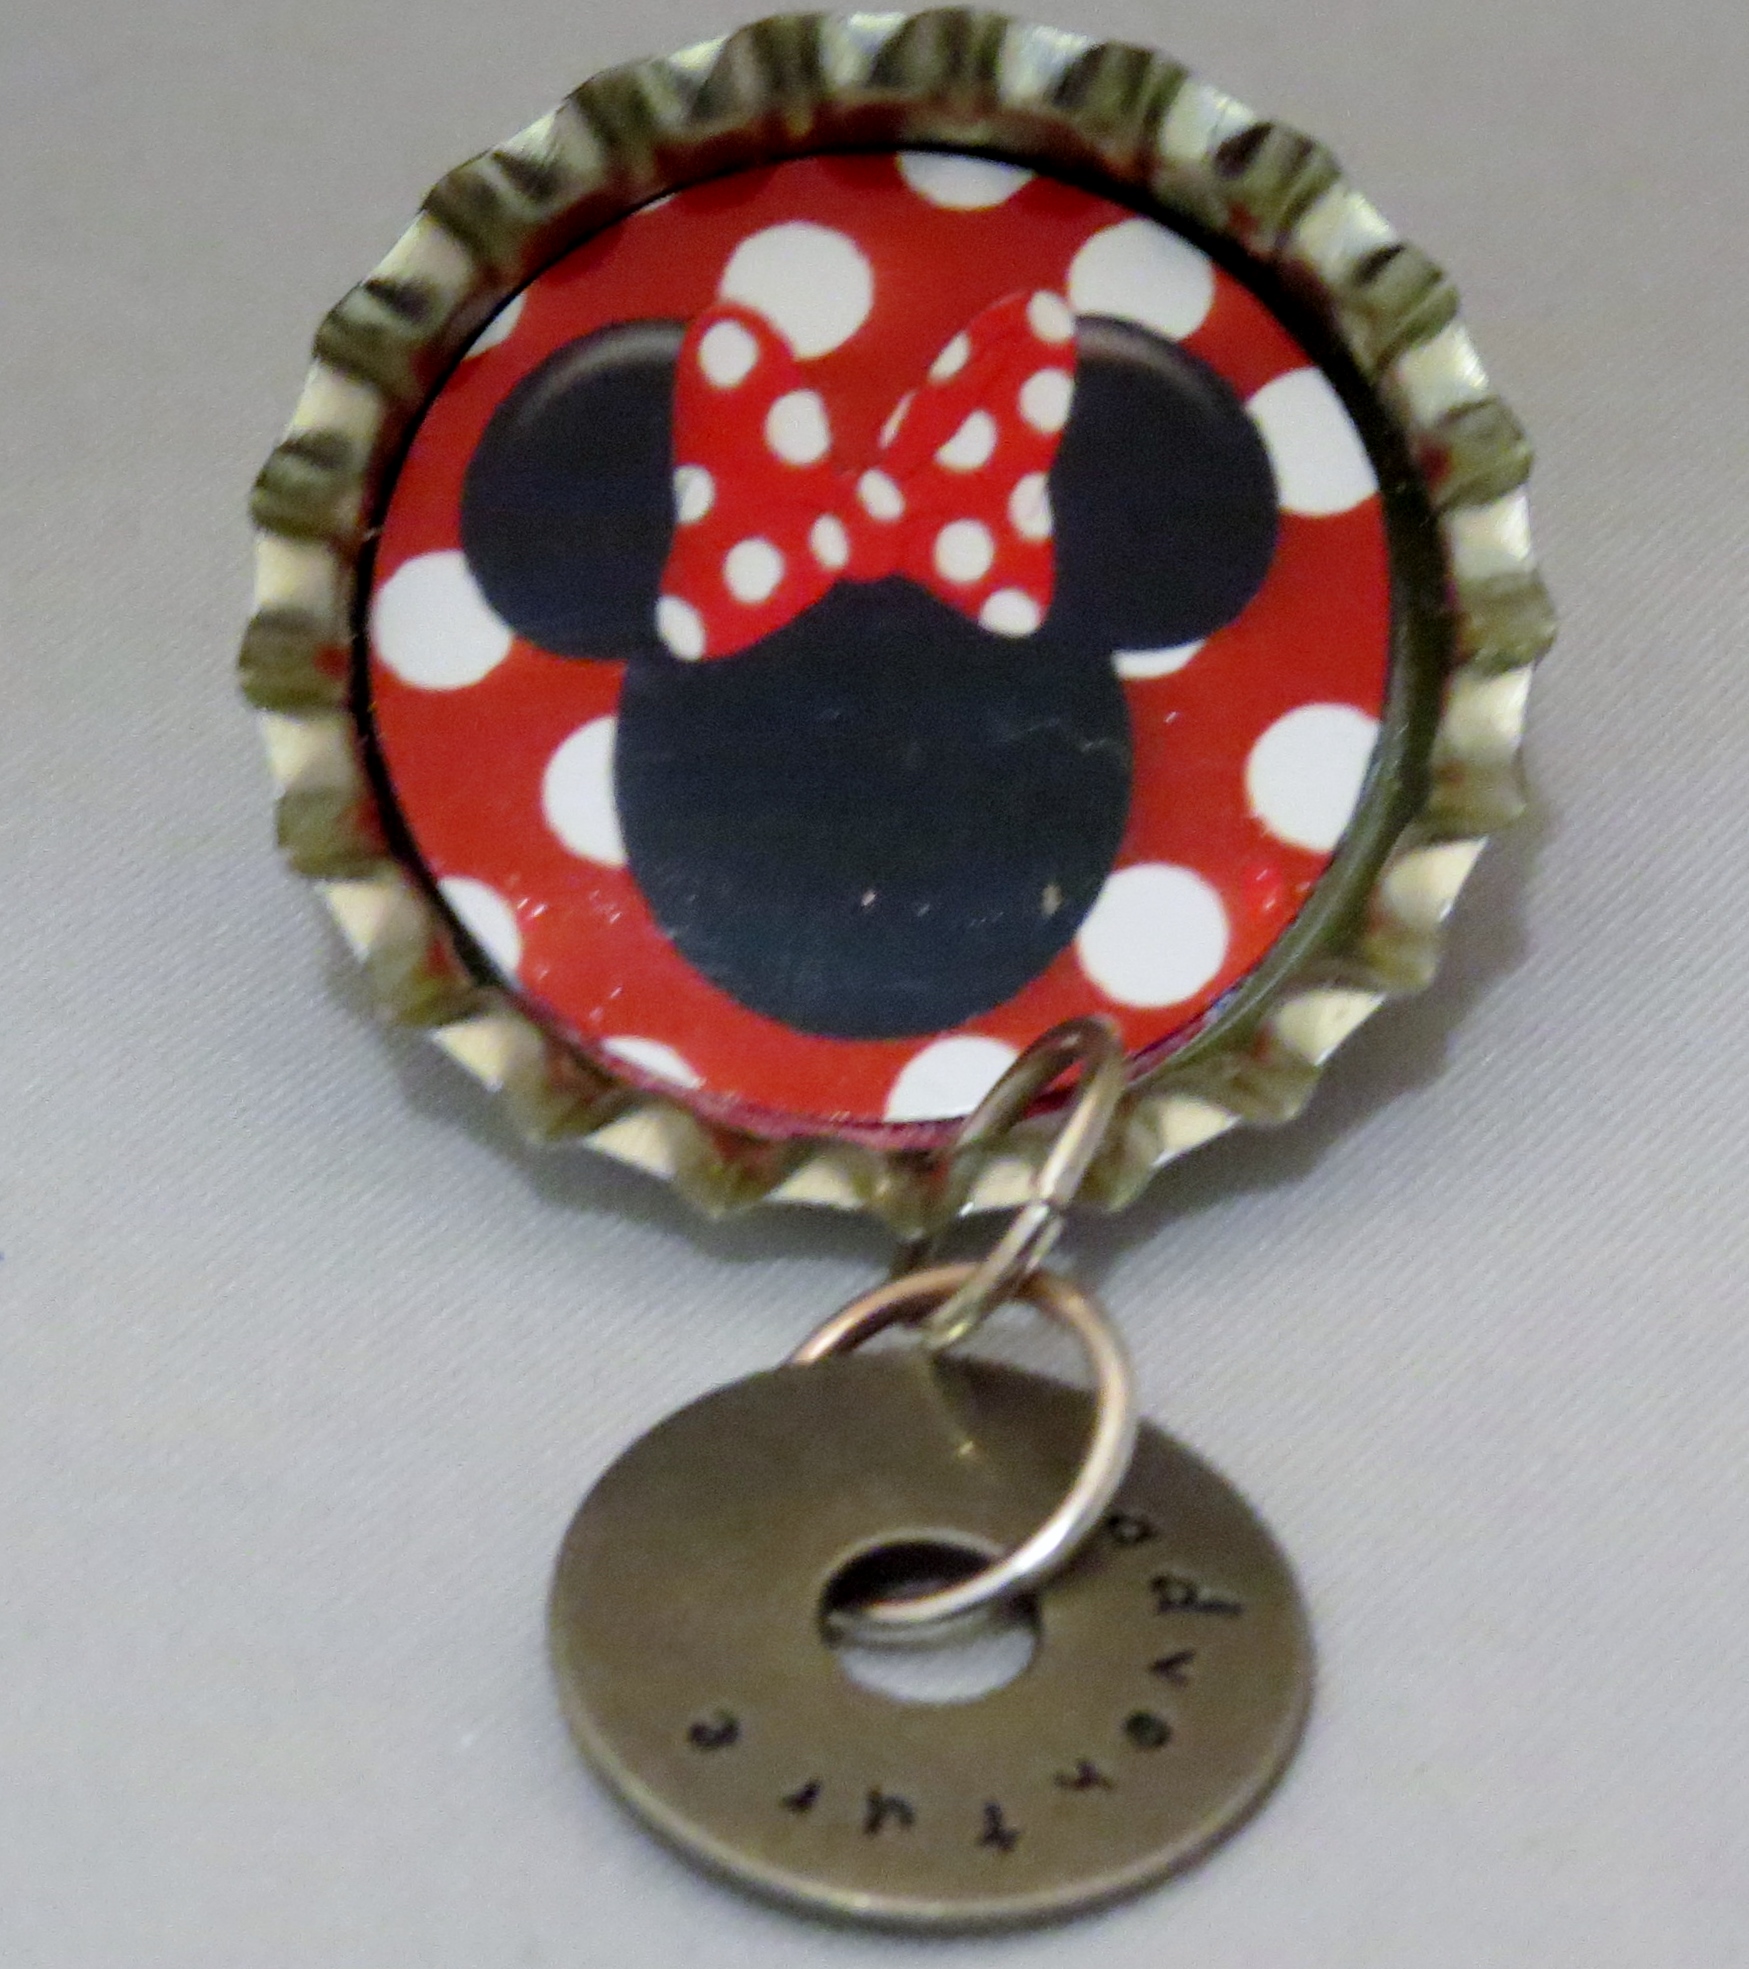
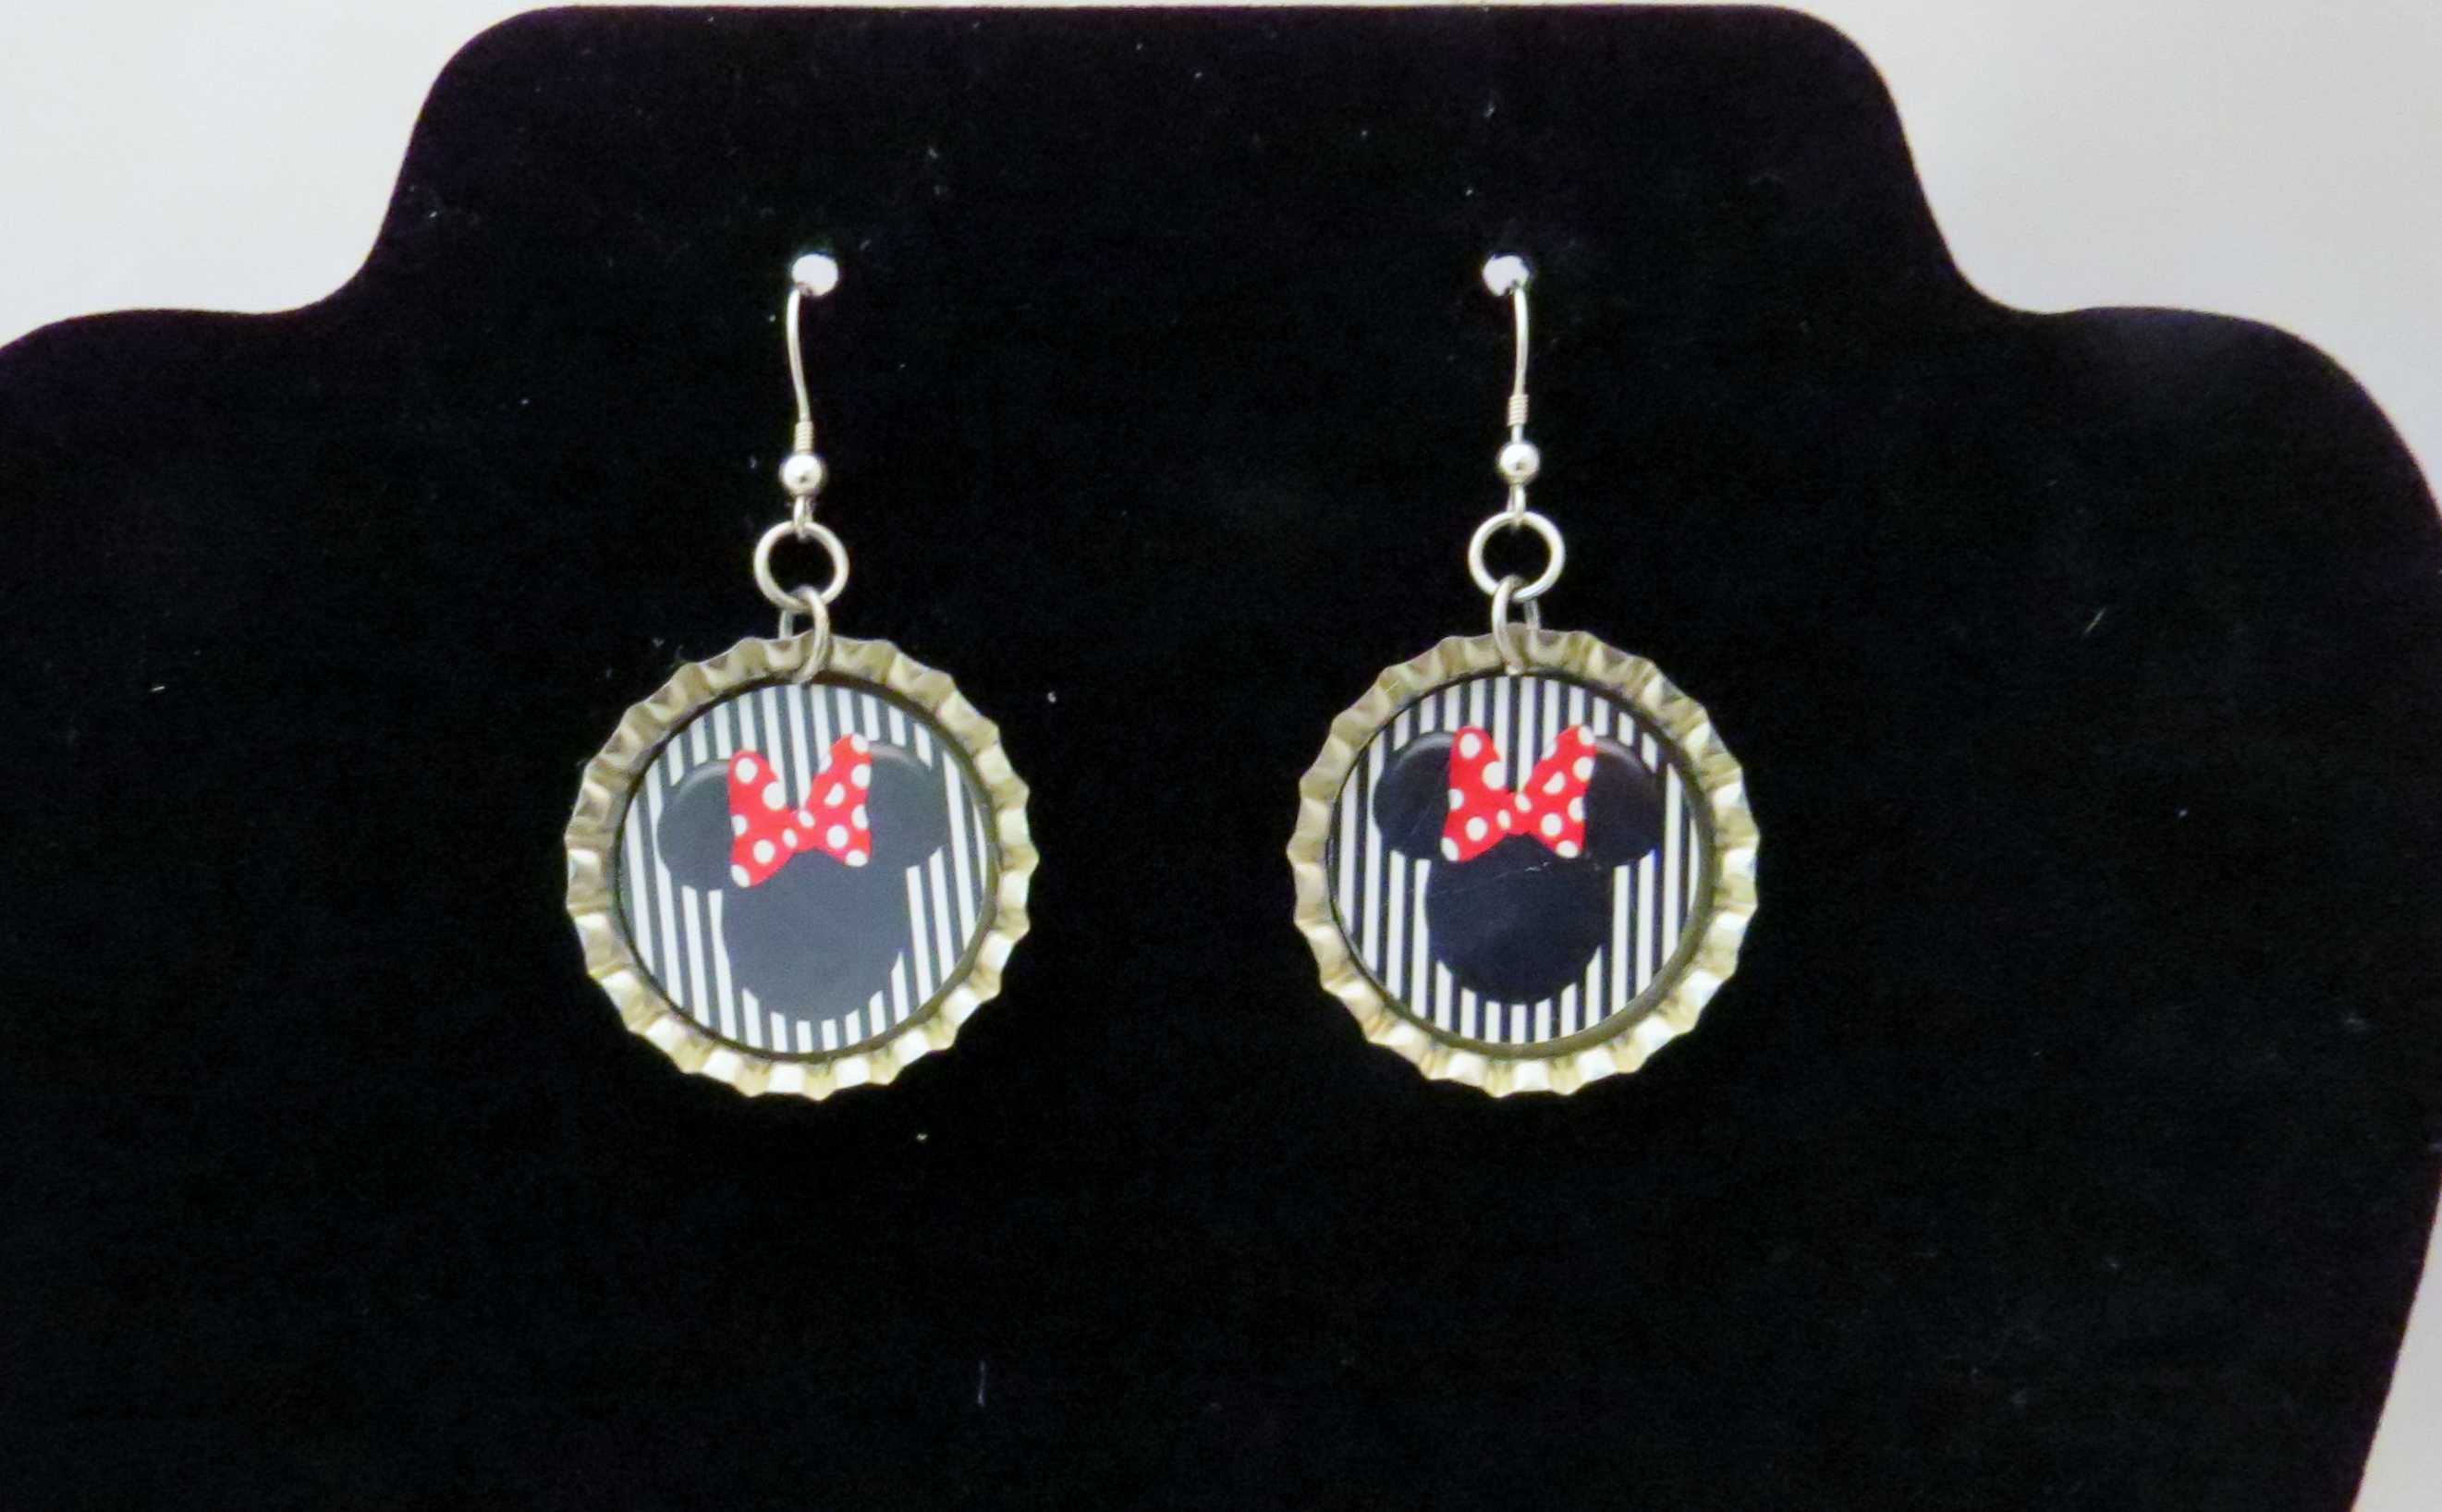
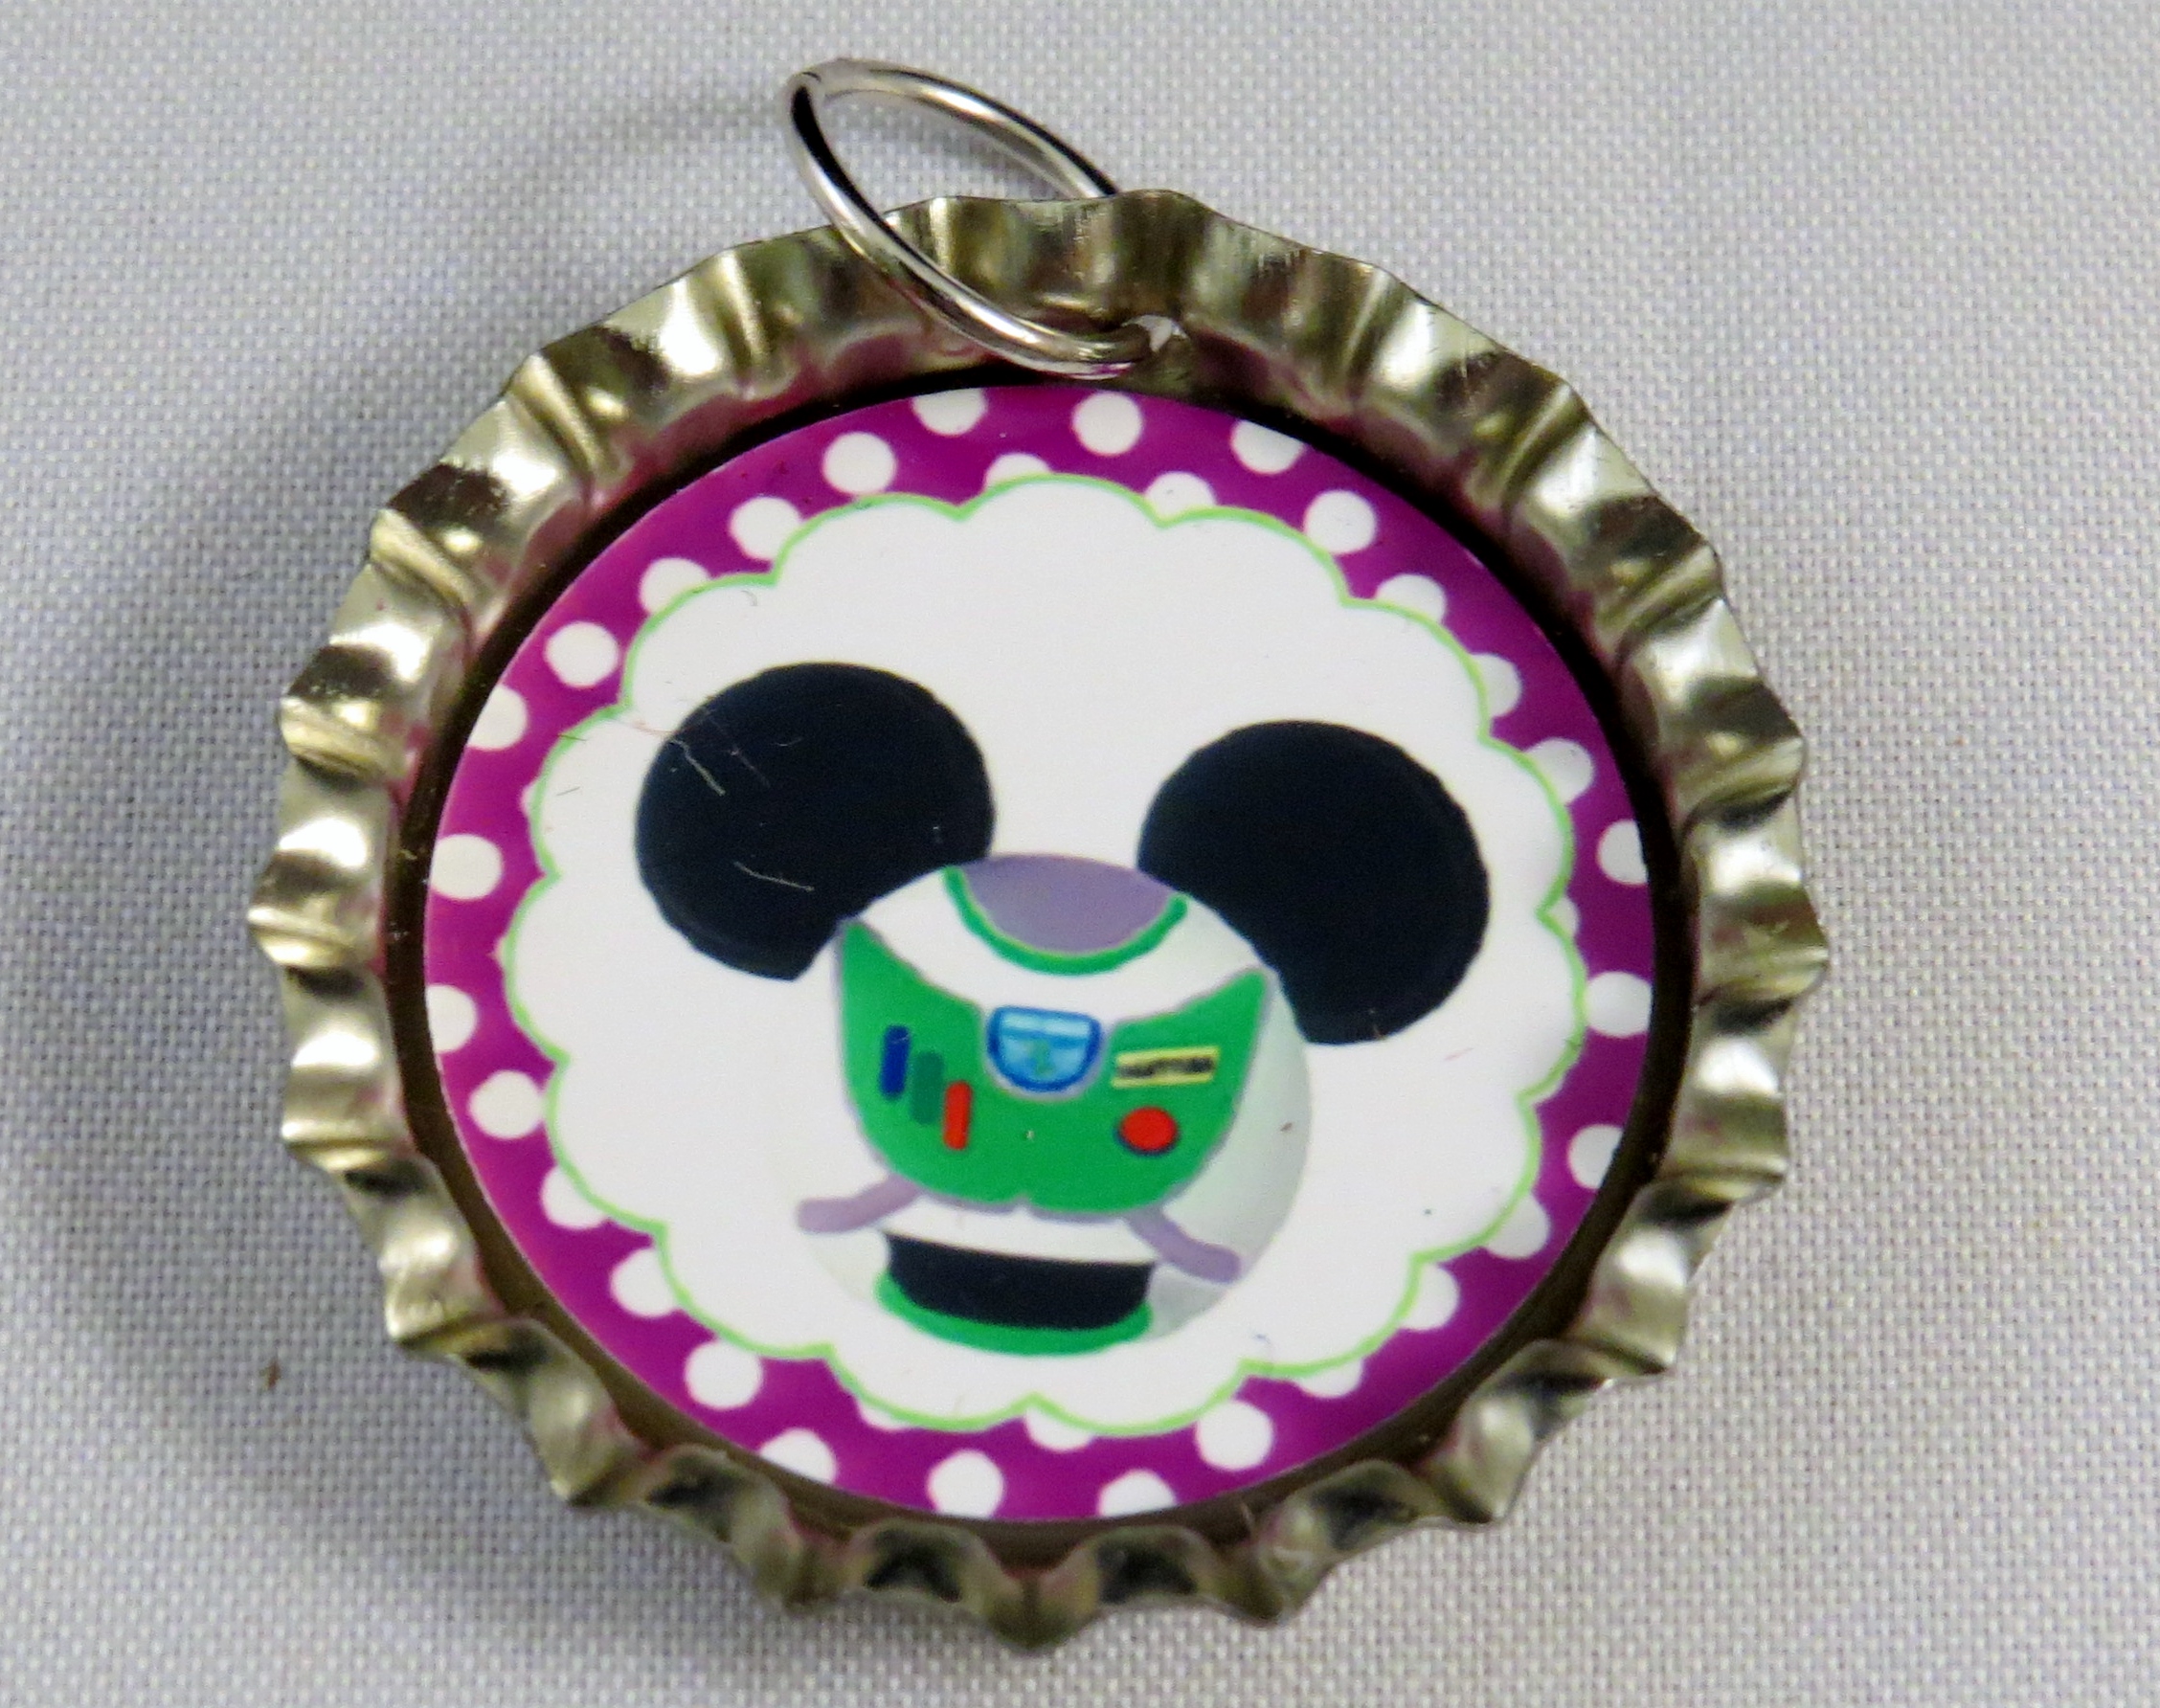
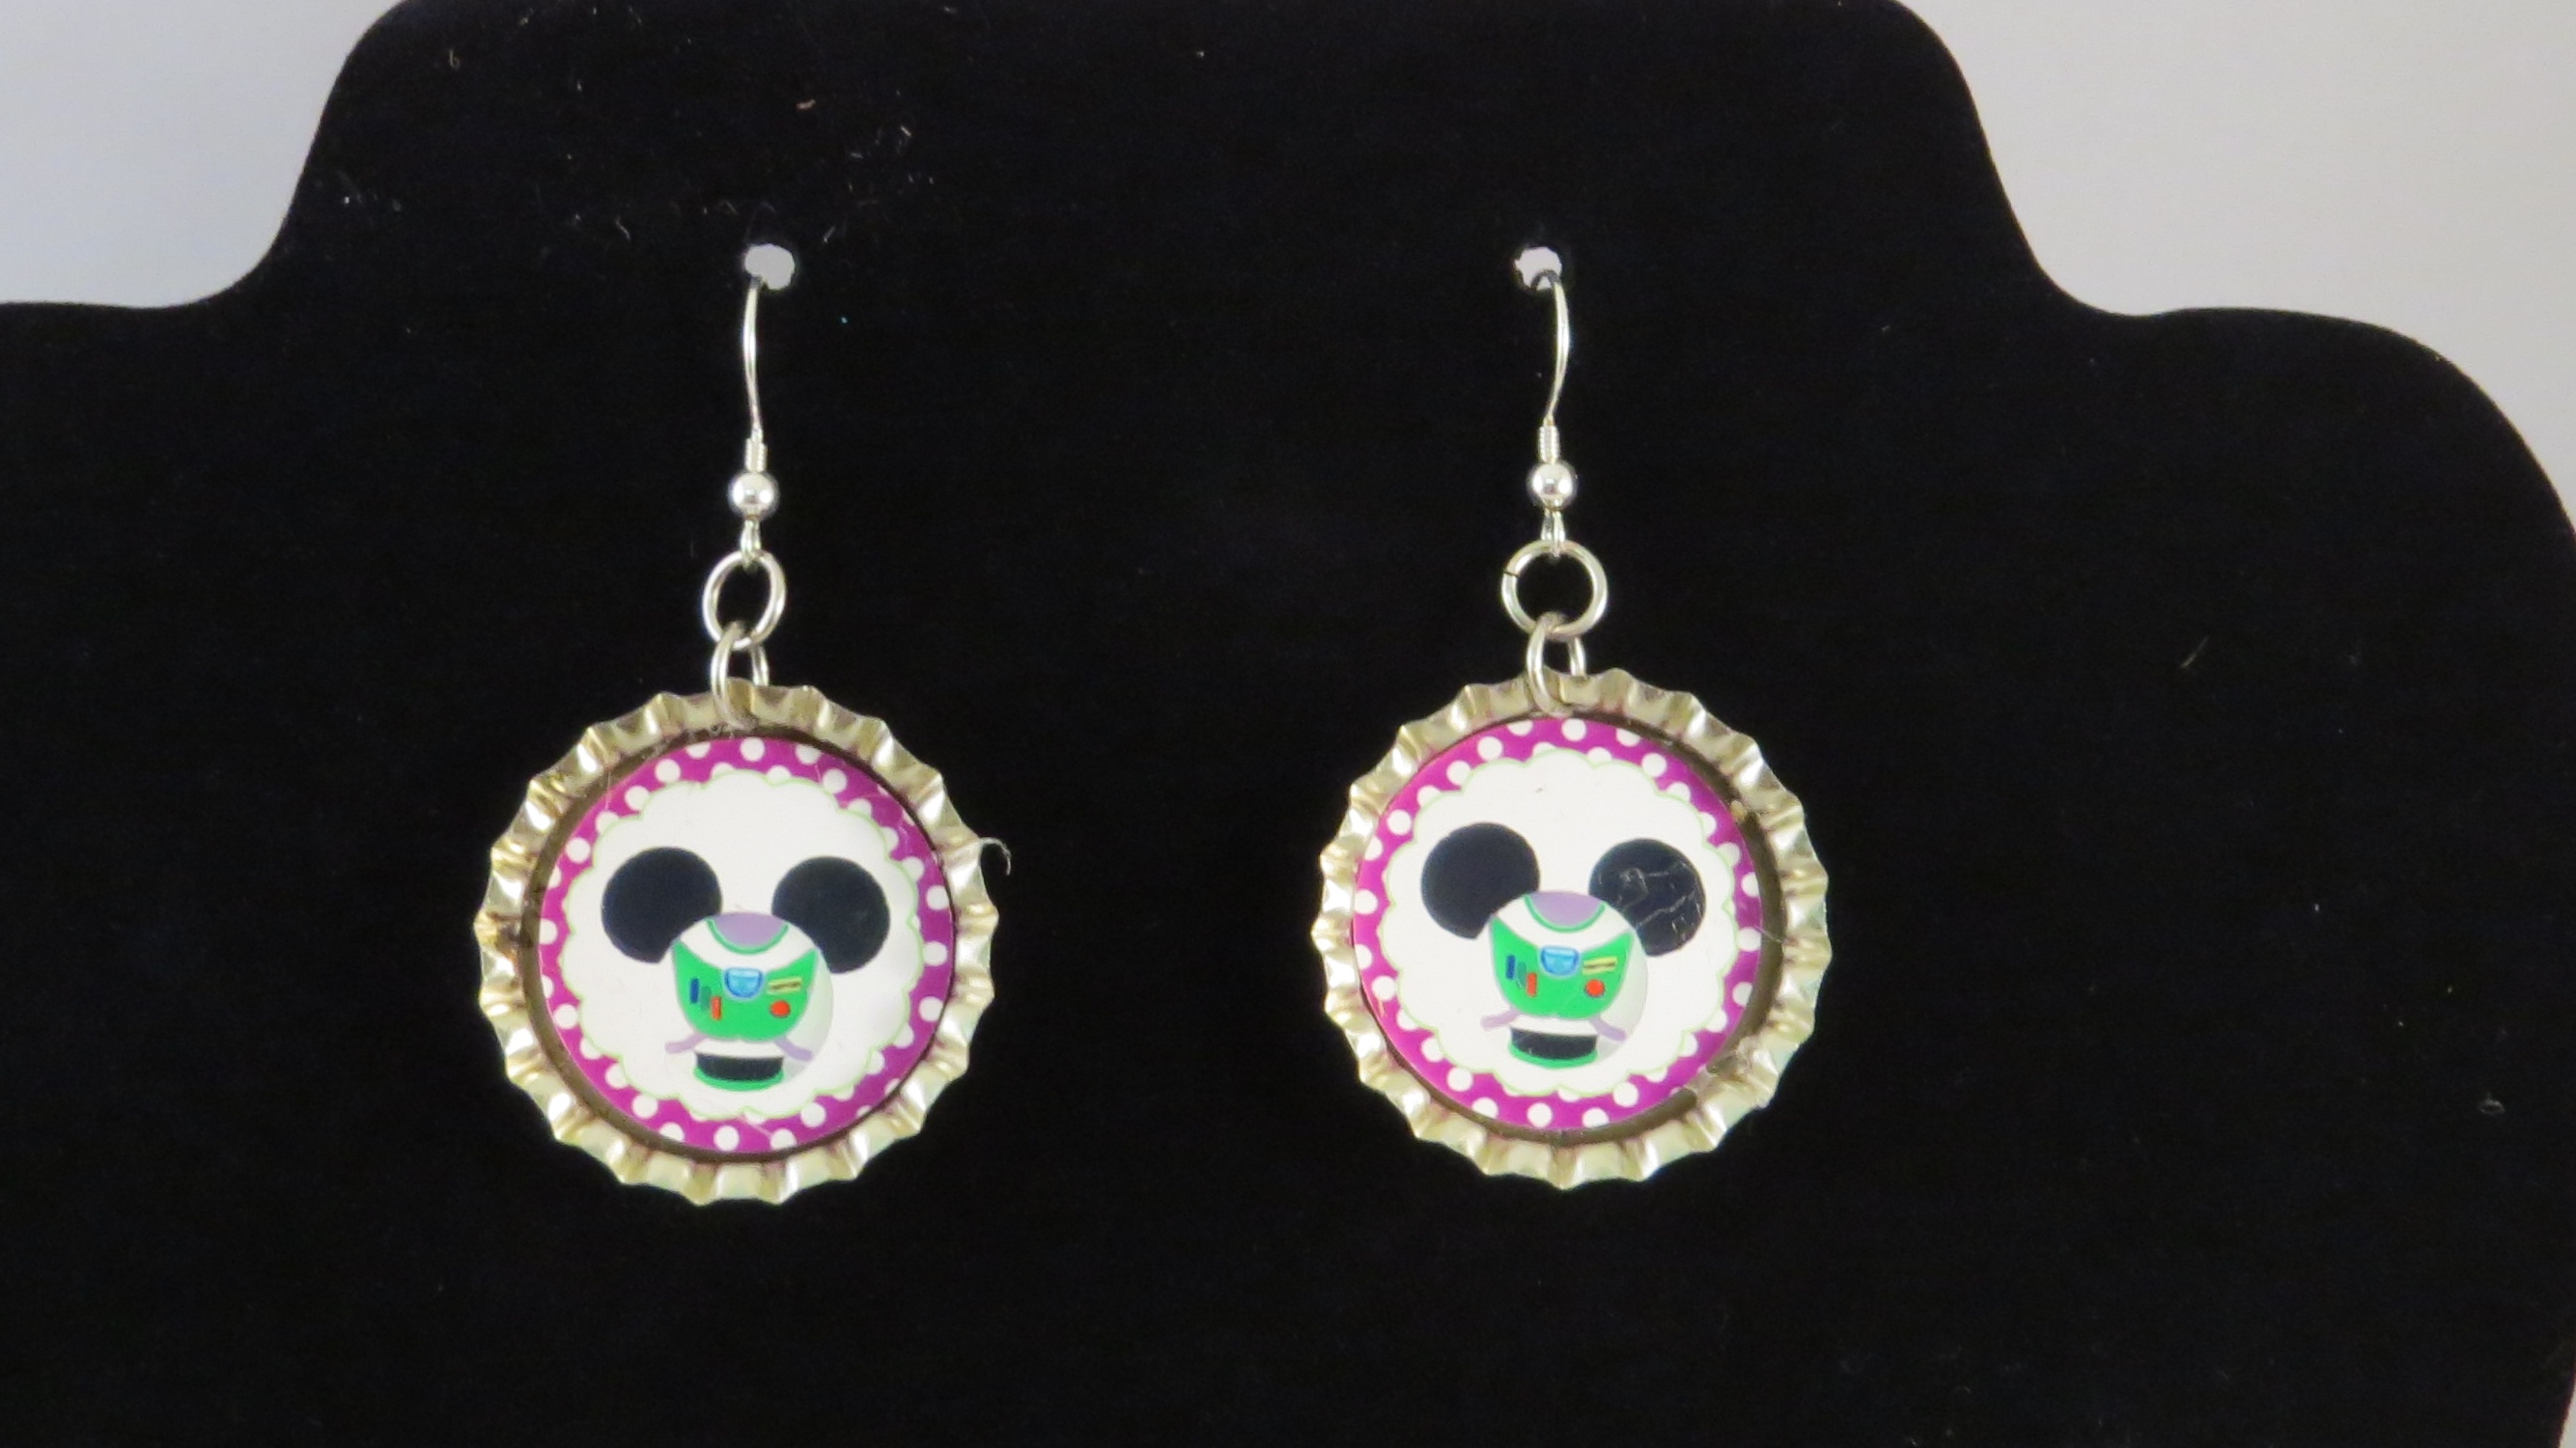
Here are some I completed. I can’t wait to wear them at Disney!

IMG_4619 IMG_4616 IMG_4579 IMG_4554

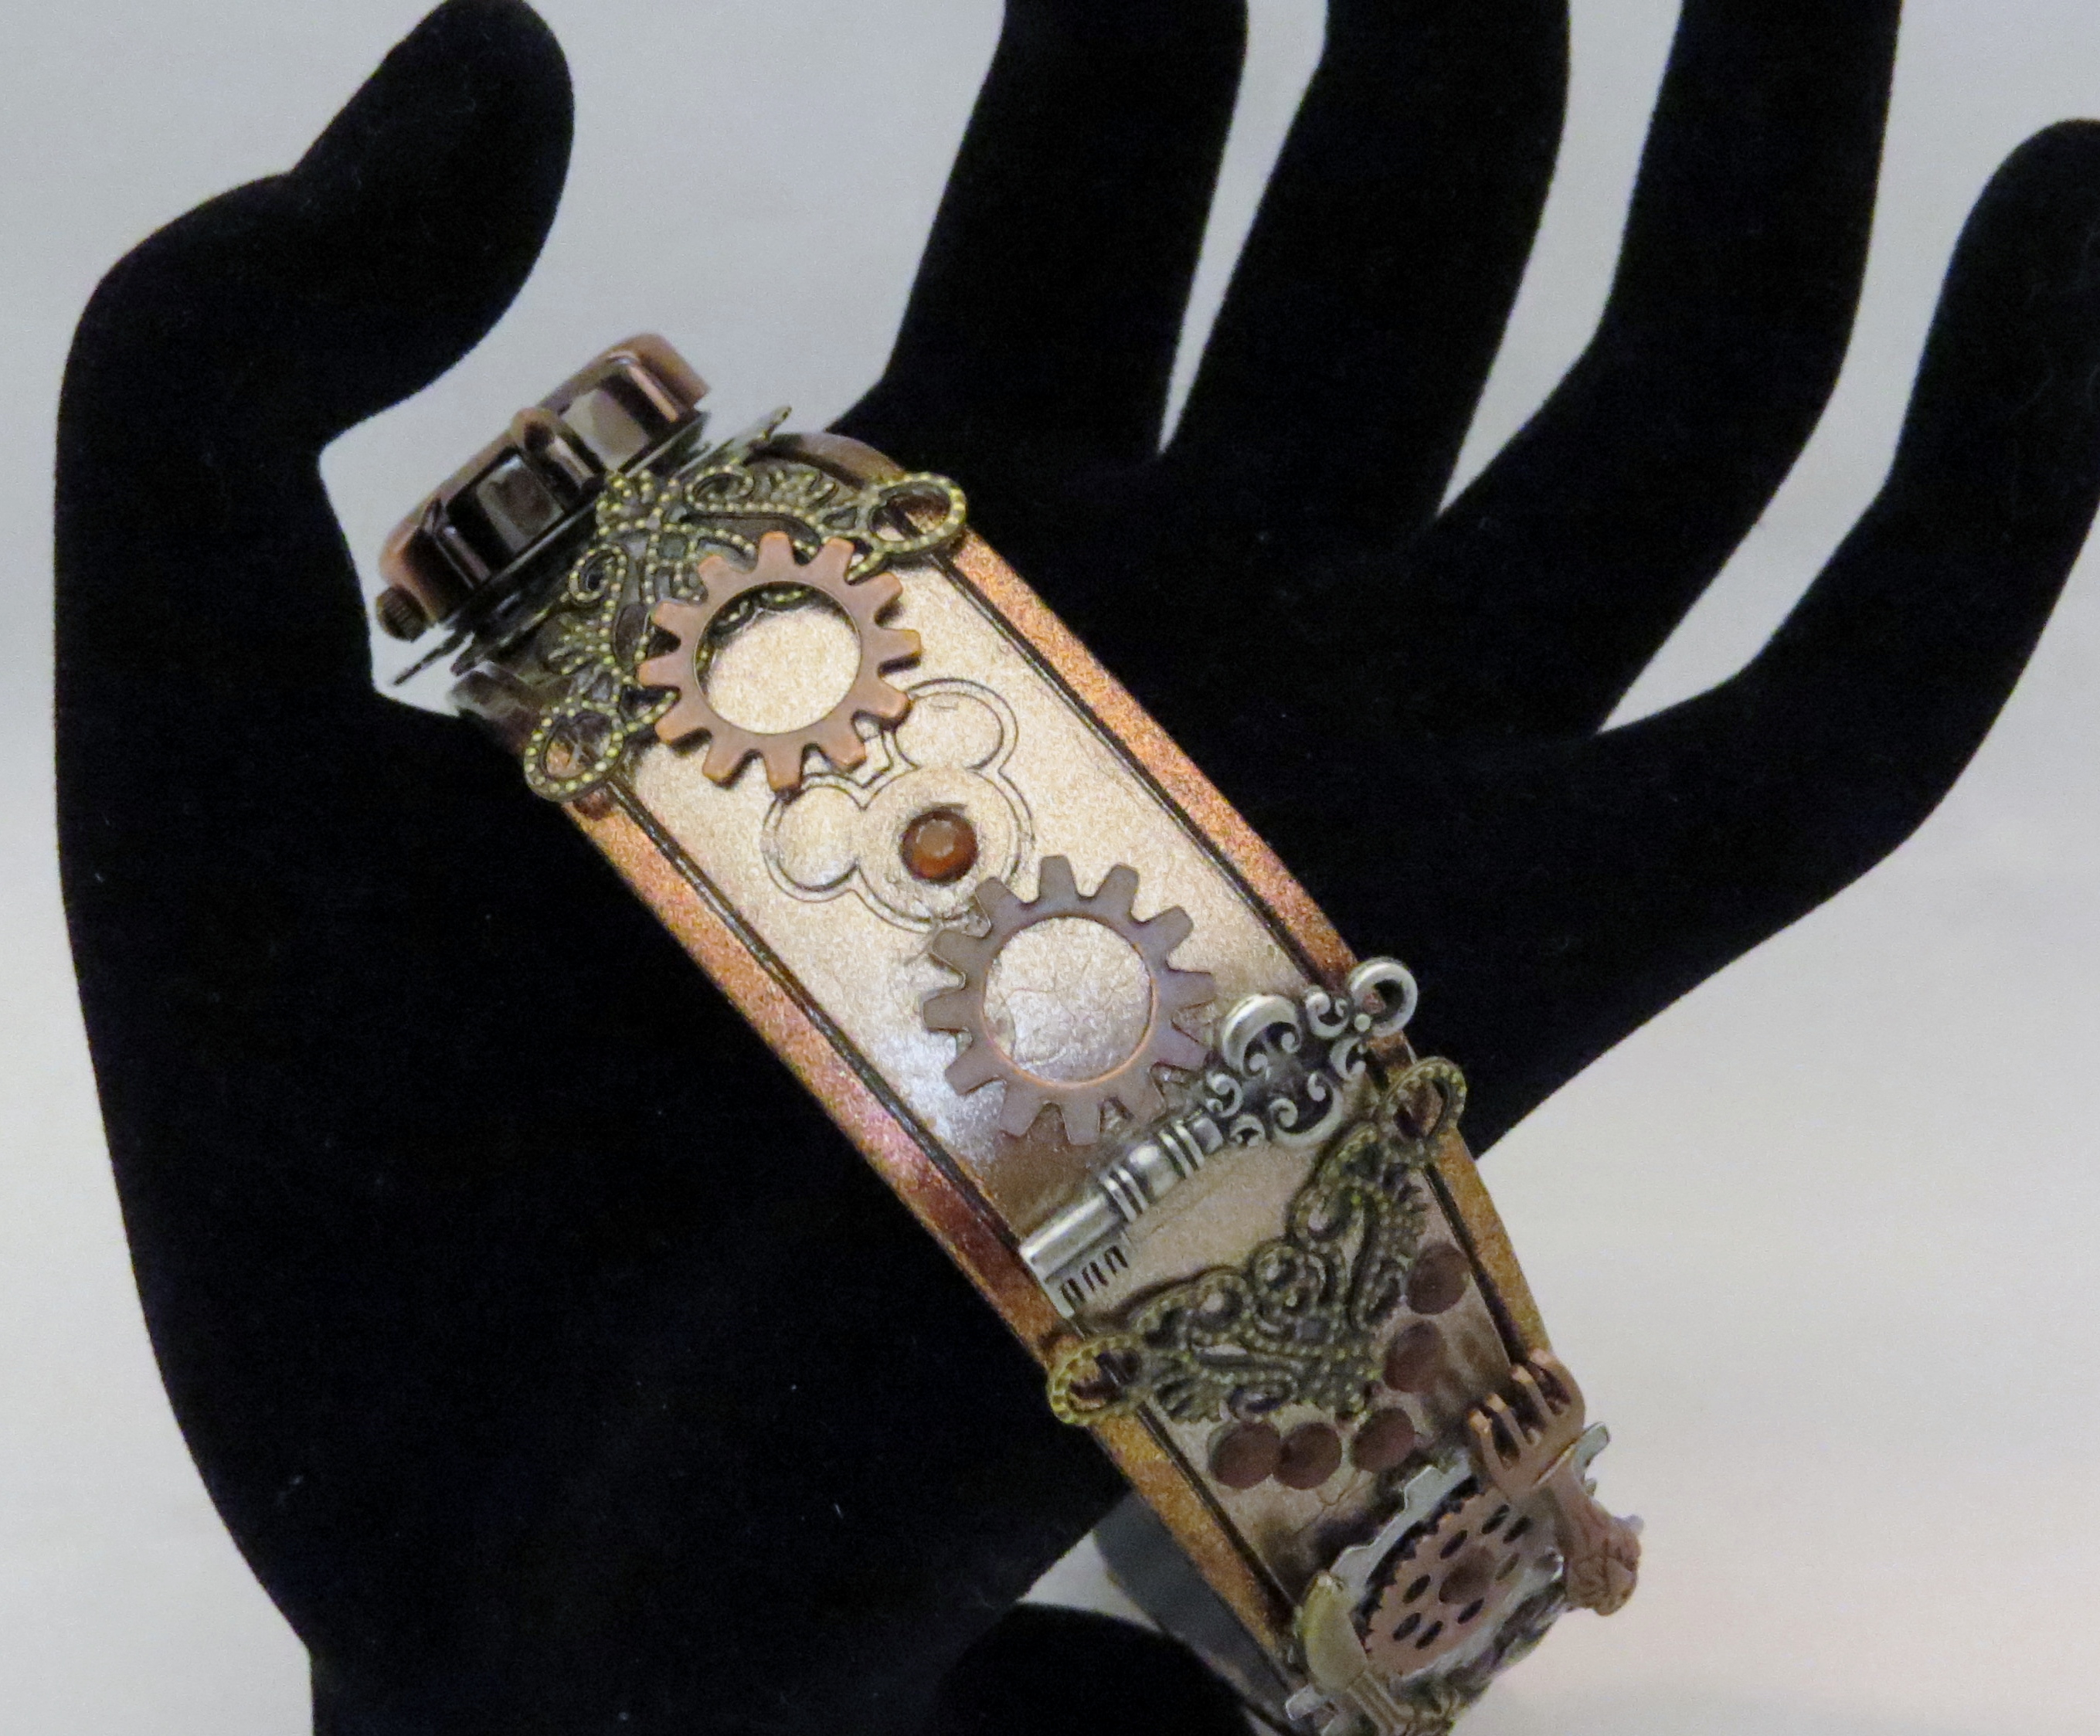
Steampunk Disney Magic Band

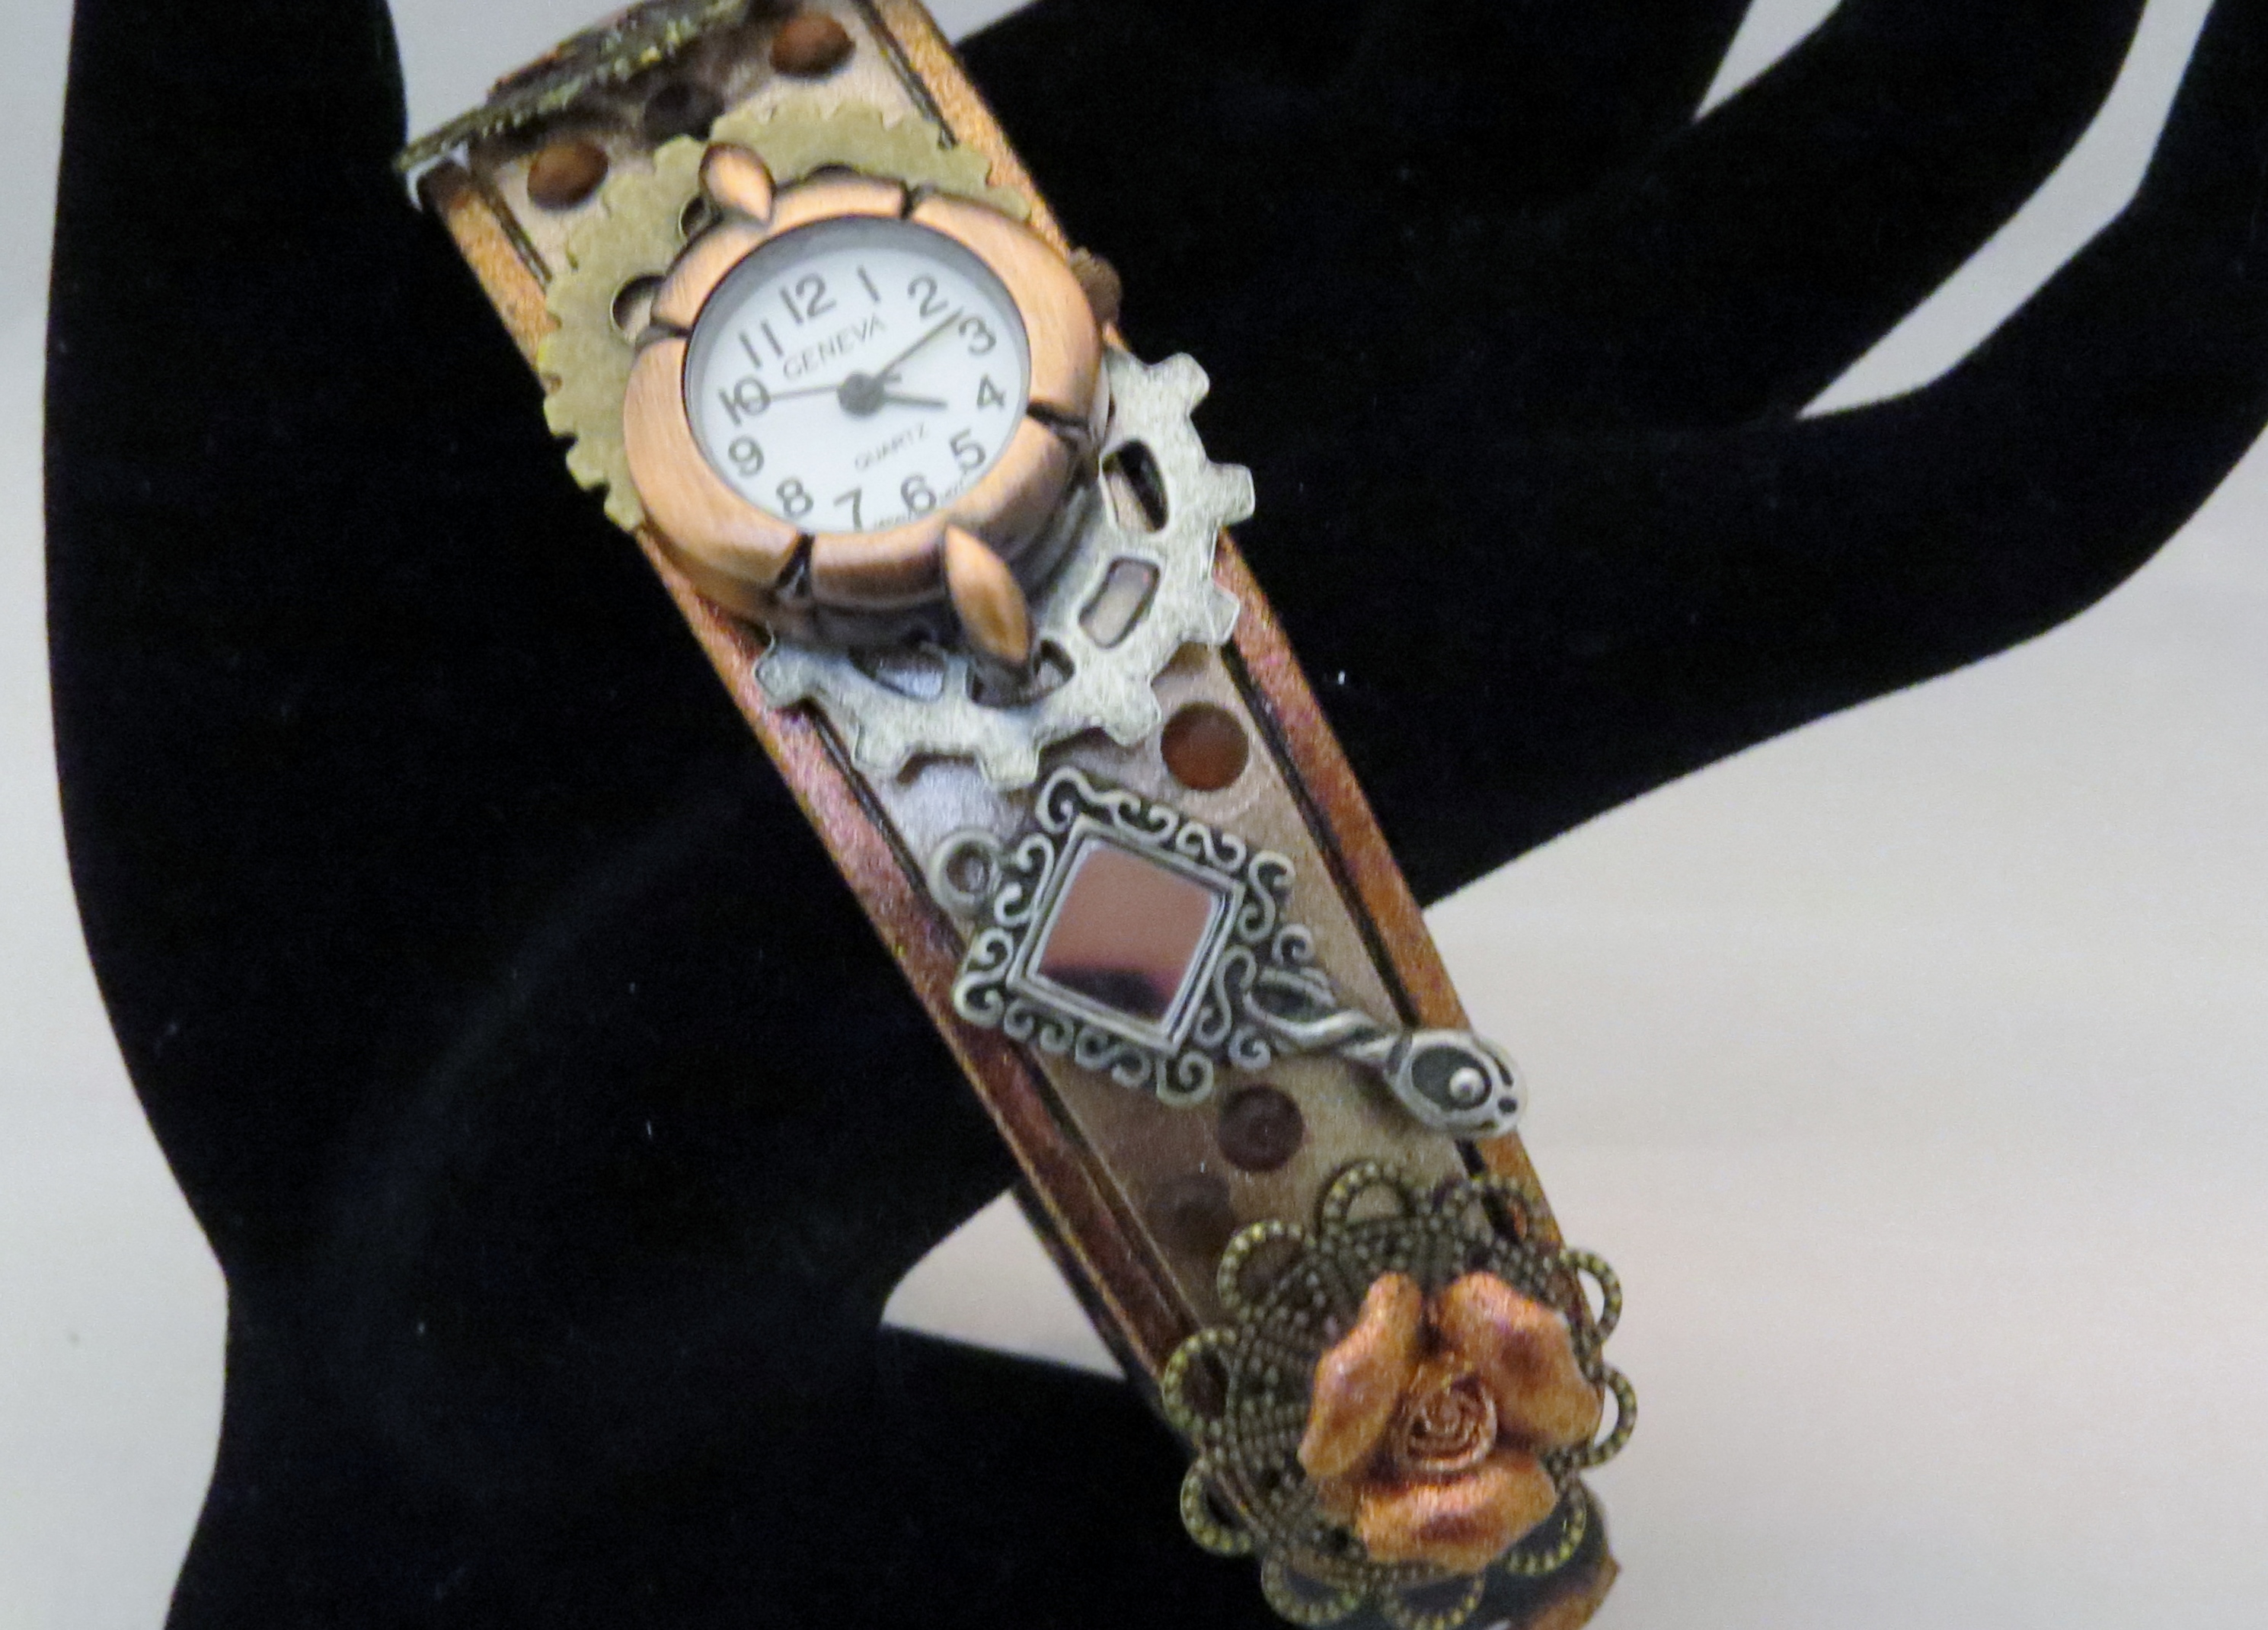
We went to Walt Disney World in January so we got to try out the new Magic Bands. This was my first time using them, and overall I was impressed. But I couldn’t just leave it plain, oh no! I needed to decorate it!

I decided on a Steampunk tribute to Beauty and the Beast.

Update 4.4.2017: I just uploaded a video to You Tube describing this in more detail. Check it out: Steampunk Magic Band You Tube Video

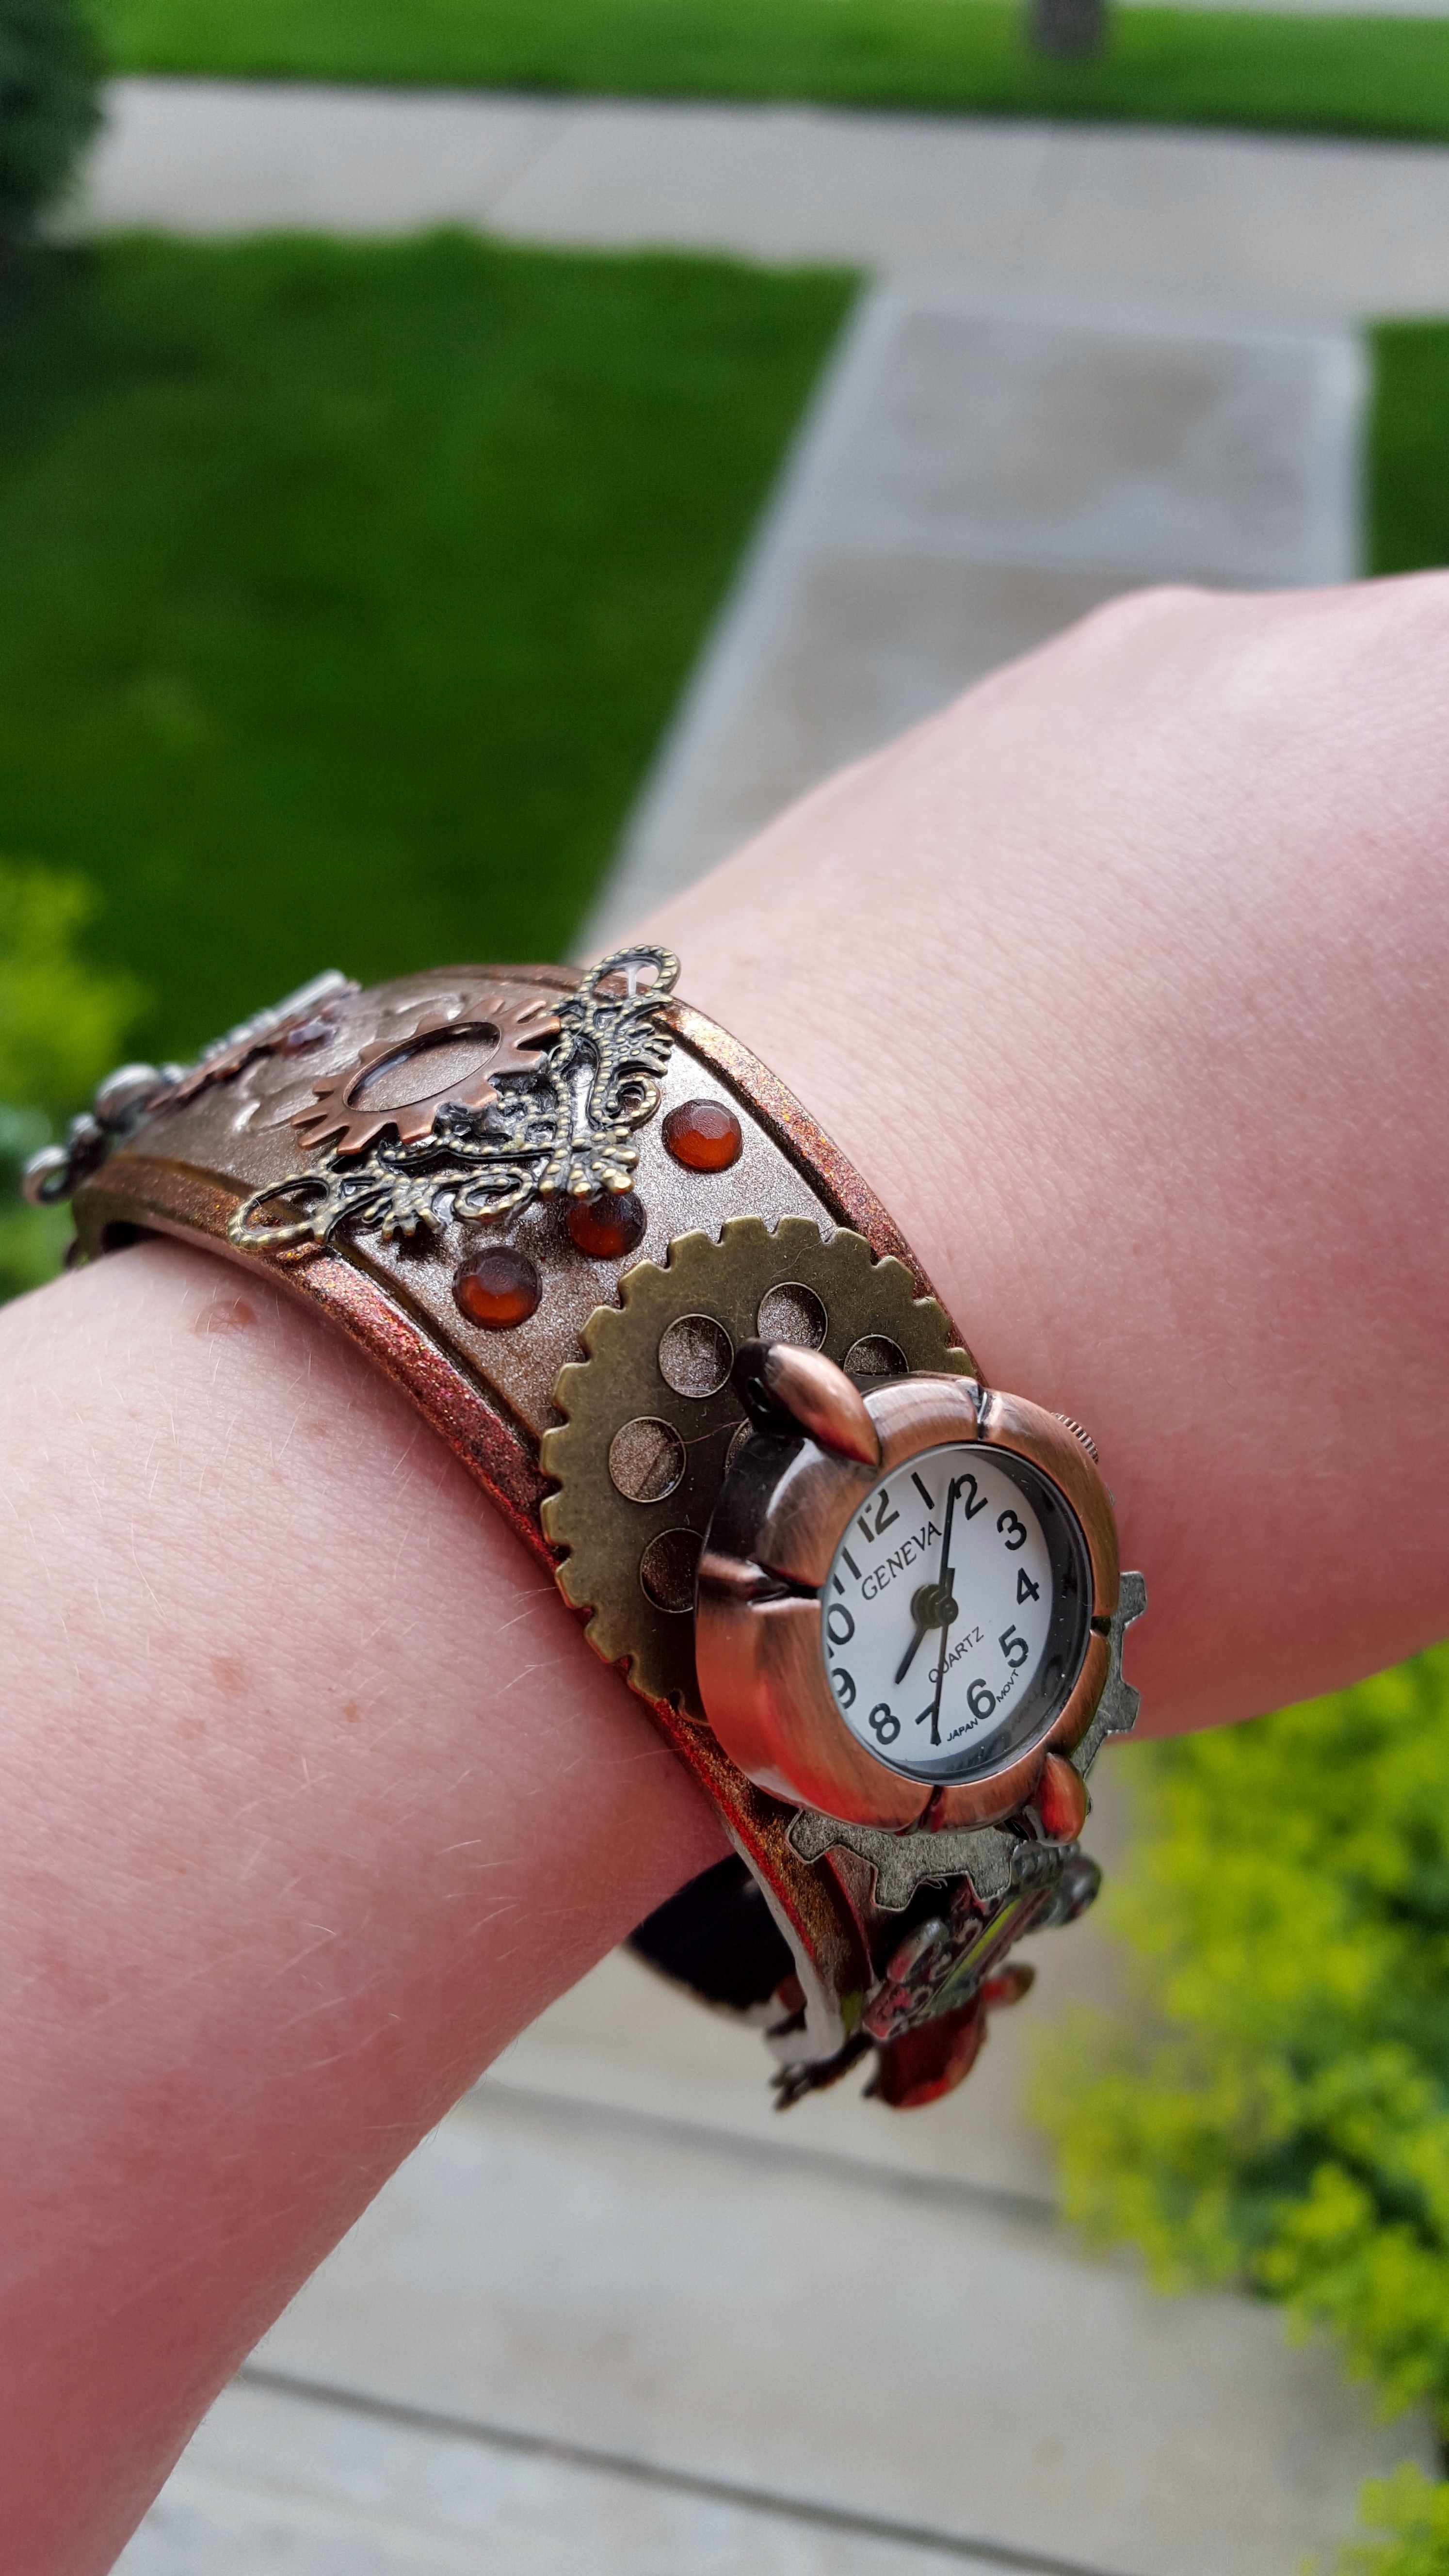
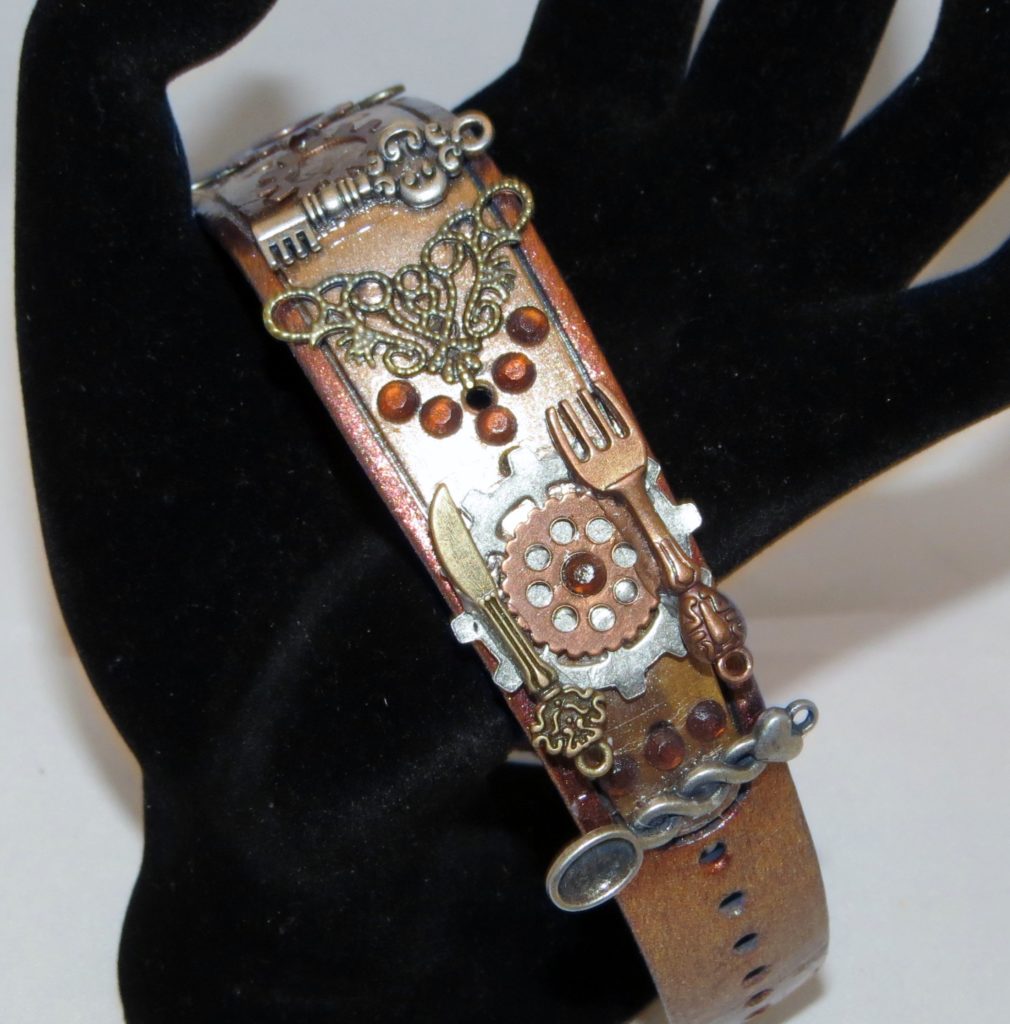
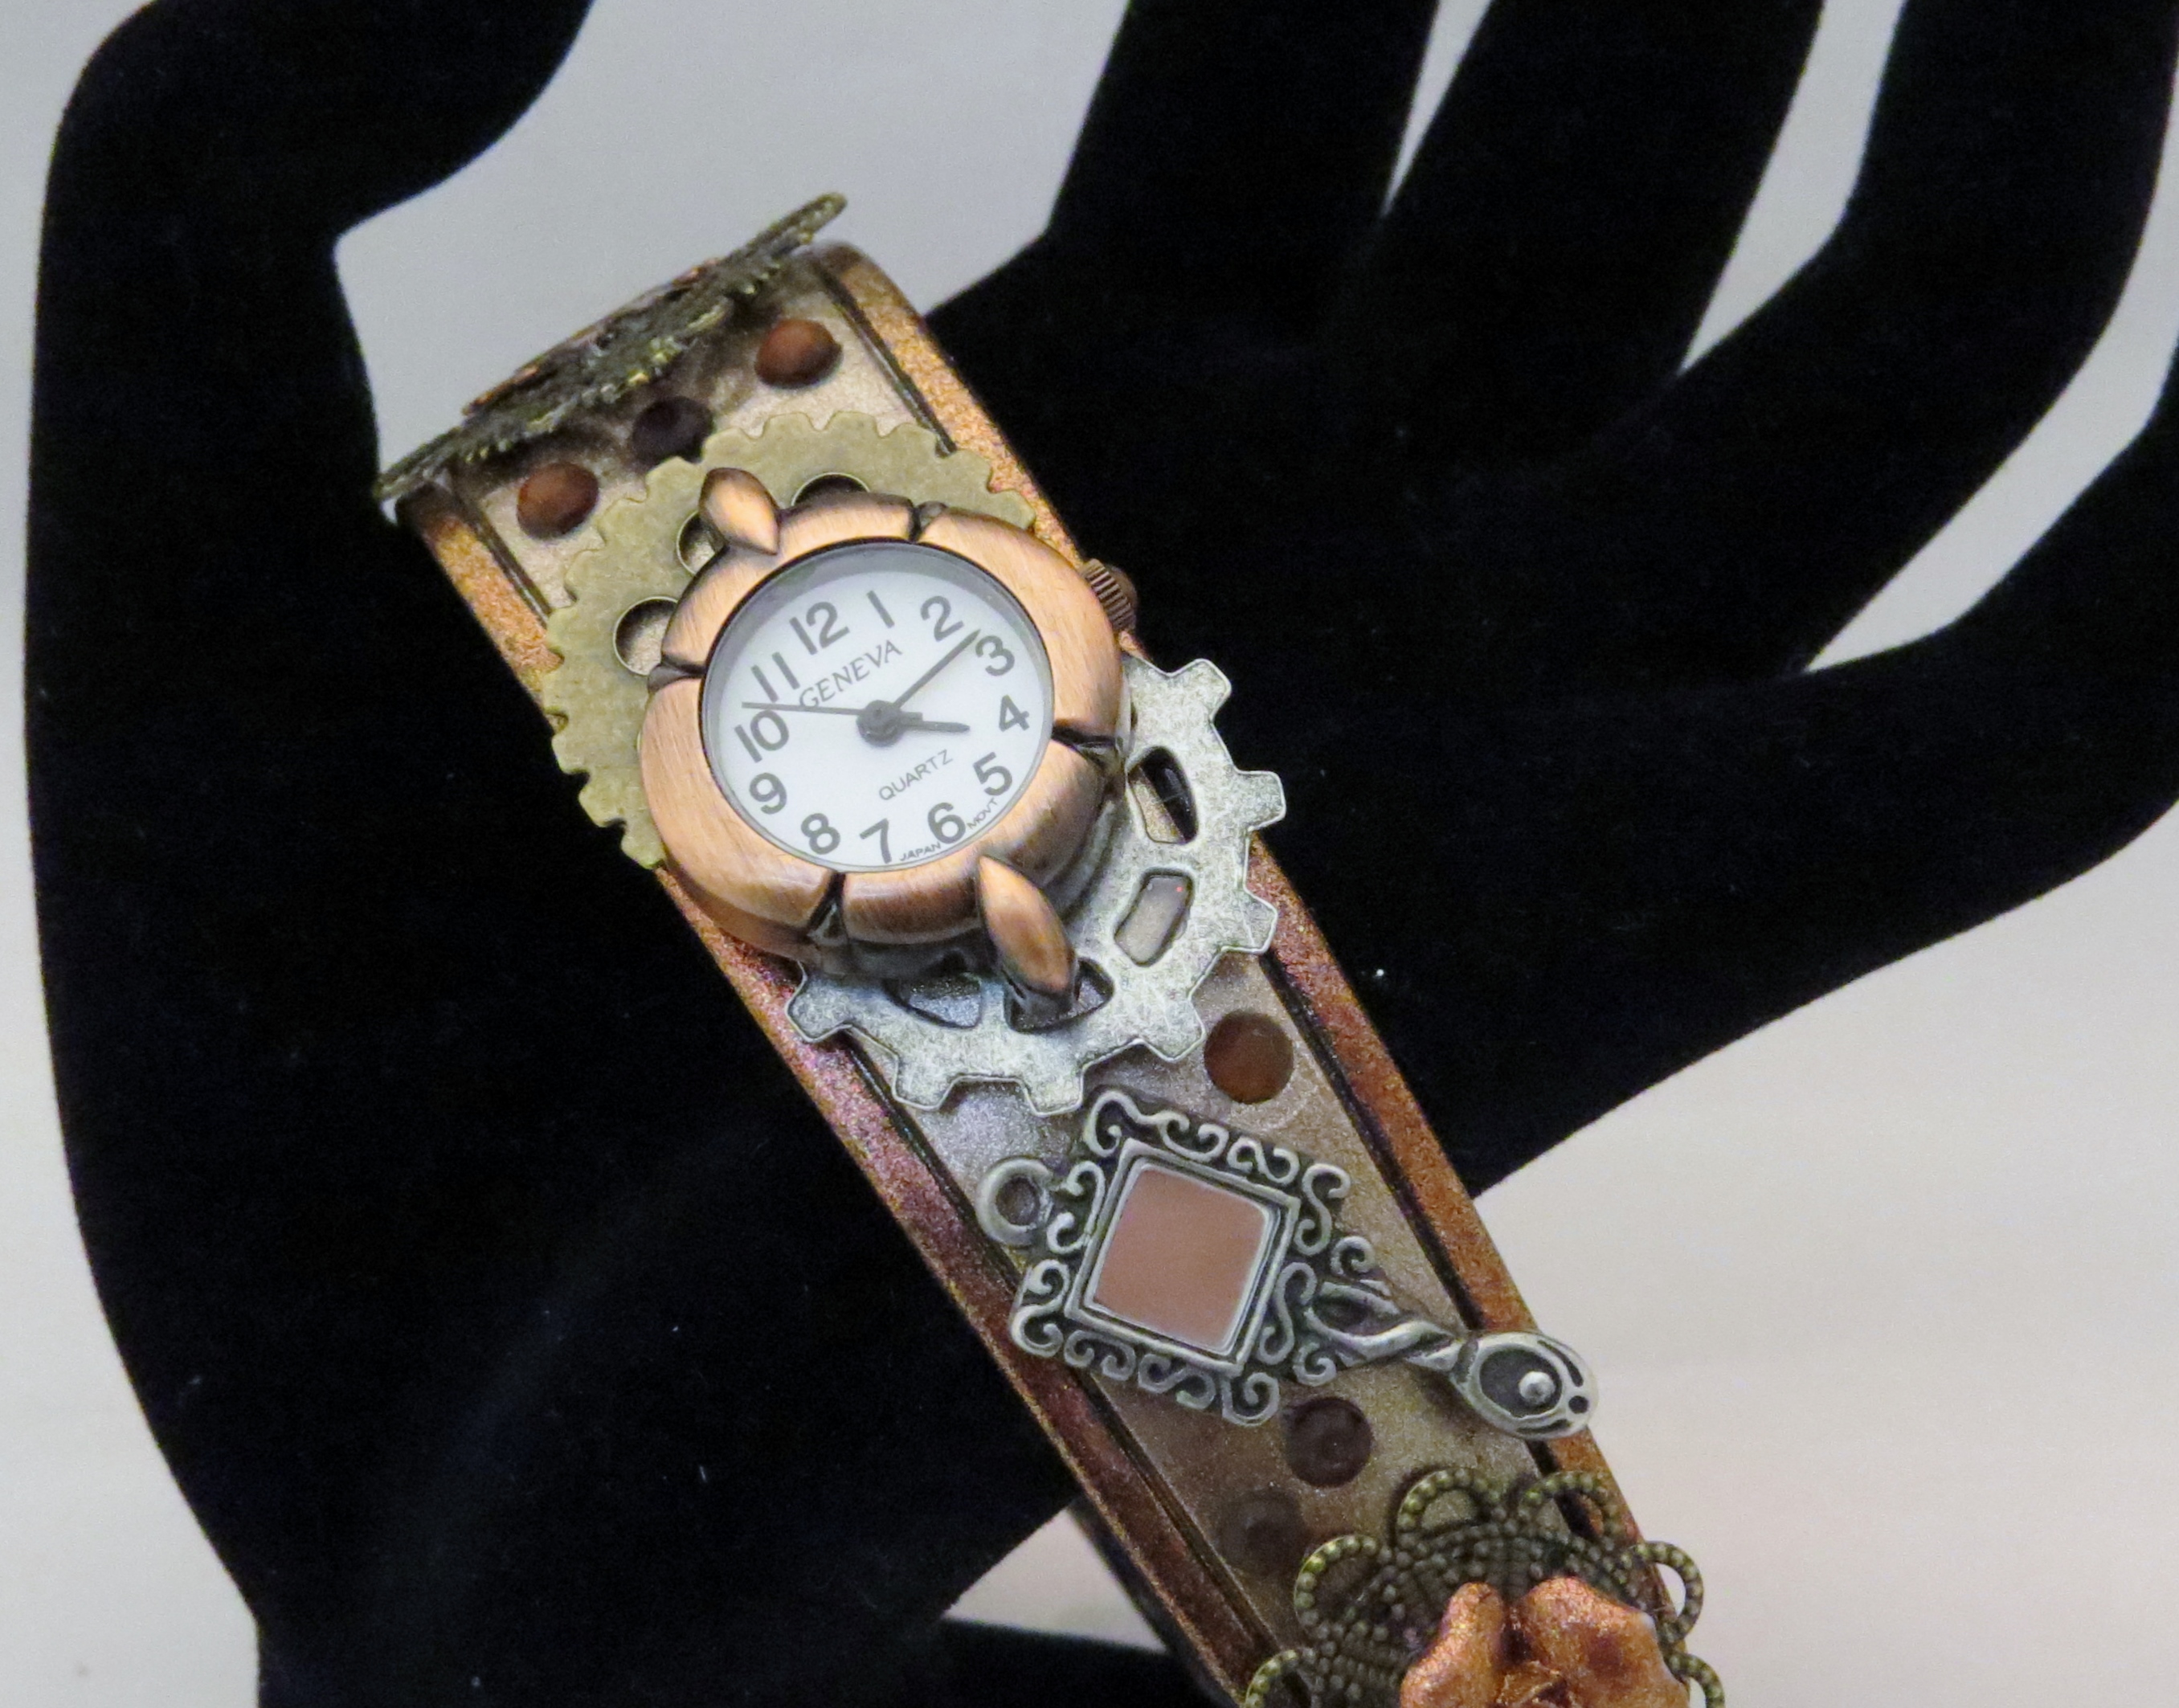
Here is the finished Magic Band! I have to say, I really love how it turned out!

20150611_070832

Finished Magic Band

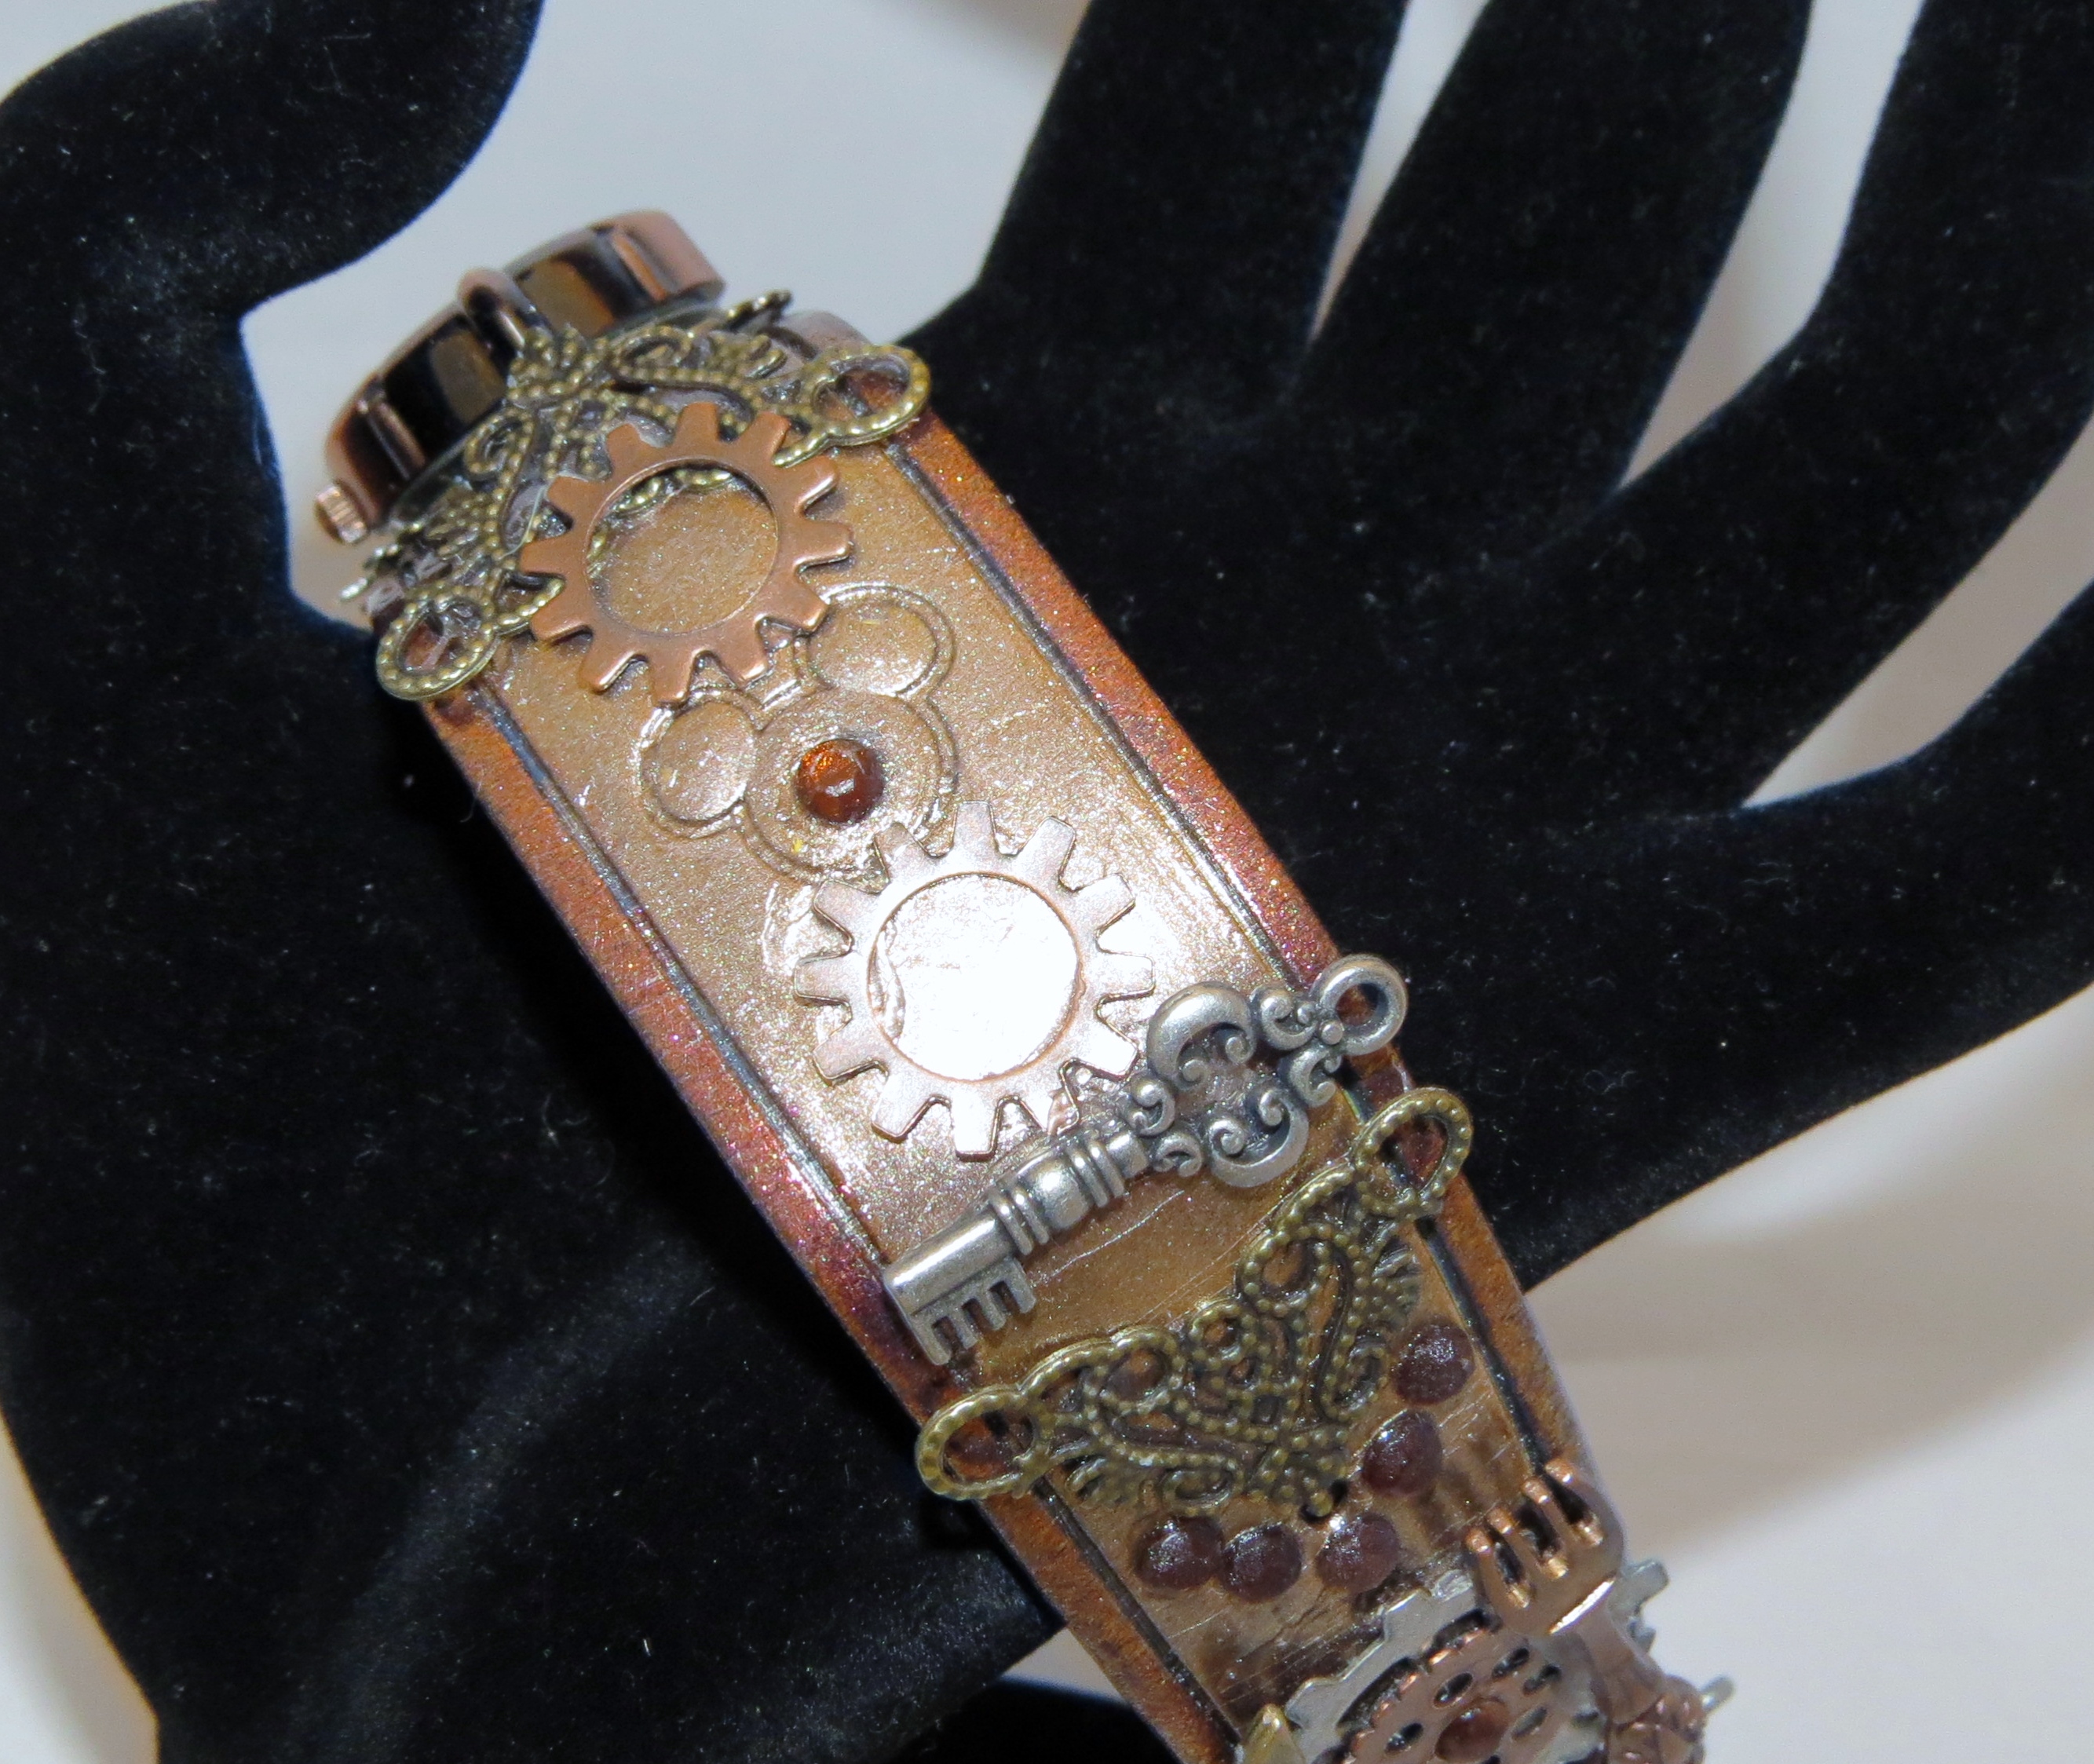
IMG_4536

Top of finished magic band

I think it turned out pretty cool. Unfortunately there are no pictures of me during the creation processes, but I do have the finished product. I wore it every day for a week and it held up great. I was gentle with it, but not overly so. I only had 1 piece fall off and I just replace it that night. I brought with me a small bottle of E6000 and some spare pieces for just such an occasion.

Material needed

  1. E6000
  2. Steampunk pieces ( I found mine in the jewelry section at Michael’s)
  3. Watch face (I found mine on Etsy)
  4. Rhinestones (again, Michael’s to the rescue).
  5. Nail polish and top coat
  6. Empty water bottle to hold Magic Band while you are working

Here is what I did to decorate the Magic Band

  1. I cut the band down to size so it fit me.
  2. I put the band around a water bottle so that I could work on it.
  3. I painted the band with nail polish in 2 colors. I can’t remember what the colors were but one was a Sally Hansen and the other was an OPI. I used several coats to get the color I wanted. The inside part is a different color from the outside edge.
  4. Then I put a few layers of top coat of nail polish on.
  5. Then I started gluing on the pieces with E6000. I started with a few pieces and then started adding a few more. I wanted a layered look that had a lot going on, but not too much…
  6. I went over the top of the rhinestones with top coat so that they would stay down. This did take away from the shine, but they stuck better.
  7. As you decorate make sure you don’t cover your Mickey head, it won’t work if you do (believe me, originally I did have something covering the Mickey and it didn’t work so I had to take my repair kit out and fix it…)
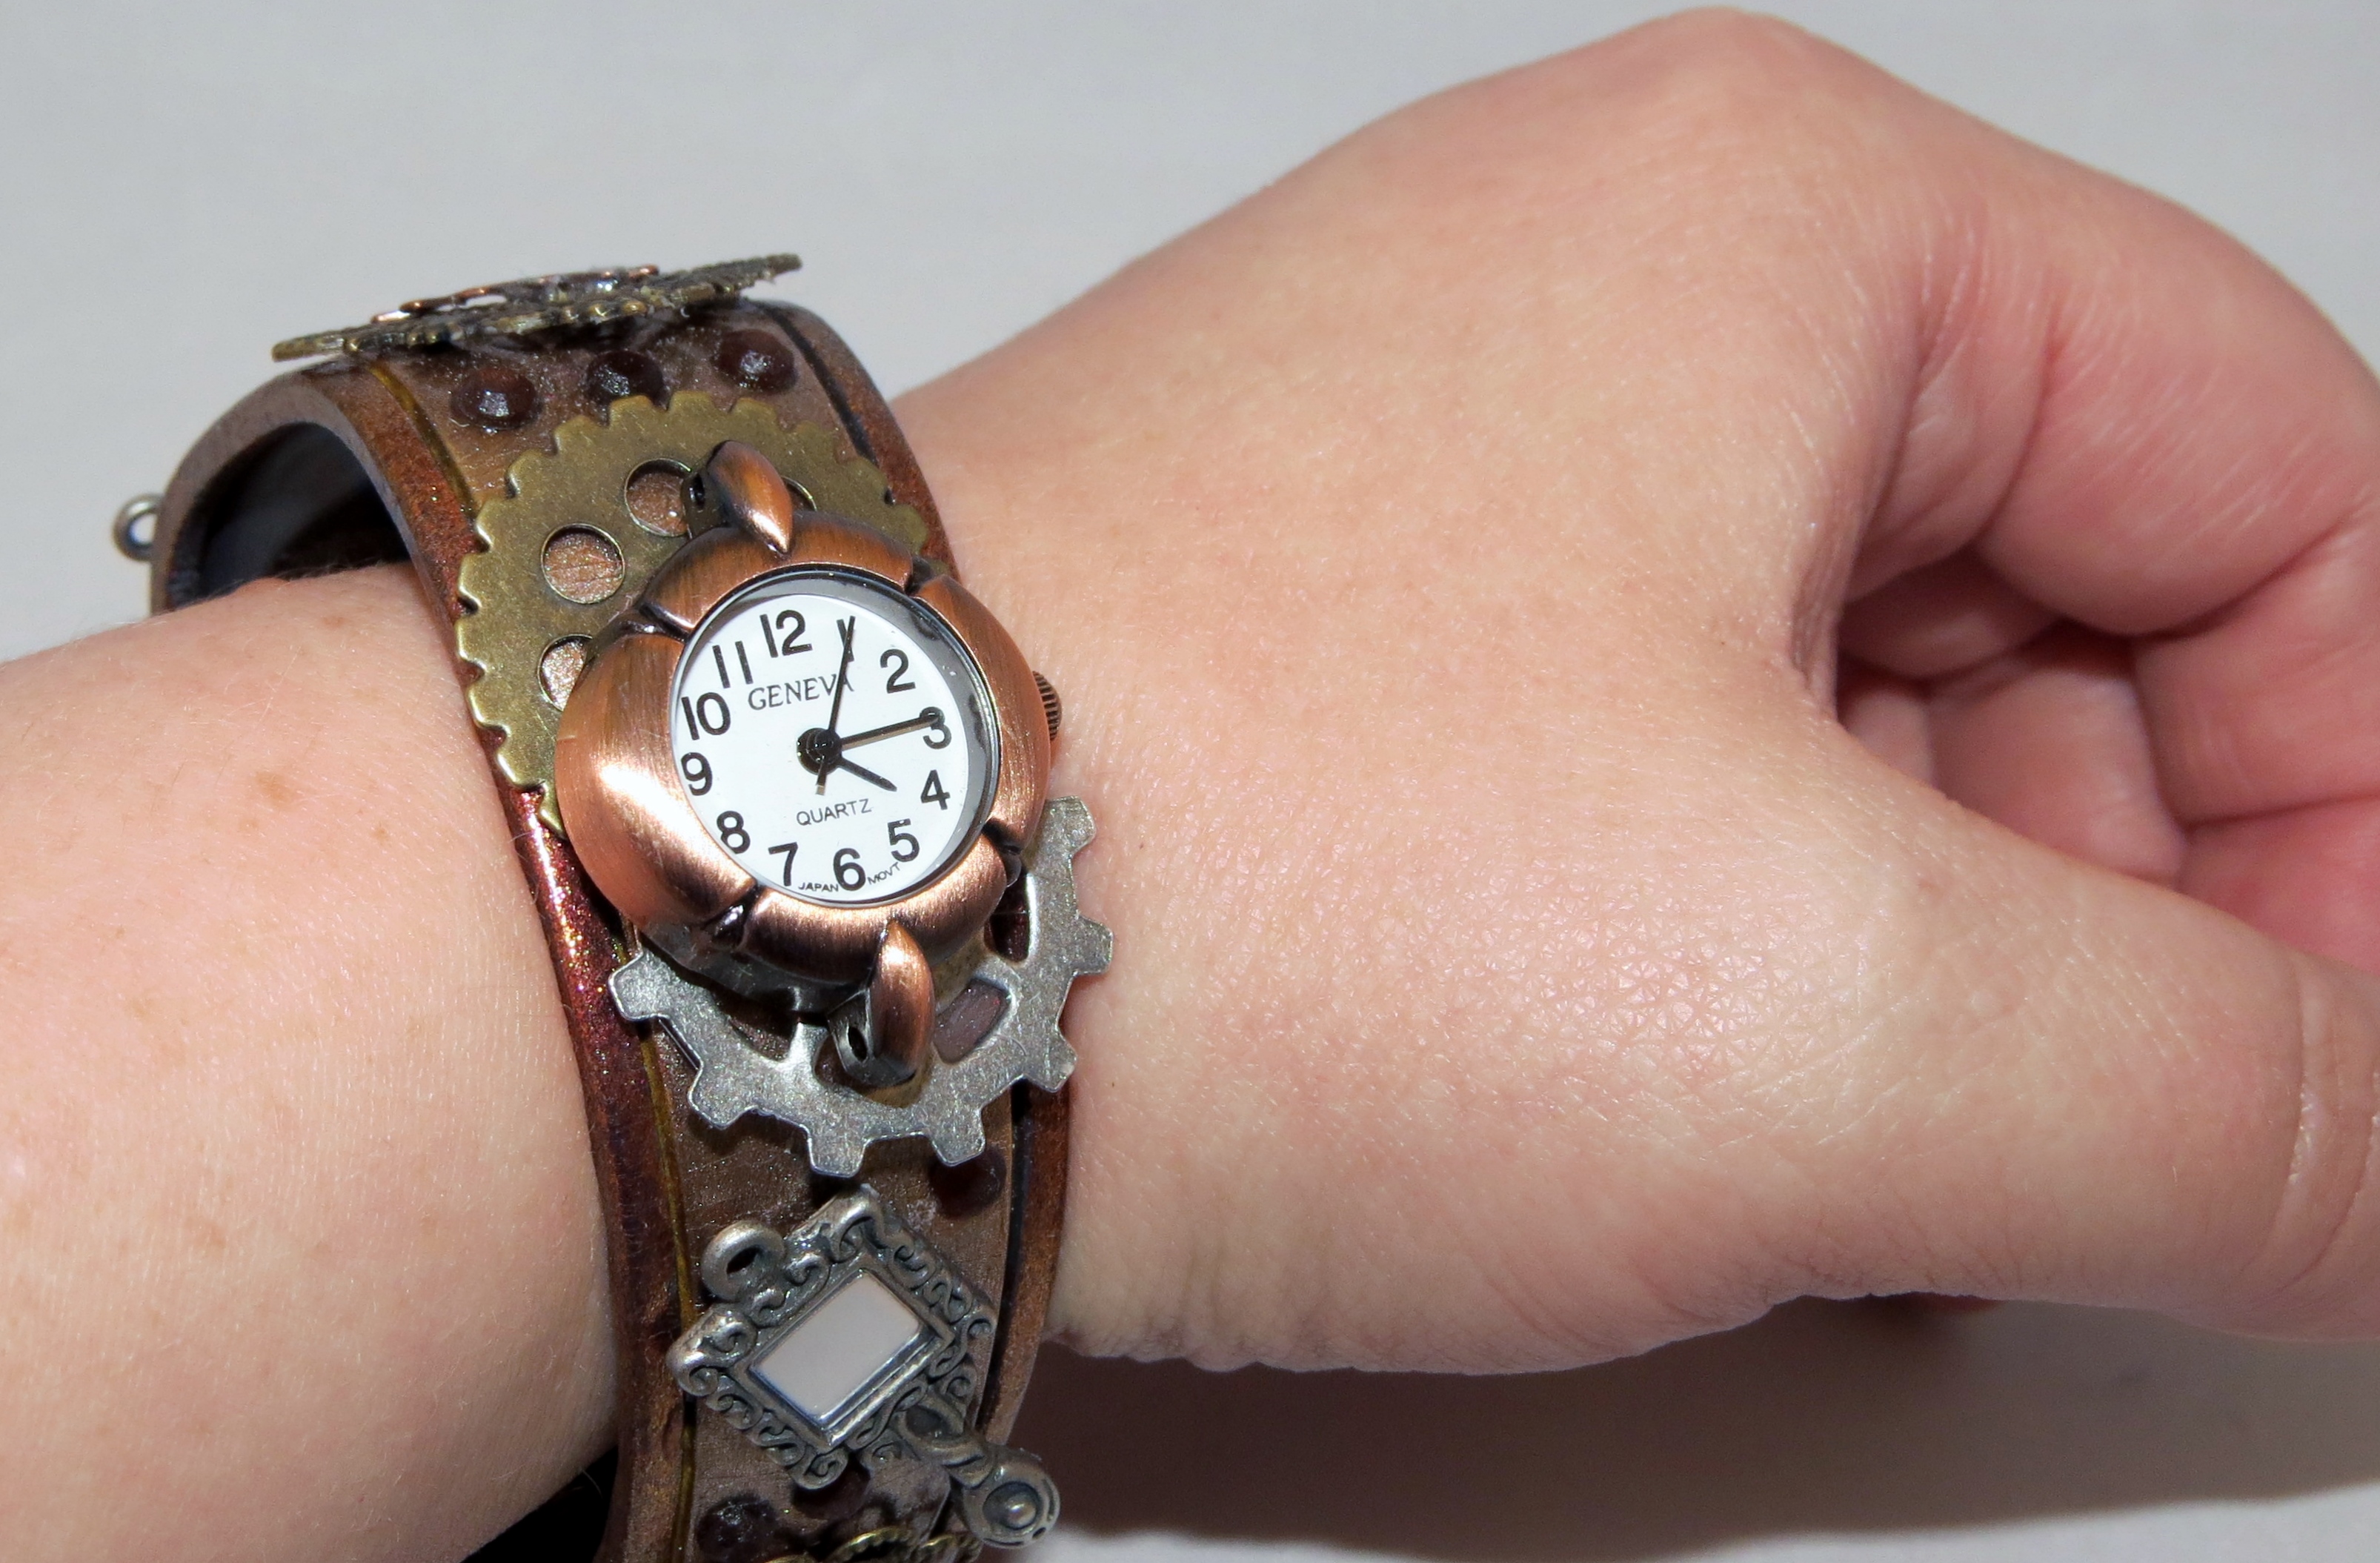
  8. I added a watch face to my Magic Band. I wore it on my left wrist, right where I wear my watch and I didn’t want to have to wear both, so I added a watch to my Magic Band. It worked great! The watch stayed on perfectly and worked the whole time!

I think that is everything I did. Let me know if you have questions and I will be happy to answer. I would love to see your versions of your Magic Bands!

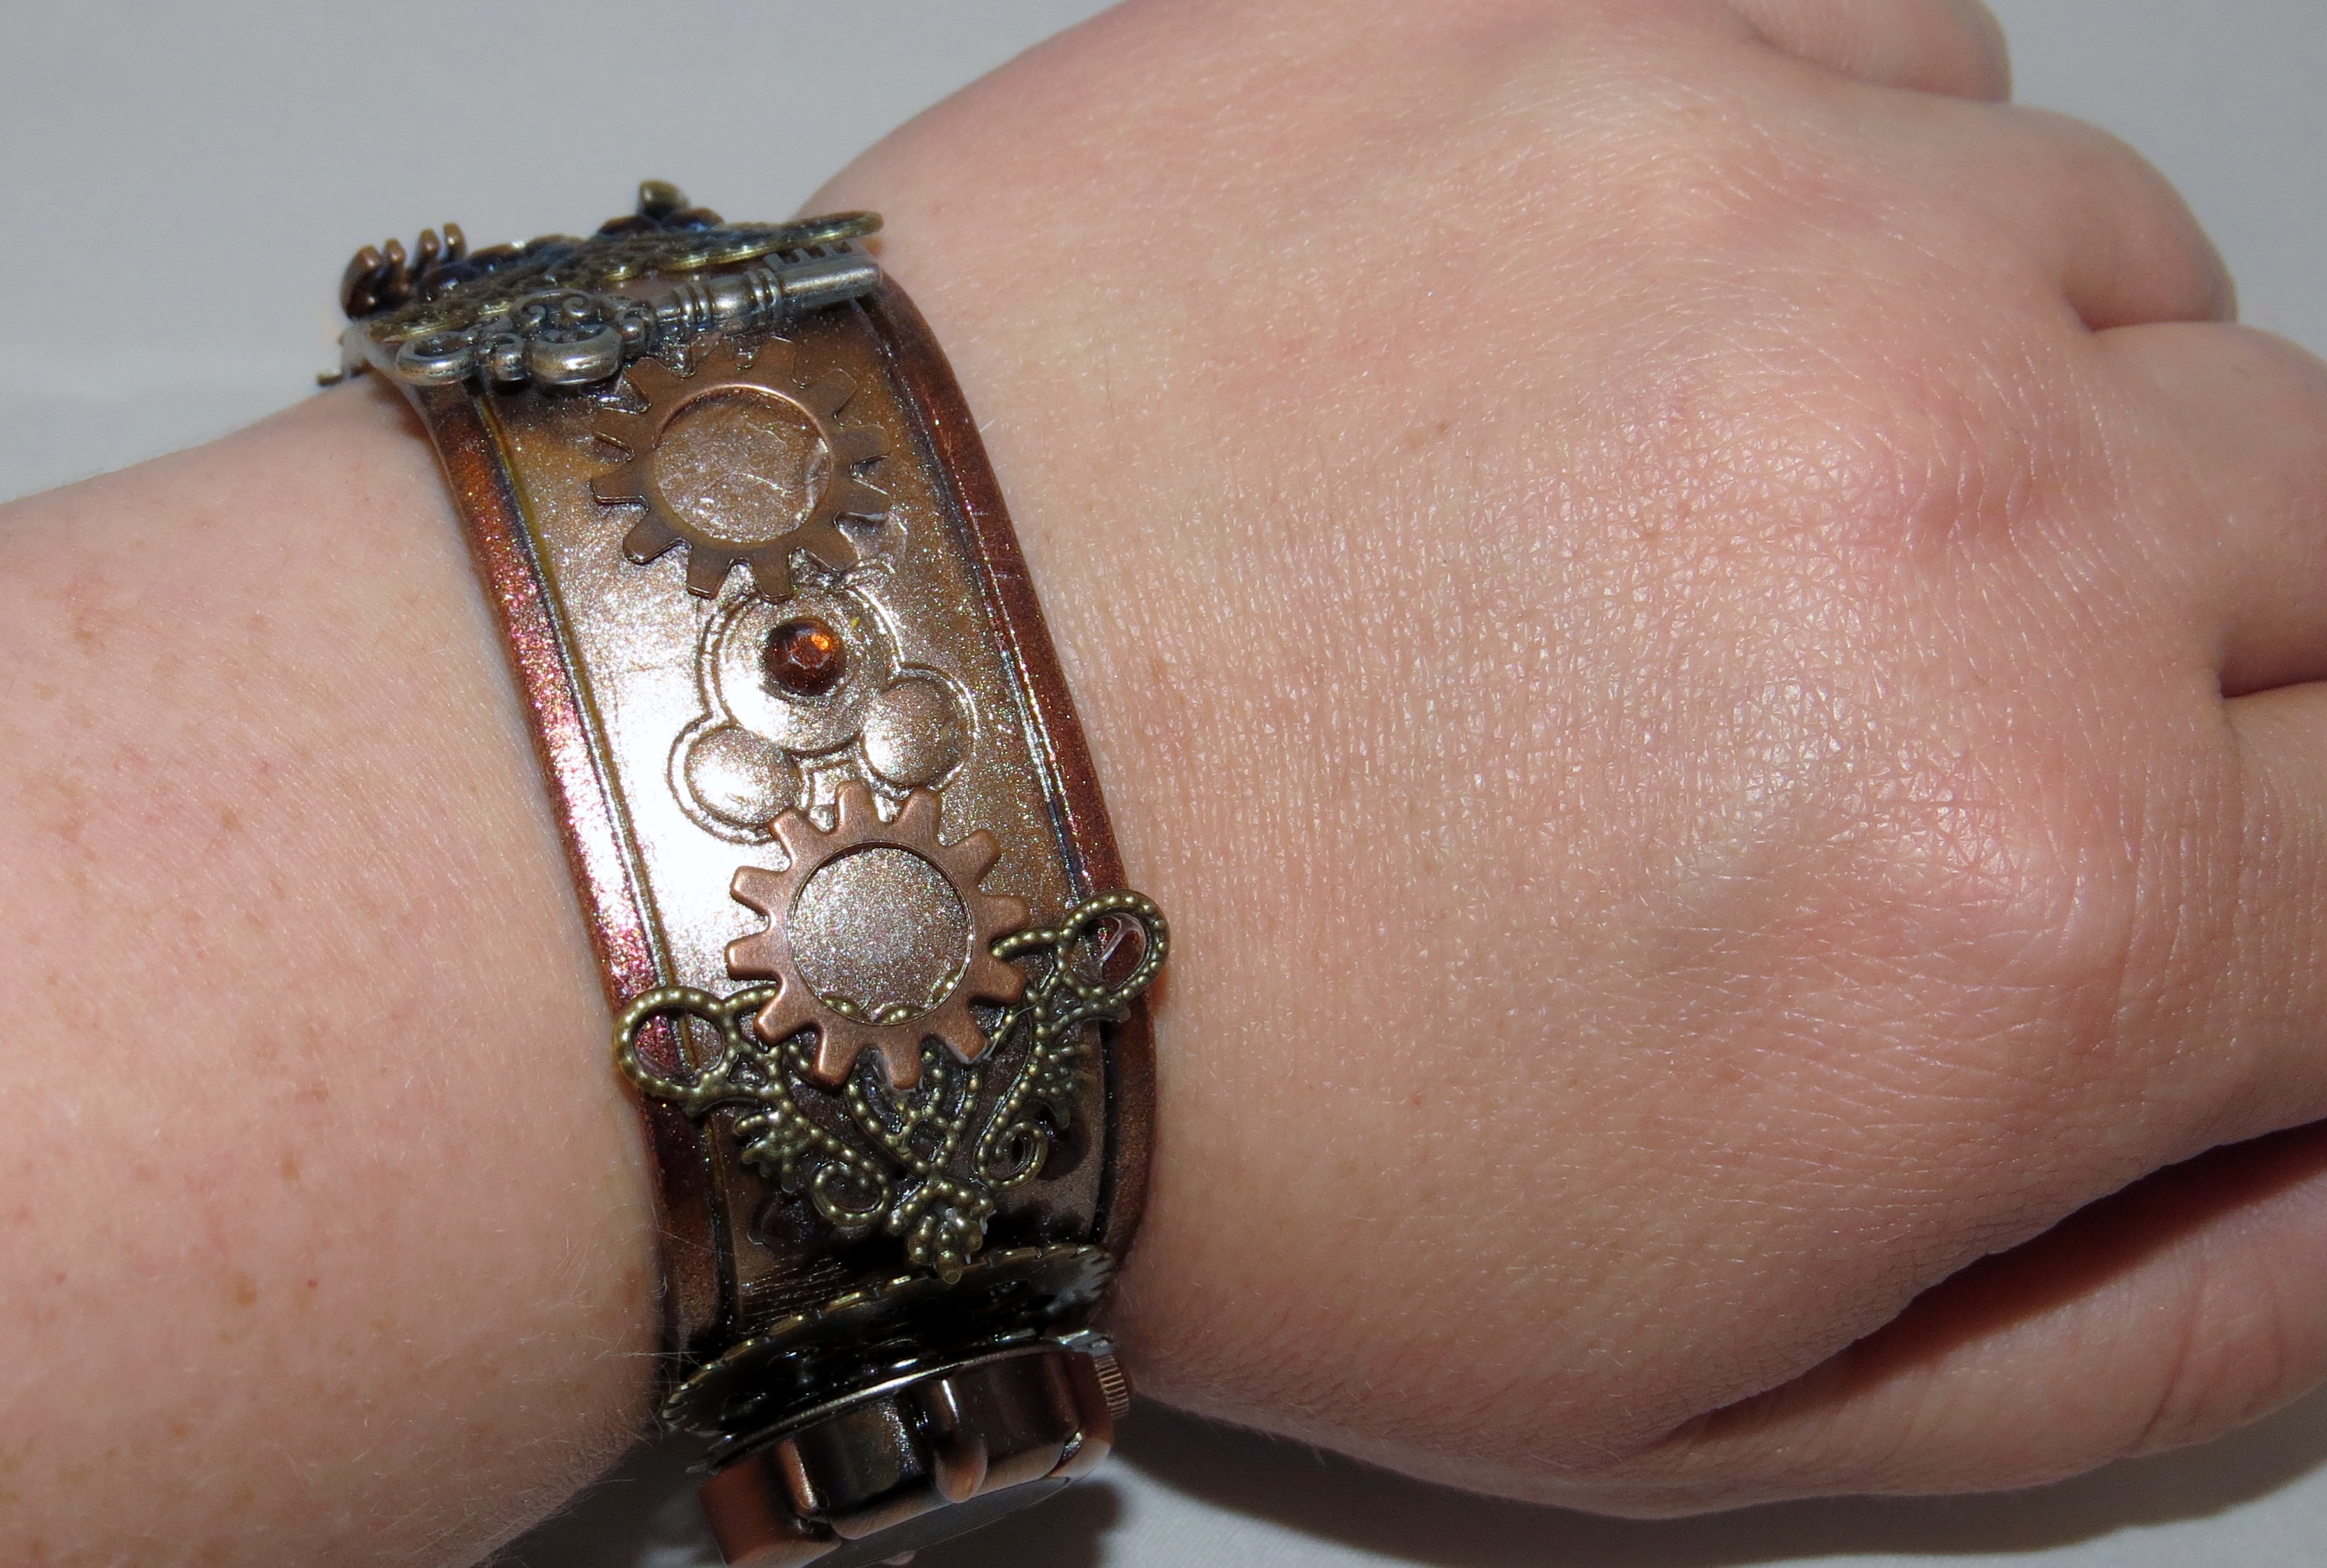
Here are a few more pictures from all different angles. I wore it with the Mickey facing out and the watch face on the inside so I could see it.

IMG_4529

Side of the magic band that faces inside, with the watch facing me

IMG_4537

IMG_4533

IMG_4530

IMG_4527

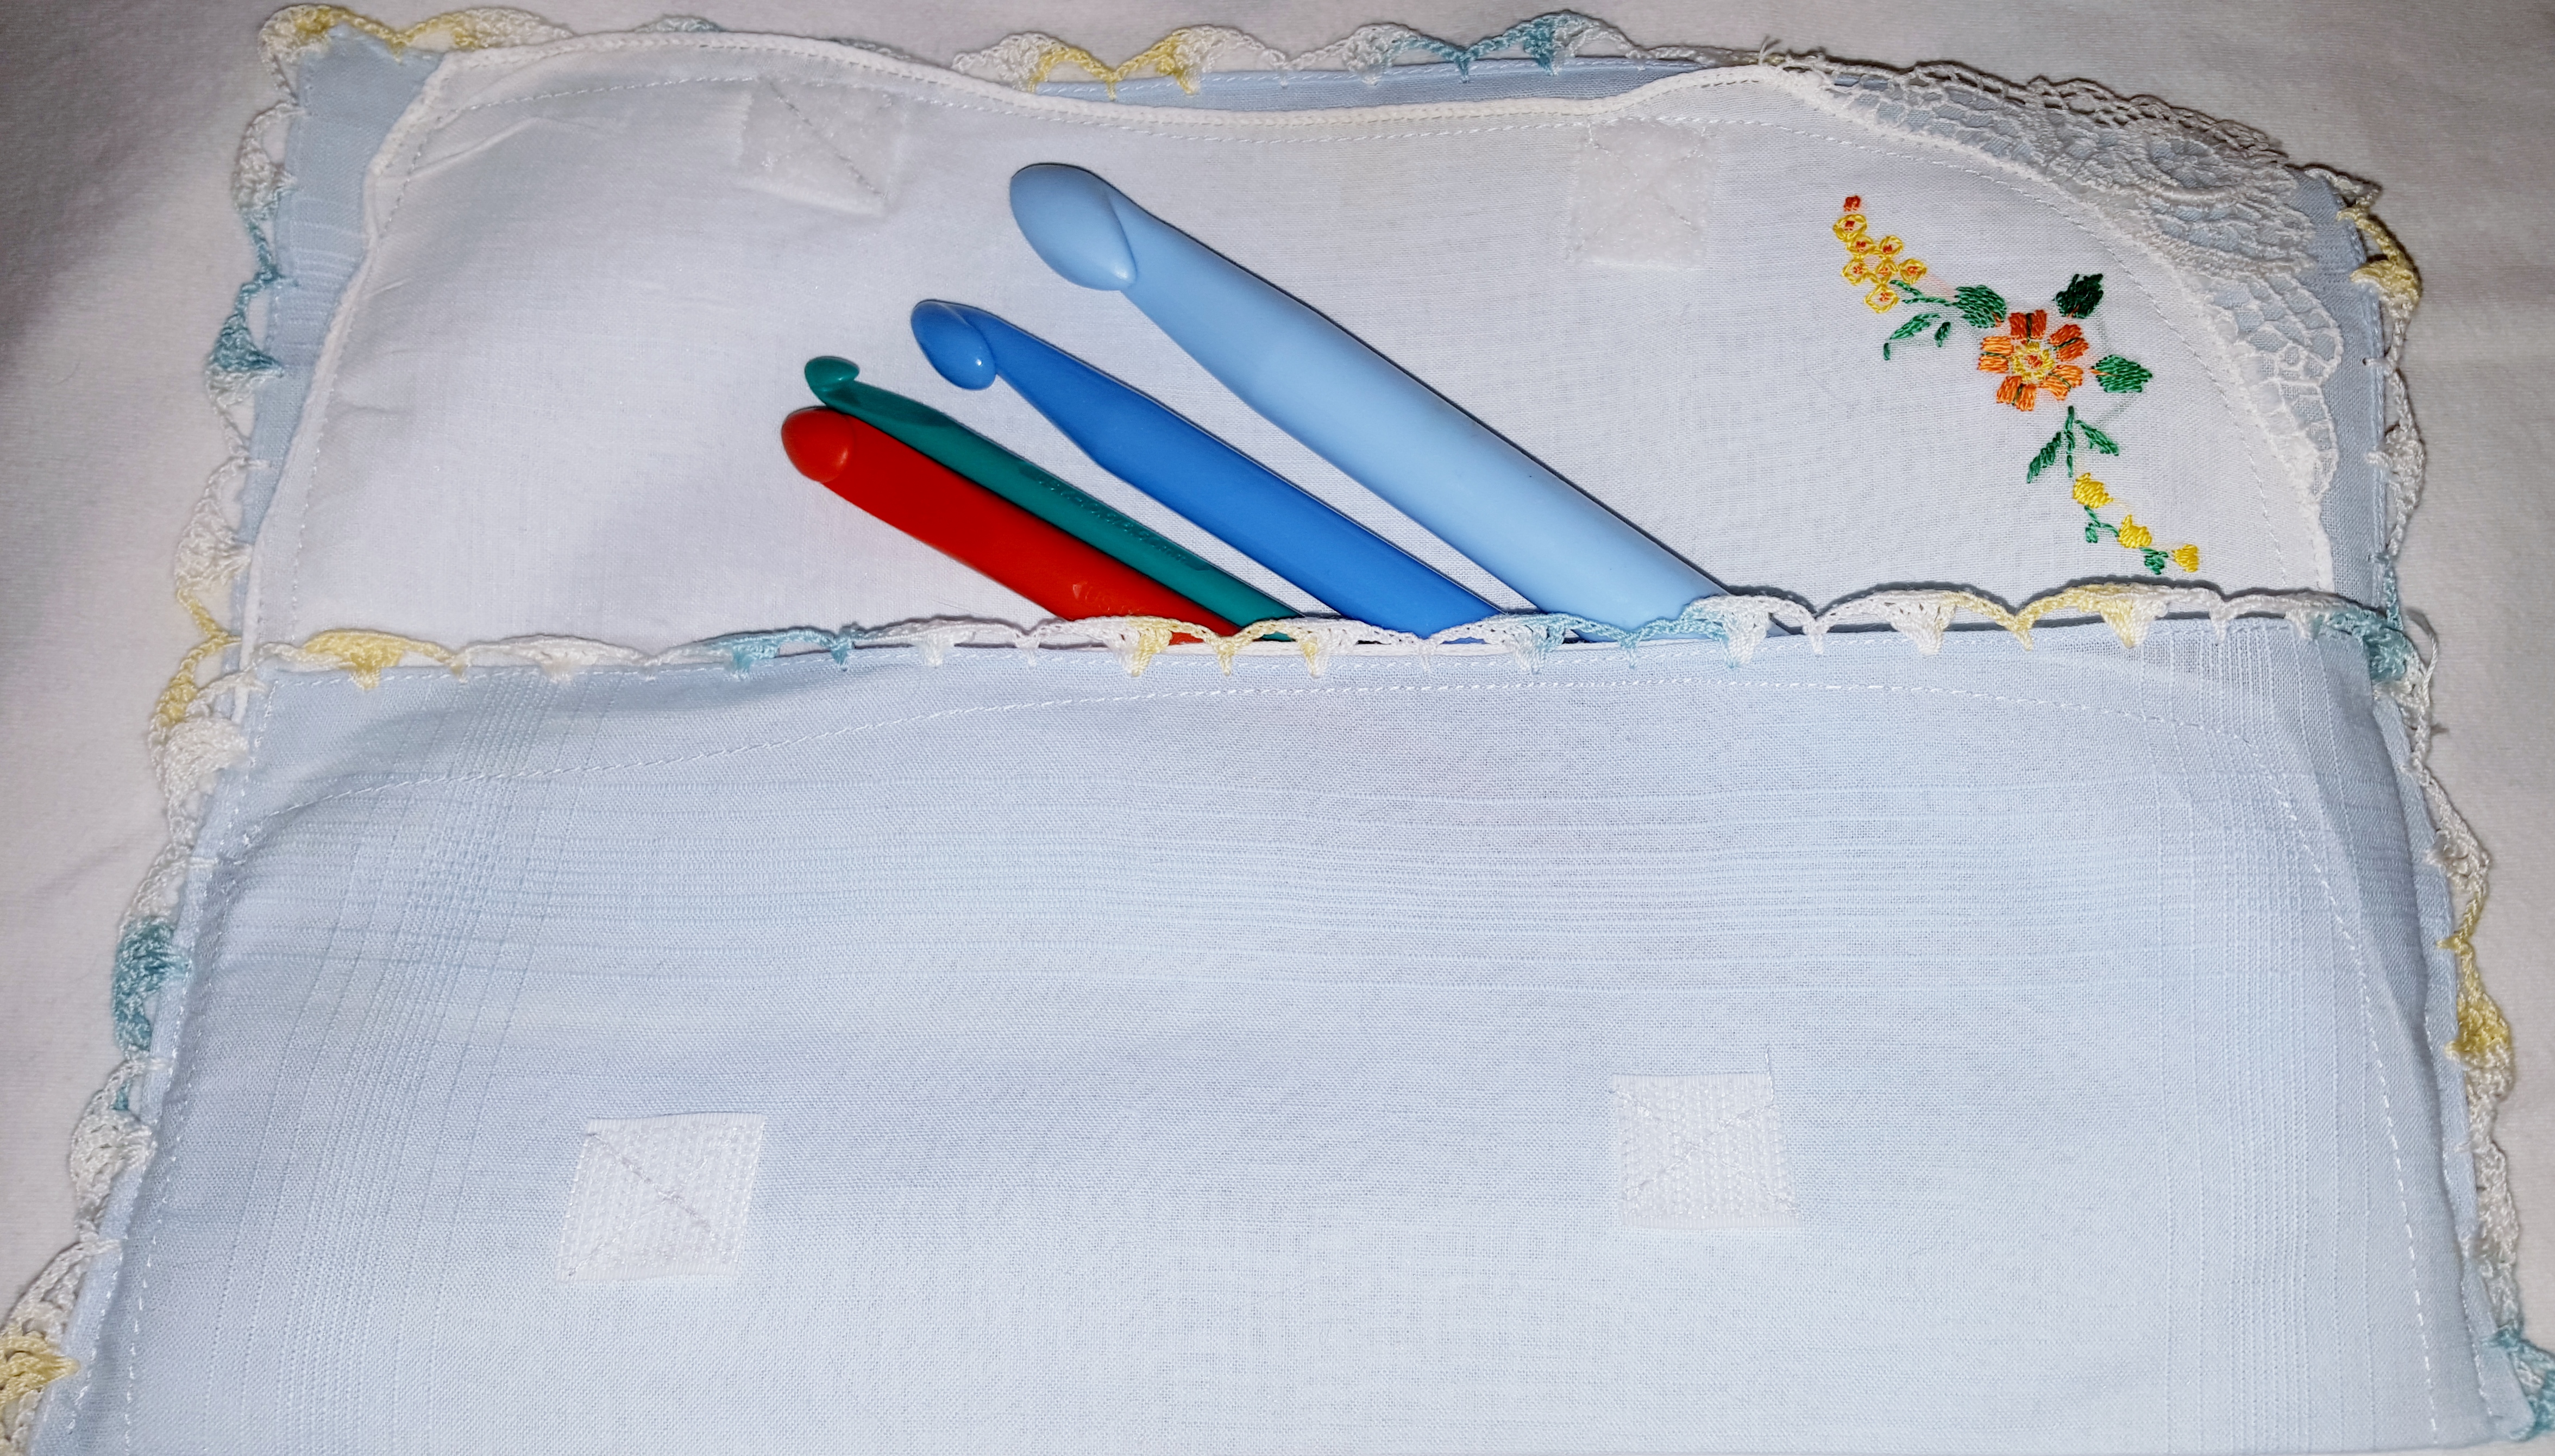
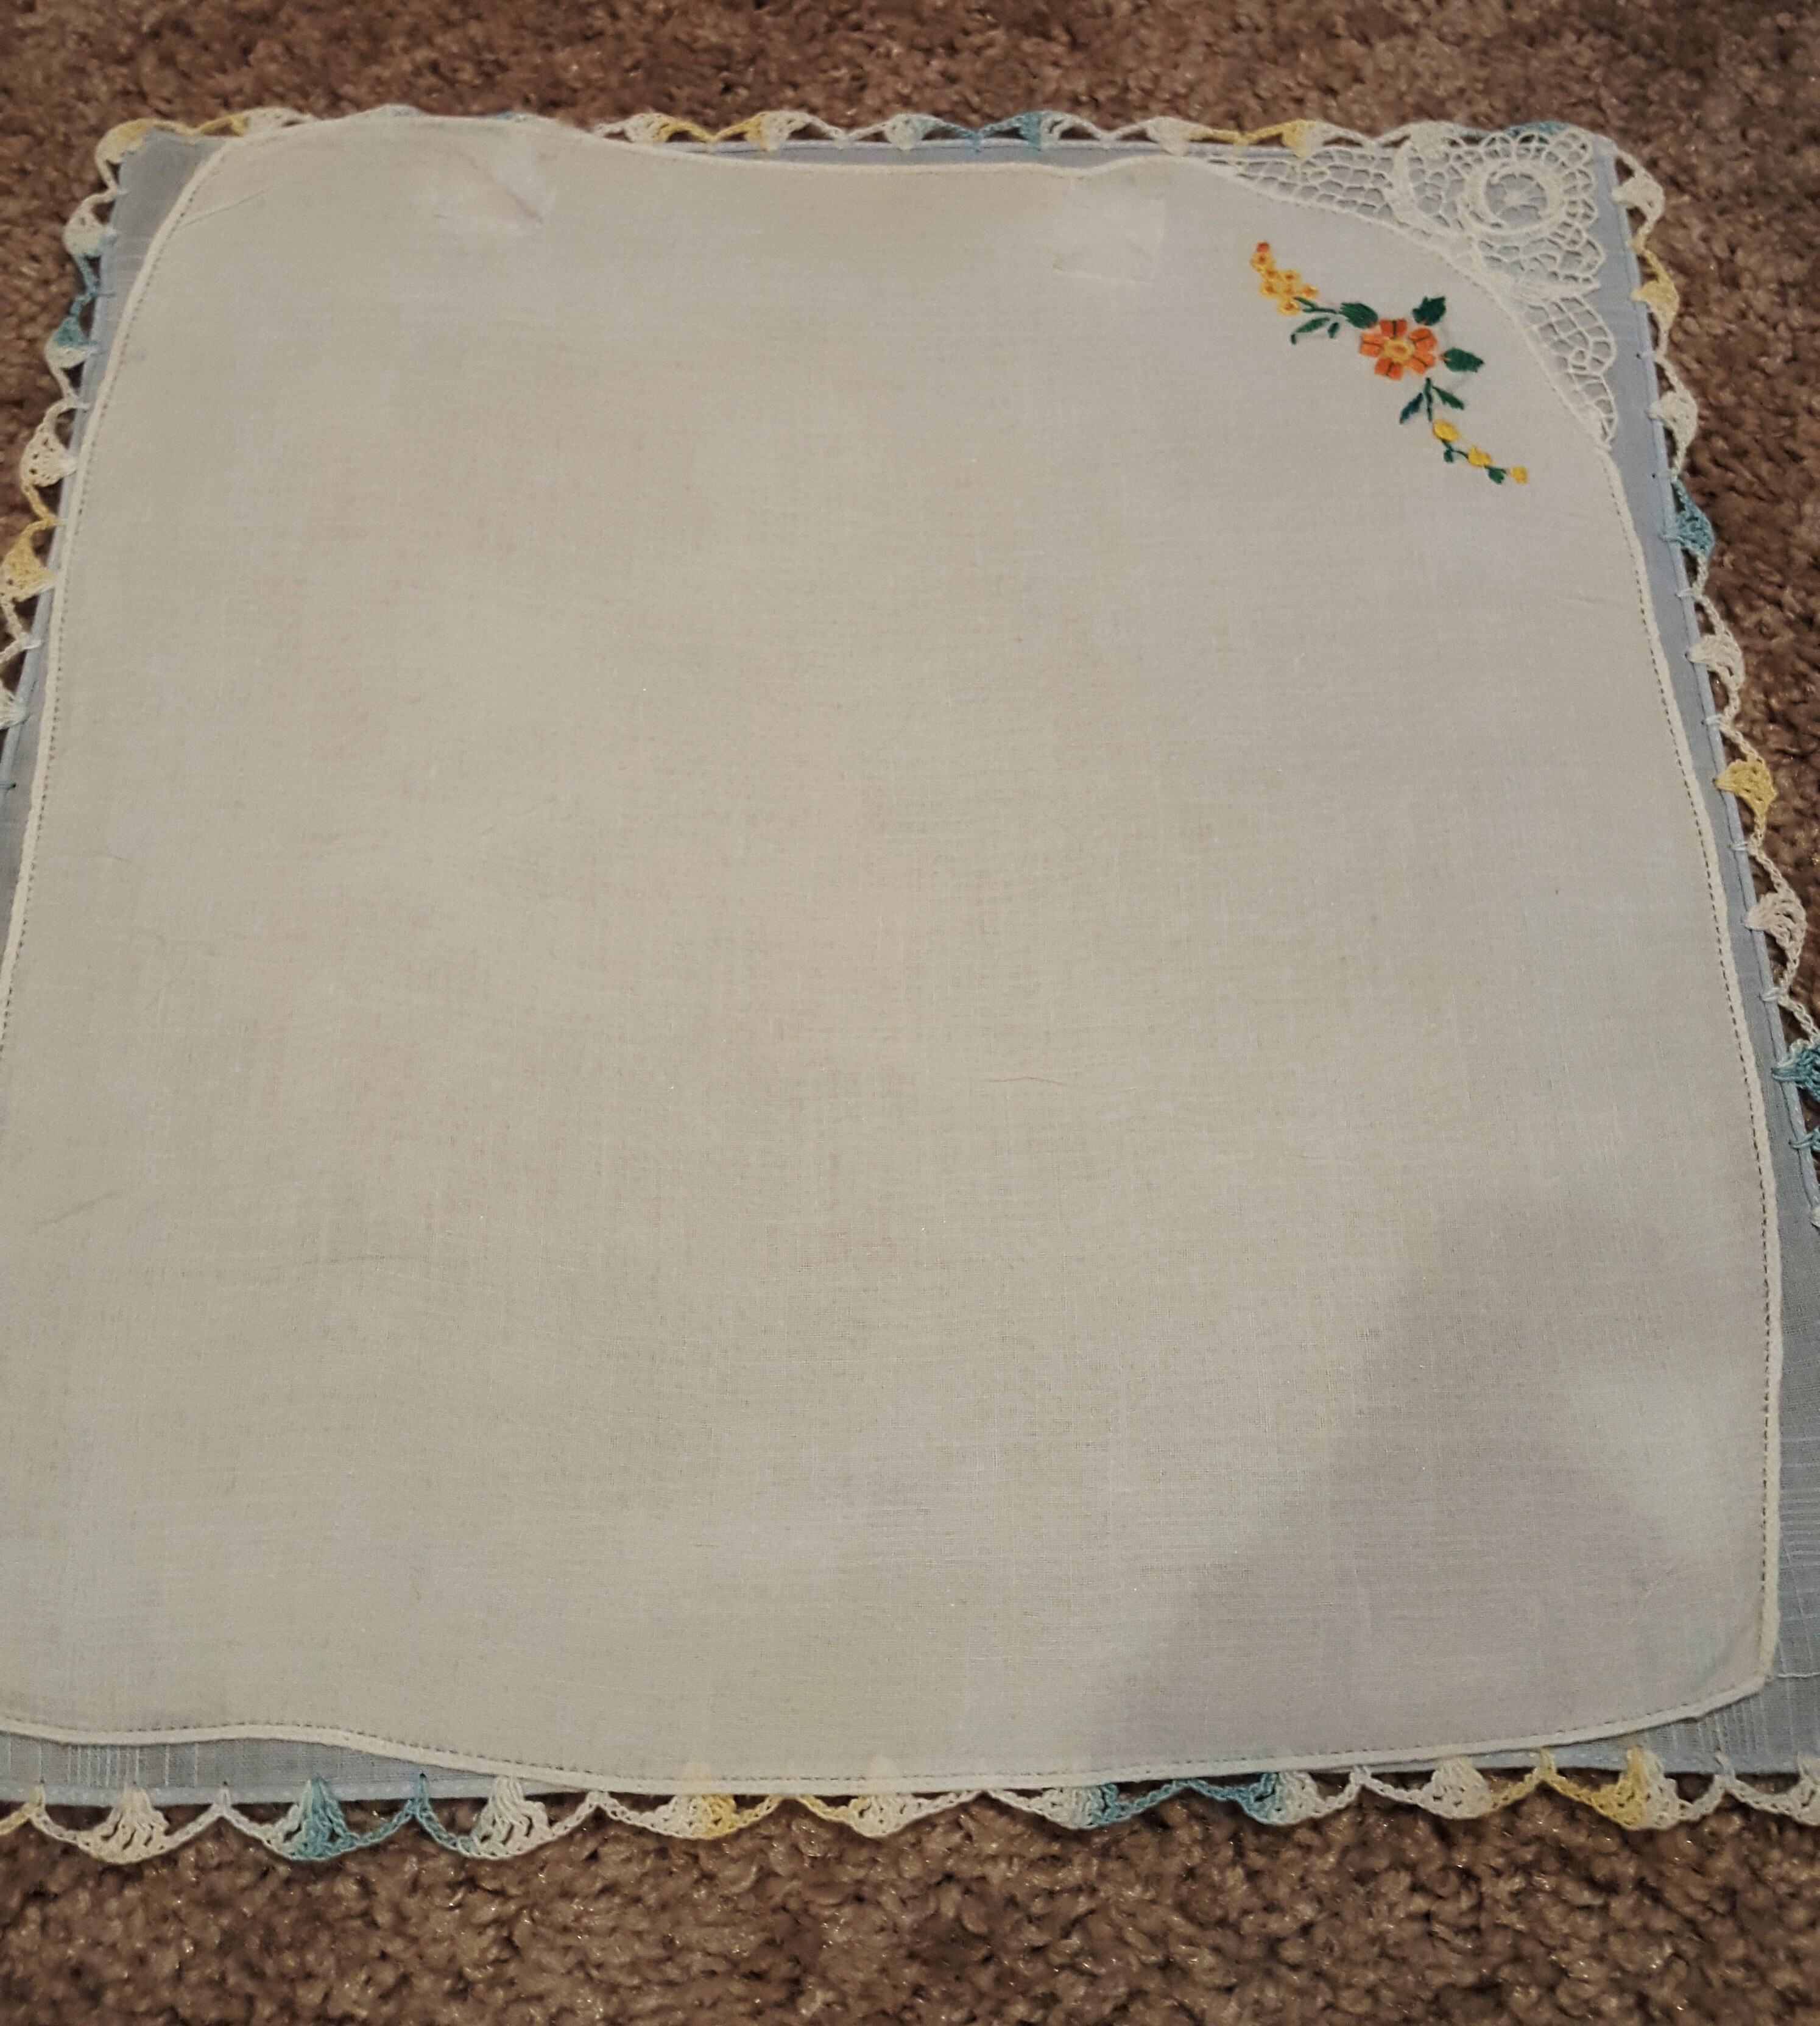
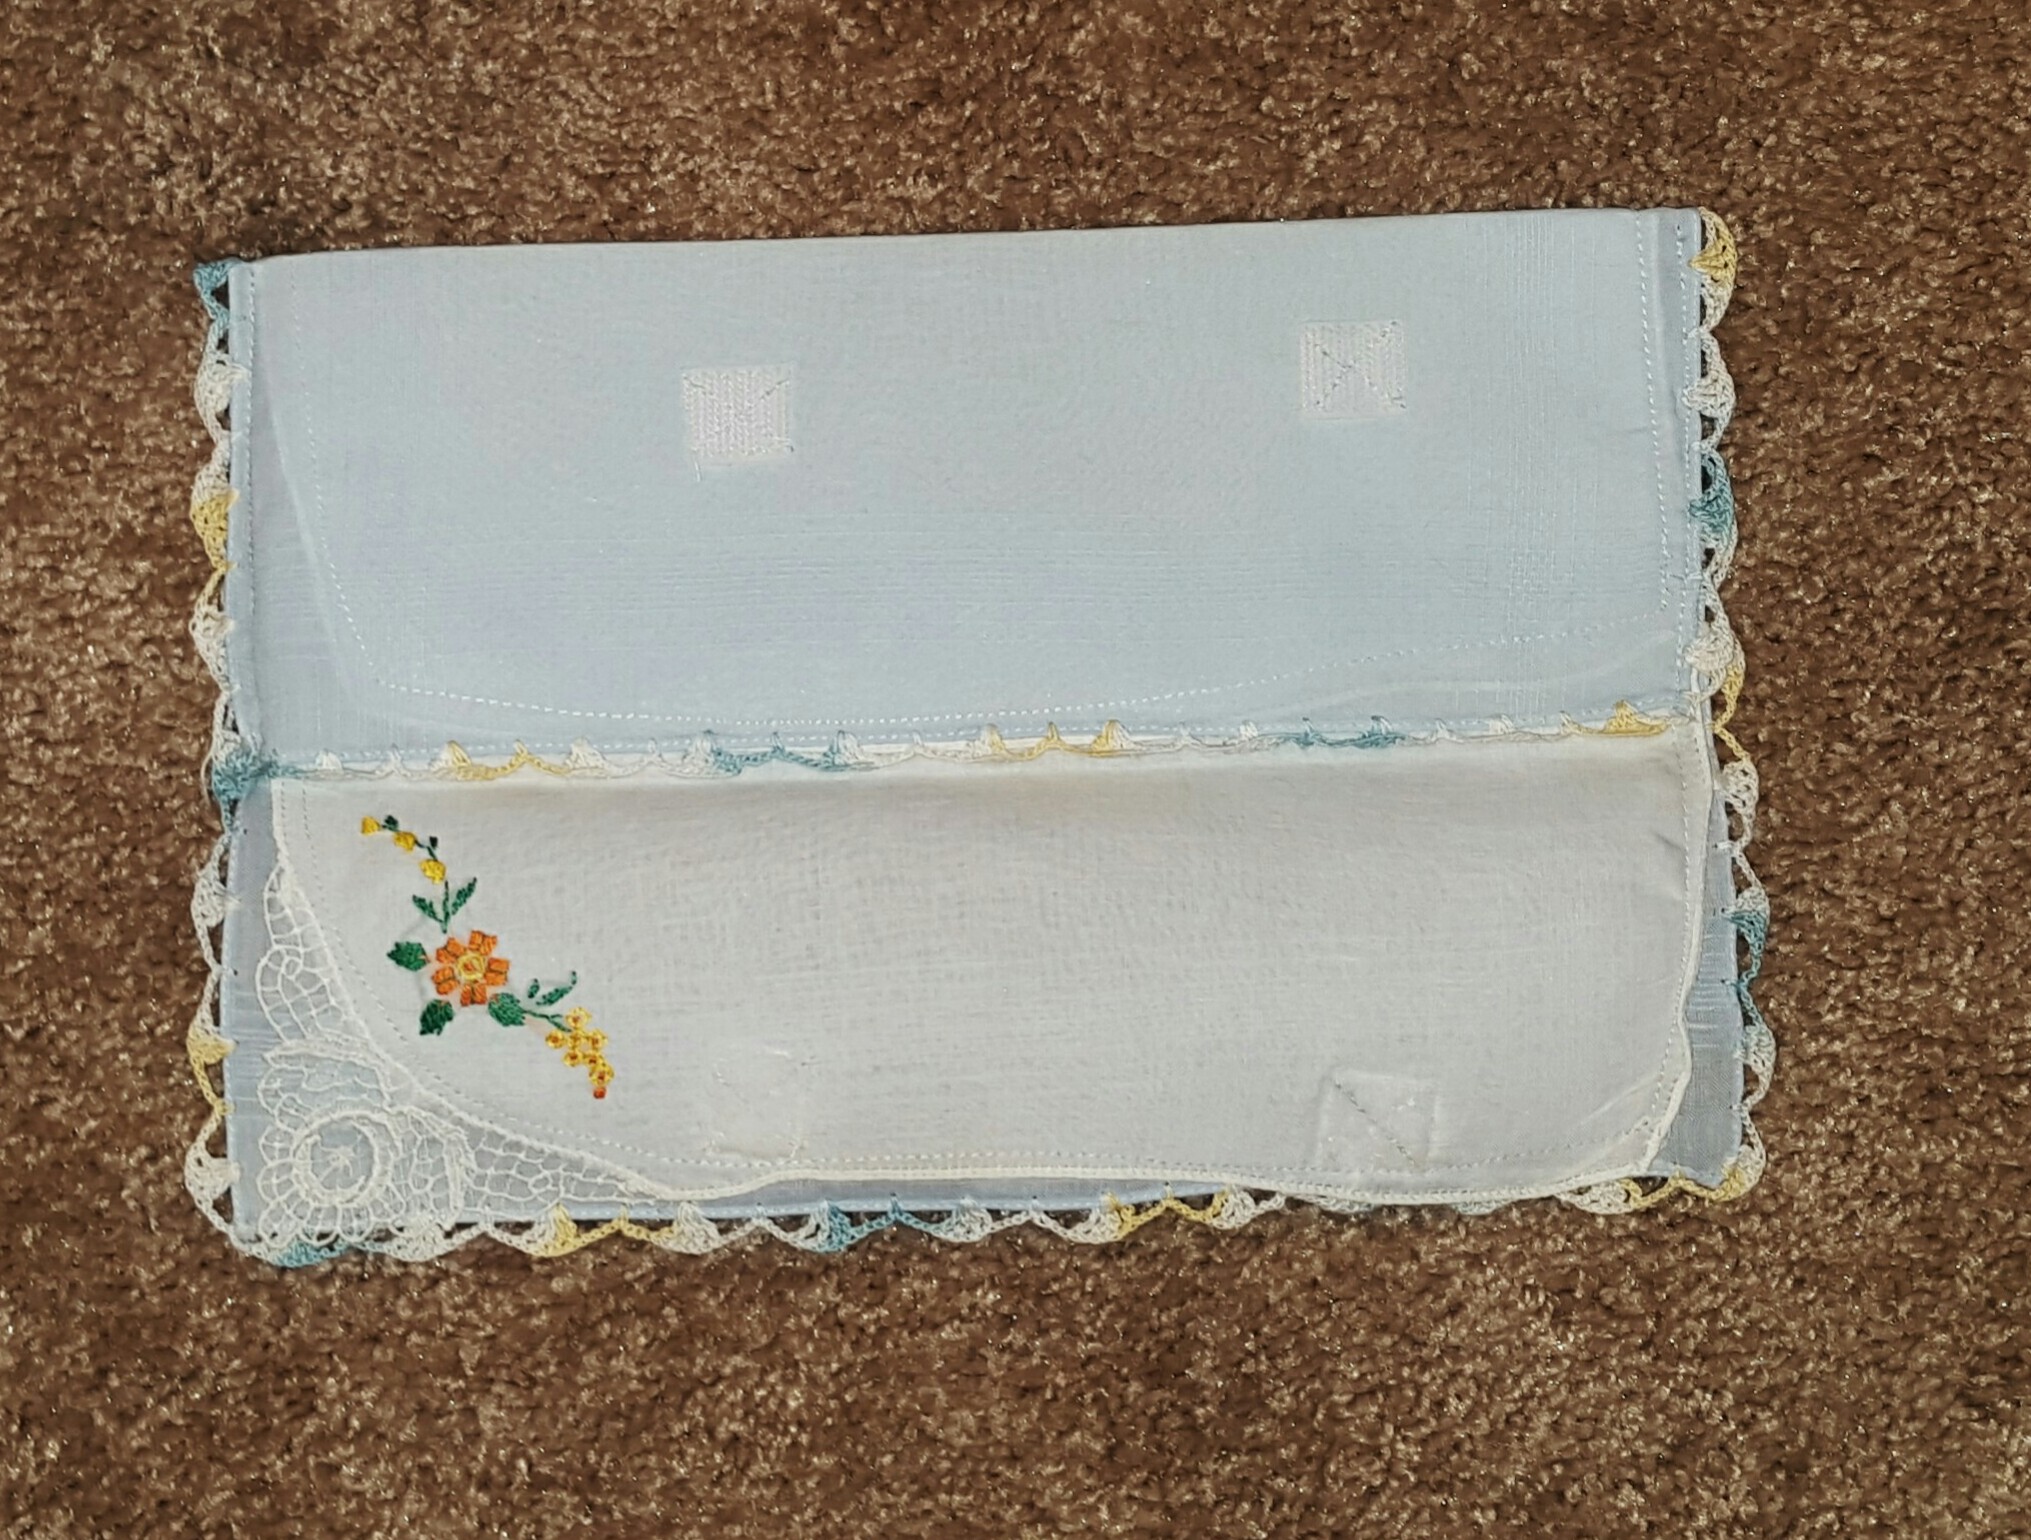
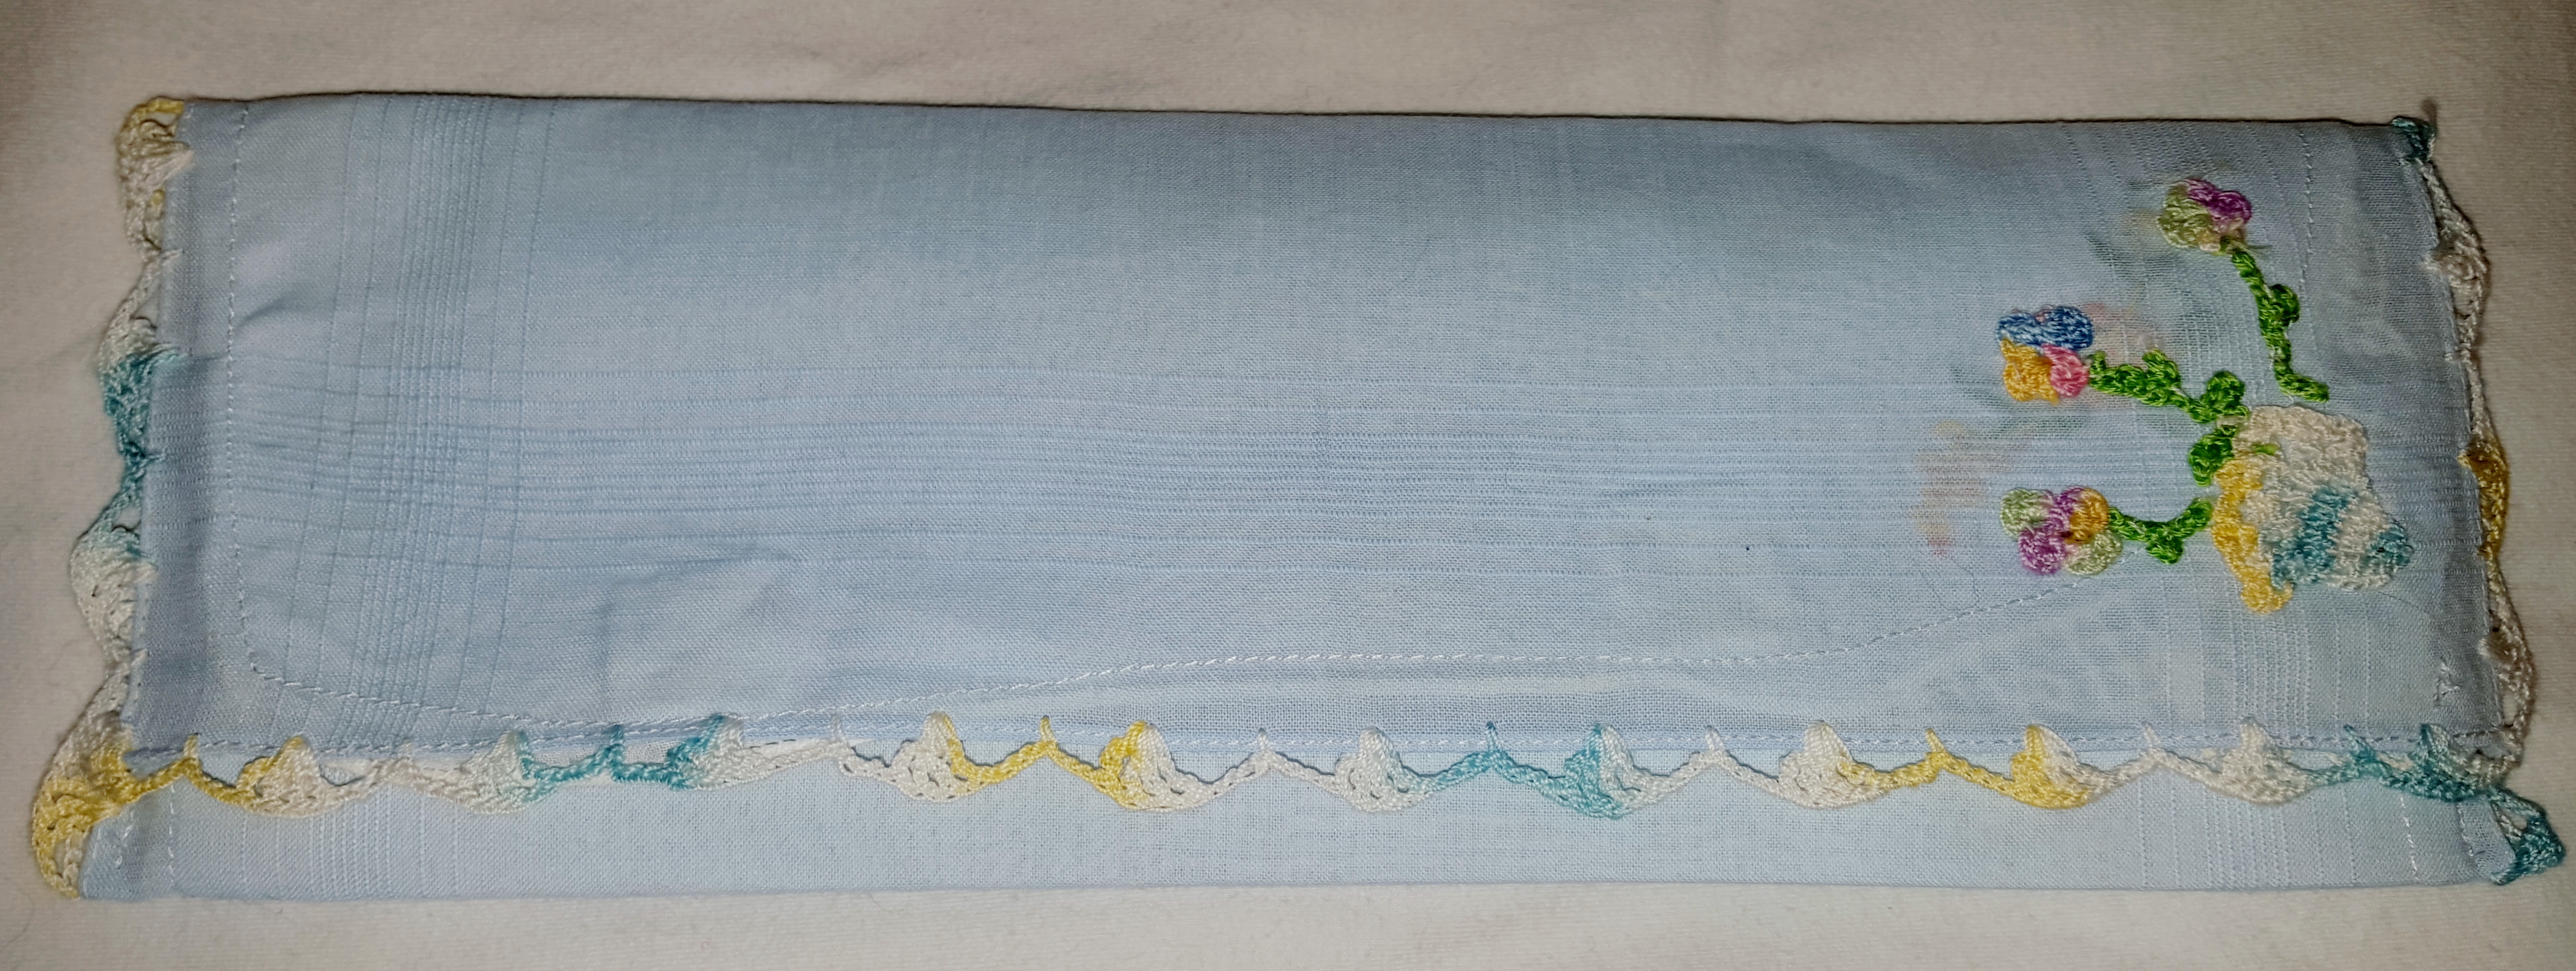
Ladies Hankie clutch for my large crochet hooks

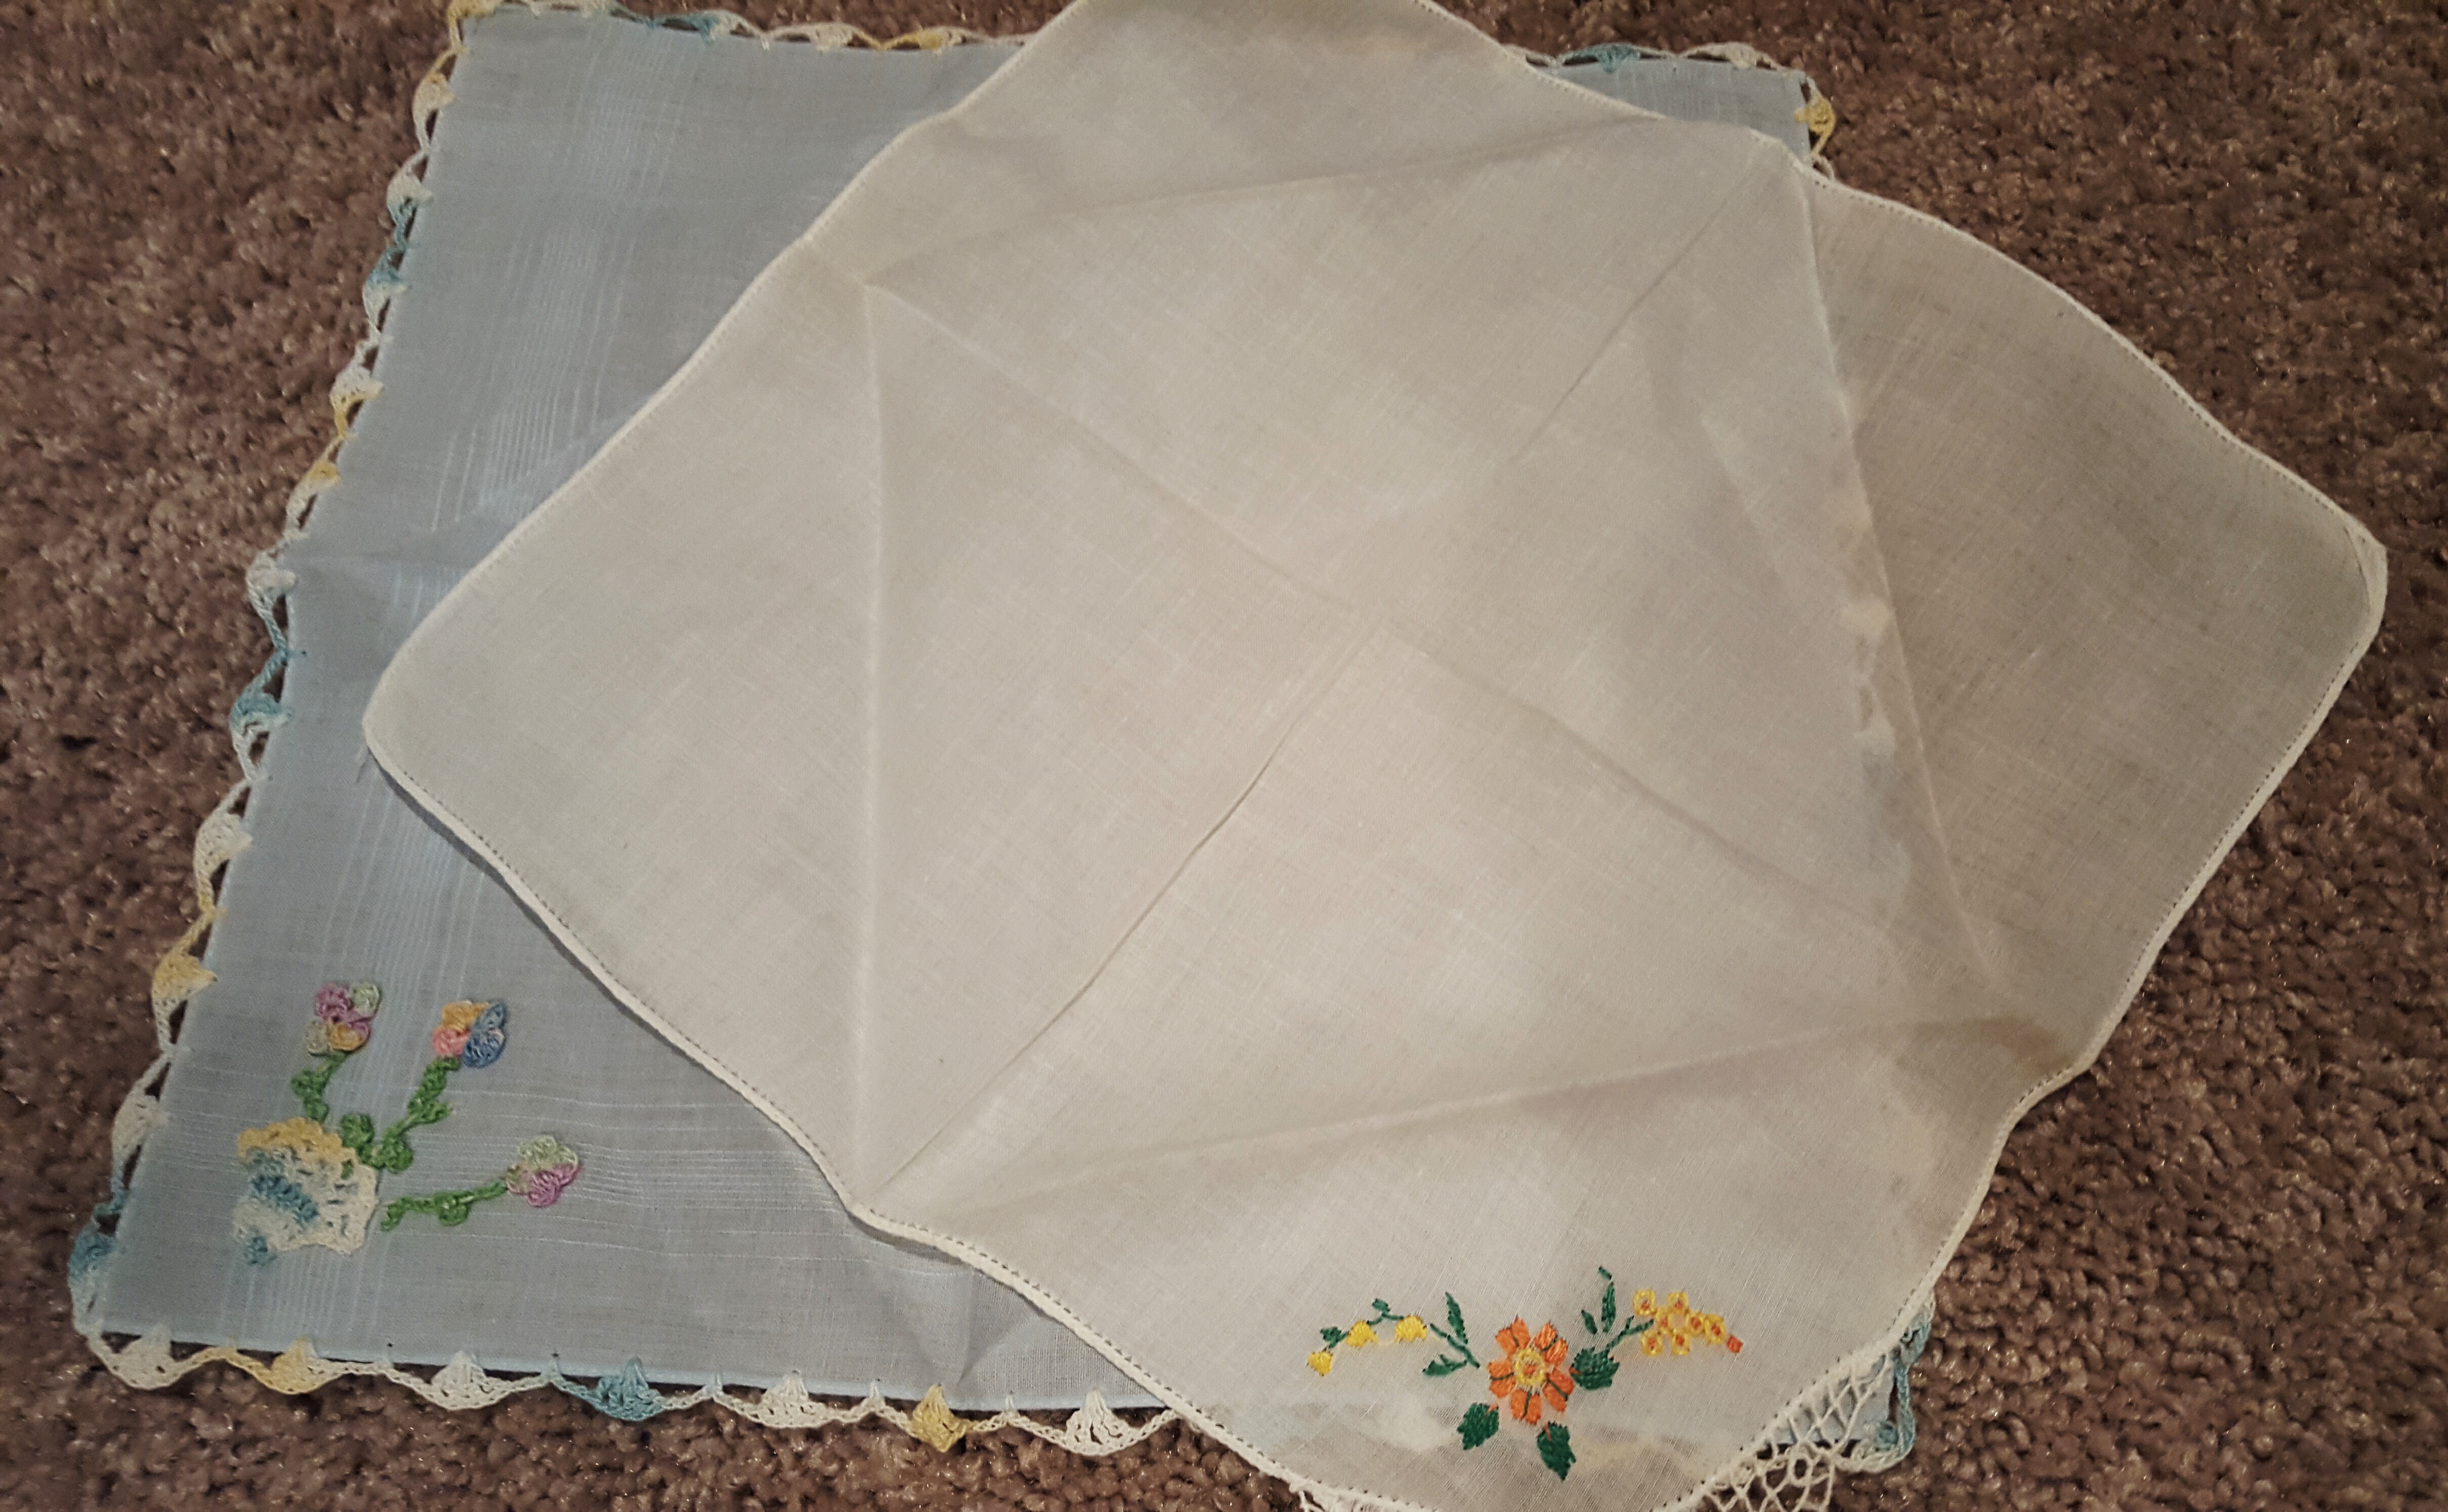
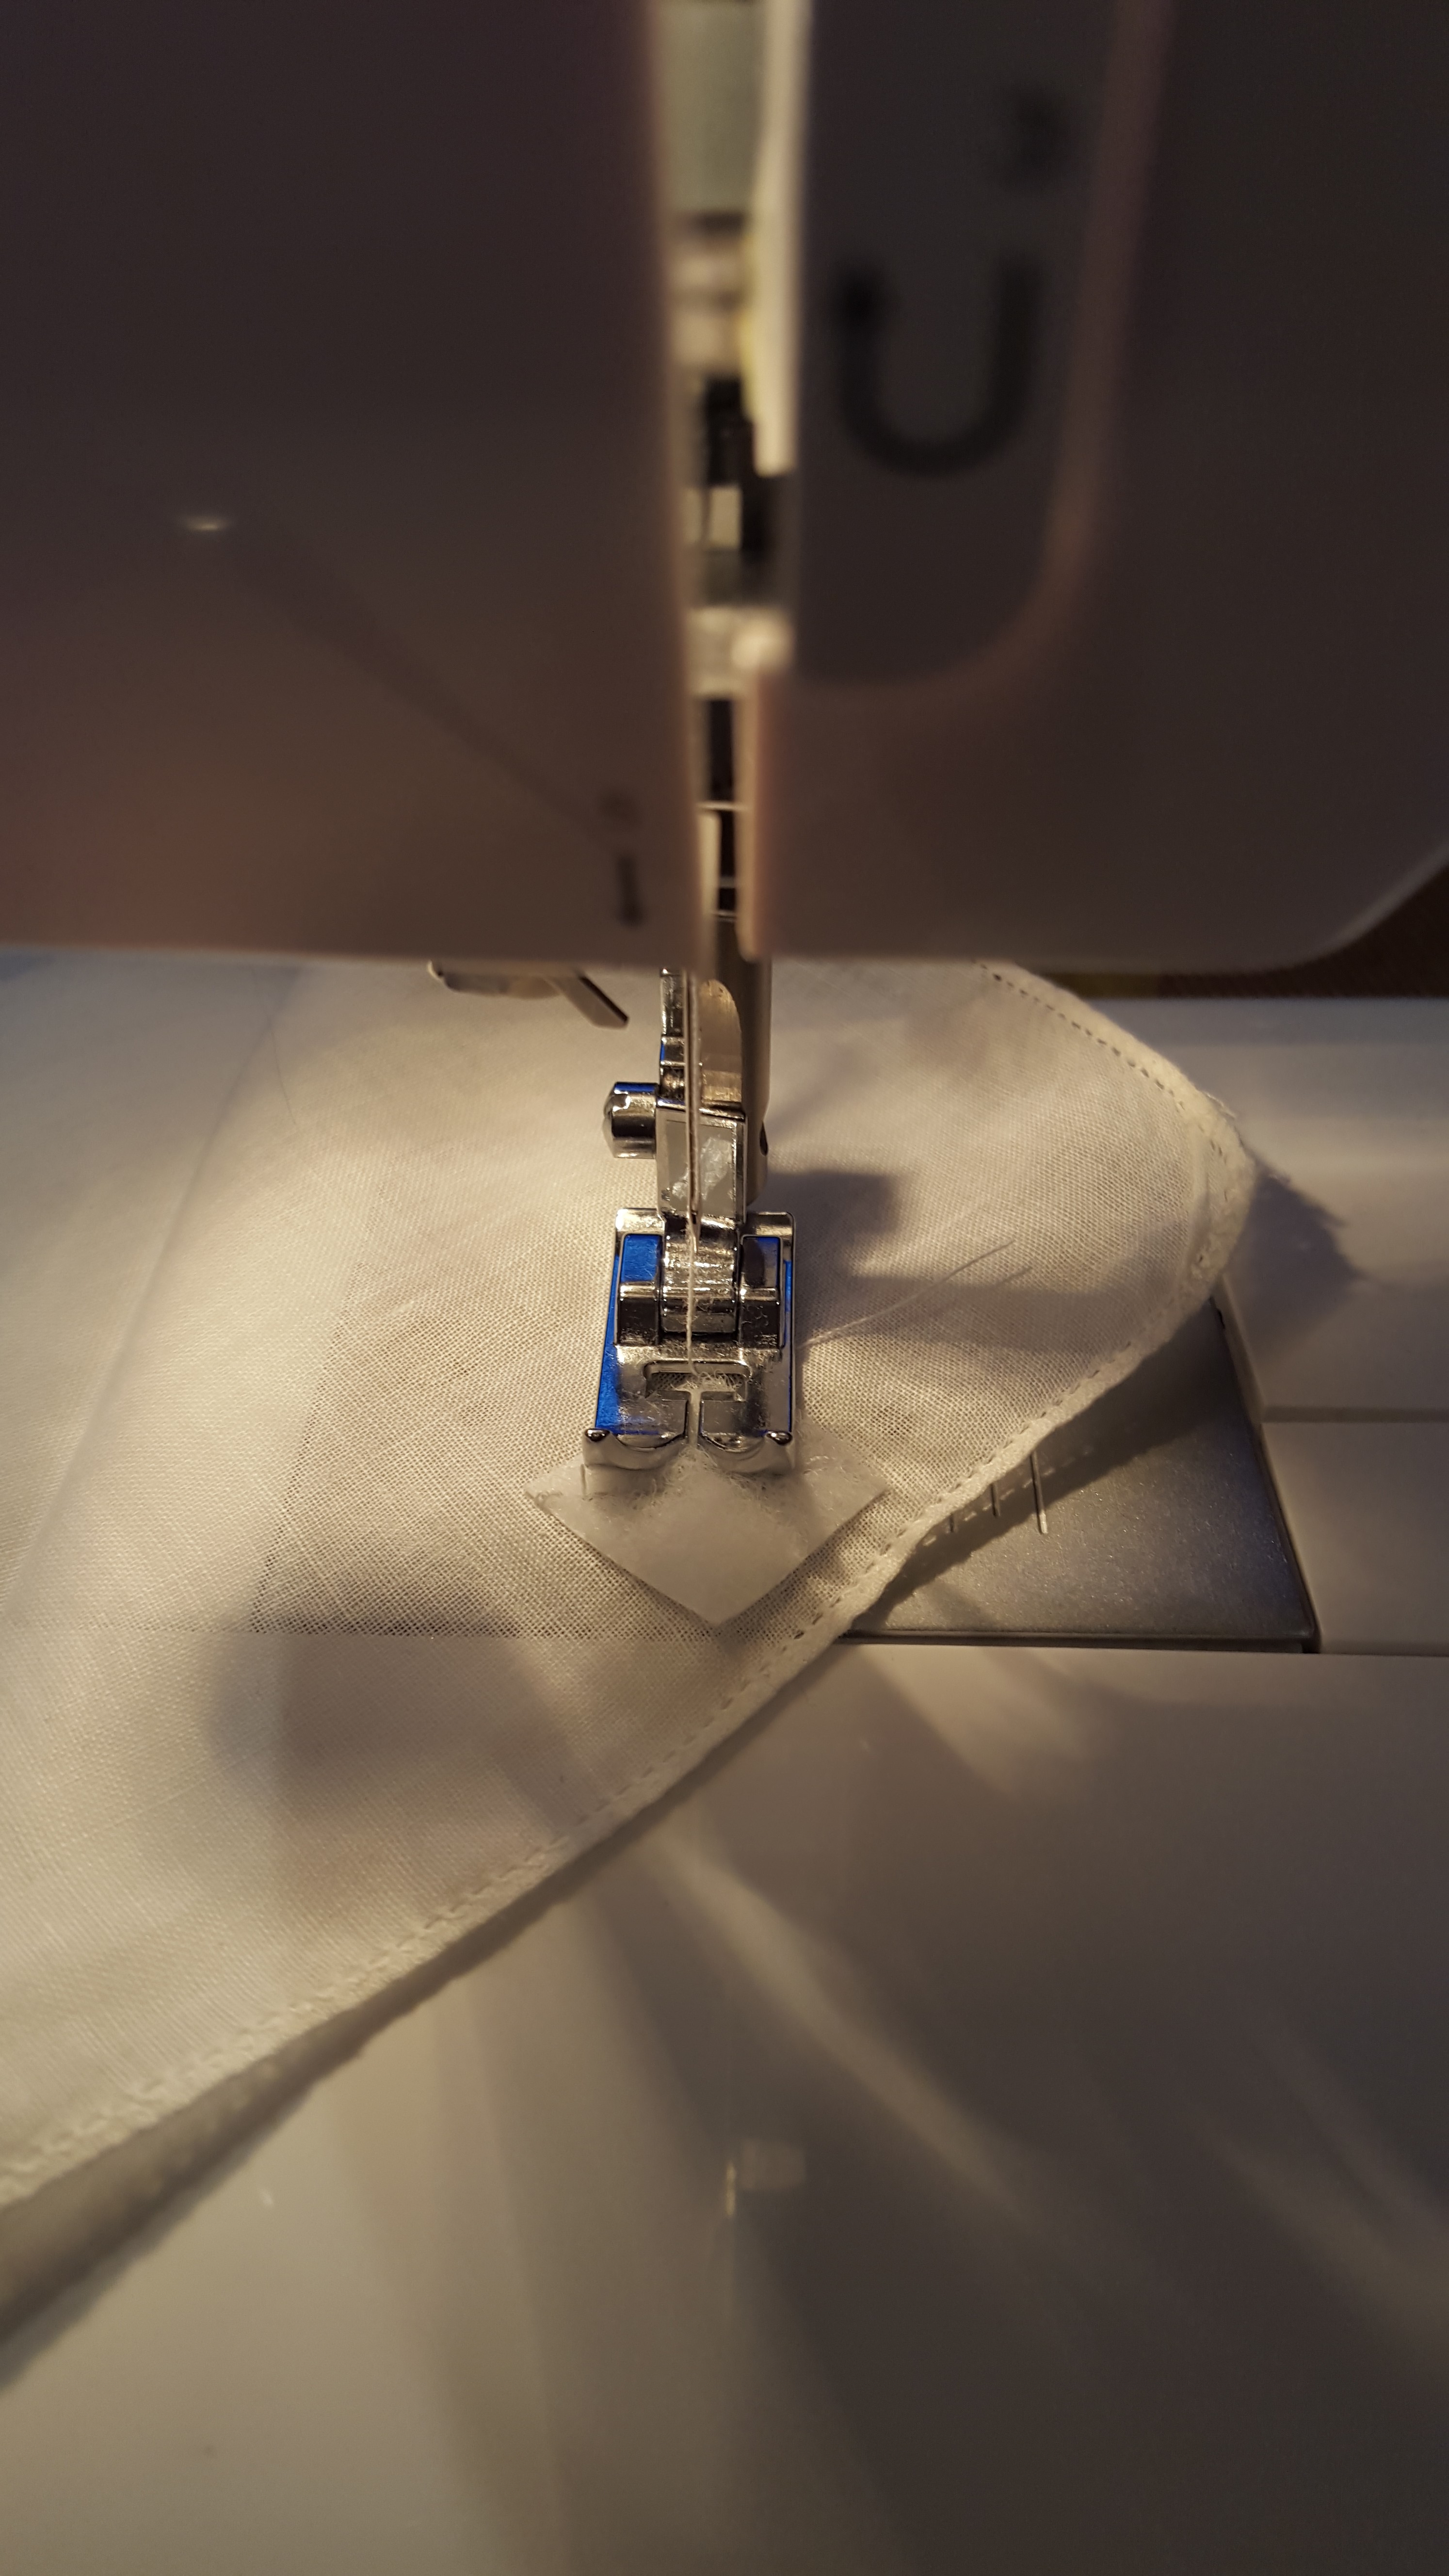
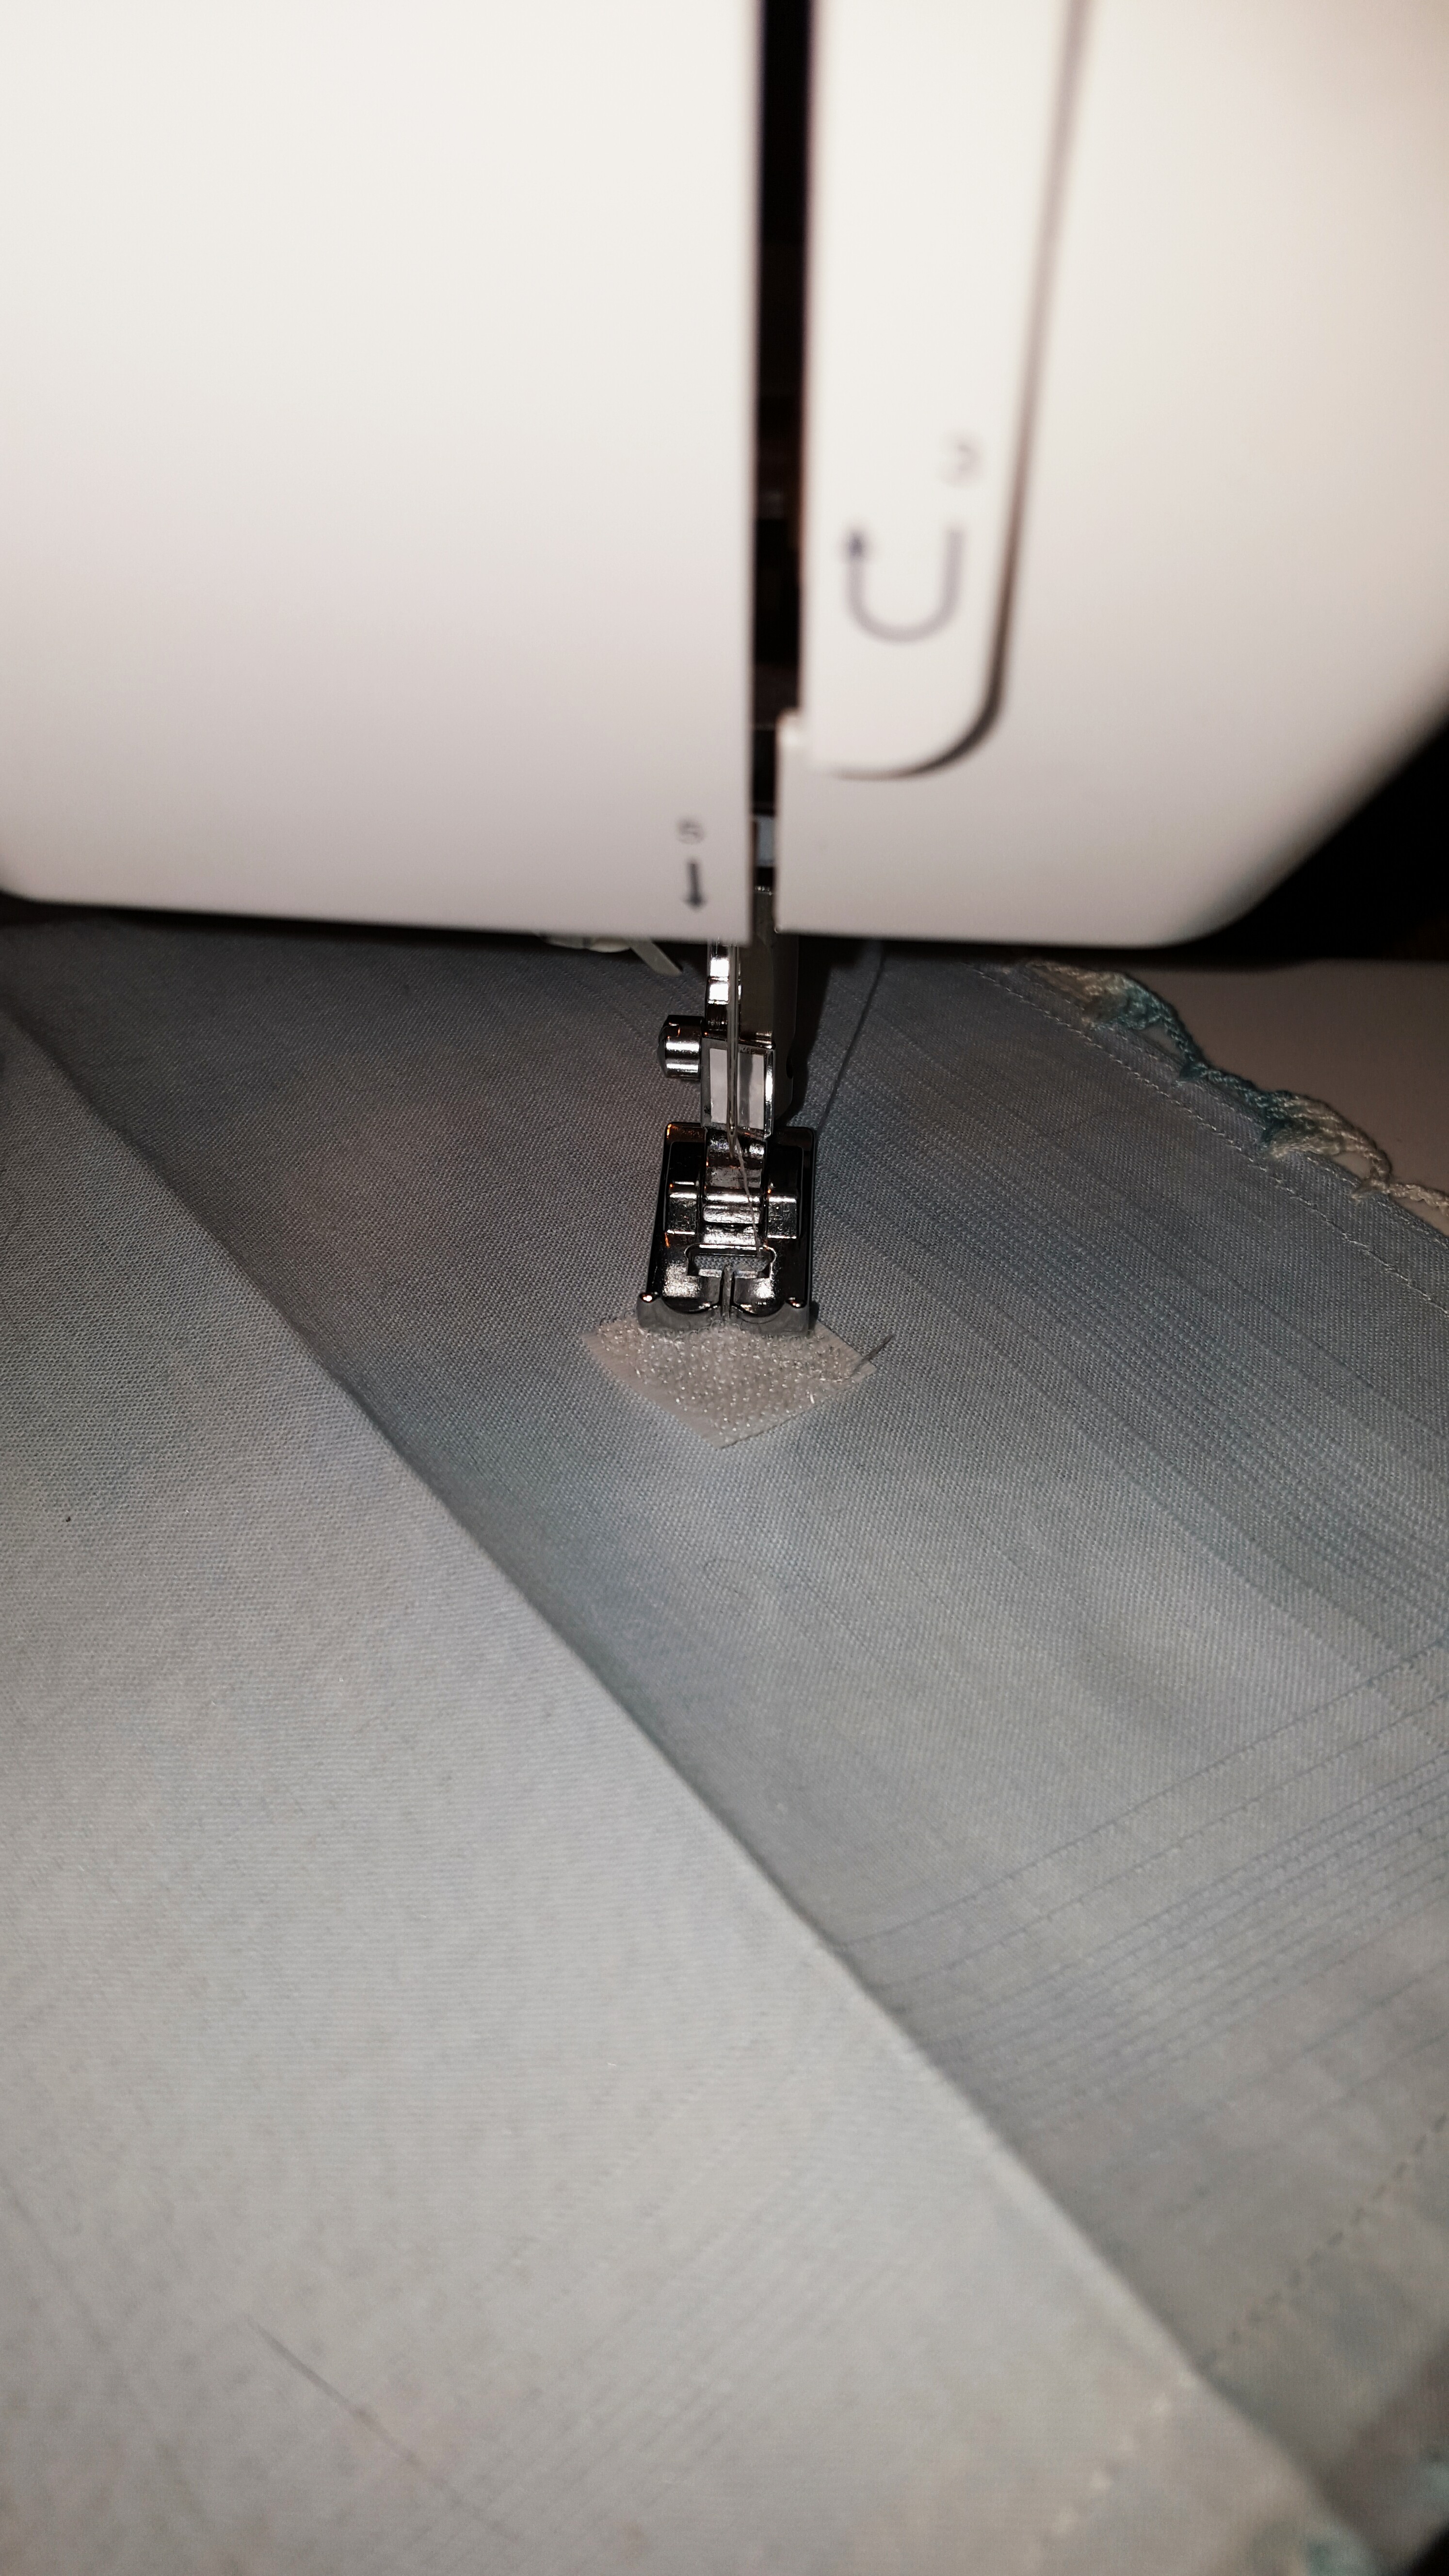
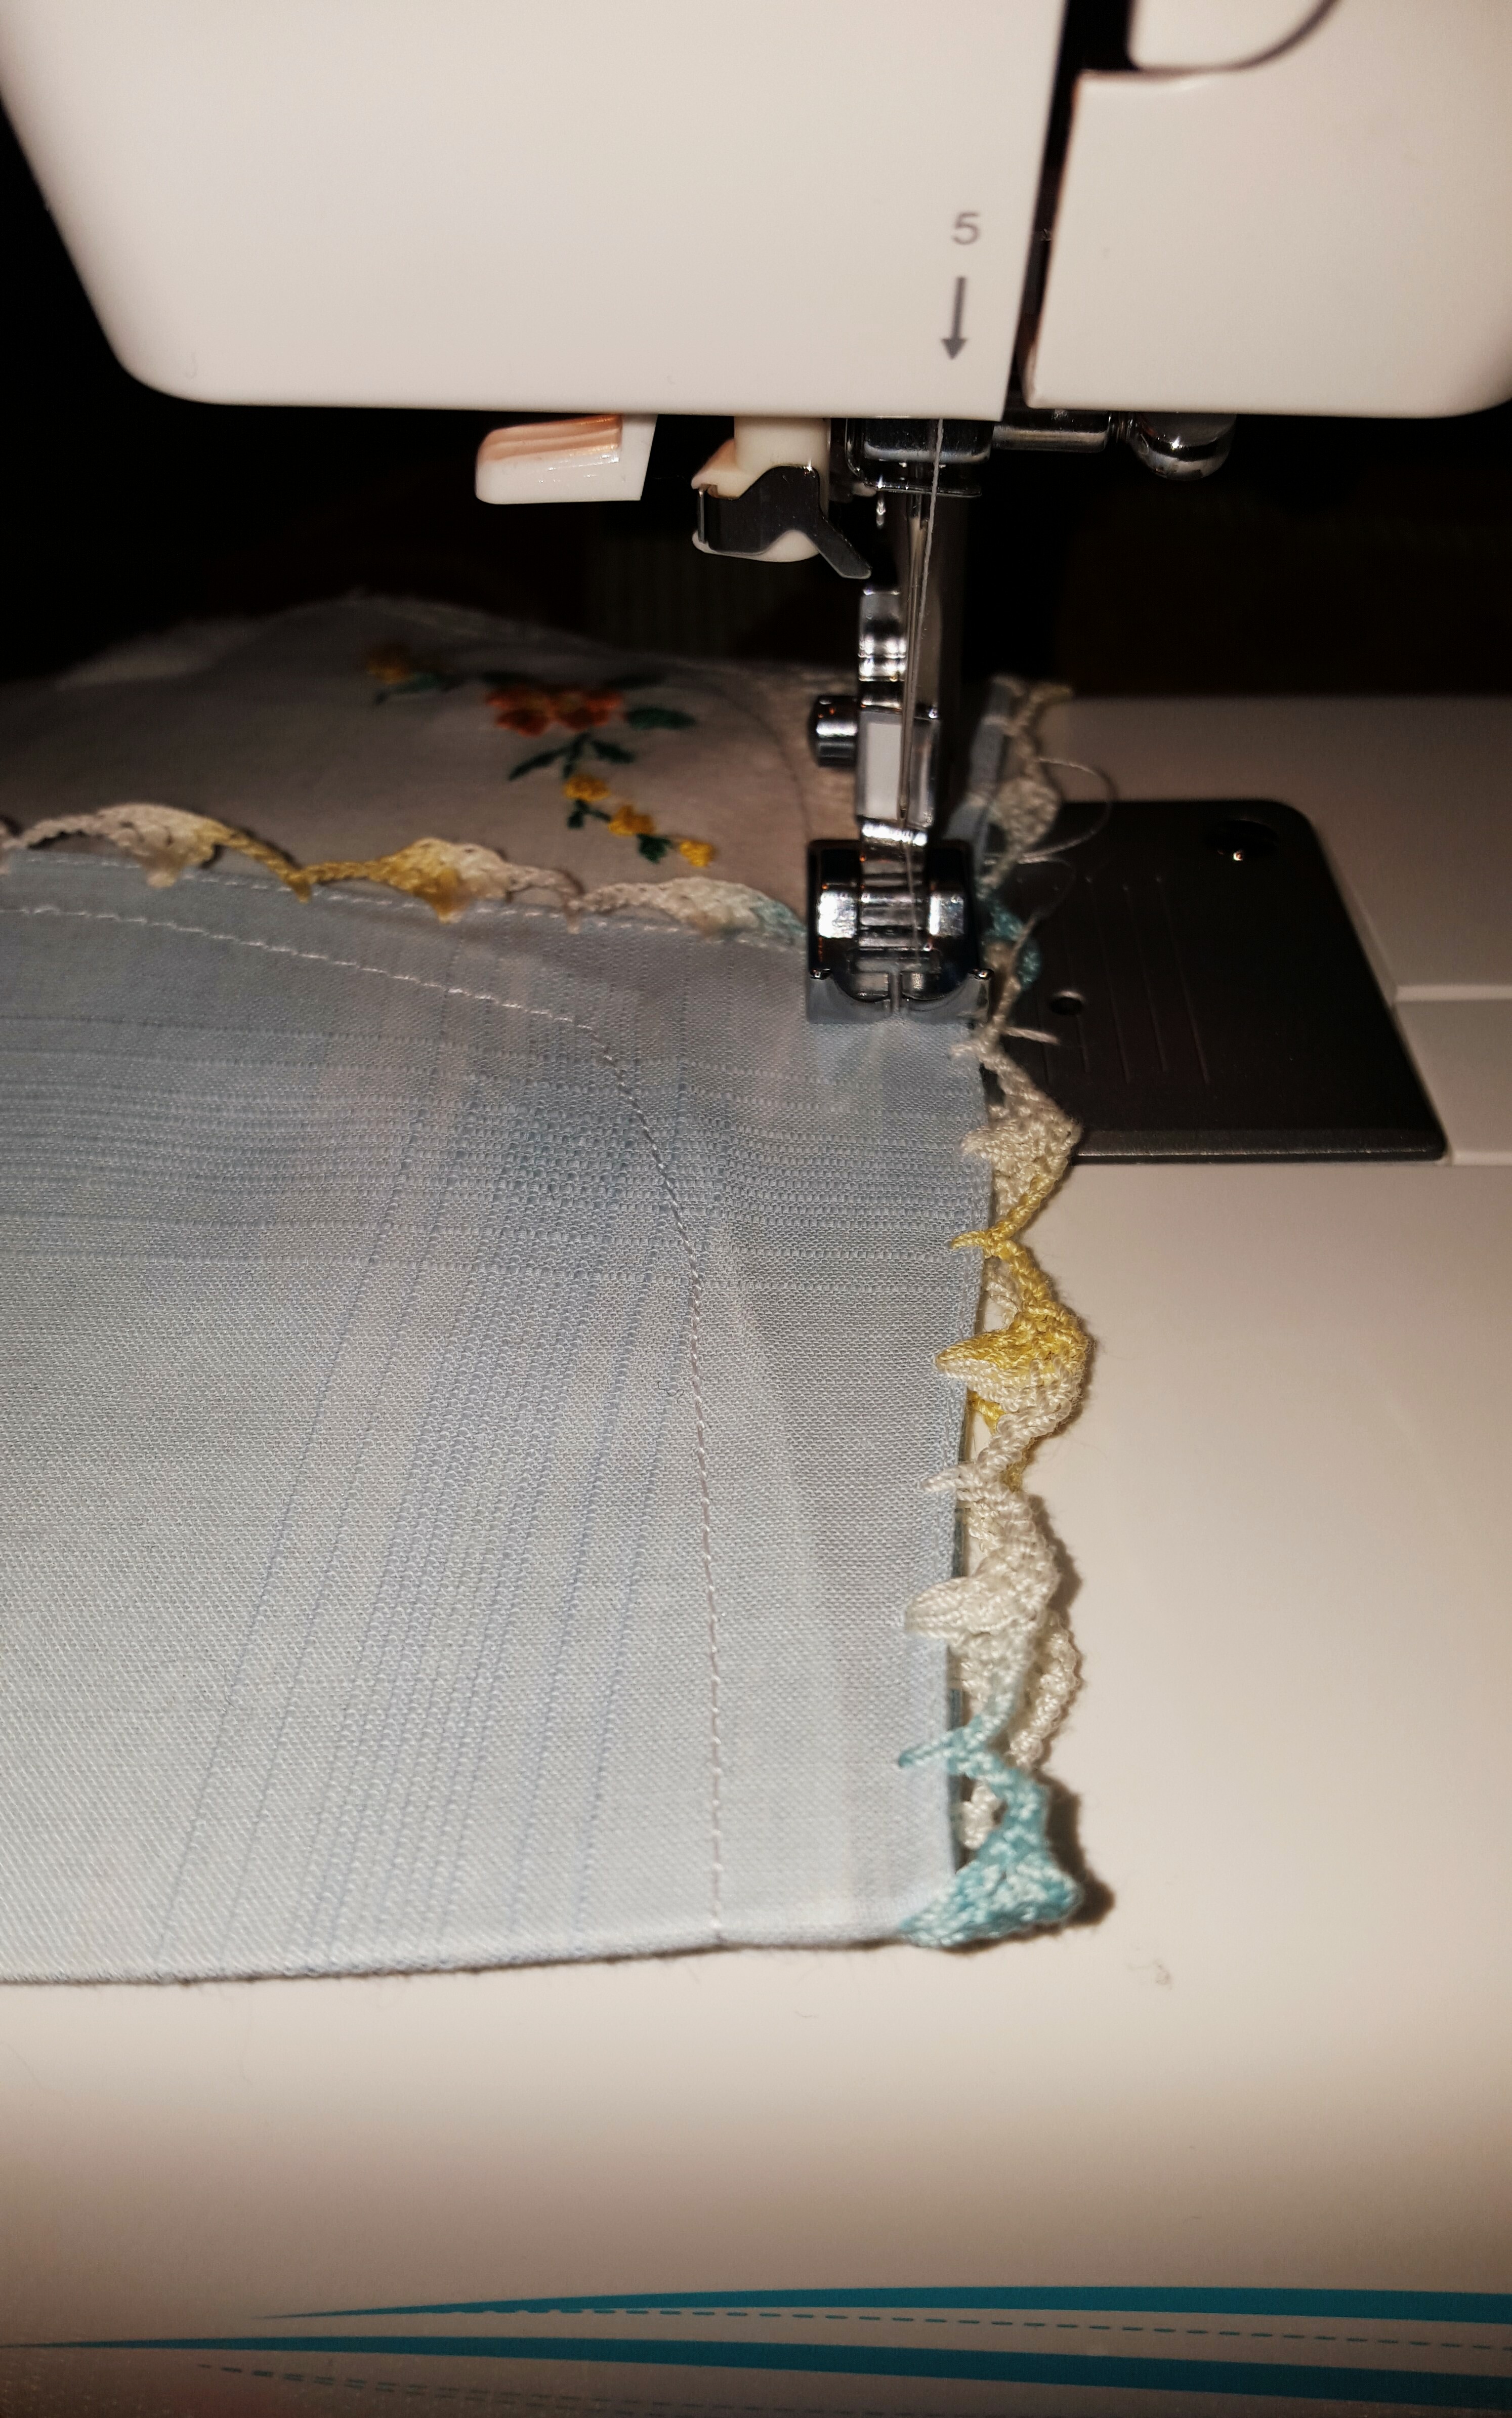
20150531_072655 I have just started crocheting. It is becoming one of my favorite hobbies, and even though I just started crocheting only a few month ago I seemed to have collected a lot of hooks. I have a crochet hook zippered pouch by Boye, but there are no slots for the larger hooks. So I figured I would make a clutch type bag to hold my hooks. As I was wondering around the flea markets I found these old hankies that had crocheted edges and I knew I found my fabric for my clutch! It was very simple to make. Here is what you need: 2 hankies, similar in size Fusible interfacing Needle and thread or sewing machine Velcro or button or snap Directions: _20150606_181325 Iron both hankies really well. They need to be flat.20150530_172835 Sew Velcro to the inside hankie. Fuse Fusible interfacing to the wrong side of the inside hankie according to the directions on your interfacing package. I don’t think it really matters what interfacing you use, you just need something to help the hankies keep their shape. (I am sure there are people out there who have preferences and I would love to know more about it if anyone would like to share. I am new to sewing as well as crocheting) _20150606_181354 Once the interfacing is on sew the hankies together along the border. My hankies did not fit perfectly, but I made due and did the best I could. I have the larger hankie on the outside and just stitched around. _20150606_181701 Fold the hankies in thirds and see how it all lines up. Sew the Velcro to the outside of the clutch lining up with the other

Velcro.

_20150606_181252 _20150606_181234

Sew the 2 sides of the clutch to make the pocket. And now you are done! Congrats on creating your new clutch for crochet hooks or whatever else you want to put in it. I would love for you to share your versions of the hankie clutch.20150531_072624

No Soliciting sign

So I have this no soliciting sign on my front door, and it has worked for years, but is was ugly and boring. (it was just a print out from my computer) so I thought I would dress it up with an awesome frame from Hobby Lobby.

We get tons of people coming by to try and sell us things, or to sign a petition. The college students like to come to our neighborhood because the houses are close together and it is easy to talk to more people. But when I get people ringing my doorbell every night of the week it gets a little old. Hence the sign.

Now, we love Girl Scout cookies, so every Girl Scout is welcome to come by and sell, I will probably buy some cookies (who can resist, not me) and since my son is a Boy Scout I figure it is only fair to include their popcorn in the exception list. (not to mention it is yummy as well).

So, to attach it my husband just screwed it to the wall and we were good to go. I think it looks very pretty and a nice way to dress up a sign.

What do you think? Suggestion, questions, improvements? Free free to use it and make it even better.

Newer posts »

© 2024 Take Time To Create

Theme by Anders NorenUp ↑

Follow

Get the latest posts delivered to your mailbox:

%d bloggers like this: