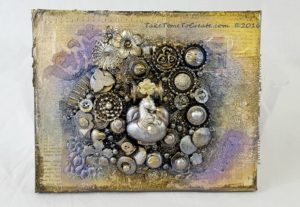
Mixed Media Canvas Celebrating Family
Hello Everyone!
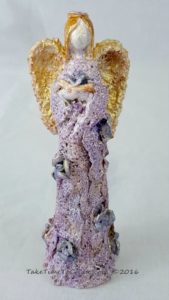
Today I have another mixed media tutorial. I love making mixed media art, it relaxes me and soothes my soul. This is another Finnibair inspired canvas. I love her work, she inspires me so much and I learn a ton from her techniques.
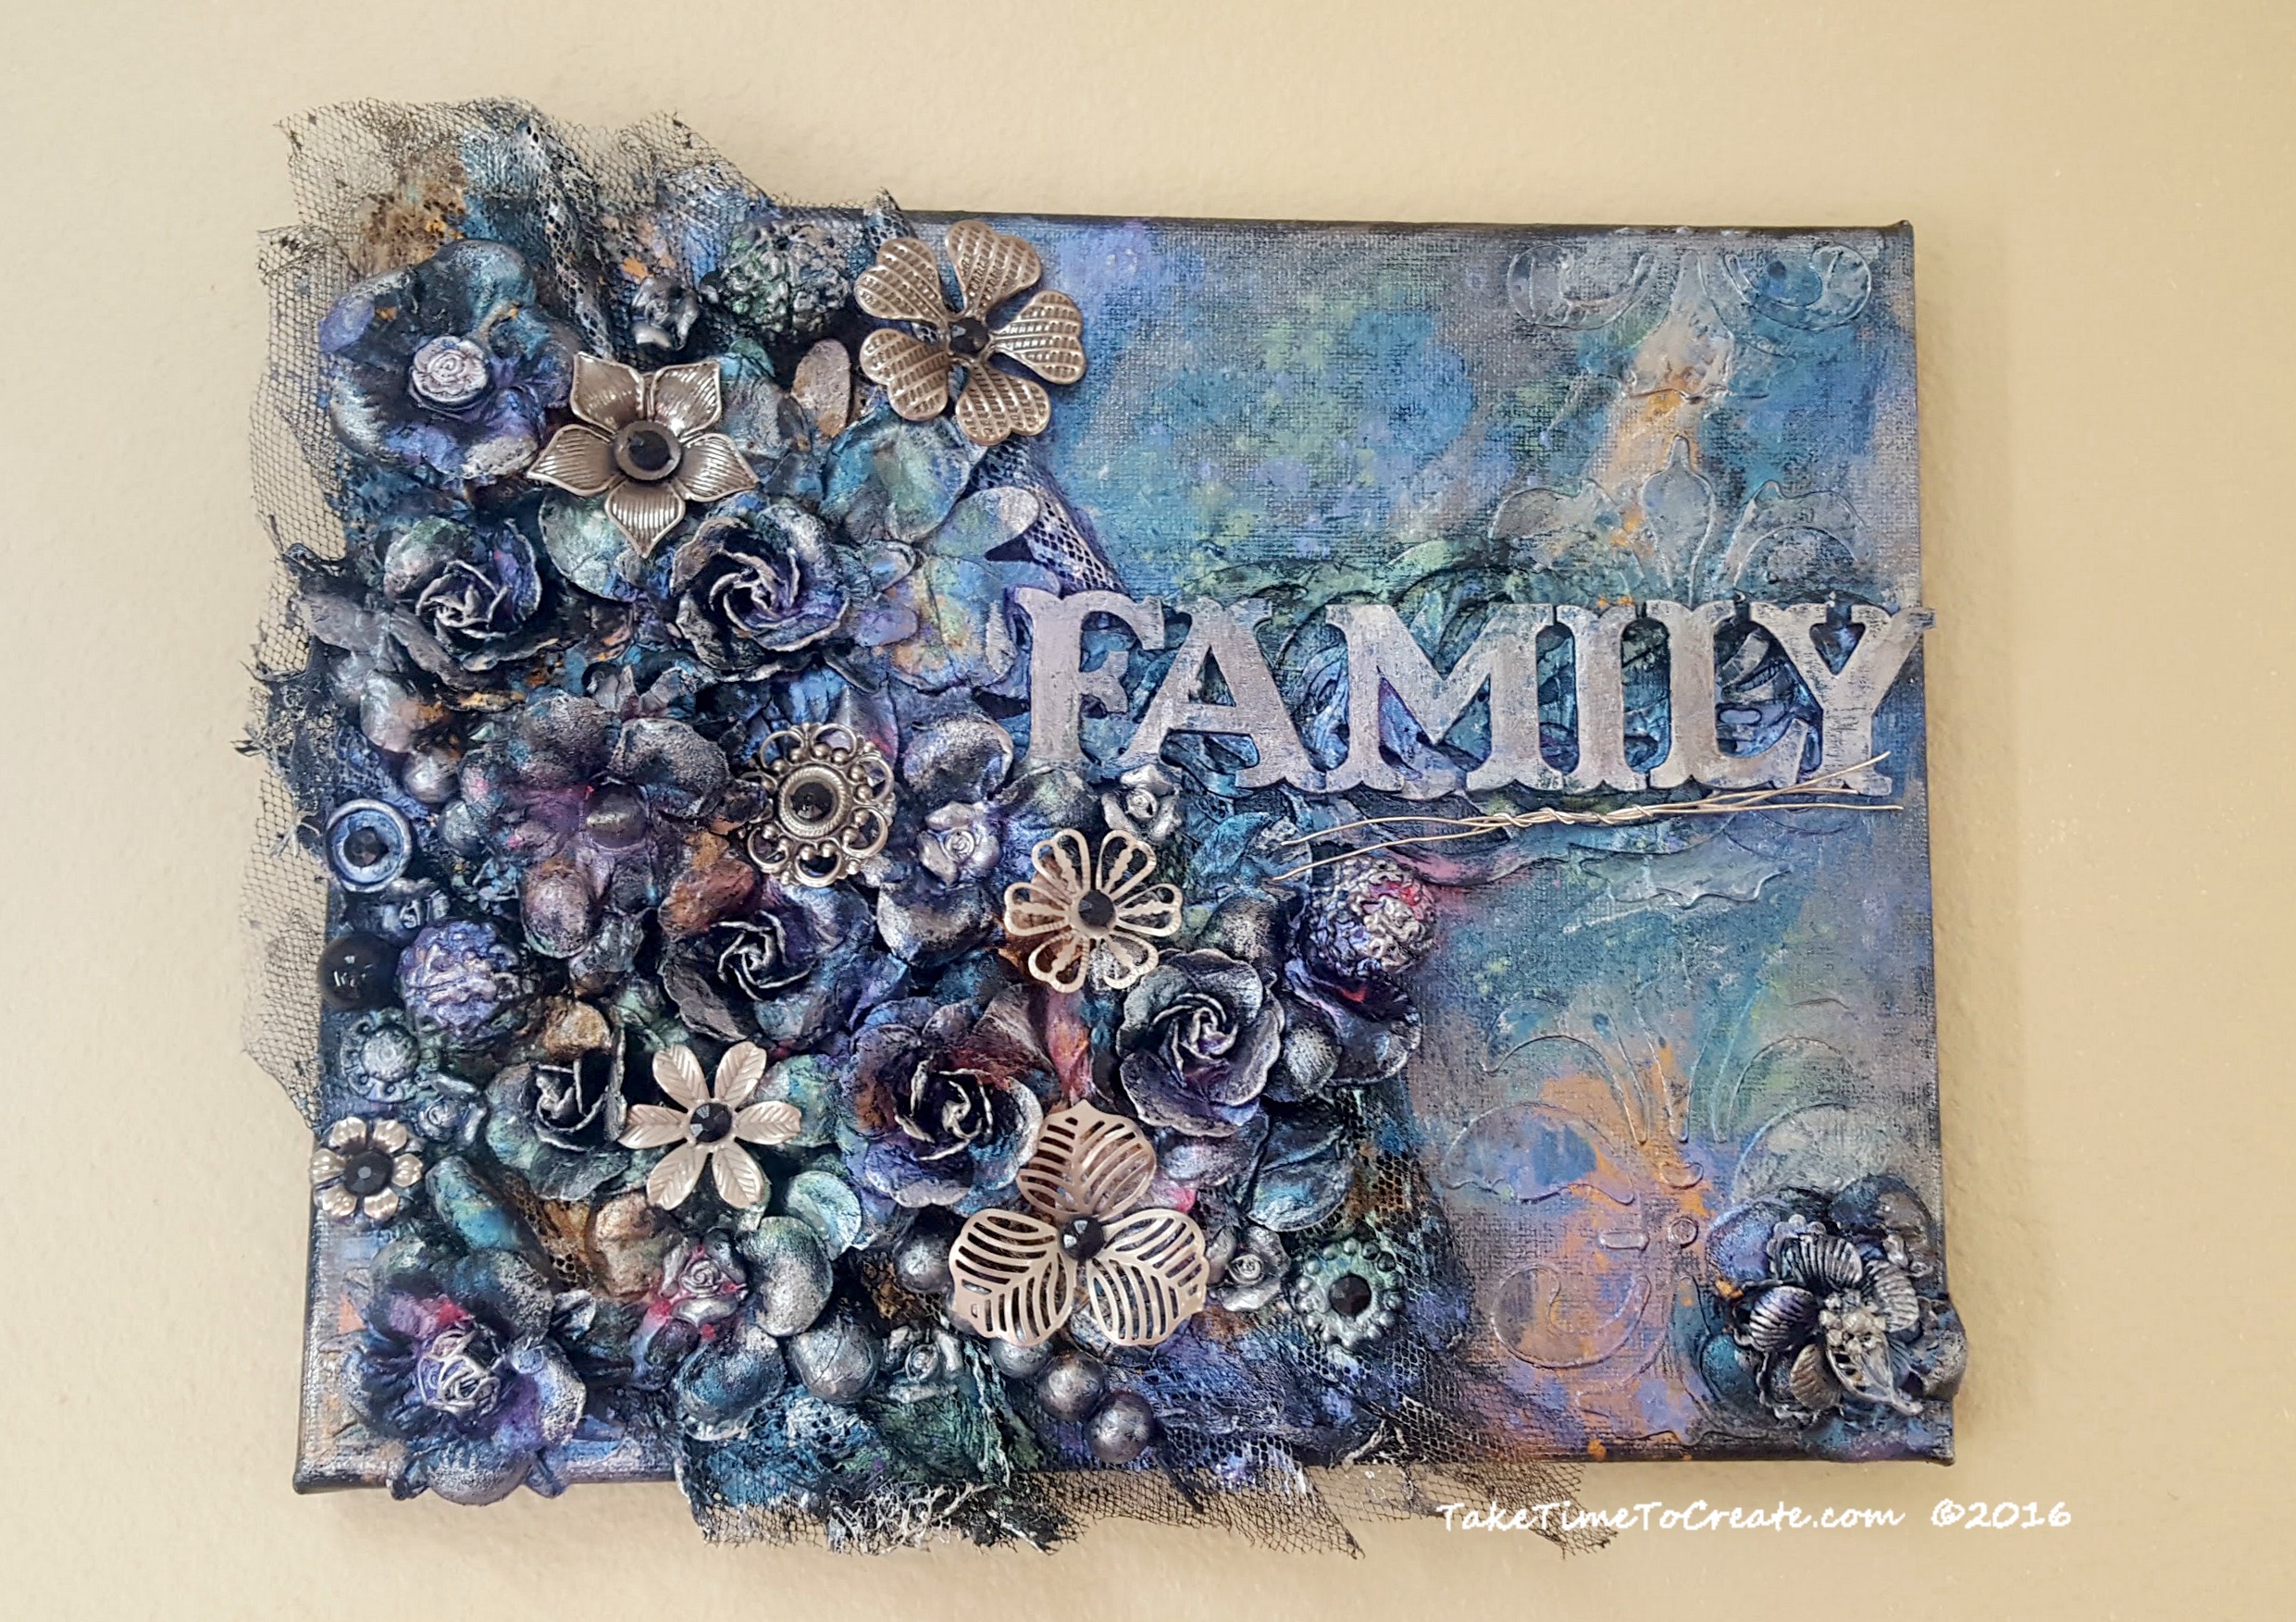
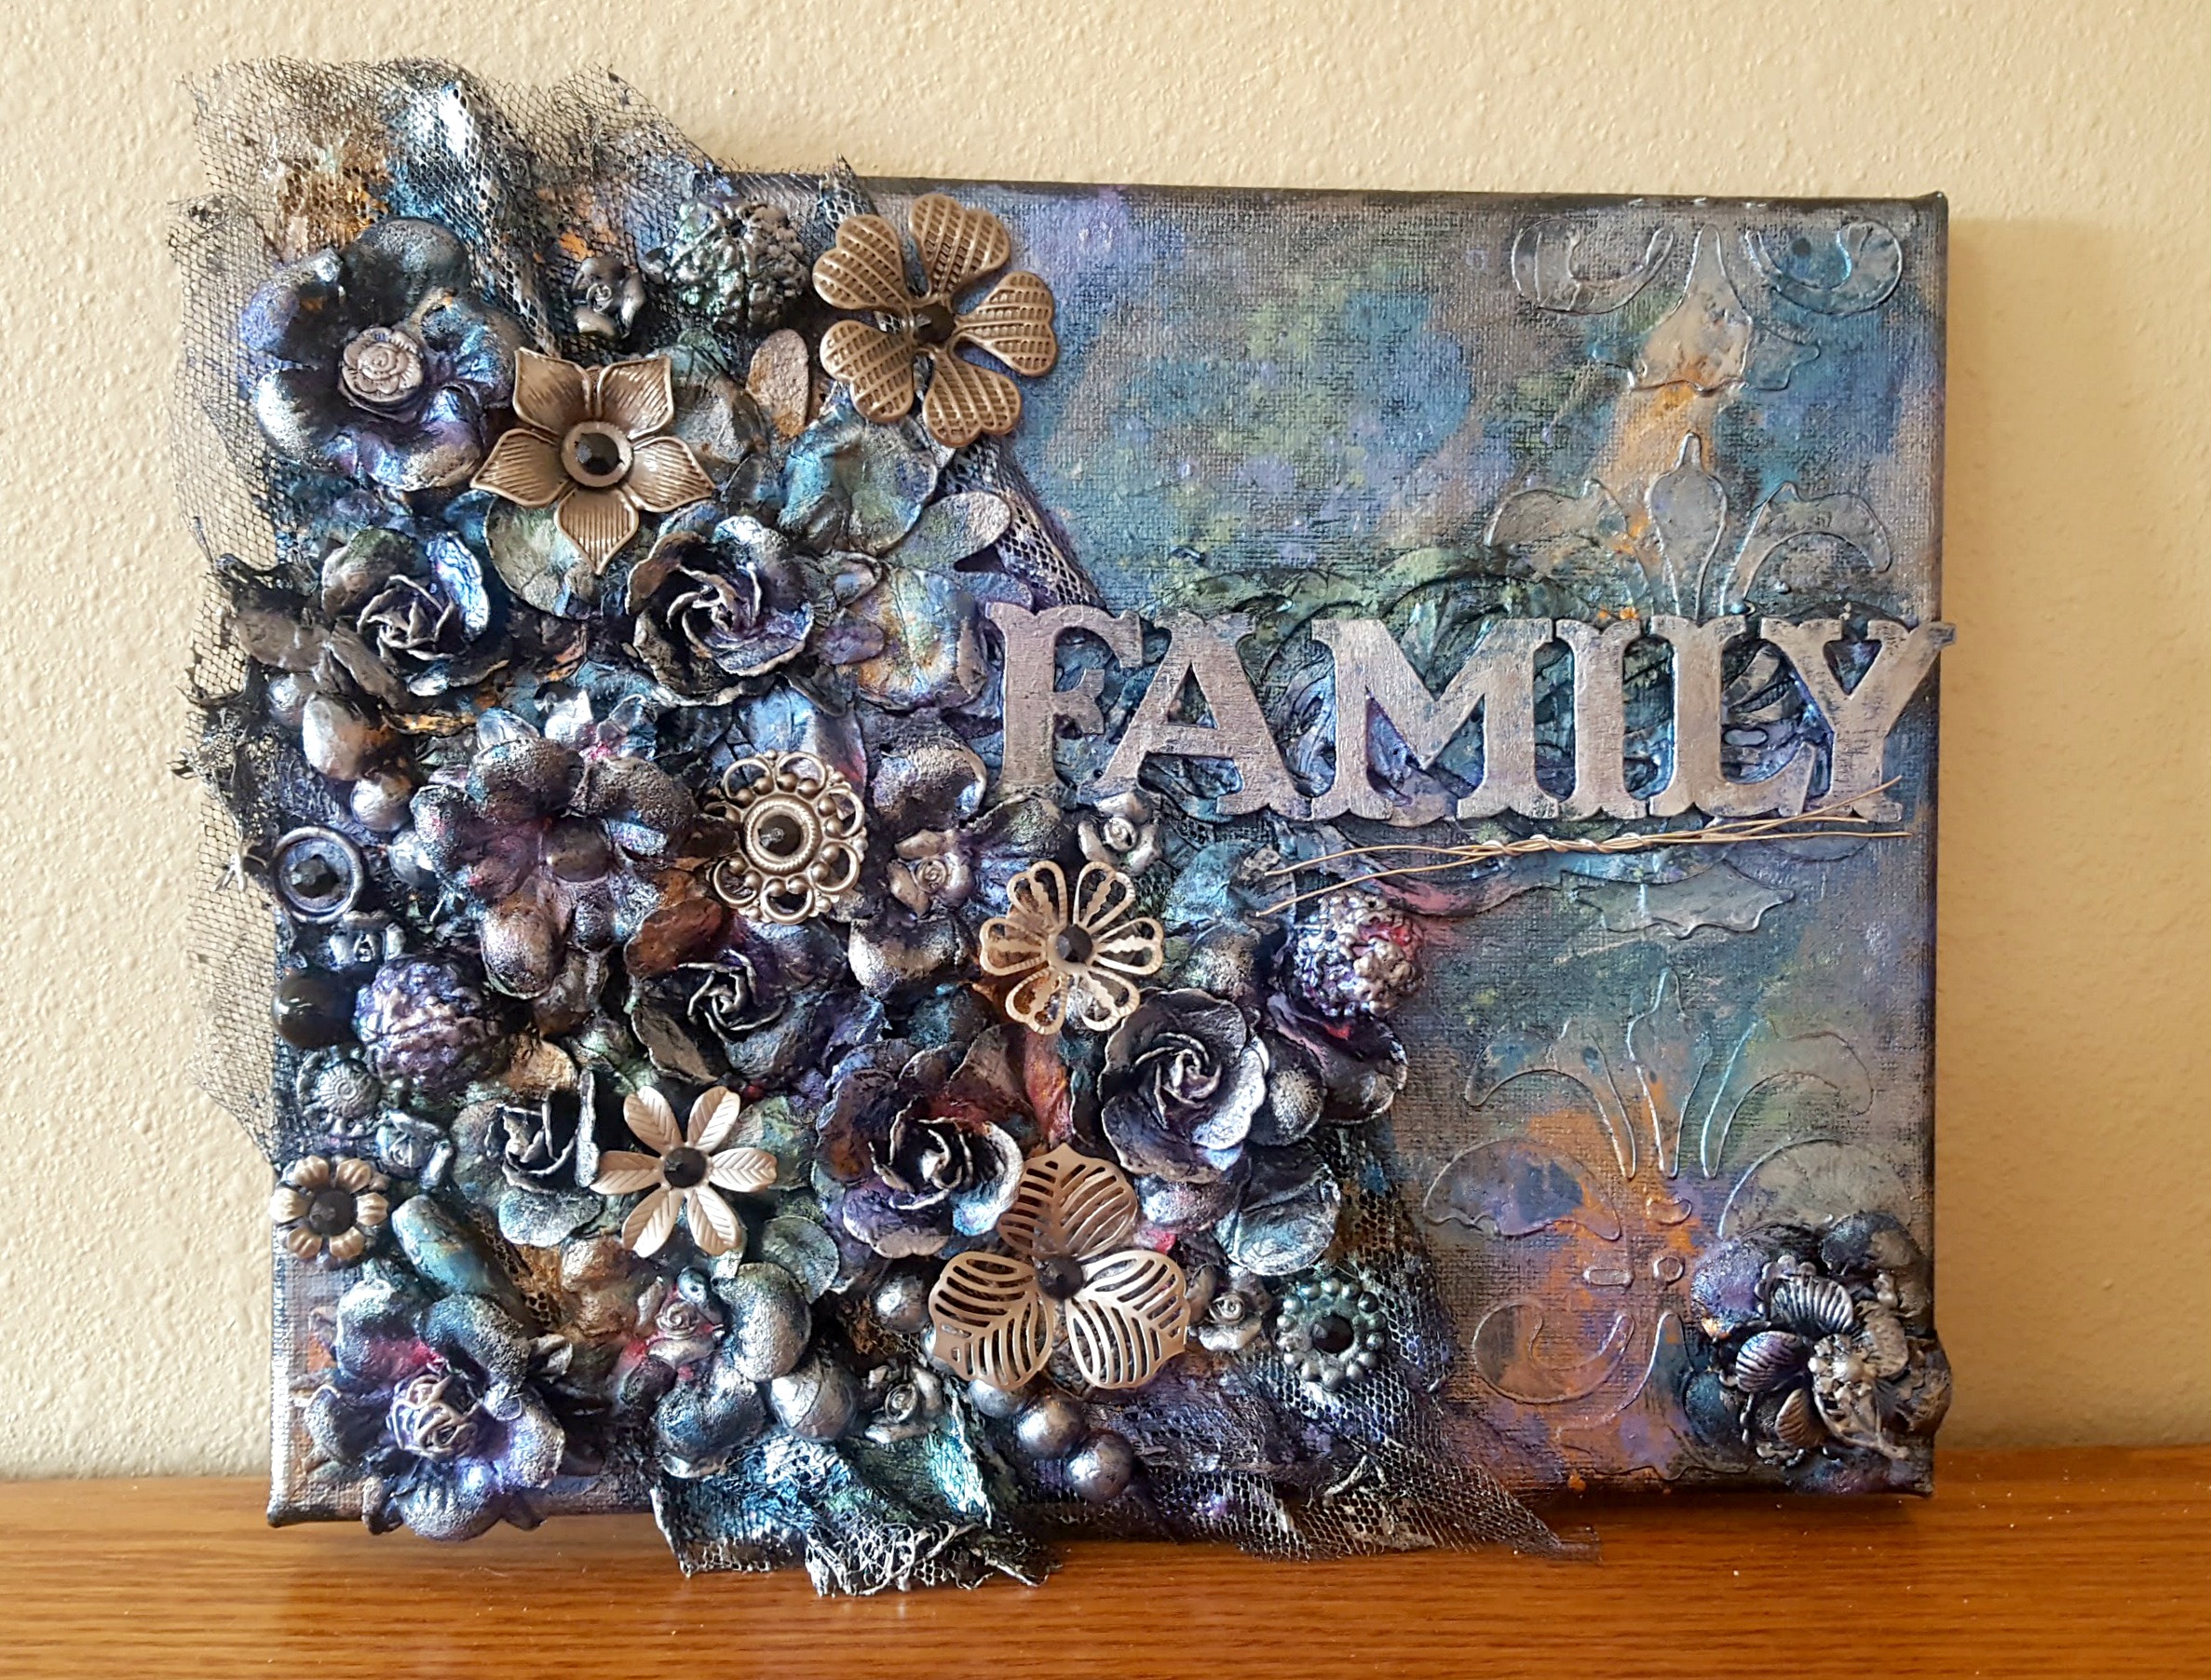
This canvas celebrates family. Family is so important and I wanted that to be the focus of this canvas.
I have made other mixed media canvas and you can visit them here:
Materials:
- Canvas, black gesso, brushes
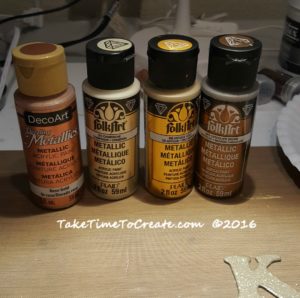
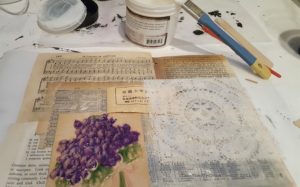
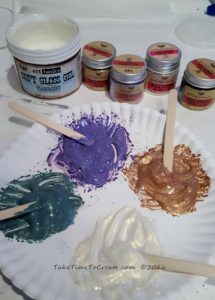
- Mica powder, spray bottles, stencils, modeling paste, acrylic paint, spray clear coat
- Flowers, letters, beads, cheese cloth and anything else you want to put on your canvas.
Instructions:
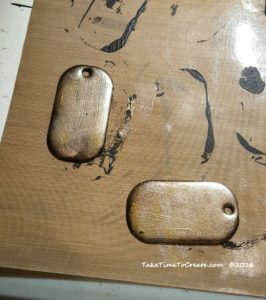
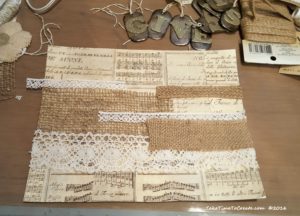
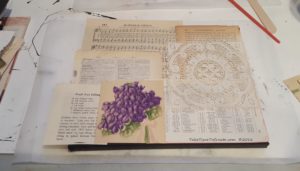
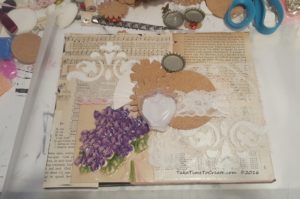
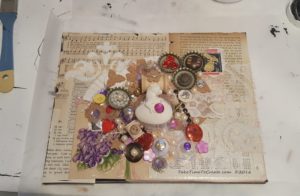
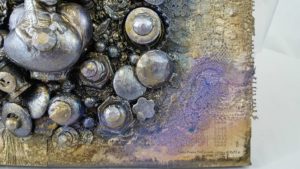
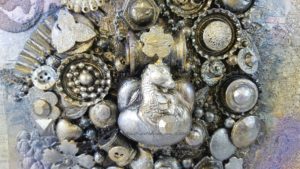
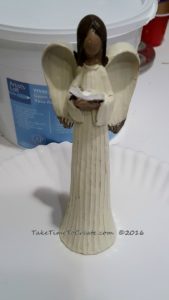
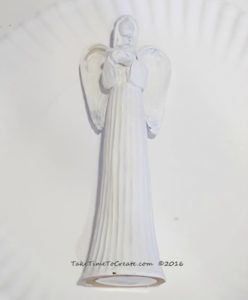
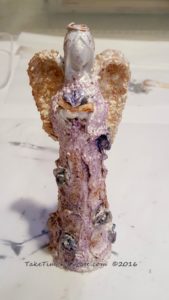
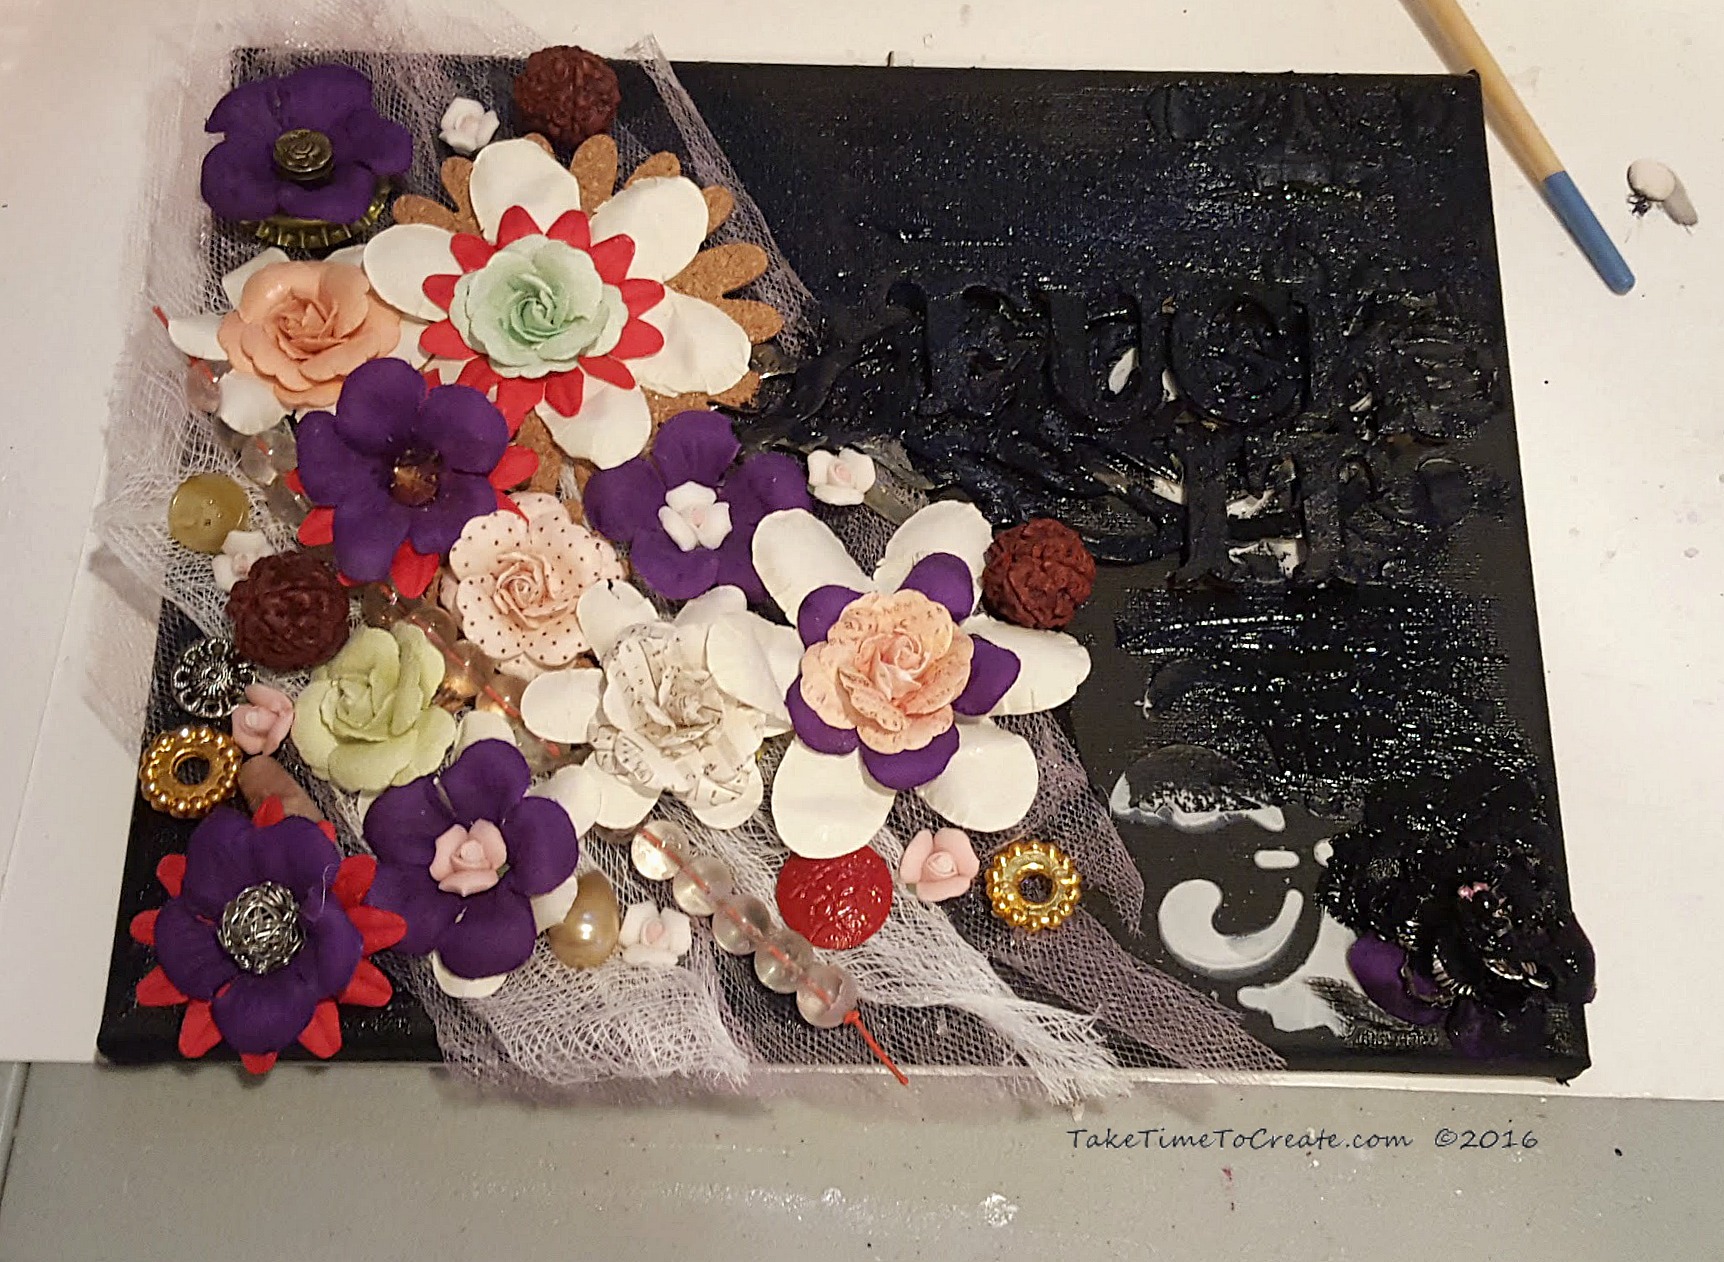
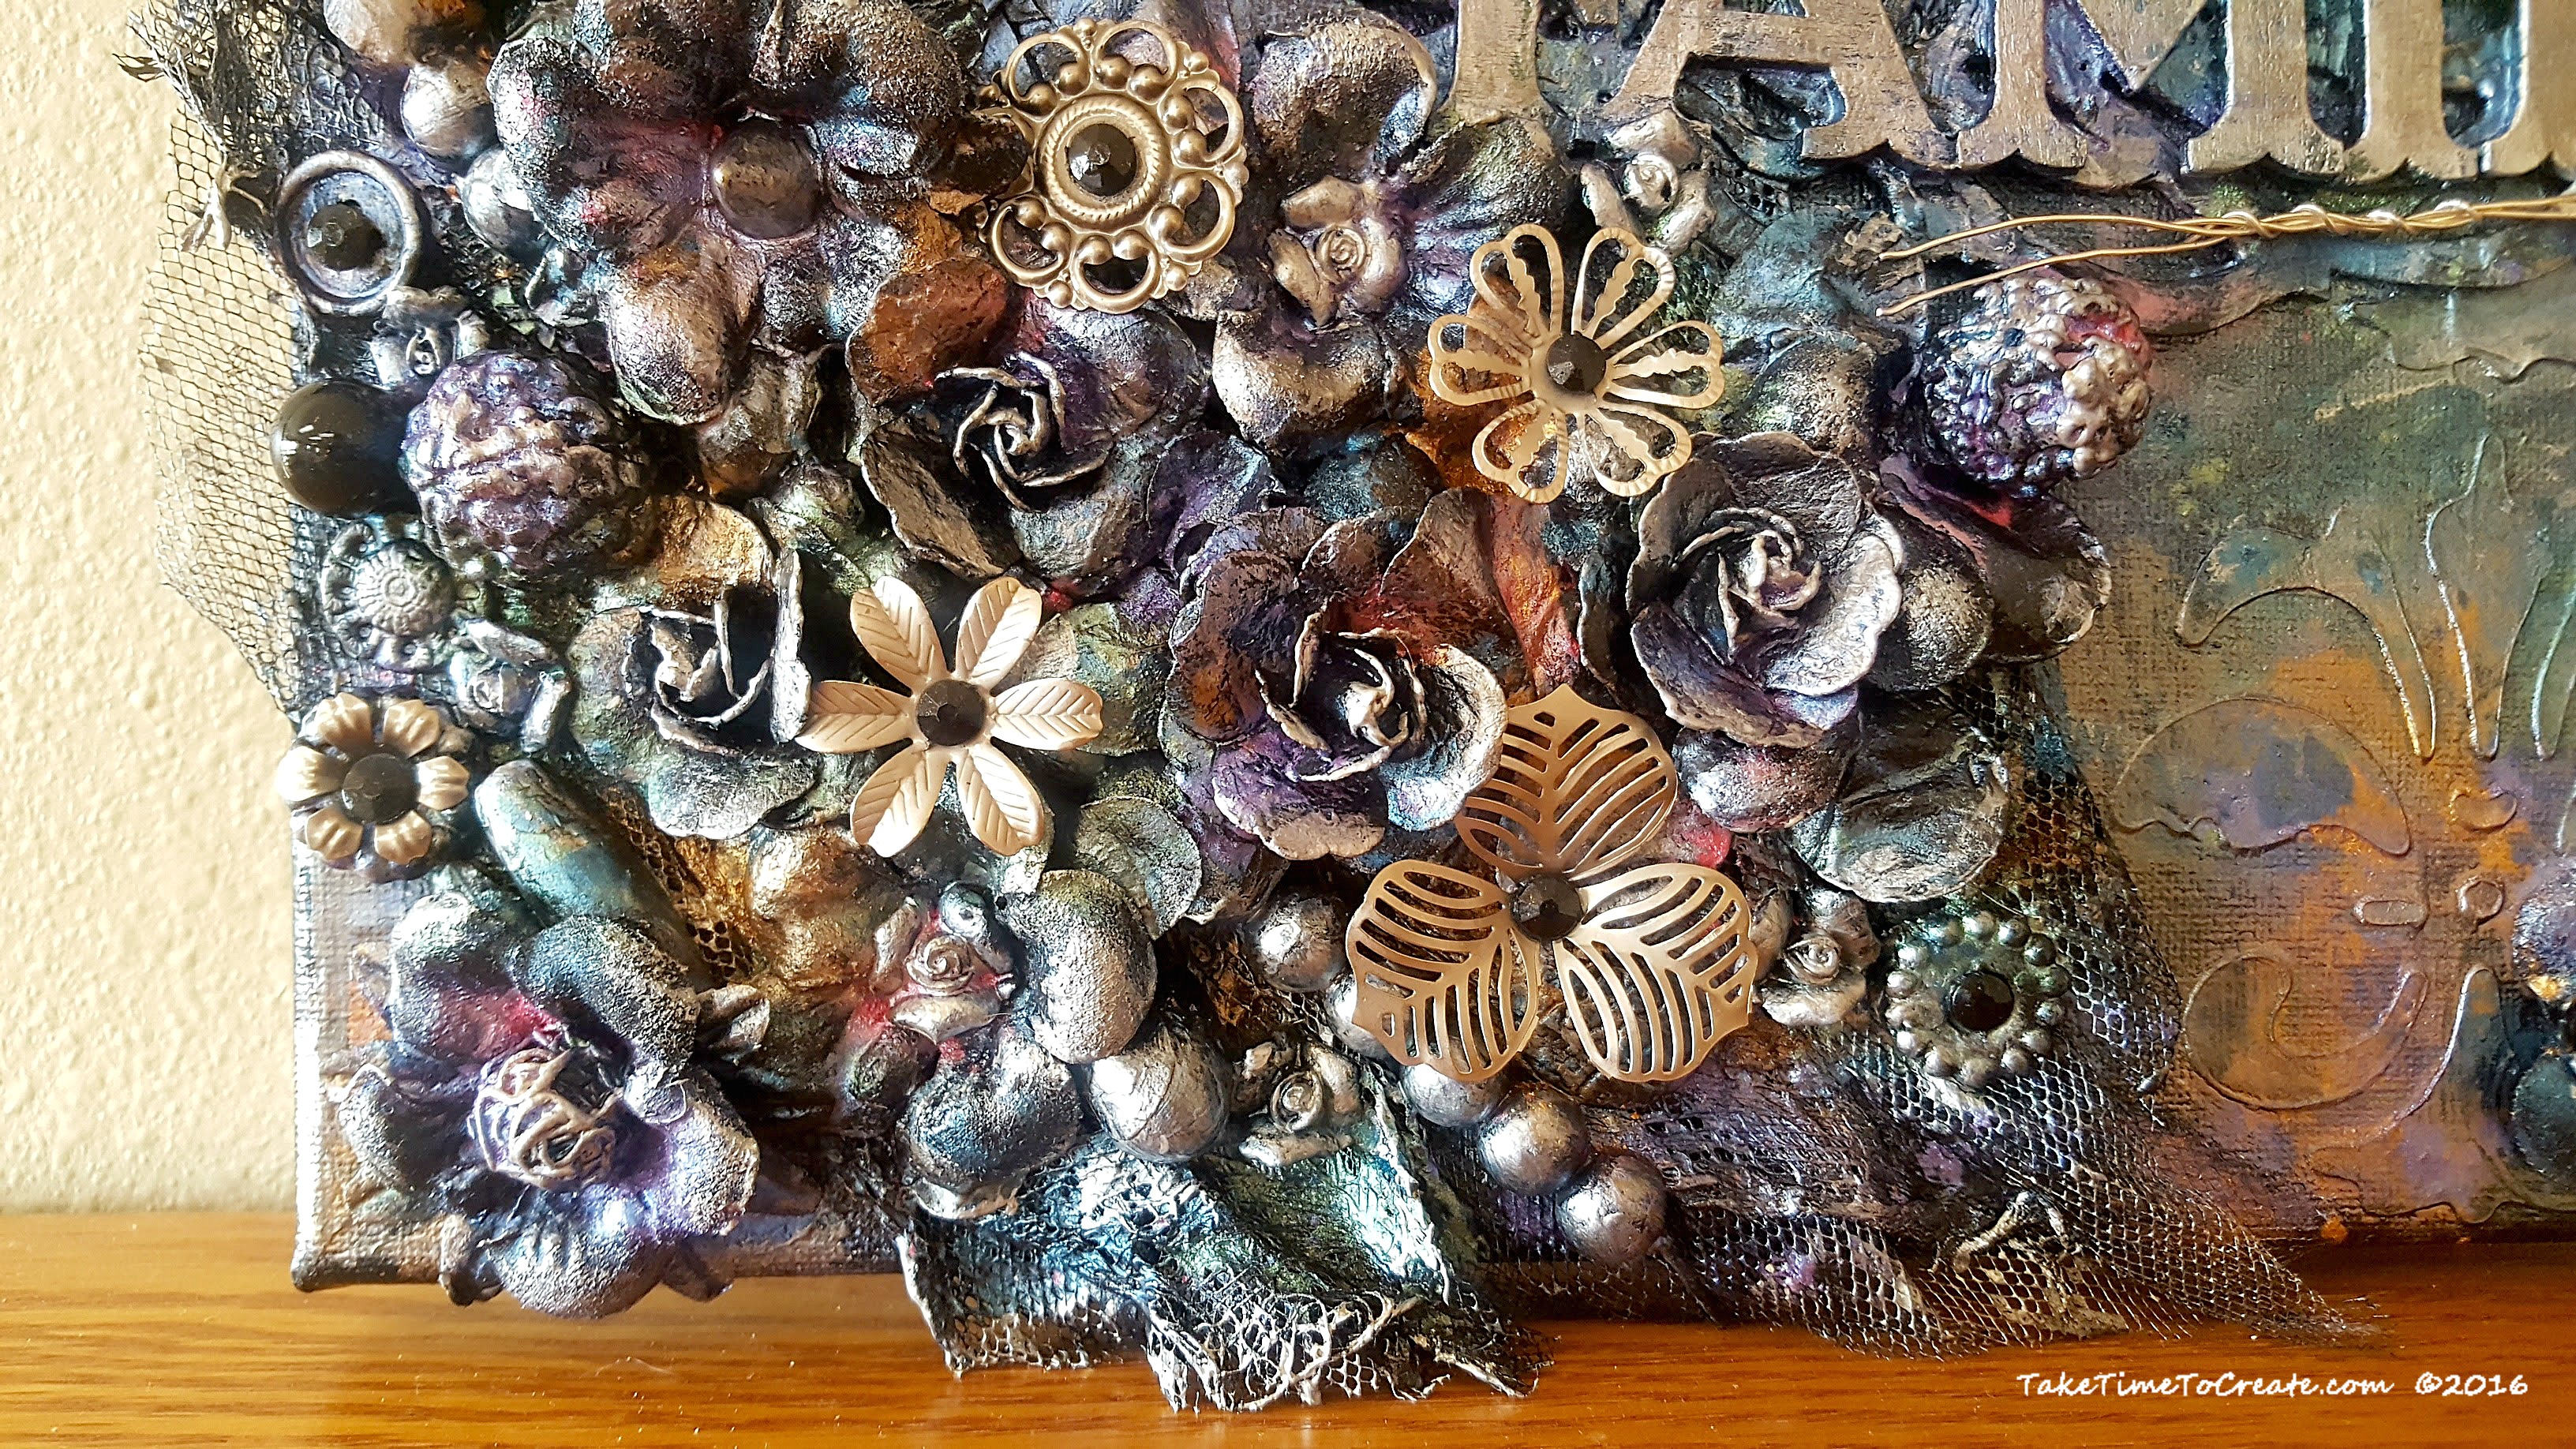
First you add all your flowers and letters and doo-dad on a canvas. I put black gesso on my canvas before I started. Then I went to town. Add stencils, cheese cloth, flowers, letters, beads, buttons, and broken jewelry. Anything to add interest and texture. I didn’t really care about the colors, just texture because I knew it would all be covered up.
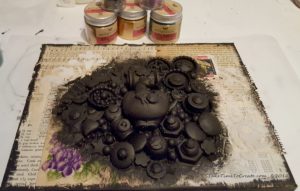
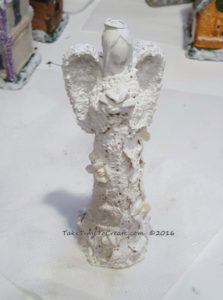
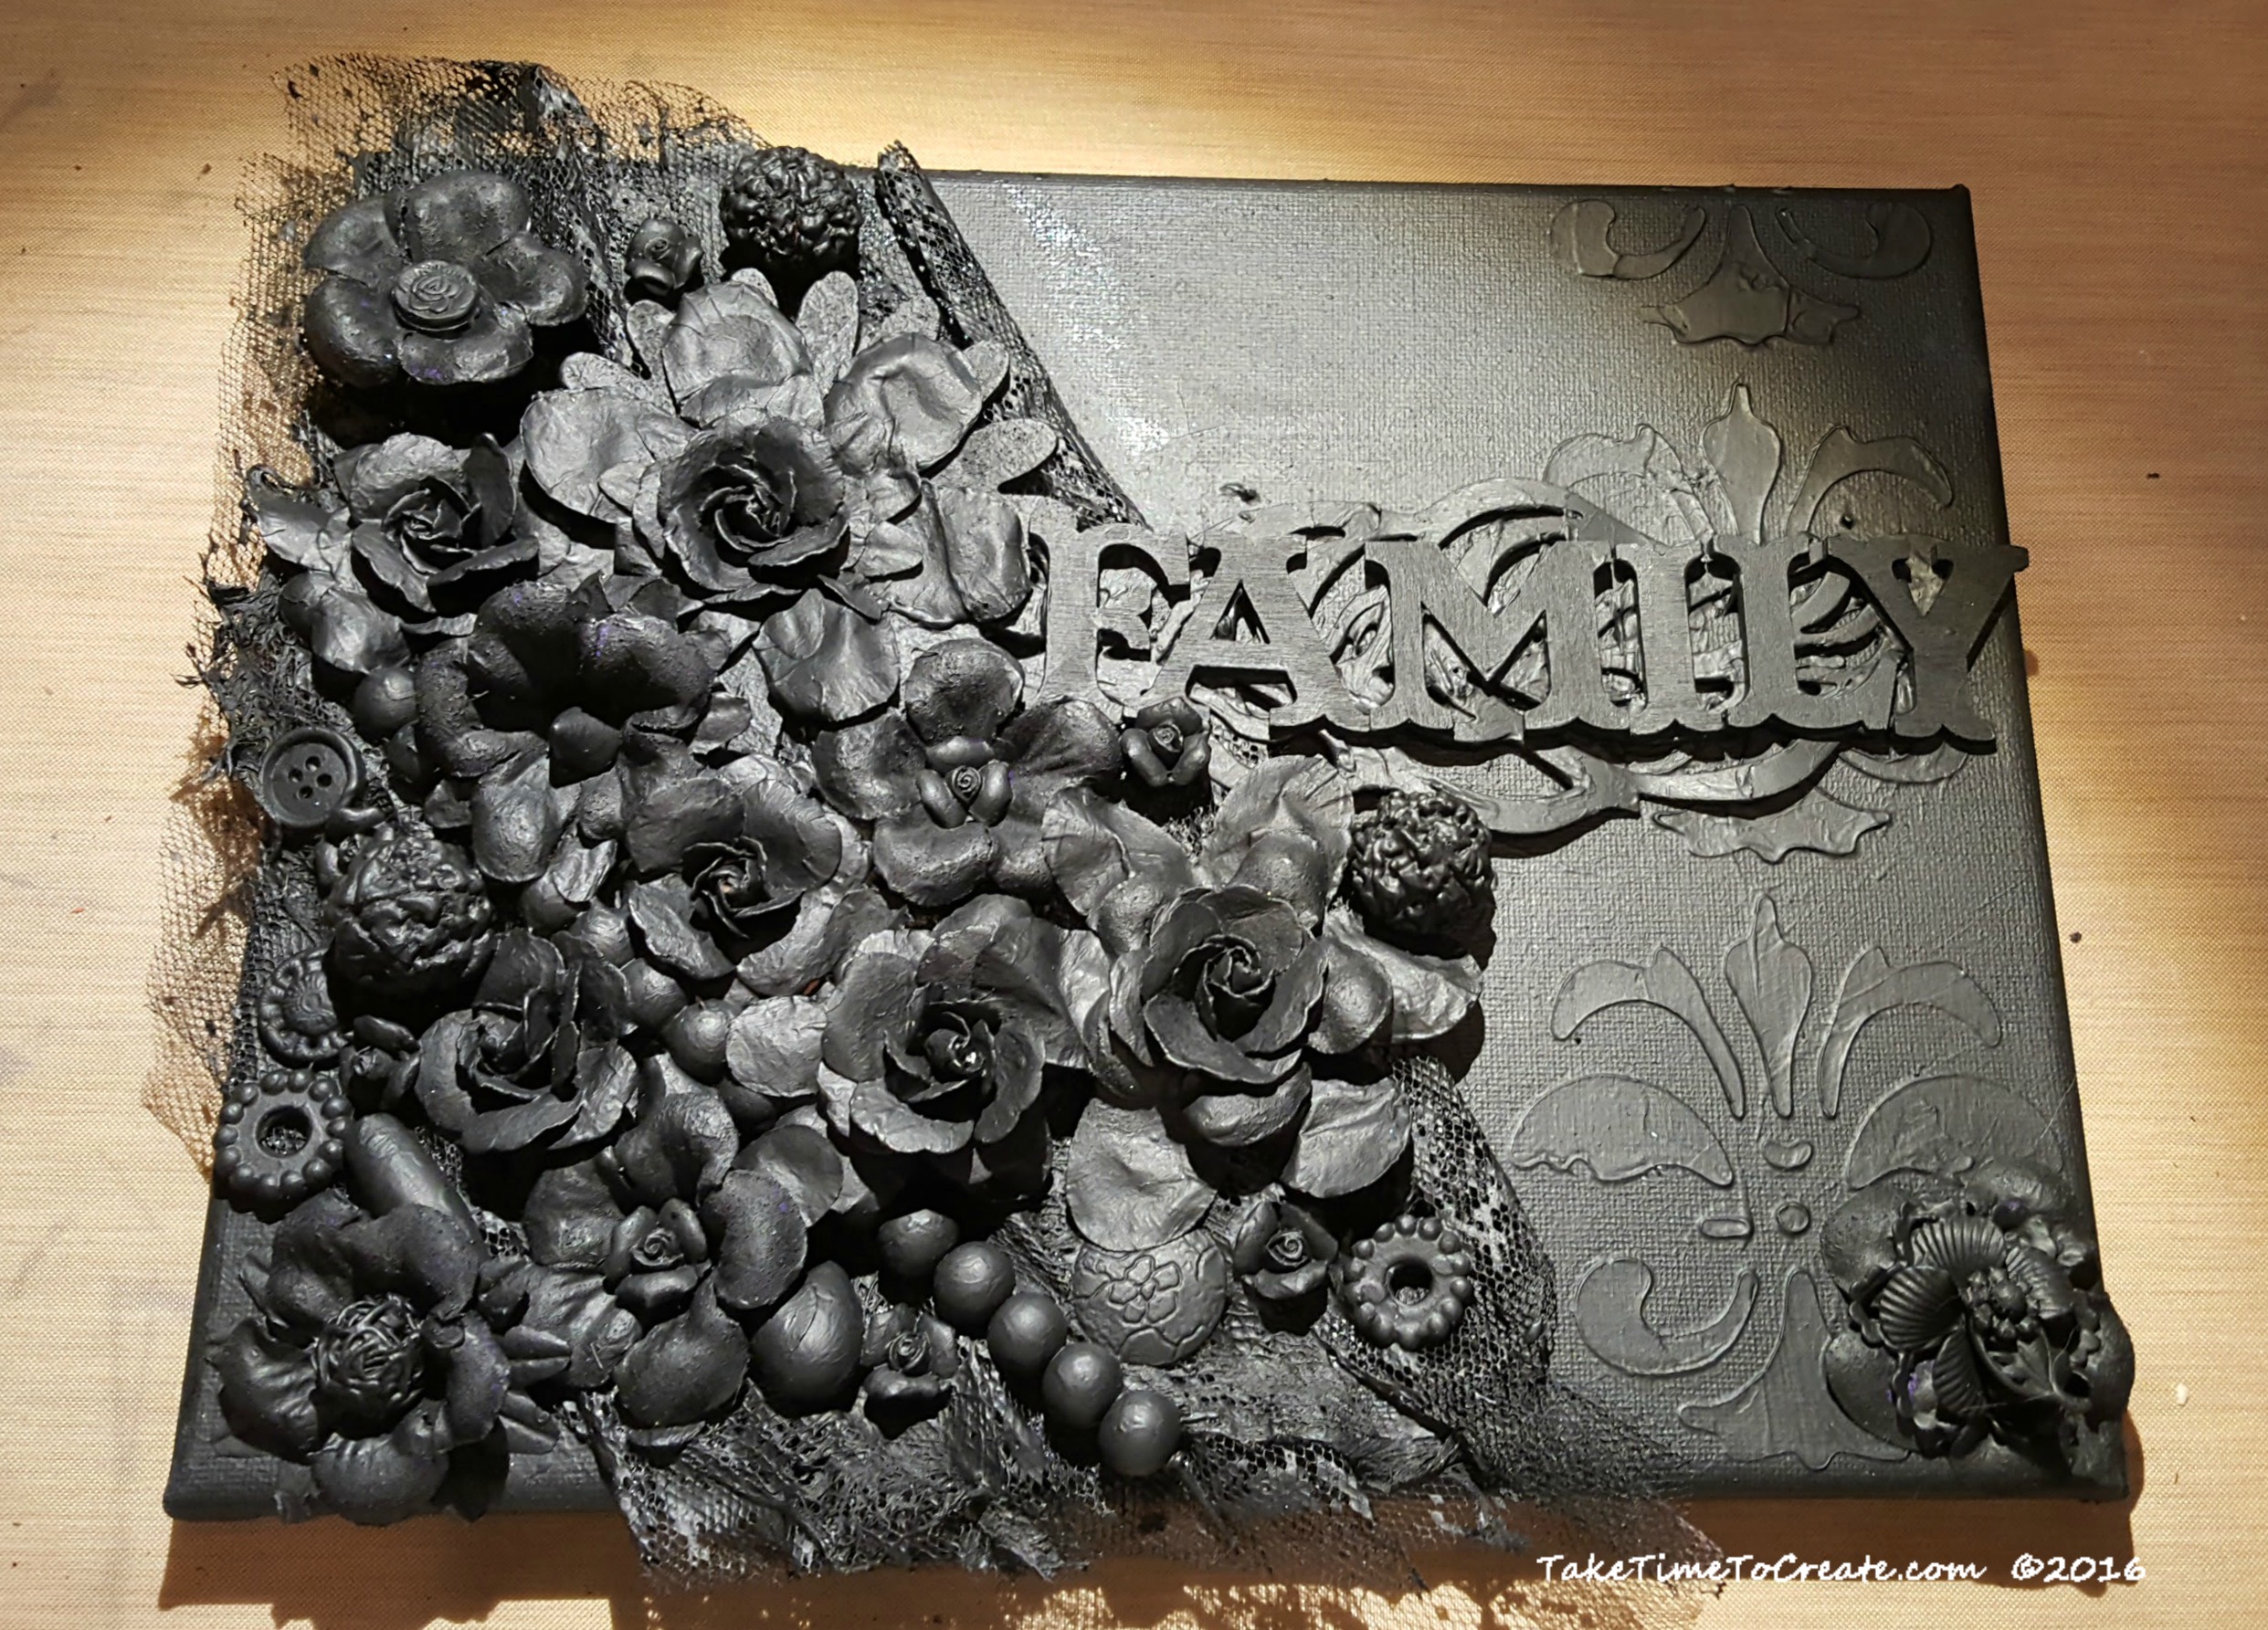
Once you have everything secured with modeling paste then cover it all with black gesso. Cover all the ins and outs and little spots, you want it all black with nothing showing. This will take a while, but it is worth it to take your time and do it right.
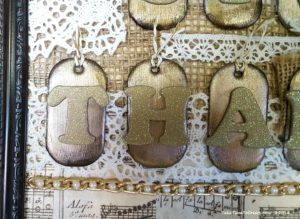
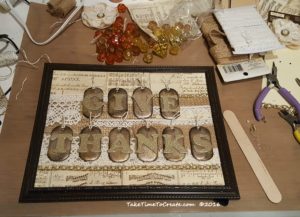
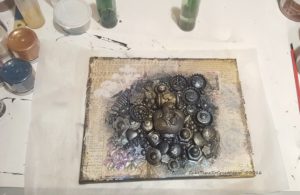
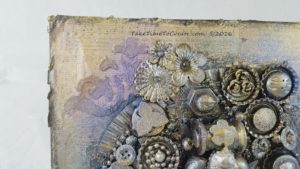
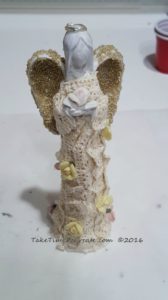
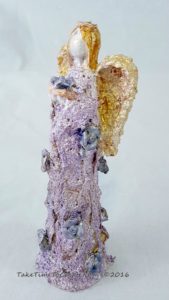
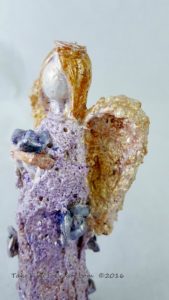
Once it is all dried it is time for the fun part. I added piles of mica powder all over the canvas. Then I took a spray bottle and sprayed water to spread the mica powder and create a shimmery, metallic look. I did this a few times and once I was done with how it looked I dry brushed acrylic paint on the canvas. I just highlighted the tips of the flowers and the Family letters, The dry brushing was just to add some more detail to the canvas.


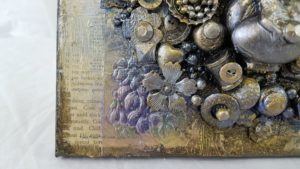
After the paints dried I added some metal flowers to add detail. It was the missing piece to bring it all together.

I really like how it turned out, what do you think? These are so much fun, I can’t wait to show you the next mixed media project I am working on.