Tag: repurpose (page 2 of 2)

Craft Fair Earrings and Jewelry Making Supply Storage

Hello Everyone!

Christmas craft fair season is upon us! Yikes, I am not ready! Anyone else doing craft fairs and are you ready?

One item I like to see are earrings. On a side note I only make and sell things I will use/wear/display in my home. Too often people try to make only what they think will sell and not what they actually like or that they would wear or use. This is my opinion, and I sure it is different from other opinions. Now I want to sell it all, but I know some things won’t sell and that is ok. And since I like it I will be more likely to use in my daily life.

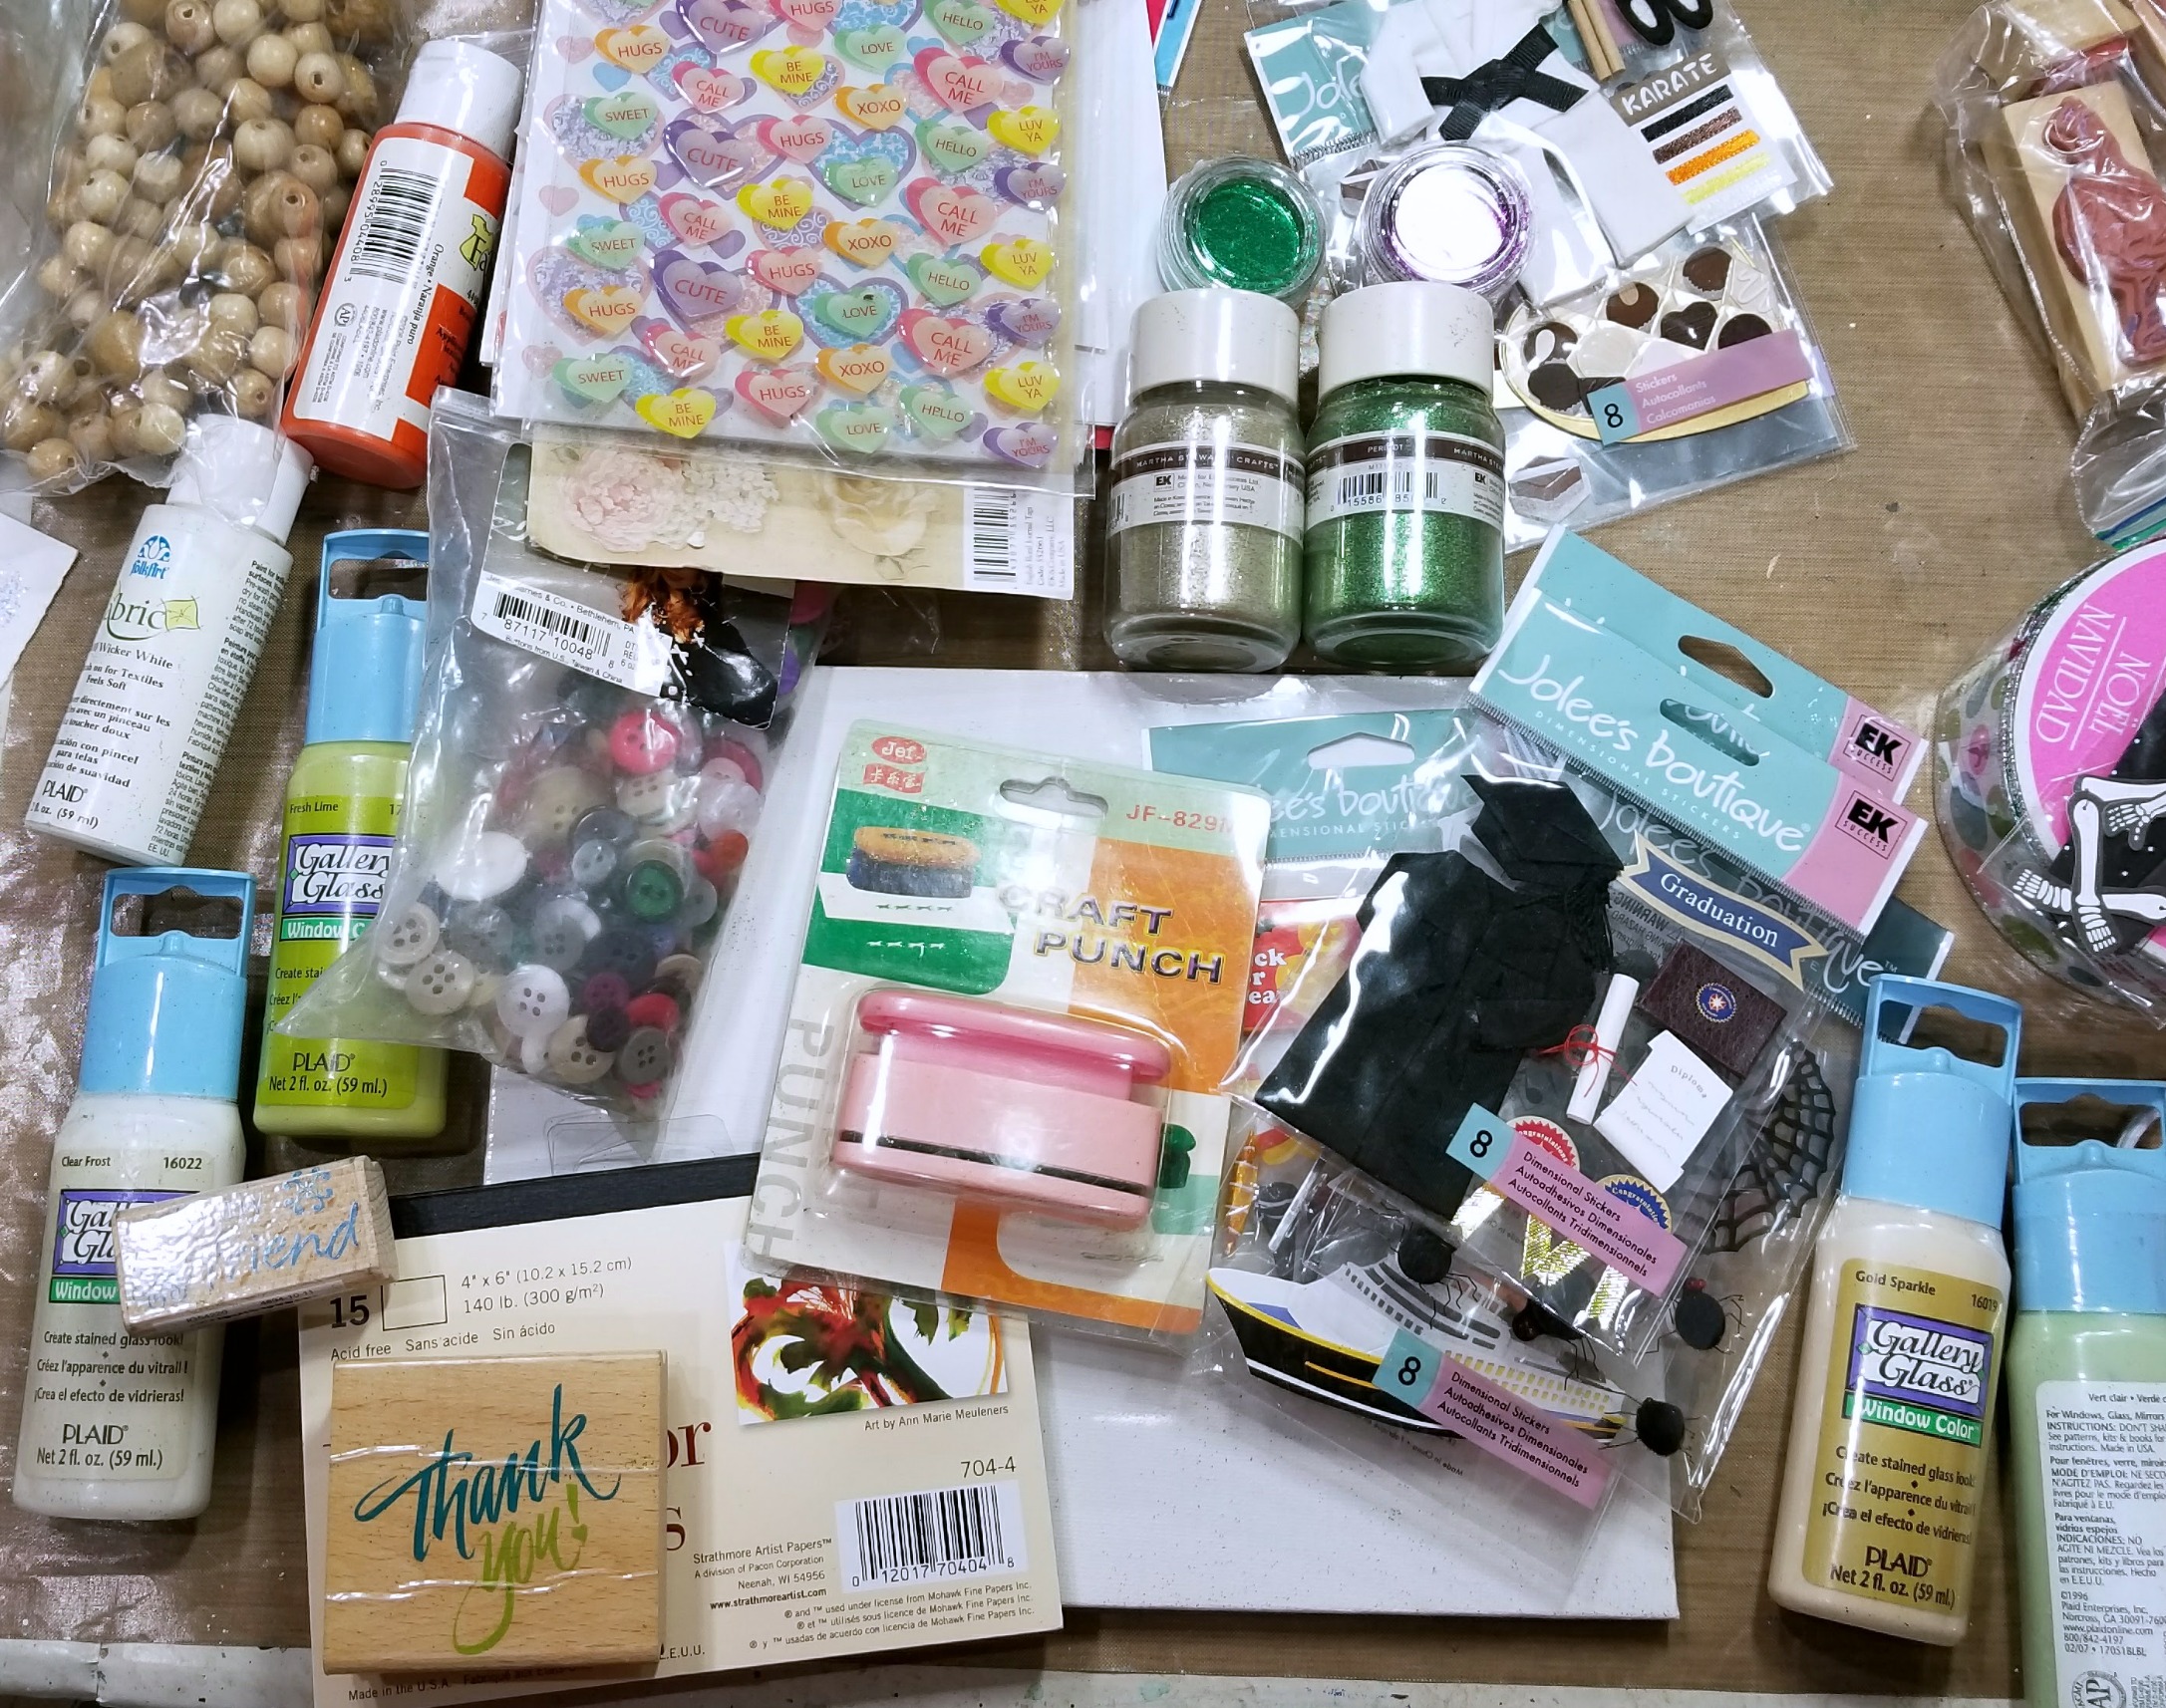
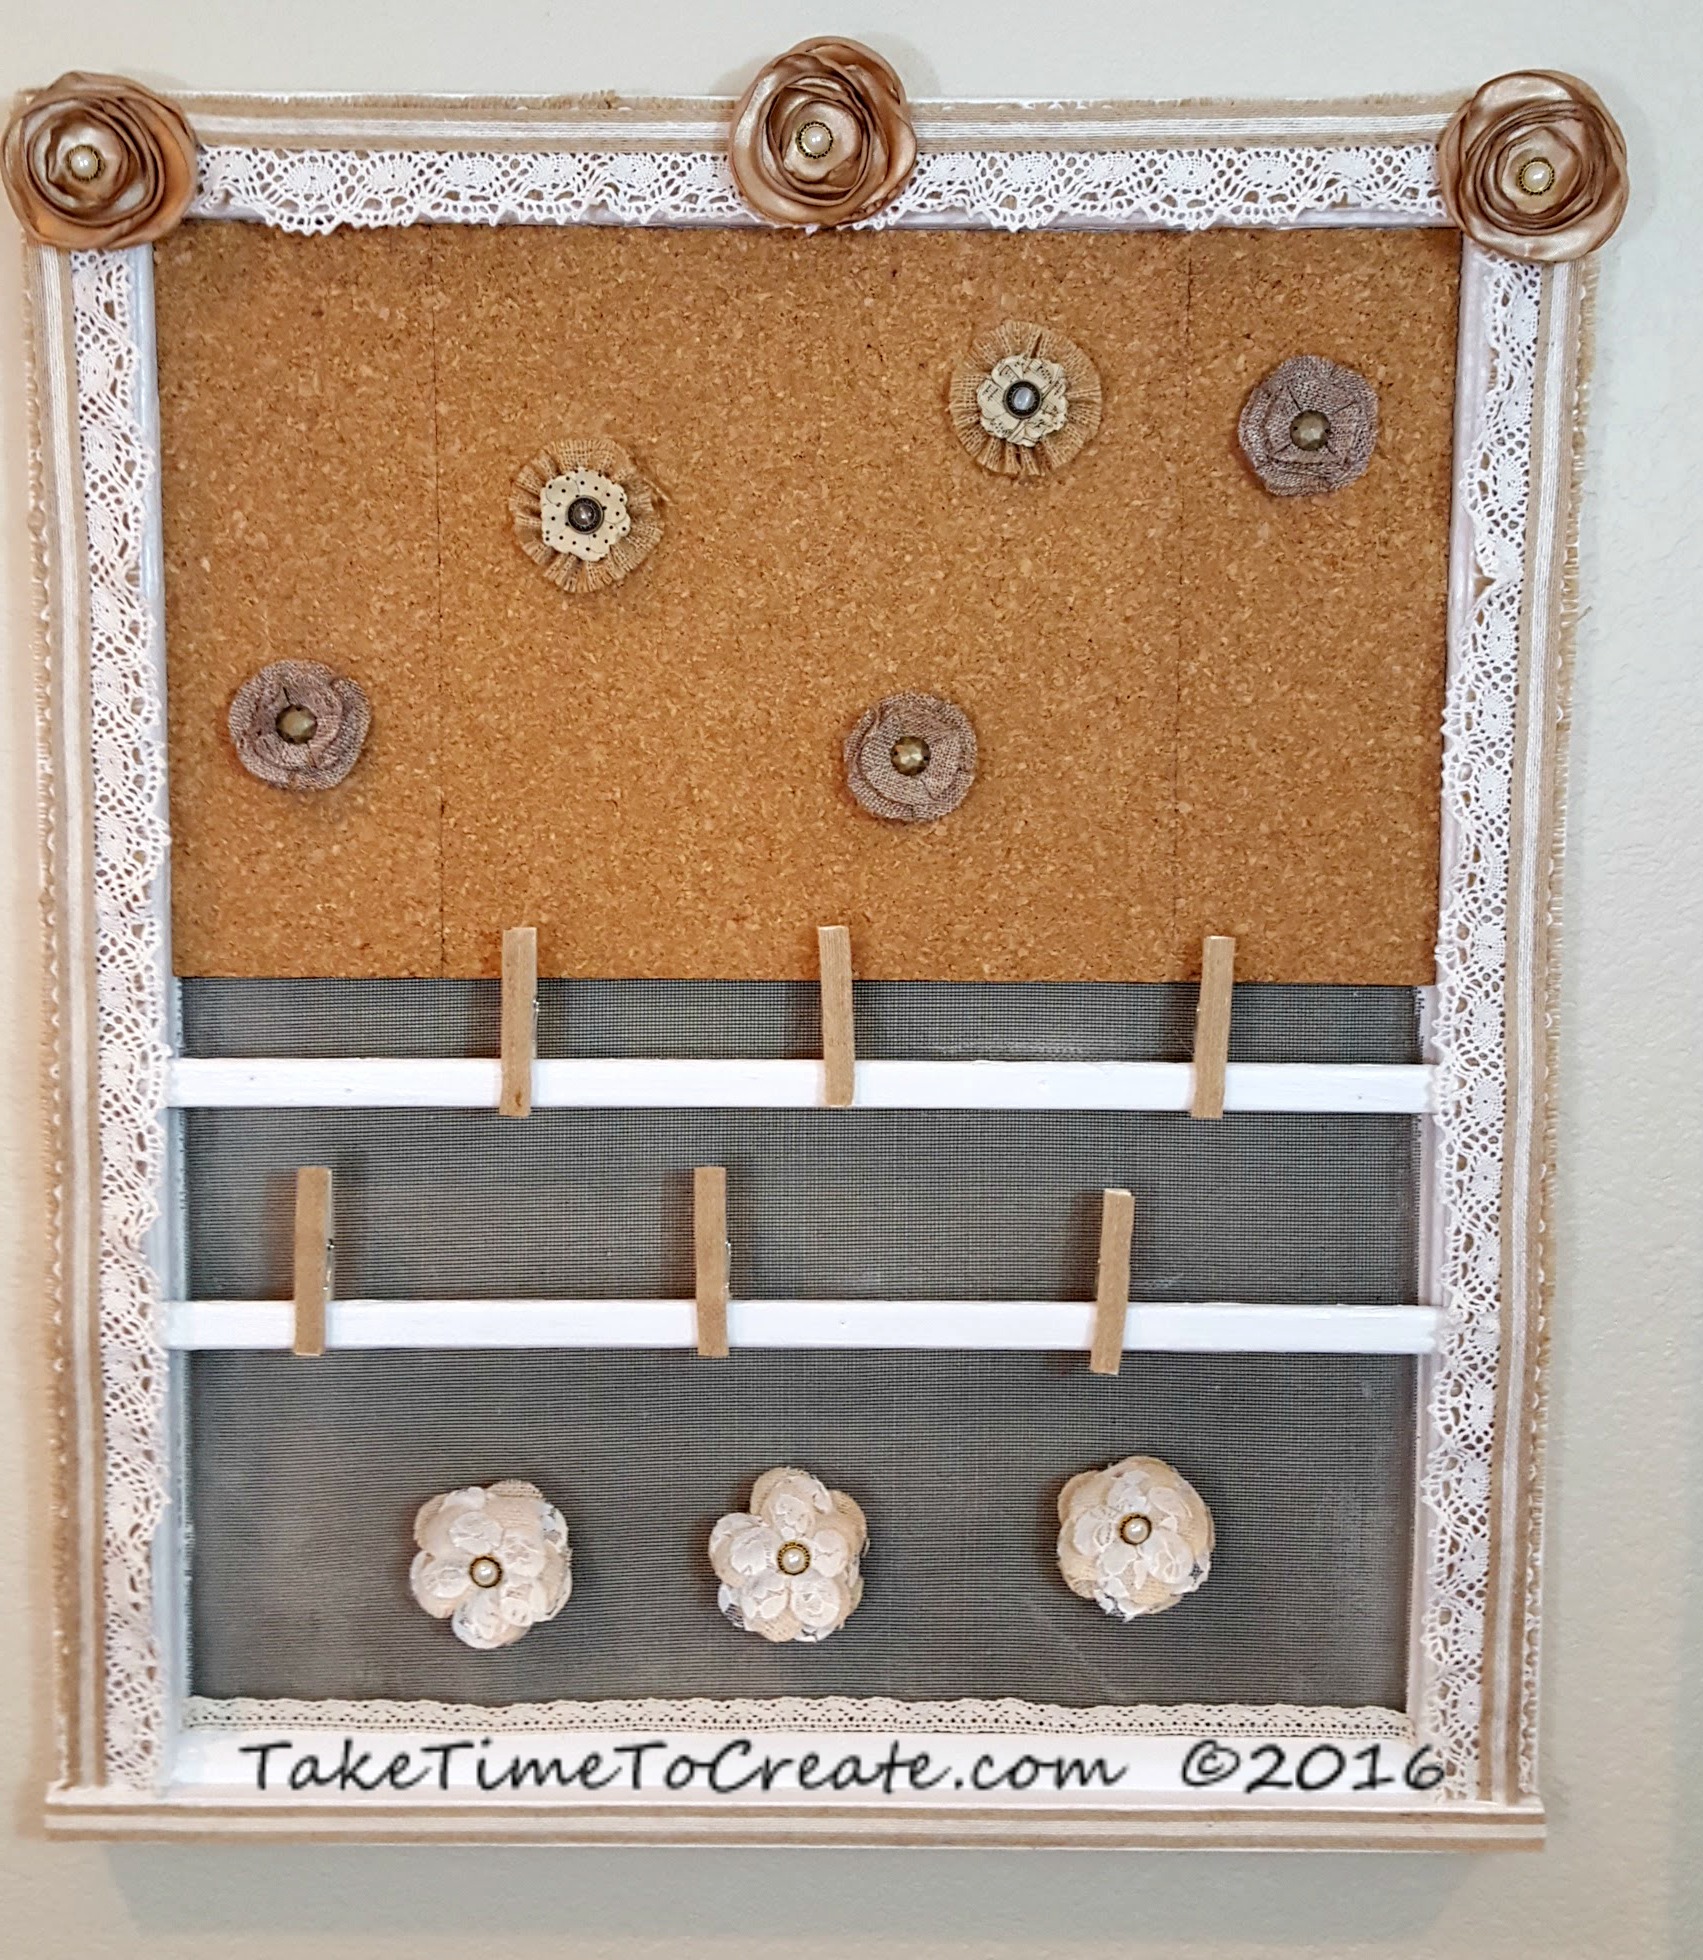
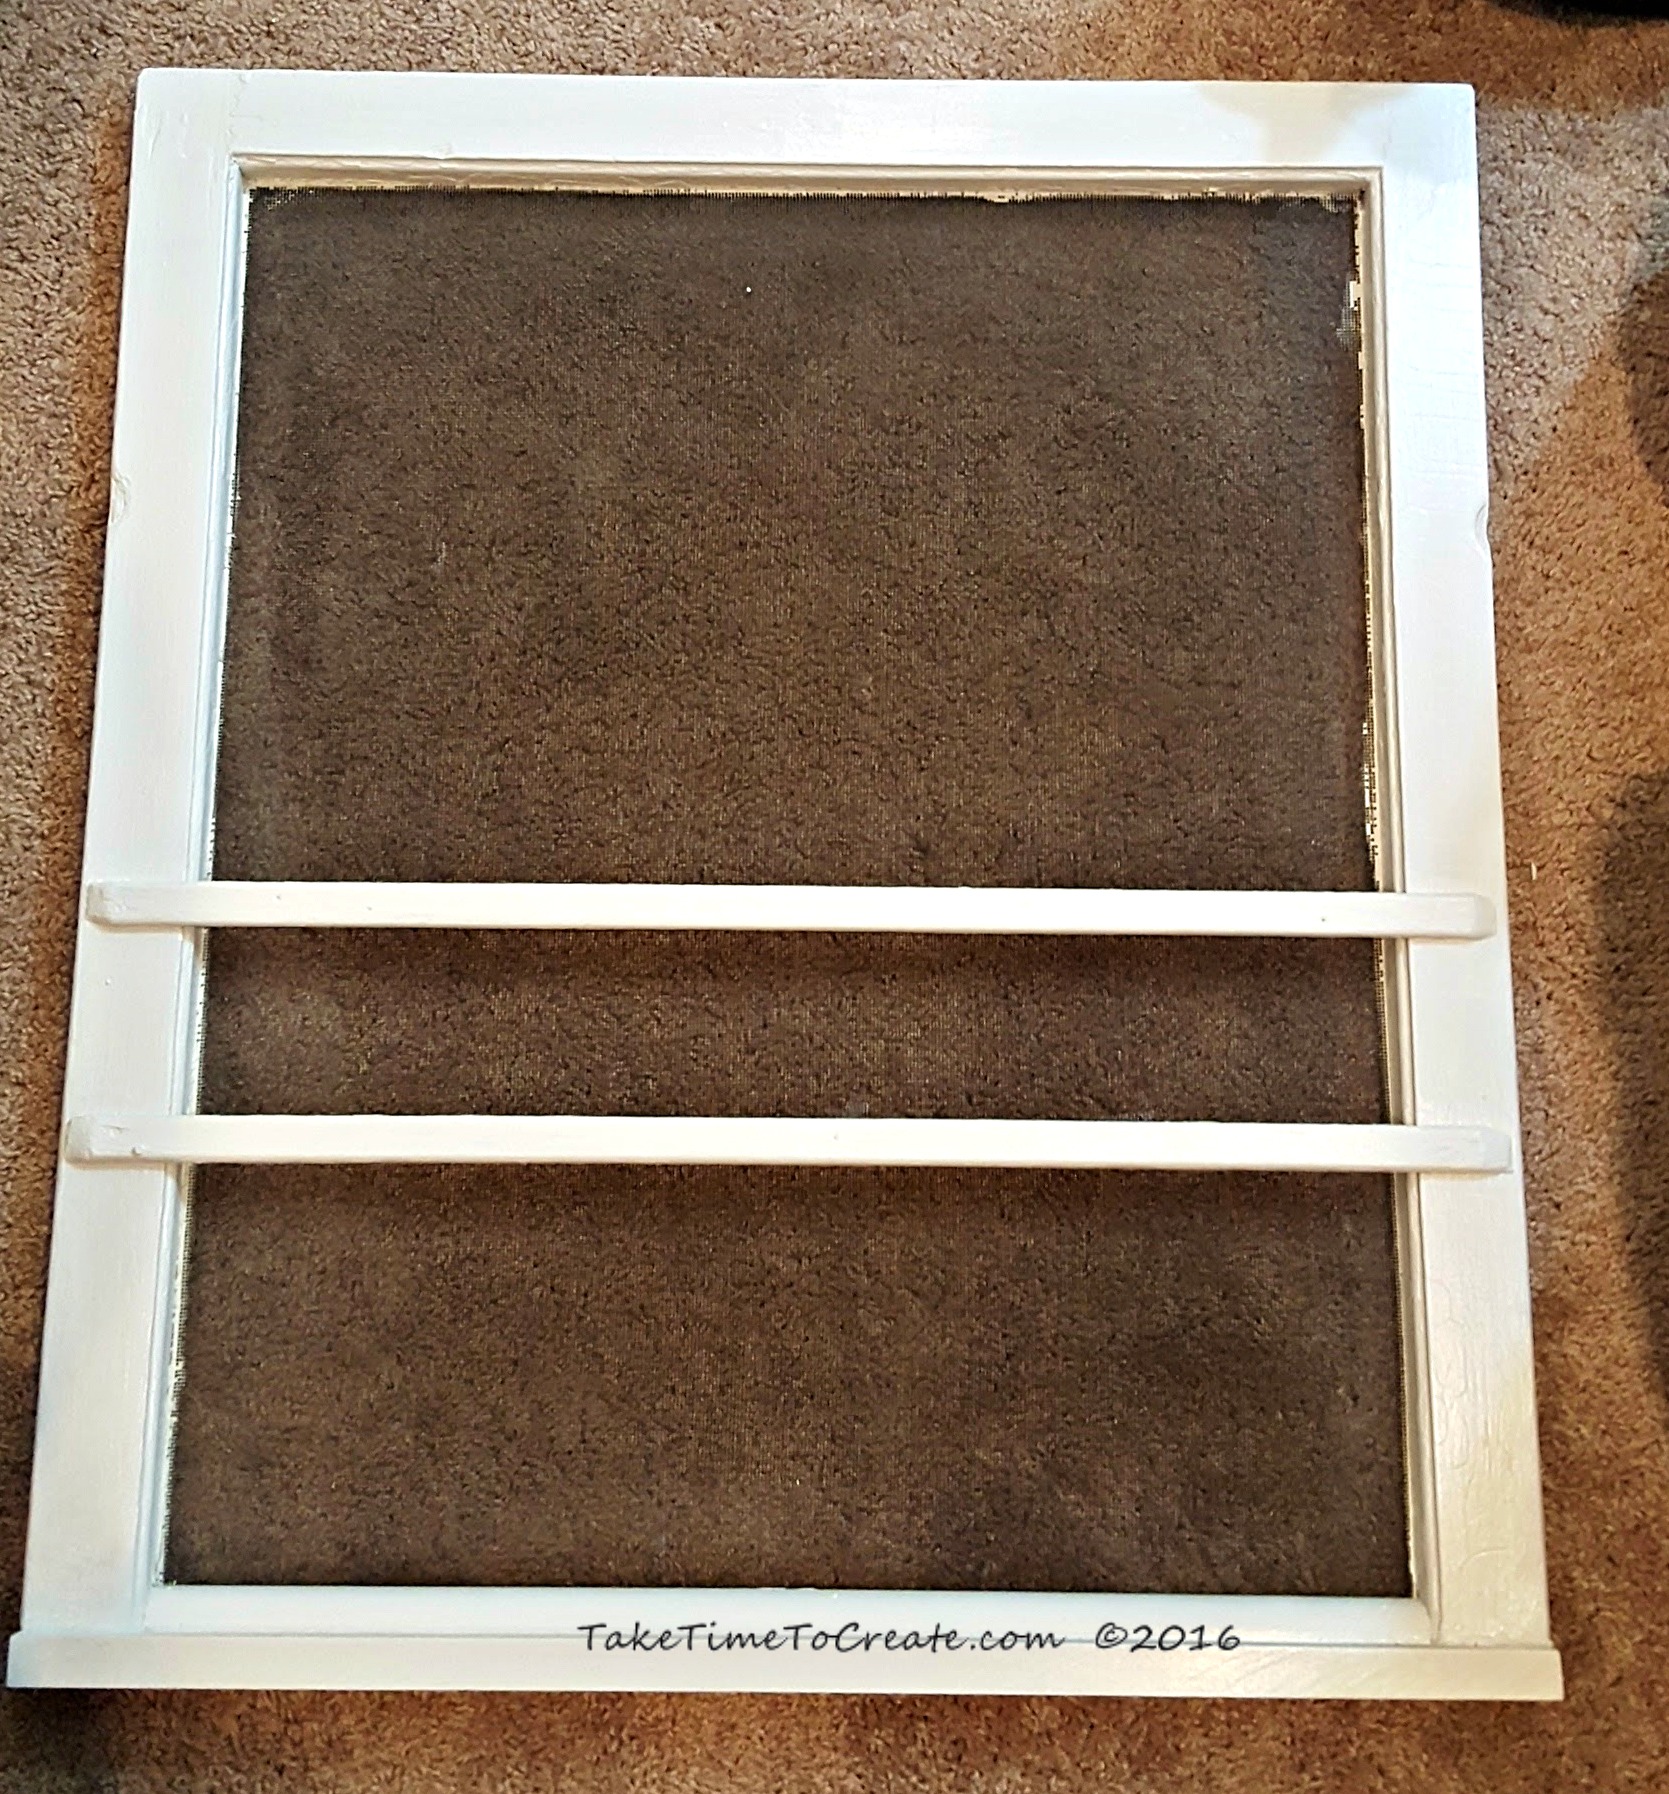
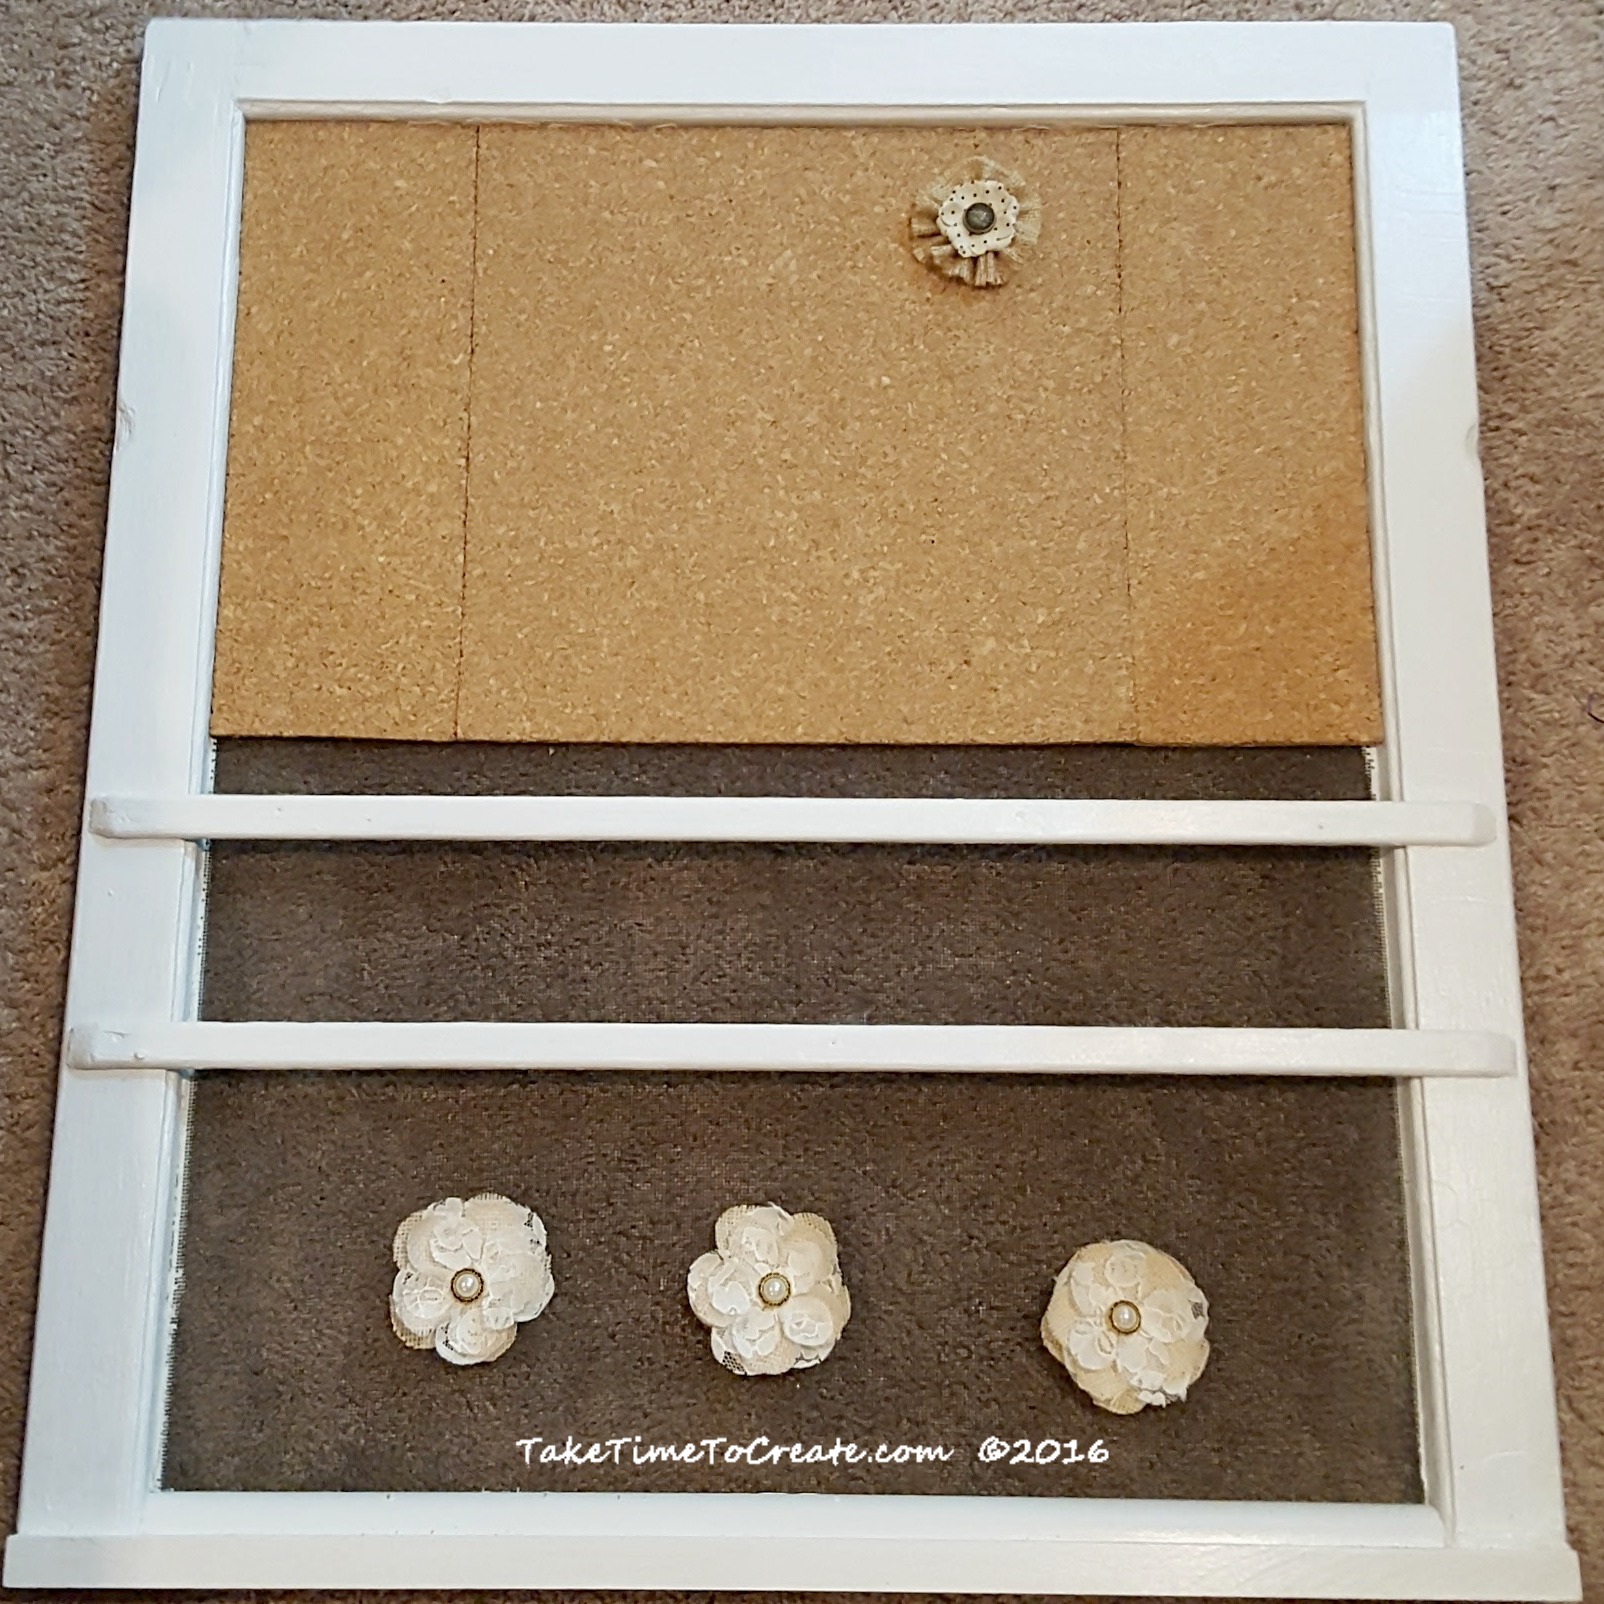
One thing I do like to sell are cute little earrings. But before I get to the earrings I wanted to show you how  I organize my jewelry findings. I found these really great tool organizers at Harbor Freight.  Here is the link: https://www.harborfreight.com/tool-storage/part-storage/multi-compartment-utility-box-40528.html

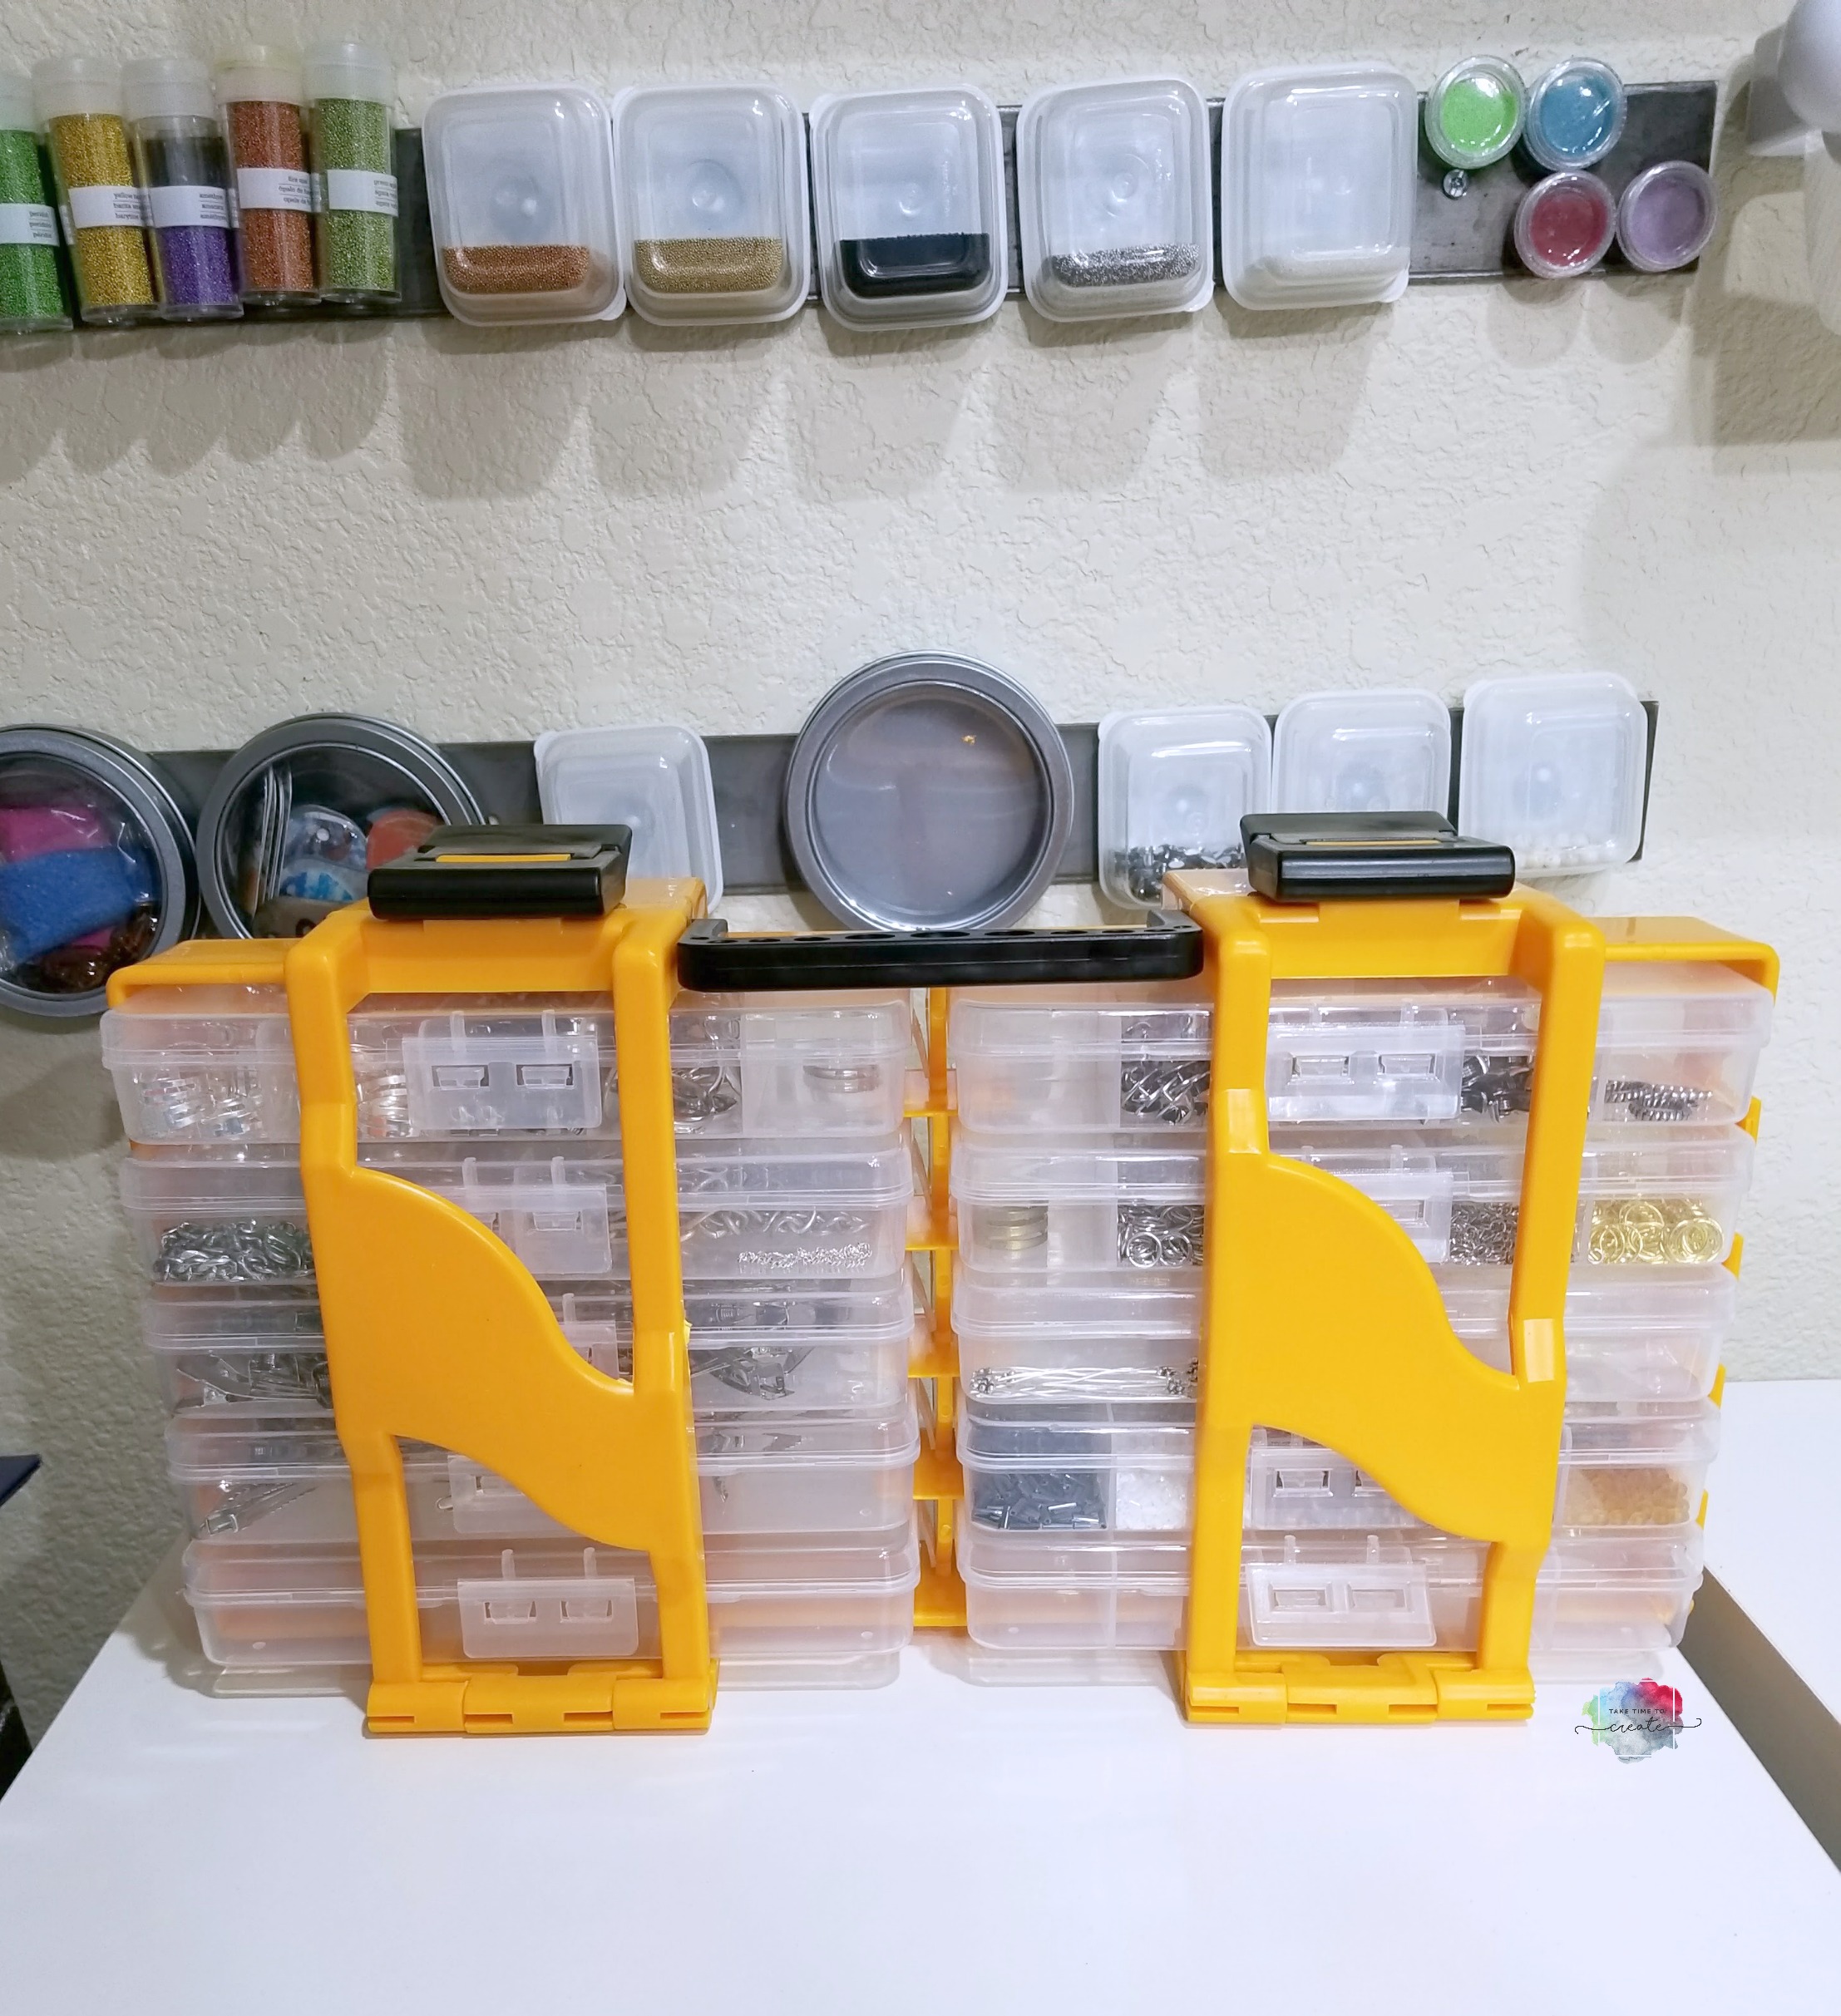
They are fantastic, I love how portable they are with the handle and each bin comes out so I take out what I need. There is a lot of room and they fit my needs perfectly.

The organizational bins behind the plastic storage is the metal strip my husband hung along with the magnetic containers from the dollar store. You can read the blog post here: Organizers

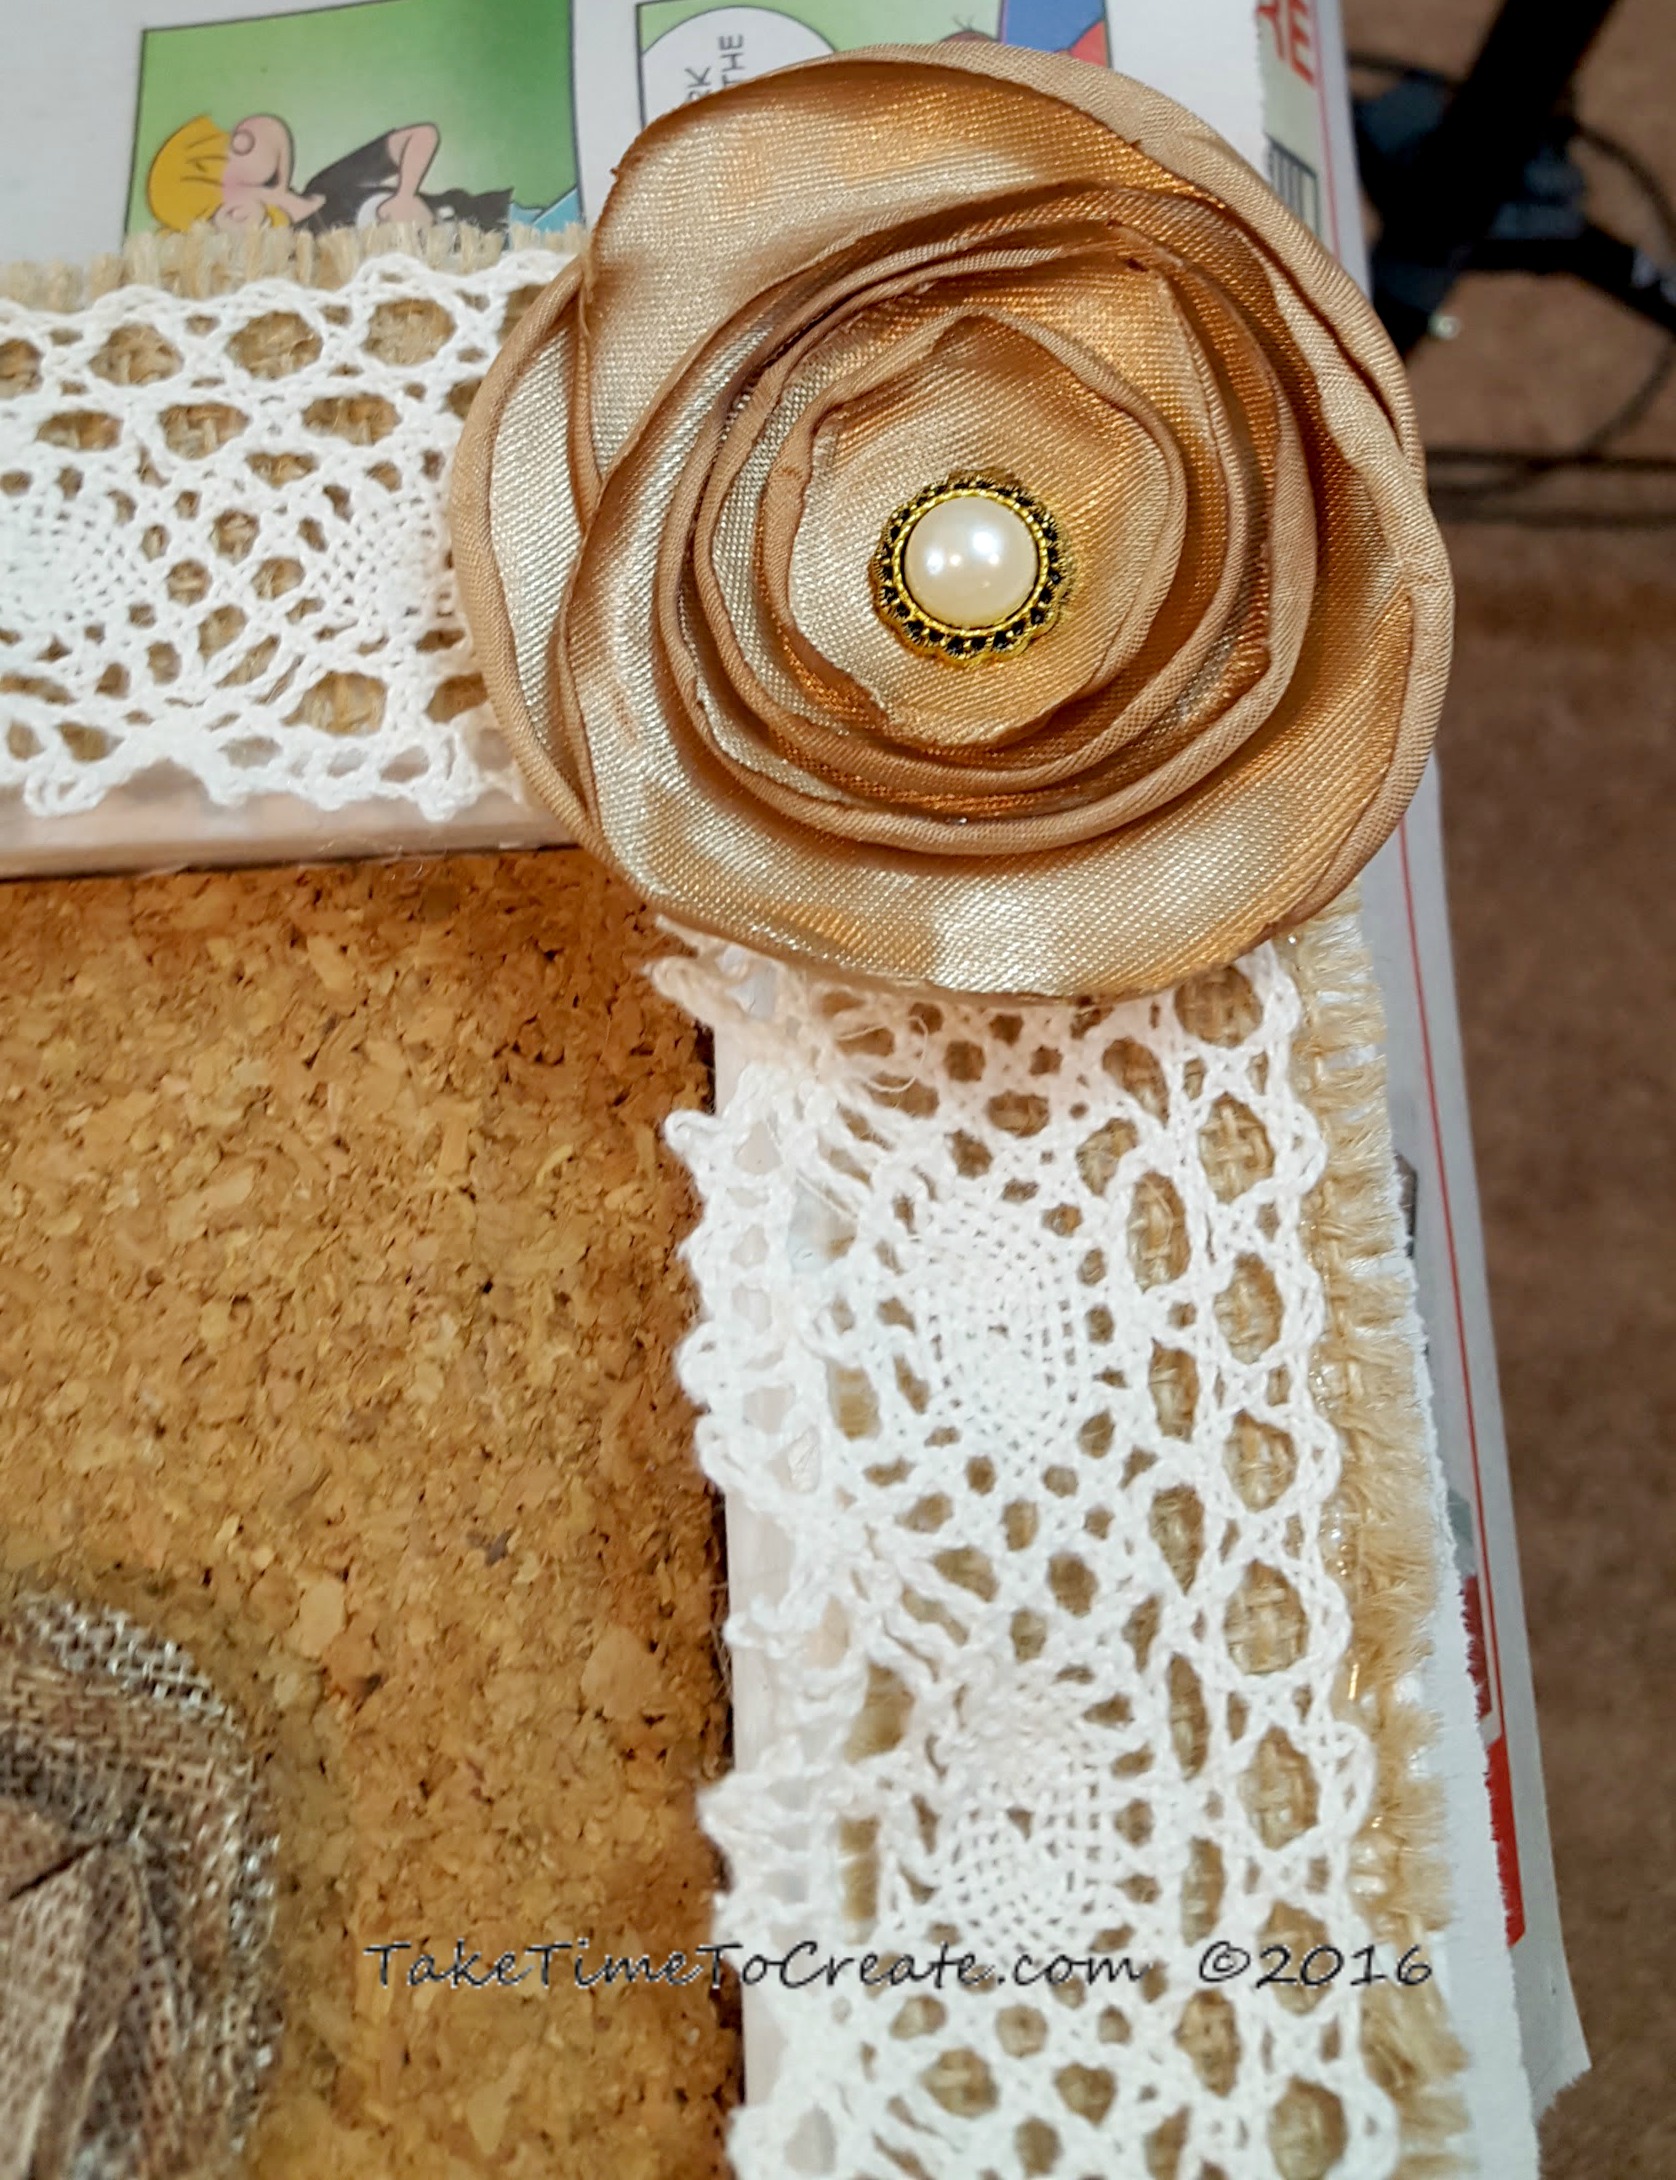
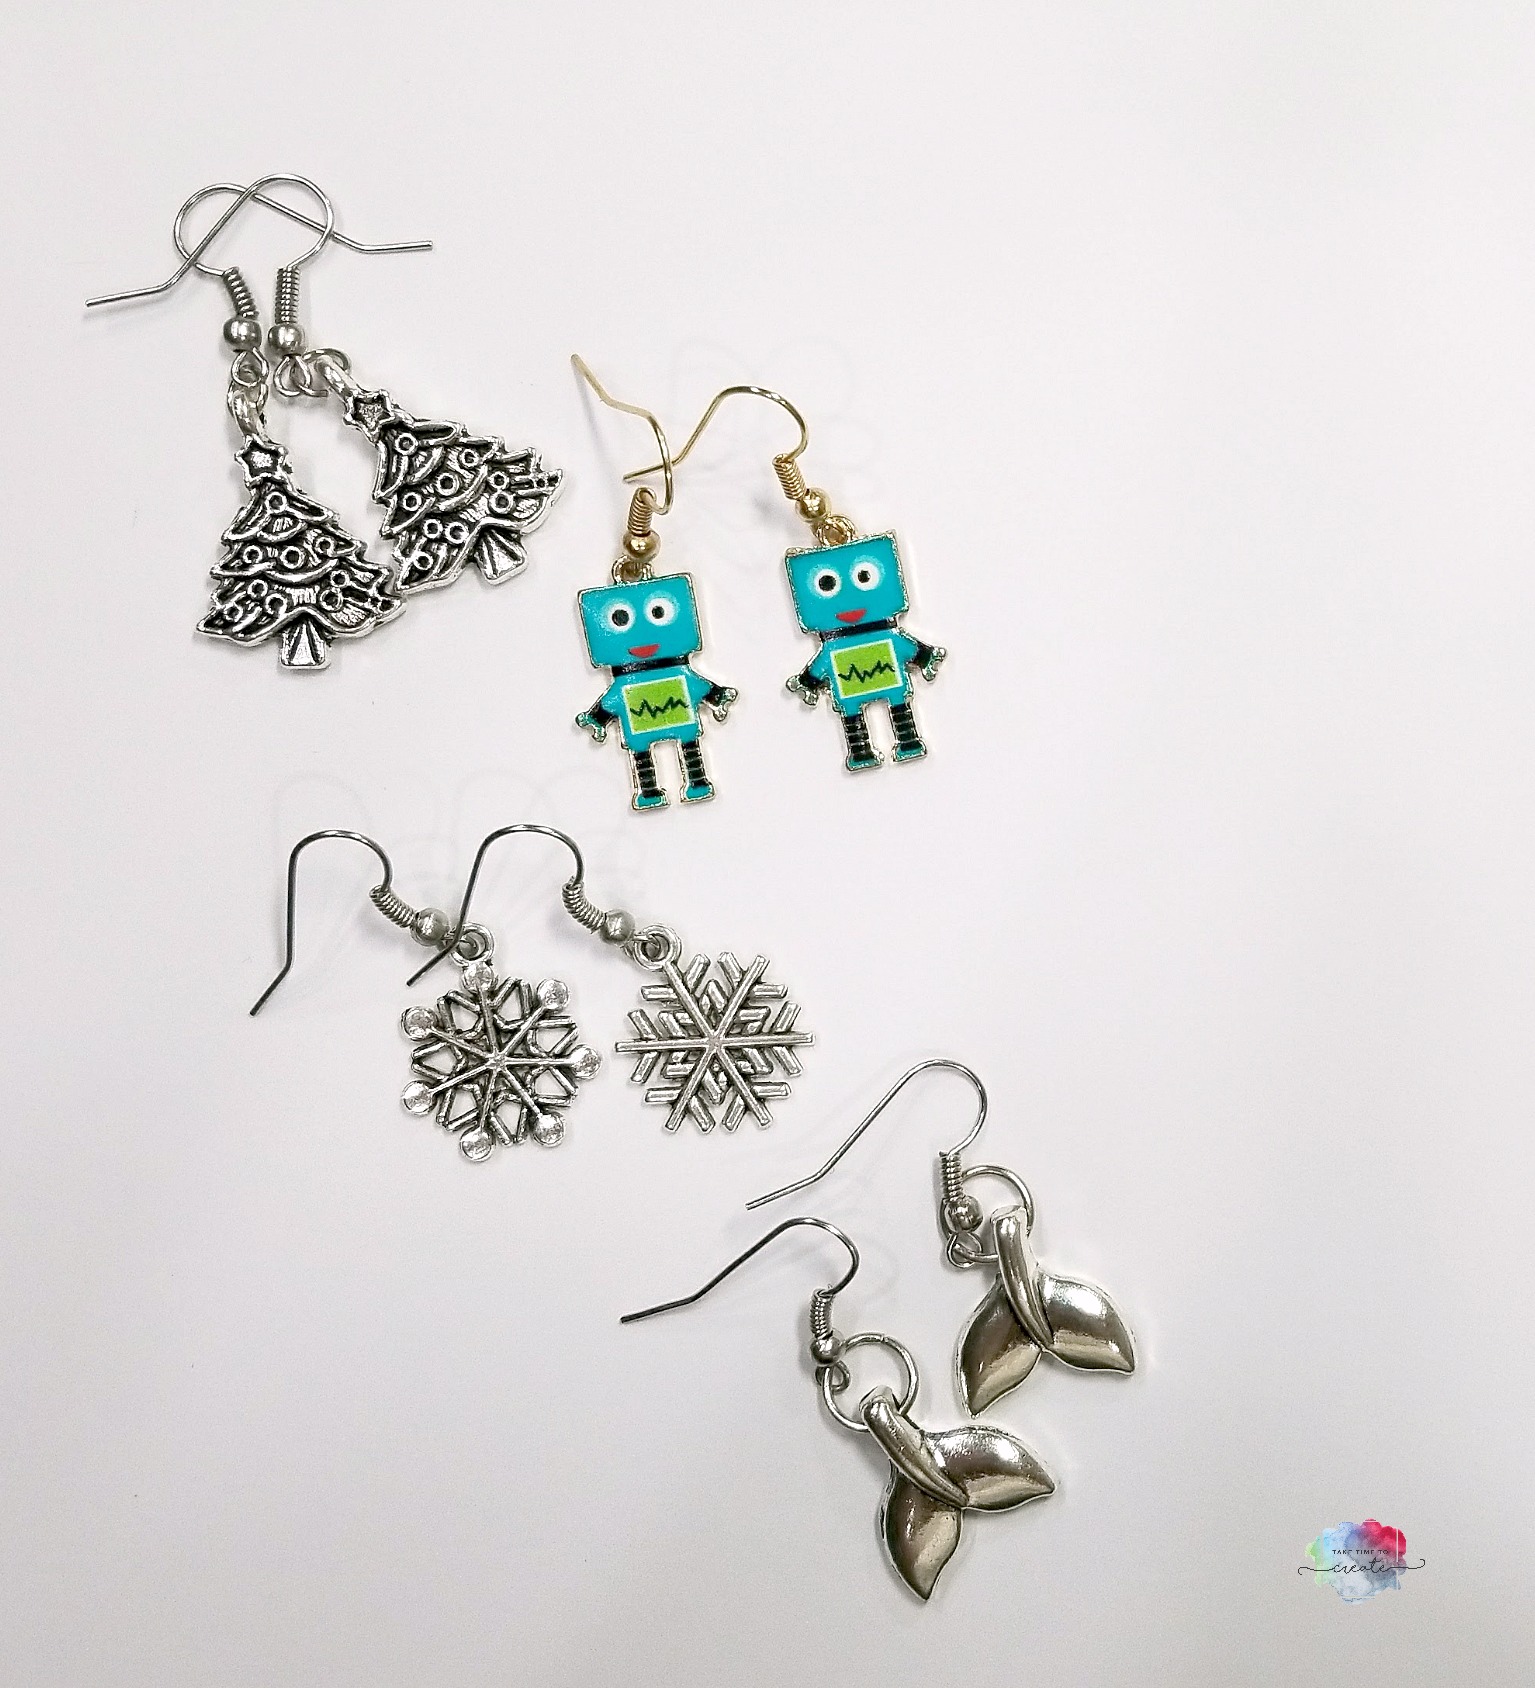
The earrings are really cute and fairly simple to make. All you do is add a French hook to a cute charm. I used a zipper pull and some other charms I had in my stash.

I like to use a variety of charms, not just Christmas ones. You never know what people will need or want.


earrings

Once I have a pile made I will package them and get them ready for the craft fair. If you are interested in seeing how I make my packaging and how I display my earrings let me know and I will write a post about it.

The post Craft Fair Earrings and Jewelry Making Supply Storage appeared first on Take Time To Create.

Ebay Mystery Box Unboxing

Hello Everyone!

Have you seen the latest You Tube trend of creators doing an Ebay Mystery Unboxing? This was too tempting to resist, so of course I had to try it, lol.

But before I get into the unboxing, I want to tell you about a Giveaway I am doing on Instagram.

I will be giving one lucky person a Tropicals Prima Watercolors set. Head over to my Instagram to enter –instragram.com/taketimetocreate. Give away ends on Nov 12.

Anyway… on to the unboxing. You can check out my reaction video here:

I have to say, this was so much fun to do. If you have seen other Ebay mystery boxes you might know that some You Tubers have gotten junk. Absolute junk! I mean trash and other horrible things. I was very apprehensive in opening my boxes.

But I lucked out! I purchased 2 boxes from Ebay one was $25 the other was $40 and they both promised to have craft and art supplies in the box. You can pick a random box or a themed box, I went with crafting/art themed ones. But buyer beware, these are mystery boxes and you never know what you will get.

When I opened my box I was pleasantly surprised! They were both filled with awesome goodies and I can’t wait to try them out. Whew! I am so glad they were worth it.

Check out a sneak peak of some the awesome goodies I got! So many wonderful things to tryout and experiment with.

ebay mystery box

What do  you think of the Ebay Mystery boxes? Are you going to try it out?

The post Ebay Mystery Box Unboxing appeared first on Take Time To Create.

Harry Potter Mixed Media Canvas

Hello Everyone!

Is there anyone out there still obsessed with Harry Potter? I love all the books and movies, and when I found the lantern that I used in this mixed media I knew what quote would work perfectly for it.

You will want texture, so for the grid stencil I used a dish mat and stenciled it on the background.

The find everything you can get your hands on and glue it down with modeling paste. I found broken toys (there are Hex Bugs and Bakugan and more in there) broken necklaces, bracelets, lace glow sticks, beads, buttons, and more. The lantern was a night light that I disassembled and added a cork for the bottom.

Remember, colors don’t matter because we will cover it all with black gesso.

Harry Potter Mixed Media Canvas


Once you are happy with the placement cover everything with black gesso. Make sure you get in all the nooks and crannies and cover it well.

Harry Potter Mixed Media Canvas

Now it is time to paint. I used metallic paints and painted near the light with brighter colors and went darker from there. I wanted to make sure the light was coming from the lantern and casting a glow on the rest of the painting.

For the quote I just printed it on  my computer and adhered it to the painting. When everything was dry I sealed with a spray sealer.

And there you have it, a Harry Potter Mixed Media Canvas to show off your love of all things Harry Potter.

Harry Potter Mixed Media Canvas

Harry Potter Mixed Media Canvas


In case you missed my other Harry Potter inspired crafts you can see it here:


The post Harry Potter Mixed Media Canvas appeared first on Take Time To Create.


DIY Halloween Floral Mickey Mouse Ears

Hello Everyone!

DIY Halloween Floral Mickey Mouse Ears! What more do you need for a trip to Disney World?

As many of you already know, I love Disney! It is my happy place and I love being able to go. In Oct I will be crocheting with the Crochet Crowd at Disney World! I am so excited!

As I get ready for this awesome adventure I decided I needed new Mickey Mouse ears! I like to make a pair for each day I am there, so get ready to see more ears, lol.

This first pair uses black eyeball roses from the dollar store. They are so cute and since I will be there during Halloween,  these ears will be perfect!

DIY Halloween Mickey Mouse Ears

This is a pretty easy project, which is great because I will need to make a few, lol

Materials:

  • Headband (I found a pack on eBay)
  • Thick foam
  • Felt
  • Hot Glue
  • Roses
  • Combs
  • Ribbon
  • Mickey Ear Template (I found mine here: Template)

Instructions:

Cut out your template, save it when you are done in case you want to make more ears

DIY Halloween Mickey Mouse Ears

Cut some felt in the shape of your ear template.

DIY Halloween Mickey Mouse Ears

To help thicken up your ears add some thick foam to the center of your ears. The flowers need a little help stabilizing.

DIY Halloween Mickey Mouse Ears

Hot glue your foam and felt to your headband. Be mindful of the placement, you don’t want your ears too close together and not too far apart. Then I added ribbon along the edge to cover up the foam.

Now it time for the fun part, hot glue your roses on to your ears. I used 6 bundles of roses from the dollar store. (4 were ones with eyeballs and 2 were just plain black roses) Go to town filling you ears with roses. I do the front and backs when I make ears, I think they turn out nicer that way. Add spiders and any other spooky element you want.

I did add some hair combs to the headband to help keep it on my head. They are not heavy, but the combs help them stay on your head.

Now you are ready to rock your new ears! This is a big, bold look that will be perfect for Disney!


DIY Halloween Mickey Mouse Ears

The post DIY Halloween Floral Mickey Mouse Ears appeared first on Take Time To Create.

Sunflower Mixed Media Canvas

Hello Everyone!

Fall is in the air and I am just loving it! I especially love seeing all the sunflowers, they are my favorite flowers! They are so pretty, and bright. Seeing all the sunflowers I was inspired to make a Sunflower Mixed Media Canvas.

Sunflower Mixed Media

Let me tell you how I made this canvas!

First I started with a canvas board and covered it with different ribbons (I adhered it with modeling paste), then I covered it all with black gesso.

Sunflower Mixed Media

I painted the canvas with a few different shades of blue acrylic paint.  I loved how it looks like a sky, but it was a little bright,  I did end up toning it down by the time I was finished.

Sunflower Mixed Media

Now it is time to add all the goodies!! I had this pack of rusty nails that I found in my Grandpa’s shop, I couldn’t pass up this great texture. (be careful if you are using rusty nails, I wore gloves and washed my hands often)

I added book pages, burlap, other metal items, flowers, hinges, clear round dots, keys, brads, hot glue, and anything else I could find. Just use what you have in your stash and around the house. I  adhered it all with modeling paste (I tinted the paste with some brown acrylic paint).

Sunflower Mixed Media

Once everything was all dry I primed the elements with clear gesso then I sprinkled mica powder on (yellow in the flowers, green in the grass and stems, and blue in the sky) I added water to activate it and I loved the look. Once that was all dry I dry brushed acrylic paint all over to add more color and details.

I am in love with how it turned out! I used such a random assortment of products, I will list them all below for you. As always, let me know if you have and questions on this project.

Sunflower Mixed Media

Sunflower Mixed Media

Sunflower Mixed Media


Materials used: (affiliate links)

The post Sunflower Mixed Media Canvas Appeared first on Take Time To Create.

DIY Chalkboard Record

Hello Everyone!

What do you do with all those old records that are just laying around? Well, today I decided to turn some of them into a really cute chalkboard. BTW- I have a ton of records so be prepared for a lot more record tutorials, lol.

You can check out the video on how I did it.


This is such an easy tutorial, you can make a few at a time,  perfect for dorms, offices, or even gifts.

Materials:

Record

Primer (I used Kilz 2)

Chalkboard paint (I used the spray paint version)

Tape

Instructions:

Clean the record before you get started. I really liked the center of some of the records so I taped over them to protect them from the paint.

The others I just left and painted over the whole thing. I really like both versions.

DIY Chalkboard record

DIY Chalkboard record

Then I primed the records. Actually, I just primed 2 of them and just painted the other 2. I think it worked out just fine without the primer, so that is up to you what you want to do.

DIY Chalkboard record

Then I applied 3-4 coats of chalkboard paint on the record. Do this outside. Follow the instructions on the can they are all a little different.

DIY Chalkboard record

Once they were fully dry and after 24 hours I conditioned the record by rubbing chalk all over it  and cleaning it off. Then they were good to go! Old records repurposed into a really cool chalkboard!

Now, the question I always get asked, is how do you hang the record once you are done. You can use a plate hanger, or velcro command strips, or nail, or screw it in through the hole. Or you can get a picture display stand and out it on your desk. They are a ton of way to display your new record.


DIY Chalkboard record

I am in love with how this turned out.

What have you made with old records? I am needing some ideas for the stack I have acquired!

The post DIY Chalkboard Record appeared first on Take Time To Create.


Repurpose an old window into a Chalkboard

Hello Everyone!

As many of you already know I was working a project for a Mental Health Awareness charity auction. We were all repurposing and painting old windows. Here you can see my post about creating a shabby chic message board. Today I am going to walk you through how I made this chalkboard with an old window.

Repurpose an old window into a Chalkboard


Materials:

~Old window. This window had pealing paint and a crack in the Plexiglas, so it was perfect for this project.

~ Cleaning supplies and sandpaper

~ Paint, brushes, and tape for the frame

~ Primer, chalkboard paint, and brushes for the chalkboard part.


Instructions;

~ The first step is to prep the window. Not the most fun, but it is necessary for a successful project. I sanded all the edges until they were smooth and ready to paint. This took a while because the window was so rough.

Repurpose an old window into a Chalkboard

~ Then you paint the frame. I did tape off the Plexiglas because I am not the neatest painter. I used Artist’s Loft in Metallic Cobalt Blue, I love the iridescent quality of the blue paint.

Repurpose an old window into a Chalkboard

~ Paint away. Kitty help is essential to the success of any craft project Smile Starlight is my favorite kind of help, lol.

Repurpose an old window into a Chalkboard

Repurpose an old window into a Chalkboard

I did 2 coats of the blue

Repurpose an old window into a Chalkboard.

~ After the frame had dried for a day I taped off the frame part and prepped the Plexiglas. First I lightly sanded the glass so that the paint would adhere. Then I put a coat of primer on according to the directions. I used Kilz primer.

Repurpose an old window into a Chalkboard

~ Once the primer was dry I painted 4 coats of chalkboard paint on according to the directions. I used Rustoleum Chalkboard paint. Once it was dry and cured for 3 days I conditioned the chalkboard according to the directions.

Repurpose an old window into a Chalkboard

Repurpose an old window into a Chalkboard

~ Once it was completely dry and conditioned I took a stencil and painted a design in the corners and added some flowers and that is it. A new chalkboard for an old window

Repurpose an old window into a Chalkboard

Have you painted and or repurposed an old window? How did it turn out? I would love to see pictures!

Re-purpose an old window into a shabby chic message board

If you follow my Instagram (taketimetocreate) then I am sure you have already seen the reveal of this repurposed window. For those of you who don’t follow me there here the shabby chic message board!

repurpose window to shabby chic message board

I have to say I do love the way it turned out! This all started when my friend asked me to paint a window for a silent auction for mental health awareness. At first I wasn’t too interested, not because I didn’t believe in the cause (because this is one cause I totally support) it was because I wasn’t sure I had a design that would work. Most everyone else did a more traditional painted window with flowers on the glass and things like that. Well of course I didn’t follow the crowd. So I did my own thing and hopefully it will bring in a lot of money for the charity!

Here is how I did the repurposing.

Materials:
~ old window (for this to work you for magnets you will need one with a metal screen)
~ sandpaper, tape, cleaning supplies
~ paint and brush
~ cork
~ flowers, magnets, tacks, and clothes pins
~ ribbon and burlap

Instructions:
~ The first thing you will need to do is sand down all the rough edges and smooth it out. Once you like the feel of the window then give it a good cleaning.

window

~ Now you are ready to paint. I taped around the edges to help cut down on how much paint went on the screen, and this seemed to help.
Paint a couple coats until you get it to how you like it. I used this white acrylic paint that I had on hand.

white acrylic paint

~ Cut your cork down to size and glue it on to the screen. I just glued the edges with a metal glue and that seems to hold it pretty well.

add cork to window

~Then I went to work decorating the edge. Shabby chic is all about layers so that is what I did. I put down a layer of burlap, the layered on a layer of crochet ribbon that I had in my stash.

add ribbon and burlap

That looked good, but I felt like it was missing something, so I added a ribbon on top and flowers in the corners.

add more ribbon

Then I added ribbon to the bottom of the screen and to the bottom of the window. Once that was done it was time to add the flower decorations.

~ For the flowers add a magnet the back of some and tack to the others. For the clothes pins I just added ribbon to a plain clothes pin I got from the dollar store.

glue magnets to flowers

And that is it. This is a very fun project that is easy to do and I loved using what I had on hand. I can’t wait for the auction and hopefully they will make a lot of money for their cause!

repurpose window to shabby chic message board

Newer posts »

© 2024 Take Time To Create

Theme by Anders NorenUp ↑

Follow

Get the latest posts delivered to your mailbox:

%d bloggers like this: