Tag: organization

Craft Room Organization and Low Buy Challenge

Hello Everyone!
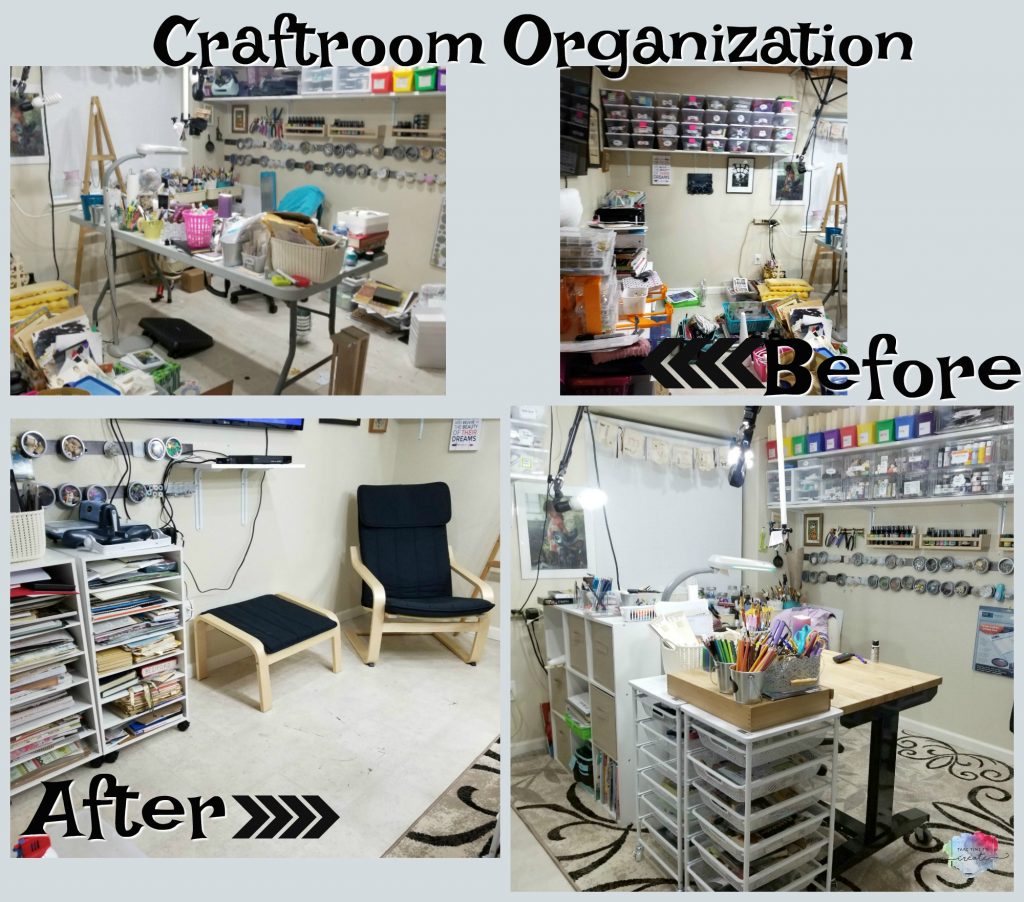
I am so excited to show off my clean and organized craft room/ art studio. I went through a major purge with the help of a professional organizer- Morgan. (not a sponsored video)
I love how this turned into a functional space that works for me and my needs.

Here is her contact information:
https://www.morganizewithme.com/

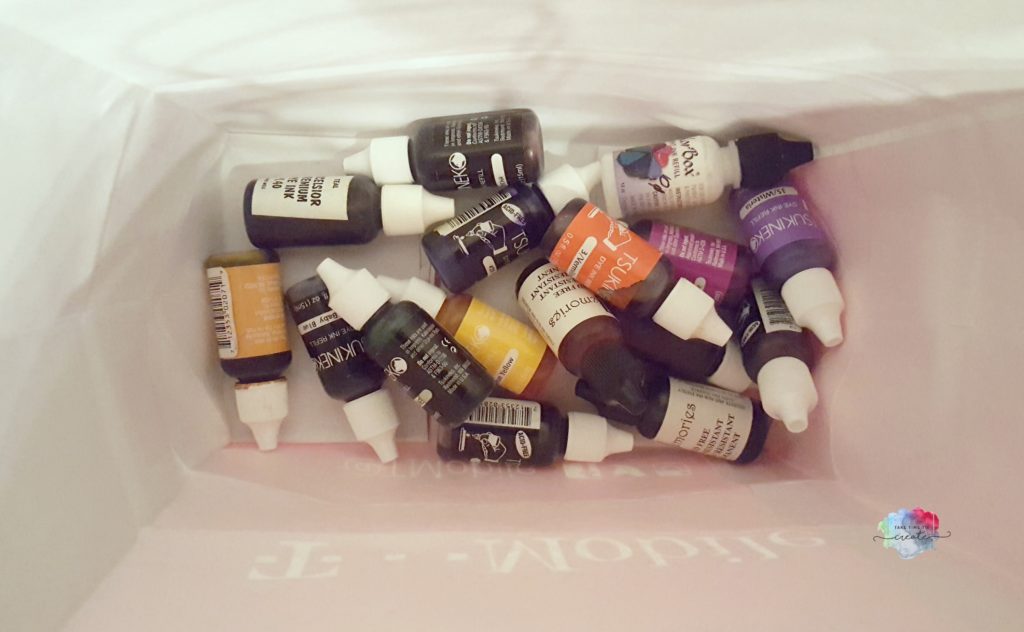
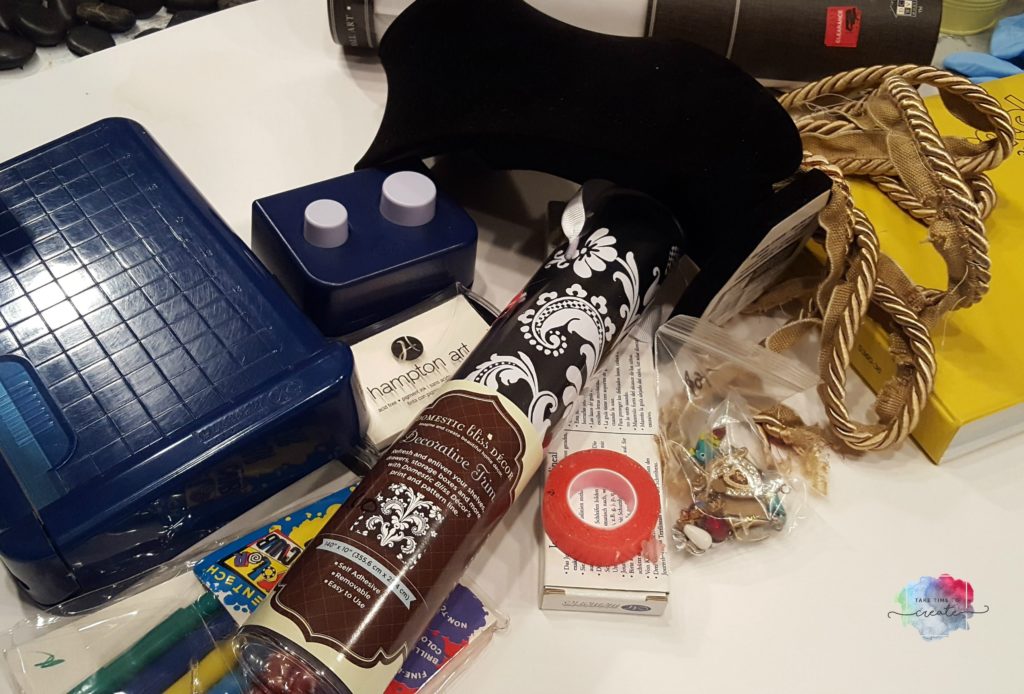
I have to say, I am a little embarrassed at how bad my room actually was. I had over 20 years of craft and art supplies that I needed to organize and purge! I my opinion I needed some help to keep me focused and on task. I am sure I could have done this one my own, but sometimes it is better to get outside help.

Once I buckled down, with Morgan’s help, I got it all under control. And now that it is done, I feel so good and much more creative.

Before and after

I am also doing a low buy this year. What that means to me is that I am not planning on purchasing anything new that I don’t need. This does not include staples like gel mediums and glues and things of that nature. Once a quarter I will head to the store with my list and see if there is anything I need, lol. I am trying to use up what I have and be creative with my own supplies.

I anyone interested in joining me in my low buy challenge?

The post Craft Room Organization and Low Buy Challenge appeared first on Take Time To Create.

Craft Supply Thrift Haul and Tips and Tricks

Hello Everyone!

If you are like me you love to get a bargain, especially for craft supplies. Craft supplies can be very expensive, but you can find some great deals at creative reuse centers, or thrift stores.

Recently I went to my favorite creative reuse center, Who Gives a Scrap, and I have a craft supply thrift haul video for you.

Also, I wanted to give you a few tips, tricks and hints when shopping for craft supplies at a creative reuse center or thrift store.

Before I get into the tips, the biggest piece of advice I can give you is to buy what you need. If you buy everything that looks good, or interesting, you will be over run with stuff very quickly!

And always ask a person working at the store before trying out something when you trying to determine if the item still works or has ink left in it.

Things to look out for when shopping for Fabric:

  • Size- is it the size I need
  • Condition- are there any rips, tears, or stains that can’t be fixed or worked around

Things to look out for when shopping for Punches or Scissors:

  • Test to make sure they work! Try them out on a piece of paper

Things to look out for when shopping for Paint or Ink or Markers:

  • Open it to make sure the paint is not dried out, and there is still plenty left
  • Smell it, sometimes paint can start to smell a little funky and you don’t want that, lol
  • Scribble the markers to make sure they work, you don’t want to purchase dried out markers.

Thrift haul

Things to look out for when shopping for Books:

  • Check for pages torn out, if there are missing pages it might be a vital instruction that you are missing, lol
  • Check for overall condition, can you still use it?

Things to look out for when shopping for Embroidery/Cross Stitch/Needle Point Kits:

  • Check to see if it is unopened, if that is the case then you are good to good
  • But if it is open, check to make sure it has the floss, instructions, and anything else you need to complete the kit.

Thrift haul

Things to look out for when shopping for Charms or Jewelry Making supplies:

  • Check to make sure there is enough to complete  your project
  • Check the condition of the beads and tools, if it is not in usable condition then pass on the item.

There you have it, my tips, tricks, suggestions, and hints I use when I go thrift shopping for craft items. Any reputable thrift store, like Who Gives a Scrap, will have quality items that work and are ready for you to use. Keep your eye out, you never know what bargain you can find!

What tips do you use when you go craft supply thrift shopping?

The post Craft Supply Thrift Haul and Tips and Tricks appeared first on Take Time To Create.


Elephant Applique Embroidery Mixed Media

Elephant Applique Embroidery Mixed Media

Hello Everyone!

An appliqued elephant makes the perfect focal point on any mixed media

Embroidery, when I think of embroidery I think of my grandmother or of delicate items, gifts to be given or received. It is not something that I have every really tried. I have little patience and embroidery tends to stretch my patience to the limit. But I like to try new things, so I signed up to take a year long embroidery class at my local fabric shop, the Loopy Ewe. I love this place, they have everything and they are so friendly and helpful.

Every month we have a class and we learn new stitches then we apply what we learn at home and bring in our finished pieces. Well, I tend not to do what everyone else is doing, lol.

This month we were supposed to create an embroidered piece (I did that part) but we were also supposed to sew a binder cover on. I don’t always get along with my sewing machine and this month I didn’t want to fight with it. So I did a mixed media binder instead.  I have to say, I really love how it turned out. It is perfect for me and now it is cut and ready for me to store my patterns.

Materials

  • Binder- I was proved a 2″ binder. This is one of the shorter binders
  • Embroidery- need applique item, thread, needle
  • For the mixed media- fabric, paper, lace and trims, beads, ink sprays.

Instructions

The first thing you do is cut your hex shape and elephant and paisley pattern.  Then stitch the elephant together. I won’t go into detail about applique embroidery because there are far better tutorials out there but I can tell you what stitches I used. I did a running stitch to secure the paisleys, a blanket stitch around the edge, colonial knots, and a lazy daisy for the flowers.

Once my embroidery was complete it was time to start on the binder. I covered the binder in this great fabric.

Then I sprayed ti with some ink sprays to give it interest. To add even more interest I stenciled this scrolling pattern on the cover and spine

Then I started playing around with textures and fabrics to try and get a focal point that worked for me

Then I added some paper to the inside, no boring inside for me. Everything must be decorated.

The completed outside of the binder has fabric, beads, Prima flowers, lace, and of course the Elephant Applique Embroidery.

I think this turned out so cute, and I am glad that I made it something that I will use and I made it in my own way, lol.

What have you created instead of following all the instructions? How did you make it your own?

The post Elephant Applique Embroidery Mixed Media appeared first on Take Time To Create.

Organization- Adding Metal Strips for easy organization

Hello Everyone! In any craft room organization is key. It is important to know what you have, and where it is so you can complete your projects easily with minimal headache. These metal strips will help you achieve your craft room organization goals.

Metal Strips for Craft Room Organization

My finished Metal Strips

I don’t know about you, but I have all these little odds and ends that are all over my crafting area. I use them all the time, but I didn’t have a good way to store them I wanted them close by, but out of the way.  I know, that sounds like a contradictions in terms, lol.  My strips are on the wall right above my work table. Perfect reaching distance.

Metal Strips for Craft Room Organization

Another view of my craft room organization

This is such an easy project, just grab some metal strips from the hardware store.

Drill holes so you can attach it to the wall. Secure the strips to the wall.

Add all your little bins!

Different containers for my craft room organization

Different containers on the metal strips

The little clear plastic tubs I found at the dollar store (you can see it online here) Just add a magnet to the lid and you are good to go. Just make sure the glue dries overnight before hanging it full of stuff.

The metal tubs I also found at the dollar store (here) They are great! With a clear lid and lots of space they are perfect for your metal strip. Just make sure the paper sticker of off the magnet, it will attached better without the sticker.

I added magnets to some of my other odds and ends like wire and micro beads.

Round containers for my craft room organization

Round containers for my craft room organization

Now I have everything on hand, but it is out of the way.

I think this is a great solution for all these little bits and pieces. Now it is time to add some more strips for the rest of my do-dads.

What is your favorite organizational technique?

This post Organization- Adding Metal Strips for easy organization appeared first on Take Time to Create


This post contains affiliate links

Subscribe via WordPress


The Take Time To Create Crafting Blog RSS Feed

Subscribe via Email

Enter your email address to subscribe to this blog and receive notifications of new posts by email.


Other Ways To Follow


The Take Time To Create Crafting Blog RSS Feed

Subscribe to my RSS feed

The Take Time to Create Crafting Blog Facebook Page

Follow me as Facebook

The Take Time to Create Crafting Blog Etsy Shop

Check out my my Etsy Shop

The Take Time To Create Crafting Blog Pinterest Board

Visit my Pinterest Board

Other Ways To Follow


The Take Time To Create Crafting Blog Instagram

Follow me on Instagram

The Take Time To Create Crafting Blog Twitter Feed

Follow me on Twitter

The Take Time To Create Crafting Blog Email

Send Me an Email

Re-purpose an old window into a shabby chic message board

If you follow my Instagram (taketimetocreate) then I am sure you have already seen the reveal of this repurposed window. For those of you who don’t follow me there here the shabby chic message board!

repurpose window to shabby chic message board

I have to say I do love the way it turned out! This all started when my friend asked me to paint a window for a silent auction for mental health awareness. At first I wasn’t too interested, not because I didn’t believe in the cause (because this is one cause I totally support) it was because I wasn’t sure I had a design that would work. Most everyone else did a more traditional painted window with flowers on the glass and things like that. Well of course I didn’t follow the crowd. So I did my own thing and hopefully it will bring in a lot of money for the charity!

Here is how I did the repurposing.

Materials:
~ old window (for this to work you for magnets you will need one with a metal screen)
~ sandpaper, tape, cleaning supplies
~ paint and brush
~ cork
~ flowers, magnets, tacks, and clothes pins
~ ribbon and burlap

Instructions:
~ The first thing you will need to do is sand down all the rough edges and smooth it out. Once you like the feel of the window then give it a good cleaning.

window

~ Now you are ready to paint. I taped around the edges to help cut down on how much paint went on the screen, and this seemed to help.
Paint a couple coats until you get it to how you like it. I used this white acrylic paint that I had on hand.

white acrylic paint

~ Cut your cork down to size and glue it on to the screen. I just glued the edges with a metal glue and that seems to hold it pretty well.

add cork to window

~Then I went to work decorating the edge. Shabby chic is all about layers so that is what I did. I put down a layer of burlap, the layered on a layer of crochet ribbon that I had in my stash.

add ribbon and burlap

That looked good, but I felt like it was missing something, so I added a ribbon on top and flowers in the corners.

add more ribbon

Then I added ribbon to the bottom of the screen and to the bottom of the window. Once that was done it was time to add the flower decorations.

~ For the flowers add a magnet the back of some and tack to the others. For the clothes pins I just added ribbon to a plain clothes pin I got from the dollar store.

glue magnets to flowers

And that is it. This is a very fun project that is easy to do and I loved using what I had on hand. I can’t wait for the auction and hopefully they will make a lot of money for their cause!

repurpose window to shabby chic message board

Vintage Button Magnets

So as you all probably know by now I love buttons. I made this letter S a few years ago and I still love it. Buttons are so much fun to go through and sort and reminisce about. I think they are one of my favorite crafting item.

So I made another craft with buttons. This time I made button magnets.

In addition to the crafting I decided to reopen my Etsy store and sell some of the things I make here on this blog. Stop by and check it out: TakeTimeToCreate.

Here is how you can make your own button magnets

Materials:

~ Buttons (so many buttons!!! And this is only a small portion of what my mom gave me! She is the best!)

Box of buttons     Buttons

~ Magnets

~ Glue (I am using my trusty E-6000)

~ Clippers or something to cut the shank off


Instructions

~ prep the buttons. You might need to clean them a bit or snip off the shank. Be careful because pieces of plastic might go flying.

Cut off the shank

~ Stack the buttons to create a different looks. Glue the stacks as necessary.

layer the buttons     layer the buttons

~ Glue the back of the button and add the magnet

Glue on the back of buttonAdd magnet to backAdd magnet to Button

~ Wait for them to dry and then put them up on your fridge. You can see I use them to hold pictures of Cole. I love his monster and dino magnets he made when he was little. So cute! Sigh he is not so little anymore.

Stay tuned for DIYs on how I made the little canvas magnets and the bottle glass magnets.

Display button magnet     Display button magnet

Here are some of the completed magnet sets that I have on Etsy just to give you an idea of what you can do with magnets and buttons. These make great house warming gifts!

Button magnets     Button magnets

Button magnets     Button magnets

Ladies Hankie clutch for my large crochet hooks

20150531_072655 I have just started crocheting. It is becoming one of my favorite hobbies, and even though I just started crocheting only a few month ago I seemed to have collected a lot of hooks. I have a crochet hook zippered pouch by Boye, but there are no slots for the larger hooks. So I figured I would make a clutch type bag to hold my hooks. As I was wondering around the flea markets I found these old hankies that had crocheted edges and I knew I found my fabric for my clutch! It was very simple to make. Here is what you need: 2 hankies, similar in size Fusible interfacing Needle and thread or sewing machine Velcro or button or snap Directions: _20150606_181325 Iron both hankies really well. They need to be flat.20150530_172835 Sew Velcro to the inside hankie. Fuse Fusible interfacing to the wrong side of the inside hankie according to the directions on your interfacing package. I don’t think it really matters what interfacing you use, you just need something to help the hankies keep their shape. (I am sure there are people out there who have preferences and I would love to know more about it if anyone would like to share. I am new to sewing as well as crocheting) _20150606_181354 Once the interfacing is on sew the hankies together along the border. My hankies did not fit perfectly, but I made due and did the best I could. I have the larger hankie on the outside and just stitched around. _20150606_181701 Fold the hankies in thirds and see how it all lines up. Sew the Velcro to the outside of the clutch lining up with the other

Velcro.

_20150606_181252 _20150606_181234

Sew the 2 sides of the clutch to make the pocket. And now you are done! Congrats on creating your new clutch for crochet hooks or whatever else you want to put in it. I would love for you to share your versions of the hankie clutch.20150531_072624

© 2024 Take Time To Create

Theme by Anders NorenUp ↑

Follow

Get the latest posts delivered to your mailbox:

%d bloggers like this: