Tag: mixed media art (page 8 of 8)

Create Mixed Media Canvas

Create Mixed Media Canvas

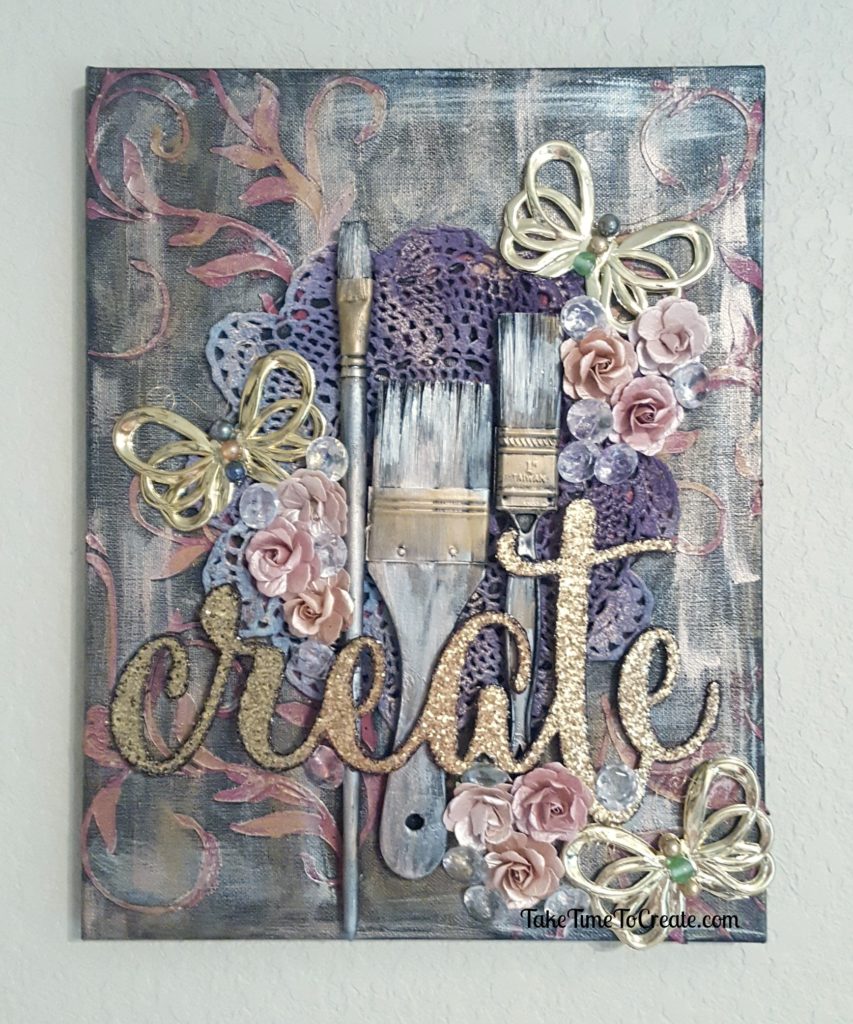
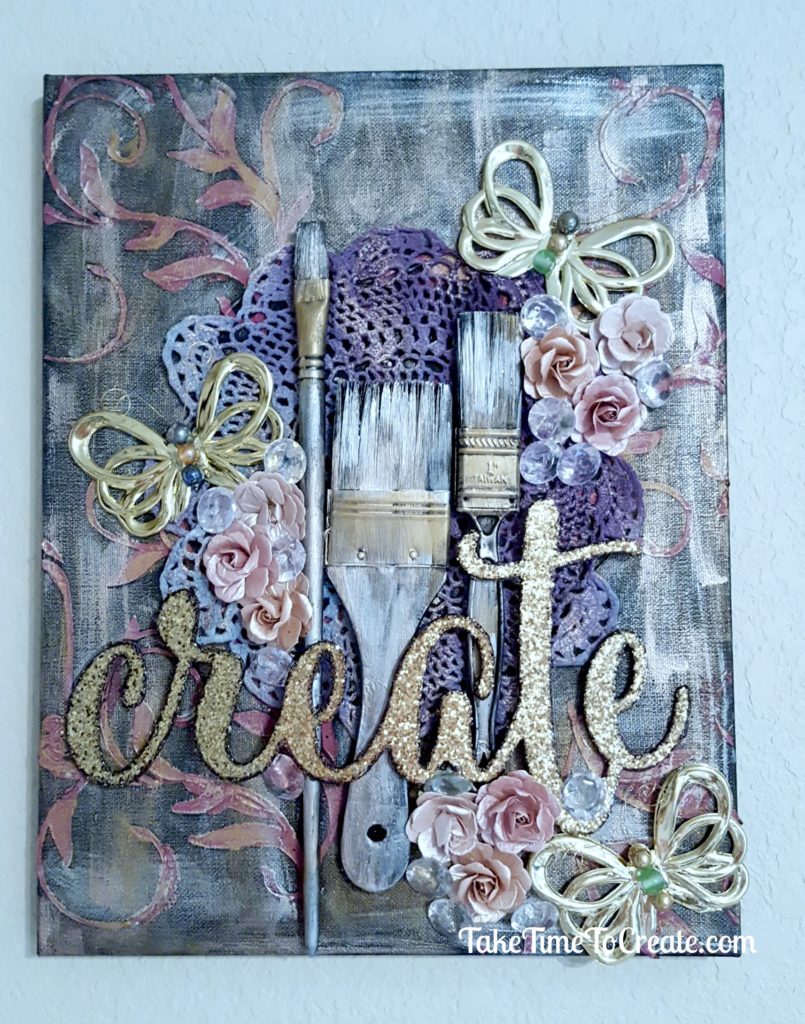
Old paint brushes are given a new lift with this Create Mixed Media Canvas

Hello Everyone!

Have you ever been so involved with a project that you forget to take pictures as you care creating? I think that is a good thing, it means that you are enjoying the creating process and not worried about how it will look in a photo.

This happened to me with this canvas. I know this is not perfect when I am trying to teach you how I created something, but it was good for me to spend time with my art.

I used my favorite mixed media techniques. You can view my other Mixed Media projects here:

create mixed media canvas

I painted the blank canvas with black gesso then stenciled the swirls in the background.

For the Doily I sprayed it with different colors of spray ink to create this look.

The paint brushes were old ones that I had in my craft room, to prep them paint them with black gesso and then dry brush metallic colors.

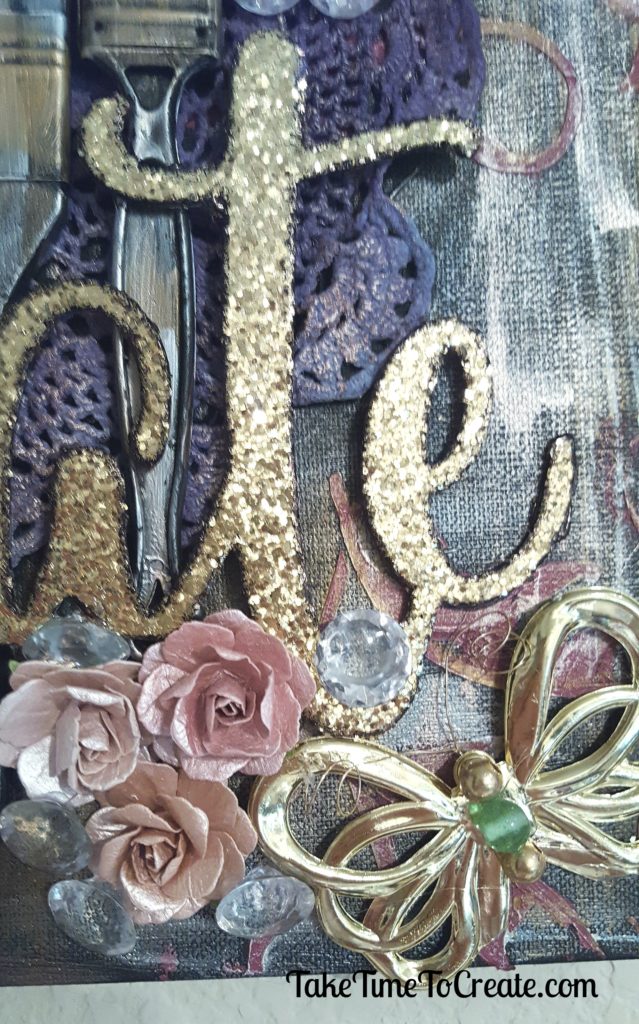
I added flowers, jems and butterflies, (the butterflies are actually plastic bows from the dollar store that I cut off the ends and added beads)

create mixed media canvas

I added the glitter word Create and outlined it in black. Then I dry brushed everything in a few metallic colors.

I love this mixed media, it inspires me in my craft room. What have  you made for your craft room that inspires you?

create mixed media canvas


The post Create Mixed Media Canvas appeared first on Take Time To Create


Vintage Sewing Pattern Collage

Vintage Sewing Pattern Collage

Hello Everyone!

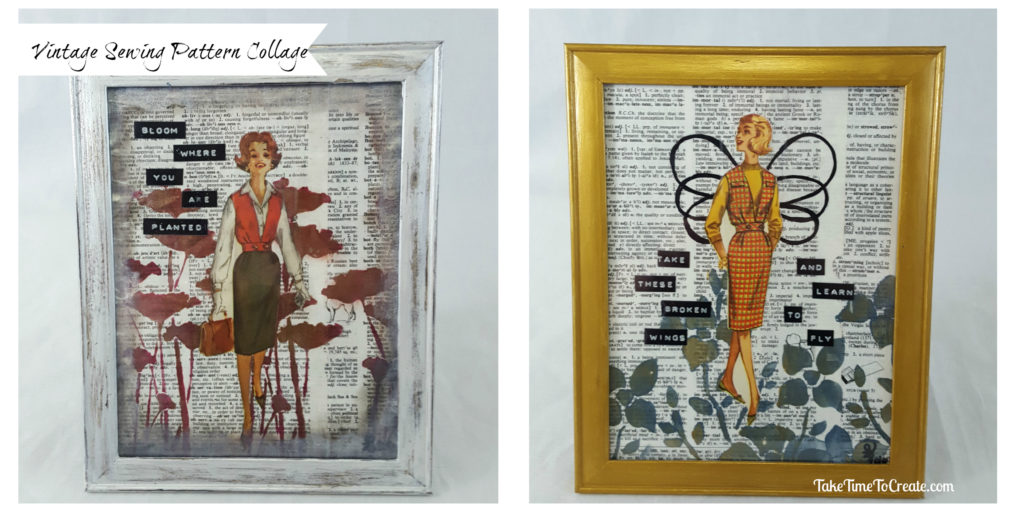
A vintage sewing pattern collage is a wonderful way to display an old sewing pattern. The patterns are fun to look at and alter for any of you crafts. 

I just love looking at old patterns. The pictures are great, with wonderful colors! Recently I found some terrific patterns at my local creative reuse center, Who Gives A Scrap, and I ended up getting about 10 or so, lol.

The pattern covers are perfect for a collage and the tissue paper on the inside work great for textures in mixed media. (I will show you how to do that later)

Materials:

  • Frame ( I found mine at the dollar store)
  • Sewing patterns, dictionary paper, stencils, paint, label maker
  • Mod podge, brushes

Instructions:

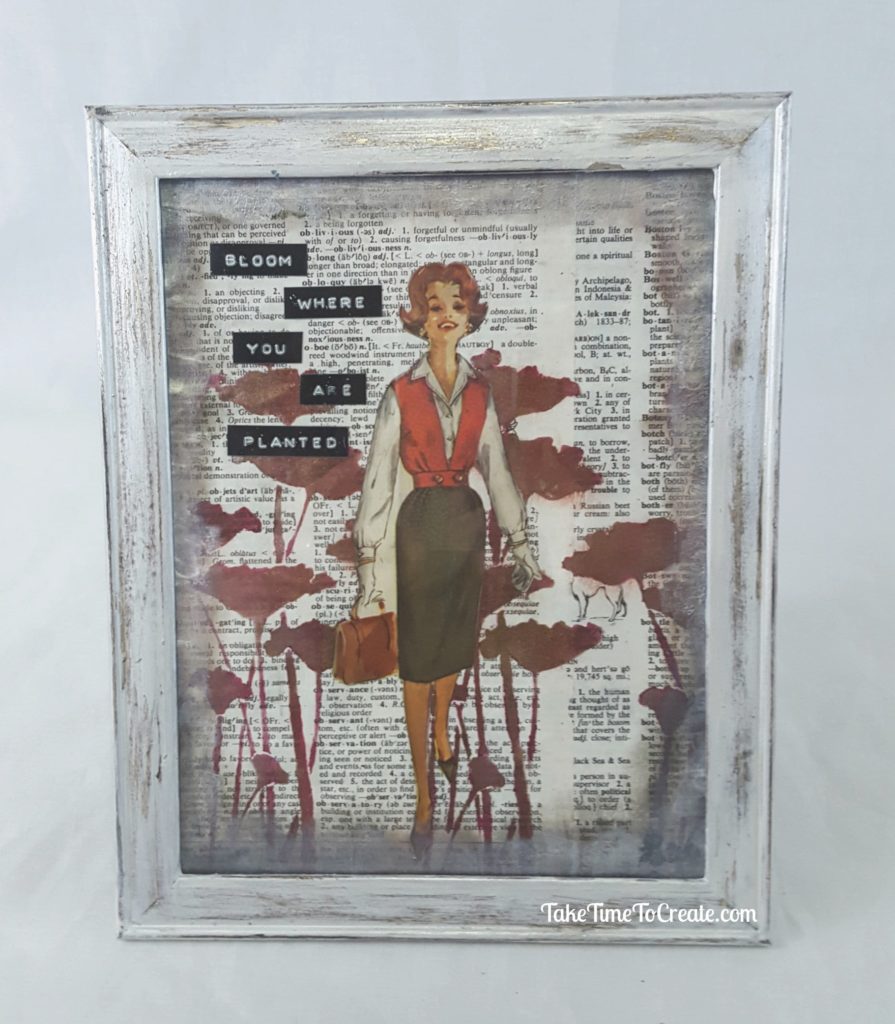
Bloom Where  You Are Planted:

This one was a lot of fun! I adhered 2 dictionary pages with Mod Podge to a piece of paper that fit the frame.

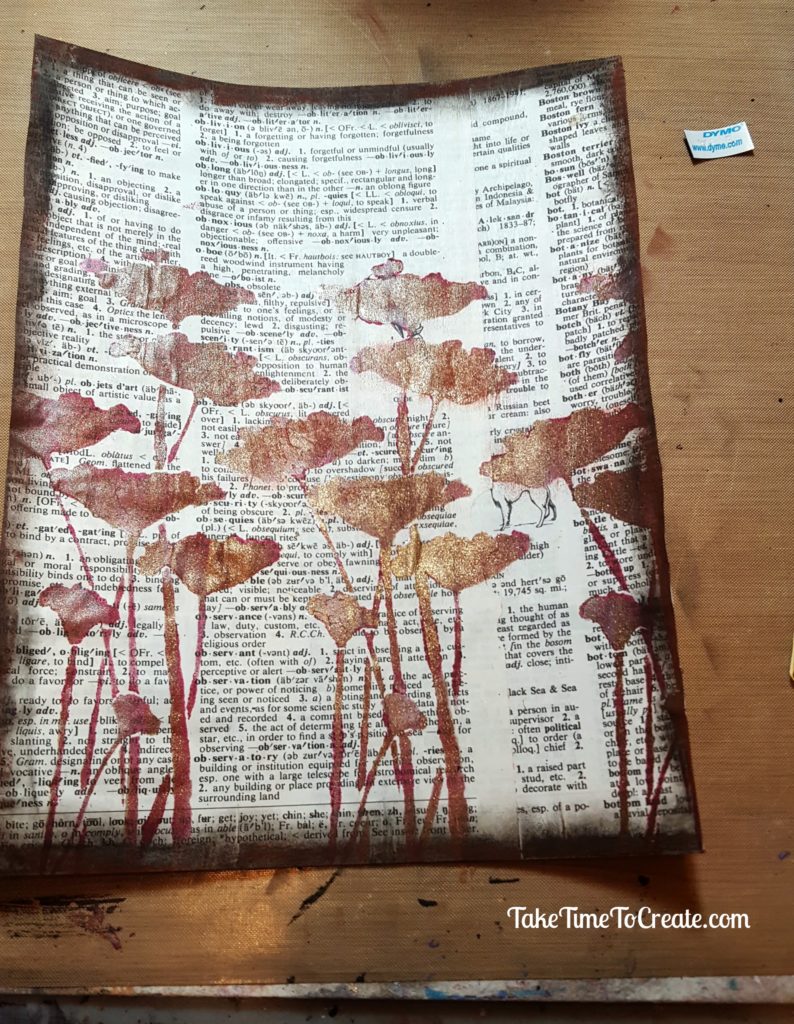
Then I stenciled the flowers (I stenciled in 1 color then I went back and added another color on top).

After stenciling add the cut out girl from the pattern.

For the edges I painted some darker colors and then lightened it up afterwards. I wanted it to look like a mat in the frame.

stenciling the Vintage sewing pattern collage

The frame was super easy. I painted the silver frame in a gold color, once that was dry I painted over it in a pearl white color.

When everything was dry I sanded it to create a shabby chic look. I think it turned out super cute.

Before I added everything in the frame I used a hand held label maker to print the quote.

Vintage sewing pattern collage bloom where you are planted

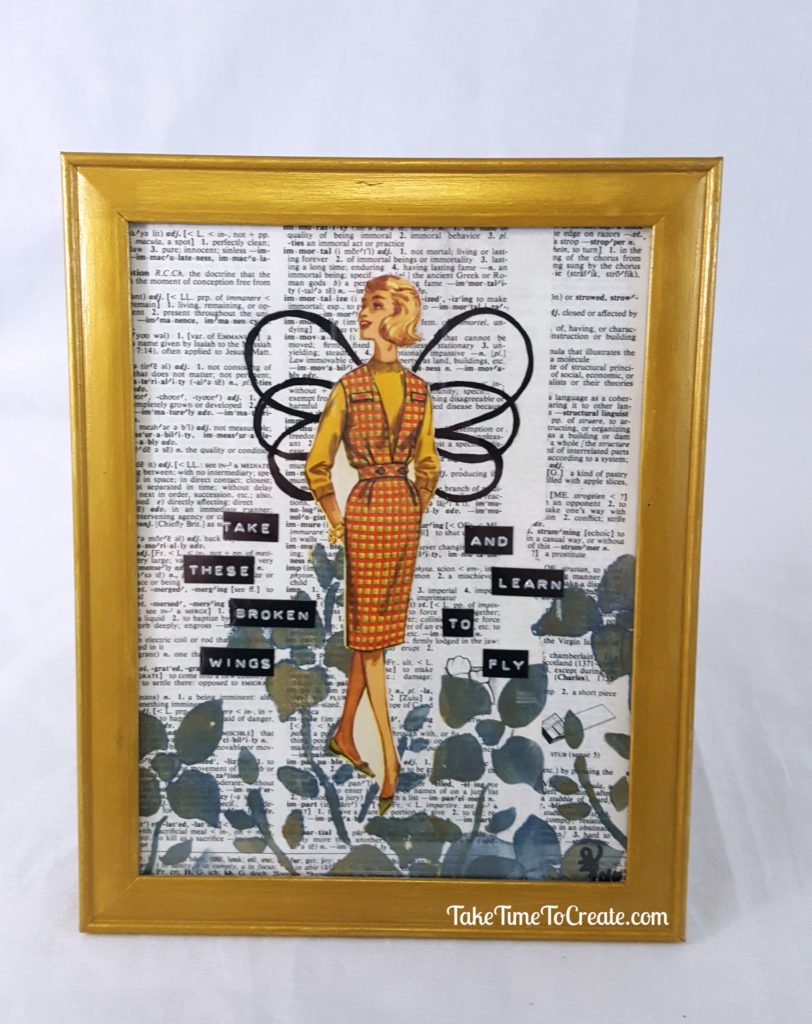
Take These Broken Wings and Learn to Fly

This frame is essentially the same except I used a different stencil, but I still used 2 colors to give it dimension.

I didn’t add any colors to the edges, I thought with the wings I would look too busy.

I drew on the wings before attaching the girl.

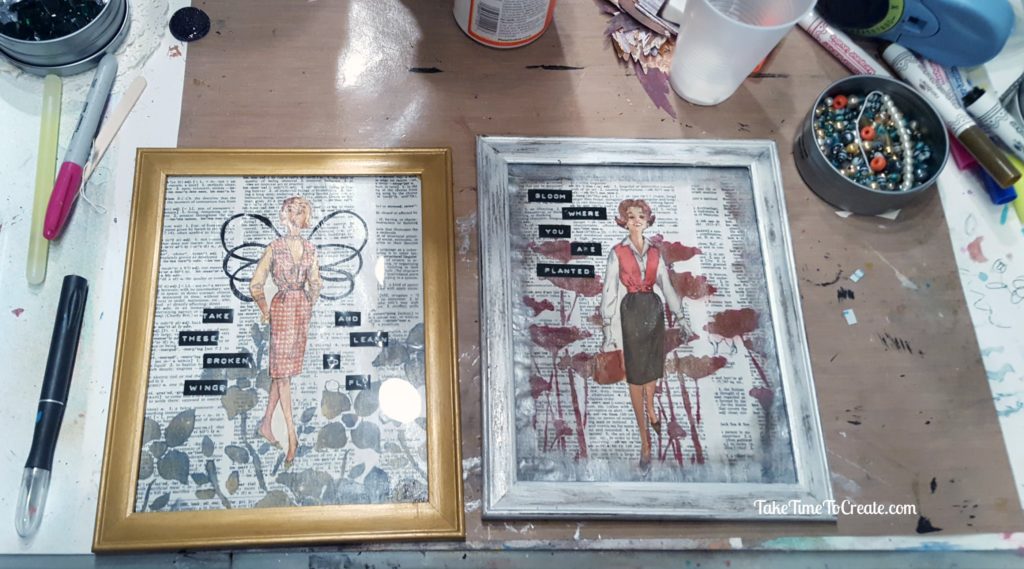
Vintage sewing pattern collage

This frame was easy as well. I just painted the silver frame gold to match a little better.

These are such easy collages to do, I think they would make a great gift!

Vintage sewing pattern collage take these broken wings and learn to fly

The post Vintage Sewing Pattern Collage appeared first on Take Time To Create.


Merry Christmas and Happy New Year

Merry Christmas and Happy New Year

Merry Christmas and Happy new year to all  my wonderful followers. Because of you I have had a wonderful, fun year and I am excited for next year!

Hello Everyone!

As this year comes to a close I wanted to take a moment and say thank you for making this year pretty great. I had so much fun creating new thing and making tutorials for you enjoy.

I think every blogger says this, but in my case it is true, but I have the best followers! You guys are fun and supportive! Whether you follow me here on the blog or on my other social platforms you guys are just the best!

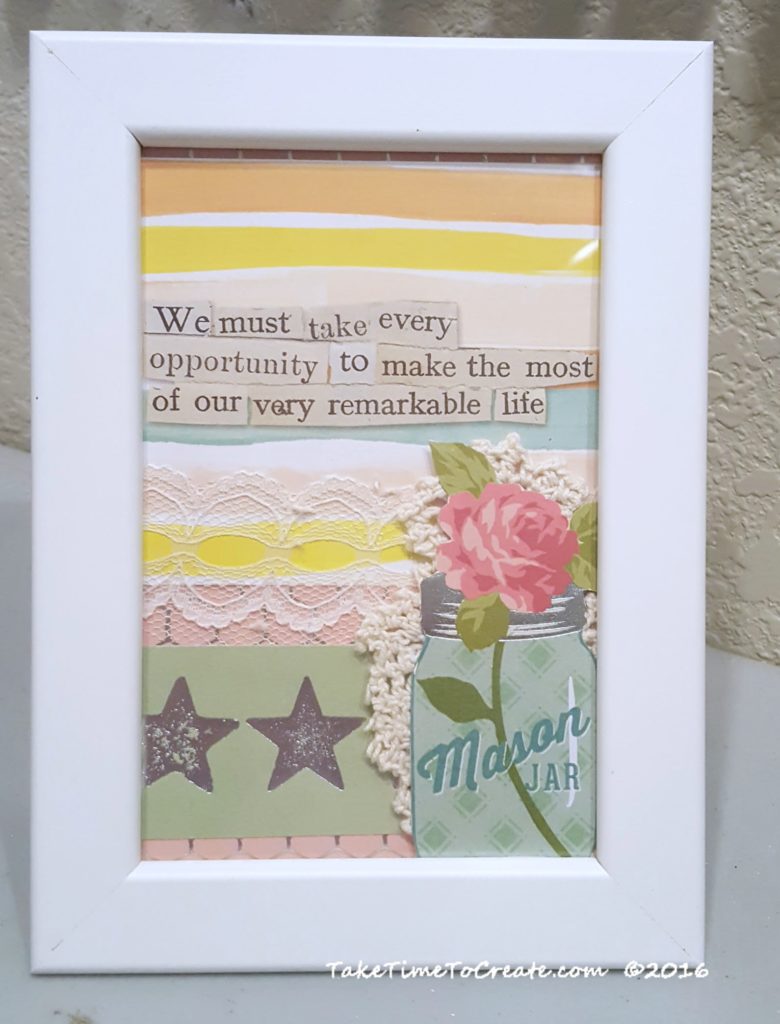
I will close this year with a pic of a collage that I have on my desk. I love this quote from Curly Girl (if you don’t know who that is  you have to follow her. Her designs are wonderful, I love them! You can find her here: Curly Girl Designs)

I took this quote from a planner, “We must take every opportunity to make the most of our very remarkable life,” and made a quick collage. I love having it near my work area as a perfect reminder that this is all pretty remarkable.

Have a safe holiday season and I will see you in the new year with new projects, ideas, and tutorials, and a You Tube Channel! Yikes, yes I am going to start a You Tube Channel to help demo even more things. (I will admit I am a little nervous about this, but it will be fun!)

So many new things for the new year! It is going to be amazing!

See you in 2017!

Linda


Santa Mixed Media Canvas

Santa Mixed Media Canvas

Christmas is almost here, and this Santa mixed media canvas is perfect for your holiday decor.

Hello Everyone!

Lately I have been inspired to make mixed media canvases, and with Christmas fast approaching I have the perfect subject for my art.

I had this beautiful paper and glittery star that became the focal point, the rest was just details.
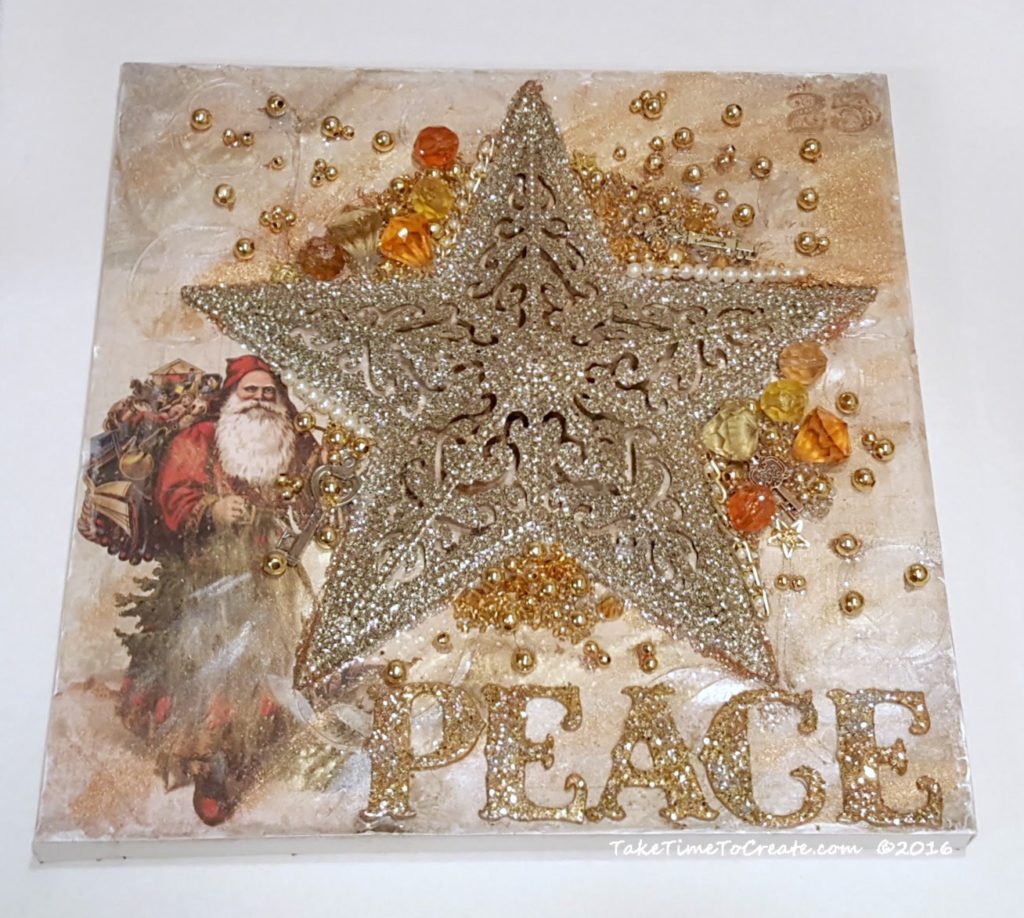
Now I will be honest, I didn’t take any pictures of me actually doing the mixed media, but I think I can explain well enough and as always please ask if you have questions.

I really enjoy making mixed media canvases, all inspired by Finnabair.

Materials:

  • 12x 12 canvas (I got mine at Michaels, but you can always get one on Amazon here: Canvas)
  • Paper (I don’t remember where I got this beautiful paper by KaiserCraft, St Nicholas Collection, Papa Noel,  but you can find great paper just about anywhere)
  • Large star (I found mine at the Dollar Store. It was just so beautiful that I couldn’t pass it up. )
  • Large letter, glitter, beads, and other do-dads, stickles, acrylic paint, stencil
  • Mod Podge, modeling paste, Mica Powder, clear gesso, clear spray sealer

Instructions:

Trim your paper to fit your canvas and spread Mod Podge on the canvas.  Place your paper on the canvas, smooth out. I turned my canvas over and let it dry overnight.
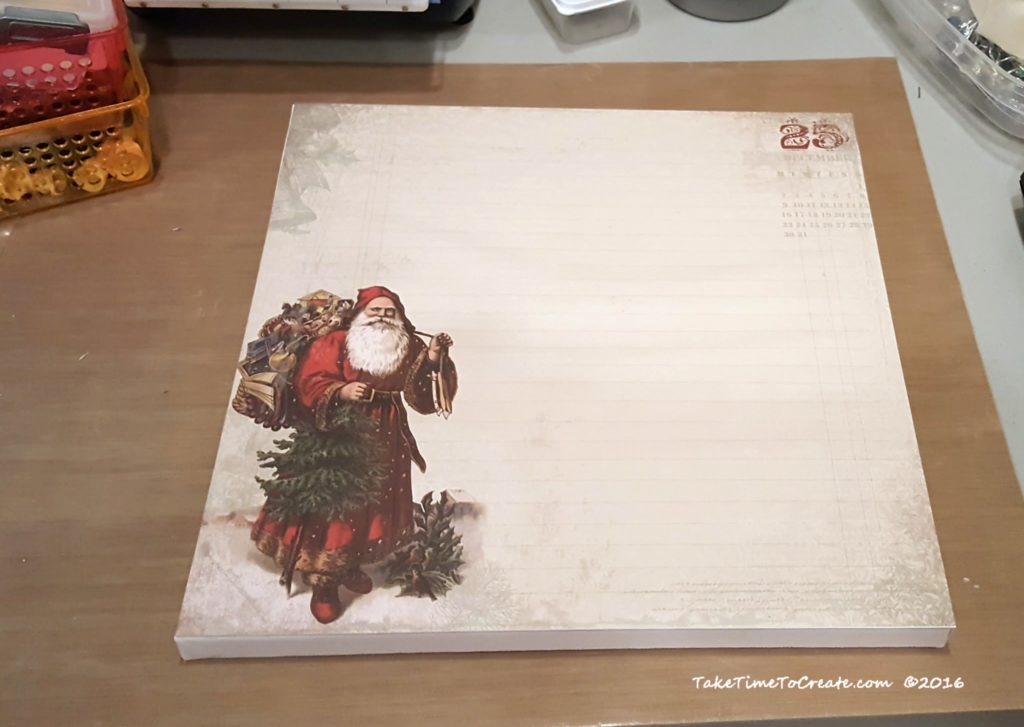
santa on canvas

Starting with santa paper on canvas

The next day I covered my paper with clear gesso to give it some tooth. Then I applied modeling paste with a swirl stencil to add some detail (you can’t really see it, but it is there.)

Then I sprinkled on mica powered and spread it around.  (I am in love with these Prima Marketing mica Powders. You can find the colors I used here: Gold, Copper, Pale Silver)
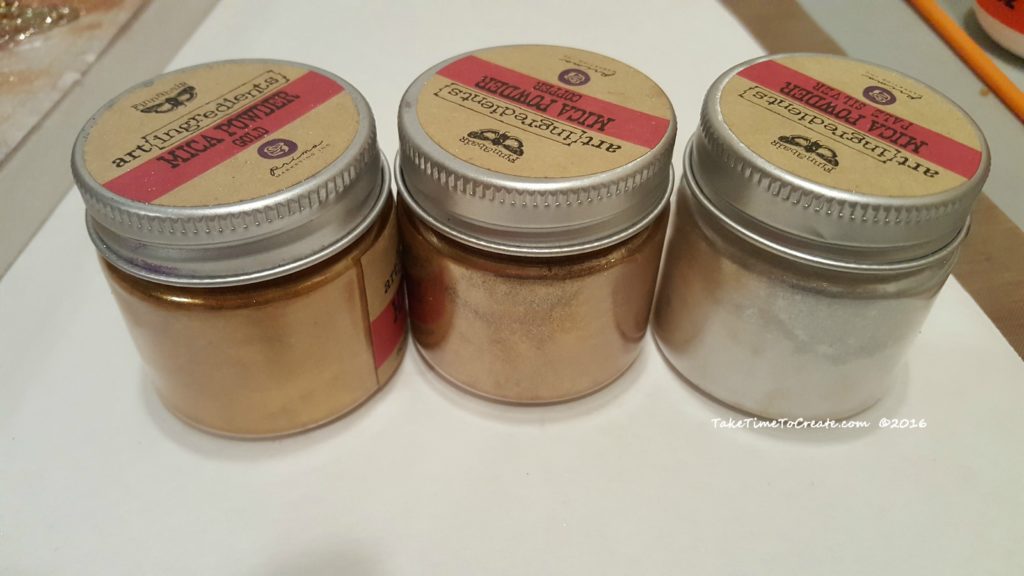
mica Powders

I am in love with these Prima Marketing mica Powders

Once that was all dry I went to town. I added modeling paste to the star and glued it to the center.

I highlighted the stencil with painted and I painted around the edges with a shimmery white color.

Then I added the letters (they were pink, but I painted them and added glitter)

I added the large gems and small beads and micro beads with globs of modeling paste. Then I poured on lots of glitter to stick the the modeling paste (I figured that Christmas decor needs a lot of glitter)
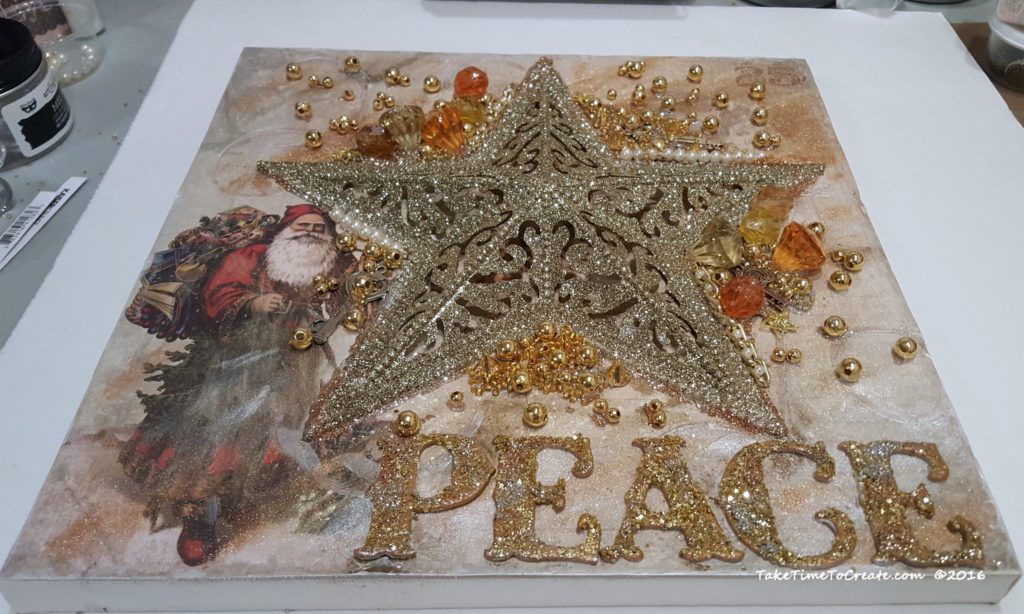
santa mixed media canvis

Our santa mixed media canvis is coming together

I added rows of pearl beads, and key metal elements, and I added stick details to the star. Once everything is dry I sprayed it with a clear sealer, the mica powder is not adhered to anything and it will wipe away, so the sealer is necessary.
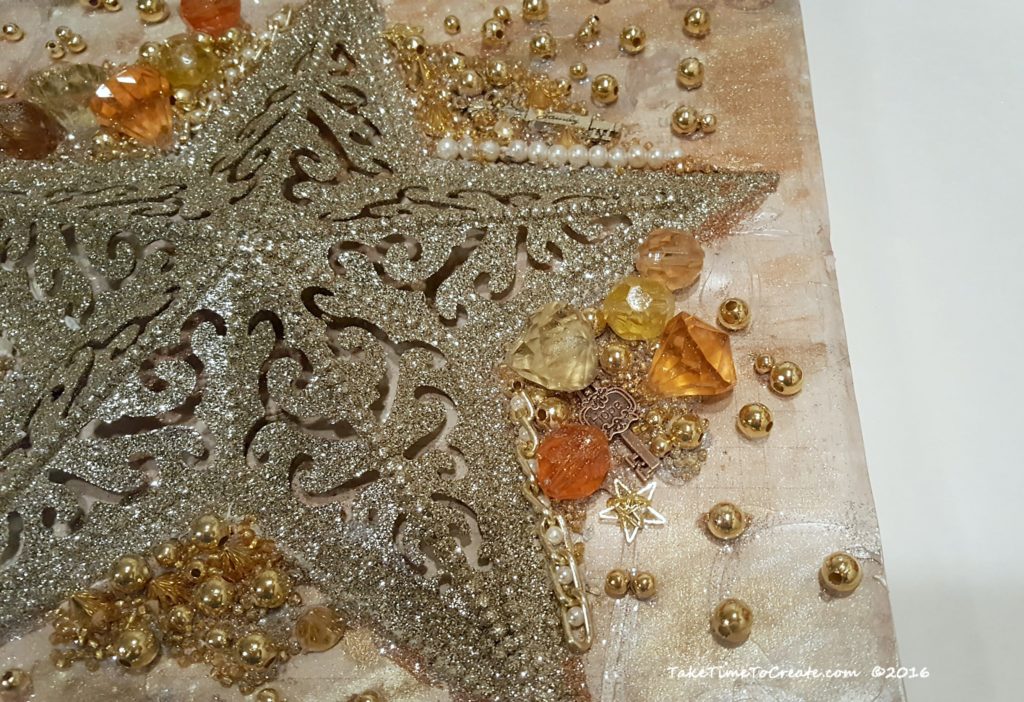
Christmas star close-up

a close-up of our Christmas star

I really like how this turned out. I think it is an interesting piece.
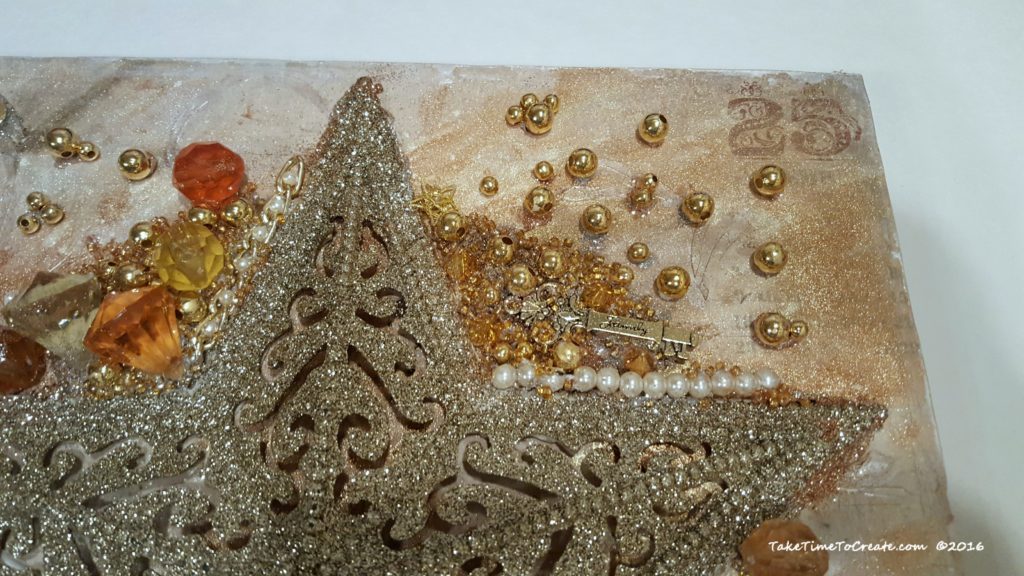
Christmas star

Close-up of our Christmas star

santa mixed media canvas

finished santa mixed media canvas

What holiday should I make a mixed media for next? New Years? Easter? Valentine Day?

This post Santa Mixed Media Canvas appeared first on Take Time To Create


If you enjoyed this post, make sure you Follow Take Time To Create so you don’t miss out on other great posts.

Follow Take Time To Create on WordPress.com


This post contains affiliate links

Mixed Media Angel

Hello Everyone!

I am excited to show you this new project that I just finished. A little while ago I went on a girls retreat to Mojito Creek. This is a wonderful cabin in Colorado that was the perfect place to craft and recharge and relax! While I was there Tanya from Free Heart taught a mixed media class. Tanya teaches Finnabair inspired mixed media techniques. Tanya is a awesome teacher! I was so much and I was so inspired from the class that I went home and started painting everything! I can’t wait to take another class and learn more techniques!

Mixed Media Angel

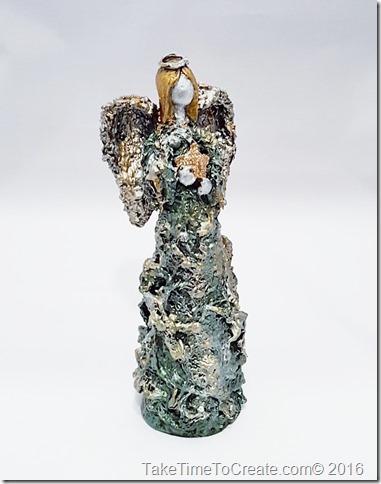
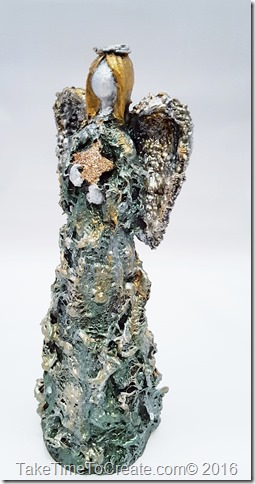
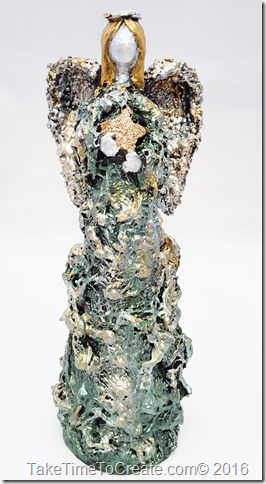
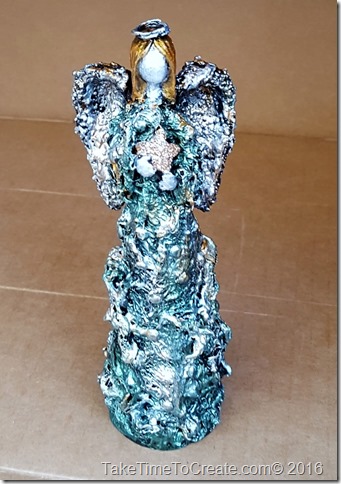
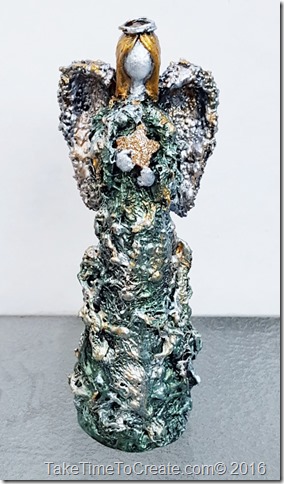
This is the angel that I just finished. She looks great on my mantle and I already have more ideas on what to do next.

Here is how I created this mixed media angel

Materials:

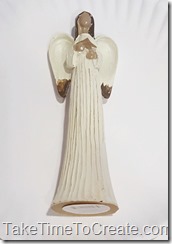
~ Angel (I found mine at the dollar store. Look for something that you like the overall look of, not necessary the colors because you will cover everything up)

Mixed Media Angel

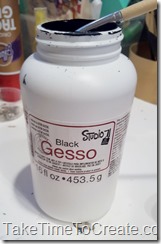
~ Black gesso

Mixed Media Angel

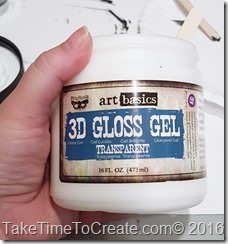
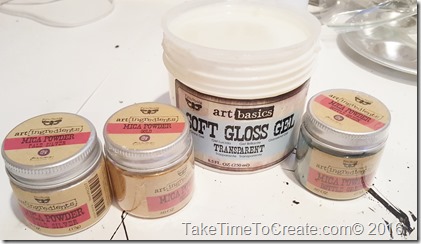
~ 3D Gloss Gel, Soft Gloss Gel, Mica Powder (I am using Art Basics from Prima Marketing, which is amazing!)

Mixed Media AngelMixed Media AngelMixed Media Angel

~ Paint brushes, cheese cloth, micro beads, wire, rhinestones, and anything else you want to use as texture

Instructions:

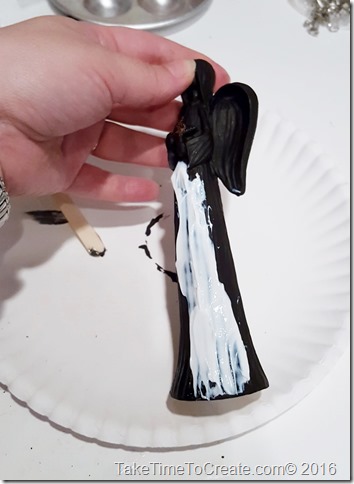
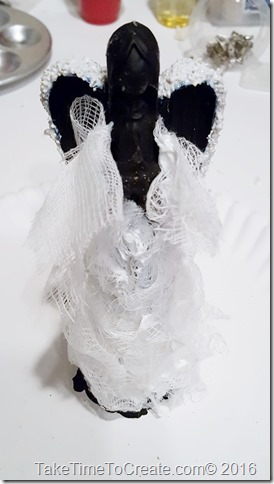
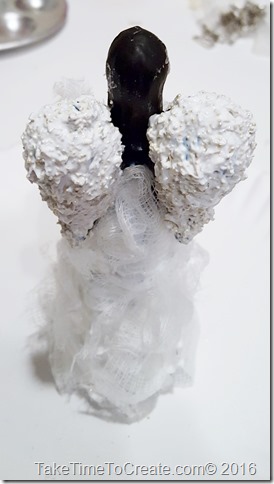
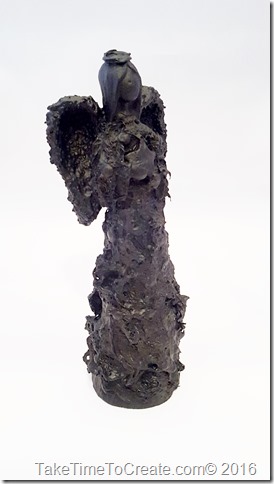
~ The first thing you do is paint the angel with gesso. This will cover her and get her ready for paint. Then I added cheese cloth to her body as a dress. I adhered it to her with 3D Gloss Gel.

Mixed Media AngelMixed Media Angel

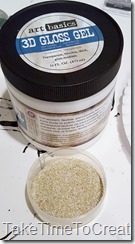
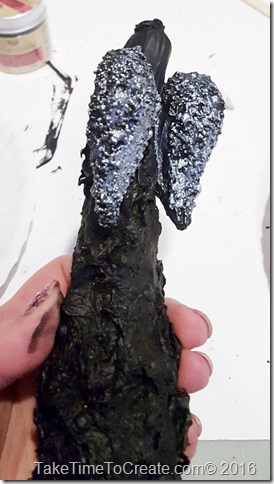
~ Then I decided that her wings were too smooth and plain so I mixed micro beads with 3D Gloss Gel and sponged it on to the wings. This added a wonderful texture that looks great on the wings.

Mixed Media Angel

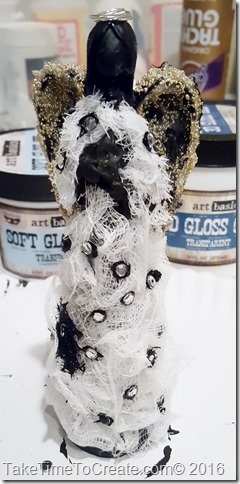
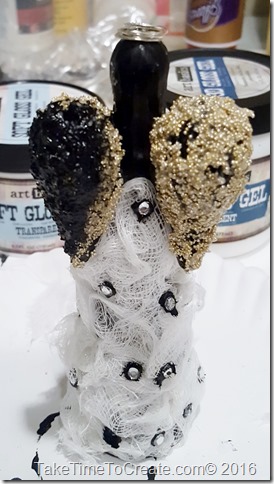
~ Then I added rhinestones to the skirt for more texture and dimension, and I made a halo with some left over wire that I had lying around.

Mixed Media Angel

~ Once I had her all glued and textured  she was ready for more gesso. I added about 1000 layers of black gesso. Just kidding, but I did add a lot of layers until everything was covered with black and ready for paint.

Mixed Media AngelMixed Media Angel

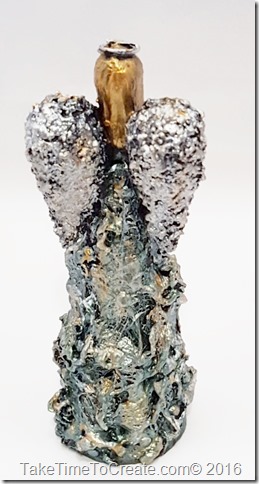
~ Once she was dry I started to paint her. This is the fun part, this is where all your hard work pays off. I mixed mica power with the soft gloss gel and went to town. I layered the paint and mixed colors until I liked the the look. For the star that she is holding I sponged on some glitter eye shadow.

20160727_164430

~ Once I was happy with the look and she was dry I took her outside and sprayed a layer of a clear gloss coat.

Mixed Media AngelMixed Media AngelMixed Media Angel

When I took her outside to put the clear coat on and I noticed how she looked different in the sunlight. I love how the mica powder is amazing and so versatile.

Mixed Media Angel

This was tons of fun! I have already started on a different angel, I can’t wait to see how she will turn out!

Mixed Media Angel


Please note there are no affiliate links in this post. All the links are for your reference.

Newer posts »

© 2025 Take Time To Create

Theme by Anders NorenUp ↑

Follow

Get the latest posts delivered to your mailbox:

%d bloggers like this: