Tag: make it yours (page 6 of 6)

Guest Post-DIY Sugar Scrub

Guest Post By Kim- DIY Sugar Scrub

Today we have a great DIY for your dry skin. This is a great way to replenish the moisture and exfoliate at the same time. 

Once again I have my sister, Kim, doing a guest post, which I love!! She is sharing a diy Sugar scrub, which is awesome. When I read this post I giggled because it is similar to the recipe that I use all the time. You can tell that we are sisters, haha.  I will post my version at the end.

It has been a while since I have done a guest post, you can read my last guest post here. I have a few in progress but this is one that is a great gift idea for the holidays. Also with so much focus on politics something to pamper ourselves is good.
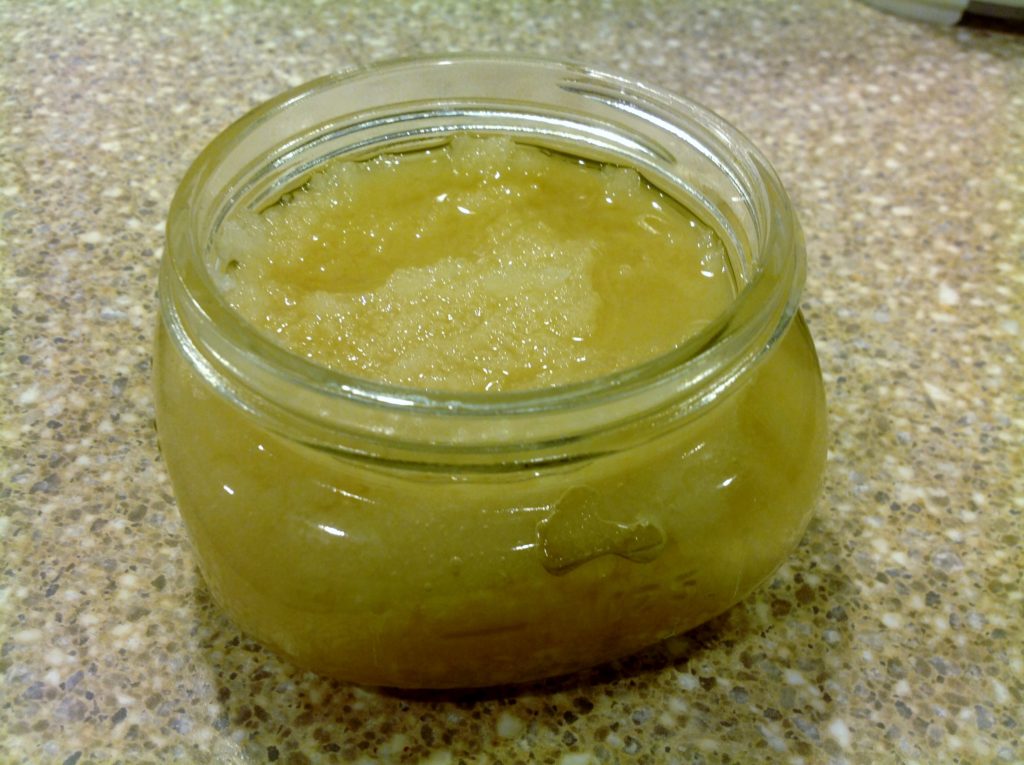
The finished product

This is what it will look like when all is said and done.

First let me give you a little background on beauty products. Many exfoliating skin care products contain microbeads for the abrasive properties. These are plastic spheres that are less than 5mm in diameter. These are rinsed down the drain and cannot be captured by water treatment plants thereby they make it into waterways and interfere with fish and other wildlife. President Obama did sign a ban on these but it will not take effect until at least mid 2017 and only covers beauty products You can read about that here. They can also be found in cleaning products but that is another post.

I wanted to share with you one way that you can stop using micro beads right now and have great skin.

Disclaimer: I am not a dermatologist and have no skin care training. I just know this works great for me and I love how it leaves my skin.

About a year ago I started to switch out some of my beauty products for more natural versions. I wanted good results but to be friendly to my skin and the environment. I have some issues with skin sensitivity so I am careful what I use.

Here is what I started doing for an exfoliate.

A sugar scrub with coconut oil. I love it and it leaves my skin hydrated and soft. I use it 1-2 times a week I like to rub it on my face and neck right before my shower and then rinse it off in the shower.  If you use this route you need to be careful because some of the oil can stay on the floor of the shower and be a little slippery. I have also used this as a full body scrub and it is great on feet and elbows.

I have used to different recipes and I have provided links to them here. Also I have pinned a bunch more on my “Go Natural” and “Skin Deep Beauty” boards on Pinterest.

The first one I tried was very basic as I wanted to see how it would work. Just 2 parts regular sugar and 1 part Coconut Oil. You can read about it here.

I don’t have any pictures but it was great and now I am excited to try different scents and combinations. Maybe a salt scrub also.

Next I tried another recipe for vanilla scented. You can read about it here.

This was a good recipe but I found The ratio to be off and I needed to add more sugar. I do love the vanilla scent when I use it. A better quality vanilla would probably have a stronger scent but I wasn’t going to use my good vanilla for a scrub and this was plenty for me.

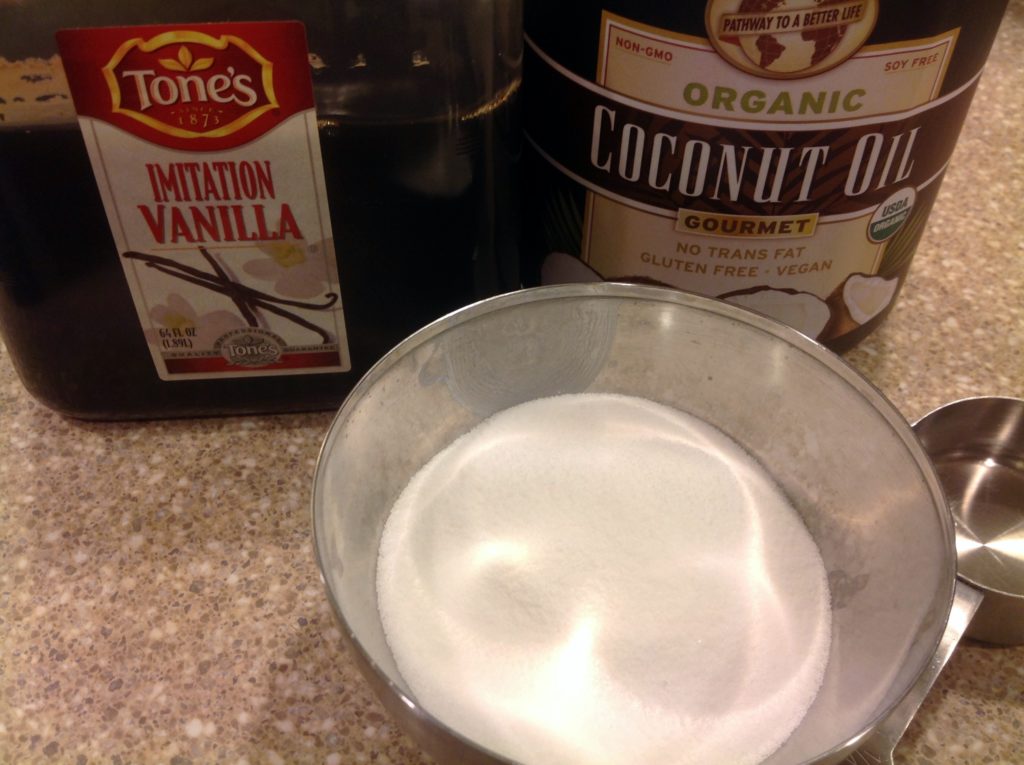
The materials

These are the materials you will need.

Be sure that you melt the coconut oil before mixing with the sugar but you don’t want the oil too hot. I live in a warm area of the country so I only needed 10 seconds in the microwave to completely melt the coconut oil.
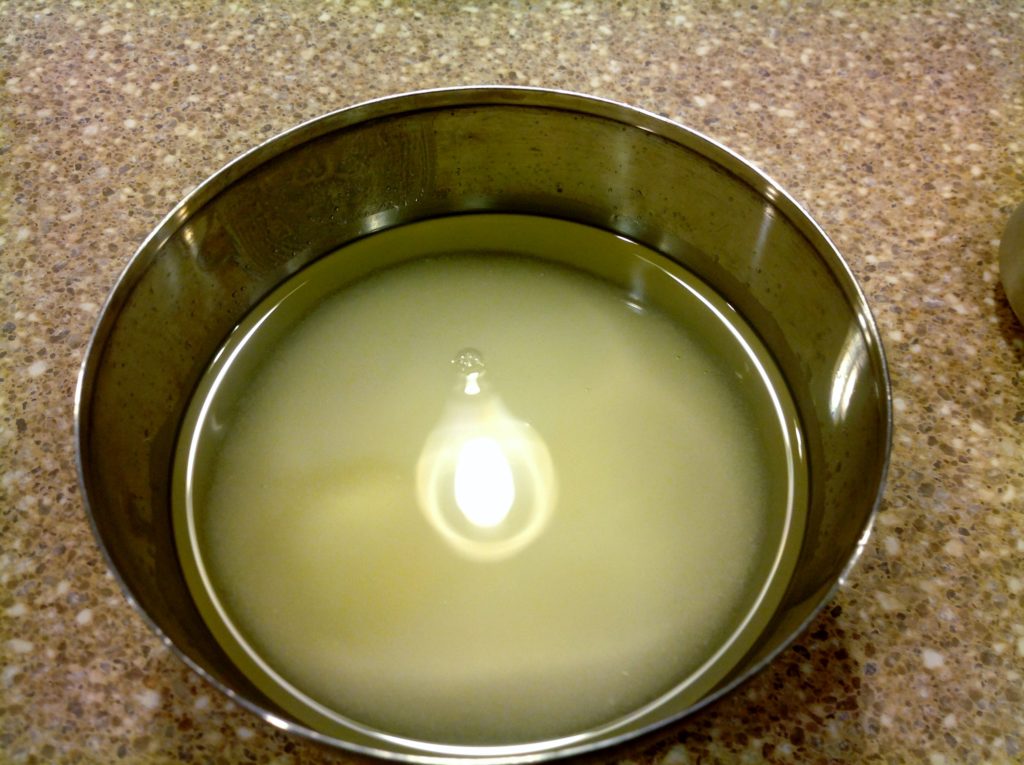
Midway through the process

After mixing your ingredients it might look like this.

Then mixed together you can see that there is a lot of oil. So I added more sugar and the vanilla.
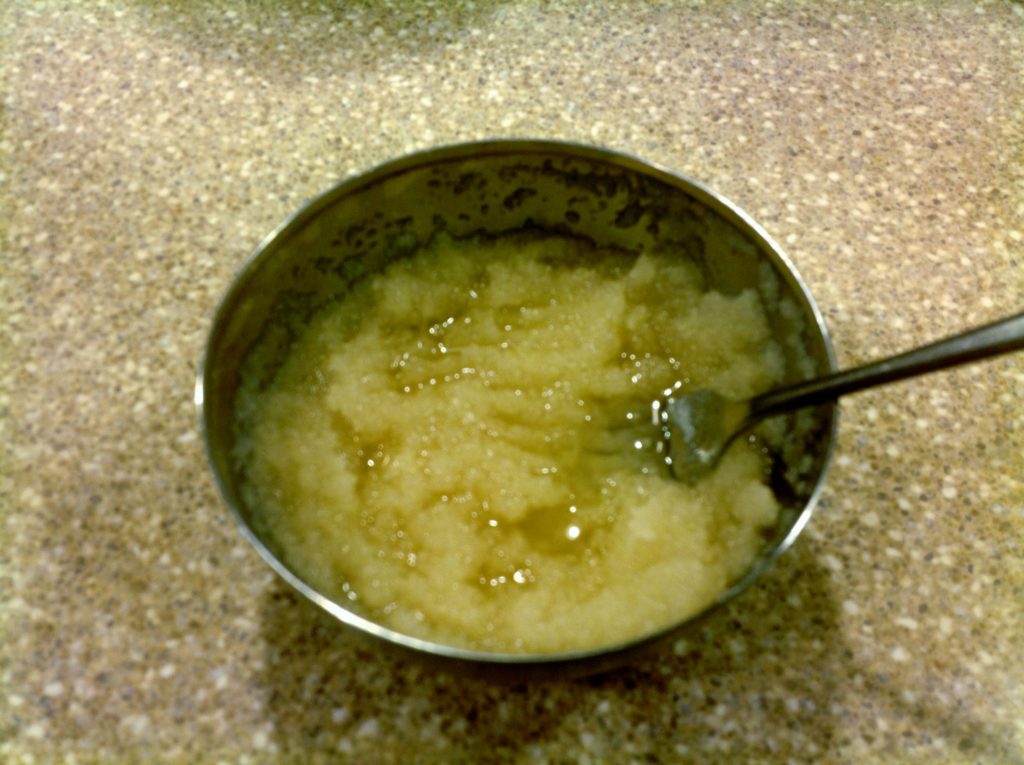
Looking good!

A less oily mixture.

Next time I will be using the first recipe but adding vanilla or whatever oil or extract i am in the mood for. Also Coconut Oil is great as it doesn’t go rancid quickly. I had my last jar in the shower for a couple of months and it was still fresh and great to use to the last bit I could scrape out of the jar.

As we approach the holidays and the craziness of the end of the year remember to take time for you.

Linda’s version:

I love doing sugar scrubs. Here is how my version is slightly different than Kim’s

  • I don’t use any vanilla, I like the scent the way it is
  • I don’t even melt it, lol. (I try and stay out of the kitchen as much as possible, lol)
  • I just dump equal amounts of coconut oil (I don’t melt it before hand because coconut oil melts in your hand and I am lazy as well, haha) and granulated sugar and brown sugar. I used brown sugar as well because if I use too much granulated sugar it is too rough on my skin.   (I usually make up my scrub as I wait for the water in my shower to warm up)
  • Then in the shower I just take a scoop and smear it all over, but be careful it does make the shower slippery.

Enjoy!


Subscribe via WordPress


The Take Time To Create Crafting Blog RSS Feed

Subscribe via Email

Enter your email address to subscribe to this blog and receive notifications of new posts by email.


Other Ways To Follow


The Take Time To Create Crafting Blog RSS Feed

Subscribe to my RSS feed

The Take Time to Create Crafting Blog Facebook Page

Follow me as Facebook

The Take Time to Create Crafting Blog Etsy Shop

Check out my my Etsy Shop

The Take Time To Create Crafting Blog Pinterest Board

Visit my Pinterest Board

Other Ways To Follow


The Take Time To Create Crafting Blog Instagram

Follow me on Instagram

The Take Time To Create Crafting Blog Twitter Feed

Follow me on Twitter

The Take Time To Create Crafting Blog Email

Send Me an Email


DIY Rhinestone Clutch

Hello Everyone!

DIY Rhinestone Clutch

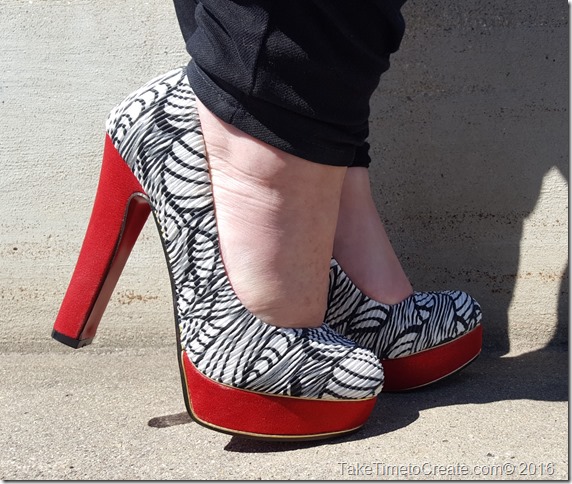
I just had to make this clutch all because of this fantastic pair of shoes! (I think all great stories start with shoes)


Anyway, here is the story, my cousin is getting married on Sat (YAY) I am so happy for him. (His bride-to-be is wonderful and I think they will be very happy together. )

And since I have these great shoes that I never get to wear (they are a little impractical for work, haha) I decided to wear them to the wedding. Buuuut, I didn’t have a clutch to match. So I decided to make one.

DIY Rhinestone Clutch

Aren’t these shoes great?

Anyway here is how to make this DIY Rhinestone Clutch.

Material:

~ Fabric (I am using a faux leather that I had in my craft room, but any fabric that is slightly stiff will work. I did not line it, but you can if your fabric is not stiff enough)

~ zipper (I am using a plastic zipper that I had laying around, it is not the perfect red, but I think it works)

~ Sewing Machine, or needle and thread

~ Rhinestone and glue (I used Aleene’s jewel it glue)

~ Decoration for zipper if desired


Instructions:

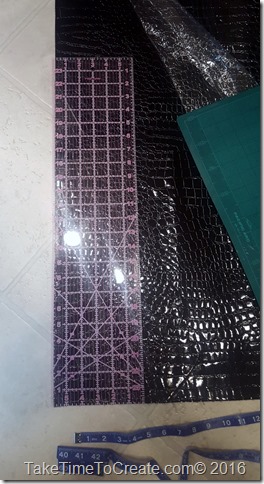
~ First cut your clutch. I cut 2 pieces that were 10 inches x 6 inches. (this was big enough to put my lipstick, phone, gum, and blotting papers in)

DIY Rhinestone Clutch

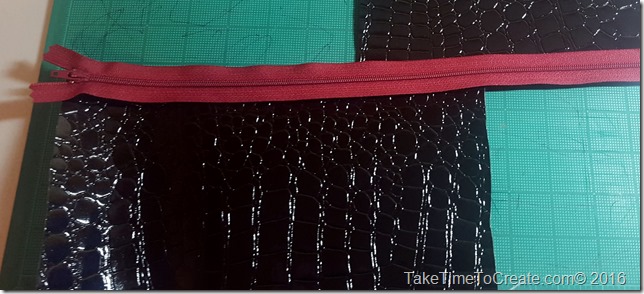
~ Once your fabric is cut them measure your zipper. If it is too long then measure how long you want it, then place a few stitches there. Once it is secure then cut off the excess.

DIY Rhinestone Clutch

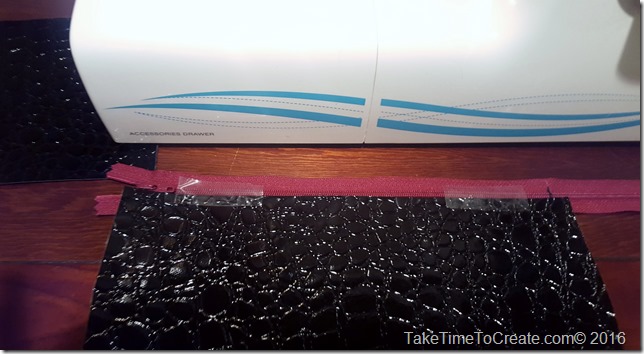
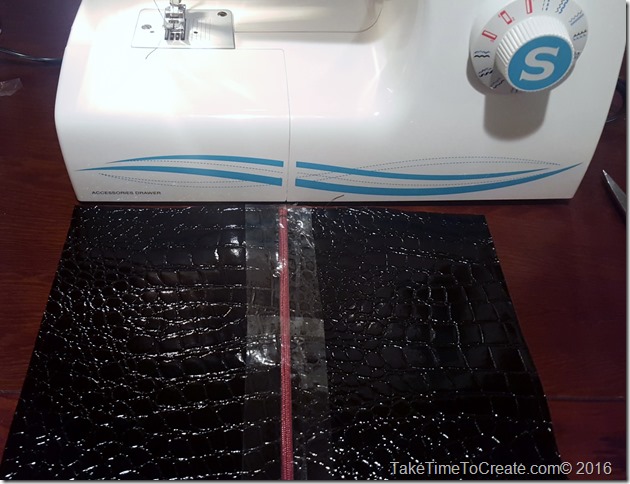
~ Next is place the fabric on the zipper and sew the fabric on the zipper. I held it together with tape since I didn’t want puncture holes in it from needles.

DIY Rhinestone Clutch

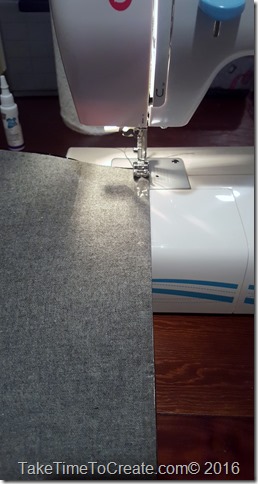
~ Do this step to both sides of the zipper

DIY Rhinestone Clutch


~ Turn your work so that right sides are together and stitch around the edges. Make sure you leave the zipper open so you can get your hand in to turn your work right side out.

DIY Rhinestone Clutch

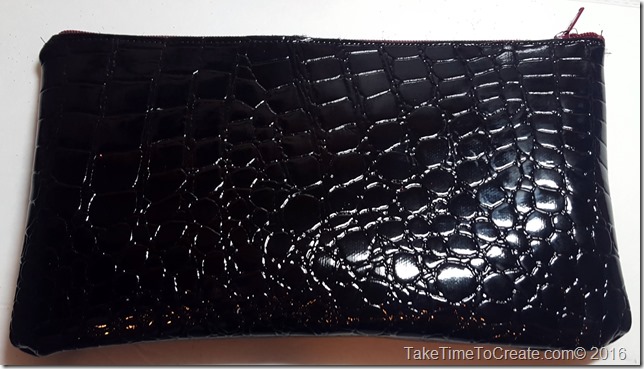
~Once you have stitched all 3 sides turn your work right side out and there you have a really cute new clutch!

DIY Rhinestone Clutch

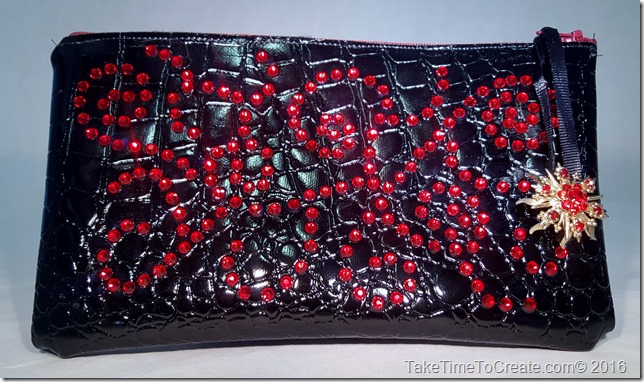
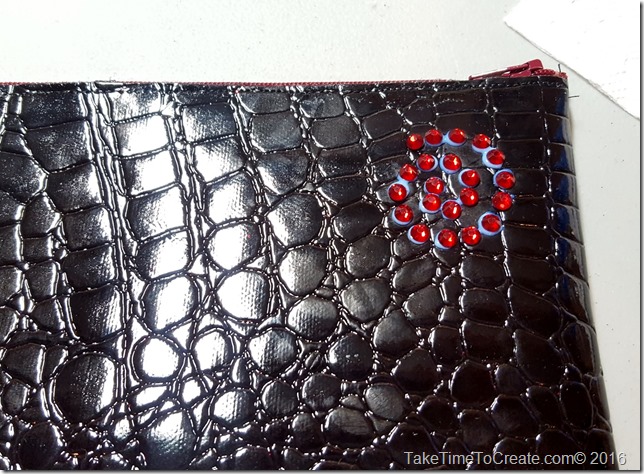
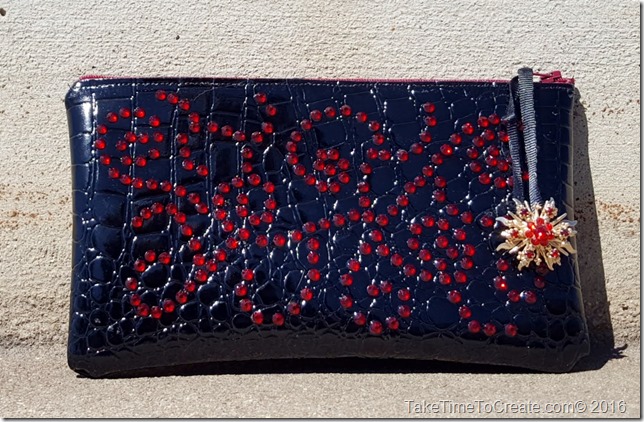
~ Ok by now you all know me well enough that you know I can leave anything that plain. I just knew it needed rhinestones. So I placed dots of glue in a swirl type pattern all over the clutch. Then I decided that wasn’t quite enough Smile so I added to wonderful broach that my mom gave me, with a little ribbon, I thought it was the perfect accent to the clutch.


DIY Rhinestone Clutch

There you have it. What do you think? Pretty easy right. Now on the the wedding celebration on Sat.

DIY Rhinestone Clutch

Vintage Button Magnets

So as you all probably know by now I love buttons. I made this letter S a few years ago and I still love it. Buttons are so much fun to go through and sort and reminisce about. I think they are one of my favorite crafting item.

So I made another craft with buttons. This time I made button magnets.

In addition to the crafting I decided to reopen my Etsy store and sell some of the things I make here on this blog. Stop by and check it out: TakeTimeToCreate.

Here is how you can make your own button magnets

Materials:

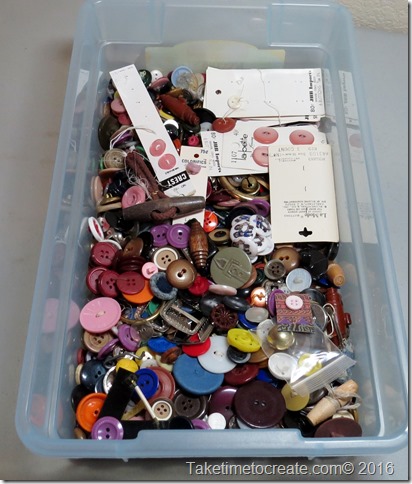
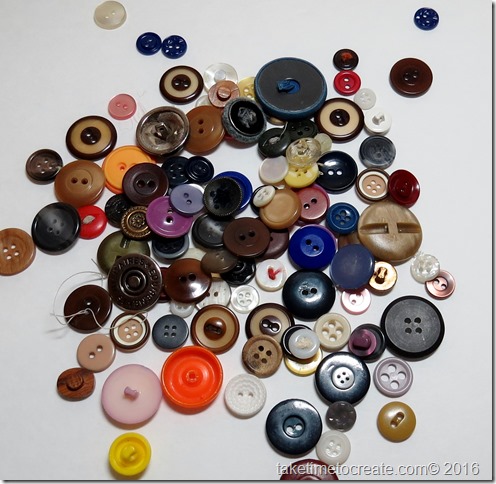
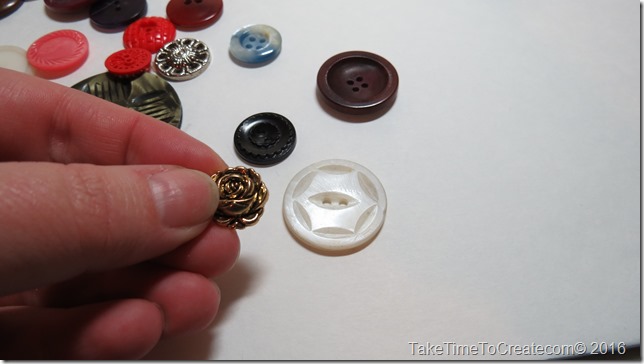
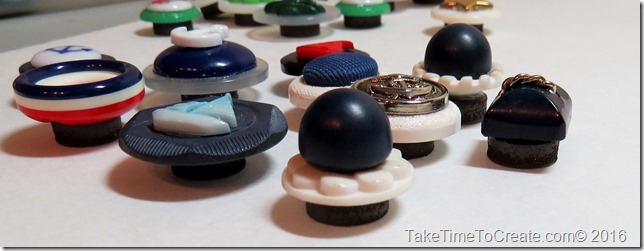
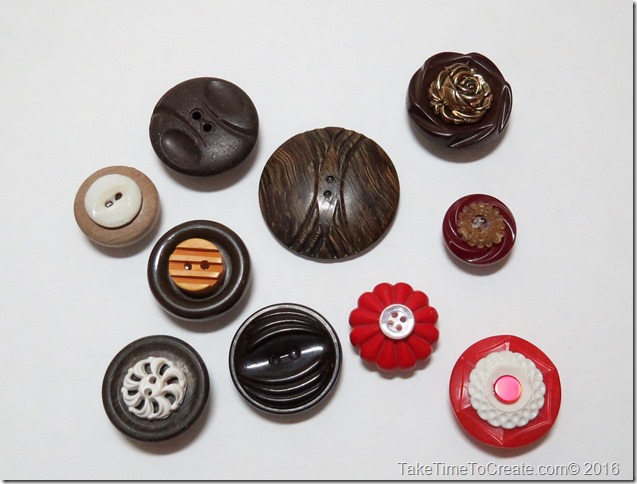
~ Buttons (so many buttons!!! And this is only a small portion of what my mom gave me! She is the best!)

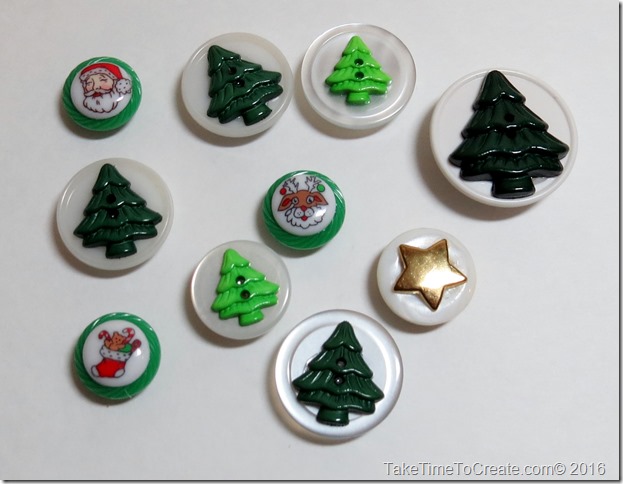
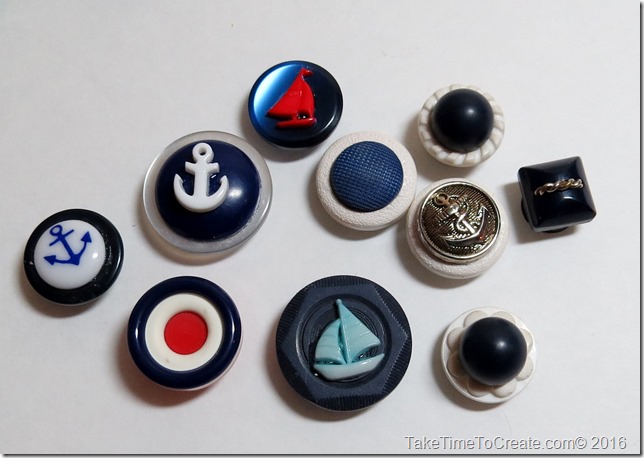
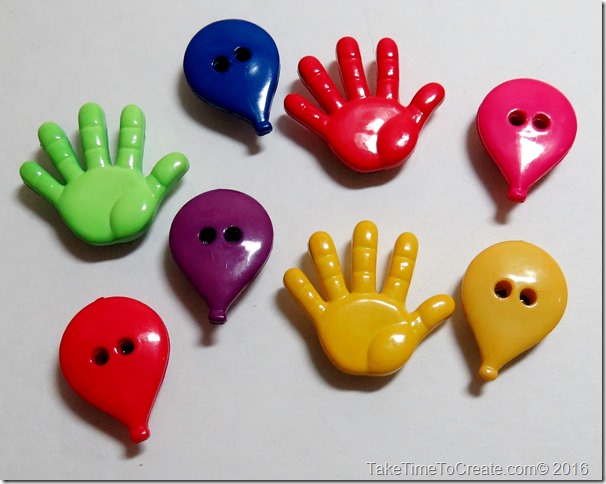
Box of buttons     Buttons

~ Magnets

~ Glue (I am using my trusty E-6000)

~ Clippers or something to cut the shank off


Instructions

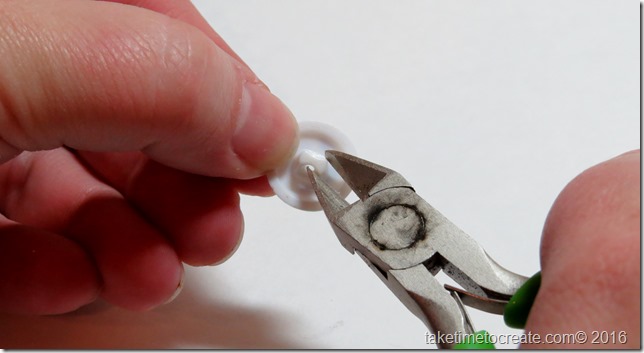
~ prep the buttons. You might need to clean them a bit or snip off the shank. Be careful because pieces of plastic might go flying.

Cut off the shank

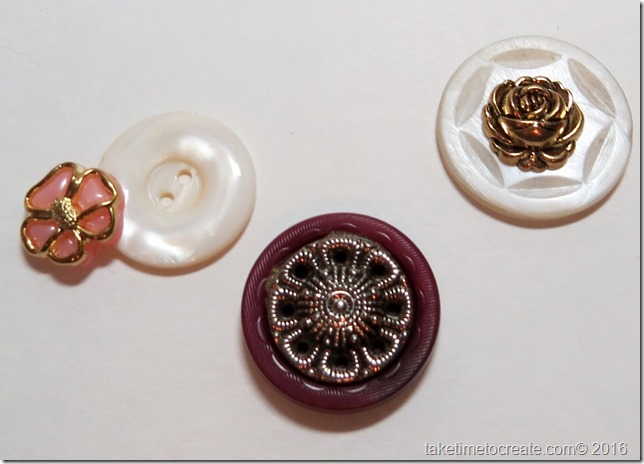
~ Stack the buttons to create a different looks. Glue the stacks as necessary.

layer the buttons     layer the buttons

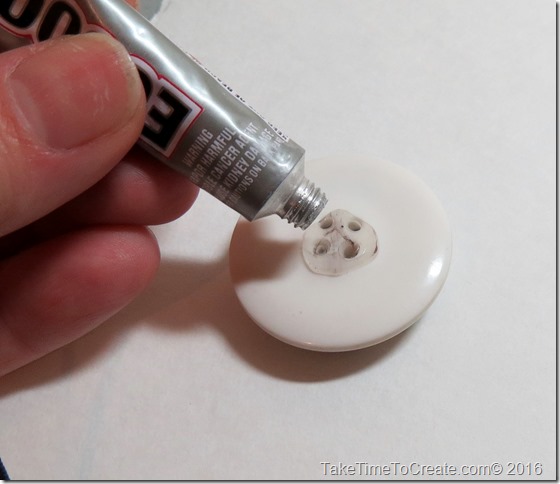
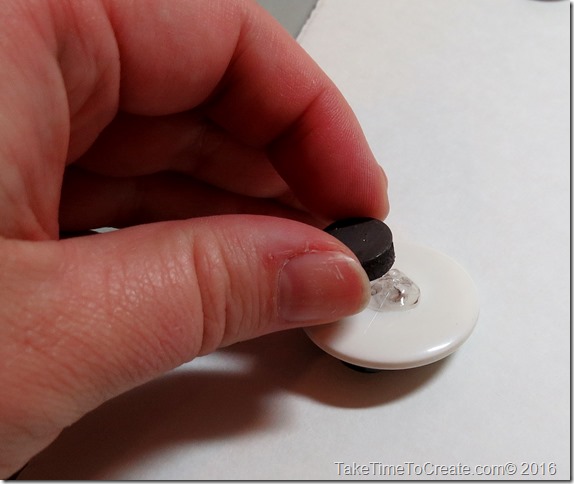
~ Glue the back of the button and add the magnet

Glue on the back of buttonAdd magnet to backAdd magnet to Button

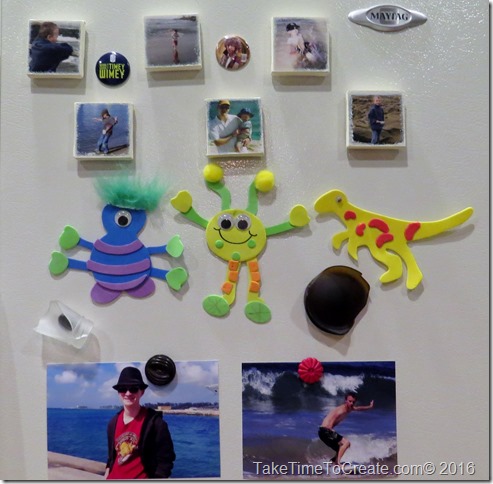
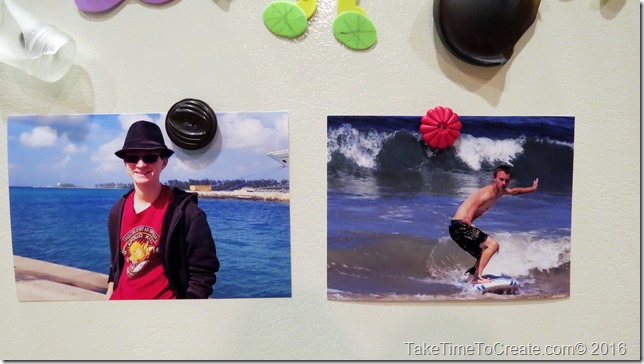
~ Wait for them to dry and then put them up on your fridge. You can see I use them to hold pictures of Cole. I love his monster and dino magnets he made when he was little. So cute! Sigh he is not so little anymore.

Stay tuned for DIYs on how I made the little canvas magnets and the bottle glass magnets.

Display button magnet     Display button magnet

Here are some of the completed magnet sets that I have on Etsy just to give you an idea of what you can do with magnets and buttons. These make great house warming gifts!

Button magnets     Button magnets

Button magnets     Button magnets

Make Yarn Out of an Old T-shirt

Hello Everyone!

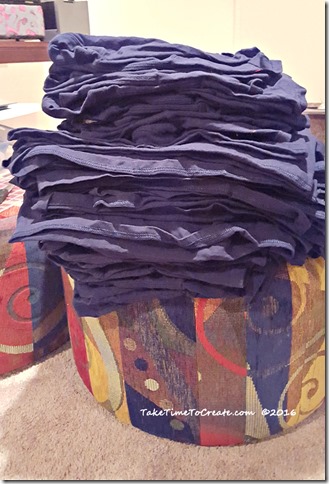
I hope your years is getting off to a great start. I am pretty excited because I have started on a project that I have been wanting to get started on for a long time. I got this huge stack of old t-shirts that had the wrong logo on them (this pic is only part of what I got). And since the shirts can’t be sold my friend gave them to me to make into yarn. This is not a new technique, but it is new to me and I am pretty excited in how it turned out. It is a perfect activity to do while I am watching TV. I am only part way through the stack, but eventually I will be done and then I am going to make rugs out of the yarn. Great way to upcycle old t-shirts and make something new.

stack of shirts

I didn’t connect the balls of yarn to make one big ball because I am not sure if I am going to braid the rug or crochet it. (if I crochet the rug I will need to combine the yarn, if I braid it then I will need to sew together the strips.) Either way when I do the rug I will be sure to do a  tutorial for you guys.

Here is how you turn in old t-shirt into yarn.

Materials

~Old T-shirt (make sure it is washed, if it is new this will take the sizing out and if it is from a thrift store it will make sure it is clean)

~ Scissors

~ ruler if you want, I didn’t use one but a ruler might make it easier to cut the strips.

Instructions

~ Lay the clean shirt on a flat surface. As you can see from the pics I am working on the floor, but that is just my preference. Make sure the shirt is flat and as smooth as possible.

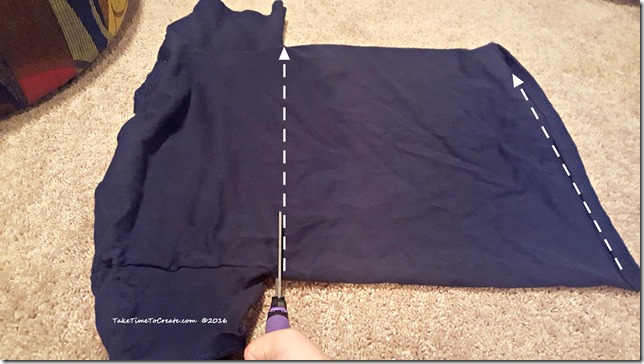
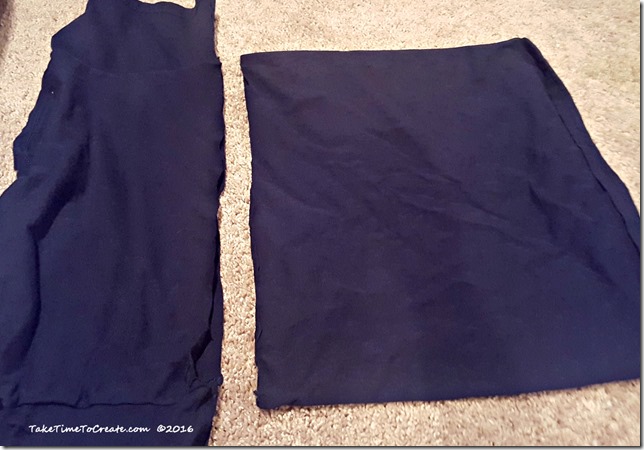
~Cut the top off right under the sleeves. (I am keeping this top part, not sure what I am going to do with them but I just can’t throw it away) Then Cut off the bottom hem. (I threw that part away)


Cut top and bottom off

top cut offbottom cut off

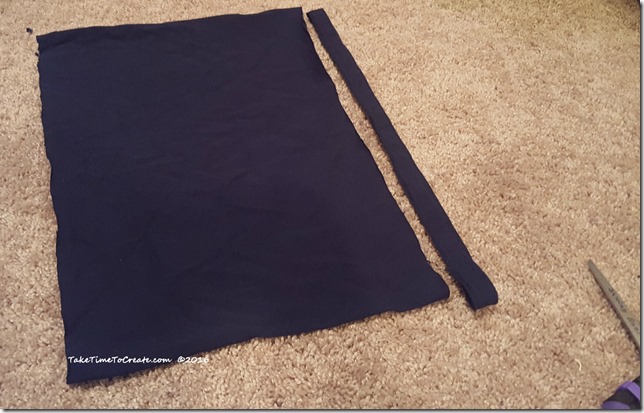
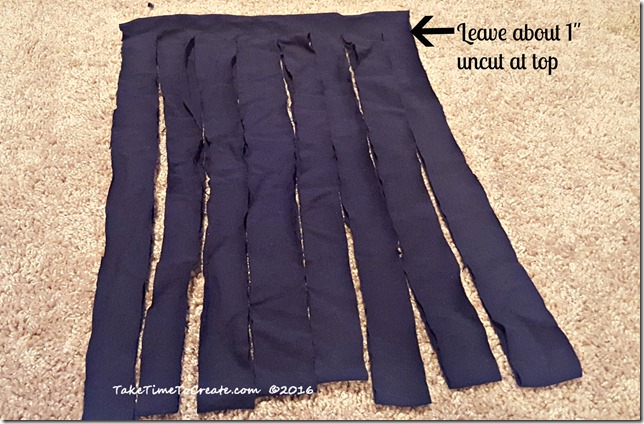
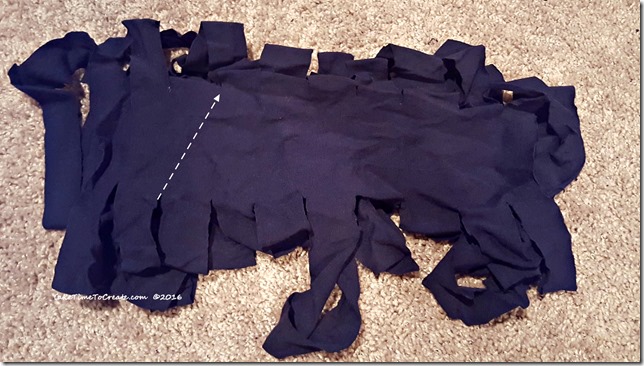
~ Then you want to cut the remaining shirt into strips. I cut mine about 1-1.5” wide.

***This is Important! Make sure you don’t cut all the way to the top! You will need this uncut area to make the yarn into one continuous length.

cut into strips

angeled cuts to make 

(This is what the top looks like with the uncut areas. You will cut it at an angle to make the strips, starting at the right end)

~ For this part refer to the pics, and please let me know if you have any questions.

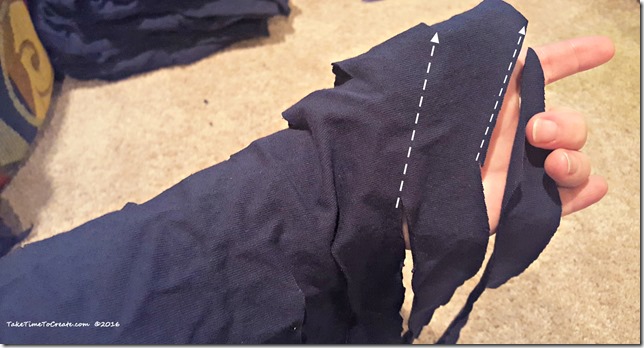
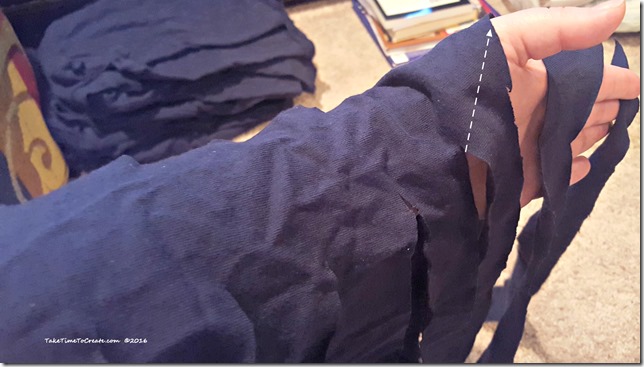
To make the yarn cut off starting at the last strip and make an angle cut to the edge. Then cut the rest of the strips in an angle until you get to the end. I place the shirt on my arm and make the cuts on there, that just helps me keep track of were I need to go next.


cutting t shirt yarnwhere to cut for t shirt yarn

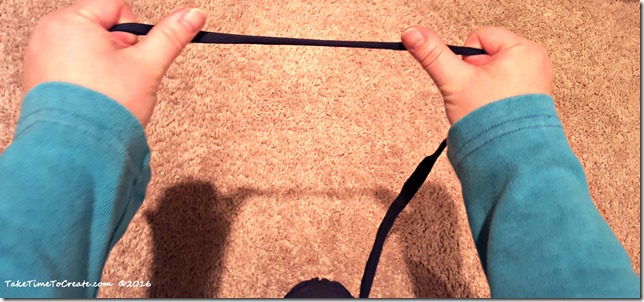
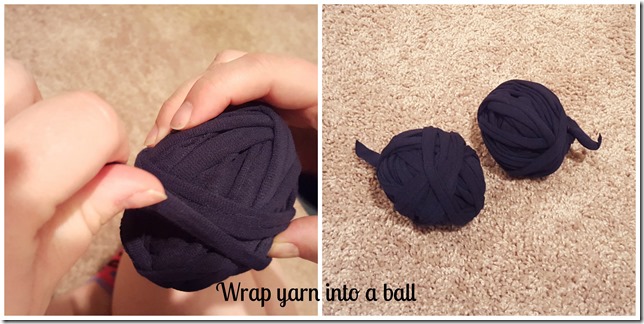
~ Once you have cut the entire shirt you should have on long length of T-shirt Yarn. Then gently stretch the yarn and then wrap it into a ball. I made individual balls because I am not sure if I want to combine them into one length or not, but this way I am keeping it all nice and neat until I am ready to use it.

stretch yarnwrap yarn

I know this may seem a little confusing, but I am here if you have any questions. Have any of you made t-shirt yarn before? I would love to some tips and tricks to make it better and or easier.

Steampunk Disney Magic Band

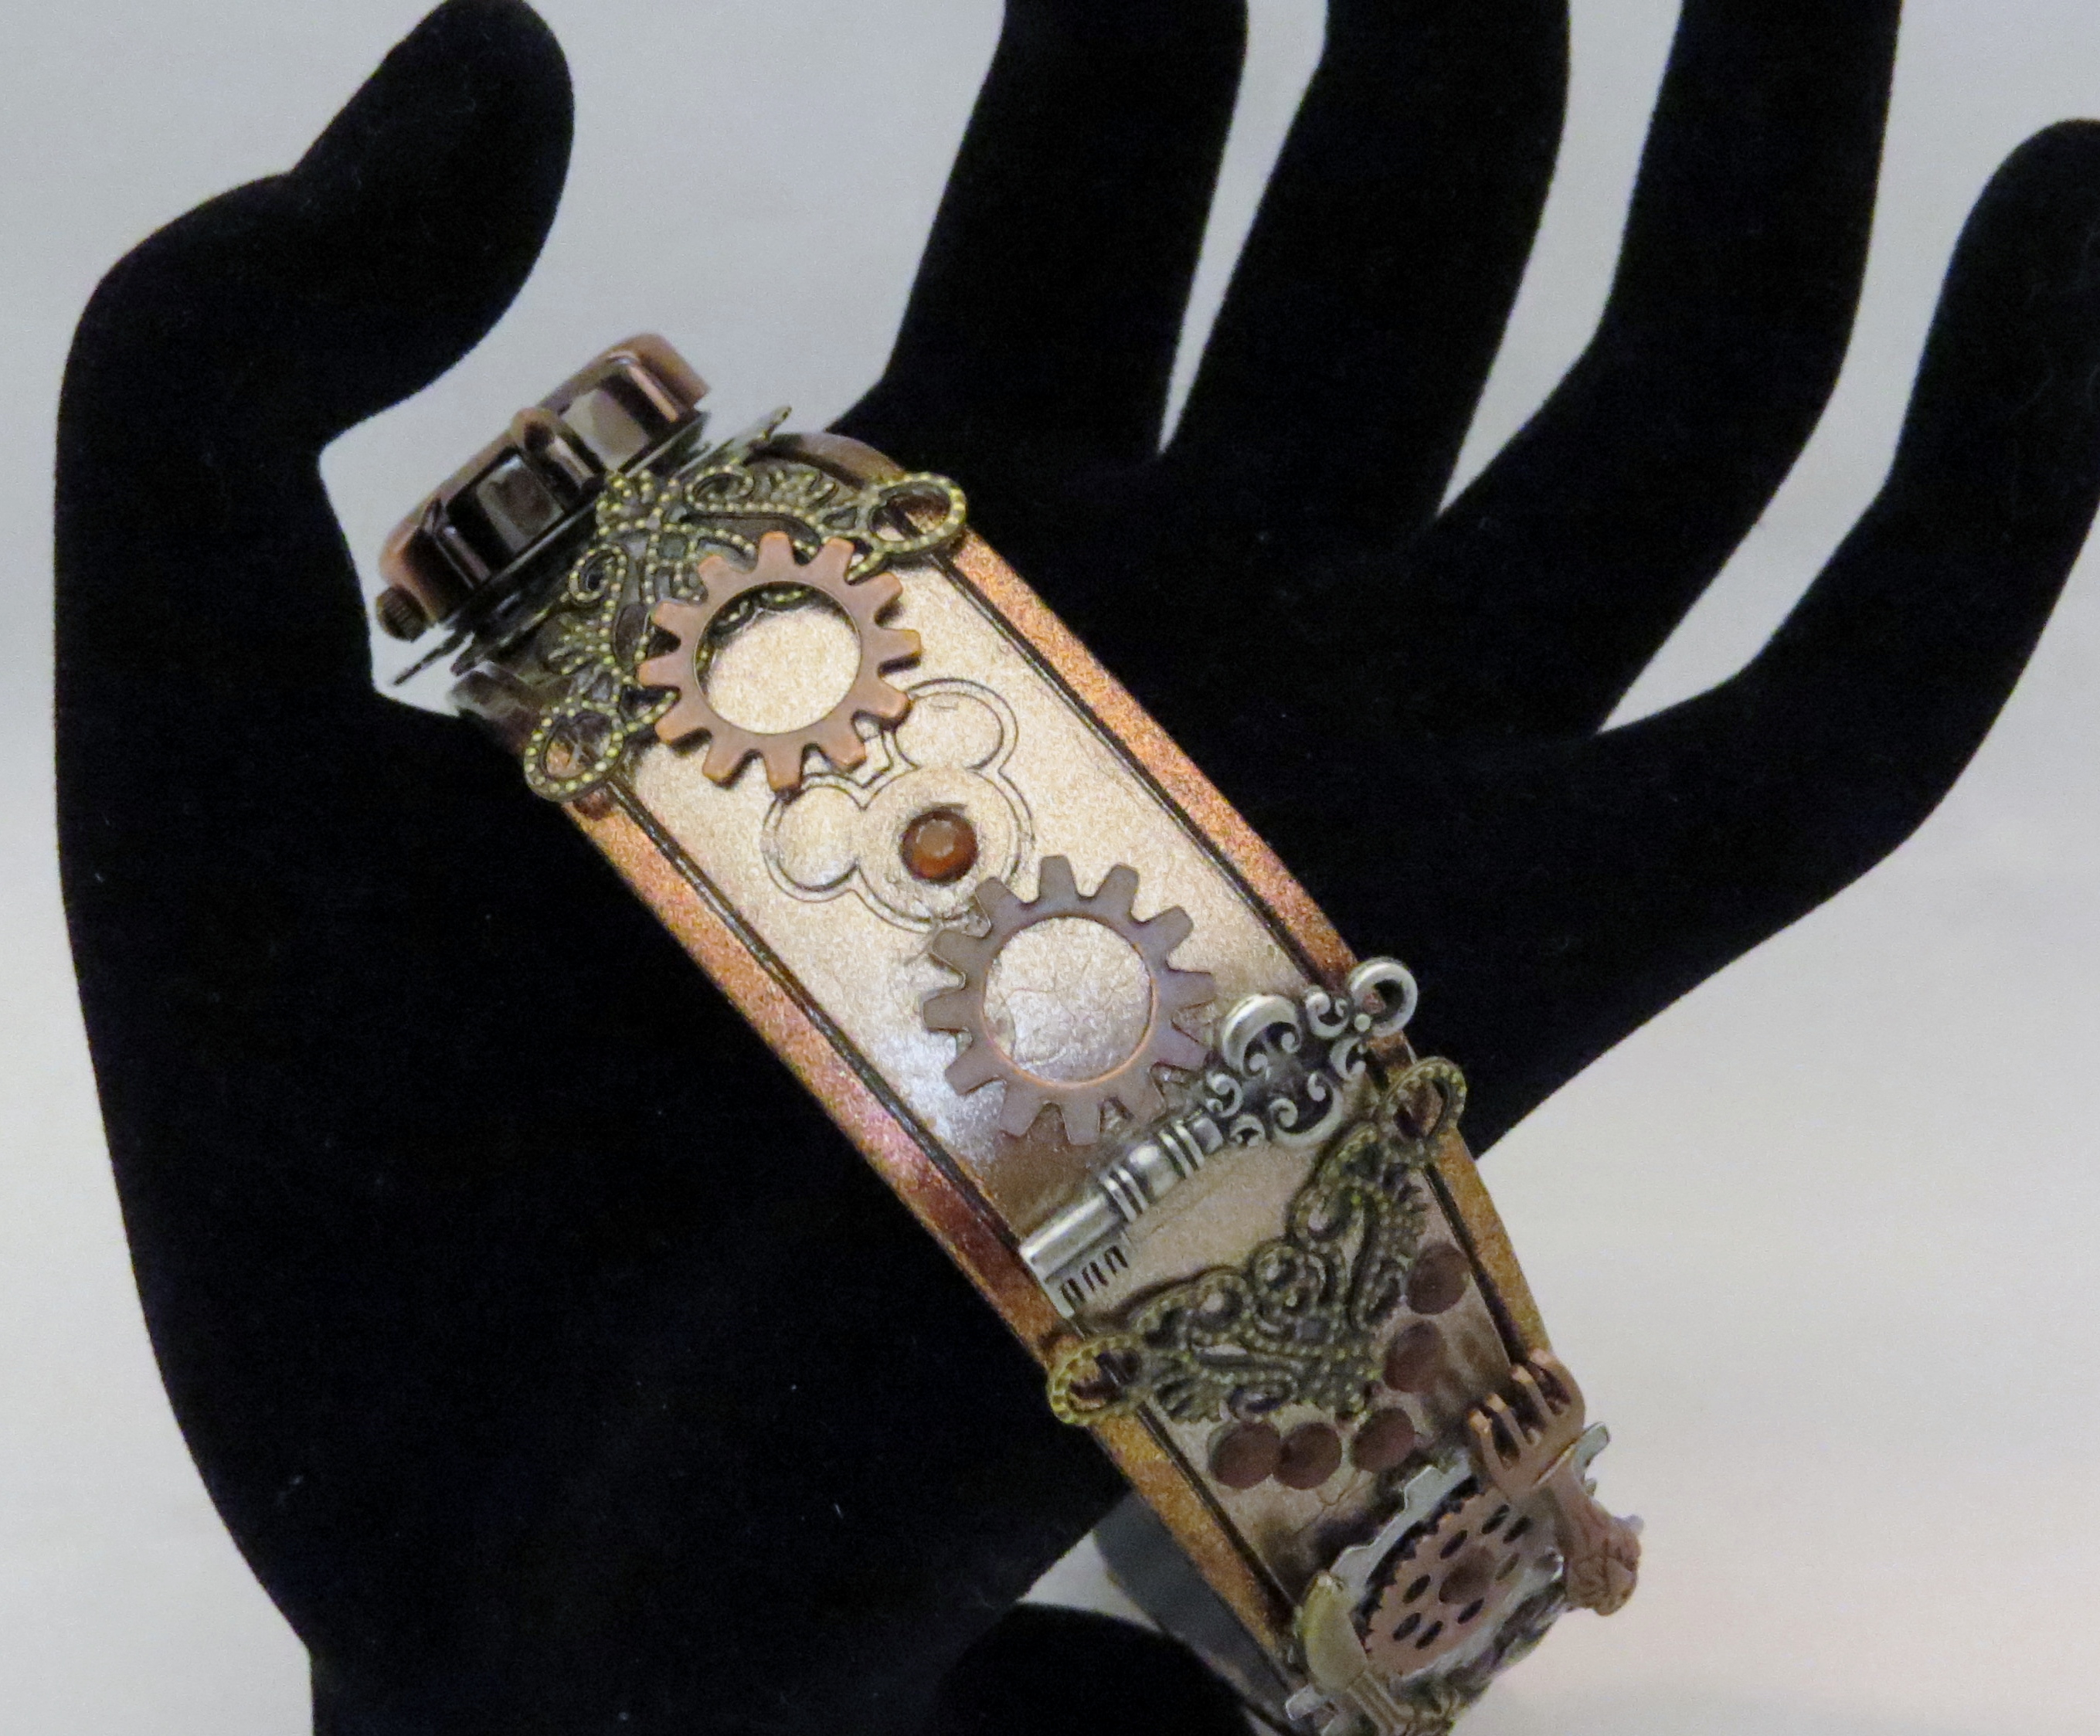
We went to Walt Disney World in January so we got to try out the new Magic Bands. This was my first time using them, and overall I was impressed. But I couldn’t just leave it plain, oh no! I needed to decorate it!

I decided on a Steampunk tribute to Beauty and the Beast.

Update 4.4.2017: I just uploaded a video to You Tube describing this in more detail. Check it out: Steampunk Magic Band You Tube Video

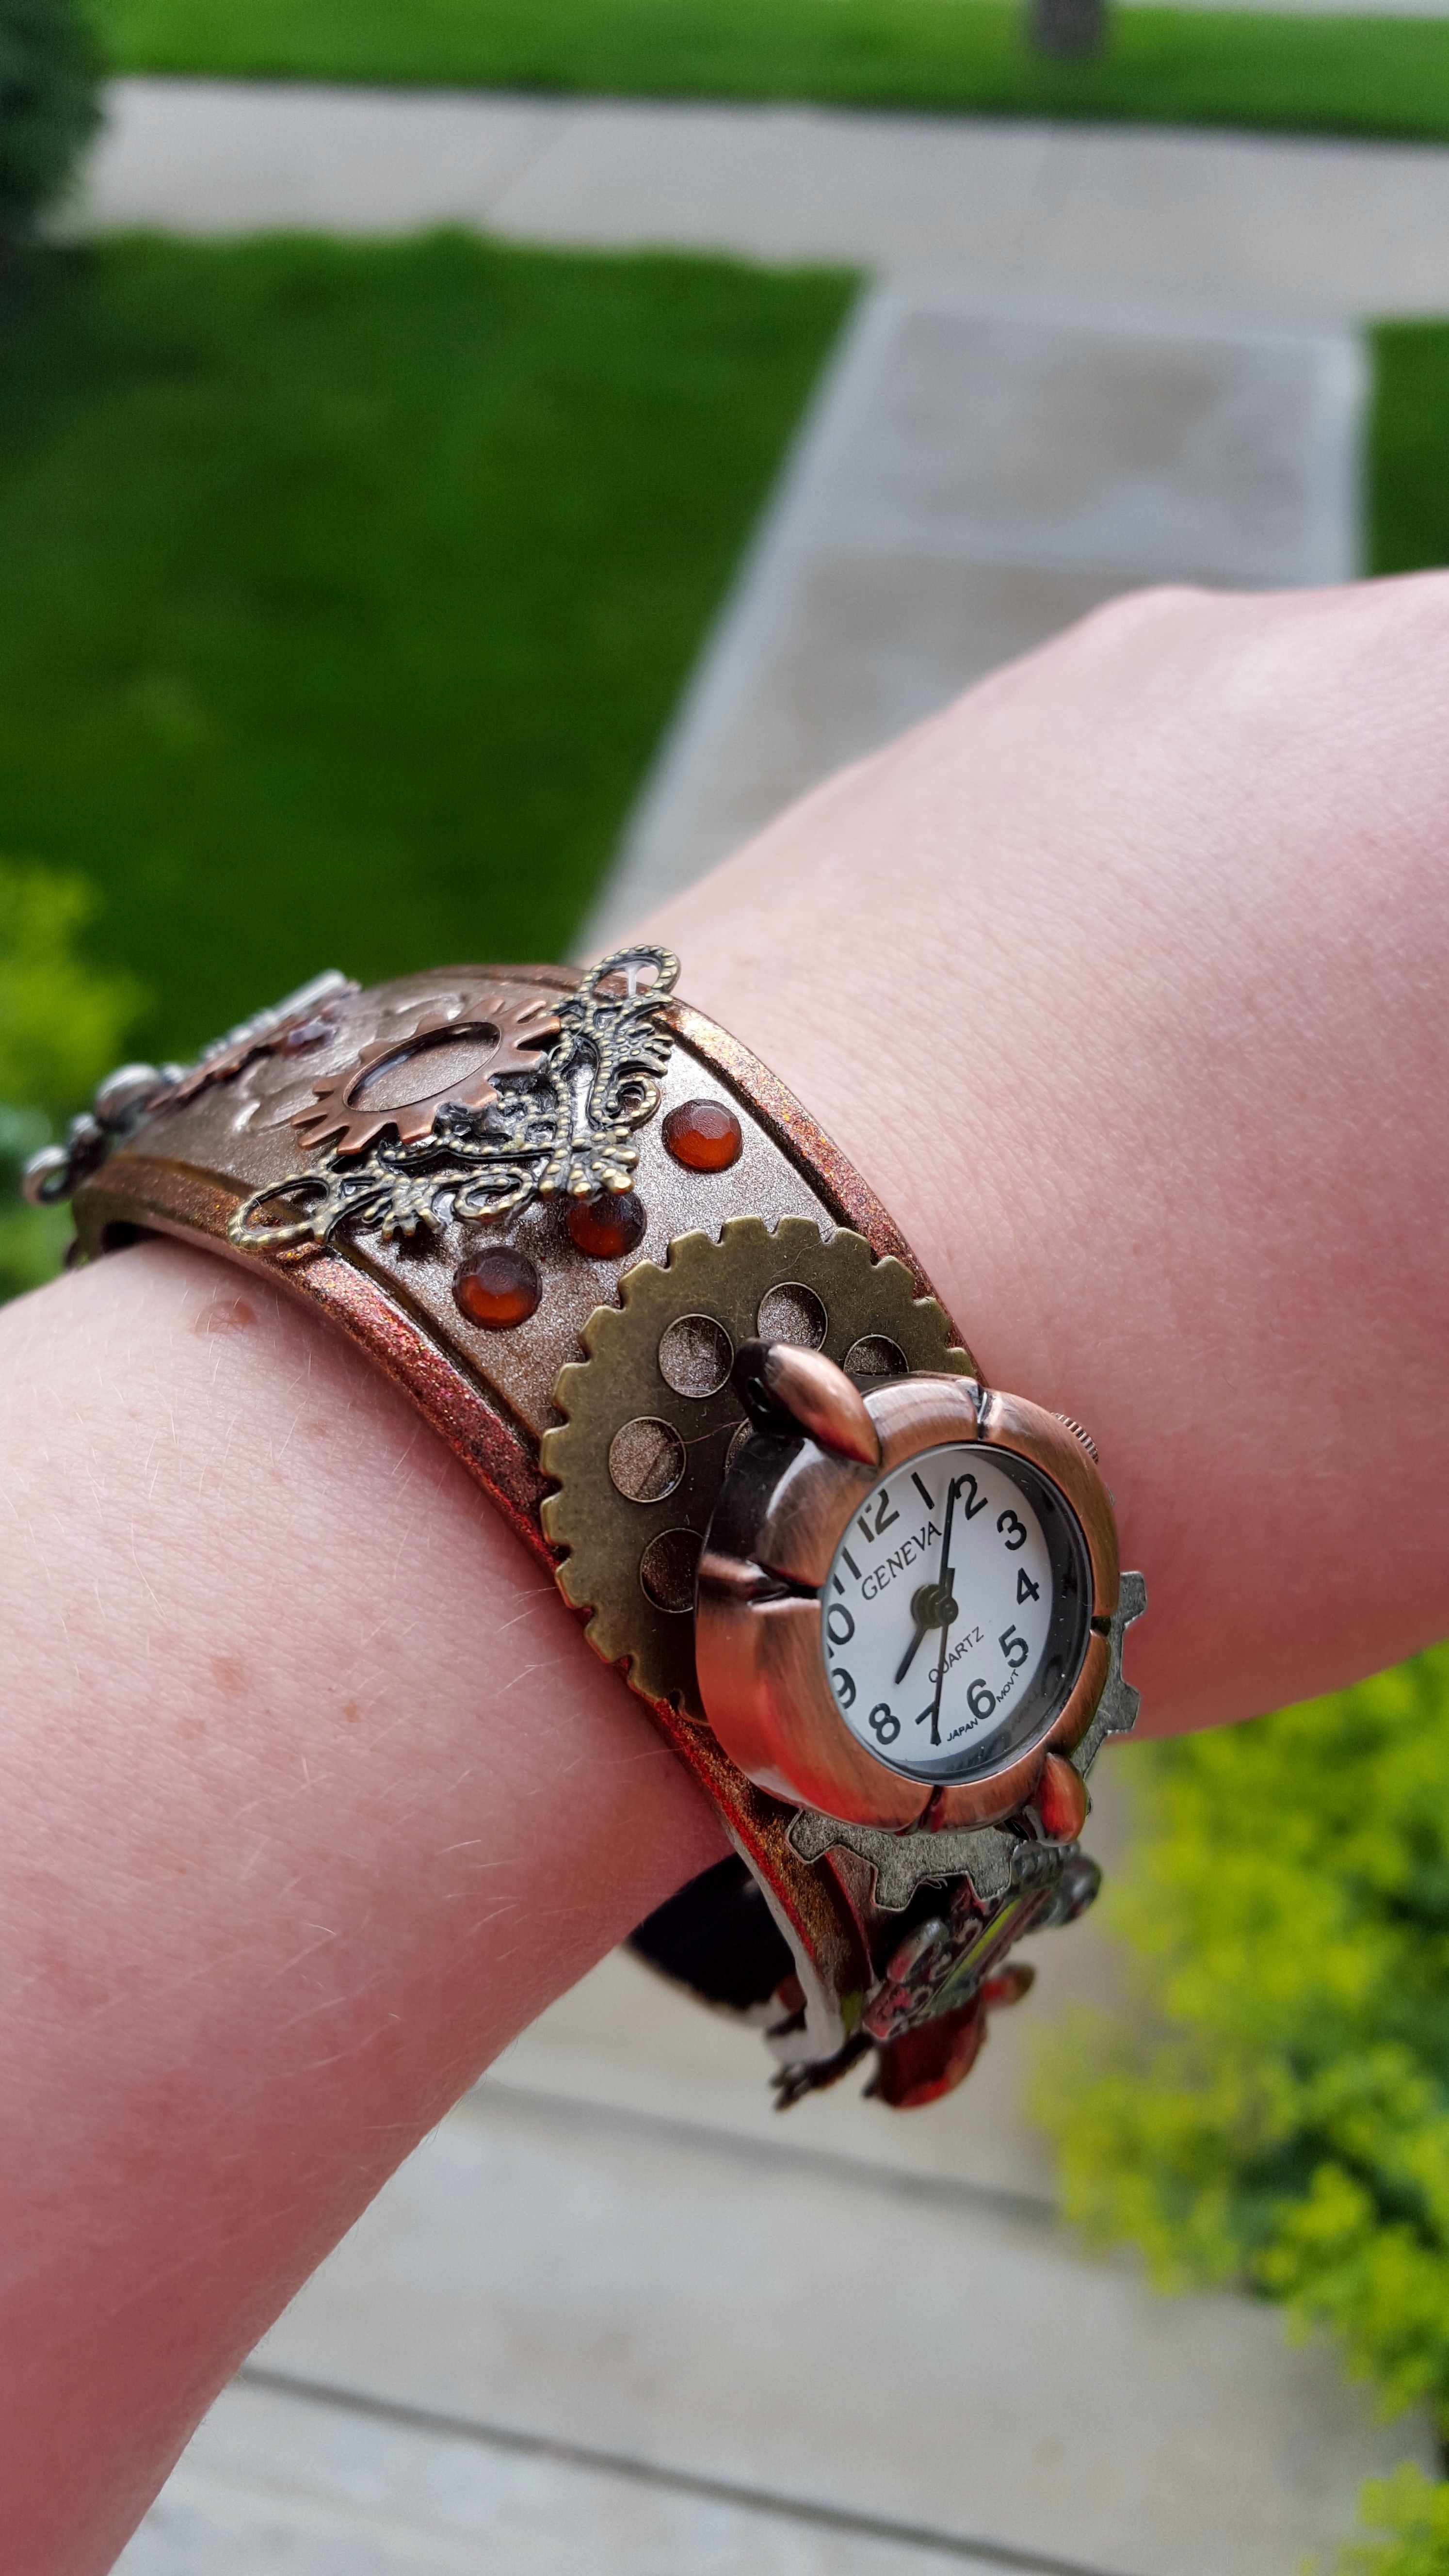
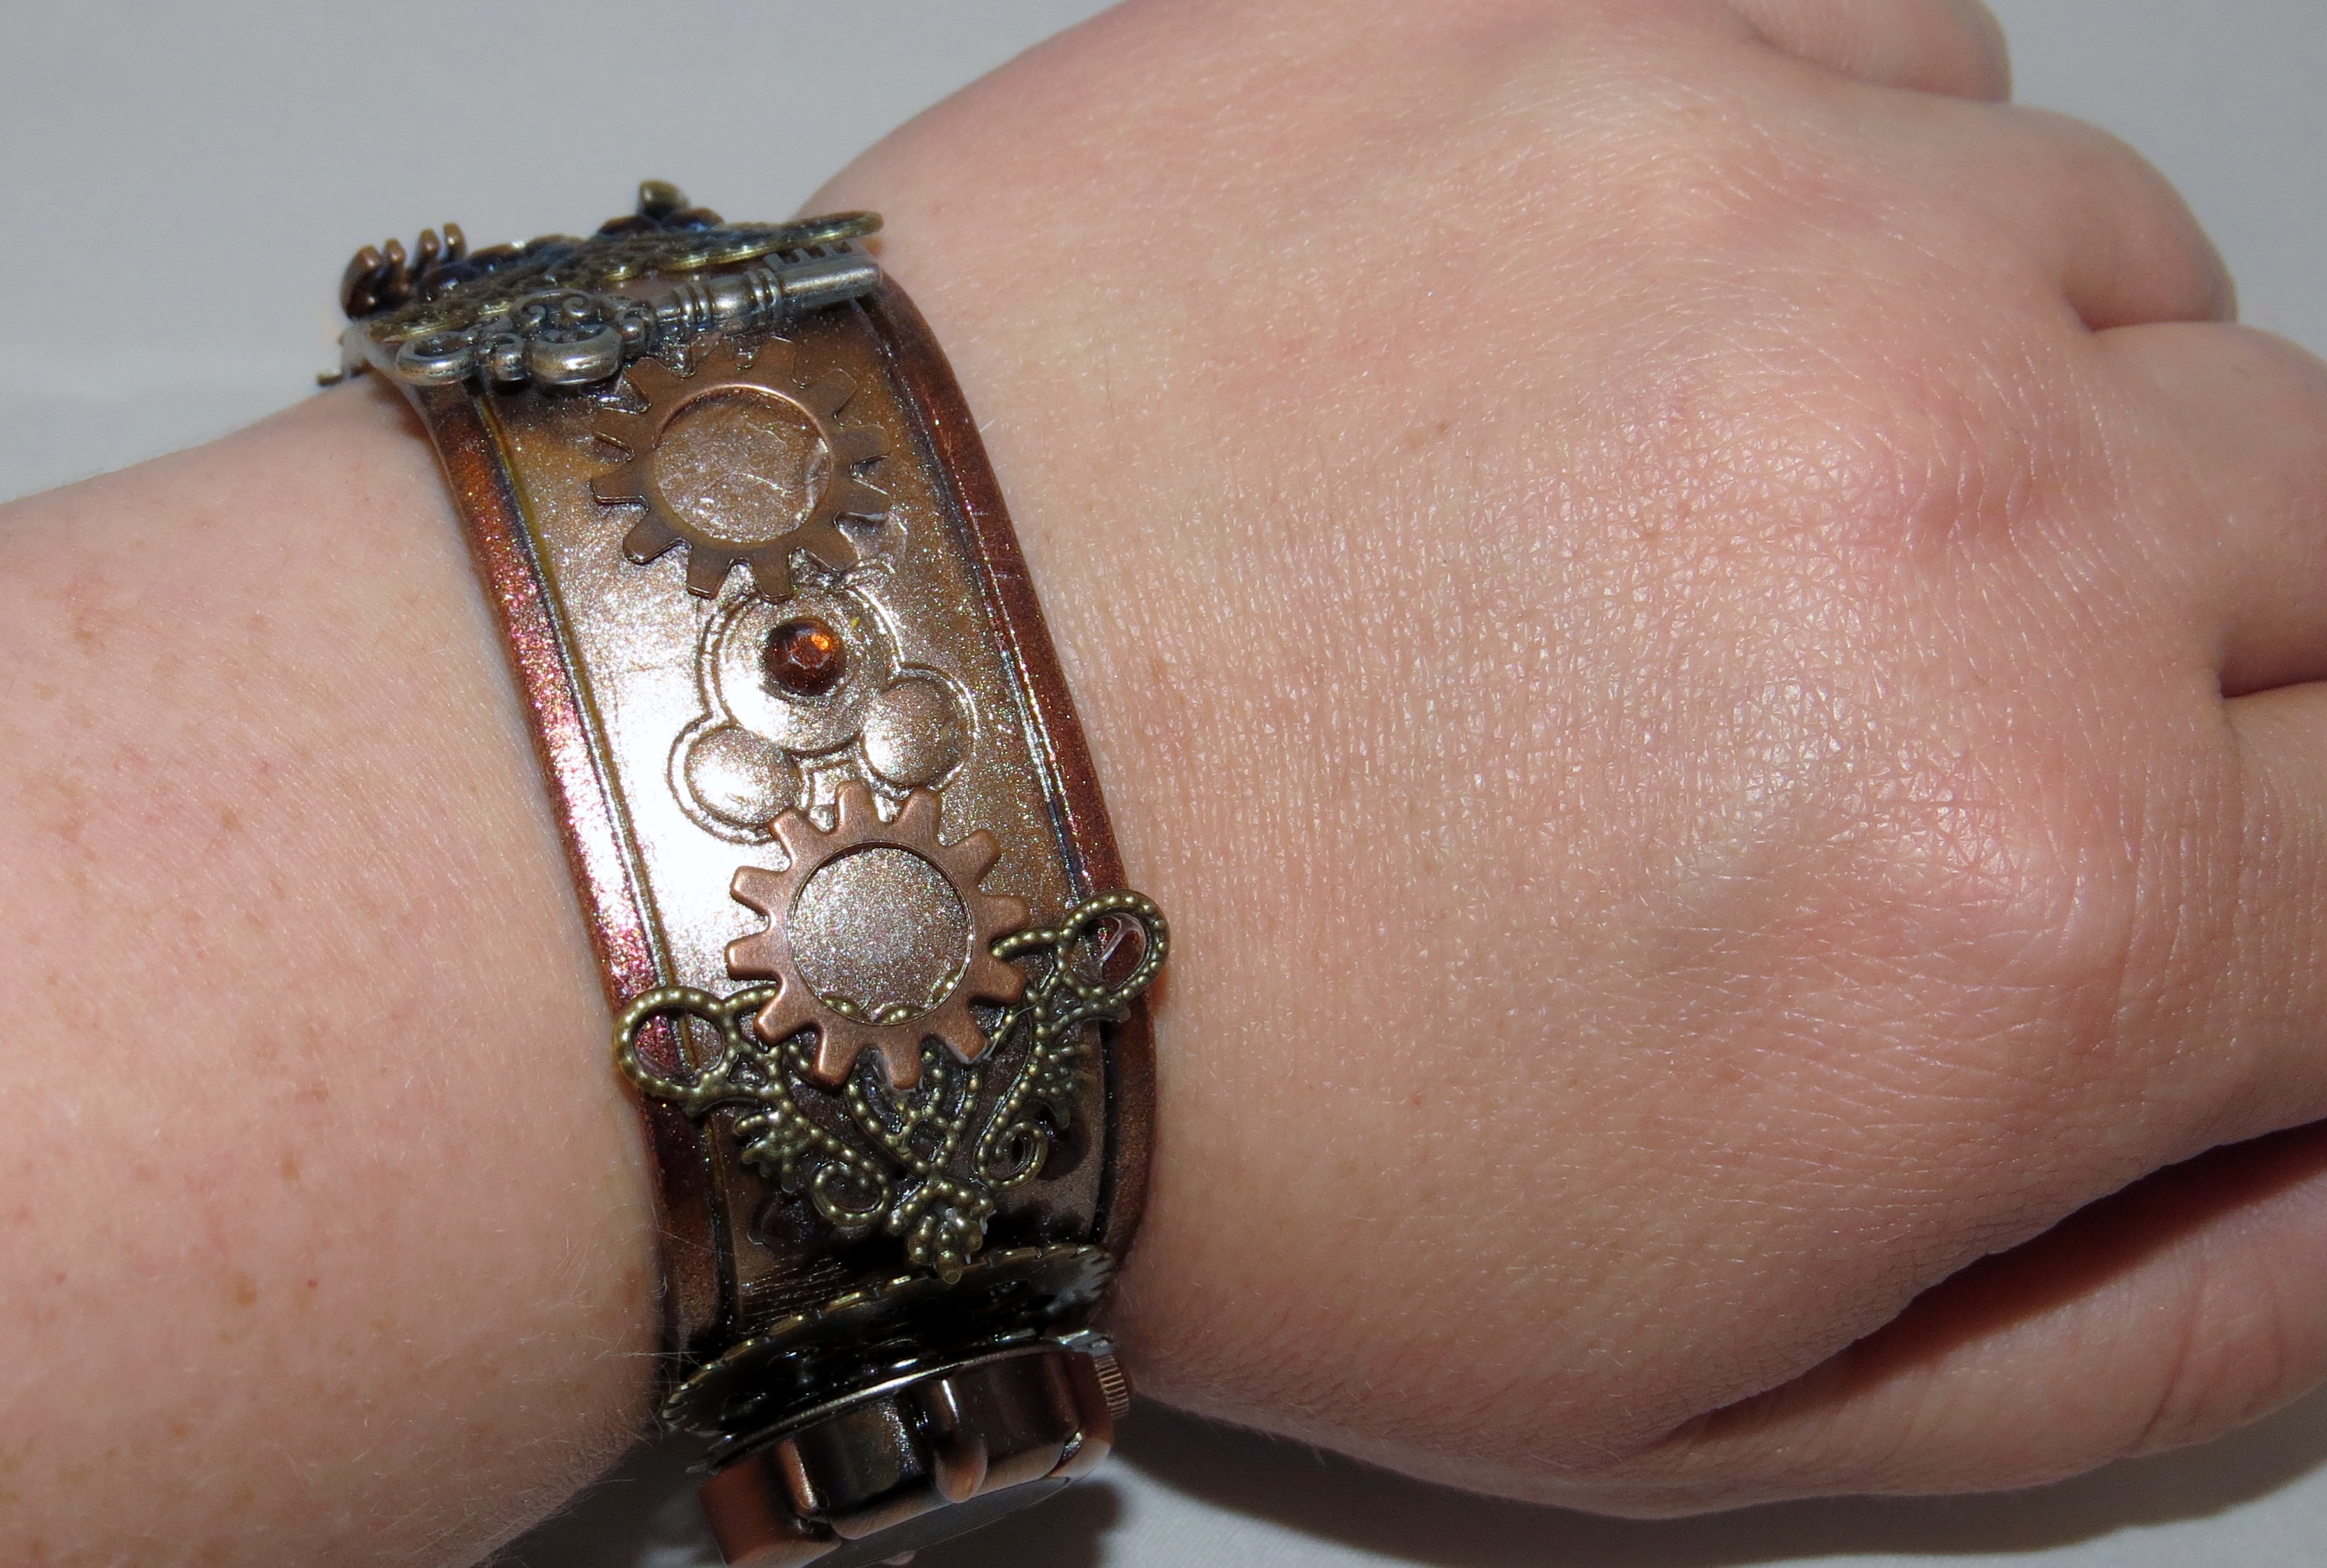
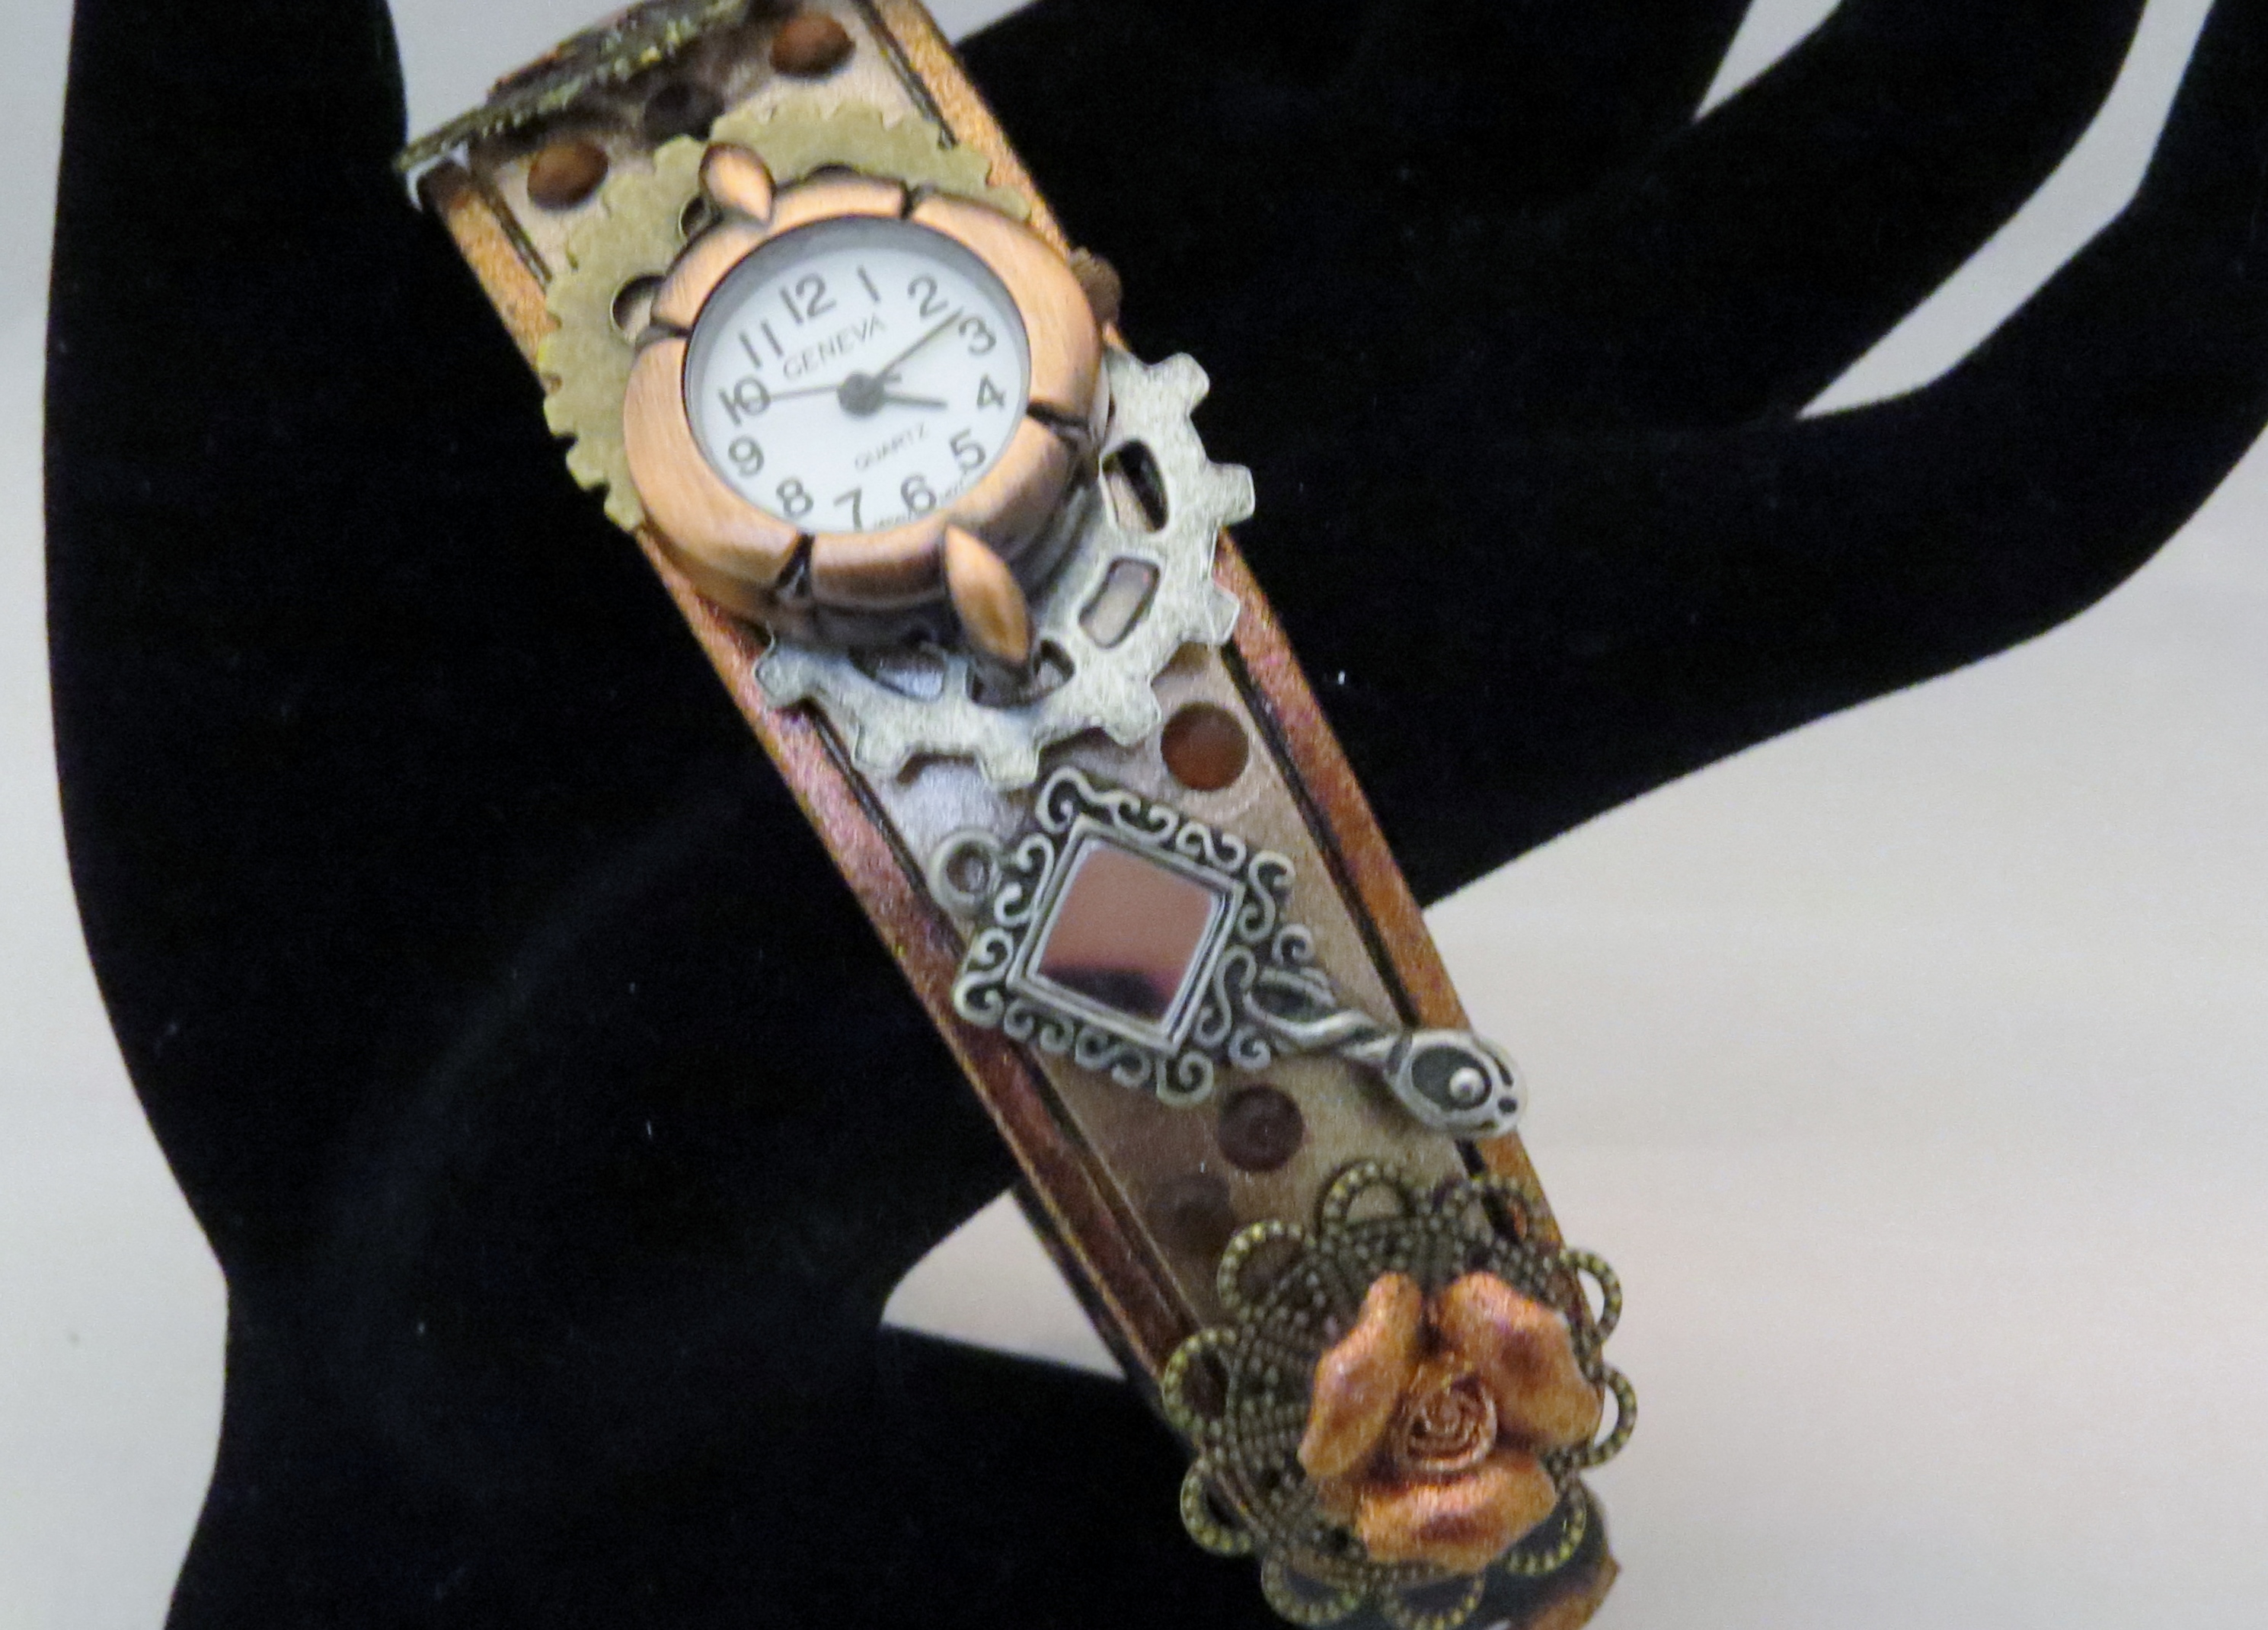
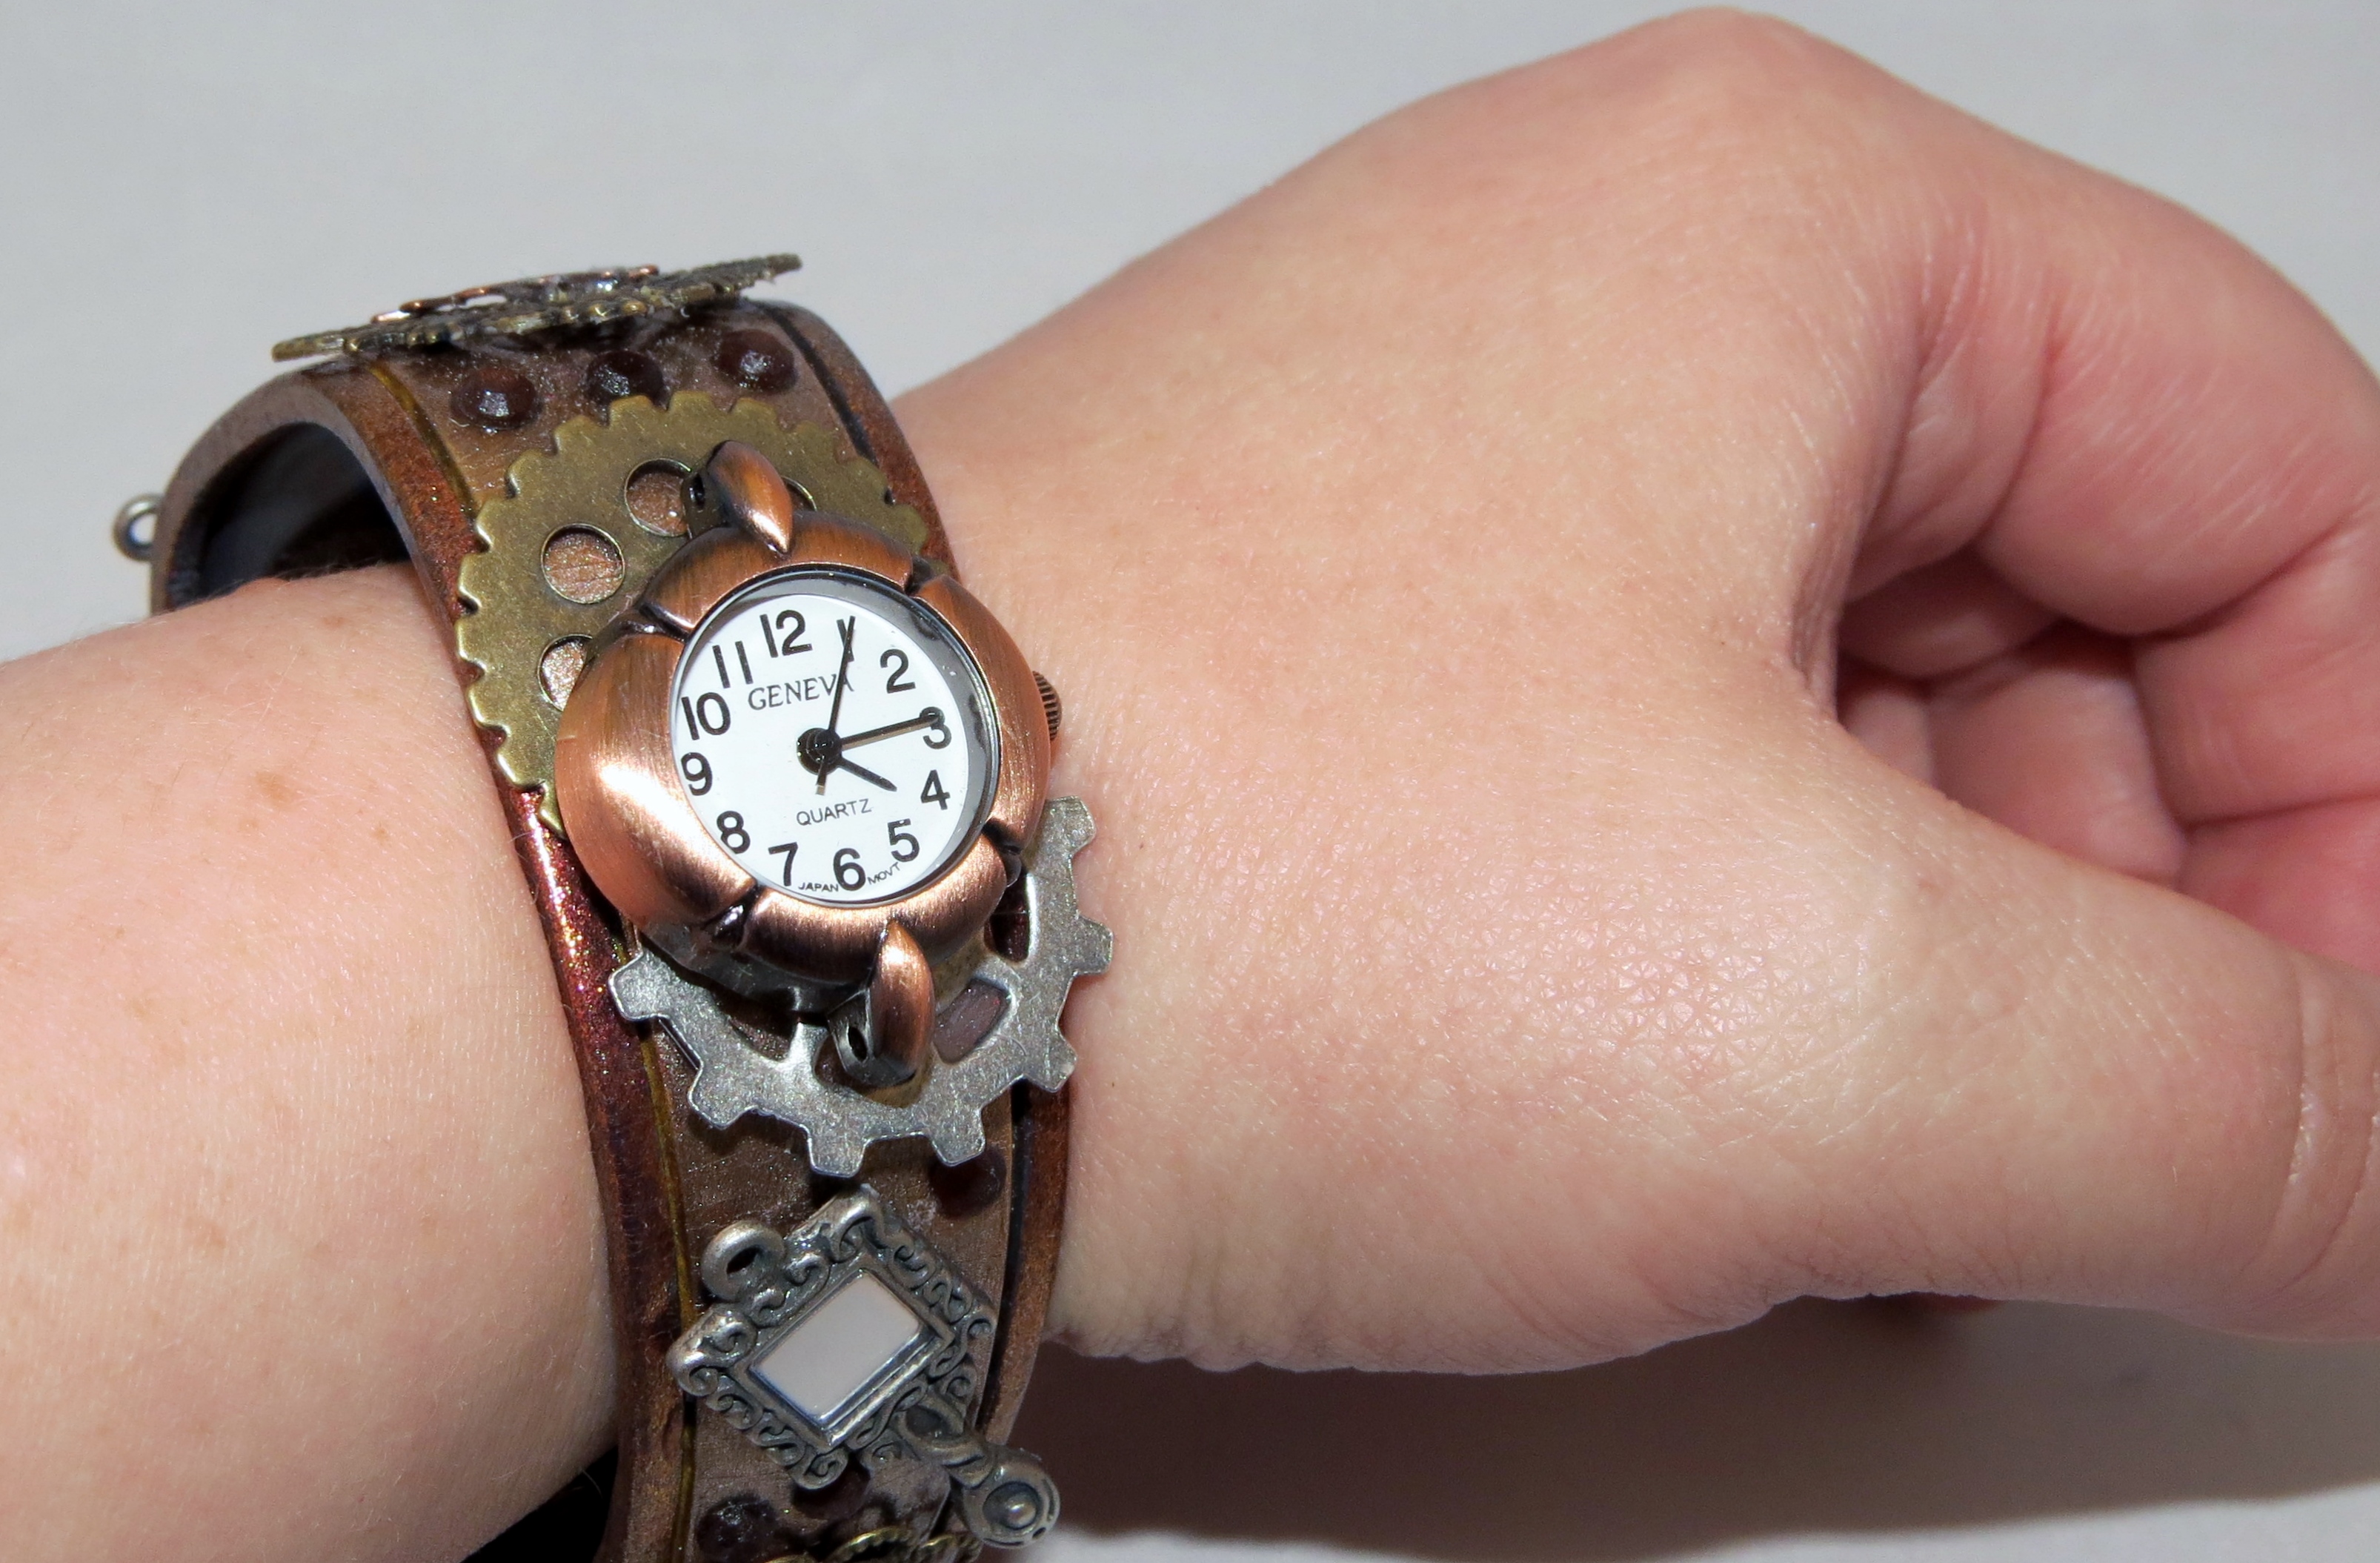
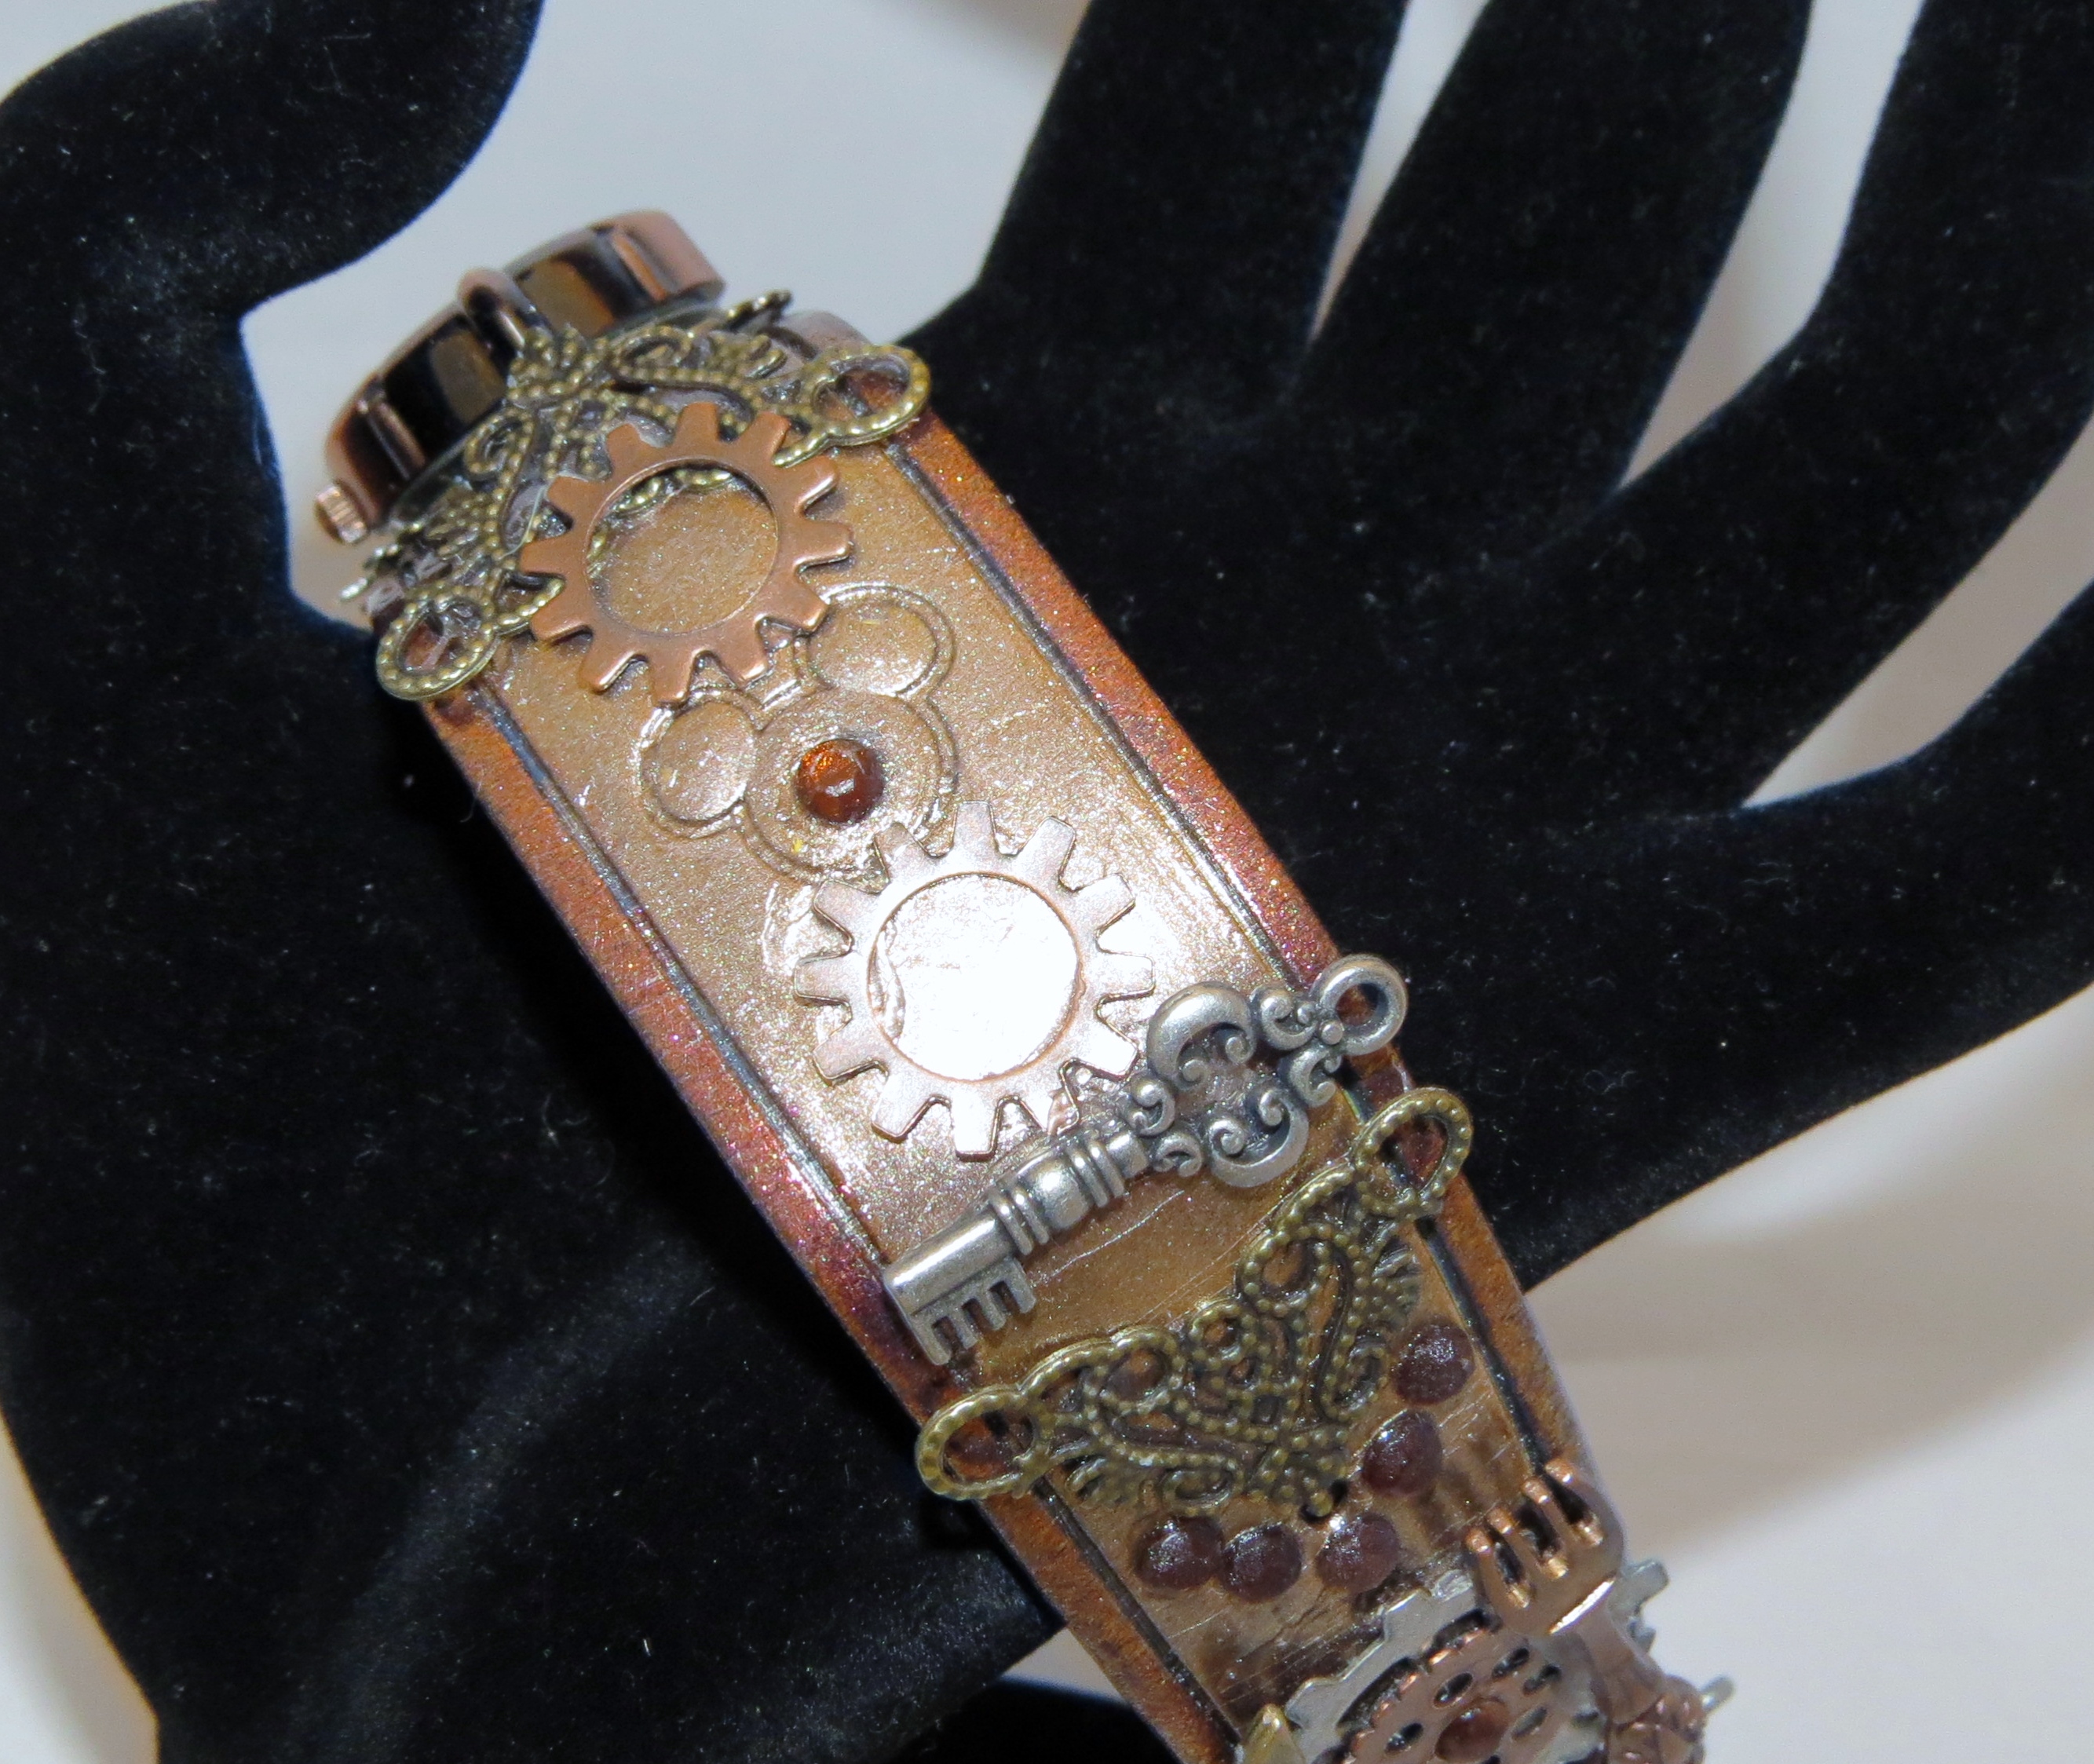
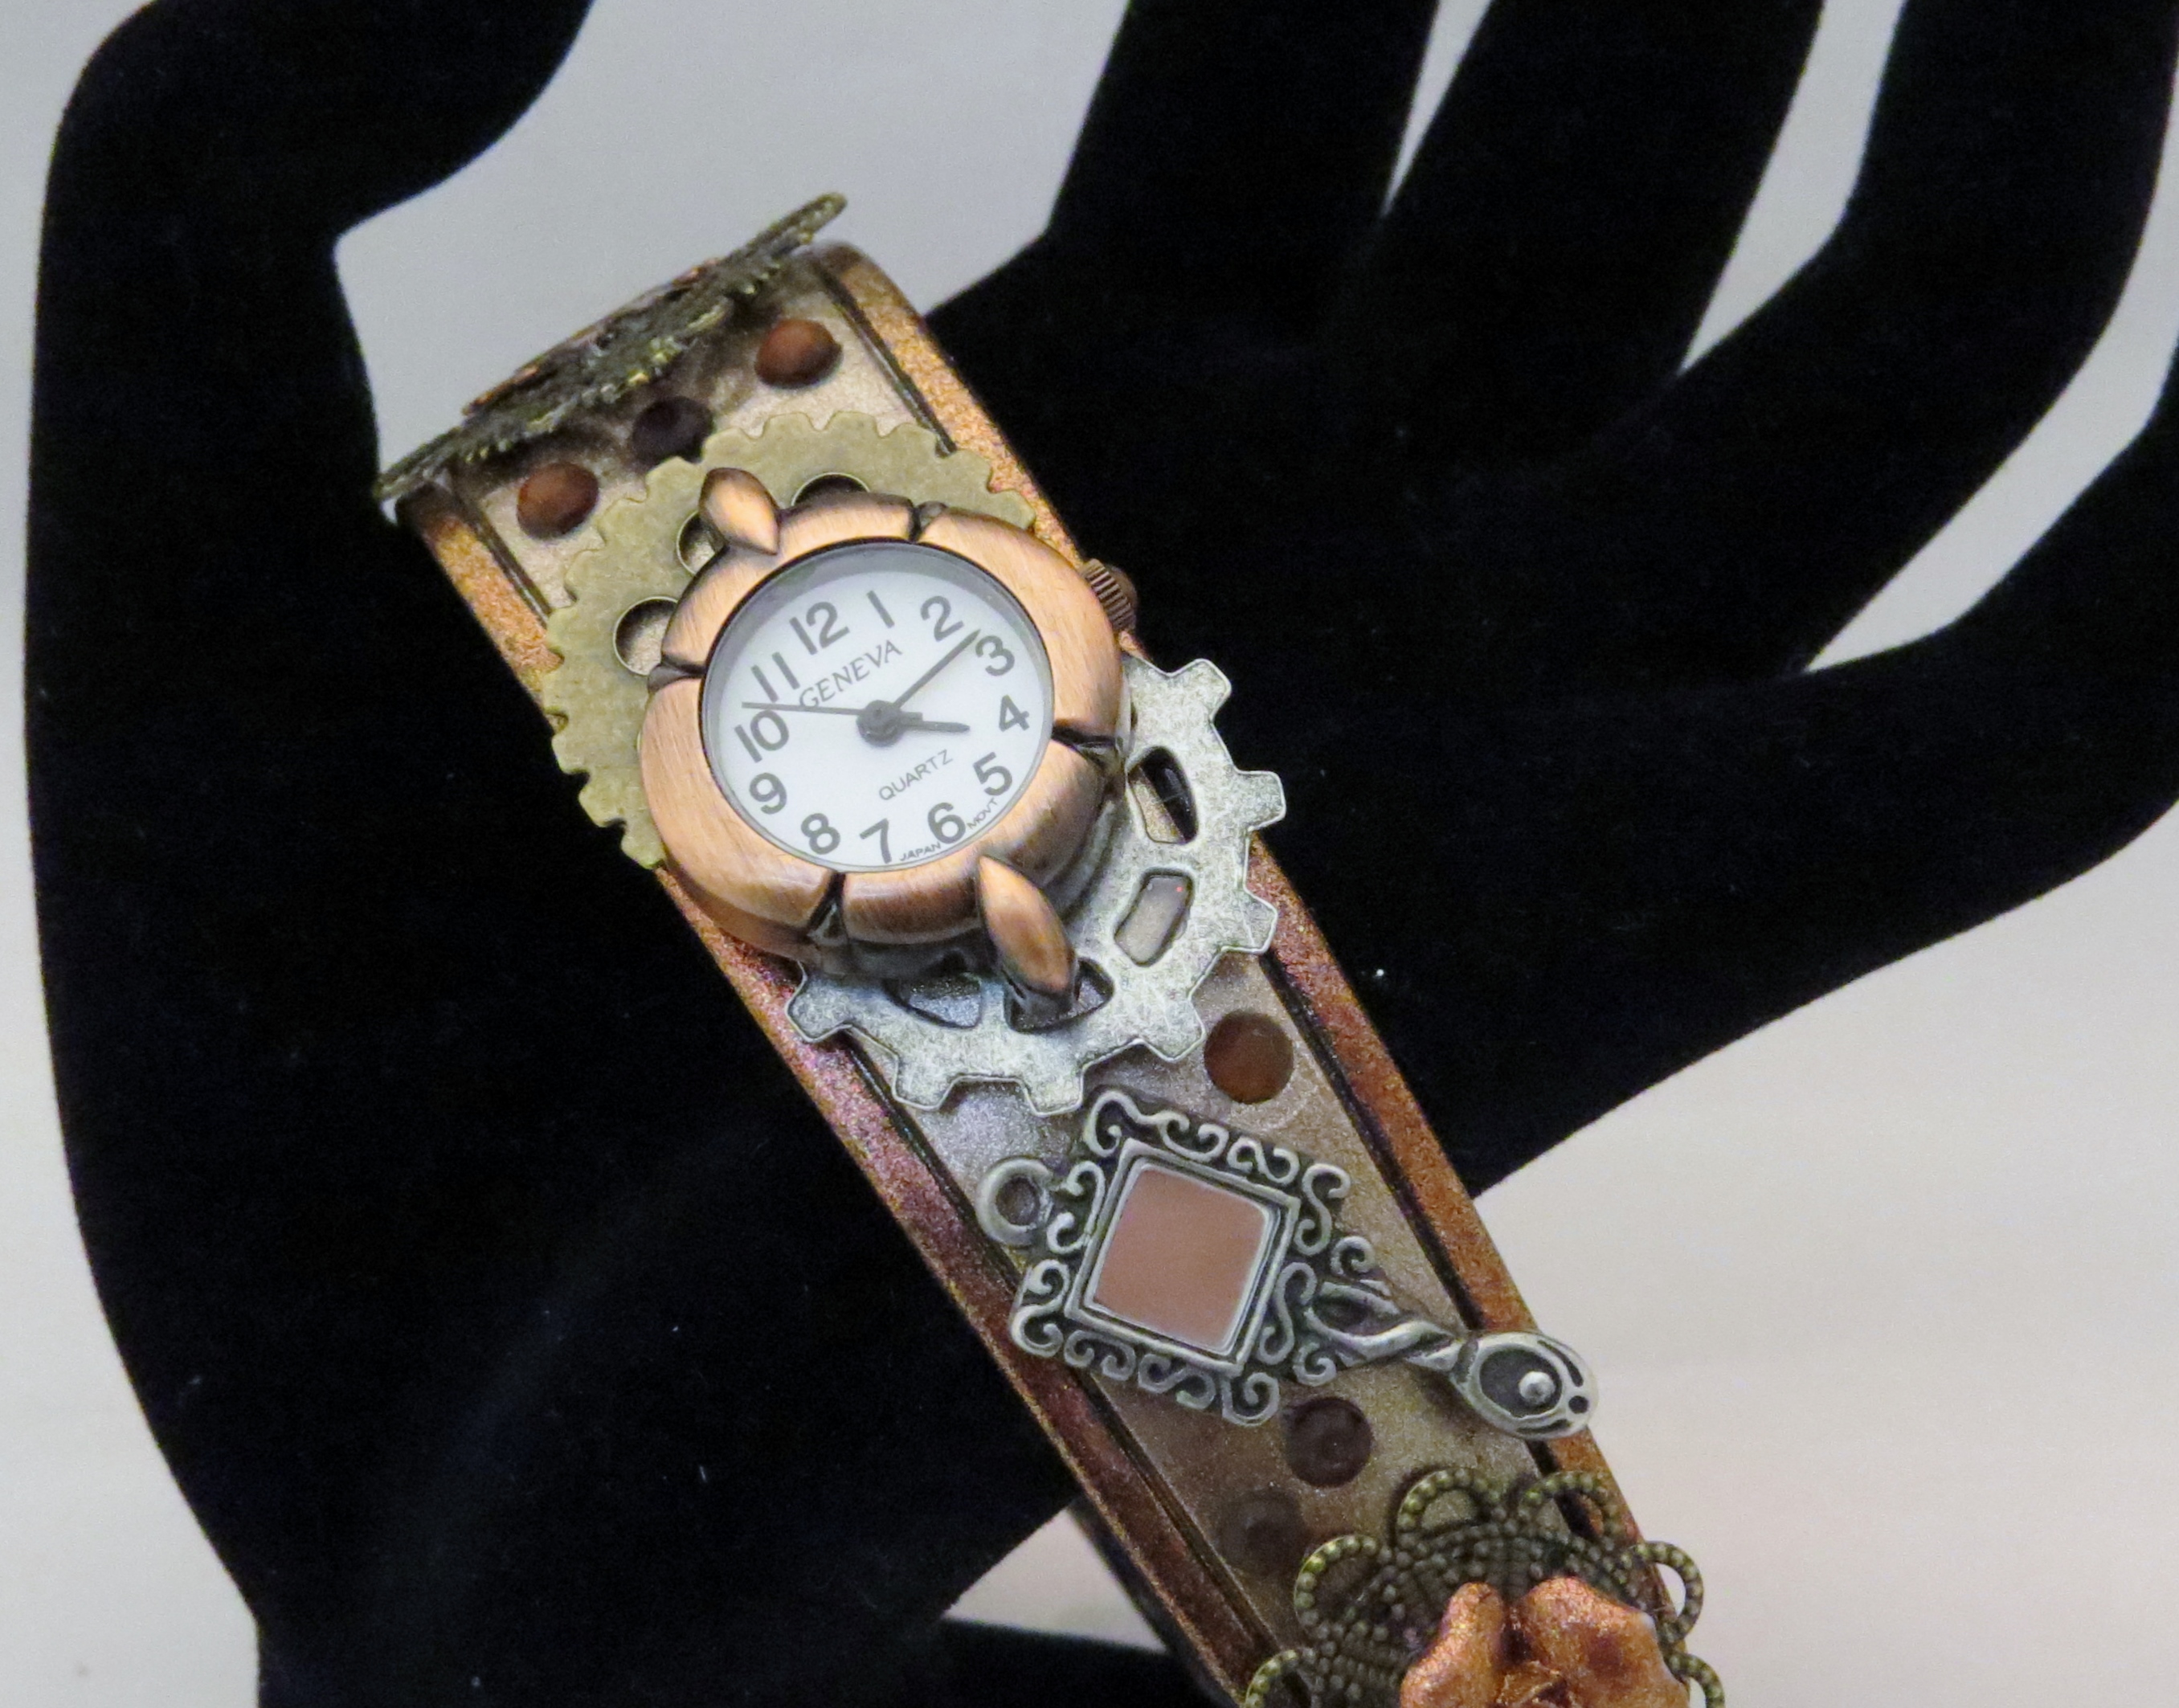
Here is the finished Magic Band! I have to say, I really love how it turned out!

20150611_070832

Finished Magic Band

IMG_4536

Top of finished magic band

I think it turned out pretty cool. Unfortunately there are no pictures of me during the creation processes, but I do have the finished product. I wore it every day for a week and it held up great. I was gentle with it, but not overly so. I only had 1 piece fall off and I just replace it that night. I brought with me a small bottle of E6000 and some spare pieces for just such an occasion.

Material needed

  1. E6000
  2. Steampunk pieces ( I found mine in the jewelry section at Michael’s)
  3. Watch face (I found mine on Etsy)
  4. Rhinestones (again, Michael’s to the rescue).
  5. Nail polish and top coat
  6. Empty water bottle to hold Magic Band while you are working

Here is what I did to decorate the Magic Band

  1. I cut the band down to size so it fit me.
  2. I put the band around a water bottle so that I could work on it.
  3. I painted the band with nail polish in 2 colors. I can’t remember what the colors were but one was a Sally Hansen and the other was an OPI. I used several coats to get the color I wanted. The inside part is a different color from the outside edge.
  4. Then I put a few layers of top coat of nail polish on.
  5. Then I started gluing on the pieces with E6000. I started with a few pieces and then started adding a few more. I wanted a layered look that had a lot going on, but not too much…
  6. I went over the top of the rhinestones with top coat so that they would stay down. This did take away from the shine, but they stuck better.
  7. As you decorate make sure you don’t cover your Mickey head, it won’t work if you do (believe me, originally I did have something covering the Mickey and it didn’t work so I had to take my repair kit out and fix it…)
  8. I added a watch face to my Magic Band. I wore it on my left wrist, right where I wear my watch and I didn’t want to have to wear both, so I added a watch to my Magic Band. It worked great! The watch stayed on perfectly and worked the whole time!

I think that is everything I did. Let me know if you have questions and I will be happy to answer. I would love to see your versions of your Magic Bands!

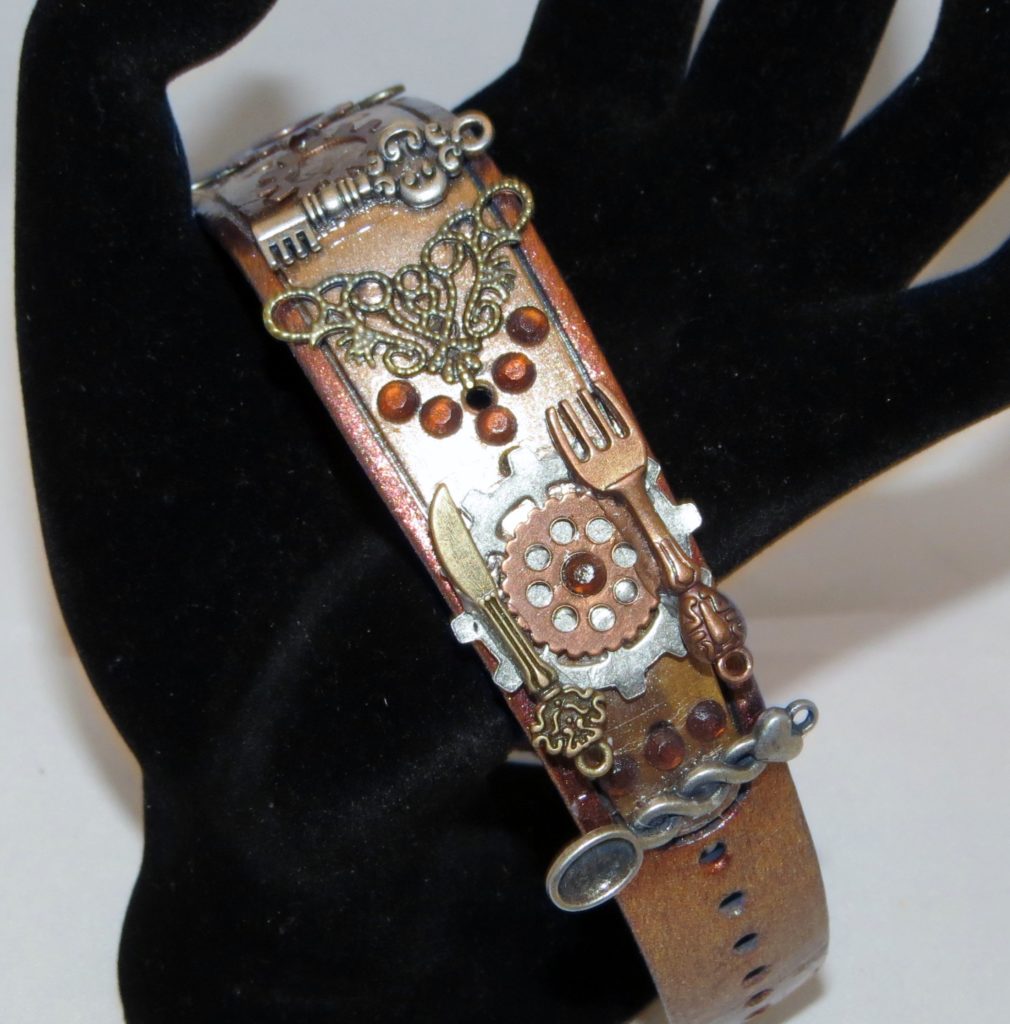
Here are a few more pictures from all different angles. I wore it with the Mickey facing out and the watch face on the inside so I could see it.

IMG_4529

Side of the magic band that faces inside, with the watch facing me

IMG_4537

IMG_4533

IMG_4530

IMG_4527

Newer posts »

© 2025 Take Time To Create

Theme by Anders NorenUp ↑

Follow

Get the latest posts delivered to your mailbox:

%d bloggers like this: