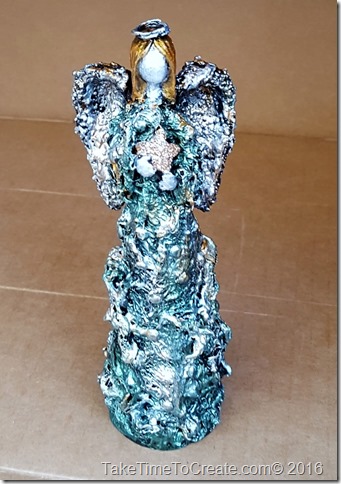
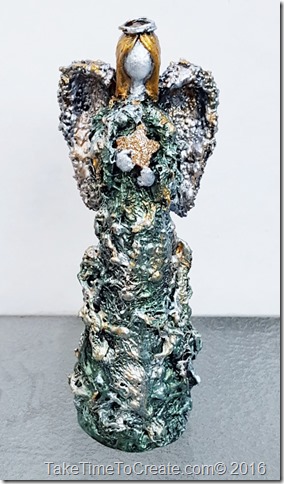
Tag: create (page 6 of 7)

DIY Christmas Tree Earrings

DIY Wire Christmas Tree Earrings

Make the holidays merry with these easy DIY wire Christmas Tree earrings.

Hello Everyone

Do you ever dream about crafts, or is that just me? The other night I was dreaming about making wire Christmas Tree earrings, I know a little random but since I dreamt it I just had to try to make them.

Now the funny thing is is that I have never made anything like this before. I don’t usually work with wire, but I found that I love this technique and I have more ideas to make more jewelry.
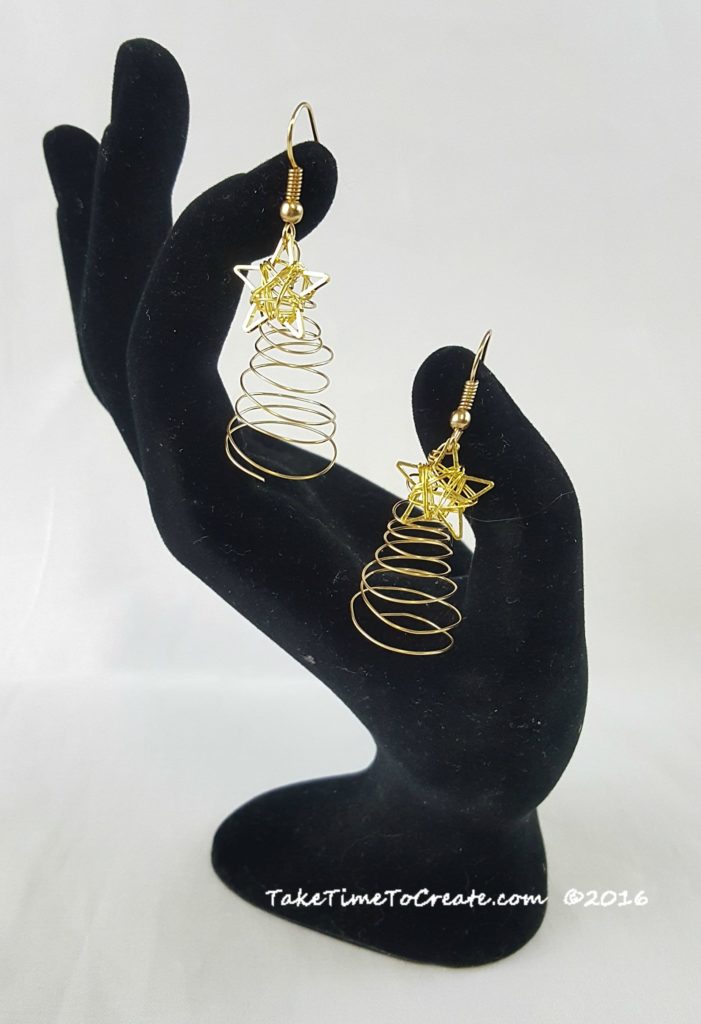
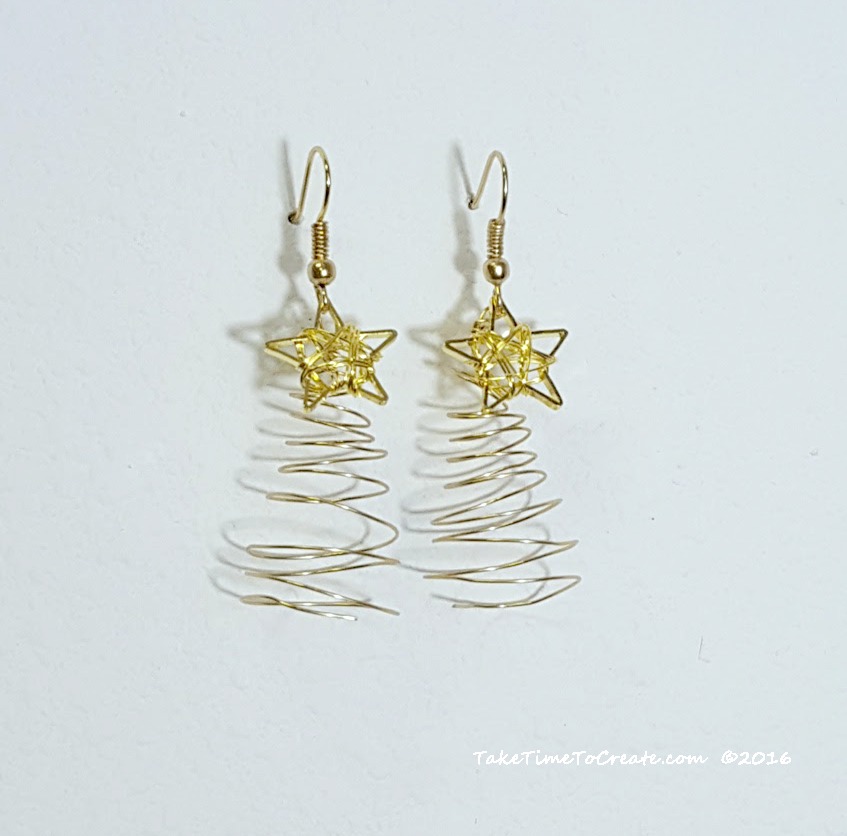
Christmas tree earrings

I just love how my Christmas tree earrings turned out

Materials

  • Thin Wire- You can find it on Amazon here: Artistic Wire
  • French Hooks- You can find it on Amazon here: French Hooks
  • Star beads- I found mine at Oriental Trading- link here: Star bead, but the local craft stores might have something similar
  • Pliers and clippers and round objects in various sizes (this is to wrap the wire around)

Instructions:

You need to have a variety of round objects in various sizes. I started with a large marker and started wrapping, then I went to smaller marker then a pencil
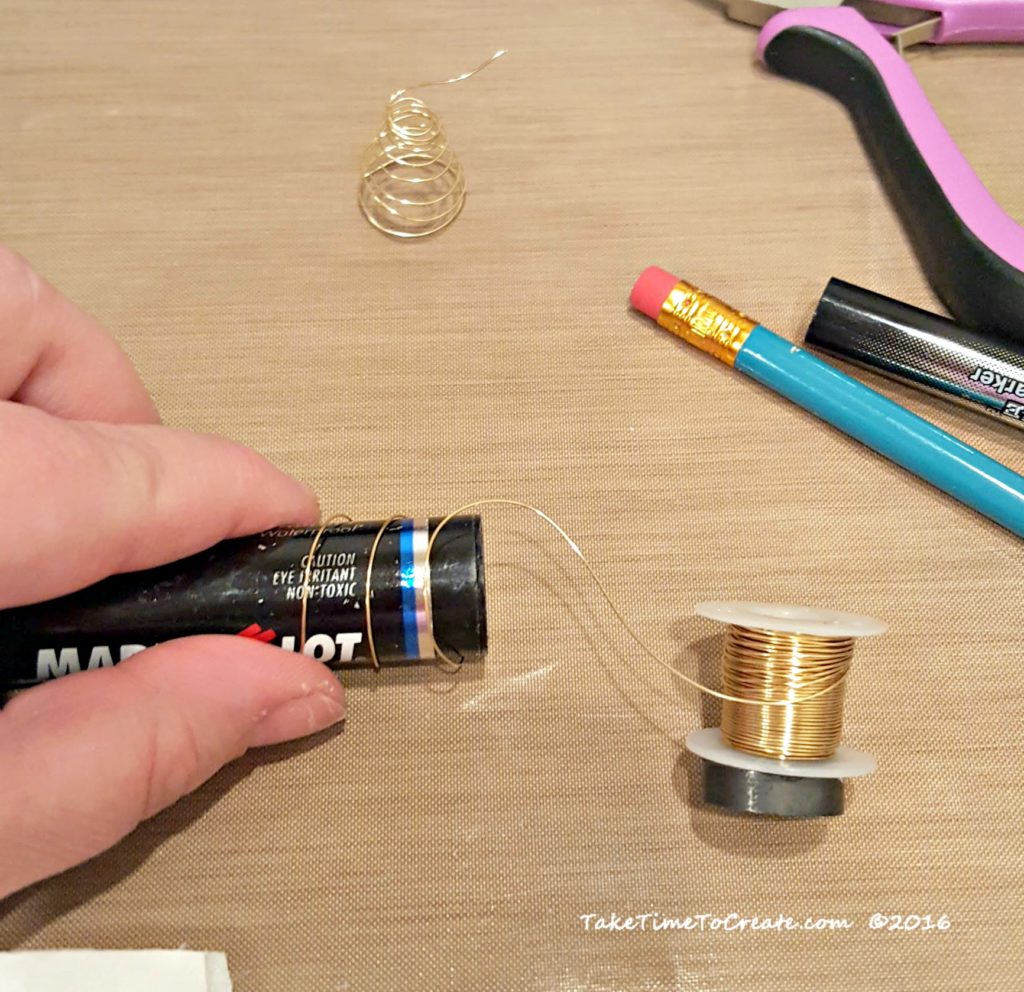
Starting to wrap my Christmas tree earrings
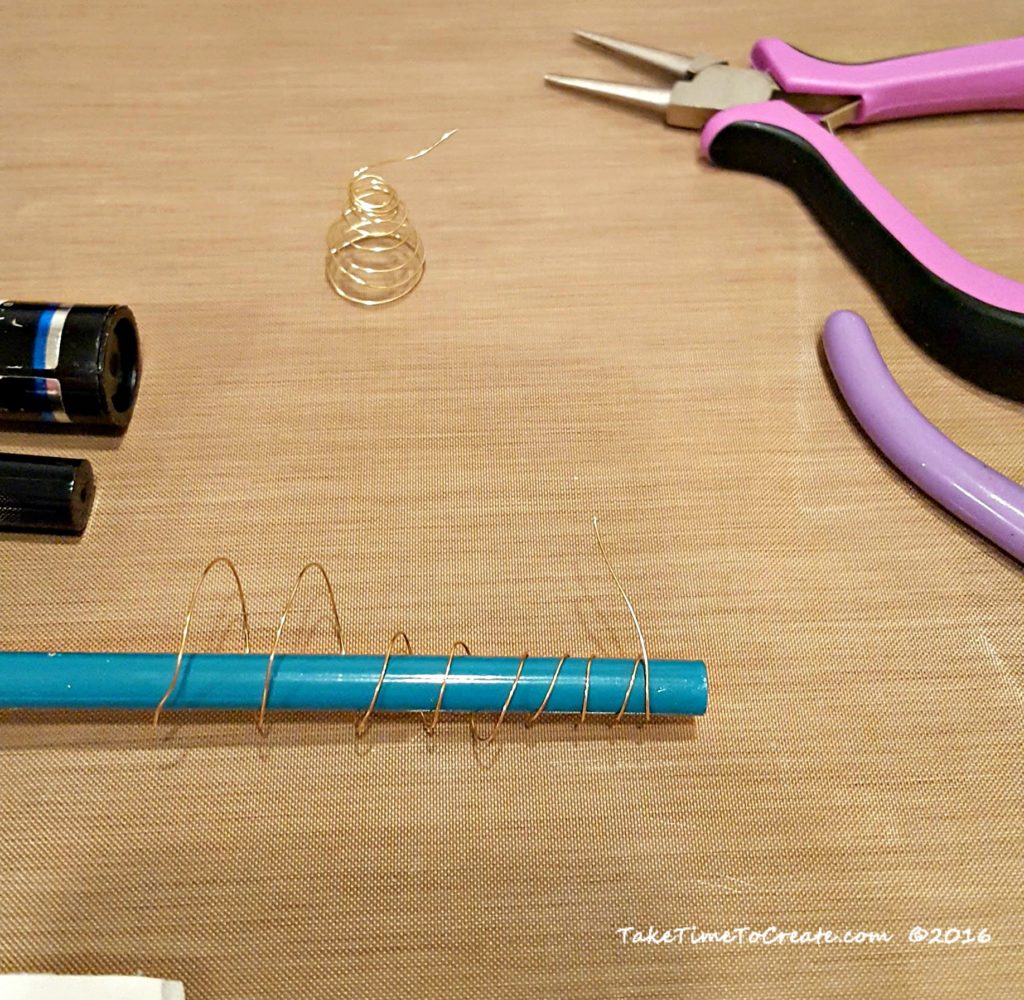
I am starting to wrap my Christmas tree earrings

A smaller wrap for my Christmas tree earrings

Switching to a smaller wrap

The whole idea is to make the tree get smaller as you wrap it around. I wrapped it around each object about 3 times.  The wire I used was a bit thin, but it is a nice dainty look, but next time I think I will use a wire that is a bit heavier duty. This wire likes to bend a bit too easily for my liking. but I did like how it turned out.

Once I finished wrapping I added a french hook. Then I spent some time adjusting the wire to make sure it looked like a tree. I hind sight I probably should have used green wire, but I didn’t have that in my stash, so gold it is, lol.
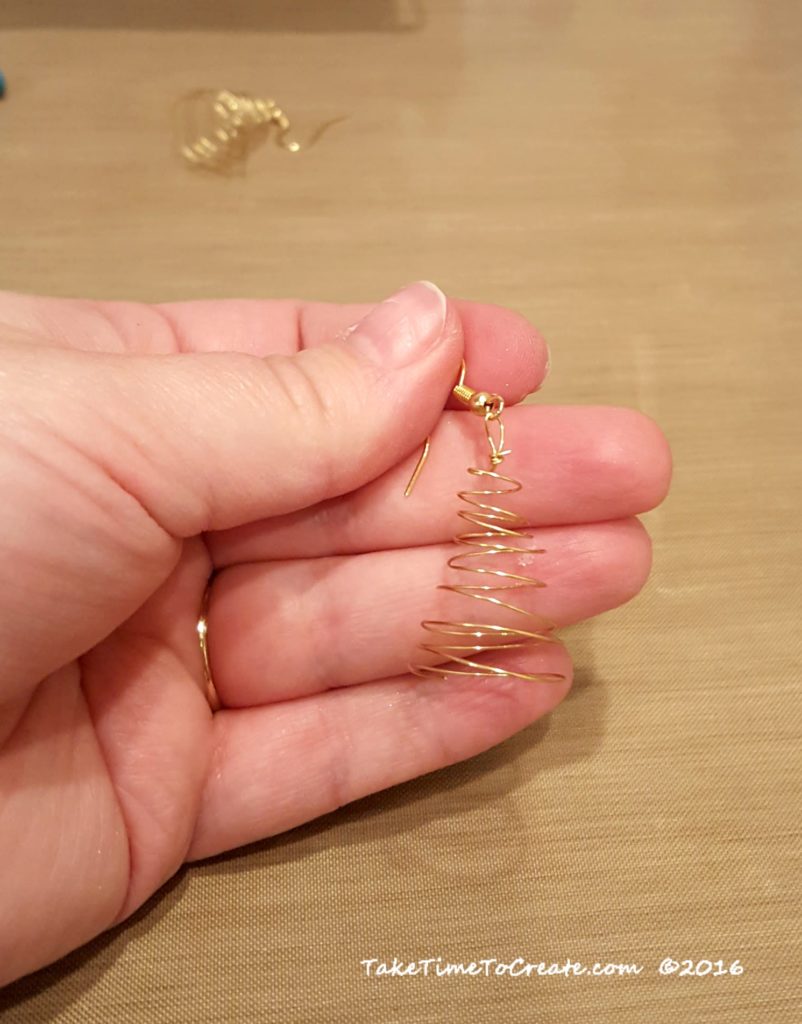
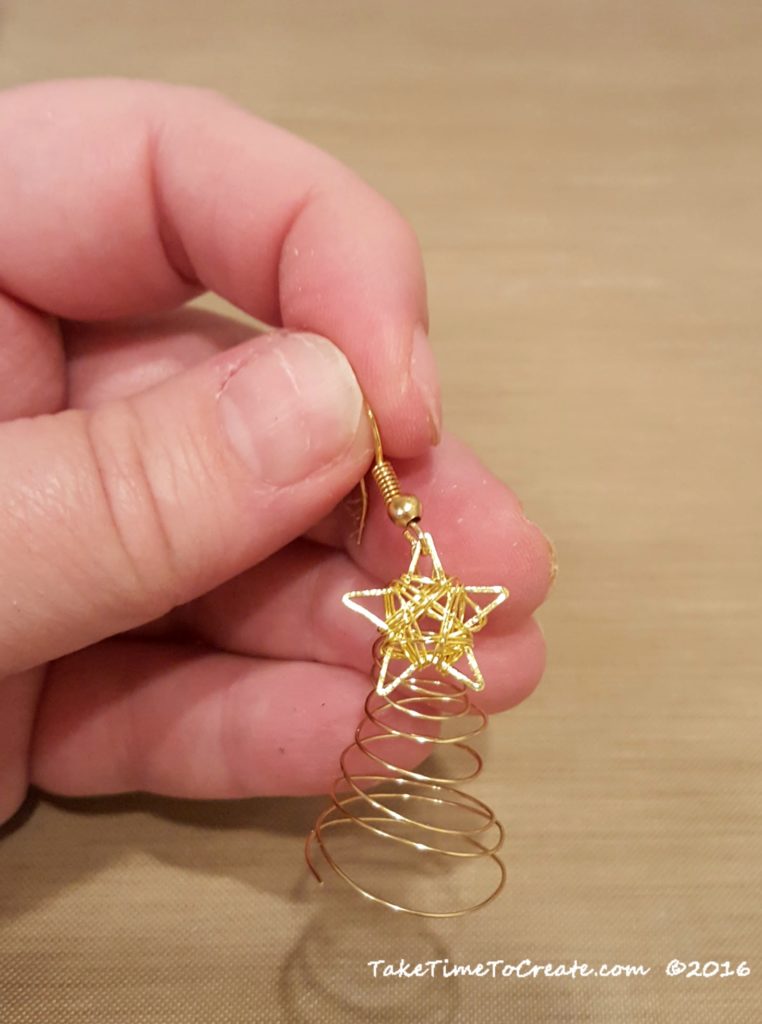
When I looked at it I thought it was a bit too plain, so I thought I would add a star bead to the top.

I think the star bead is just what the trees needed! These earrings will be perfect the holiday parties this year.

Christmas tree earrings

The finished Christmas tree earrings


If you enjoyed this post, make sure you Follow Take Time To Create so you don’t miss out on other great posts.

Follow Take Time To Create on WordPress.com


This post contains affiliate links. Thank you for your support.

This post DIY Christmas Tree Earrings appeared first on Take Time To Create

Painted Christmas Houses

Painted Christmas Houses

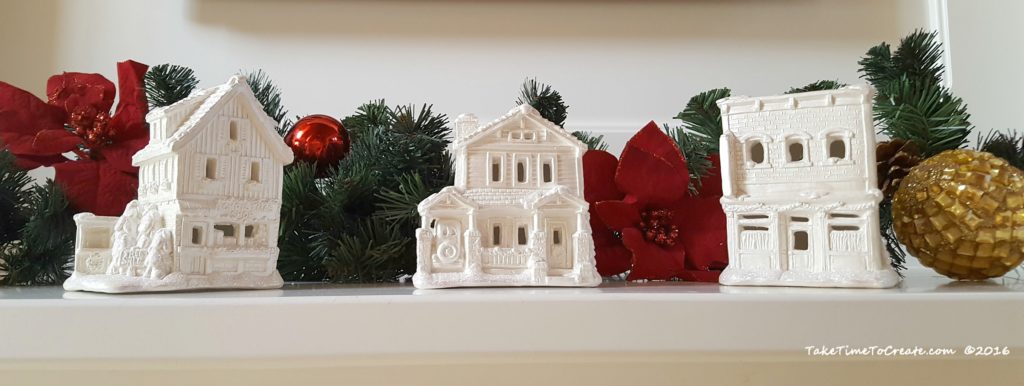
You can find these really cute ceramic houses just about anywhere, with just a little paint and glitter they are ready to be put on display. 

My finished Christmas houses on display

Hello Everyone!

December is rolling along and it is time for me to think about decorating. The tree is up, and if you follow me on Instagram you probably have seen our tree by now. (@taketimetocreate).

With any holiday I always feel the need to create some new items. This year I made some painted Christmas houses.  I found the unfinished ceramic houses at our creative reuse center Who Gives A Scrap (I love that place!) With a little paint and glitter they were ready to go.

Materials:

  • Ceramic House (You can get these at a creative reuse center, craft stores, and sometimes the thrift stores will have some unfortunutally painted ones that need an update)
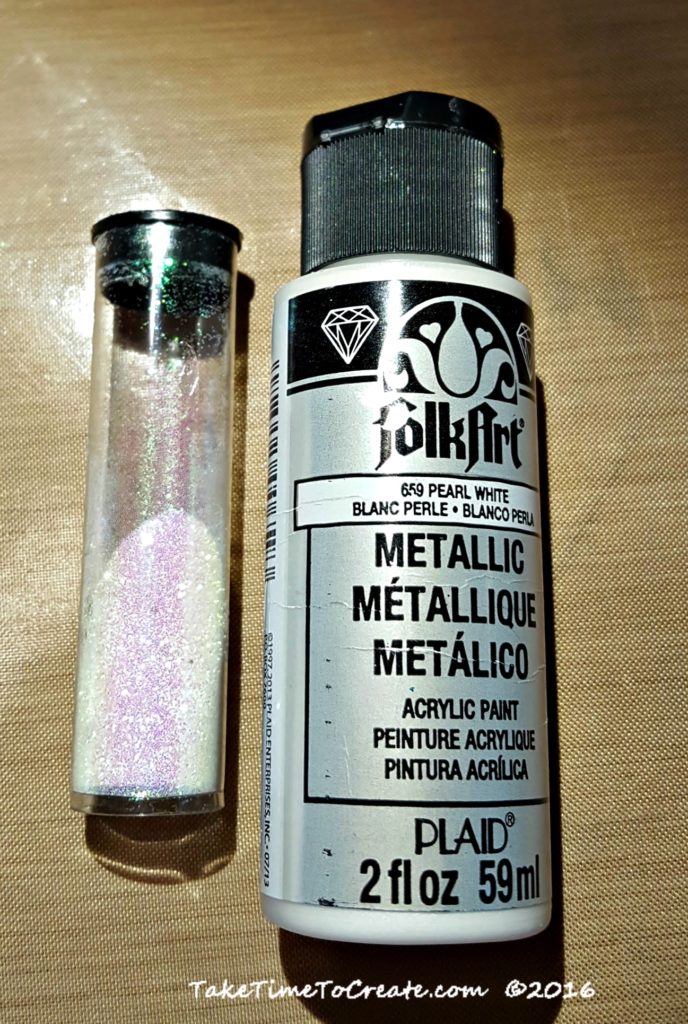
  • Paint and glitter found at the craft store. I really liked this paint, it was white with a little pearl look to it. Perfect for Christmas.

paint-and-glitter

Instructions:

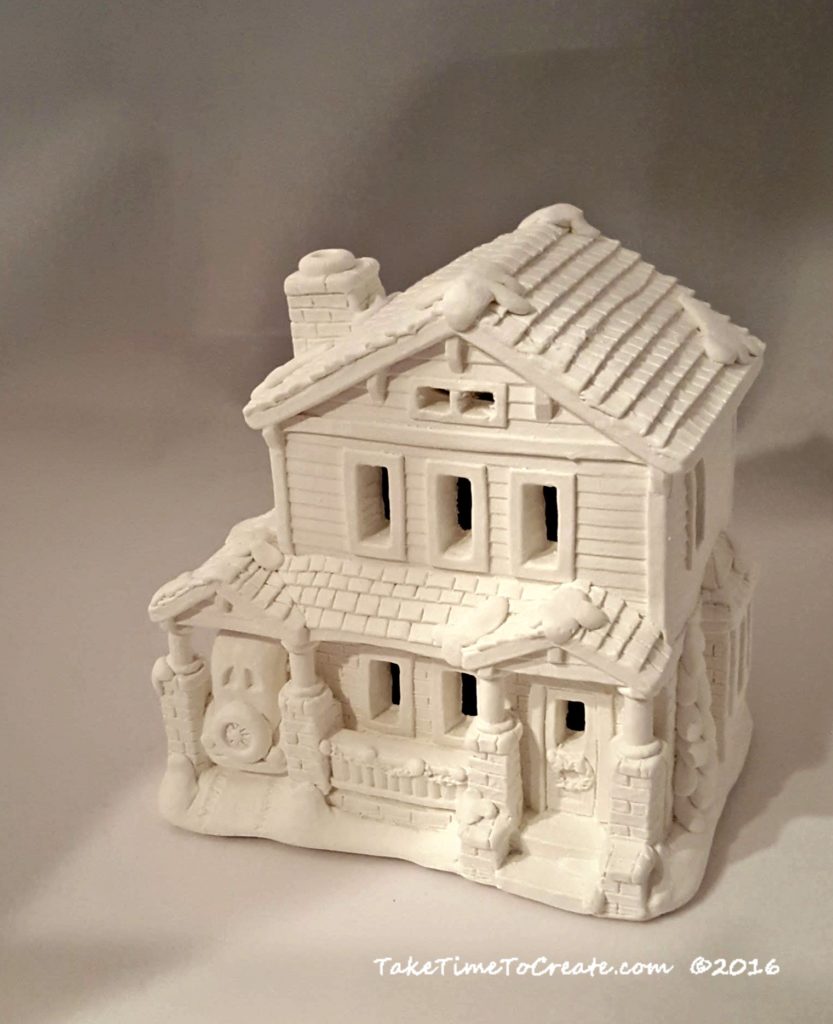
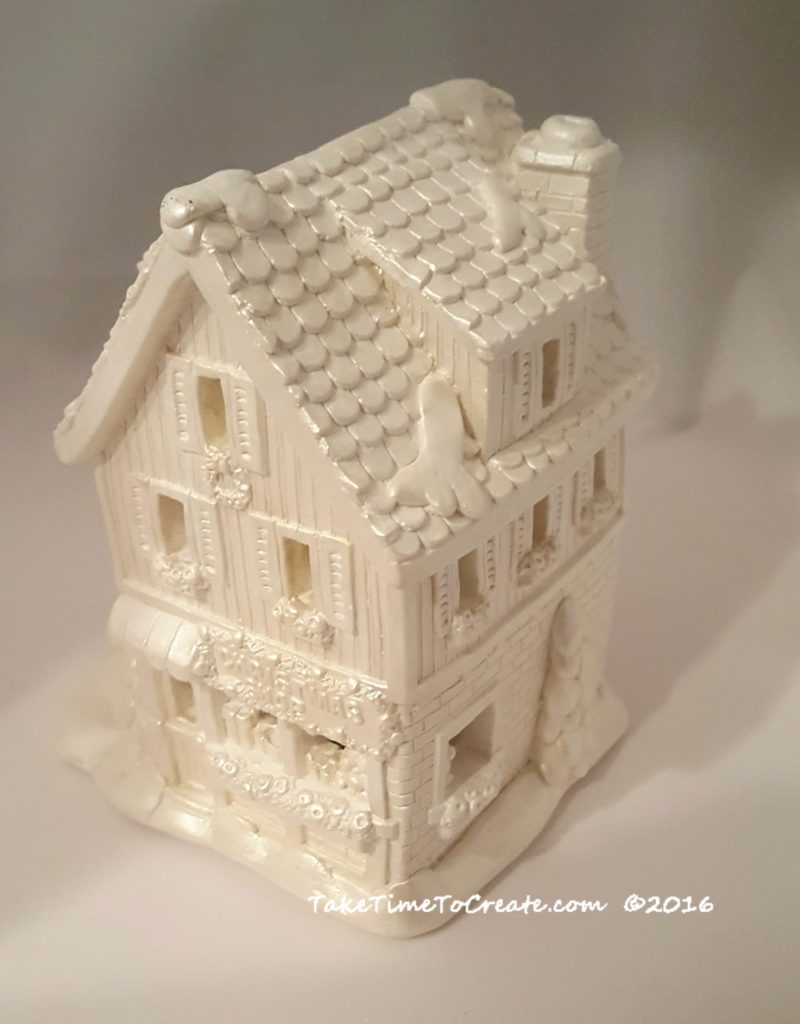
Take your plain ceramic house and paint on a layer of white paint. You can always spray paint the houses, but I just decided to hand paint instead.  This is what it looks like before the paint.

(btw, The houses did come with detailed instructions to paint the house in all the colors, but I did not want to take the time to do any detailed painting. haha. So white paint here I come. )

Painted Christmas houses before glitter

My Painted Christmas houses before glitter

Add the paint. This is what it looks like with the paint. Go over everything, all the little details. Don’t forget the inside of the windows.  Touch up where ever you forgot.

Painted Christmas houses before glitter

My Painted Christmas houses before glitter

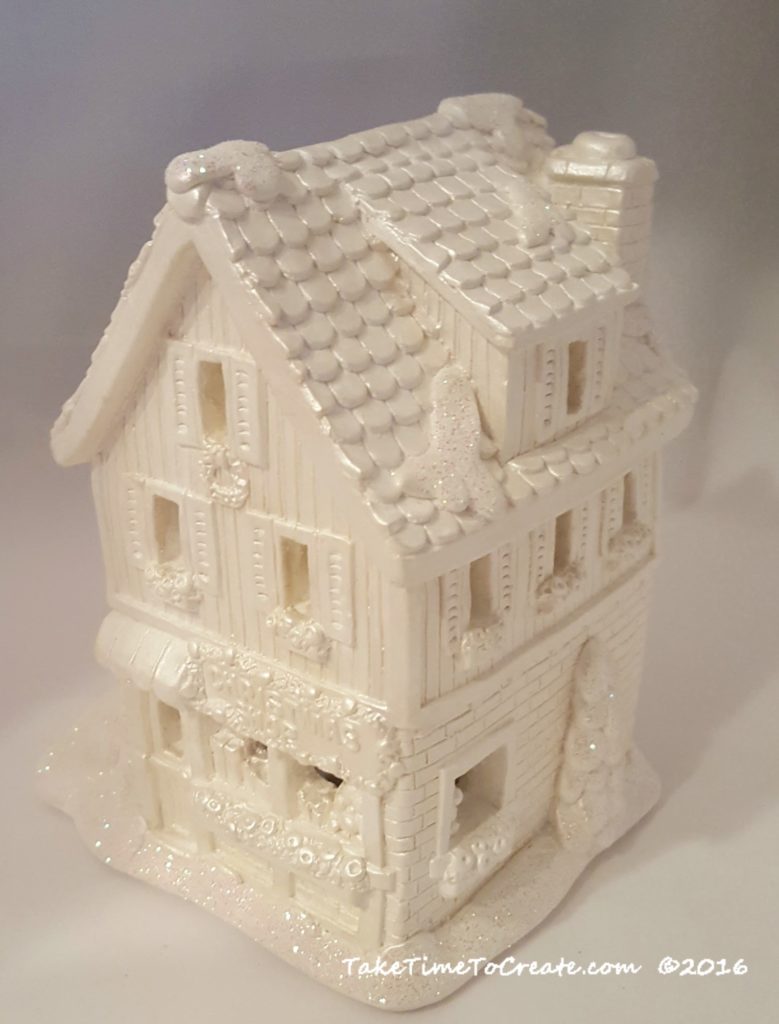
Then I decided to add some glitter detail to the snow and trees. Just pick a clear holographic glitter that goes with your paint. I put a layer of mod podge on then sprinkled it with glitter.

add glitter painted Christmas houses

Adding Glitter to the painted Christmas houses

Once they are dry they are ready to be put on display.

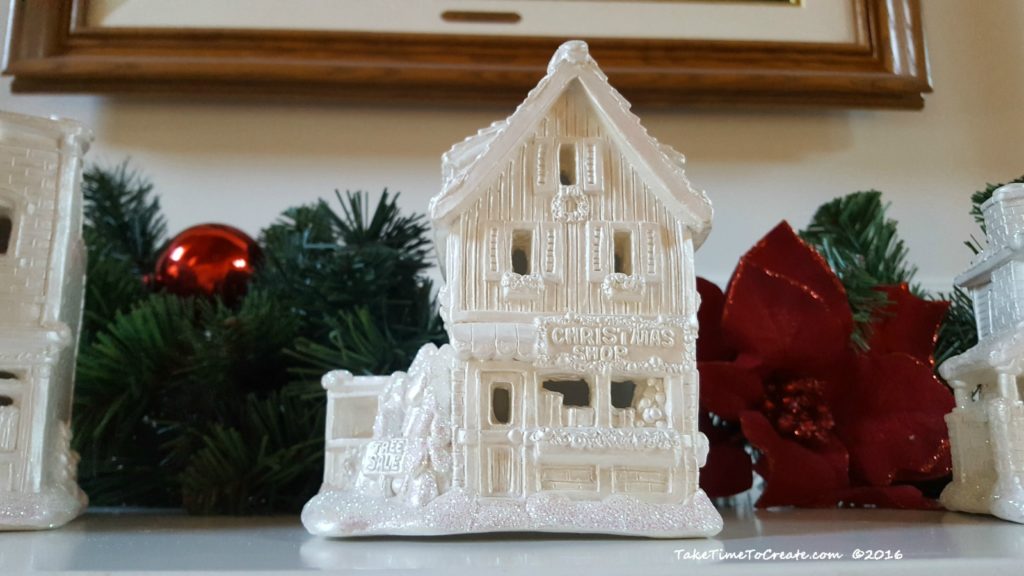
I think they turned out really cute. You can put lights in the bottom, but I didn’t have any. So this weekend I will pick up some and then they will look even better!

painted Christmas houses on the mantle

Close-up of the painted Christmas houses on the mantle

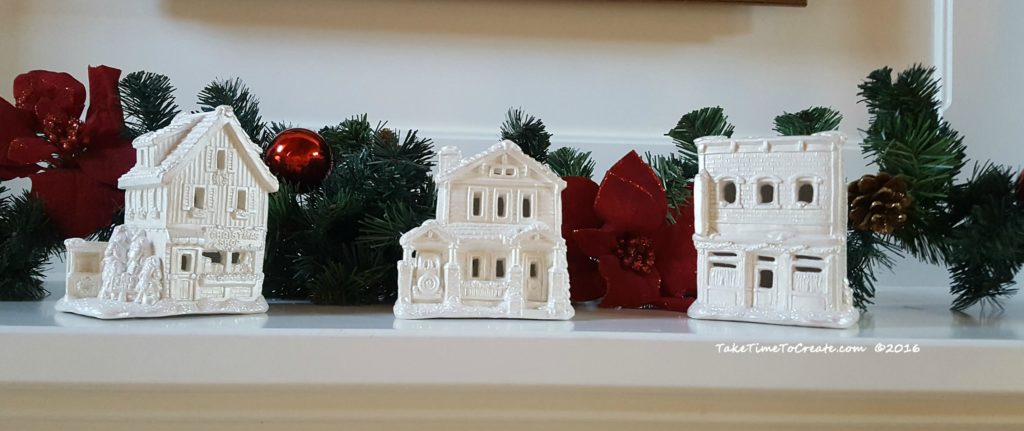
painted Christmas houses

Here are the finished painted Christmas houses


Subscribe via WordPress


The Take Time To Create Crafting Blog RSS Feed

Subscribe via Email

Enter your email address to subscribe to this blog and receive notifications of new posts by email.


Other Ways To Follow


The Take Time To Create Crafting Blog RSS Feed

Subscribe to my RSS feed

The Take Time to Create Crafting Blog Facebook Page

Follow me as Facebook

The Take Time to Create Crafting Blog Etsy Shop

Check out my my Etsy Shop

The Take Time To Create Crafting Blog Pinterest Board

Visit my Pinterest Board

Other Ways To Follow


The Take Time To Create Crafting Blog Instagram

Follow me on Instagram

The Take Time To Create Crafting Blog Twitter Feed

Follow me on Twitter

The Take Time To Create Crafting Blog Email

Send Me an Email


Organization- Adding Metal Strips for easy organization

Hello Everyone! In any craft room organization is key. It is important to know what you have, and where it is so you can complete your projects easily with minimal headache. These metal strips will help you achieve your craft room organization goals.

Metal Strips for Craft Room Organization

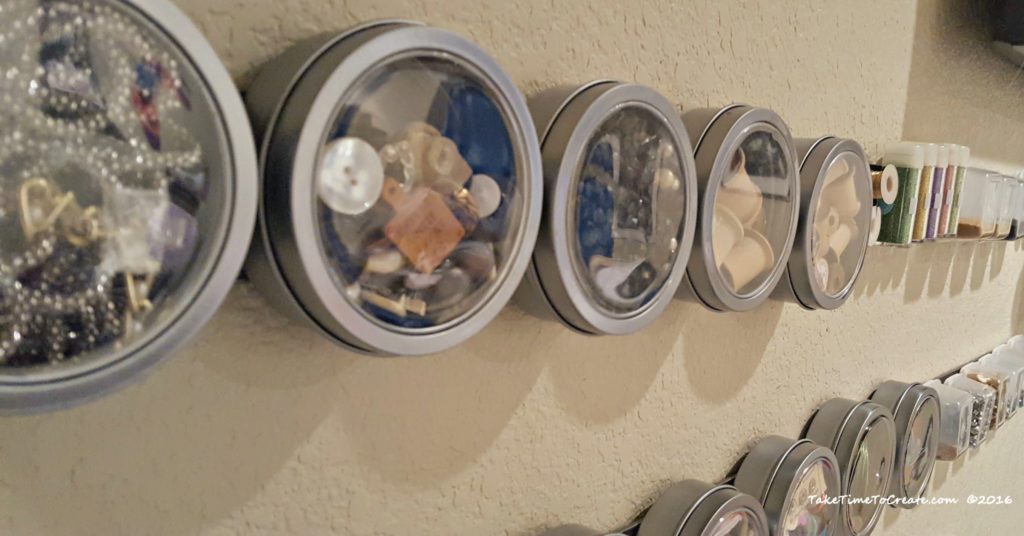
My finished Metal Strips

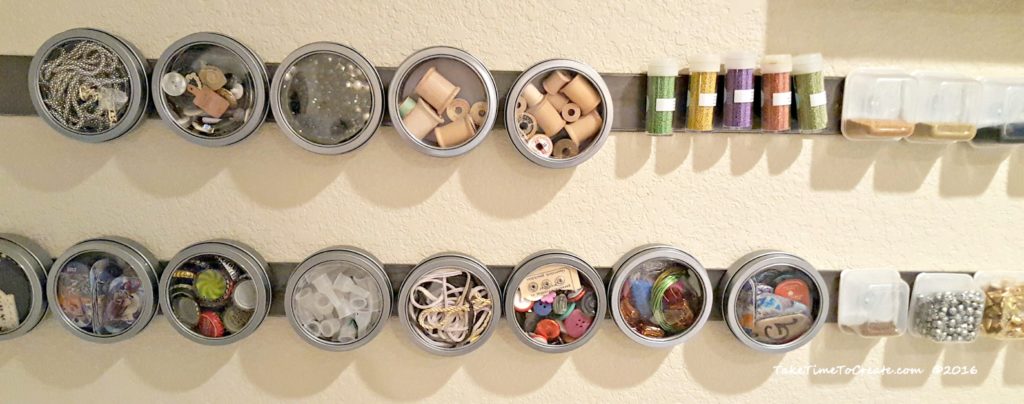
I don’t know about you, but I have all these little odds and ends that are all over my crafting area. I use them all the time, but I didn’t have a good way to store them I wanted them close by, but out of the way.  I know, that sounds like a contradictions in terms, lol.  My strips are on the wall right above my work table. Perfect reaching distance.

Metal Strips for Craft Room Organization

Another view of my craft room organization

This is such an easy project, just grab some metal strips from the hardware store.

Drill holes so you can attach it to the wall. Secure the strips to the wall.

Add all your little bins!

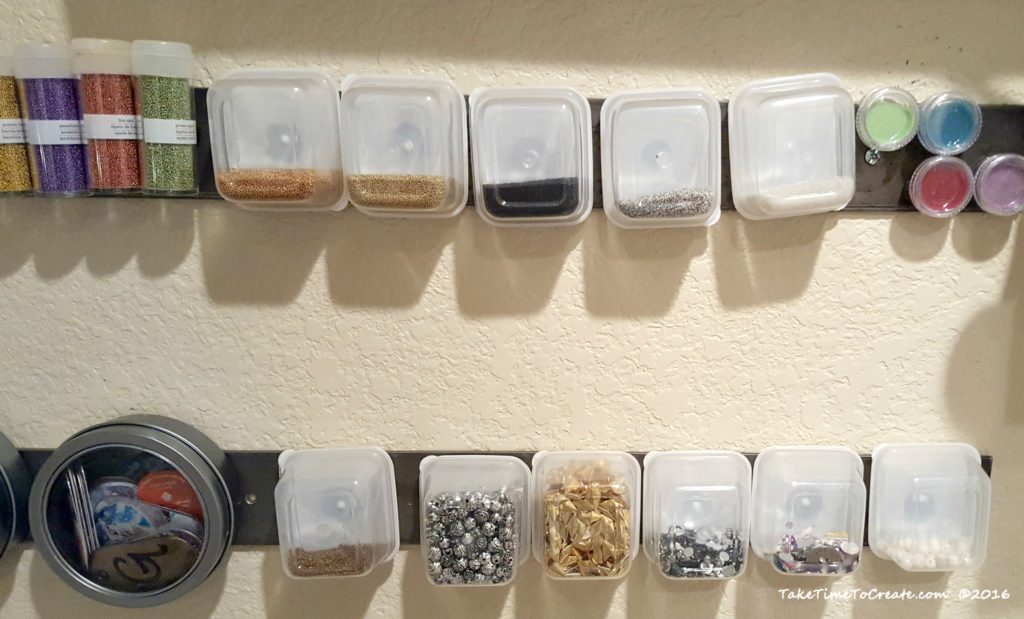
Different containers for my craft room organization

Different containers on the metal strips

The little clear plastic tubs I found at the dollar store (you can see it online here) Just add a magnet to the lid and you are good to go. Just make sure the glue dries overnight before hanging it full of stuff.

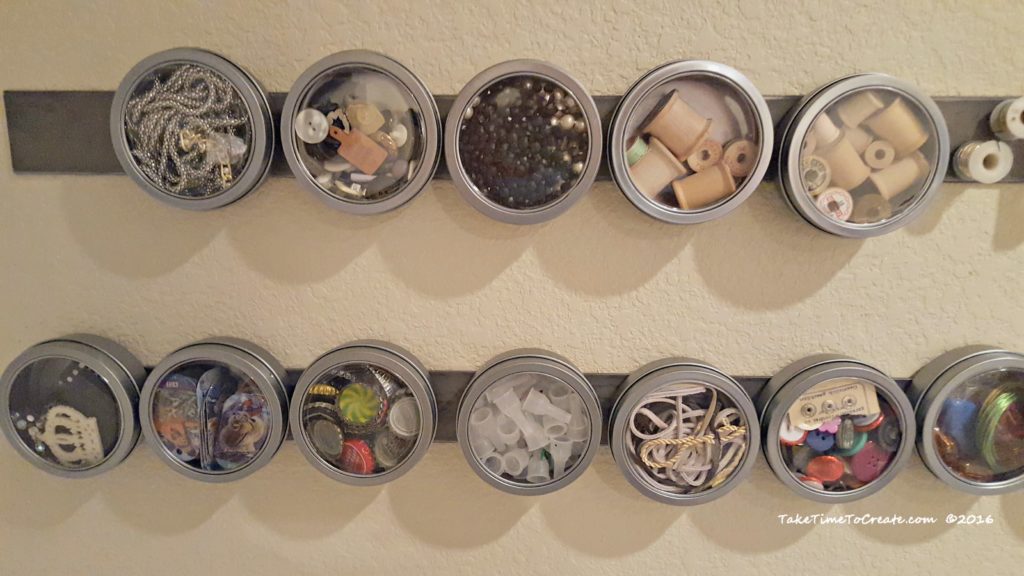
The metal tubs I also found at the dollar store (here) They are great! With a clear lid and lots of space they are perfect for your metal strip. Just make sure the paper sticker of off the magnet, it will attached better without the sticker.

I added magnets to some of my other odds and ends like wire and micro beads.

Round containers for my craft room organization

Round containers for my craft room organization

Now I have everything on hand, but it is out of the way.

I think this is a great solution for all these little bits and pieces. Now it is time to add some more strips for the rest of my do-dads.

What is your favorite organizational technique?

This post Organization- Adding Metal Strips for easy organization appeared first on Take Time to Create


This post contains affiliate links

Subscribe via WordPress


The Take Time To Create Crafting Blog RSS Feed

Subscribe via Email

Enter your email address to subscribe to this blog and receive notifications of new posts by email.


Other Ways To Follow


The Take Time To Create Crafting Blog RSS Feed

Subscribe to my RSS feed

The Take Time to Create Crafting Blog Facebook Page

Follow me as Facebook

The Take Time to Create Crafting Blog Etsy Shop

Check out my my Etsy Shop

The Take Time To Create Crafting Blog Pinterest Board

Visit my Pinterest Board

Other Ways To Follow


The Take Time To Create Crafting Blog Instagram

Follow me on Instagram

The Take Time To Create Crafting Blog Twitter Feed

Follow me on Twitter

The Take Time To Create Crafting Blog Email

Send Me an Email

Make a Basket Out of Wine Corks

Make a Basket Out of Wine Corks

Hello Everyone!

The question of the day is what to do with left over wine corks? Disclaimer: I did not drink all of this wine to make this craft, lol. I got a big box of wine corks from eBay for really cheap! I just love all the crafts people are doing on Pinterest with the corks so I thought I would try it out.

diy-basket-out-of-wine-corks

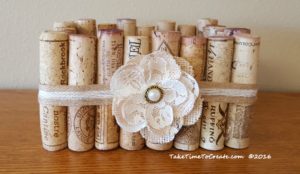
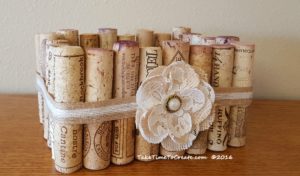
This is a really simple craft that probably won’t take more than 30 min to complete. This basket is perfect for just your desk or table. It is a really cute way to store just about anything.

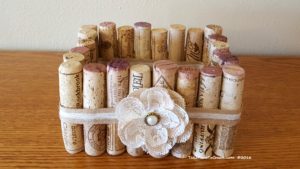
finished-diy-wine-cork-basket

Instructions:

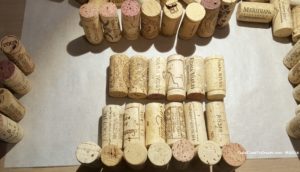
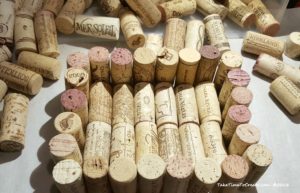
Gather your corks and start to assemble them. Try to get them all about the same size, it will make the basket look better.

start-gluing-the-corks-together

Then start hot gluing them together. Hold the pieces together for a few seconds to make sure they stick, but the hot glue should be strong enough to hold it together.

collect-your-wine-corks

I did 2 rows of 5 for the bottom of the basket and 24 vertical corks for the sides. And I stacked the sides 2 corks tall.

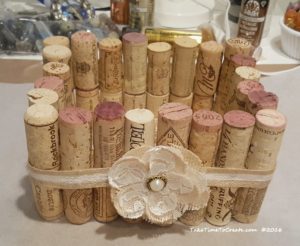
Once I was gluing all the corks together I thought it looked a little plain so I added a ribbon and a flower to jazz it up.

add-ribbon-and-flower

So what have you made with wine corks?    Next I think I will make a trivet and a cork board for my office. Stay tuned to the tutorials.

finish-basket

wine-cork-basket-by-take-time-to-create

The post Make a Basket Out of Wine Corks appeared first on Take Time To Create.

DIY Leaf Bowl From Dollar Store Leaves

Hello Everyone!

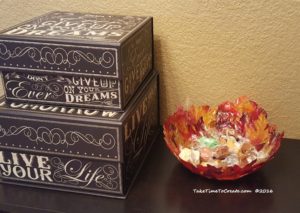
Today I have an easy DIY using leaves from the Dollar Store to make a really cute bowl.

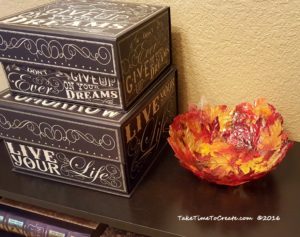
diy-leaf-bowl

I have seen this DIY about 847 times on Pinterest, but I thought that I would add my version to the mix. lol. You can follow me on Pinterest and see all the craziness that I pin.  It is so quick and easy, the longest part is waiting for it to dry…

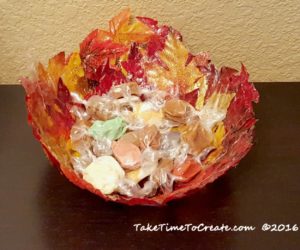
add-candy-to-leaf-bowl

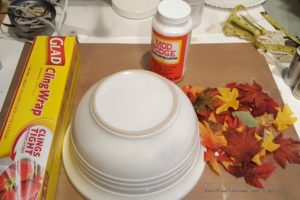
Materials:

  • Leaves
  • Mod Podge, foam brush, cling wrap
  • Bowl

diy-leaf-bowl-materials

Instructions:

Find a bowl that you can use for the mold. We have had this bowl for over 20 years, in fact Dear Hubby had it when we got married. When I first saw it I mentioned to him that it was a great bowl (it is one in a set of 3) and he said “Thanks, I got it at Ace Hardware when I was getting some tools.” lol. Such a man thing to do. Anyway, the bowls are awesome and have held up great! So I thought it would be a perfect mold.  I think I should use the other 2 bowls and make a set of 3 leaf bowls, that would be so cute!

Next wrap cling wrap to the bowl to protect it

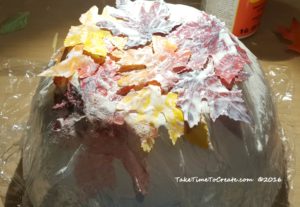
Then start adding mod podge and leaves. I used glossy mod podge because that is what I had, but mat would work great as well. Make sure everything is well covered.

add-layers-of-mod-podge-and-leaves

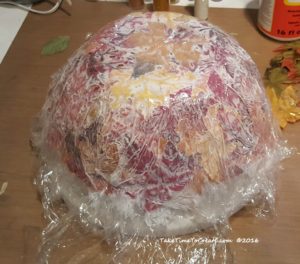
Once everything is covered add some cling wrap to the top to help keep everything in place as is dries. It does take a while to dry, but eventually it will dry

add-cling-wrap-to-top

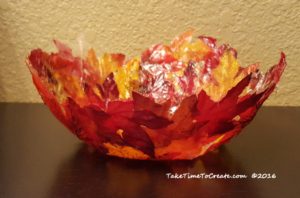
Once it is completely dry slowly, and carefully peal off the cling wrap. And there you go a brand new leaf bowl that is perfect for Halloween, Thanksgiving, or Fall. It is a little fragile and not the sturdiest bowl, but it is perfect for candy or pine cones or pumpkins, any light weight decor is perfect.

diy-bowl-from-dollar-store-leaves

diy-leaf-bowl-on-display

The post DIY Leaf Bowl From Dollar Store Leaves appeared first on Take Time To Create.

DIY Skeleton Jewelry and Hair Clips

Hello Everyone!

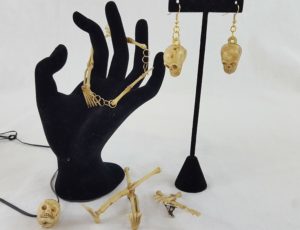
Another day in Oct and another Halloween Craft. This time it is some DIY jewelry.  This is perfect for people who want to celebrate Halloween without going for the full blown costume. You can wear this at work or school without going over the top and it is easy to take off if needed.

Skeleton Jewerly

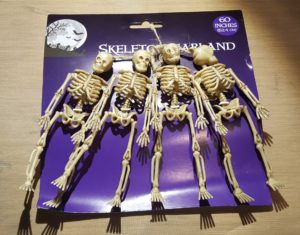
This is an easy project that looks so cute when you are done. First find some plastic Skeleton Garland. I found mine at the Dollar Store.

Skeleton garland

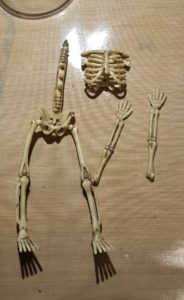
Then take it apart. I used different piece for different types jewelry and hair clips.

take the garland apart

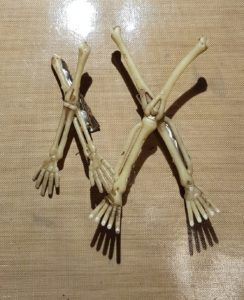
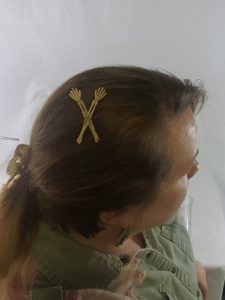
I used the arms and legs from 1 skeleton to make hair clips. Just cut off the arms and legs and hot glue them to an alligator clip.

hair clips

arm bones hair clip

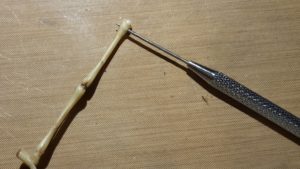
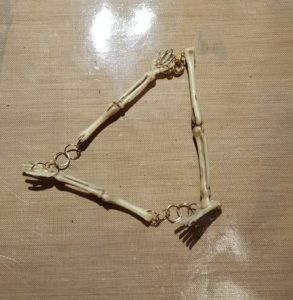
For the bracelet cut off some arms and legs, then punch a hole near the top. I used a needle punch, then I added jump rings to connect the pieces. Add a clasp and you are done.

punch a hole

bracelet

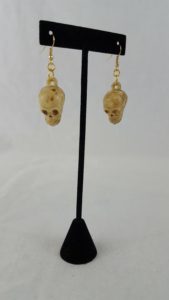
I make a pair of skull earrings by adding jump rings and a french hook. Easy to do, and so cute when completed.

skull earrings

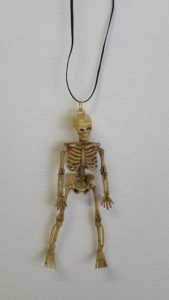
For the necklace I just added a jump ring to the top of a whole skeleton. I also made a necklace out of just the head.

skeleton necklace

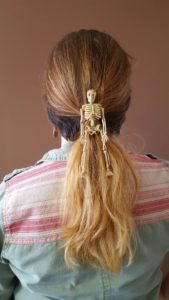
I also made a hair clip out of a whole skeleton. This one was fun to wear.

skeleton hair clip

The skeletons made great jewelry and hair clips, they were fun to take apart and reassemble in new ways. And since they are light weight they are easy to wear for long periods of time.  These are great for almost anyone to celebrate Halloween or for anytime when they want to wear skulls and skeletons.

The post DIY Skeleton Jewelry and Hair Clips appeared first on Take Time To Create
DIY Halloween Erasers

Hello Everyone!

Update: Check it out this post has been added to Fun Family Crafts!!!

One of the best ways to spruce up your desk is to add some custom DIY erasers.  They are so easy to do and they look so cute on your desk at work or school. They also make perfect gifts, or they would be tons of fun to make at a party.

diy-halloween-erasers

Materials:

There are affiliate links below

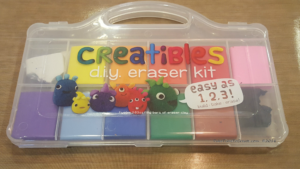
  • Eraser Clay (I found this one on line at Amazon, but there are different brands, so pick one that works for you)

ceatibles-diy-eraser-kit

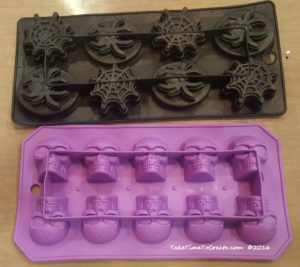
  • Molds (I used ice cube trays from the Dollar Store, or you can free form your designs)

mold-trays-for-eraser

  • Oven

Instructions:

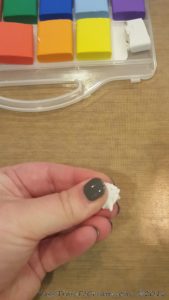
The first thing you do is knead your clay. You want to warm it up and make it pliable and easy to work with.

knead-the-eraser-clay

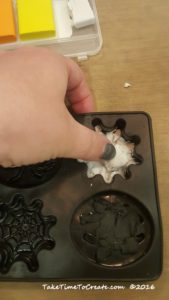
Once the clay is easy to work with then press it into a mold you like. ( I used a mold because shaping things out of clay is not the easiest thing for me. Molds just made the process a lot easier) You can make almost anything out of the clay. It is really easy to work with.

press-clay-into-mold

Once you have your design pop it out of the mold. I just put a little on the bottom of the mold then I popped it out and added a layer on the bottom of the design to smooth out the bottom. You can also add enough clay to fill the whole mold. It does make a larger eraser, but it looks really cool. You can layer colors or mix them to make a new color. There are so many possibilites.

diy-erasers

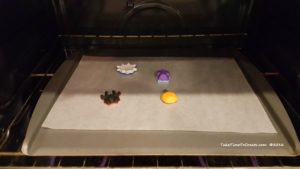
Bake the erasers according to the directions and let them fully cool before using.

bake-according-to-directions

They actually work. When I first got this product I thought they might be a little gimmicky and not work well, but I was pleasantly mistaken they actually work really well!

diy-erasers-actually-work

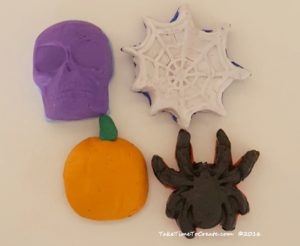
They turned out so cute I think I might need to make more for every holiday!


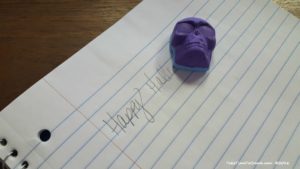
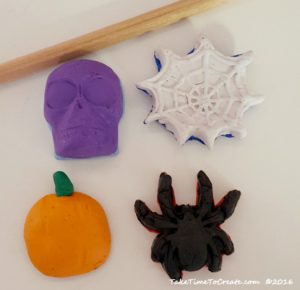
halloween-erasers

The Post DIY Halloween Erasers appeared first on Take Time To Create.


DIY Faux Stone Pumpkins

Hello Everyone!

I hope your October is going well! I can’t believe how fast it is flying by! In fact the whole year is going too fast.

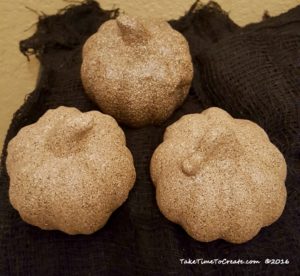
To celebrate everything pumpkin I made this easy, diy faux stone pumpkins.

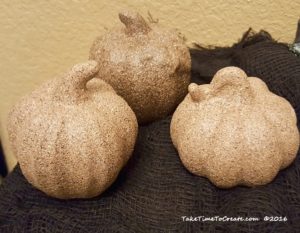
finished-faux-stone-pumpkins

Materials:

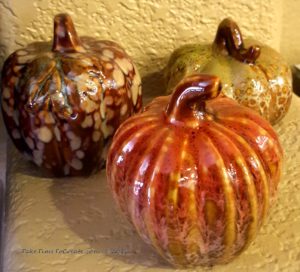
  • Pumpkins ( I used ceramic ones from the dollar store, but almost any pumpkin will work)
  • stone-pumpkins-before-pic
  • Spray Paint Primer
  • Rust-oleum stone spray paint

Instructions:

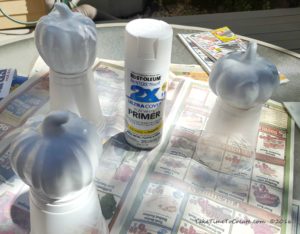
After cleaning your pumpkin and protecting your work surface spray a coat of primer on all the pumpkins on all sides

add-a-layer-of-primer

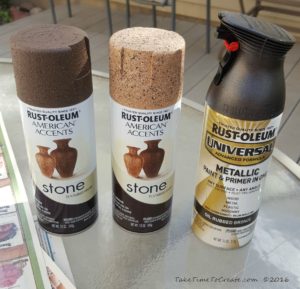
Now it is time to paint. Have you seen this faux stone spray paint? It is awesome! I have a feeling that everything will become faux stone. The texture and look changes the closed you get to your project. It is a versatile tool that I have a feeling I will be using a lot in the future.

spray-paint

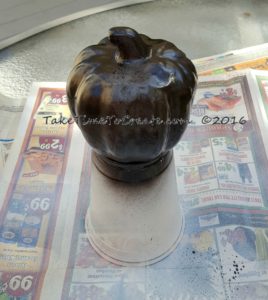
For 1 pumpkin I wanted to to use the darker color so I sprayed a base of oil rubbed bronze before the stone.

add-a-layer-of-oil-rubber-bronze

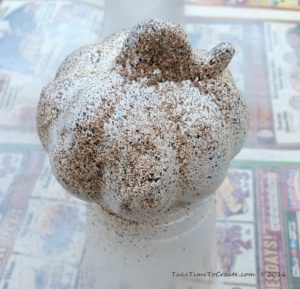
Then go to town painting the pumpkins. I did add a layer of the lighter color to the darker pumpkin because it was not matching well. But just keep going and paint layers according to the directions until you are happy with the results.  I am thrilled with how they turned out! So very cute

start-adding-the-faux-stone-spray-paint

If you want you can spray a  sealer over the top to protect them.  I think these would look really cute outside as part of your outdoor decorations. Just be sure to protect them first.

completed-pumpkins

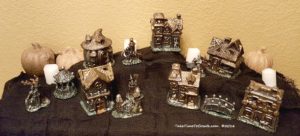
And here they are as part of my DIY Painted Halloween Village display.  I think they added a nice touch to the display.

finished-houses-in-my-home

Another Mixed Media Angel

*I am so sorry if you got this email twice. This is just one more speed bump I am trying to get over with my blog. Hopefully next week will be better. Thank you for your understanding and patience!*

Hello Everyone!

I am back! Thank you all so much for your patience with my long absence. It was never my intention to go silent for a month! I was trying to upgrade my blog to better serve you and in the process I broke it. In fact, it was so bad that tech support was baffled. They had no idea what I did and how they could fix it! (even my mom agreed that it is something that would only happen to me, haha) Anyway I am back online, and over the course of the next few weeks I will be working on cleaning up the blog and making it more used friendly. But for now I am back and I will be posting new projects weekly. I have a ton of ideas for Fall and Halloween so be on the look out of those projects in October.

If my blog ever goes down again you can keep up with me on Instagram

Let’s get into the latest project. I did another mixed media angel. I showed you how to make a mixed media angel that was black and gold. You can see it again here.

mixed-media-angel-1

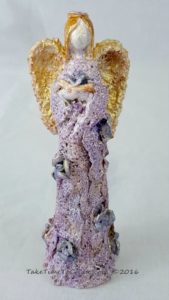
For this angel I went with lighter colors and I like the way it turned out.

Materials:

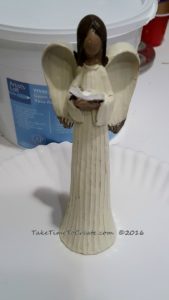
  • Angel
  • White Gesso, soft gloss gel, Mica Powder, brushes
  • Ribbon, roses, wire and other embellishments

Instructions:

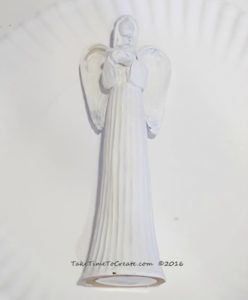
~ Make sure the angel is clean and dry,  then add a layer or 2 of gesso to get a good base for painting.

mixed-media-angel     mixed-media-angel-gesso

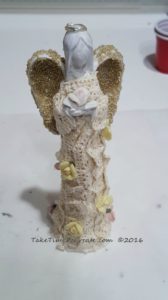
~ Start to add embellishments. Just like the previous angel I mixed micro bead with soft gloss gel for texture on the wings. Then I added ribbon for the dress, I just adhered it with 3D paste. Then I added some roses for interest and a wire halo and then I was done with the texture for the angel.

mixed-media-angel-with-embellishments

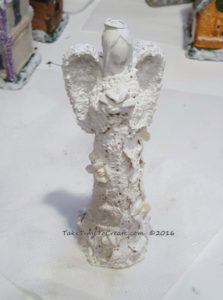
~ Once she was dry I added more gesso. I added a few layers to make sure she was all covered and ready for the paint.

mixed-media-angel-gesso-embellishements

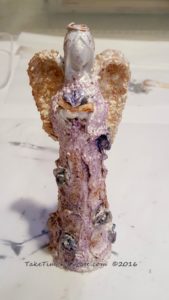
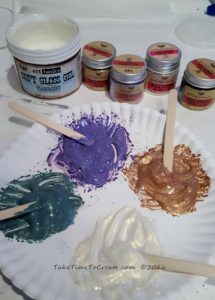
~ Now time for the fun part, adding paint! I mixed Soft Gloss Gel with Mica Powders to make my own paint and then I applied it to the angel. I did some dry brushing and some heavier paining. I just kept at it until I was done.

starting-to-paint-mixed-media-angel     paint

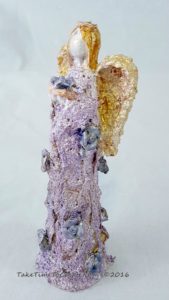
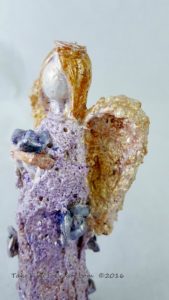
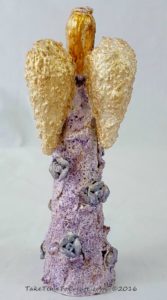
When I was happy with the final result I added a clear protective coat of spray paint. Then I let her dry and now she is ready to be displayed. I am having a blast with these mixed media projects! What should I do next?

mixed-media-angel-2     mixed-media-angel-3     mixed-media-angel-4

Related Posts  

Mixed Media Angel

Frozen Mixed Media

Mixed Media Angel

Hello Everyone!

I am excited to show you this new project that I just finished. A little while ago I went on a girls retreat to Mojito Creek. This is a wonderful cabin in Colorado that was the perfect place to craft and recharge and relax! While I was there Tanya from Free Heart taught a mixed media class. Tanya teaches Finnabair inspired mixed media techniques. Tanya is a awesome teacher! I was so much and I was so inspired from the class that I went home and started painting everything! I can’t wait to take another class and learn more techniques!

Mixed Media Angel

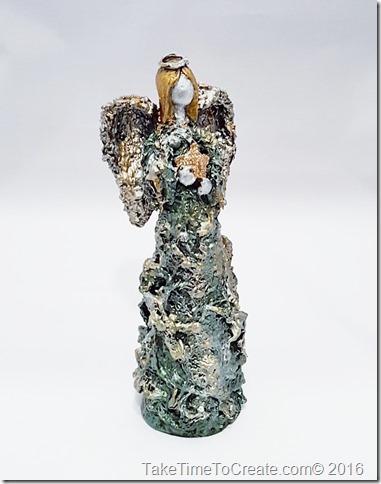
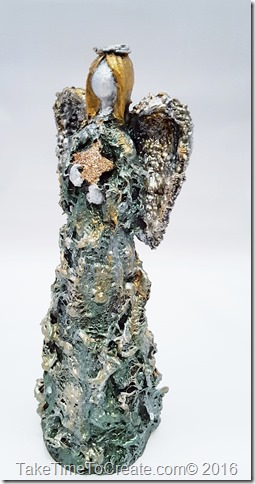
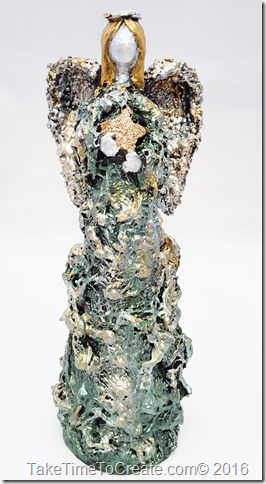
This is the angel that I just finished. She looks great on my mantle and I already have more ideas on what to do next.

Here is how I created this mixed media angel

Materials:

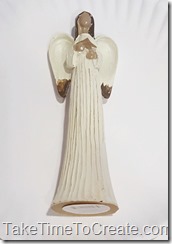
~ Angel (I found mine at the dollar store. Look for something that you like the overall look of, not necessary the colors because you will cover everything up)

Mixed Media Angel

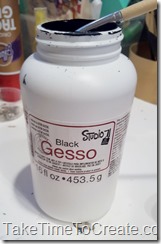
~ Black gesso

Mixed Media Angel

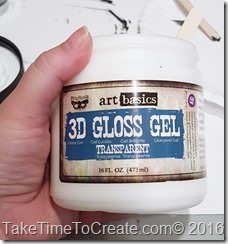
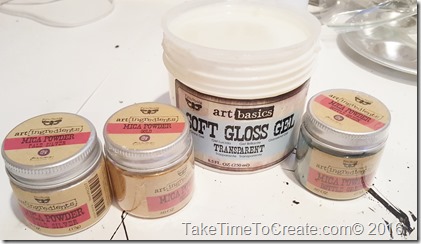
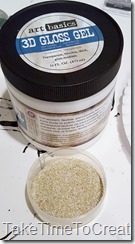
~ 3D Gloss Gel, Soft Gloss Gel, Mica Powder (I am using Art Basics from Prima Marketing, which is amazing!)

Mixed Media AngelMixed Media AngelMixed Media Angel

~ Paint brushes, cheese cloth, micro beads, wire, rhinestones, and anything else you want to use as texture

Instructions:

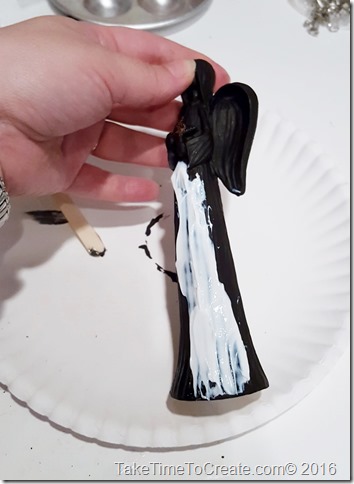
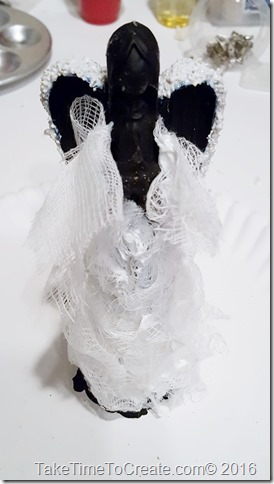
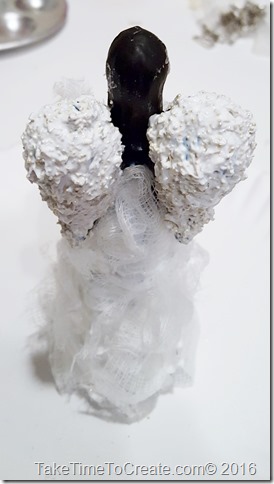
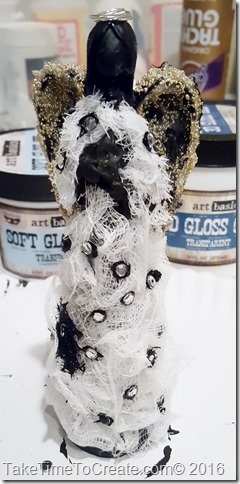
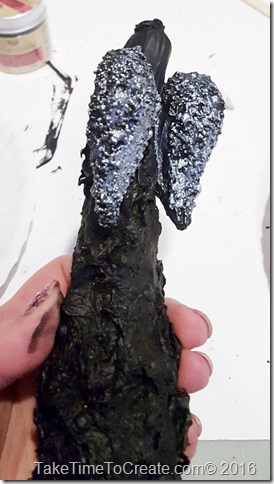
~ The first thing you do is paint the angel with gesso. This will cover her and get her ready for paint. Then I added cheese cloth to her body as a dress. I adhered it to her with 3D Gloss Gel.

Mixed Media AngelMixed Media Angel

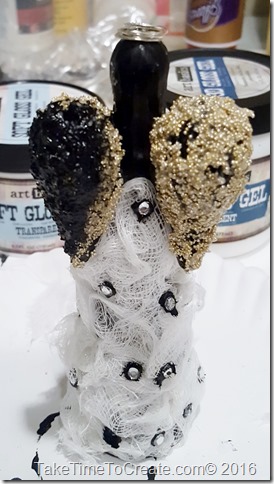
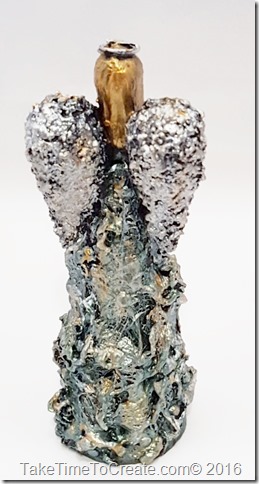
~ Then I decided that her wings were too smooth and plain so I mixed micro beads with 3D Gloss Gel and sponged it on to the wings. This added a wonderful texture that looks great on the wings.

Mixed Media Angel

~ Then I added rhinestones to the skirt for more texture and dimension, and I made a halo with some left over wire that I had lying around.

Mixed Media Angel

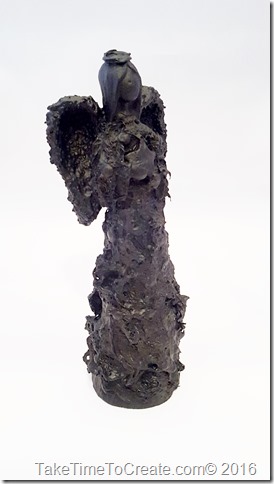
~ Once I had her all glued and textured  she was ready for more gesso. I added about 1000 layers of black gesso. Just kidding, but I did add a lot of layers until everything was covered with black and ready for paint.

Mixed Media AngelMixed Media Angel

~ Once she was dry I started to paint her. This is the fun part, this is where all your hard work pays off. I mixed mica power with the soft gloss gel and went to town. I layered the paint and mixed colors until I liked the the look. For the star that she is holding I sponged on some glitter eye shadow.

20160727_164430

~ Once I was happy with the look and she was dry I took her outside and sprayed a layer of a clear gloss coat.

Mixed Media AngelMixed Media AngelMixed Media Angel

When I took her outside to put the clear coat on and I noticed how she looked different in the sunlight. I love how the mica powder is amazing and so versatile.

Mixed Media Angel

This was tons of fun! I have already started on a different angel, I can’t wait to see how she will turn out!

Mixed Media Angel


Please note there are no affiliate links in this post. All the links are for your reference.

« Older posts Newer posts »

© 2025 Take Time To Create
Theme by Anders NorenUp ↑
Follow

Get the latest posts delivered to your mailbox:

%d bloggers like this: