Tag: hat

DIY Straw Flower Hat

DIY Straw Flower Hat

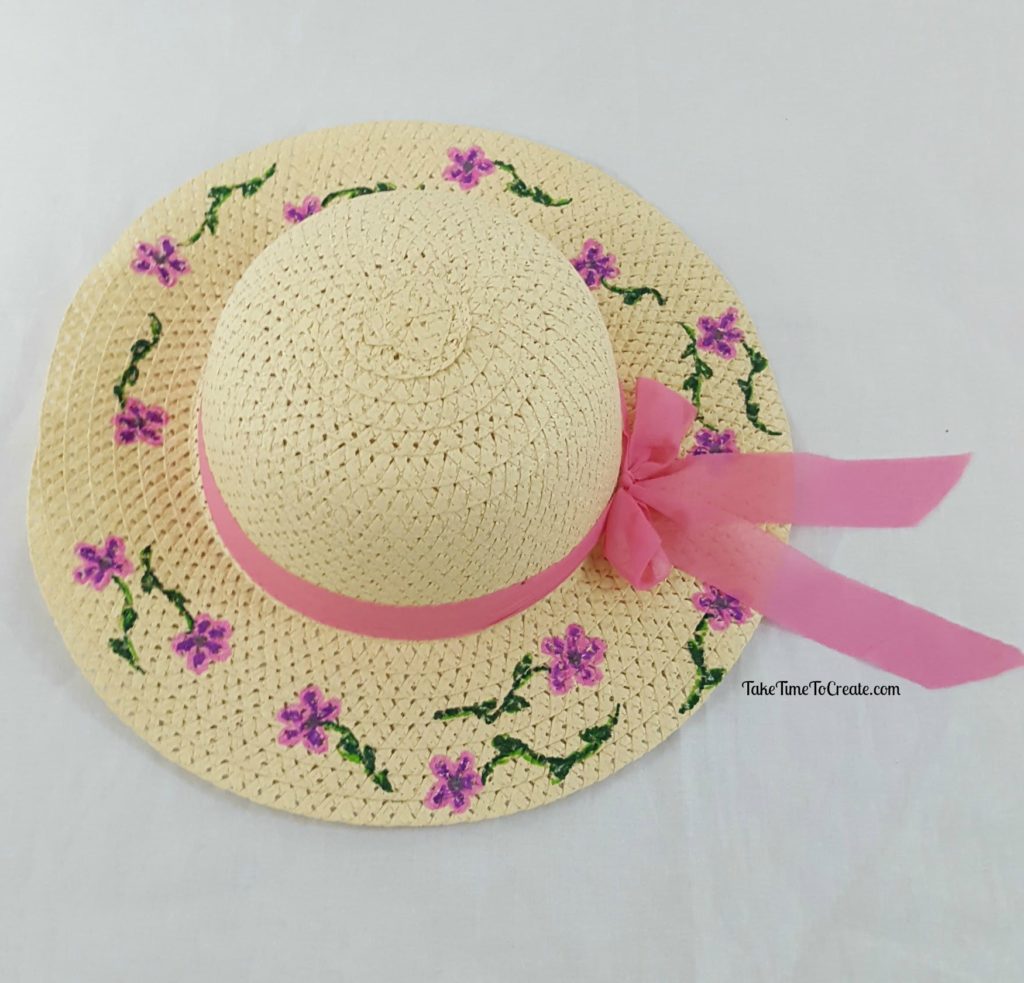
With spring approaching a new straw hat is what everyone needs. And with a few markers you can personalize the hat and add just the right amount of flair.

Hello Everyone!

It has been a while since I did a Dollar Store project and an accessory project, so I thought I would combine the 2 into 1 project.

I have a terrible case of Spring Fever and when I saw these cute straw hats at the Dollar Store I knew I had to get one and decorate it.

diy straw flower hat


The project is simple enough and can be completed in under an hour.

Materials:

Instructions:

Find a super cute straw hat that you are willing to draw on.
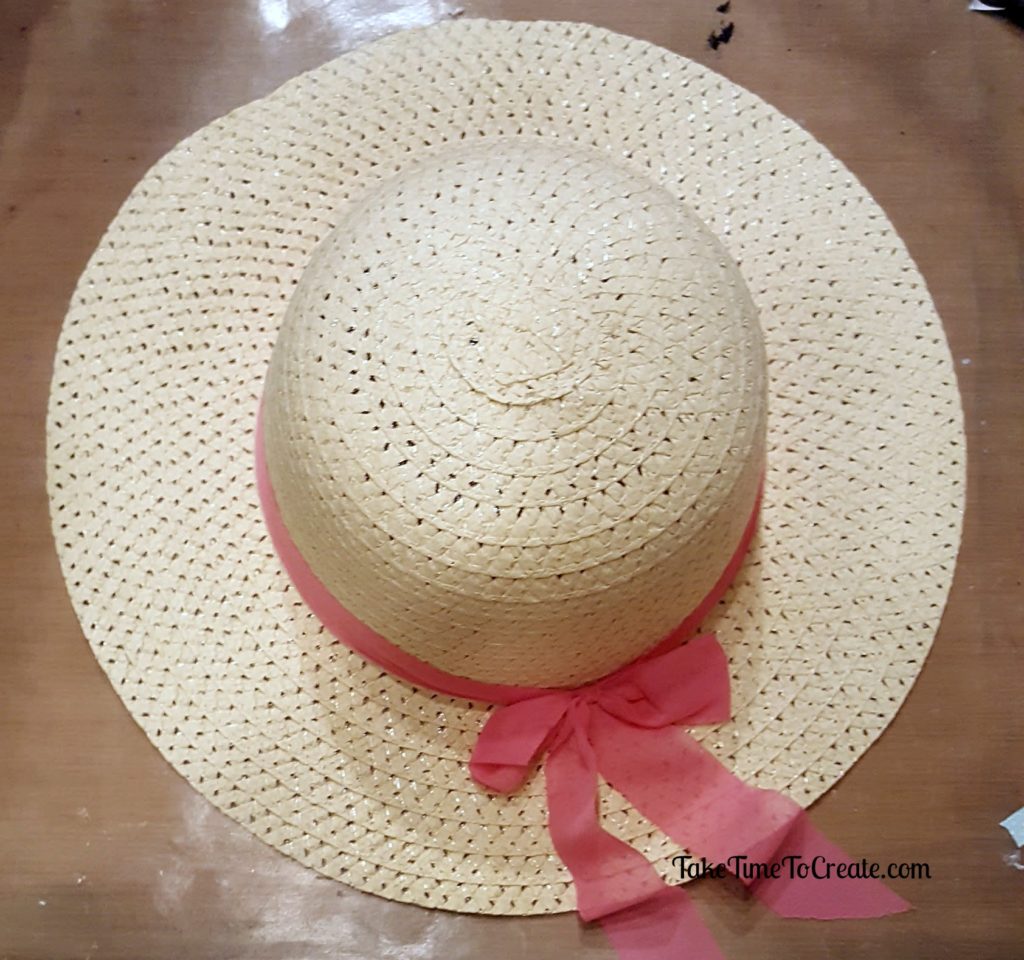
diy straw flower hat


I didn’t want to spend a ton of money, so I thought a dollar was perfect. I also wanted to make this an easy project that could be completed quickly. And I accomplished that as well.

diy straw flower hat


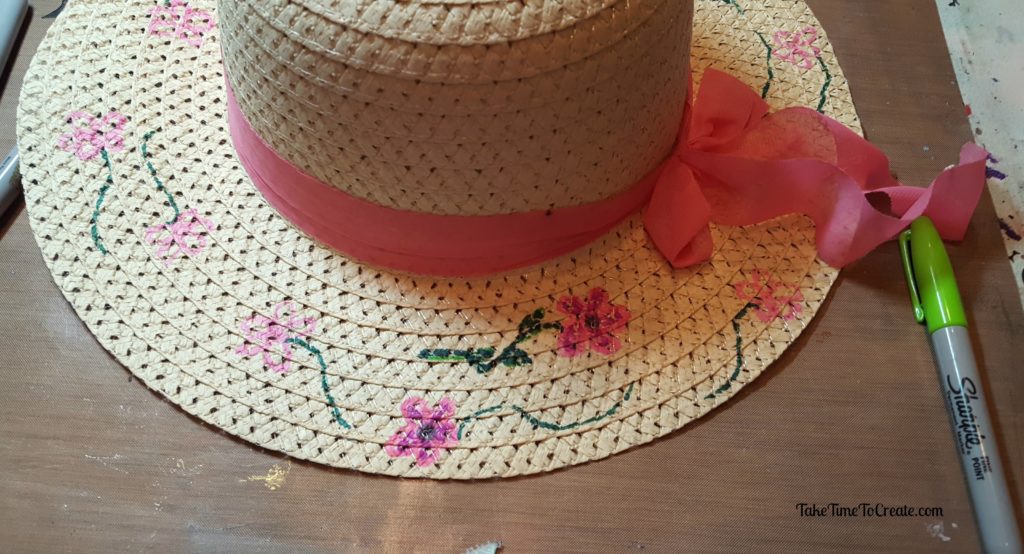
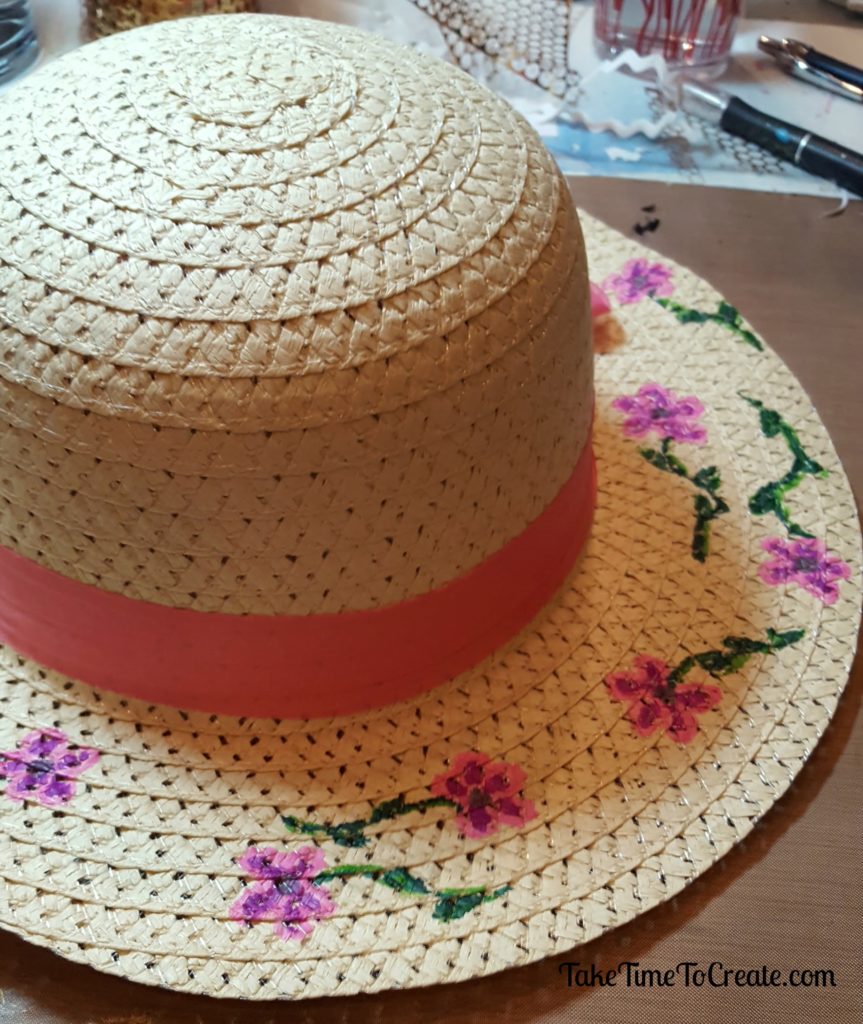
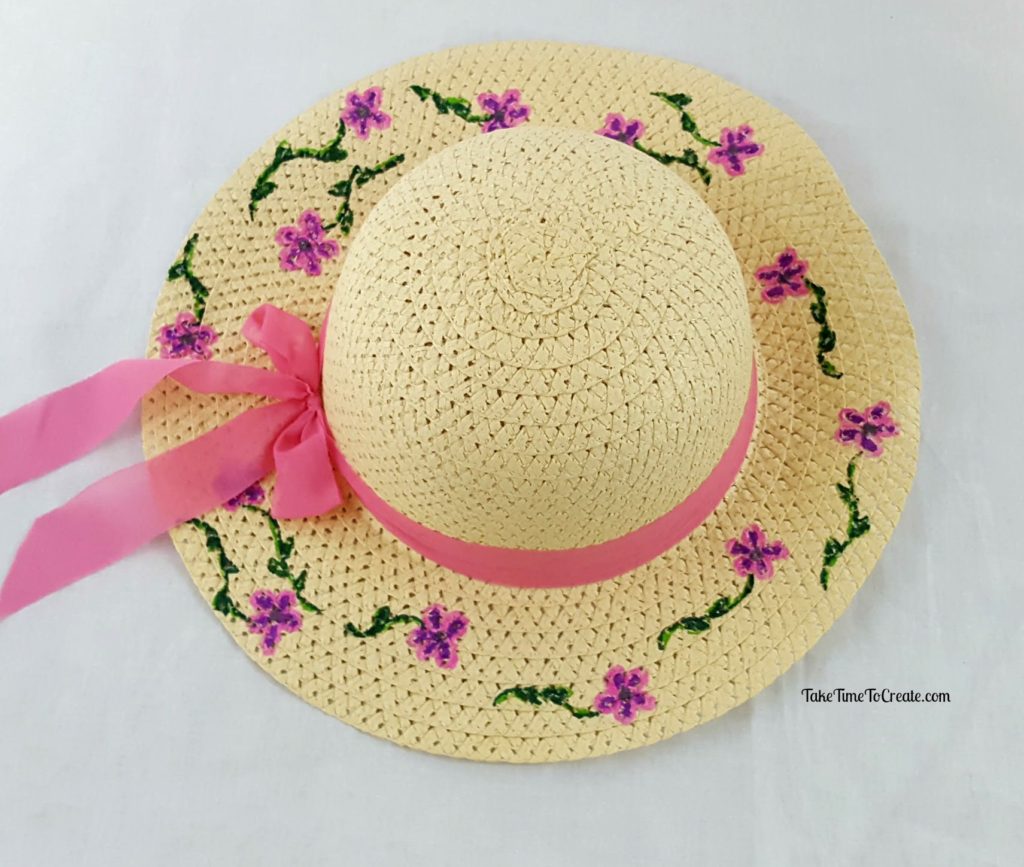
Find a design that you want to draw and go to town. I thought pretty pink flowers were perfect for spring.

diy straw flower hat


Straw is a little harder to work on, but not impossible, just take your time and you will be fine. Pick a design that doesn’t have a lot of detail or it will get muddy on the hat.

This would be a great project with a group or for a girls weekend or with kids.

How are you handling your Spring Fever?
This post contains affiliate links

The post DIY Straw Flower Hat appeared first on Take Time To Create.

Turn a plain cadet hat into something that will turn heads

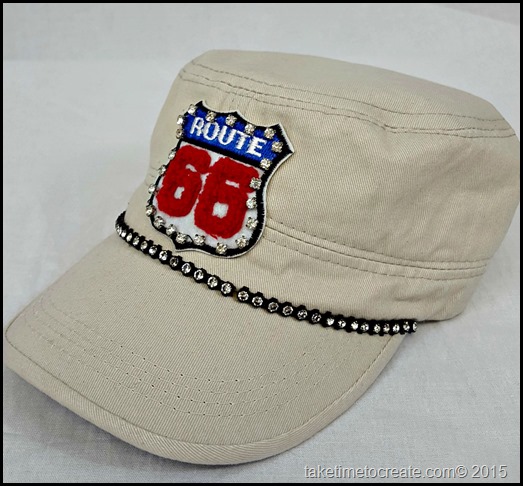
As you all know by now I can’t leave well enough alone. I had these two cadet hats that were fine plain, but not I knew that I could make them better with just a few items.

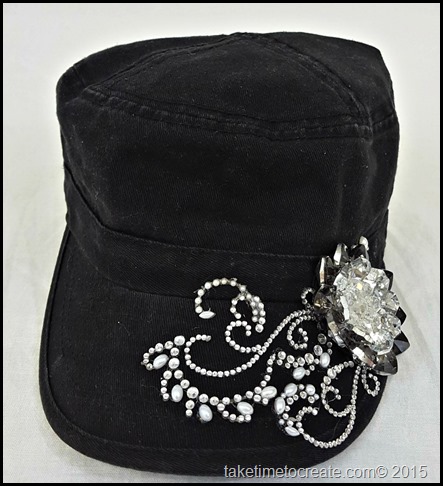
black cadet hat side view     route 66 cadet hat side


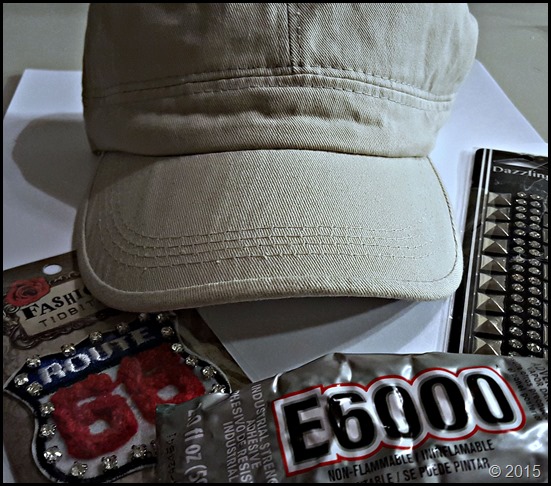
Materials:

~ Hat, almost any hat will do

~ Bling, whatever you want to decorate your hat with

~ E-6000 glue

~ scissors


Instructions:

Black Hat:

1. Plan out your design. This is important so you can make sure you have room for your wonderful design

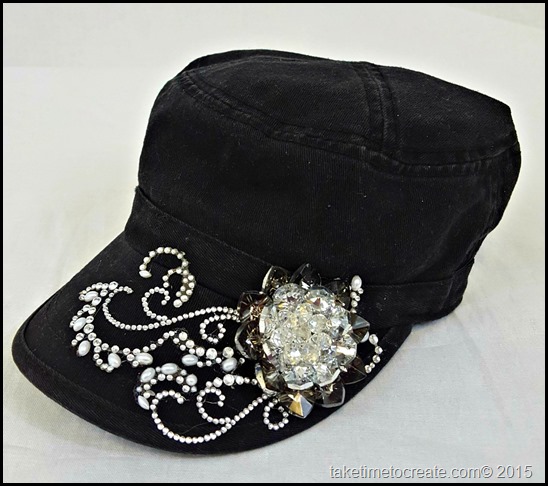
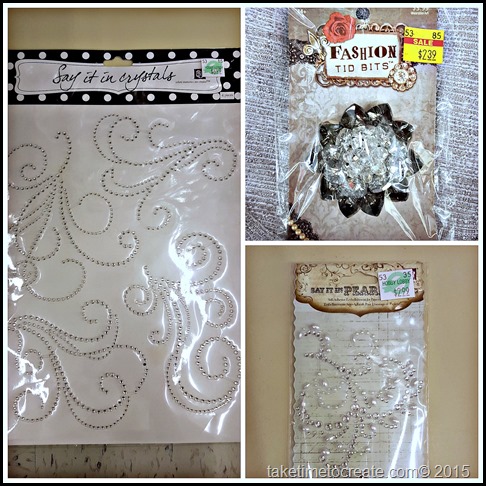
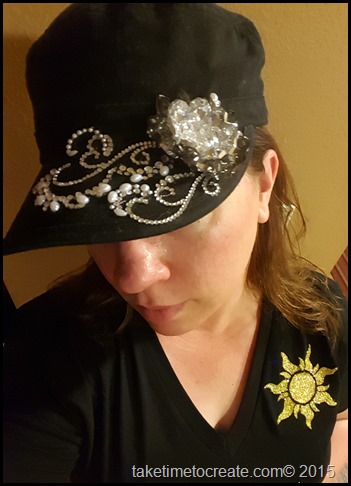
~ The black hat I used pieces from Hobby Lobby. The big flower is a Fashion Tid Bit and the swirls are from the scrapbook section. I forgot to take pictures while I was working so I went back to Hobby Lobby and took pictures after the fact. That is why you can still see the price tag in the picture.

~ I just cut the swirls out and shaped them to get the look I was going for. I didn’t use the whole package, which is good because that means there is more for me use on a different project!

crystals

black cadet hat

2. Glue the design down with E-6000. Even though the swirls have adhesive on them I sill glued them so they would stick really good.

3. Wait 24 hours before wearing to make sure the glue is nice and dry.


Tan hat:

1. Plan the design

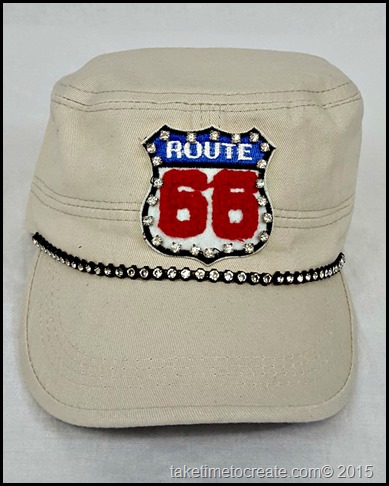
route 66 cadet hat

2. Glue the row of rhinestones on near the brim of the hat. I had to cut one of the rhinestone rows to make sure it fit.

3. Glue the patch on the center of the hat.


route 66 cadet hat front

4. Wait 24 hours before wearing to make sure the glue is nice and dry.


Here I am wearing the black hat before I went to Disneyland for the day (so please excuse the lighting Smile ). It held up great, the glue held perfectly and nothing has fallen off yet!

20150803_061422


And here I am wearing it at the Hoover Dam with my son.

It is always a lot more fun to wear things you make, do you think? What are your ideas for a new hat?


20150802_105153

© 2025 Take Time To Create

Theme by Anders NorenUp ↑

Follow

Get the latest posts delivered to your mailbox:

%d bloggers like this: