Tag: diy home

Rhinestone Globe

Hello Everyone!

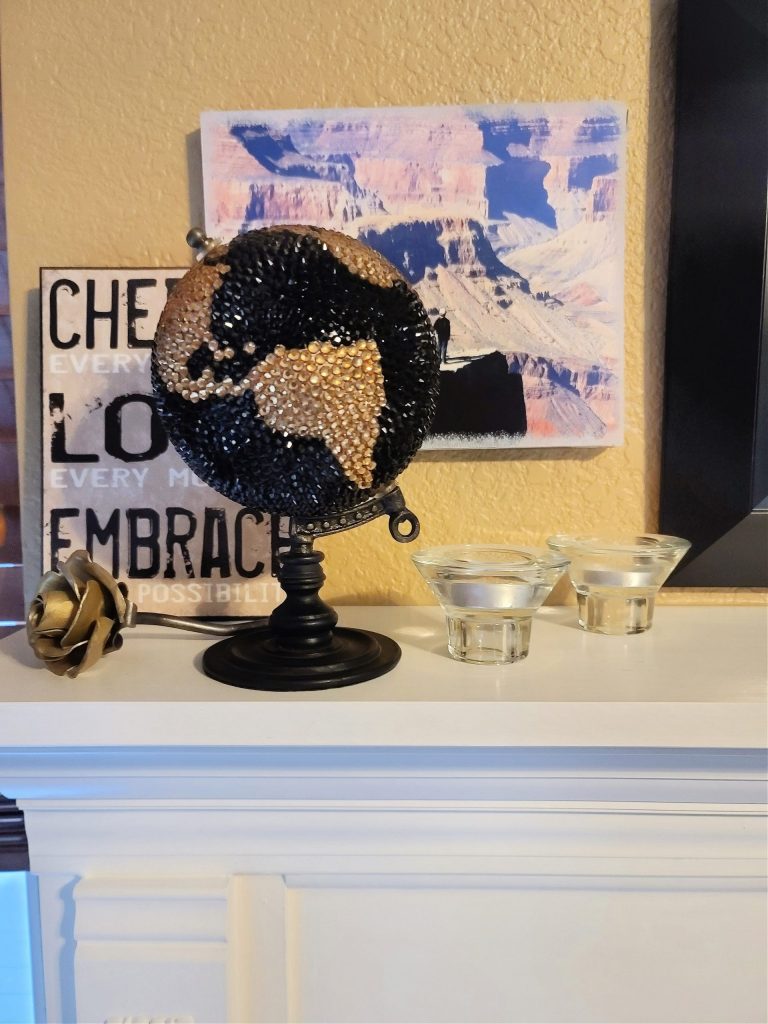
What do you do when your globe is just a boring black and gold? You add rhinestones! So many rhinestones!

This is not a difficult craft, but it is time consuming. It did take me many hours, so put on a movie and go to town. It may take a long time but it is so worth it in the end.


Rhinestone globe

You can add rhinestones to anything I already have a lot of things lined to to be blinged out. 

Affiliate links

Painting Ceramic Pieces from Target

Hello Everyone! 

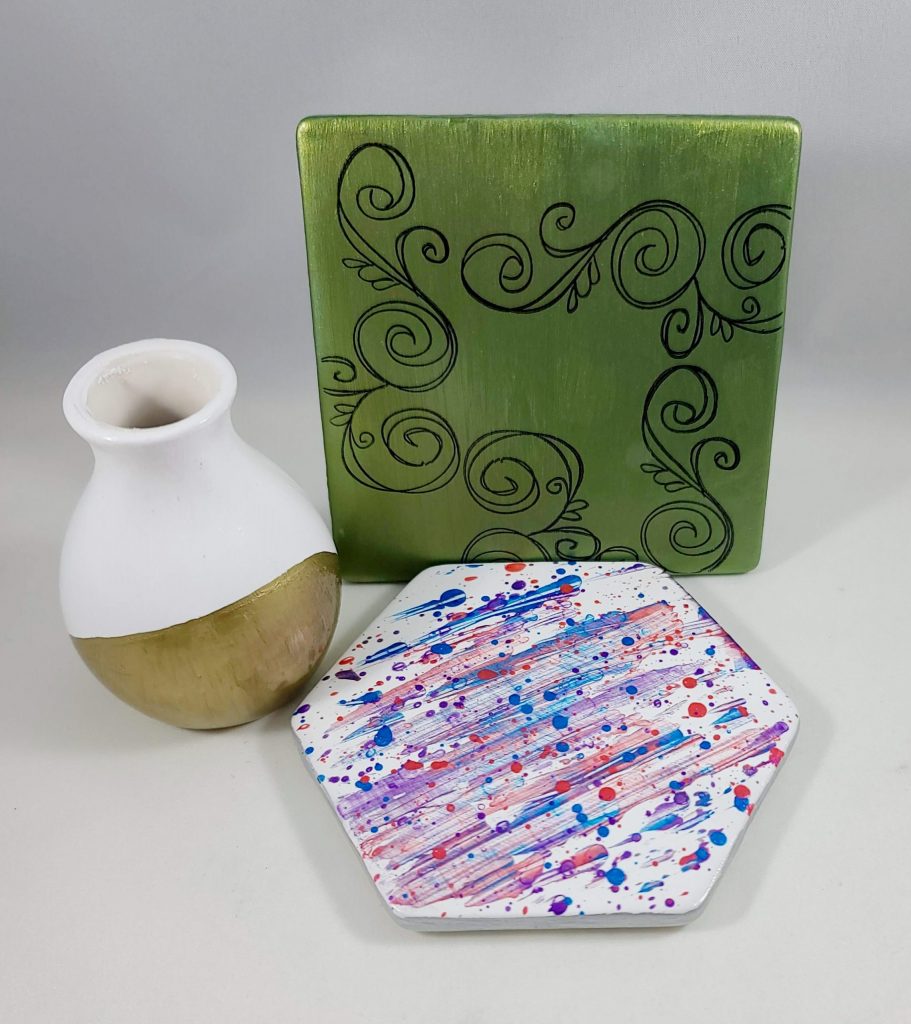
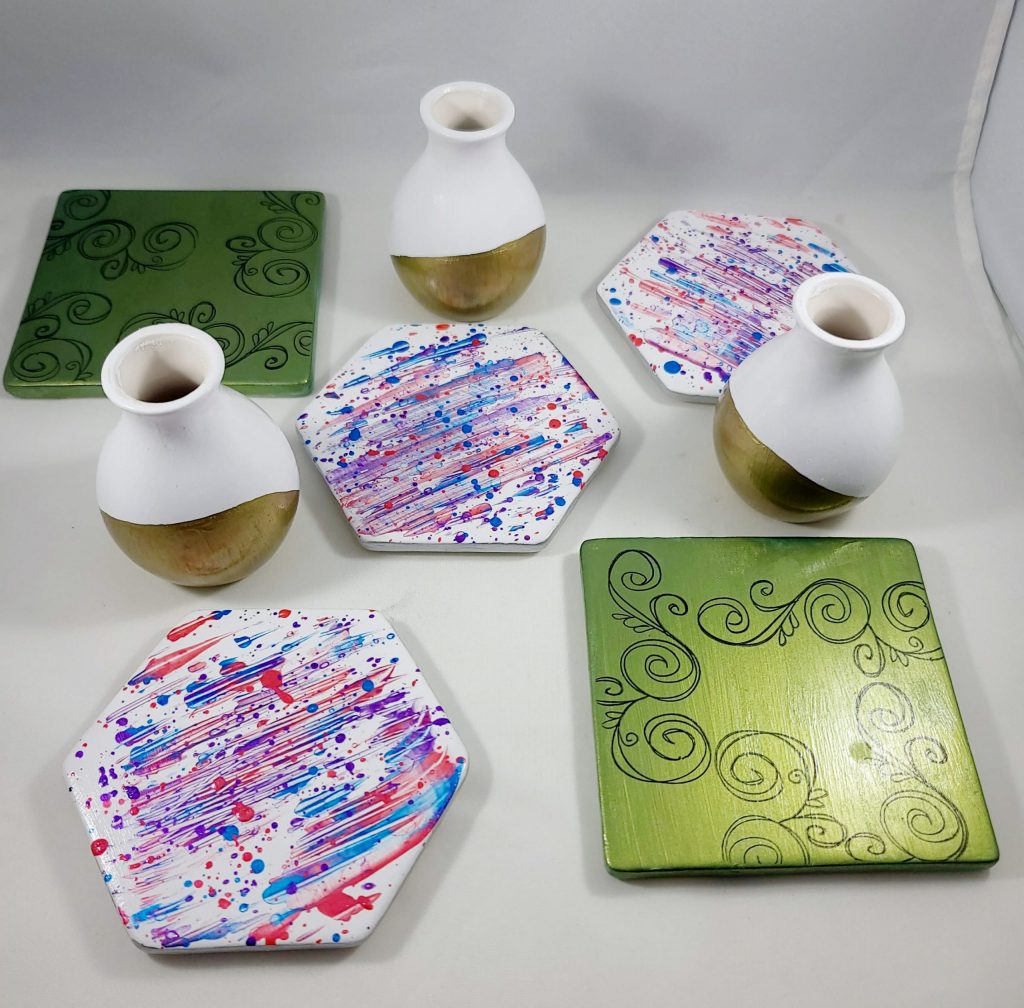
I found these super cute unfinished ceramic pieces from Target and I just knew that I had to get them and paint them. This is such a fun and easy project that you can do with kids or as gift


I just took some acrylic paint and went to town creating a unique look. I finished by sealing them with a couple of coats of Mod Podge. 

Paint unfinished ceramics

You can customize these for events or these can be a fun activity for older kids to do. There are endless ways to customize these. I had such a great time with them I think I might go pick up a few more.

Paint unfinished ceramics

If you are interested in any of the projects that I do on my channel I am starting to list some of them on Etsy. Check it out and see what is available.  Esty: http://www.etsy.com/shop/taketimetocreate/

Affiliate links

No Sew Cat Bed

Hello Everyone!

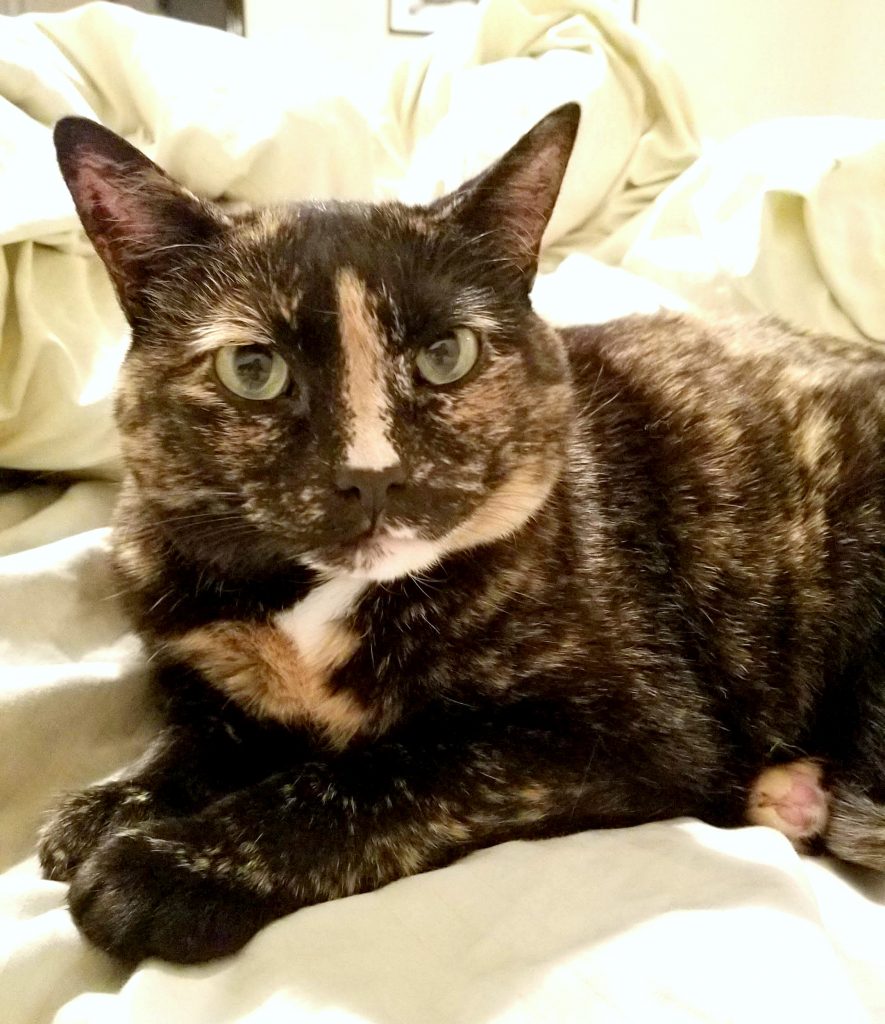
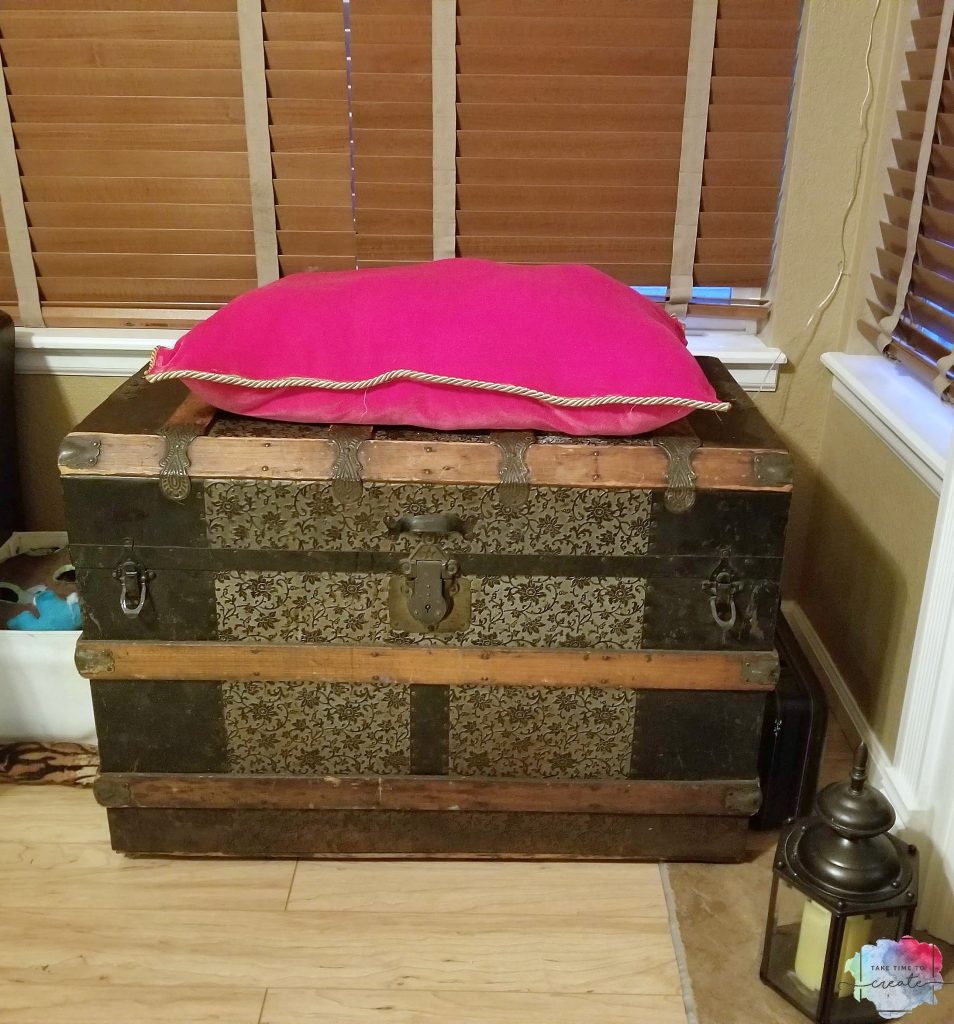
I have a cat that thinks she is a princess, and since she is a princess she needed a pink velour bed with gold trim. And since I don’t sew, I had to create a no sew version.

Our cat rules the house, lol. And since she does this pretty pink pillow is perfect for her. 

Starlight
Starlight

This pillow is easy to create. Take 2 pieces of fabric and glue them together with fabric glue. If you want trim add it now. Make sure you leave a hole so you can stuff the pillow with ploy fill. 

Stuff your pillow and then glue the hole shut. That is it. Such a fun, easy way to create a new space for your pet.

No sew cat bed

I placed the bed on the trunk that Starlight sleeps on. The trunk is super hard and I thought she would appreciate the soft pillow. In true cat form she refused to pose for a picture, lol

But at least she has a new bed when she is ready to sleep on it. What other no sew projects do you work on?

Affiliate links:
Fabric Fusion https://amzn.to/2tvf0eF
Poly Fill https://amzn.to/2TJUNgt
Pink Velour (I found mine at a creative reuse center, but this is similar) https://amzn.to/2N6CFe5
Gold Cord trim (I found mine at a creative reuse center, but this is similar) https://amzn.to/2TPcdbE

The post No Sew Cat Bed appeared first on Take Time To Create.


Repurpose an old window into a Chalkboard

Hello Everyone!

As many of you already know I was working a project for a Mental Health Awareness charity auction. We were all repurposing and painting old windows. Here you can see my post about creating a shabby chic message board. Today I am going to walk you through how I made this chalkboard with an old window.

Repurpose an old window into a Chalkboard


Materials:

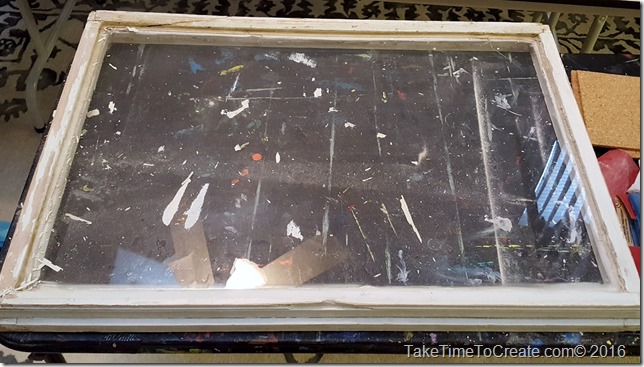
~Old window. This window had pealing paint and a crack in the Plexiglas, so it was perfect for this project.

~ Cleaning supplies and sandpaper

~ Paint, brushes, and tape for the frame

~ Primer, chalkboard paint, and brushes for the chalkboard part.


Instructions;

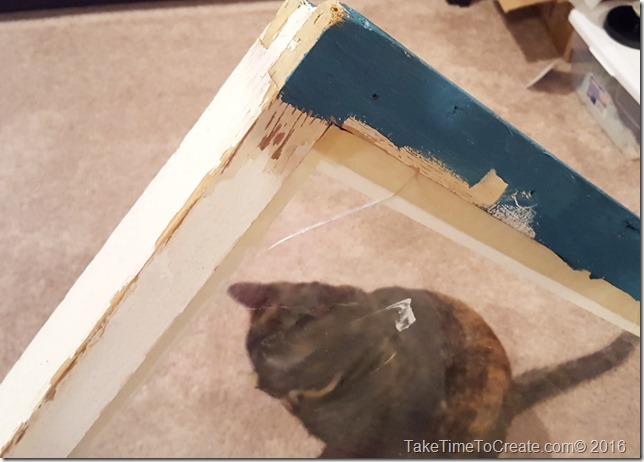
~ The first step is to prep the window. Not the most fun, but it is necessary for a successful project. I sanded all the edges until they were smooth and ready to paint. This took a while because the window was so rough.

Repurpose an old window into a Chalkboard

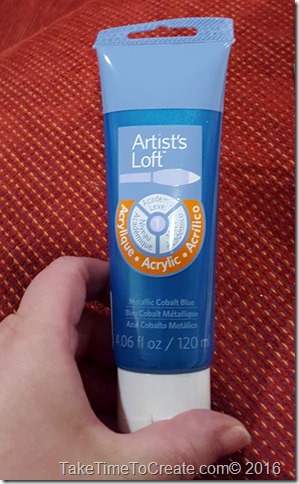
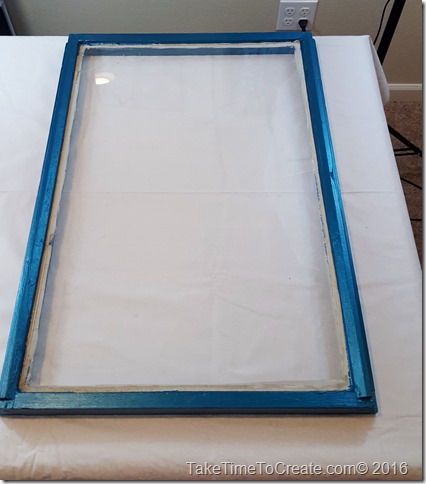
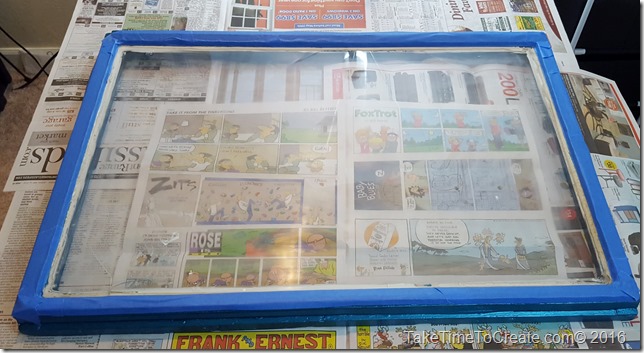
~ Then you paint the frame. I did tape off the Plexiglas because I am not the neatest painter. I used Artist’s Loft in Metallic Cobalt Blue, I love the iridescent quality of the blue paint.

Repurpose an old window into a Chalkboard

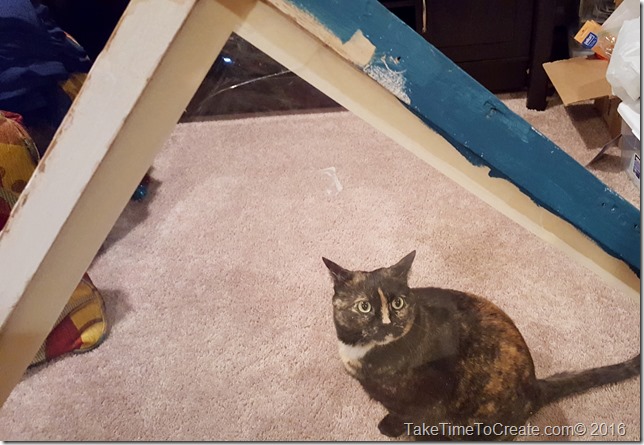
~ Paint away. Kitty help is essential to the success of any craft project Smile Starlight is my favorite kind of help, lol.

Repurpose an old window into a Chalkboard

Repurpose an old window into a Chalkboard

I did 2 coats of the blue

Repurpose an old window into a Chalkboard.

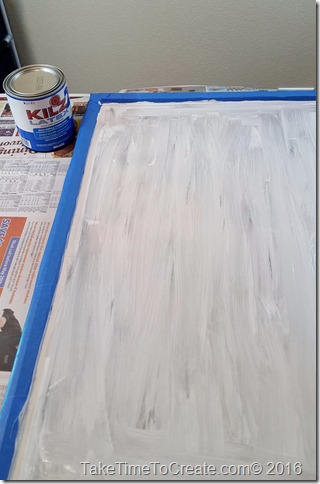
~ After the frame had dried for a day I taped off the frame part and prepped the Plexiglas. First I lightly sanded the glass so that the paint would adhere. Then I put a coat of primer on according to the directions. I used Kilz primer.

Repurpose an old window into a Chalkboard

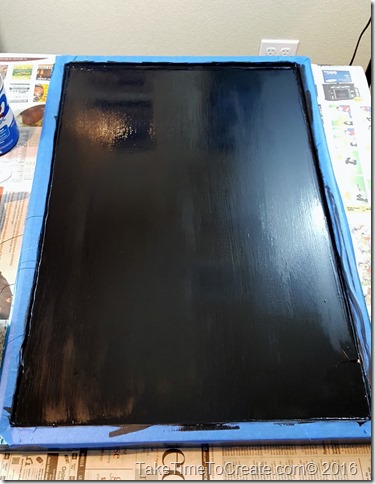
~ Once the primer was dry I painted 4 coats of chalkboard paint on according to the directions. I used Rustoleum Chalkboard paint. Once it was dry and cured for 3 days I conditioned the chalkboard according to the directions.

Repurpose an old window into a Chalkboard

Repurpose an old window into a Chalkboard

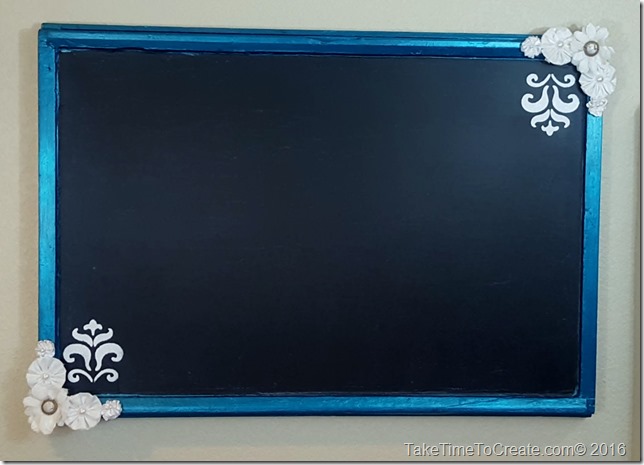
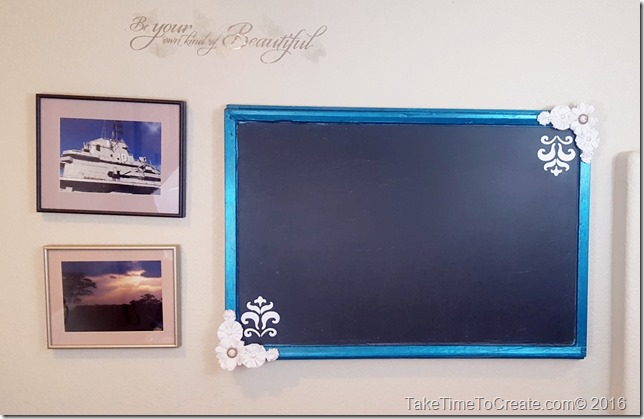
~ Once it was completely dry and conditioned I took a stencil and painted a design in the corners and added some flowers and that is it. A new chalkboard for an old window

Repurpose an old window into a Chalkboard

Have you painted and or repurposed an old window? How did it turn out? I would love to see pictures!

Re-purpose an old window into a shabby chic message board

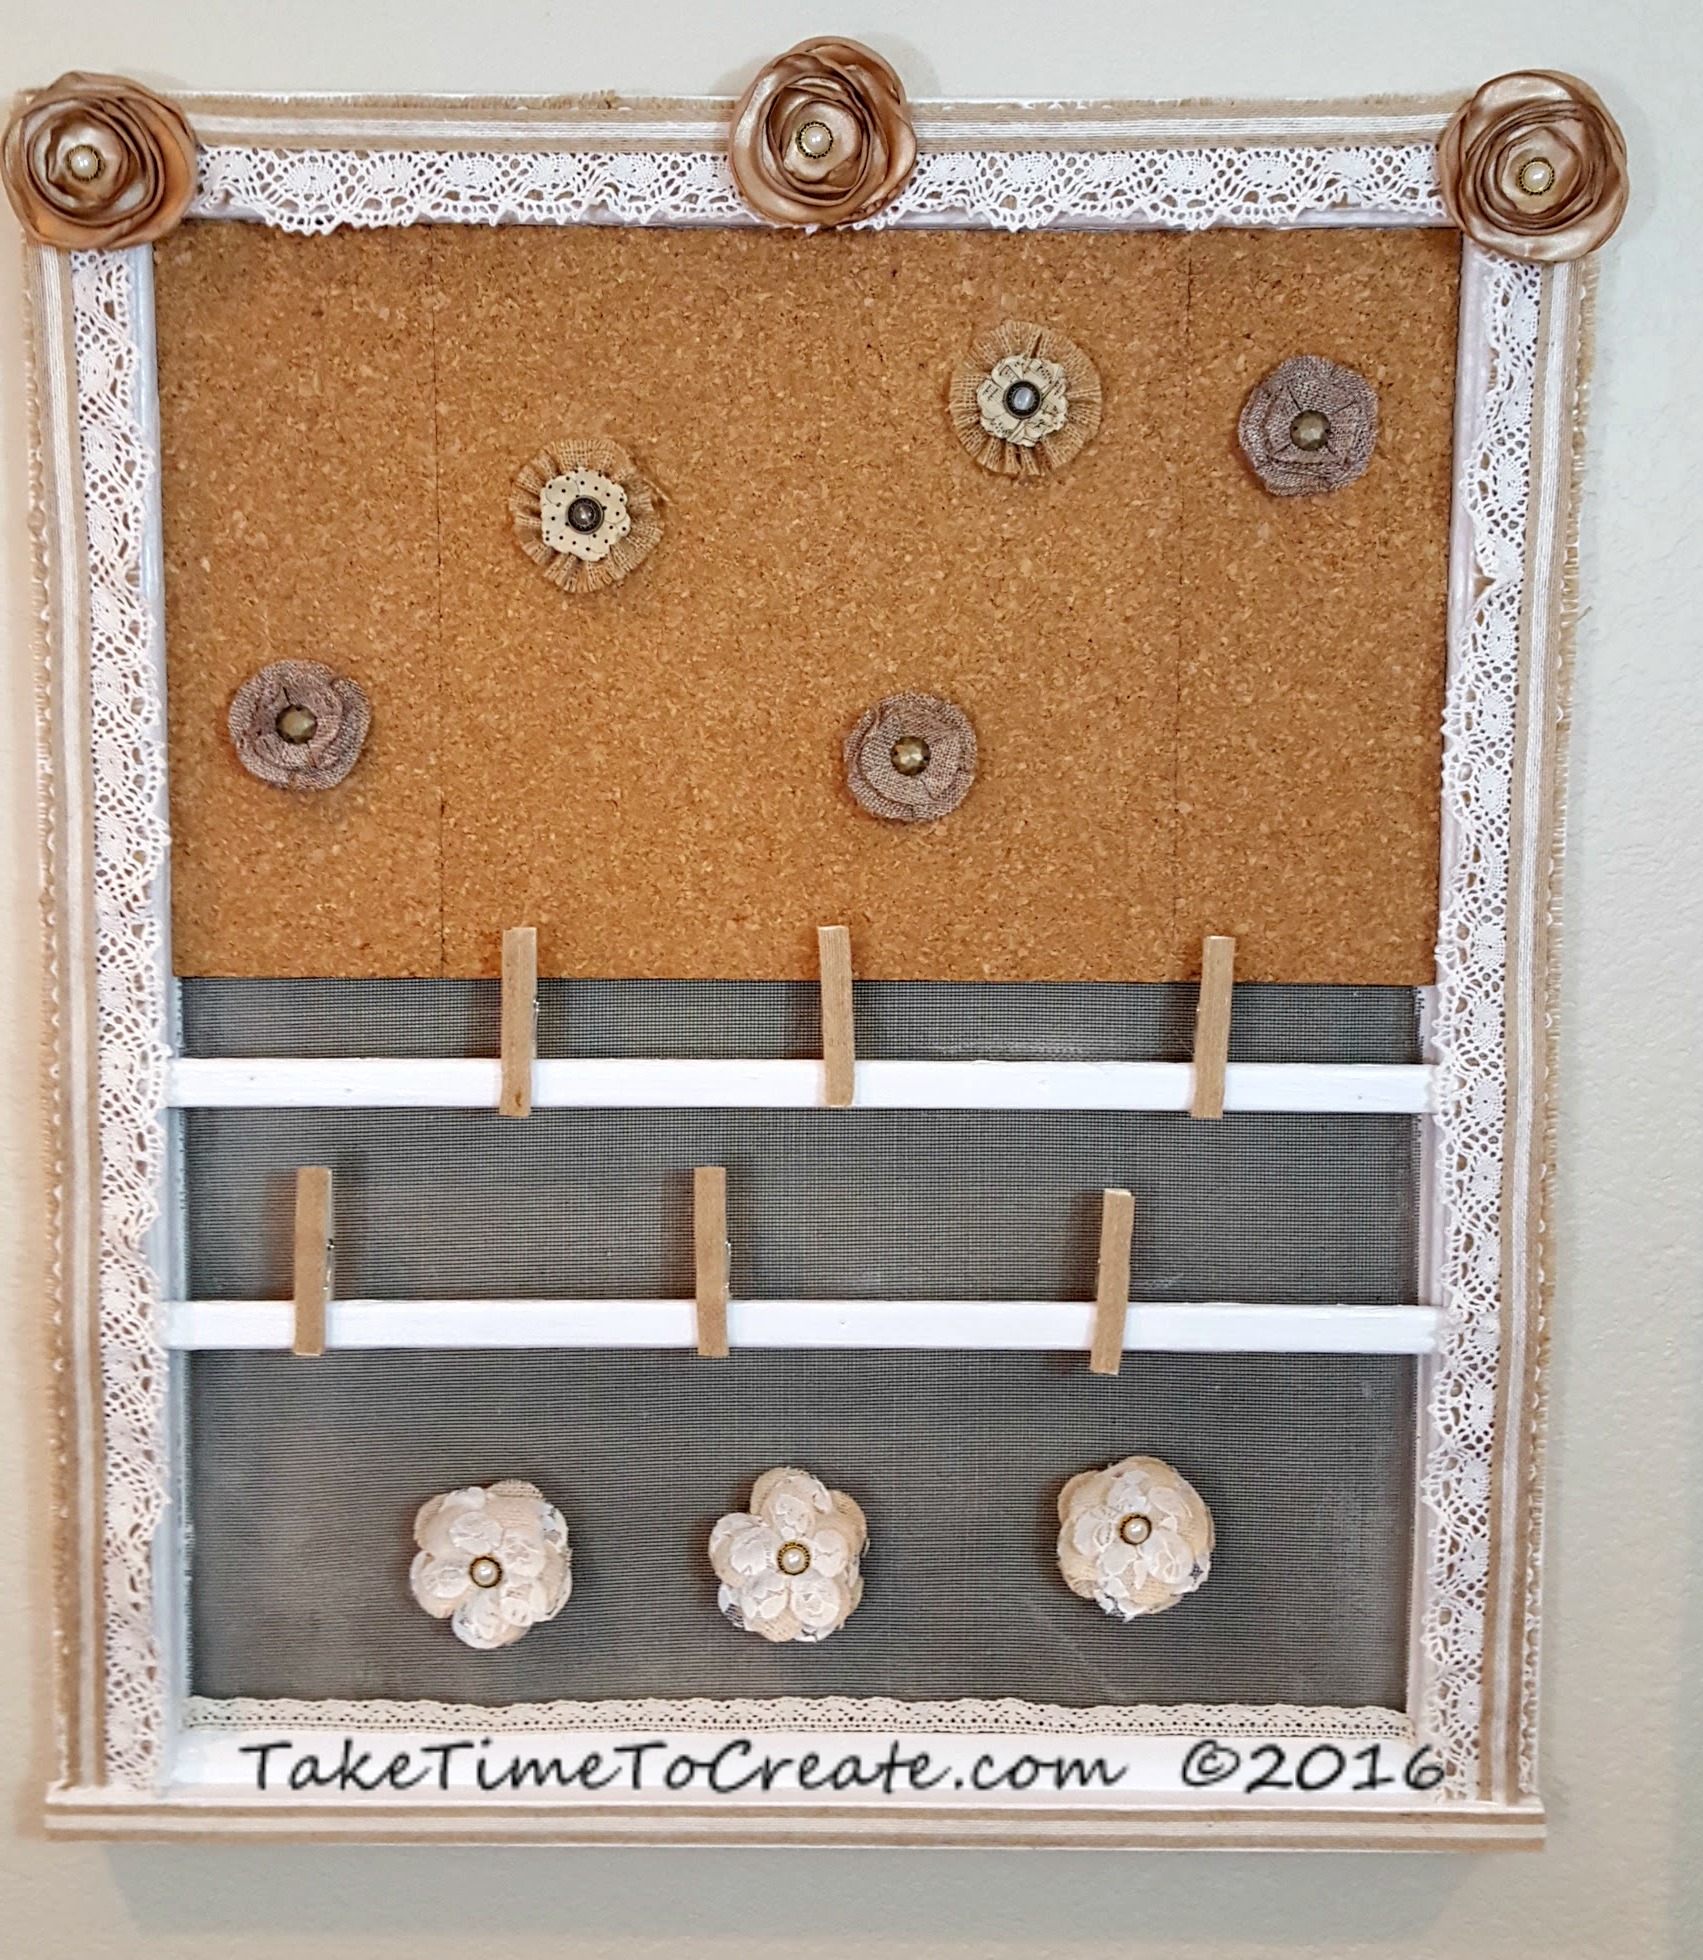
If you follow my Instagram (taketimetocreate) then I am sure you have already seen the reveal of this repurposed window. For those of you who don’t follow me there here the shabby chic message board!

repurpose window to shabby chic message board

I have to say I do love the way it turned out! This all started when my friend asked me to paint a window for a silent auction for mental health awareness. At first I wasn’t too interested, not because I didn’t believe in the cause (because this is one cause I totally support) it was because I wasn’t sure I had a design that would work. Most everyone else did a more traditional painted window with flowers on the glass and things like that. Well of course I didn’t follow the crowd. So I did my own thing and hopefully it will bring in a lot of money for the charity!

Here is how I did the repurposing.

Materials:
~ old window (for this to work you for magnets you will need one with a metal screen)
~ sandpaper, tape, cleaning supplies
~ paint and brush
~ cork
~ flowers, magnets, tacks, and clothes pins
~ ribbon and burlap

Instructions:
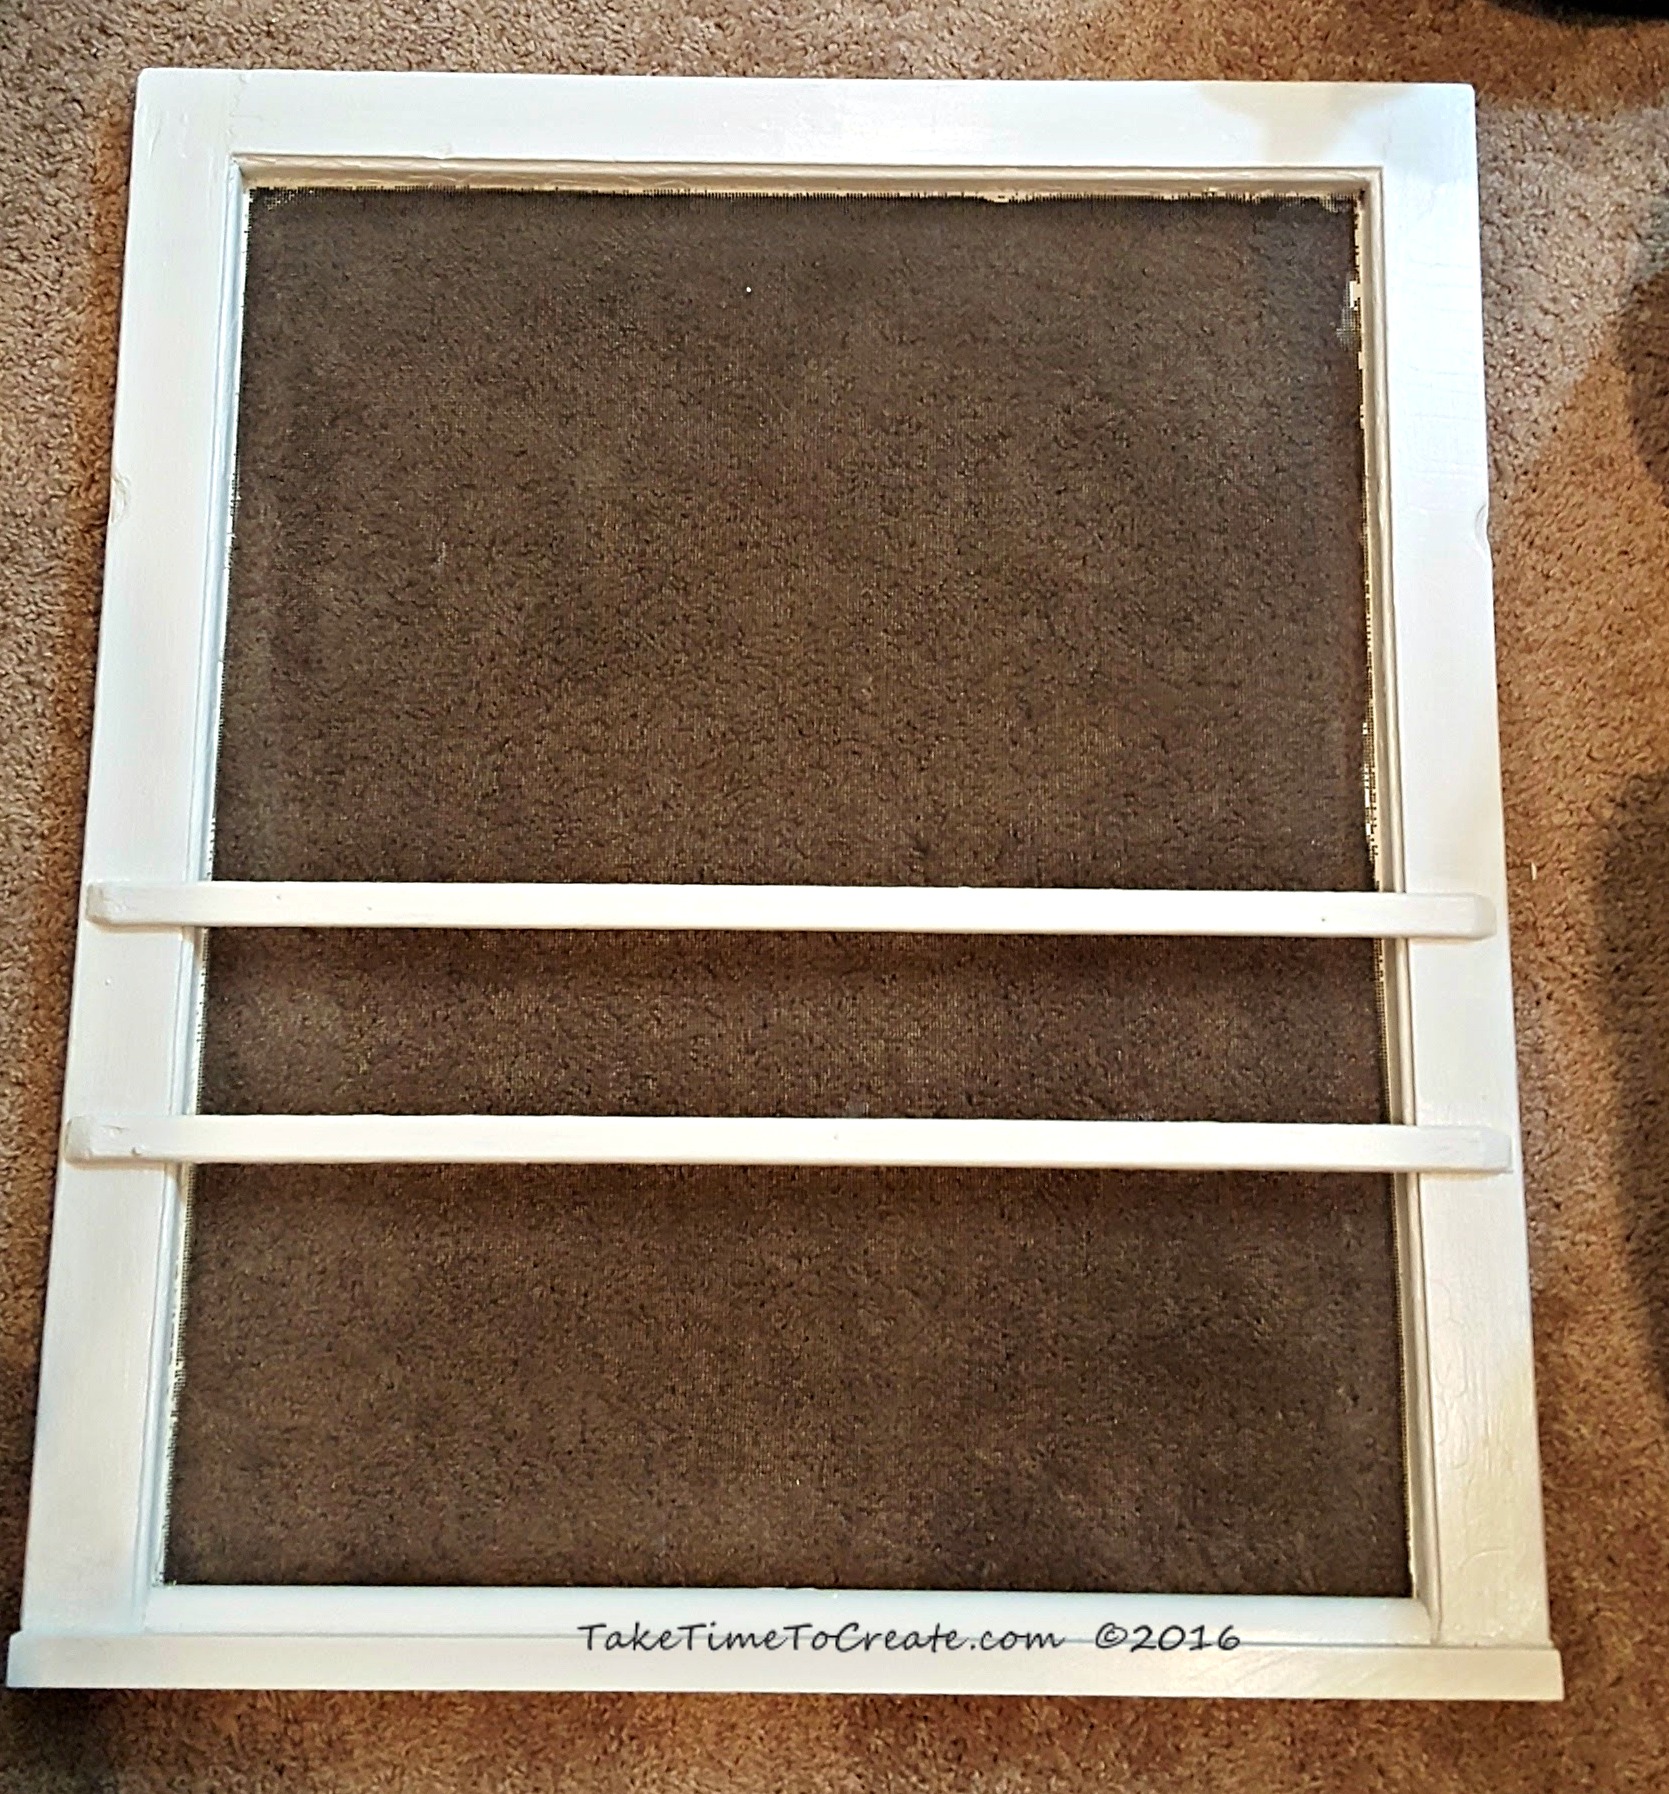
~ The first thing you will need to do is sand down all the rough edges and smooth it out. Once you like the feel of the window then give it a good cleaning.

window

~ Now you are ready to paint. I taped around the edges to help cut down on how much paint went on the screen, and this seemed to help.
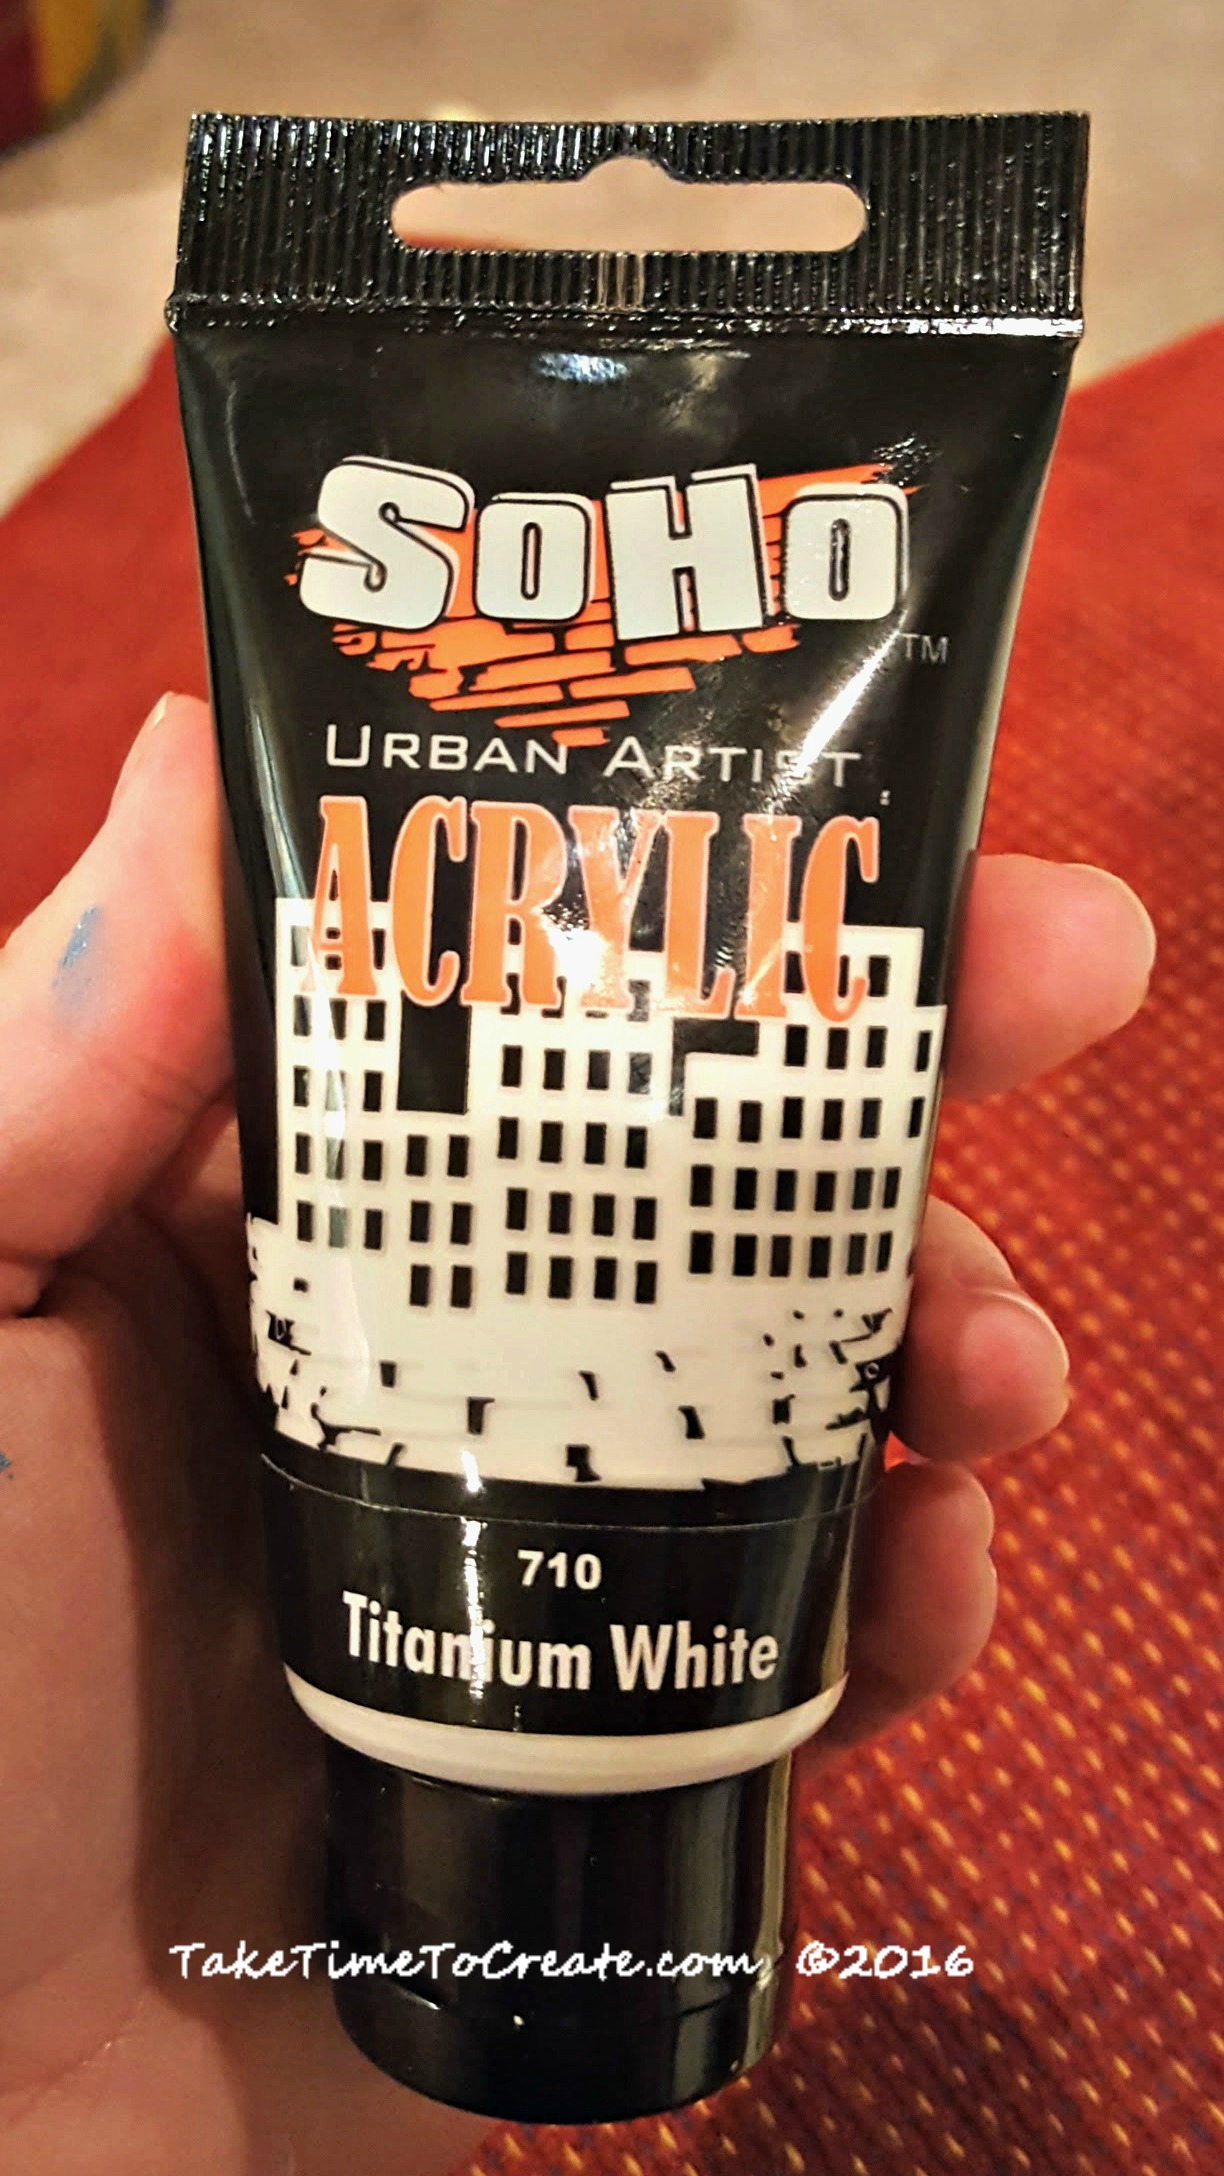
Paint a couple coats until you get it to how you like it. I used this white acrylic paint that I had on hand.

white acrylic paint

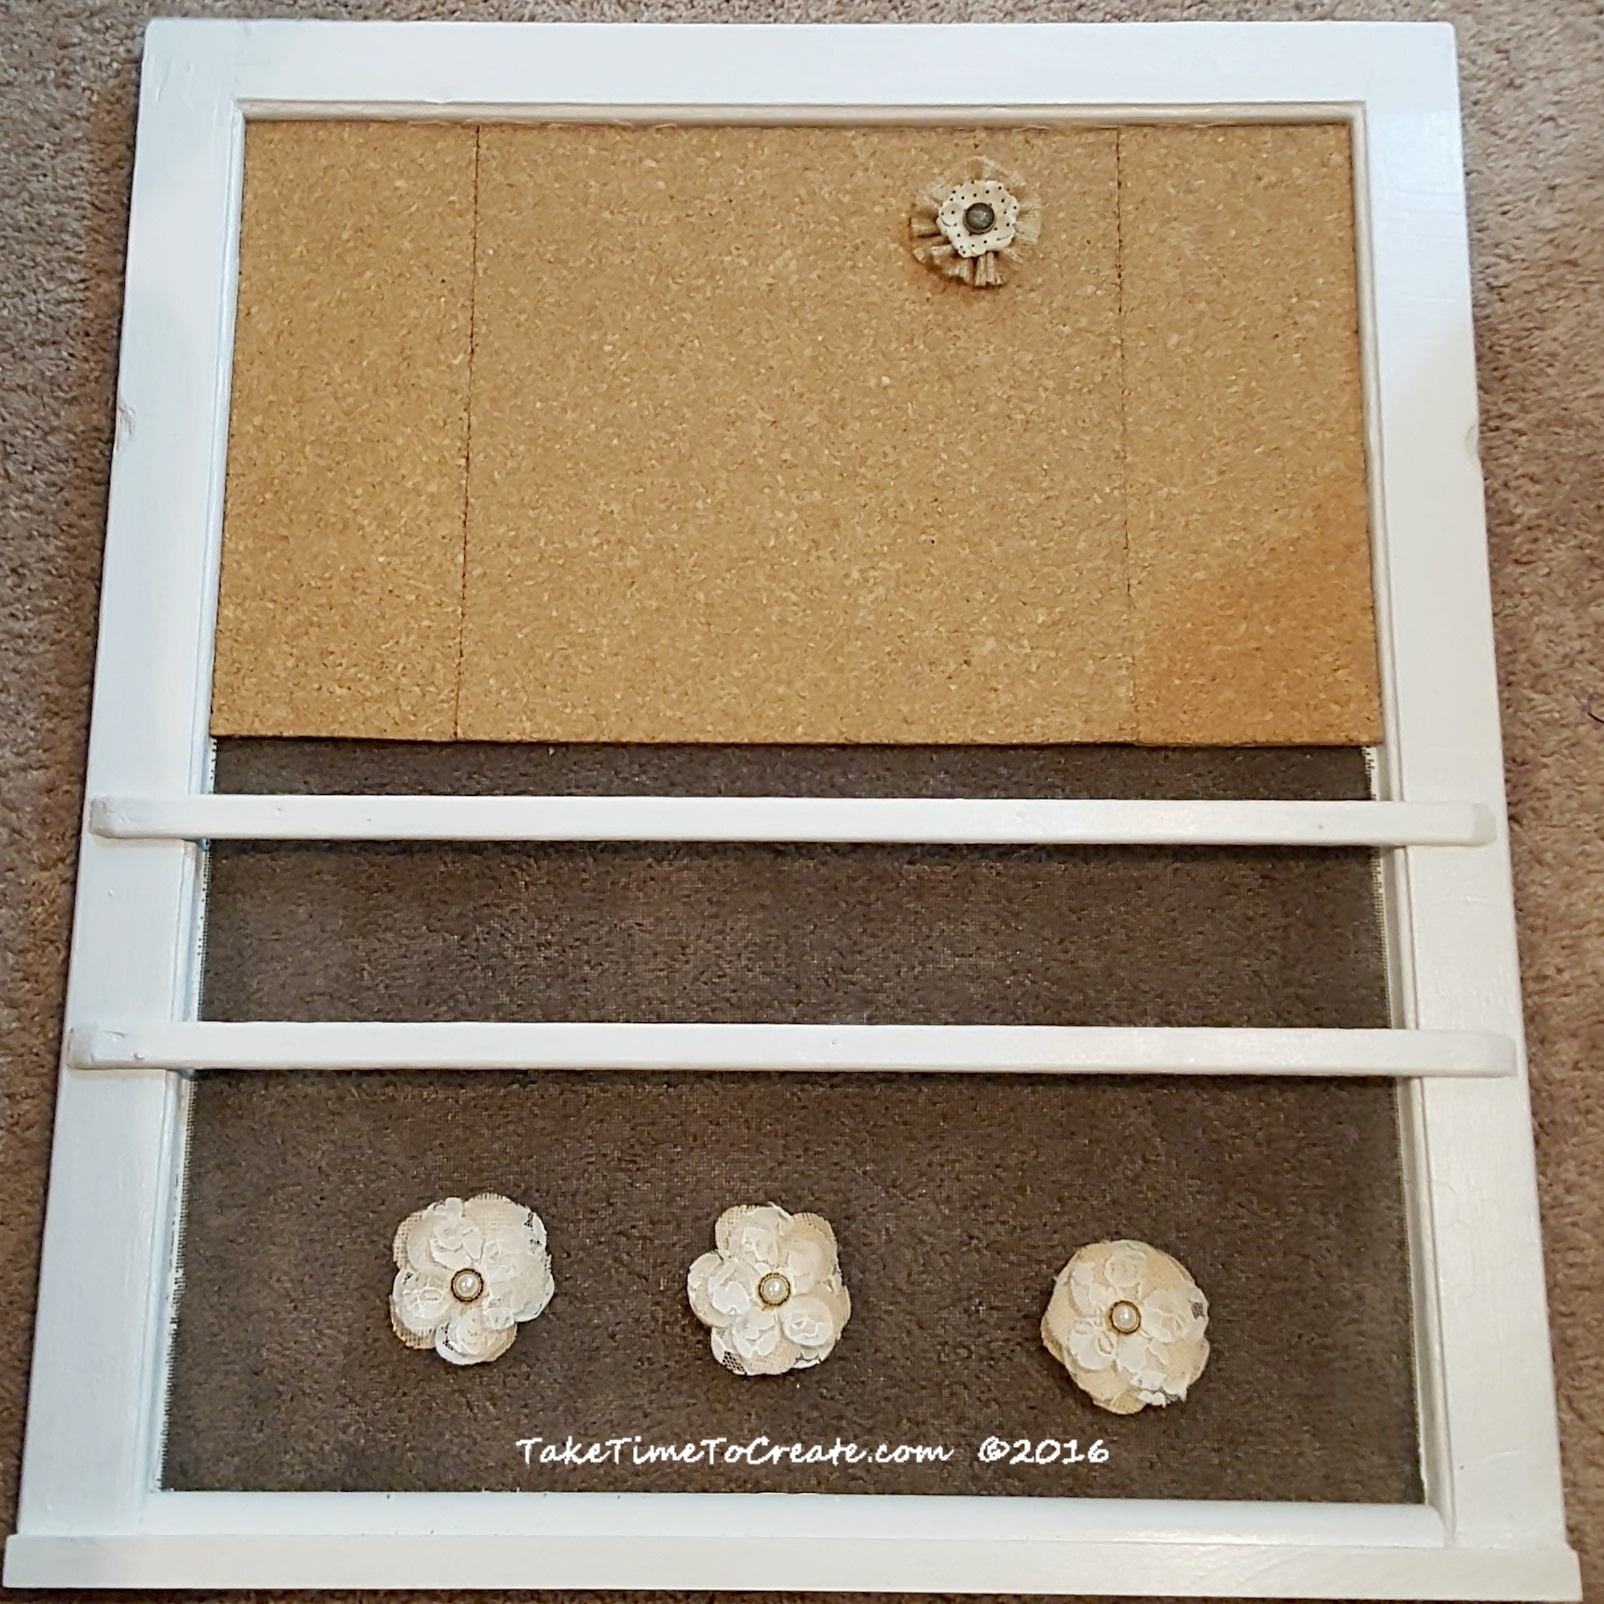
~ Cut your cork down to size and glue it on to the screen. I just glued the edges with a metal glue and that seems to hold it pretty well.

add cork to window

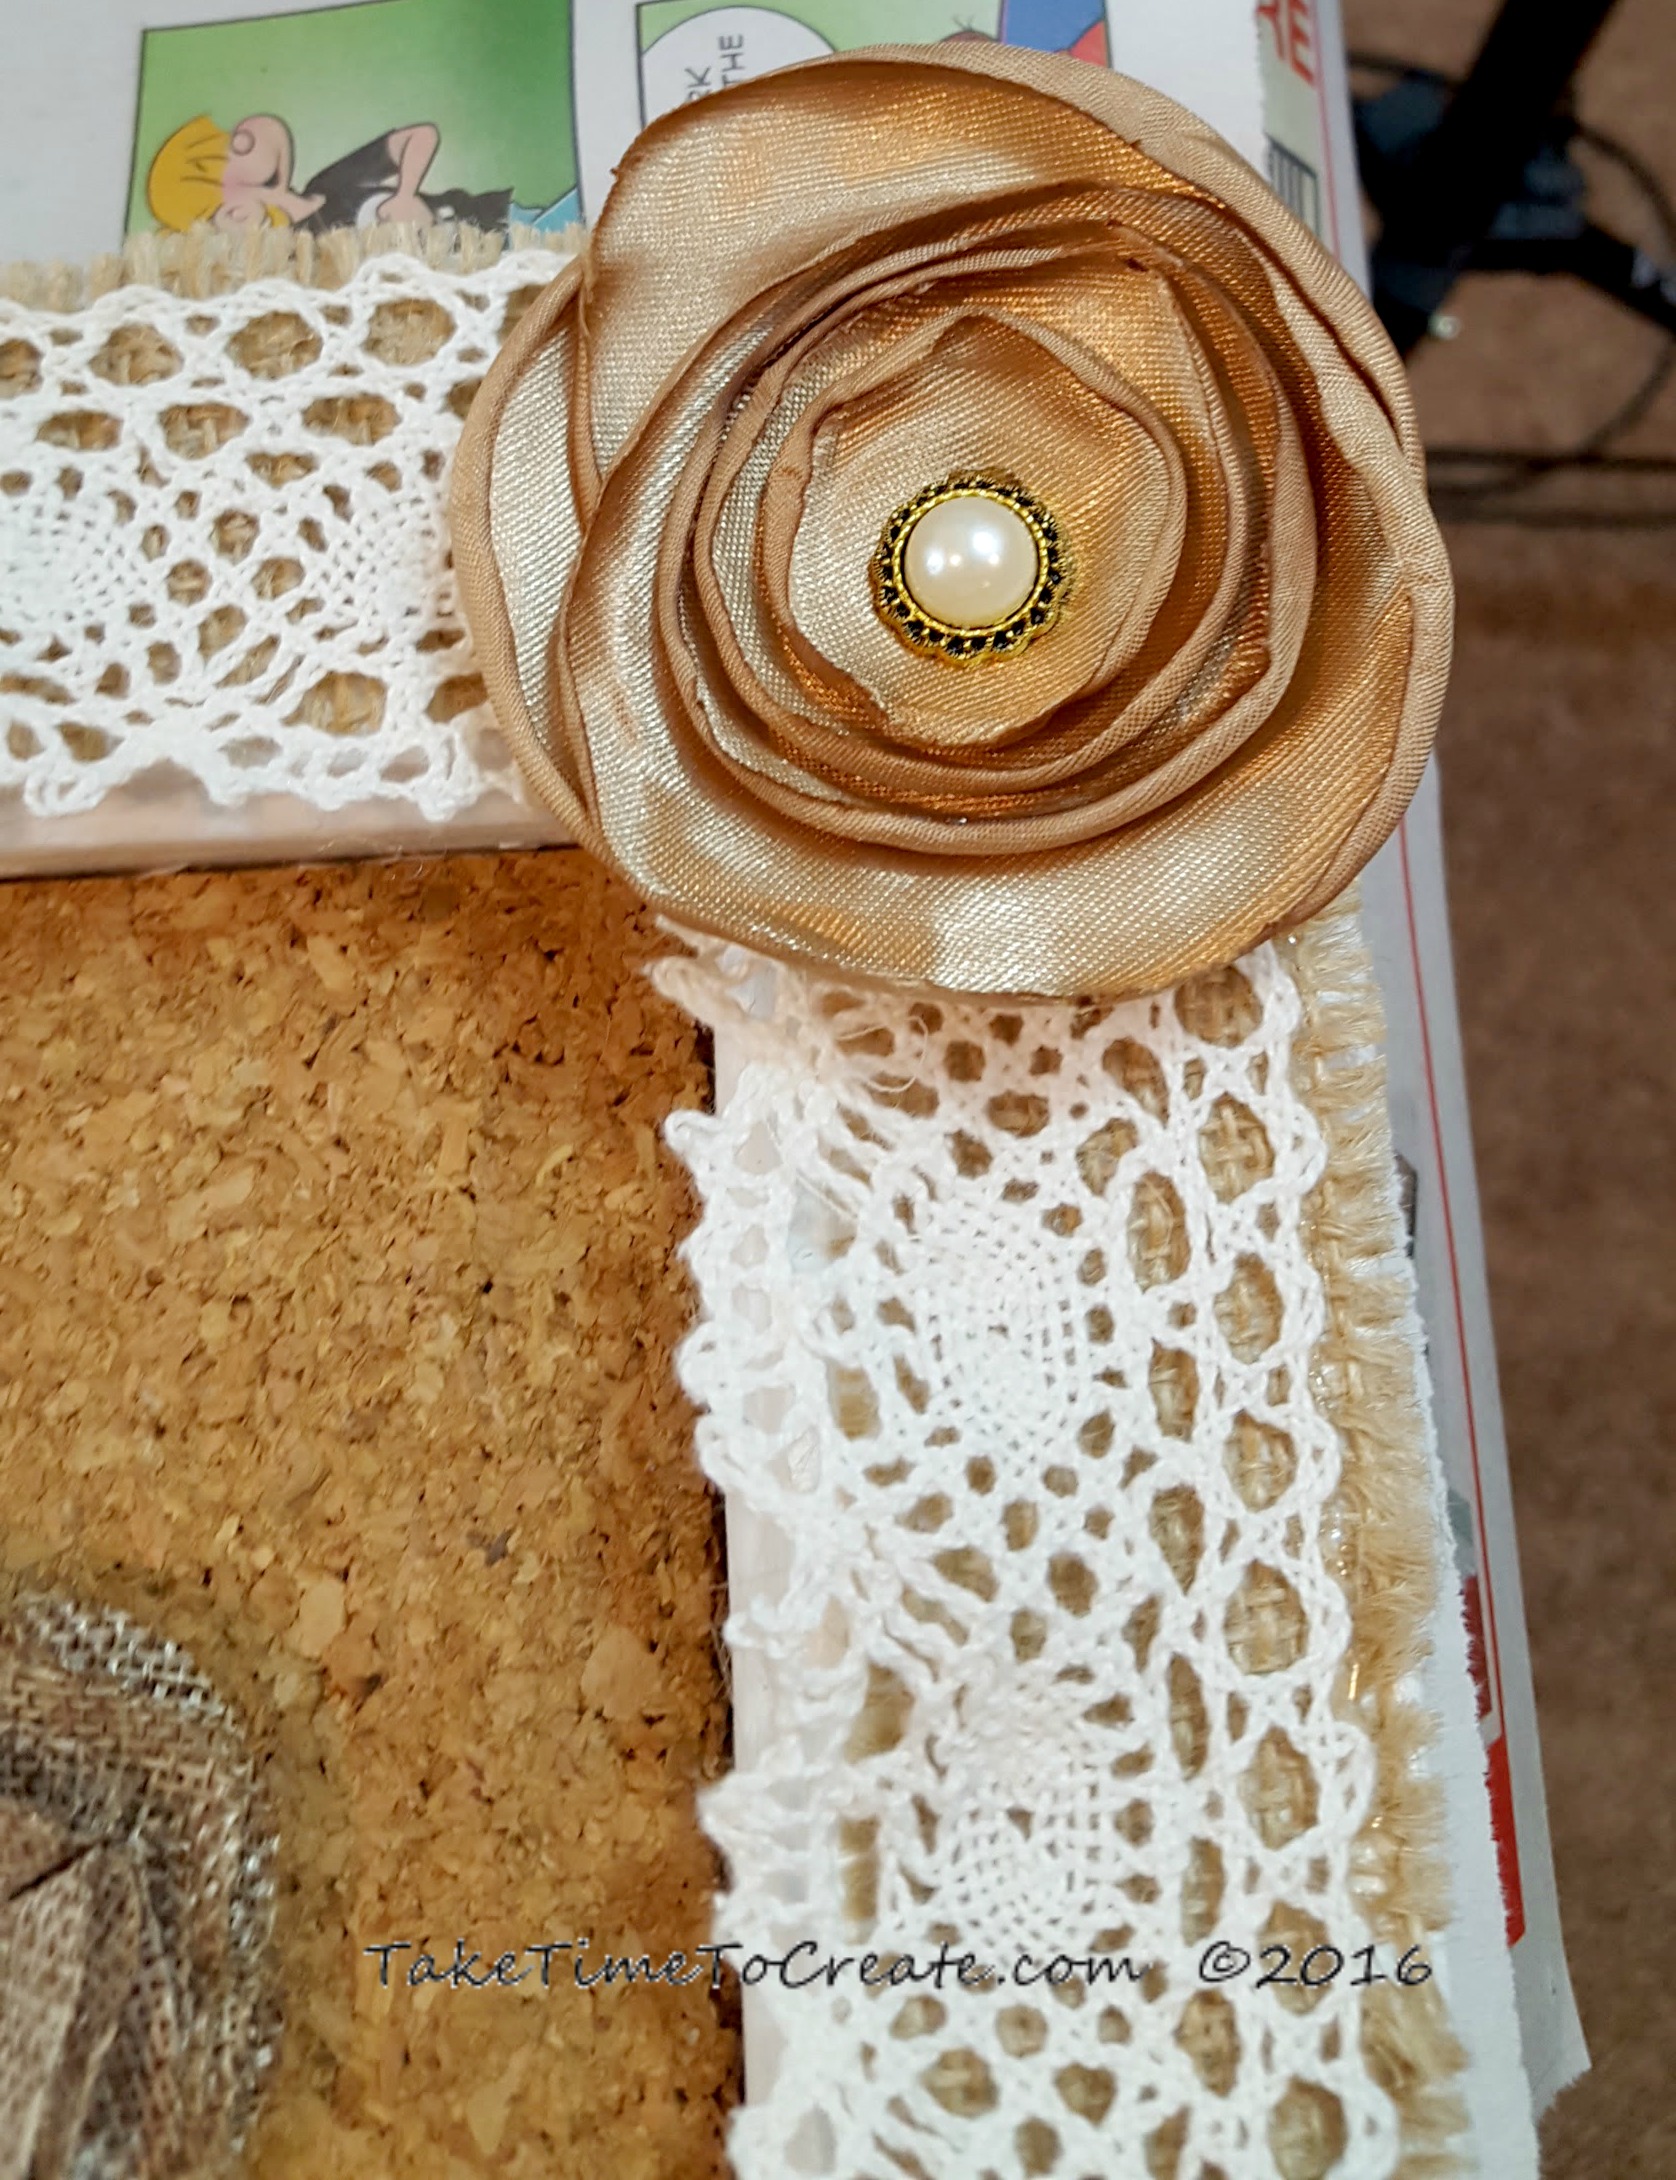
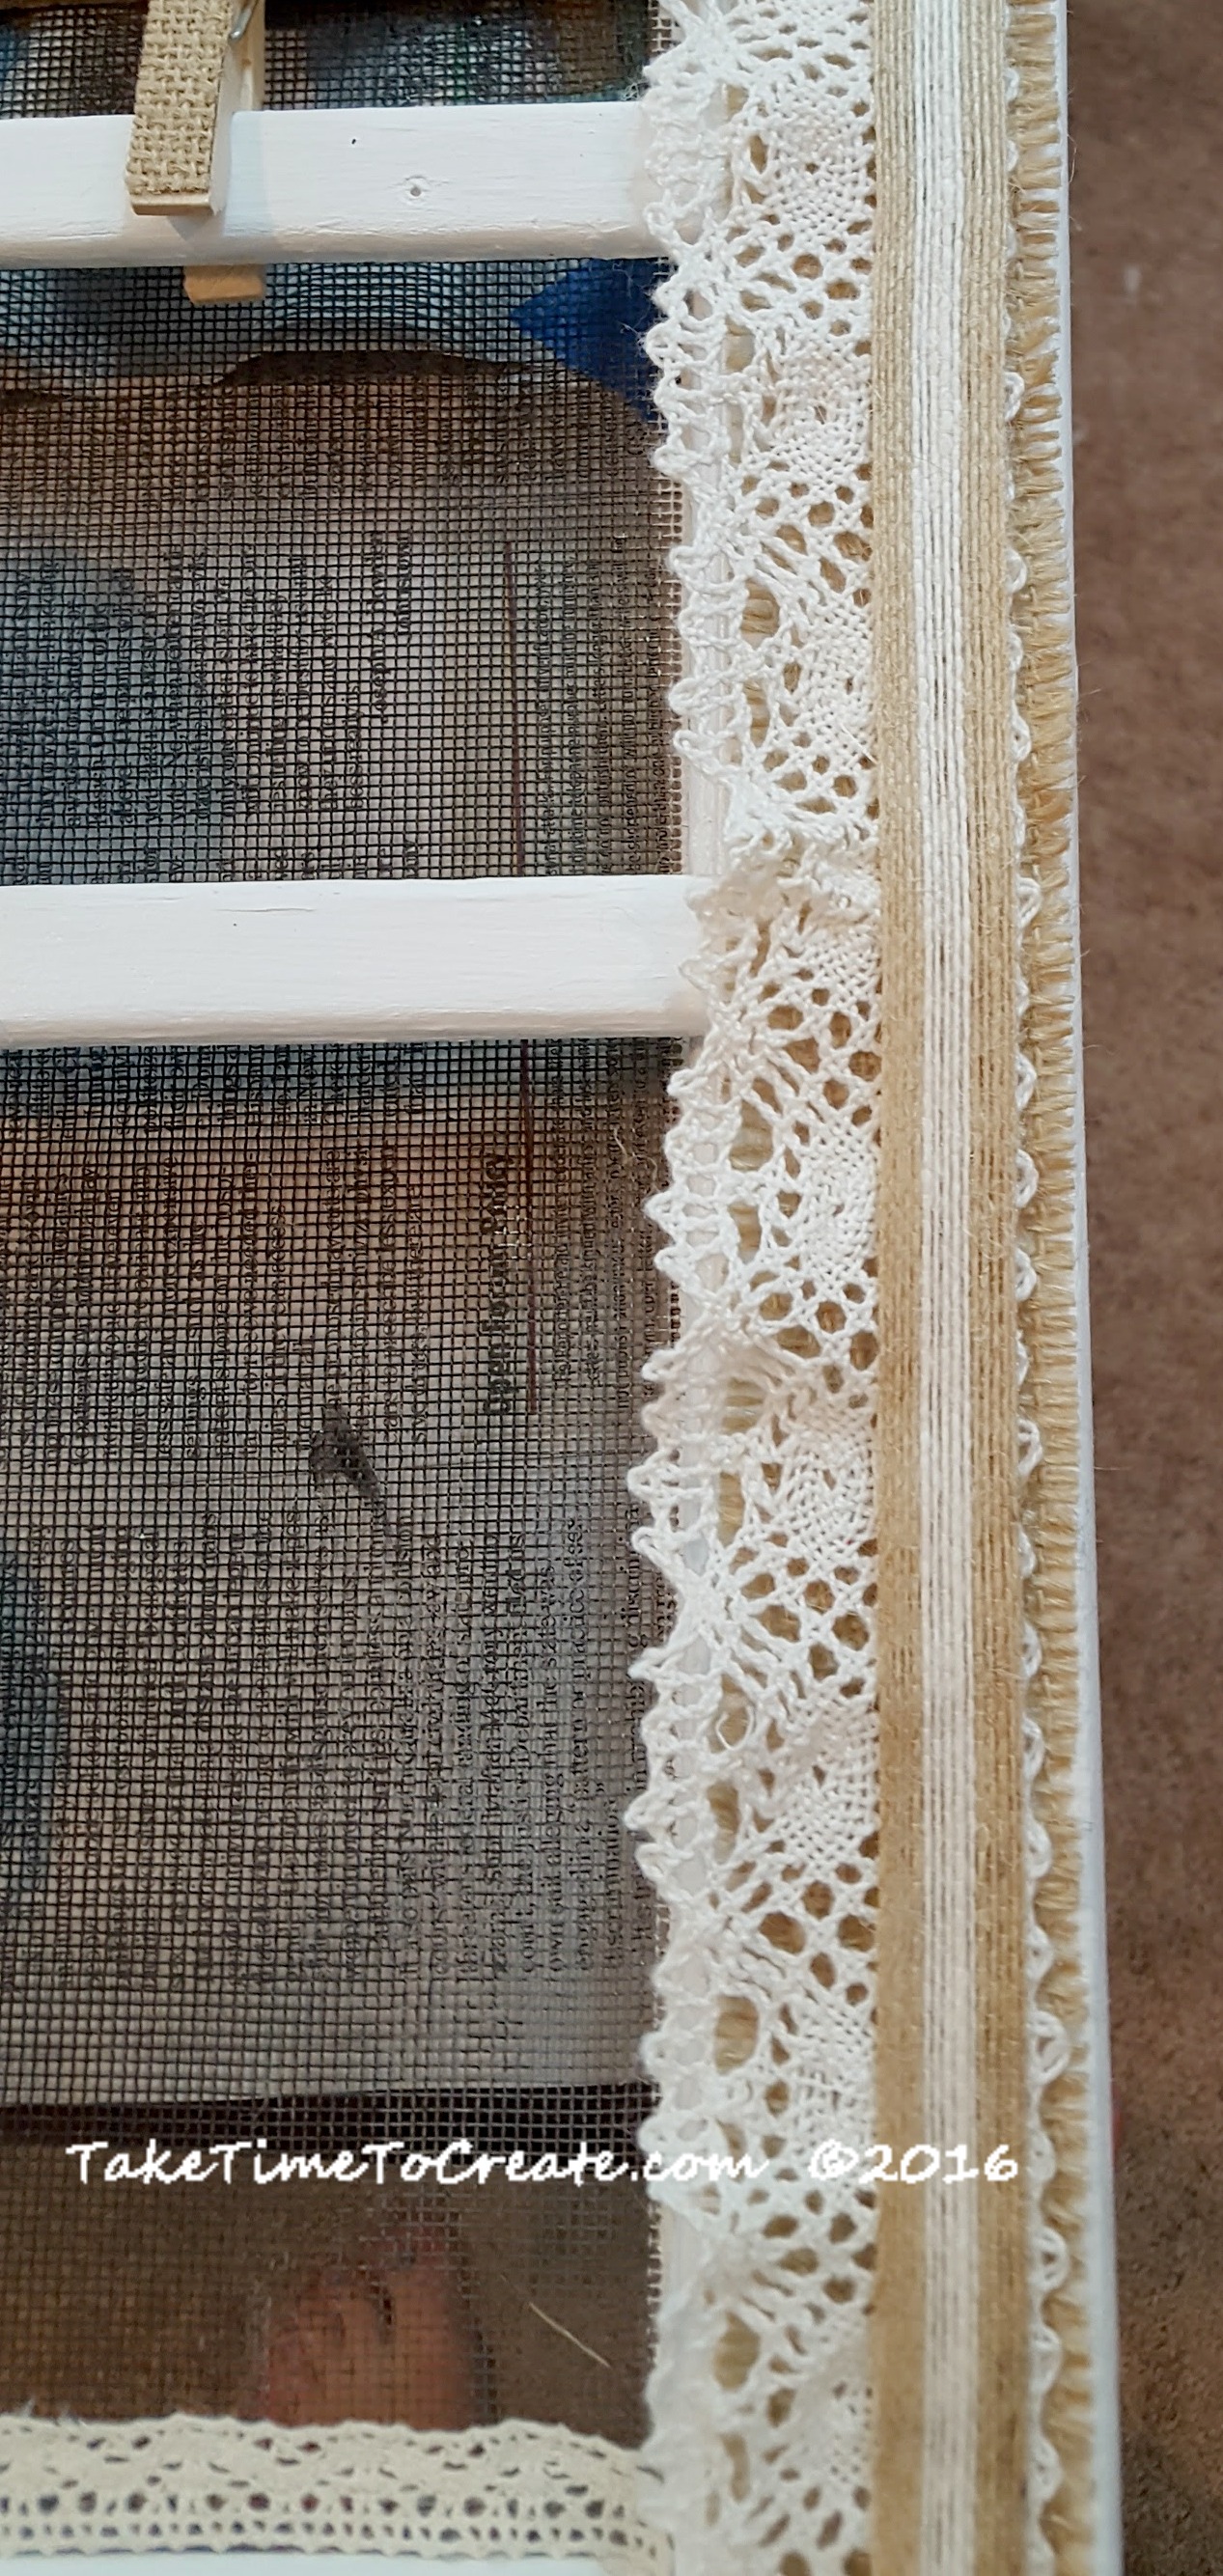
~Then I went to work decorating the edge. Shabby chic is all about layers so that is what I did. I put down a layer of burlap, the layered on a layer of crochet ribbon that I had in my stash.

add ribbon and burlap

That looked good, but I felt like it was missing something, so I added a ribbon on top and flowers in the corners.

add more ribbon

Then I added ribbon to the bottom of the screen and to the bottom of the window. Once that was done it was time to add the flower decorations.

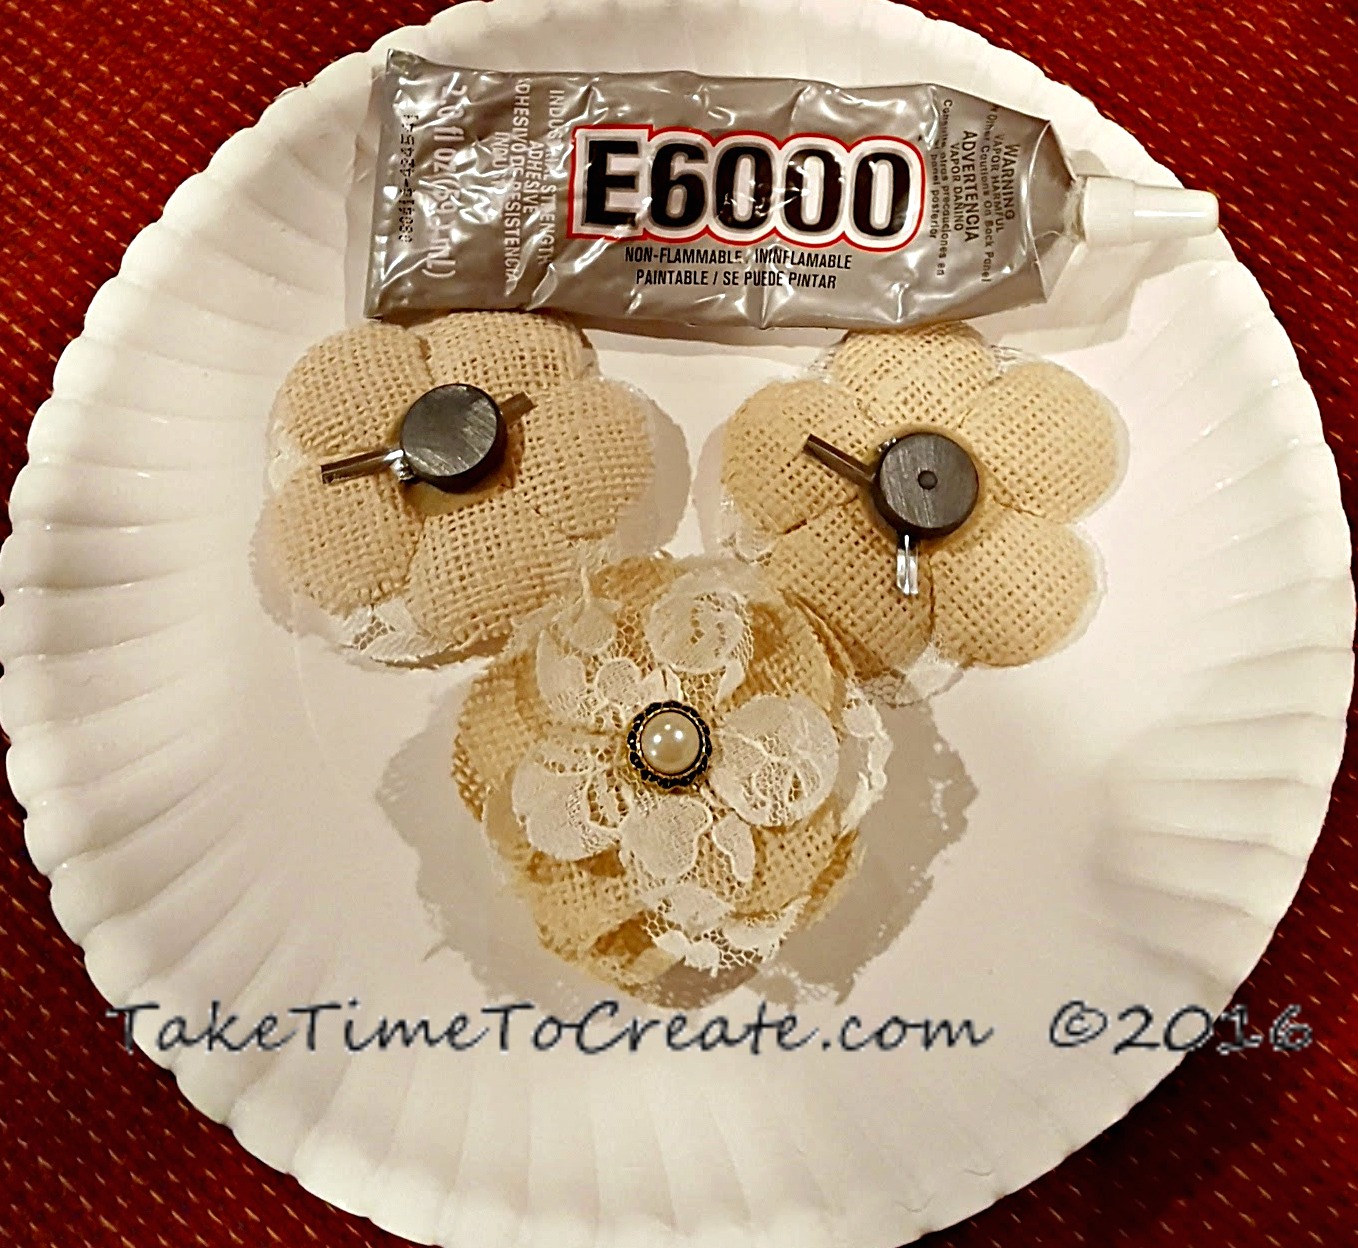
~ For the flowers add a magnet the back of some and tack to the others. For the clothes pins I just added ribbon to a plain clothes pin I got from the dollar store.

glue magnets to flowers

And that is it. This is a very fun project that is easy to do and I loved using what I had on hand. I can’t wait for the auction and hopefully they will make a lot of money for their cause!

repurpose window to shabby chic message board

Monogram Wood Burn Coasters

Hello Everyone!

Before I get into my DIY I just wanted to let you know that there will be some updates coming to the blog. The design will be getting an overhaul. All the same content will be here, hopefully it will be easier to find and navigate to.

I am excited for the updates, and I will keep you posted on the progress.


Last week I told you guys about my cousin getting married (I made a clutch to go with my shoes. You can see that post here) The wedding was beautiful! I am so happy for them.

I wanted to give them something special for their wedding so I decided to try out my wood burning tool. (I have had it for a while, just never used it)

I thought coasters would be good for the newly weds,  and a monogram of their last name would be perfect.
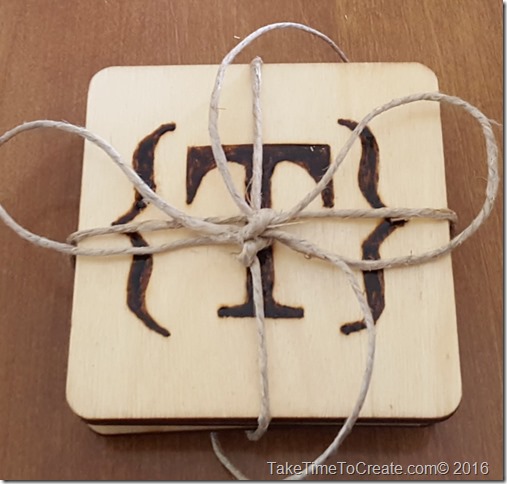
monogram wood burn coaster

Materials:

~ wood ( You can use scraps you have around, or pick some up at a store. I found mine at Michaels)

~ Wood burn tool

~ graphite paper

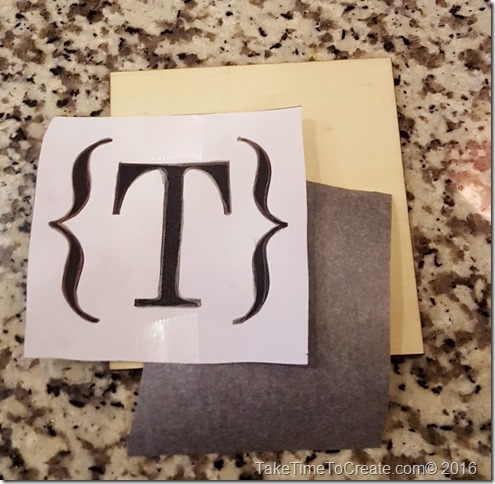
~ print out of what you want to wood burn (I just created my monogram in word and printed it on my computer)

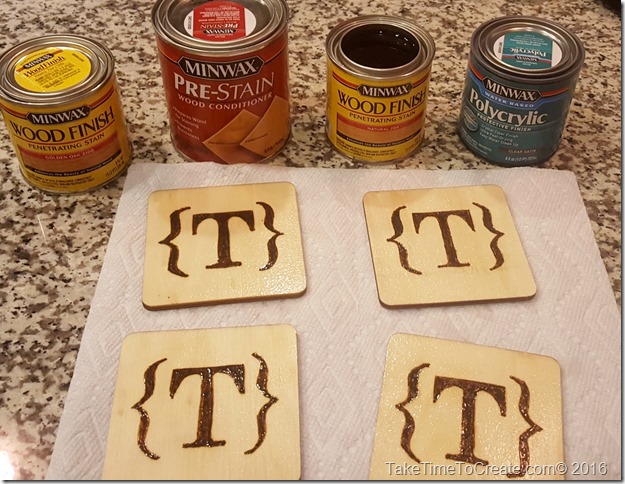
~ Stain (I used a pre stain because of the nature of the soft wood I was using, then I used a natural stain, and finished with a clear coat)

~sandpaper and foam paint brushed

~ Felt or cork for the back

Instructions:

First you lightly sand the wood to make sure it is nice and smooth.

Then you transfer the design onto the wood. I traced the design with a pencil using graphite paper. This worked really well.
monogram wood burn coaster

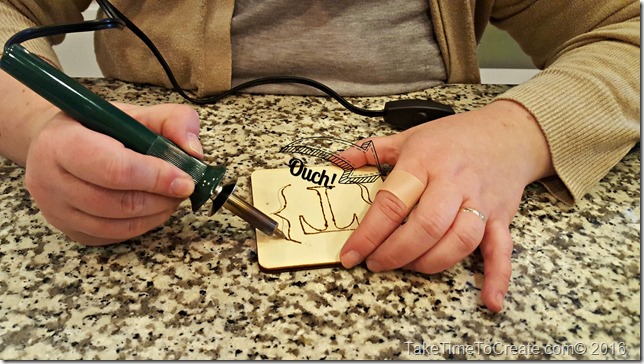
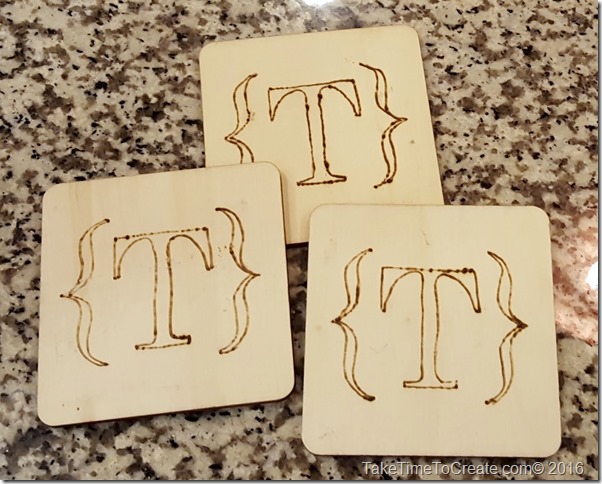
Then I stared to outline the monogram with the wood burn tool.
 monogram wood burn coaster

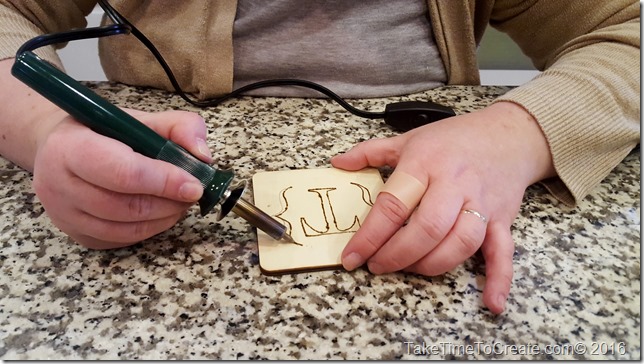
This was my first attempt at making something with the wood burn tool and I learned to go at a steady pace with even pressure. 
 monogram wood burn coaster

Also be very careful, the tool is HOT. I even have the band aid to prove how hot the tool can get Smile

monogram wood burn coaster

Once it was completed and I was happy with the design I pretreated the wood with a Pre-Stain. Then I followed up with a natural stain and finished with a clear coat. Follow the directions on the stain to get the best results.
monogram wood burn coaster

Then I put self adhesive felt on the back, and then I was done!
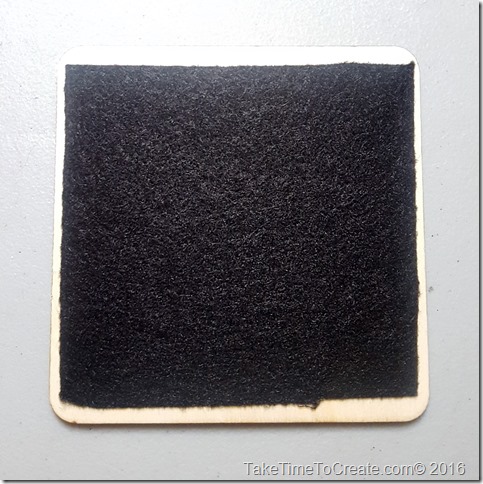
monogram wood burn coaster

This was such a fun project!  It did take a little while to get the hand of wood burning, but now that I get it I have a ton of other projects that I have in mind! These are perfect gifts for everyone!
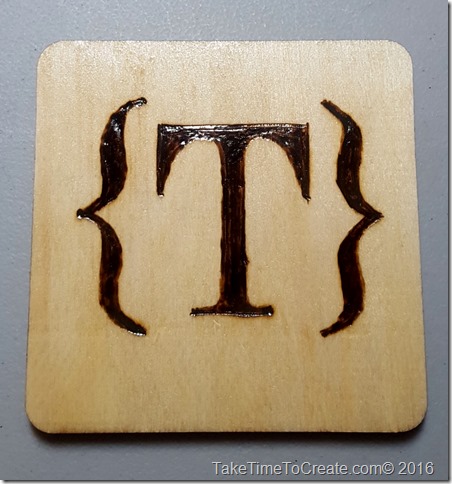
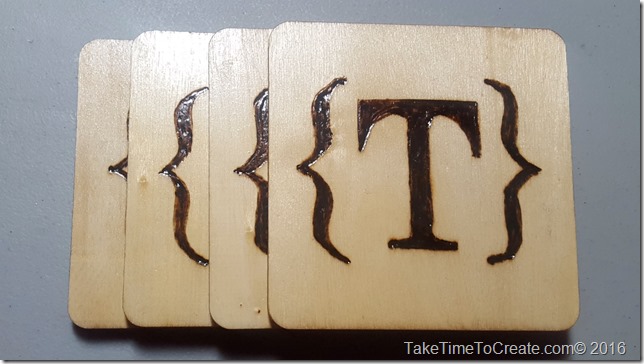
monogram wood burn coaster

monogram wood burn coaster

© 2024 Take Time To Create

Theme by Anders NorenUp ↑

Follow

Get the latest posts delivered to your mailbox:

%d bloggers like this: