Hello Everyone! With the holidays right around the corner it is time to start thinking about decorating. And since we are on a crafting blog, this post is about DIY Ornaments. This is an easy project that takes magic towels and turns them into ornaments and it is fun to do with the kids.
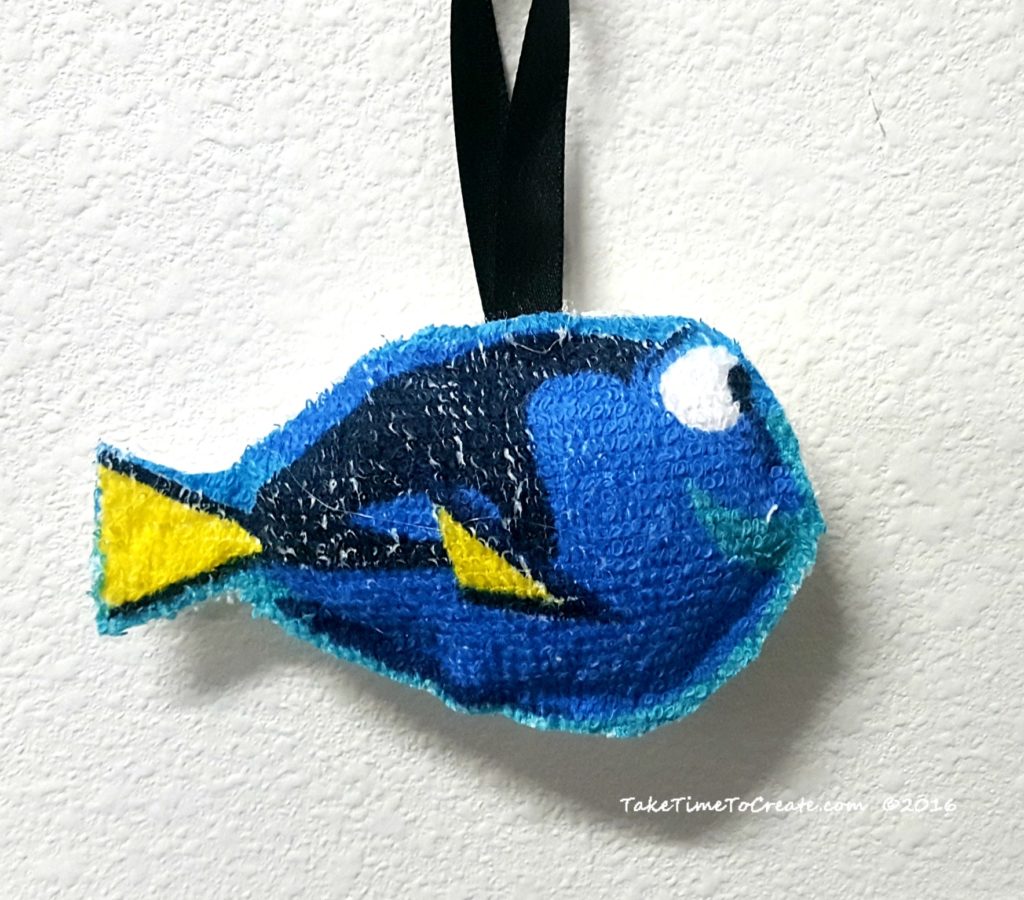
My Finished Dory DIY Ornament
I hope you had a wonderful relaxing Thanksgiving holiday. We had a great time, we went to Florida for the week and it was perfect. Stay tuned, I will do a travel journal about the resort we stayed at.
With Christmas right around the corner I thought I would start doing some holiday crafts and today’s is a DIY ornament.
Materials for your DIY Ornaments:
- Magic Towels (I used a Dory one and an Avengers one, and I got both from the dollar store)
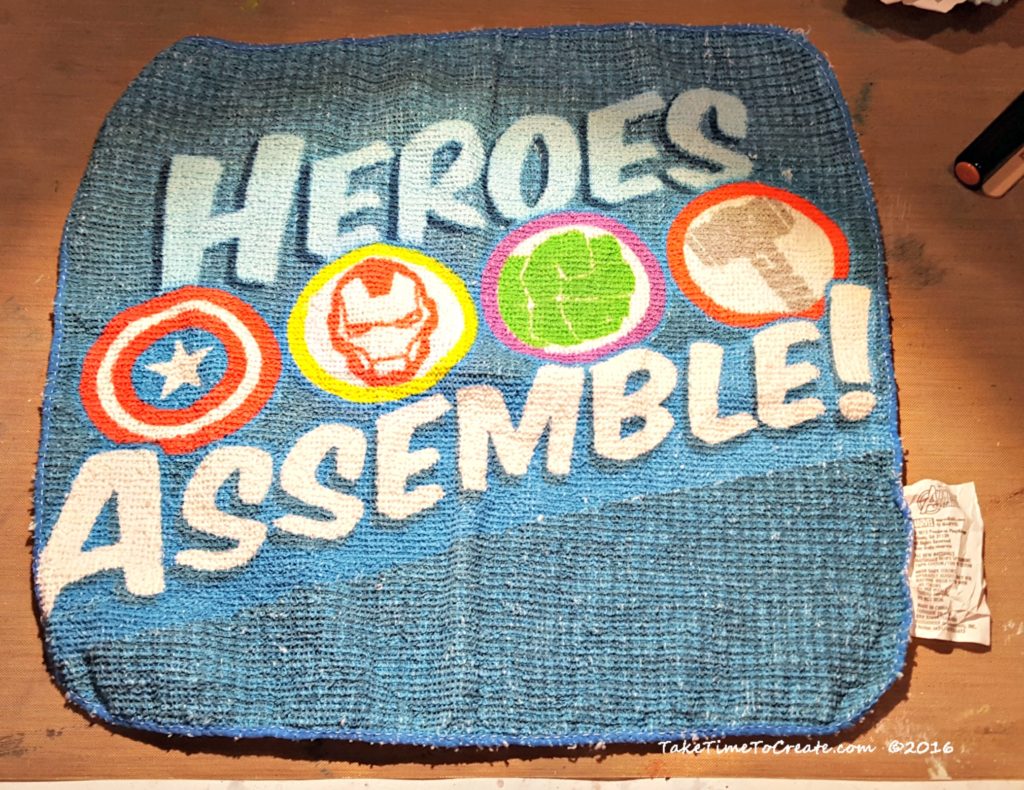
We start with a simple magic towel.
- Ribbon
- Stuffing
- Hot glue gun and glue sticks
Instructions:
Cut around the shape that you want to make into an ornament. And cut out that same shape in a plain colored wash cloth.
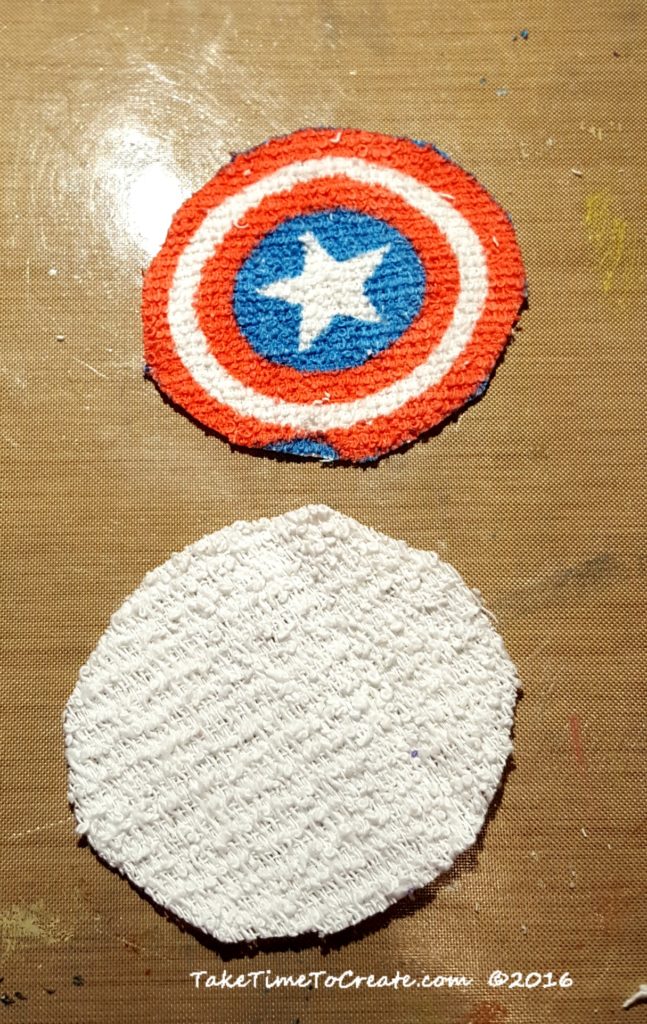
Next, we cut out the parts we want to turn into ornaments.
Then you start gluing. Glue the pom-pom ribbon ) around the edge and then glue the black ribbon to the top. I used hot glue for all my gluing, but if you are doing this with kids then you might wan to use fabric glue. You can also sew these together, but me and my sewing machine are not getting along right now, so my hot glue gun came to the rescue.
Then glue the plain wash cloth to the back, but make sure you leave a little gap so you can add stuffing. Add a little stuffing and glue the gap closed.
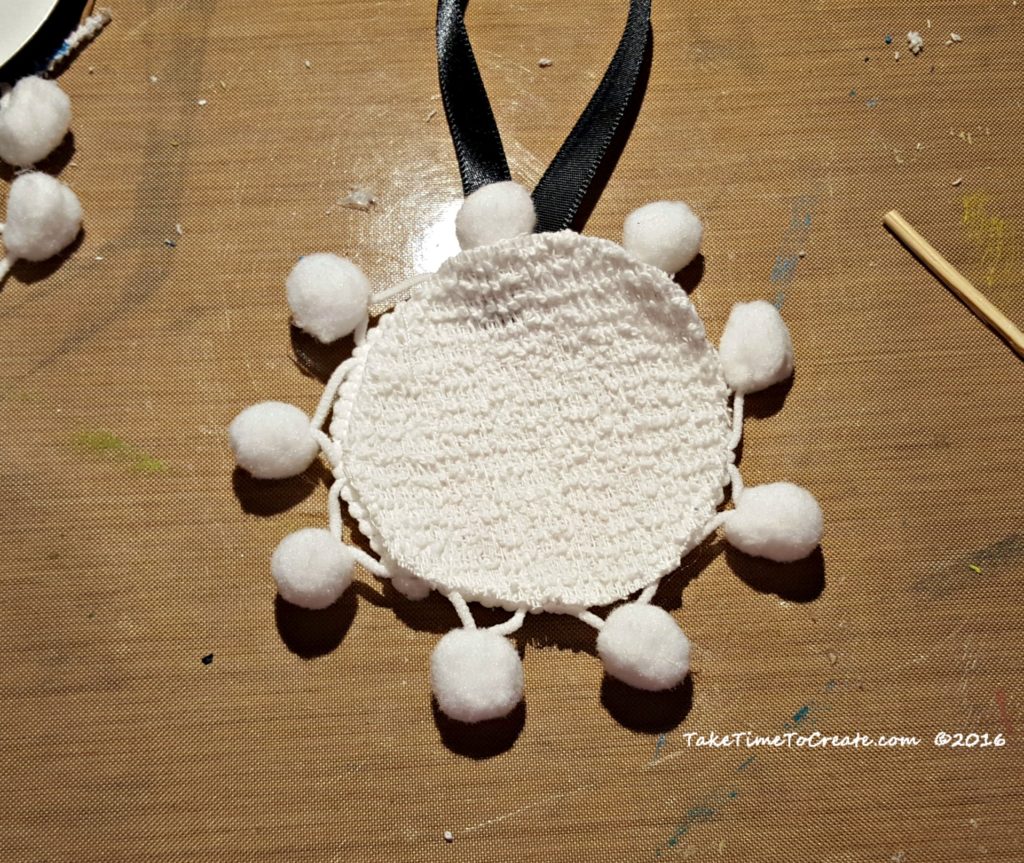
Then, add ribbon and glue together.
And that is it. These are great for kids and easy to do. Kids will like having their favorite characters on the tree.
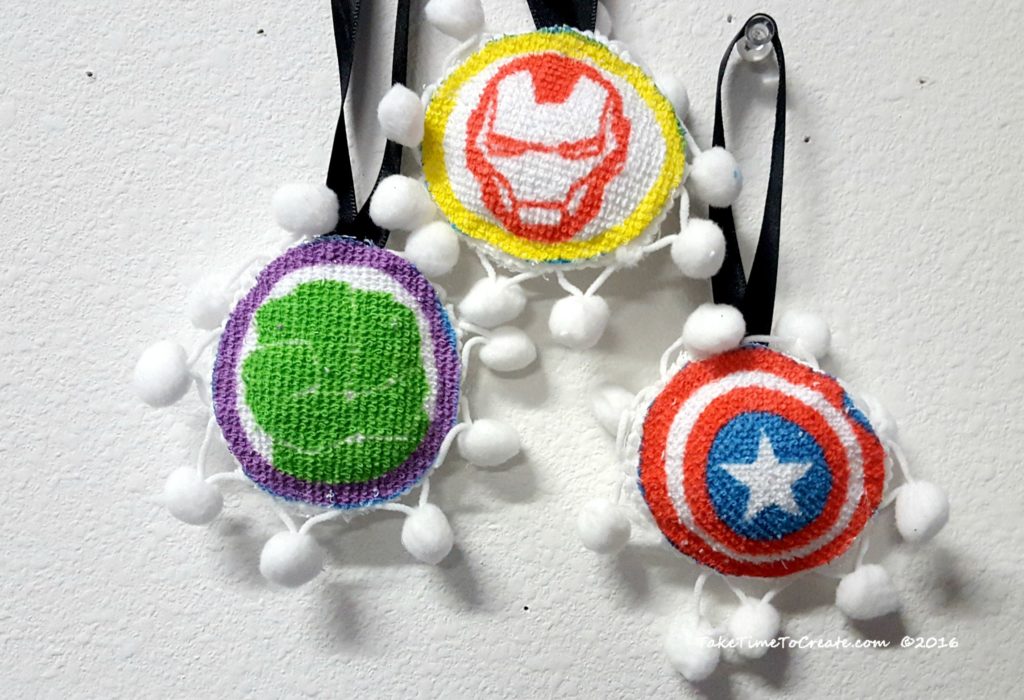
Here are the finished ornaments.
This post DIY Ornaments from Magic Towels appeared first on Take Time To Create
Subscribe via WordPress
|
|
Other Ways To Follow
|
Other Ways To Follow
|
Like this:
Like Loading...
