Hello Everyone!
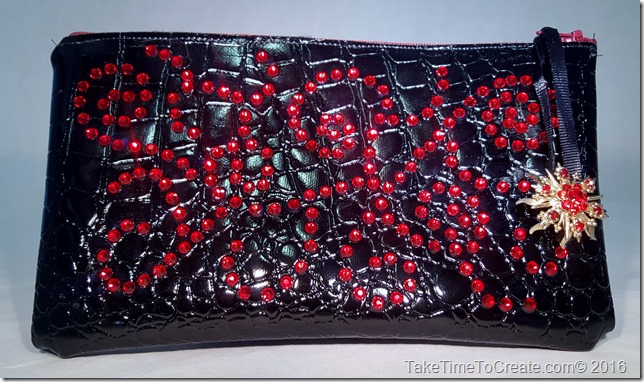
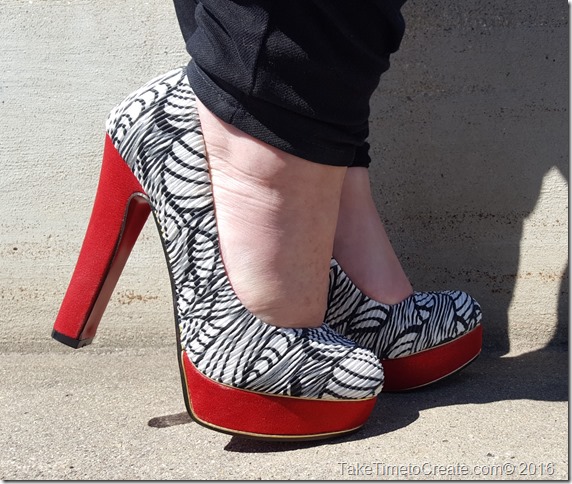
I just had to make this clutch all because of this fantastic pair of shoes! (I think all great stories start with shoes)
Anyway, here is the story, my cousin is getting married on Sat (YAY) I am so happy for him. (His bride-to-be is wonderful and I think they will be very happy together. )
And since I have these great shoes that I never get to wear (they are a little impractical for work, haha) I decided to wear them to the wedding. Buuuut, I didn’t have a clutch to match. So I decided to make one.
Aren’t these shoes great?
Anyway here is how to make this DIY Rhinestone Clutch.
Material:
~ Fabric (I am using a faux leather that I had in my craft room, but any fabric that is slightly stiff will work. I did not line it, but you can if your fabric is not stiff enough)
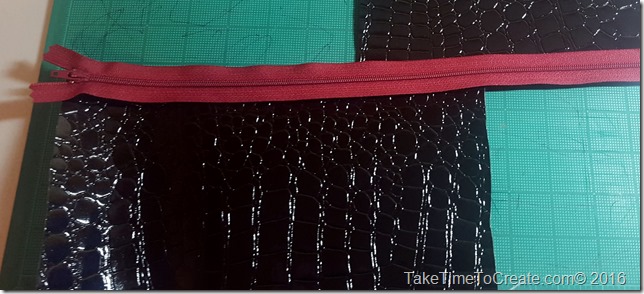
~ zipper (I am using a plastic zipper that I had laying around, it is not the perfect red, but I think it works)
~ Sewing Machine, or needle and thread
~ Rhinestone and glue (I used Aleene’s jewel it glue)
~ Decoration for zipper if desired
Instructions:
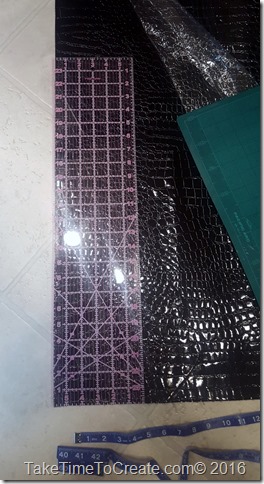
~ First cut your clutch. I cut 2 pieces that were 10 inches x 6 inches. (this was big enough to put my lipstick, phone, gum, and blotting papers in)
~ Once your fabric is cut them measure your zipper. If it is too long then measure how long you want it, then place a few stitches there. Once it is secure then cut off the excess.
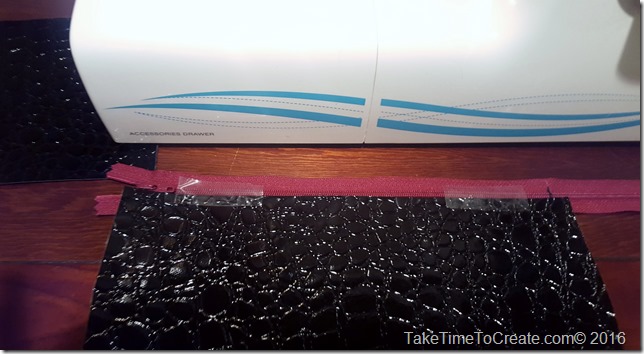
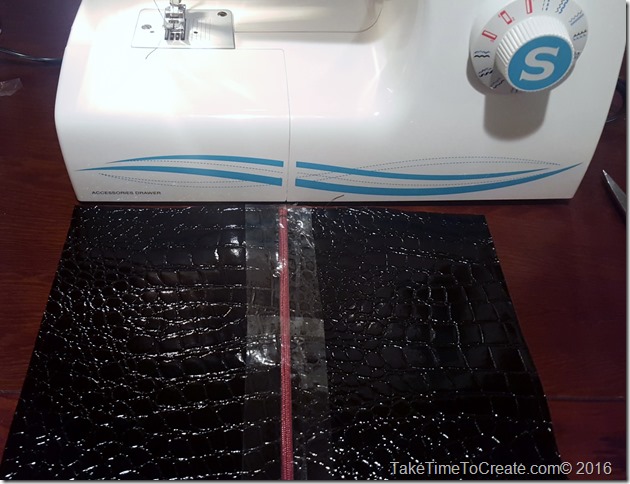
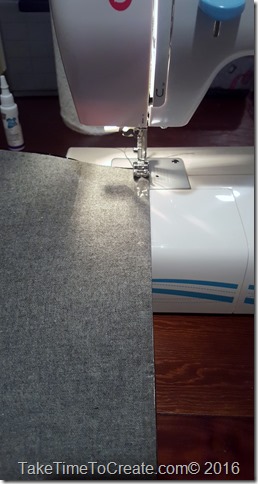
~ Next is place the fabric on the zipper and sew the fabric on the zipper. I held it together with tape since I didn’t want puncture holes in it from needles.
~ Do this step to both sides of the zipper
~ Turn your work so that right sides are together and stitch around the edges. Make sure you leave the zipper open so you can get your hand in to turn your work right side out.
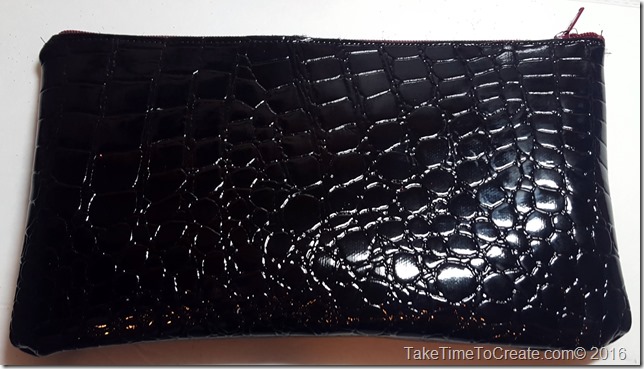
~Once you have stitched all 3 sides turn your work right side out and there you have a really cute new clutch!
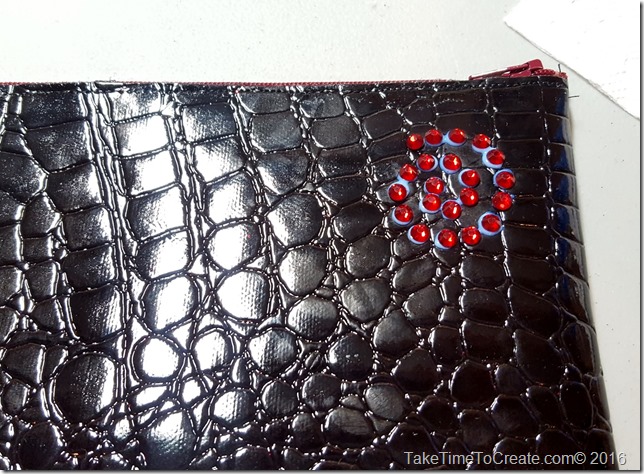
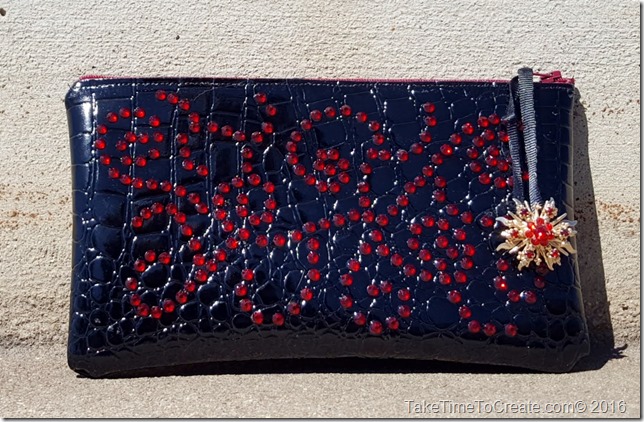
~ Ok by now you all know me well enough that you know I can leave anything that plain. I just knew it needed rhinestones. So I placed dots of glue in a swirl type pattern all over the clutch. Then I decided that wasn’t quite enough ![]() so I added to wonderful broach that my mom gave me, with a little ribbon, I thought it was the perfect accent to the clutch.
so I added to wonderful broach that my mom gave me, with a little ribbon, I thought it was the perfect accent to the clutch.
There you have it. What do you think? Pretty easy right. Now on the the wedding celebration on Sat.

