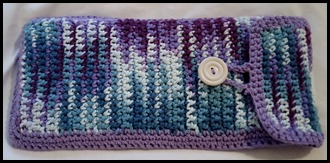
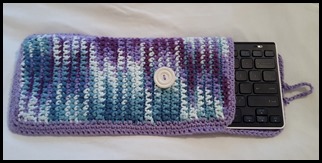
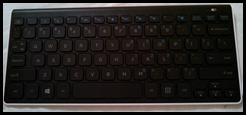
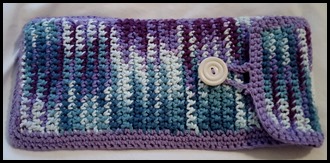
I got a tablet a few years ago and I absolutely love it. But I discovered that it was hard for me to type on the screen, so I opted to get a Bluetooth keyboard. Much better. However, the problem with the keyboard was that it didn’t have a cover. I didn’t want it to get damaged, and I needed to practice my crochet skill (a win-win all around) so I decided to create a custom sleeve for my keyboard.
I don’t really have a pattern, but I will walk you through what I did and hopefully you can recreate it if you would like. Please ask questions about what I did, and if you create one as well feel free to post it, I would love to see it.
Material:
- 1 ball of yarn for the main color (I used Sugar ‘n’ Cream Crown Jewels Ombre. I loved the colors and pattern is awesome as you crochet along)
- 1 ball of yarn for the edges (I used Crafter’s Secret Lavender)
- crochet hook ( I used size H)
- Scissors
- needle to weave ends in
Instructions:
1. Decide what you want to make a cover for. I figured this was a perfect project for my tablet keyboard.
2. You can measure the width to get an idea of how long to make your chain row, but I didn’t. In fact I didn’t do any measuring, and this became a bit of a problem later…
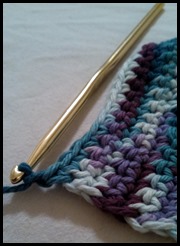
3. Start with your chain row and single crochet until you get the length you want.
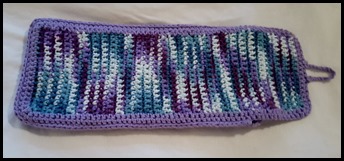
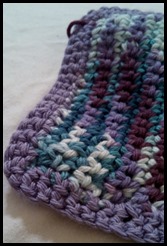
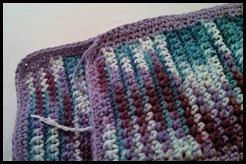
4. Then you make the next panel and single crochet along until you get it long enough to cover your object and to wrap around to create a flap. This is where I figured out that I should have measured more. I didn’t make my panels wide enough, so when I held the two together it was too small for the keyboard. That is why I have a purple boarder ![]() I did two rows of single crochet around each panel. Now that it is done I really like how it turned out. The extra purple was a happy accident.
I did two rows of single crochet around each panel. Now that it is done I really like how it turned out. The extra purple was a happy accident.
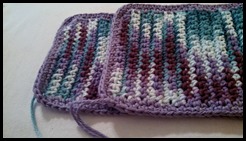
4. To connect the panels- I did a row of single crochet on the outside of the panels, I started right below the flap on one side and went all around the edge to the other flap.
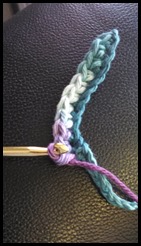
5. Then I made a small loop with just a row of single crochet in the middle of the flap to make a button hole
6. Sew on a button and you are done
Please let me know if you have any questions, or if you need clarification on this project. I hope this inspires you to create a cover for some of your electronics.
16


Leave a Reply