Hello Everyone!
I hope you are all having a great week. Last weekend we had a wonderful relaxing weekend, with not much on the schedule! In fact, over the weekend is when I finished this recycled glass vase project.
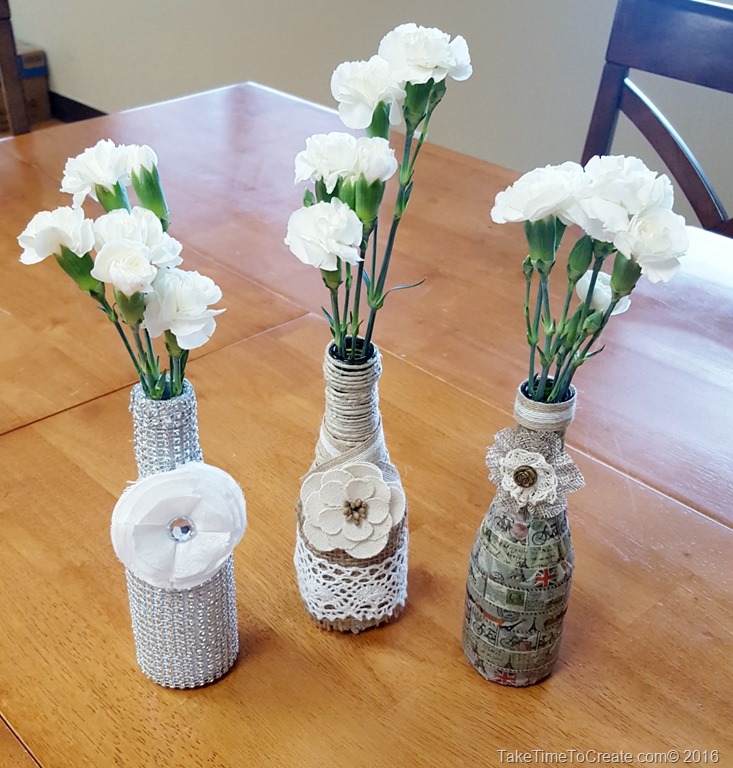
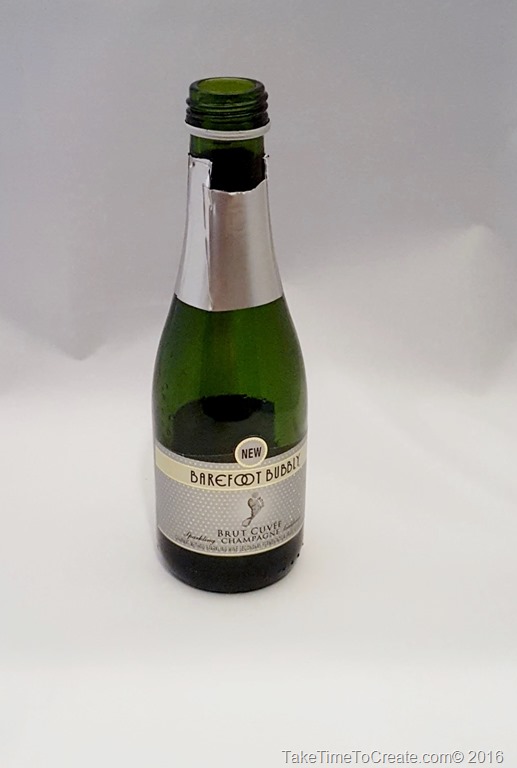
I have had these little champagne bottles for ever. They were just too cute to throw in the recycling bin and I knew that I would eventually find the perfect project for them. And I did, I made these cute vases!
Materials:
~ Glass bottle. (I used the champagne bottle, but you can use almost anything else. For instance a used olive oil bottle. )
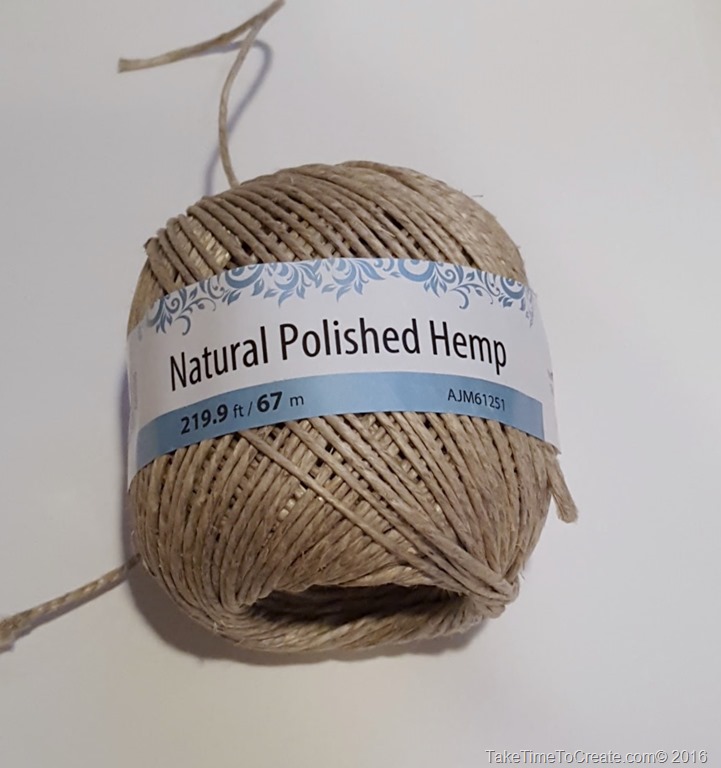
~ raffia, jute, cord, burlap, ribbon, flowers
~ washi tape and anything else you want to glue on your new vase!
~ Hot glue
Instructions:
#1. The Shabby Chic Vase
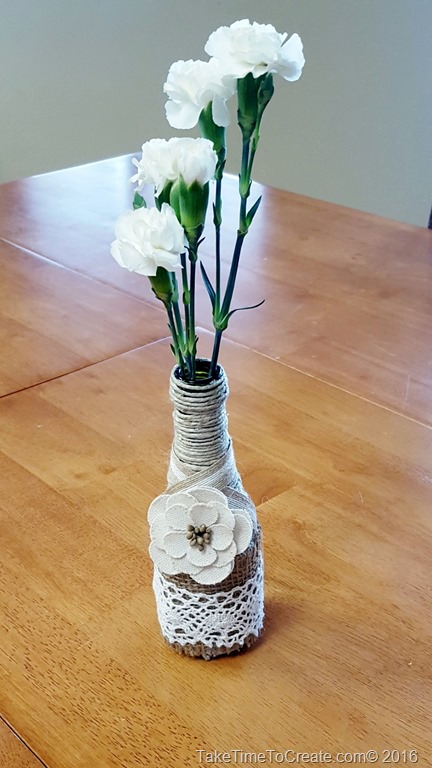
~For this vase I used this Natural Polished Hemp and wrapped it around the entire bottle. I did not take of the labels for this vase and the cord did a good job of covering the labels. But if I were to do it again I would take them off. Just keep gluing and wrapping until you cover the bottle. This will take awhile so put a tv show on and go to town.
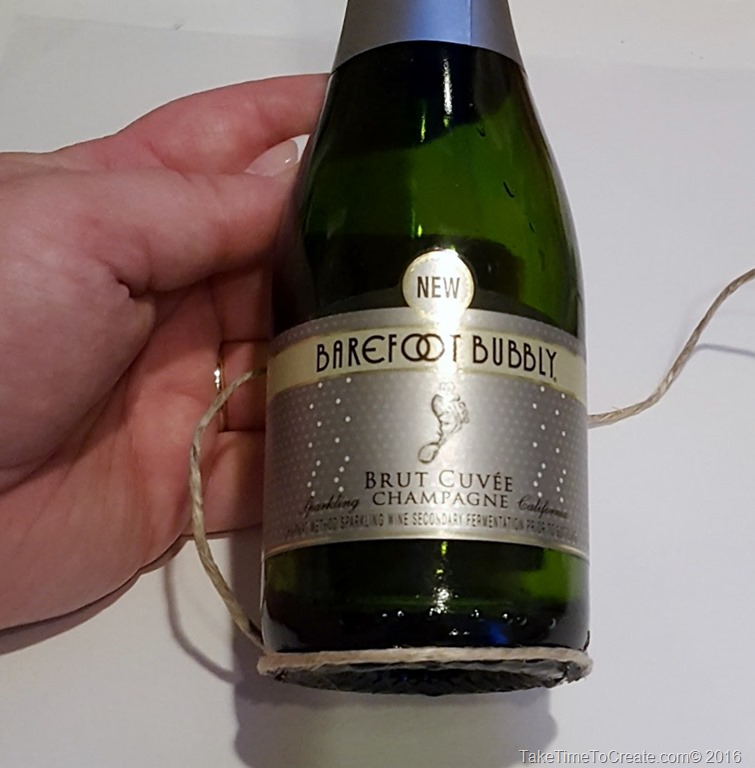
~ One I was done wrapping I added some burlap ribbon to the base area and then a layer of pretty ribbon.
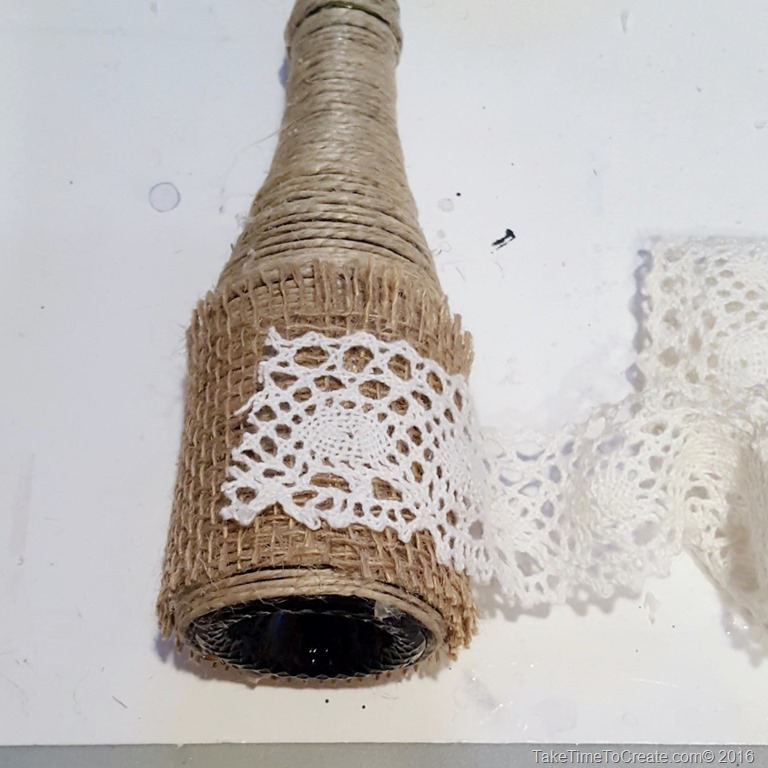
~On the neck I added some brown ribbon and a flower. And there you have it, a cute shabby chic vase.

#2 The Diamond Wrap Vase
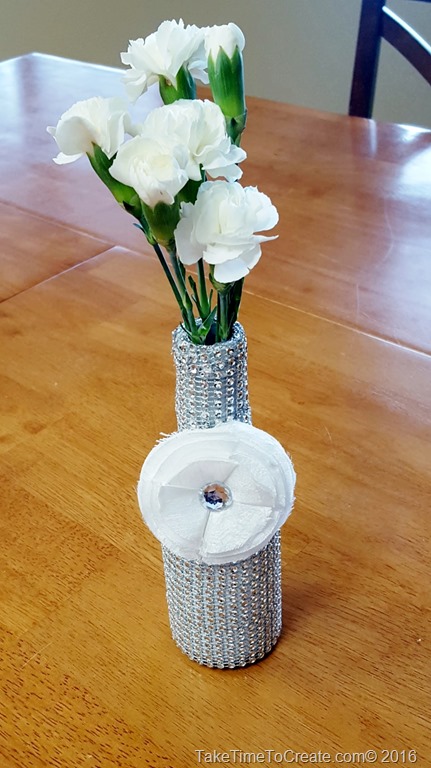
~ For this vase I wanted a really fancy, blinged out vase and I think I achieved that look, haha. To start take the labels off and then take the bottle to a well ventilated area to spray paint it. (Confession time: I am not very good at spray painting, I am too impatient to wait between layers and I always make a mess. So usually my hubby takes care of my spray painting, but I really wanted to get this project done so I didn’t wait for him to get home from work. I thought my cardboard box was good enough to keep the spray paint contained, buuuuuut I may or may not have painted the glass my outside table… Oh well, I guess refinishing the table will be a new project for me to work on this summer. lol)

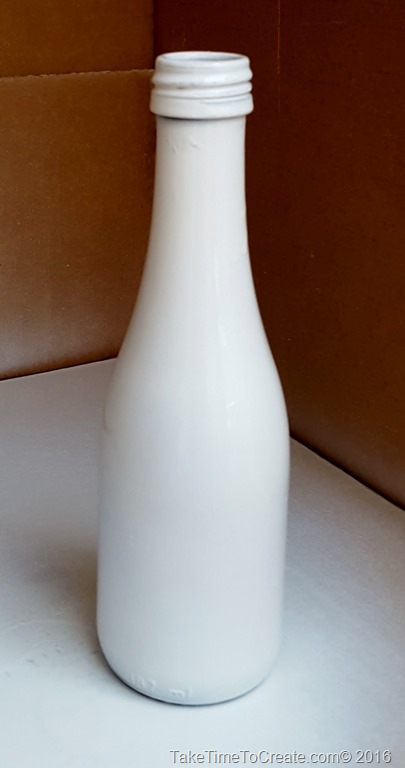
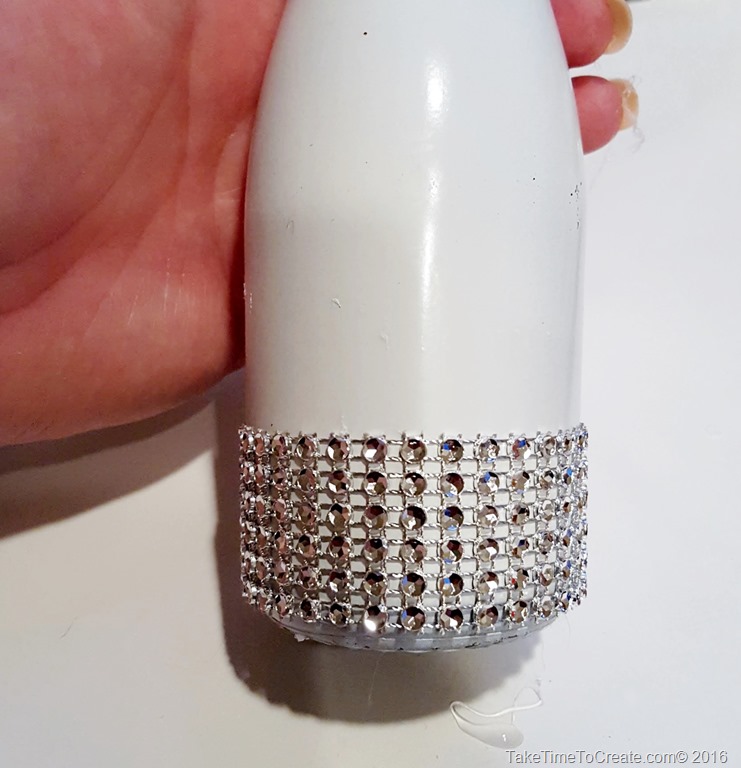
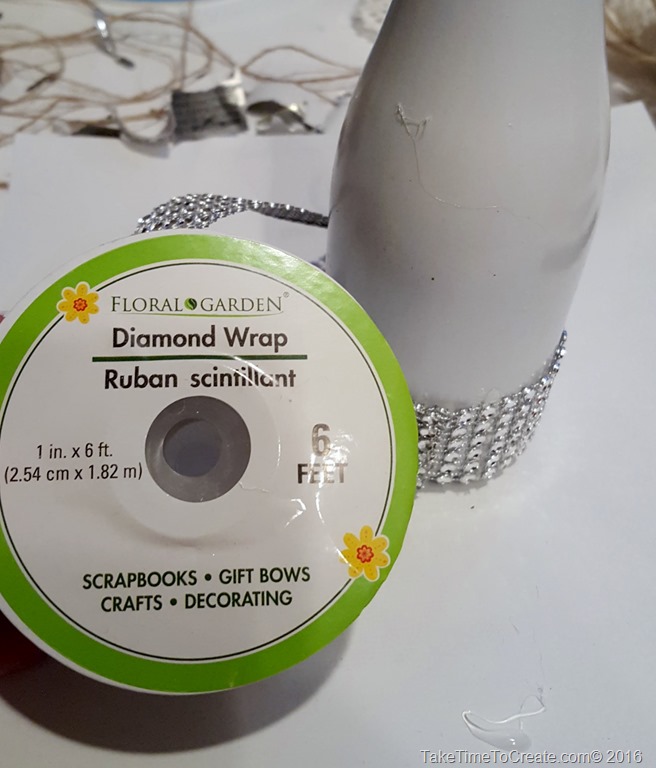
~Anyway when you are done painting and it is dry start wrapping the bottle with Diamond Wrap (I found this at the dollar store) Add a flower to the top and you are done. This is perfect for the dinner table or for holidays. Imagine how cool this vase would look in candle light?

#3 The Washi Tape Vase
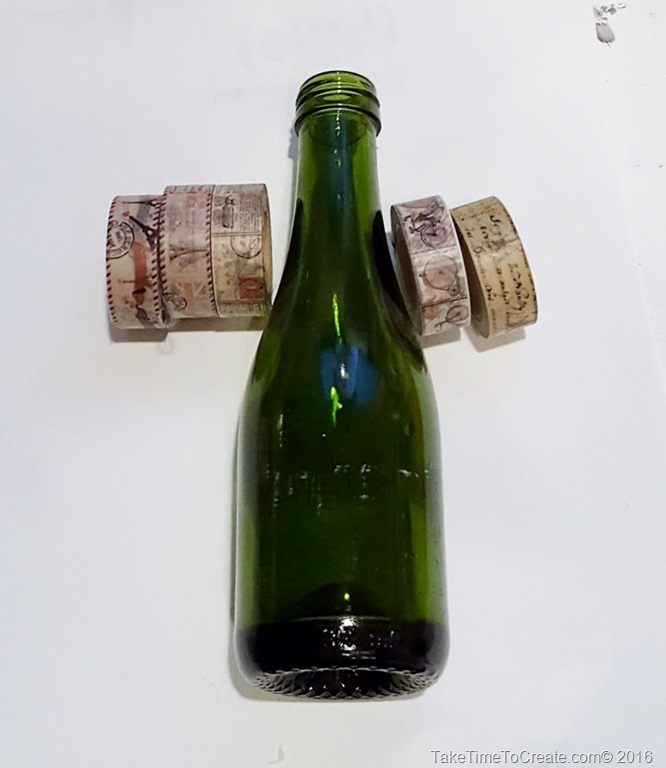
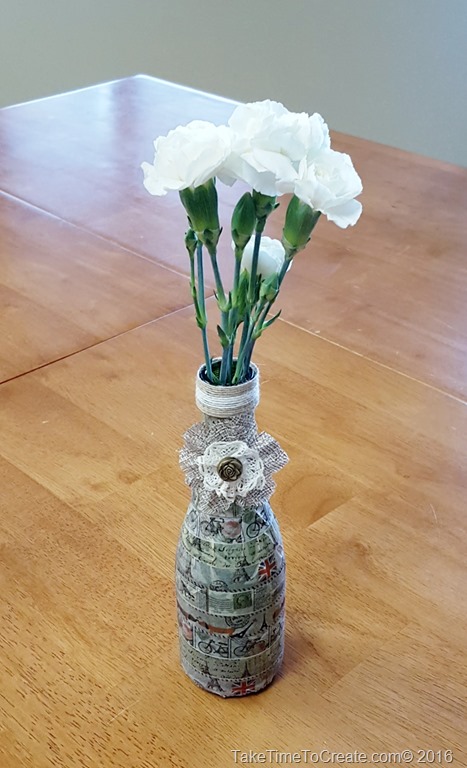
~ I have this wonderful washi tape that I found on Amazon and I thought would look great on the bottle. I just started wrapping the bottle using a different tape for each layer.
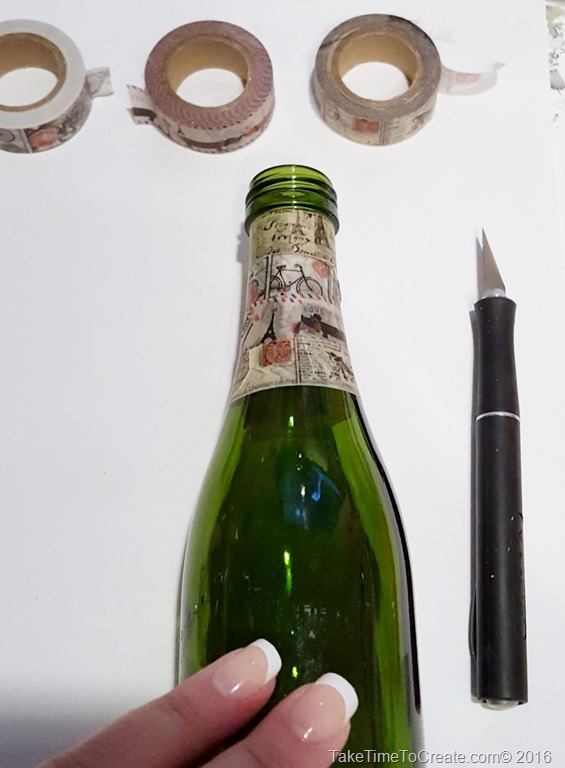
~ Just keep going until you are done. Since the bottle is curved the tape didn’t lay flat in all areas, but that is ok, I think it look like it has been aged in a attic for a long time.
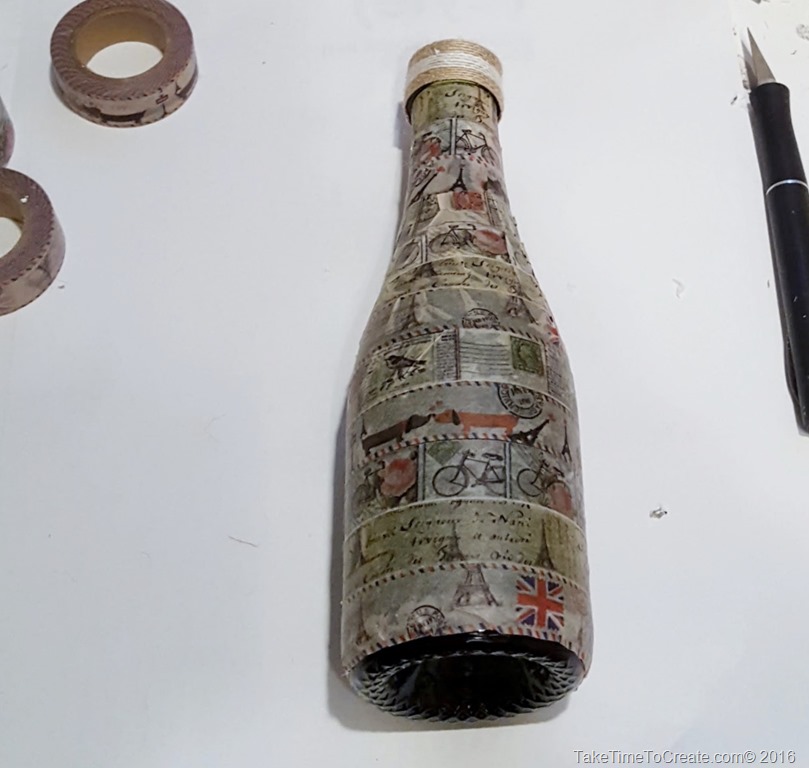
~ Add a ribbon to the top and a flower and you are done!

There you have it, some great vases made from a glass bottles that were headed to the recycling bin!
What have you used to make a vase out of?
There are no affiliate links in this blog post


