Guest blogger- Kim teaches us how to transform old costume jewelry.

Not long after I started this blog I mentioned it to my friends and family that I had a blog and if anyone wanted to be a guest blogger to just let me know and I would feature them. Well I wasn’t surprised that my oldest sister was the first to offer.

Here is a picture of me and all 3 of my siblings.
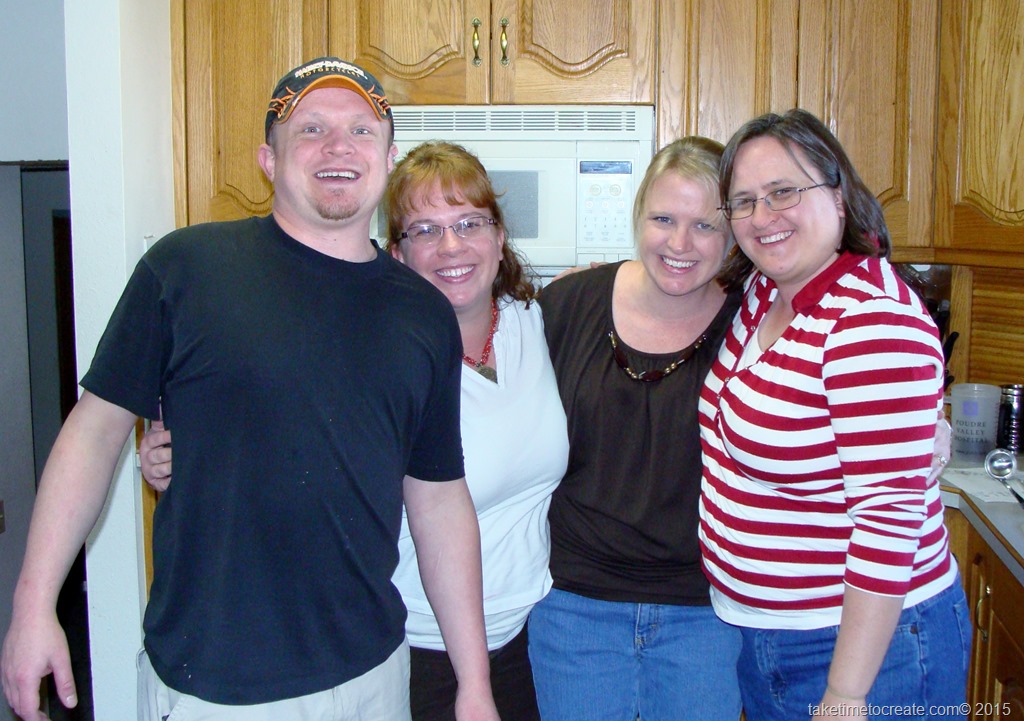
taketimetocreate.com(Sam, Linda, Valerie, and Kim)

I can’t believe that this picture is 4 or 5 years old (yikes, it is time for us all together and take some new pictures. My hair hasn’t been red in years…),but you work with what you got and this is it. That is the problem when everyone lives all over the country, it is hard for all of us to be in the same city at the same time.  And when we do get together we don’t think to get the camera out and take pictures. I think this has just become one of my new priorities, get new family pictures.

But before I go into the tutorial I thought I would give you a little background about my family. When I was typing this blog post I realized that I haven’t spent much time talking about my family, other than my husband and son. I have 2 older sisters and a younger brother. So that puts me in the middle of the kids. It was fun having so many siblings growing up, but sometimes I got lost in the mix. I am sure that anyone with lots of siblings feels the same way.  Today’s guest post is from my oldest sister, Kim.  She is about 7 years older than me and I always looked up to her. She now lives in Arizona so it is hard to get together, but when we do see each other we always have fun! Kim has a wonderful talent making jewelry. Whether it is her own creation or taking something and reimagining it. I love seeing what she comes up with just some beads and wire.

Here is the beautiful bracelet that she made me soon after my son was born.  It is silver and garnet (his birthstone) and gorgeous and and it fits perfectly and every time I wear it I get tons of complements.

taketimetocreate.com

In today’s guest post I will show you the awesome jewelry that Kim made from old costume jewelry that she inherited from our Great Grand Aunt Nancy.

Kim’s Guest Blog Post!

Ever find that fantastic old piece of jewelry but you cannot wear it in the condition you found it in. This happened end to me. My sisters and I were helping our mom go through her jewelry and found that she had our Great Grand Aunt Nancy’s jewelry box and I found this pendant and earrings and I cannot resist some good sparkle.  (Sorry took this picture after I had taken one earring apart)
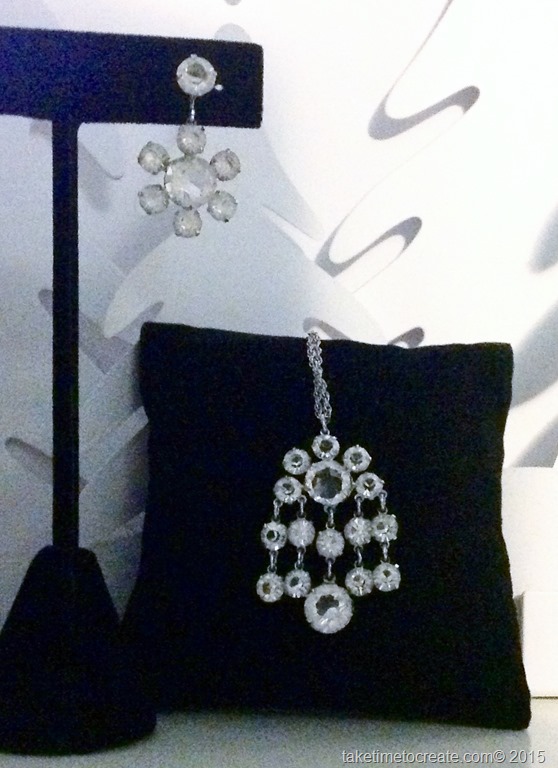
reimagining old costume jewelry
The pendant was easy just a longer chain. Aunt Nancy was 4’8″ and a petit dancer. I am not.
Then the screw on clip earrings were next.
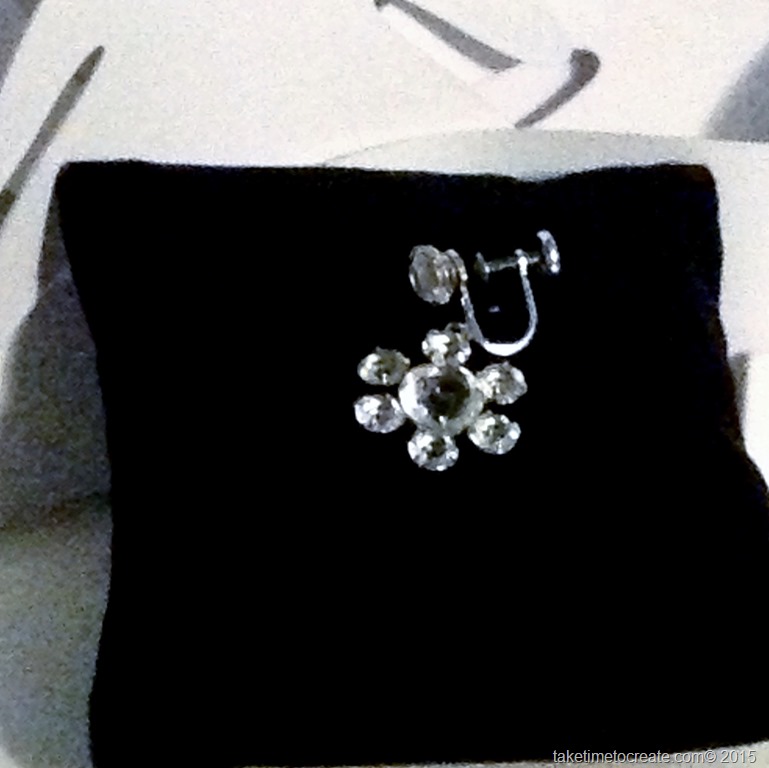
reimagining old costume jewelry

I removed the dangle. The key is to examine the loop and find the one that has the break. Then twist the ring open. Most of the time in these cases the ring with the break is found on the clip side and the dangle is whole.

When working with old jewelry be sure you check the integrity of the ring. If it is showing significant wear then it may need additional repairs before continuing. (If I find one that needs repair I will show this in a future posting)
I then added the dangle to an ear wire. By using a modern long ear wire I was able to update the look without compromising the original charm.
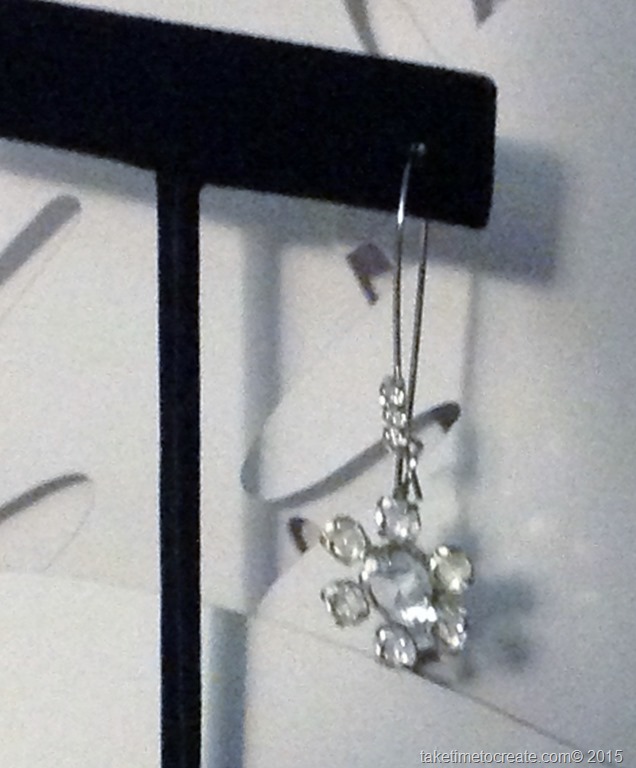
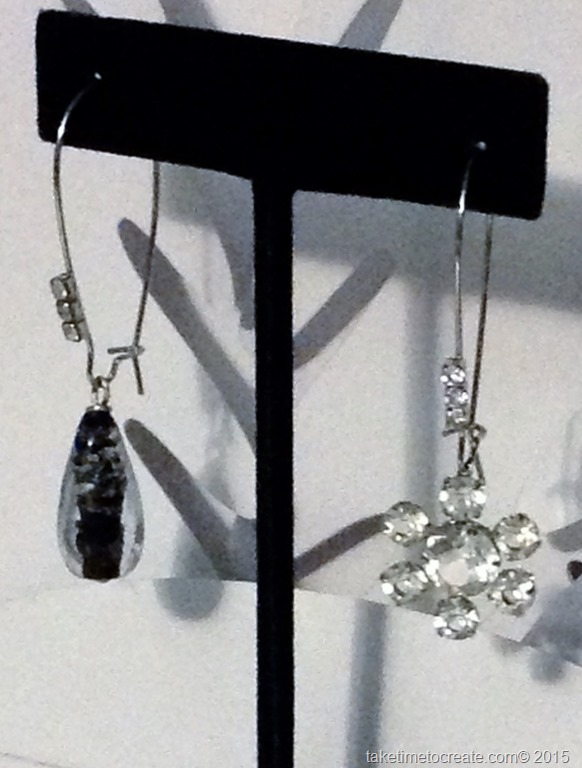
reimagining old costume jewelryreimagining old costume jewelry
I found these ear wires at Hobby Lobby but they can be found at any number of craft and bead stores or online. I liked these because the “diamonds” on the ear wire complement the crystals in the dangles.

I also love that the dangles are so easy to remove because then I can make a bunch of different dangles and change them out.
Have fun with old charm and modern looks.

Thanks for sharing Kim, the earrings and necklace turned out beautifully! I can’t wait to see what she comes up with next!
Paint Your Couch!? Say What?

I know what you are going to say, that is crazy! Painting your couch! There are better ways to update your couch. I will agree there might be better ways, but this is a great solution for my dingy, old couch that needed an update.

Paint your furniture

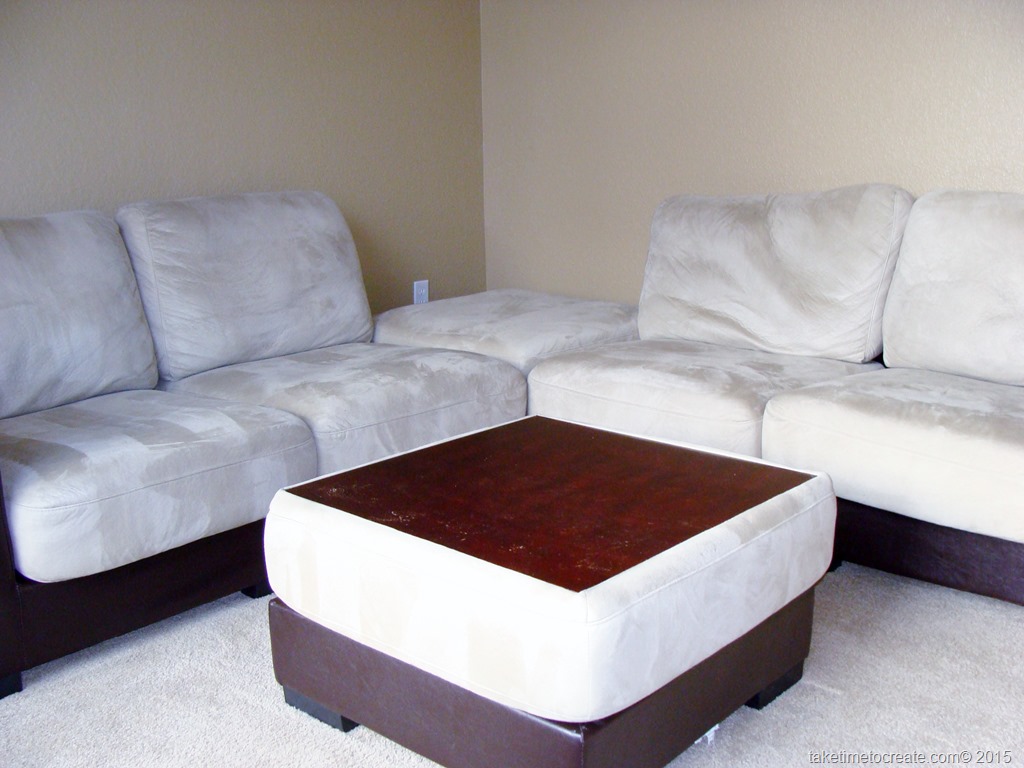
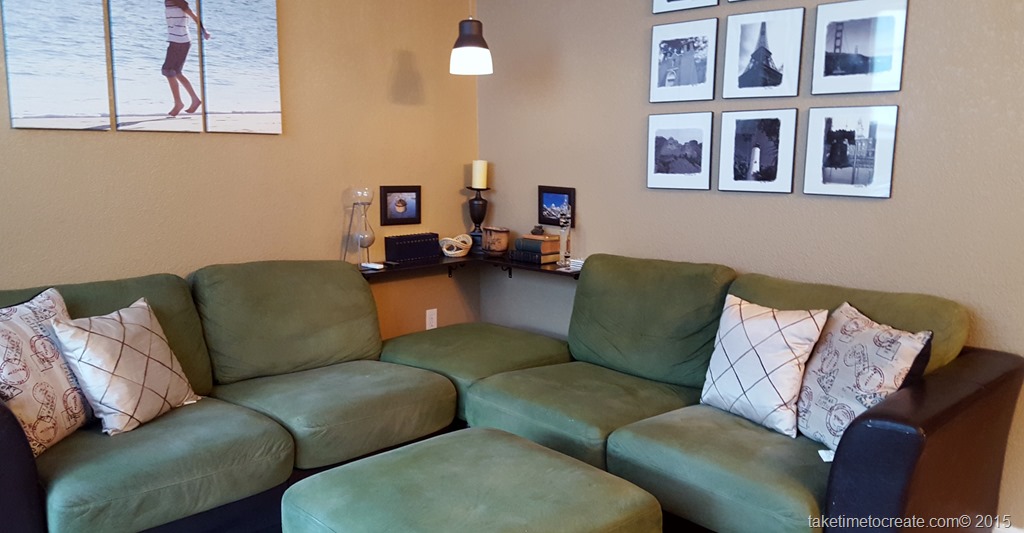
This couch is great, it has individual sections that can be moved if needed, and the ottomans can have the soft footstool side facing up or a hard table surface facing up. It is very versatile and we have enjoyed it for many years. The downside is that the couch is made of a light colored micro fiber that stains easily. over the years the couch has become a collection of stains. I have tried to remove them, but after awhile nothing would work. So I had the option of recovering the cushions or to paint them. I decided on painting because I thought it would be easier.

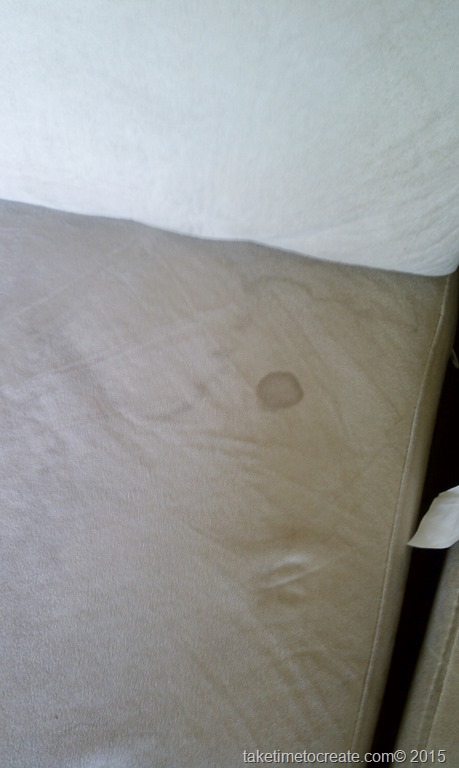
See stains (I am actually embarrassed to show you guys this stain, and I just couldn’t bring myself to showing you the bigger ones.) And this was just a small one…

Paint your furniture

Overall it was pretty easy, but time consuming.

Here is how I did it if you are interested in doing the same with your furniture.

Materials:

~ Fabric Spray paint. I used Simply Spray Fabric Paint in Sage green. For my couch I used 12 bottles, which was about $120. Not the cheapest solution, but cheaper than recovering all the cushions but cheaper than buying a new couch. I bought my paint from Amazon.

~ Furniture that you want to paint.

~ Plastic covering for your work area, and room for your items to dry

~ Rubber gloves


Some notes:

Before I evens started I watched a ton of YouTube videos on how to do this and I read all the instructions and I looked over the company website. I took my time getting to know the product and how to use it. Before doing this yourself I would recommend doing your own research and practicing before you do your entire couch.

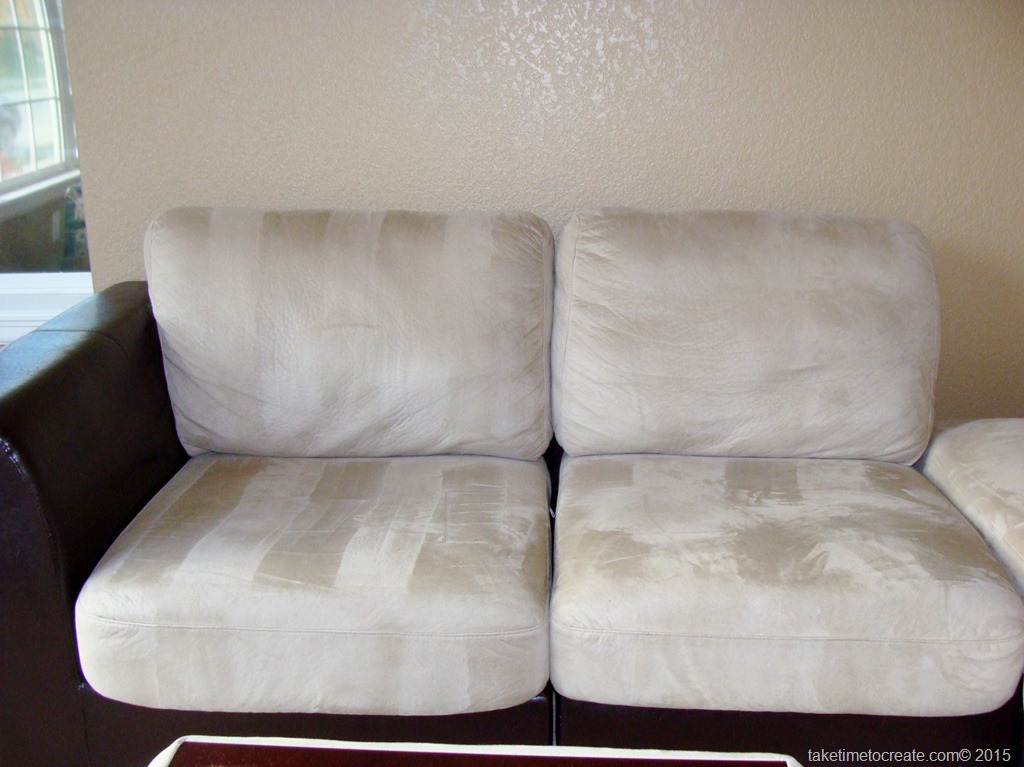
You can see here that our couch was a very light beige color. It blended in with the walls and the floor and it was very boring. Not to mention dirty. I thought the green would make it more interesting and make our living room more inviting rather than bland. Lyle was skeptical, but he was on board with my experiment.

Here is a picture of beige town that was our living room.

Paint your furniture

I will tell  you that you should do it all at once rather than space it out over a few years….

Yes you read that correctly, I did this project over the span of 2 years. I am sure you all have had a project that you started and didn’t get back to for a while, well this project was one that took me a whole to get back to. I started it one weekend and got half of the couch done. I didn’t have any pictures of it because I was embarrassed that I didn’t finish in a timely manner  Smile  well eventually I decided to finish the project. Lyle was very patient and didn’t nag me toooooo much about the unfinished couch in our living room. But I did go back and finish. That is why the colors are a little different from cushion to cushion. The 2 year time span is evident. My technique changed a bit and some fading happened. Oh well, it is done and we are happy with the final result so that is all that matters.
 

Instructions:

1. Clean your furniture. You want to make sure you have a clean slate so the paint will adhere to the cushion.

Paint your furniture

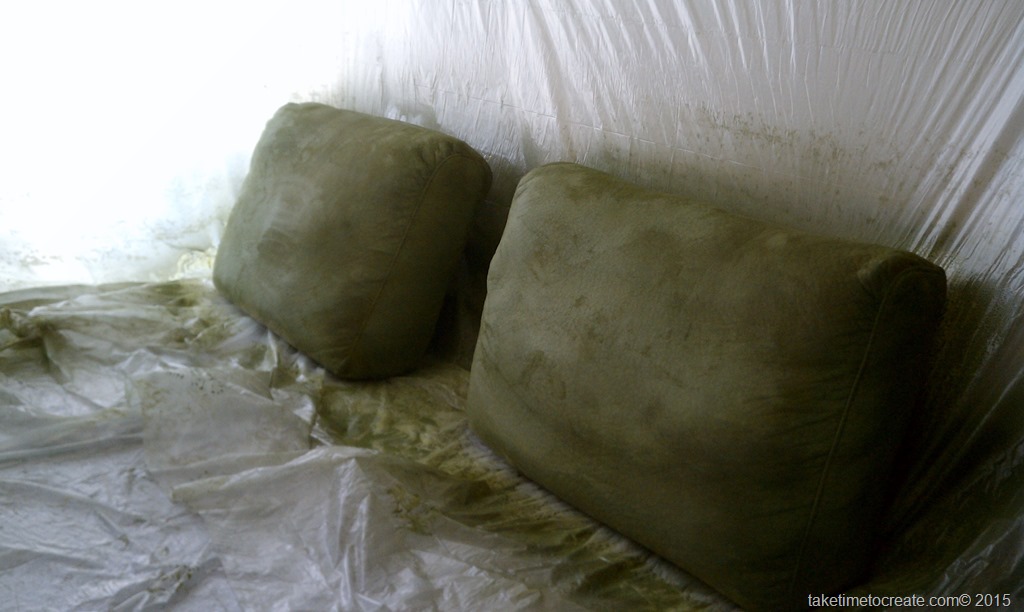
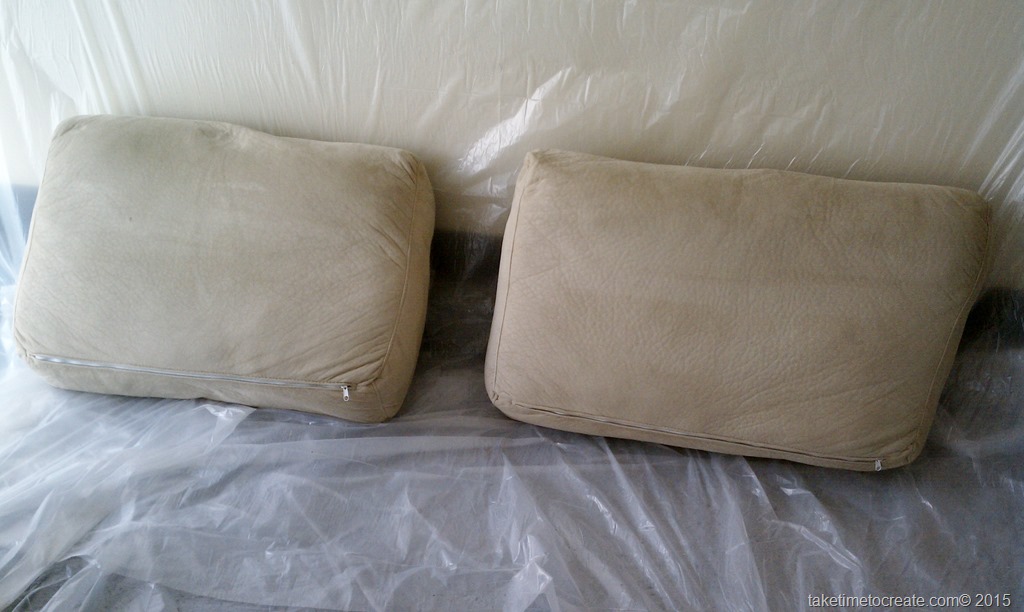
2. Take your cushions to your work area. We put plastic all over in our garage so that I could work in there. The cushions could dry without being outside where dirt and leaves would blow on to the wet paint. And if it started to rain I could close the garage door and keep the cushions dry.


Paint your furniture

3.Put your gloves on. Spray a light coat on the cushion, then rub the paint into the fabric. I did this and I think it coated better.

Paint your furniture     Paint your furniture      Paint your furniture

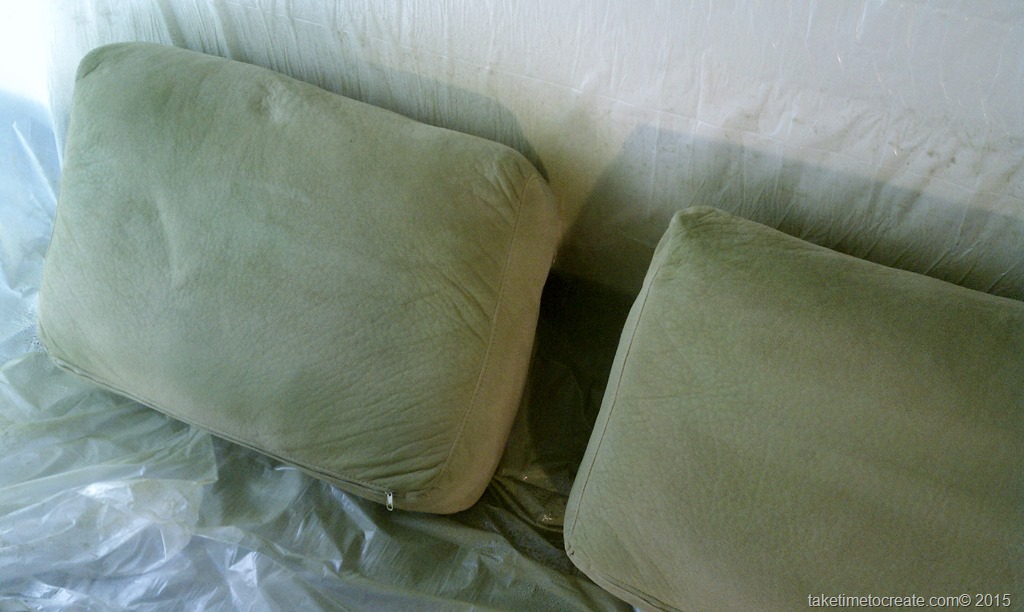
4. Let it dry and spray and rub again. I did 3 coats, that seemed to get the best coverage. After the first 2 coats you will think to yourself “What on earth have I done? This looks like crap!” But hang in there, by the third coat everything looked better.

5. Let the whole thing dry over night then put it back on your couch.


Paint your furniture


Enjoy your “new” couch.  This project has been completely finished for over a year now and I can honestly say I still love the final result. The paint has stayed on the couch and doesn’t rub off on your clothes (this was a concern of Lyle’s) and it still looks good. At first the fabric was a little stiff and not as soft as it was before the paint, but over time the paint loosens up and the fabric becomes softer. It won’t ever be as soft as the original micro fiber, but it is getting better.

So, is painting your couch something you might do? What else do you think I should paint?