Recycled Glass Vase DIY

Hello Everyone!

I hope you are all having a great week. Last weekend we had a wonderful relaxing weekend, with not much on the schedule!  In fact, over the weekend is when I finished this recycled glass vase project.
recycled glass vase diy

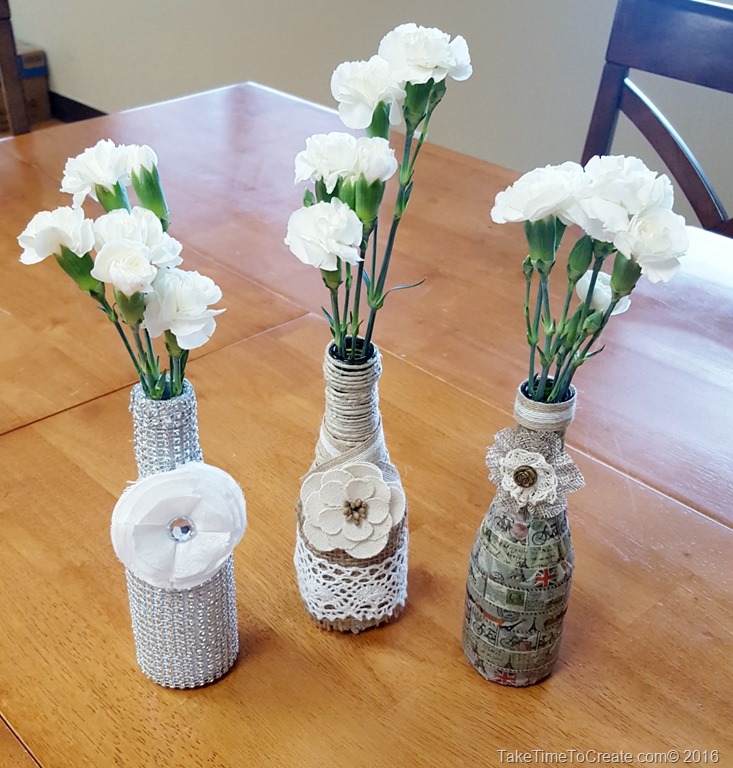
I have had these little champagne bottles for ever. They were just too cute to throw in the recycling bin and I knew that I  would eventually find the perfect project for them. And I did, I made these cute vases!

Materials:

~ Glass bottle. (I used the champagne bottle, but you can use almost anything else. For instance a used olive oil bottle. )
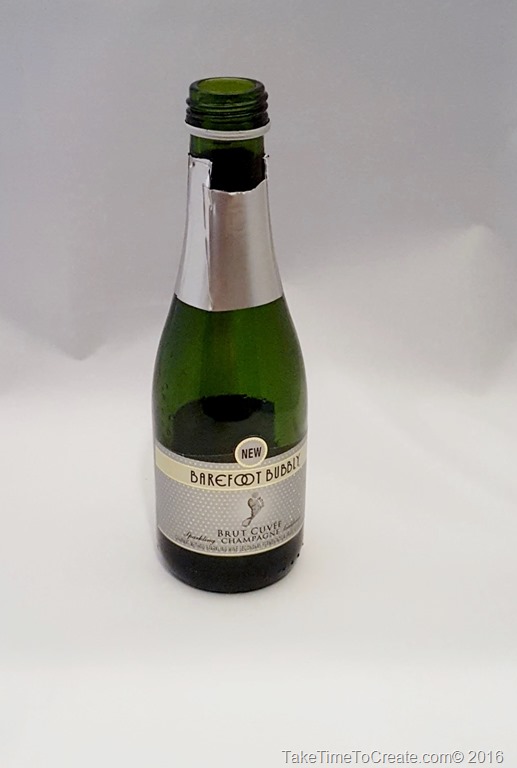
Recycled Glass Vase DIY

~ raffia, jute, cord, burlap, ribbon, flowers

~ washi tape and anything else you want to glue on your new vase!

~ Hot glue

Instructions:

#1. The Shabby Chic Vase

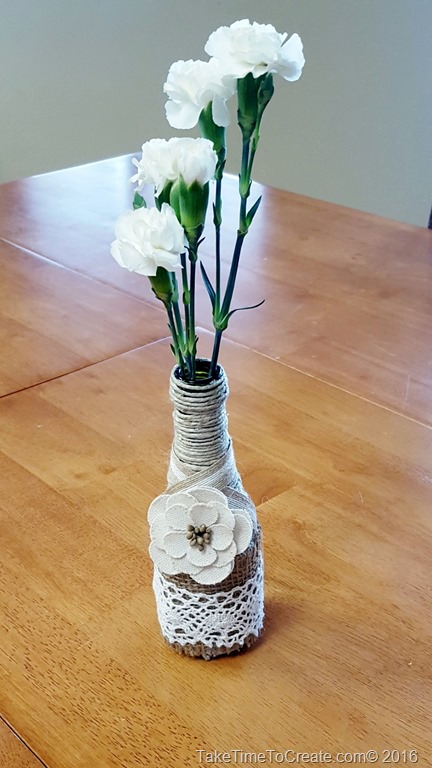
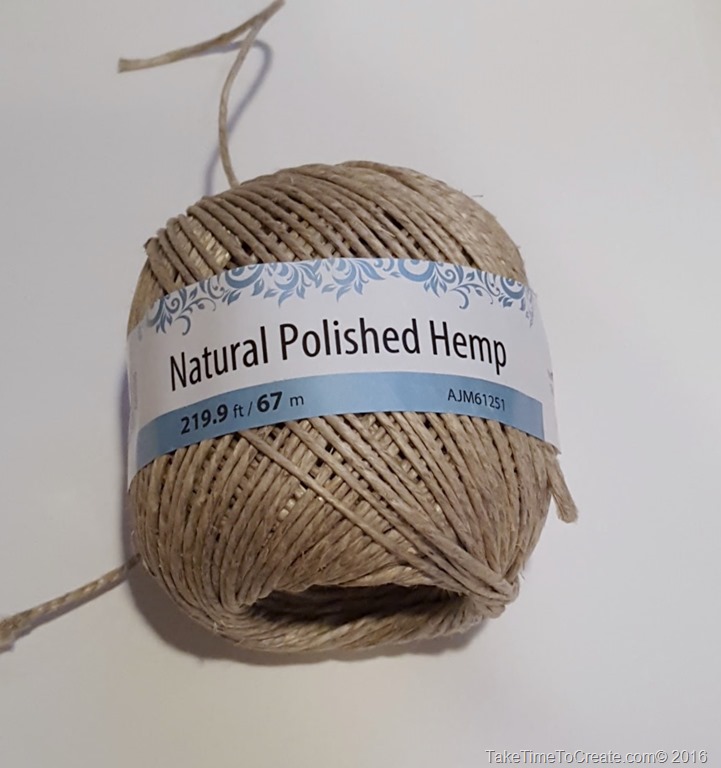
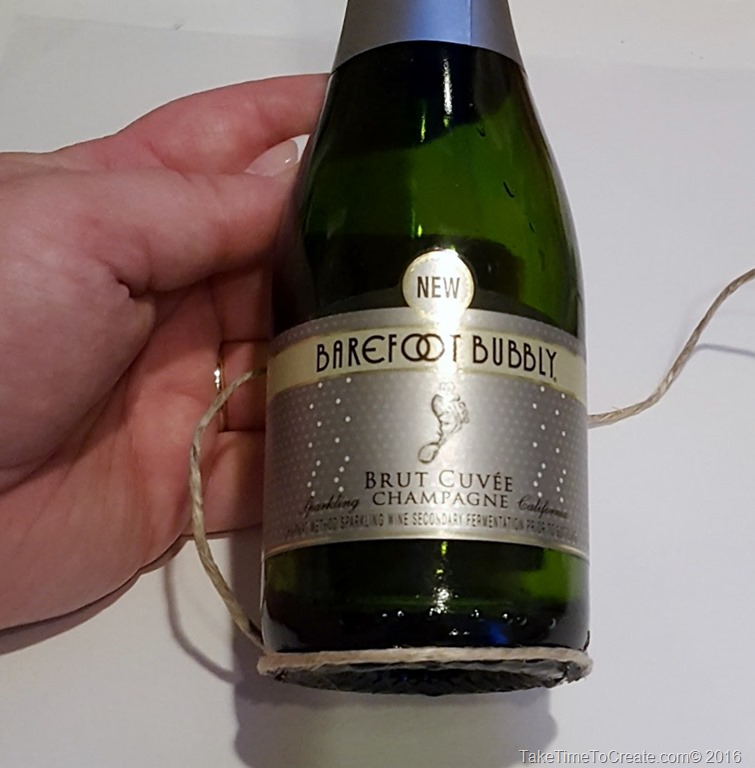
~For this vase I used this Natural Polished Hemp and wrapped it around the entire bottle. I did not take of the labels for this vase and the cord did a good job of covering the labels. But if I were to do it again I would take them off. Just keep gluing and wrapping until you cover the bottle. This will take awhile so put a tv show on and go to town.
Recycled Glass Vase DIYRecycled Glass Vase DIY

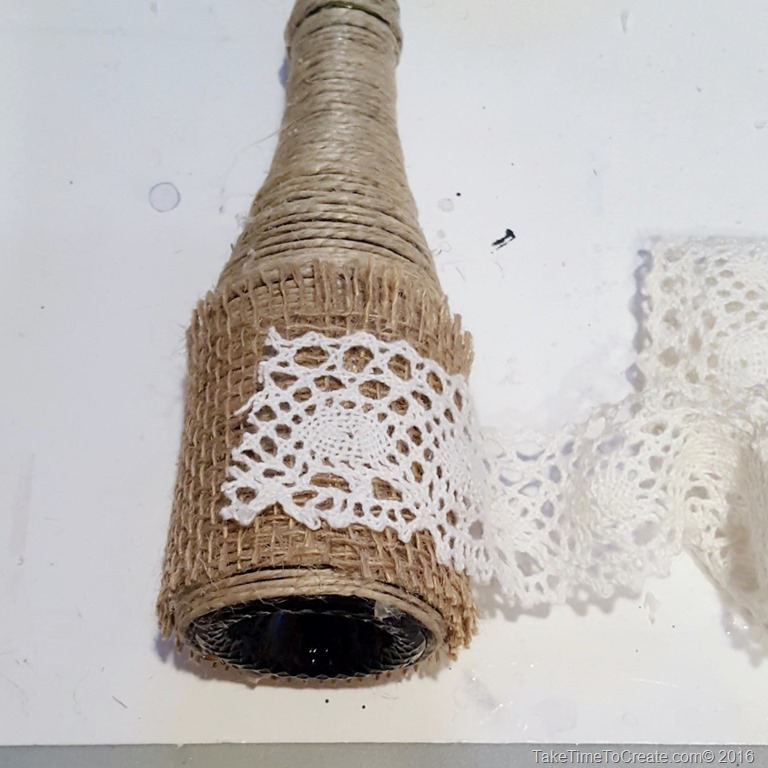
~ One I was done wrapping I added some burlap ribbon to the base area and then a layer of pretty ribbon.
Recycled Glass Vase DIY

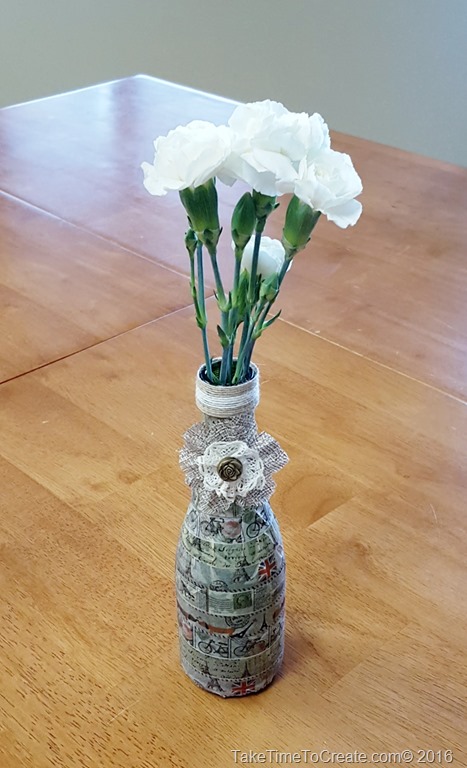
~On the neck I added some brown ribbon and a flower. And there you have it, a cute shabby chic vase. 

Recycled Glass Vase DIY

#2 The Diamond Wrap Vase

~ For this vase I wanted a really fancy, blinged out vase and I think I achieved that look, haha. To start take the labels off and then take the bottle to a well ventilated area to spray paint it. (Confession time: I am not very good at spray painting, I am too impatient to wait between layers and I always make a mess. So usually my hubby takes care of  my spray painting, but I really wanted to get this project done so I didn’t wait for him to get home from work. I thought my cardboard box was good enough to keep the spray paint contained, buuuuuut I may or may not have painted the glass my outside table… Oh well, I guess refinishing the table will be a new project for me to work on this summer. lol)

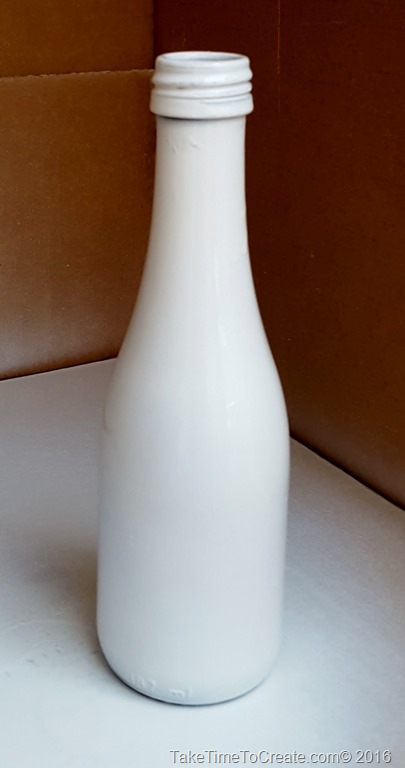
 Recycled Glass Vase DIYRecycled Glass Vase DIY

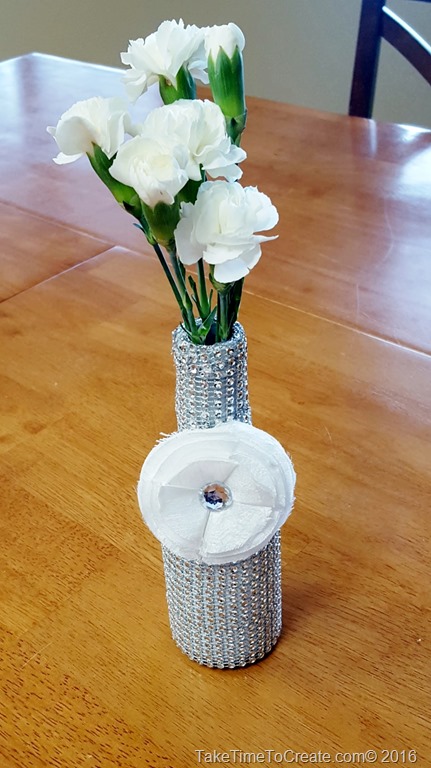
~Anyway when you are done painting and it is dry start wrapping the bottle with Diamond Wrap (I found this at the dollar store) Add a flower to the top and you are done. This is perfect for the dinner table or for holidays. Imagine how cool this vase would look in candle light?
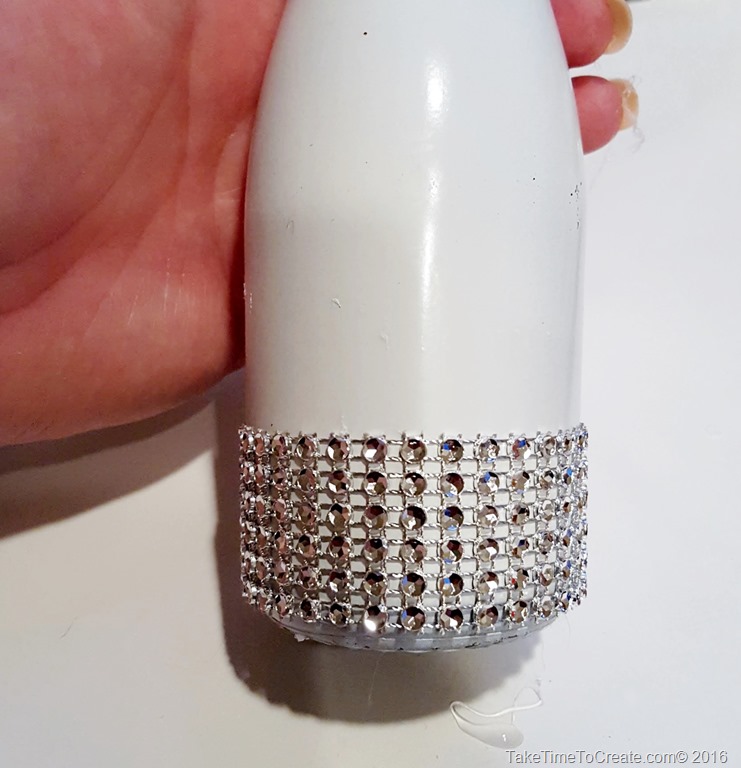
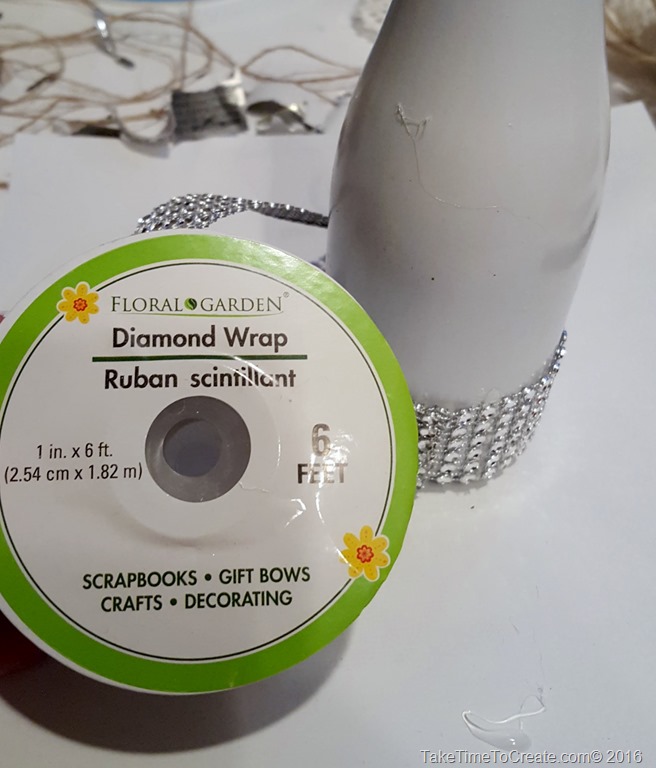
 

Recycled Glass Vase DIYRecycled Glass Vase DIY

Recycled Glass Vase DIY

#3 The Washi Tape Vase

~ I have this wonderful washi tape that I found on Amazon and I thought would look great on the bottle. I just started wrapping the bottle using a different tape for each layer.
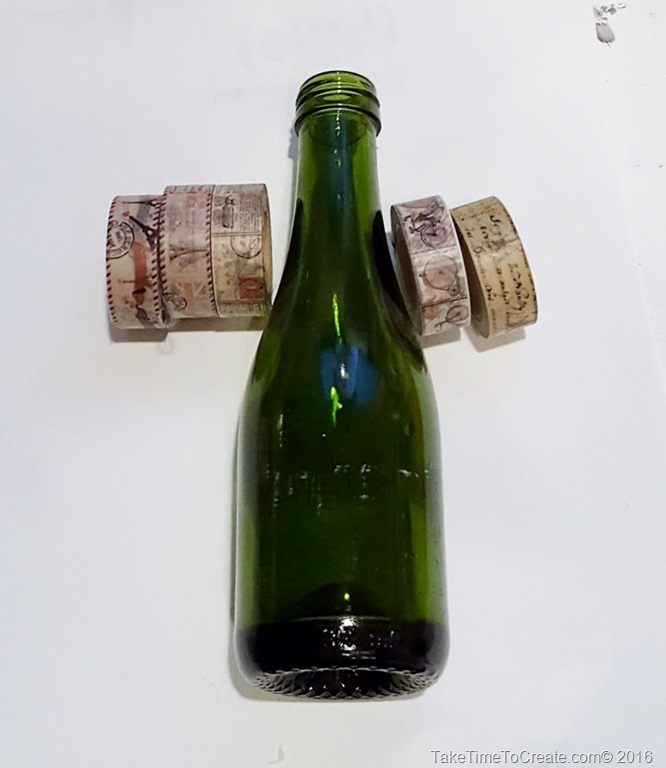
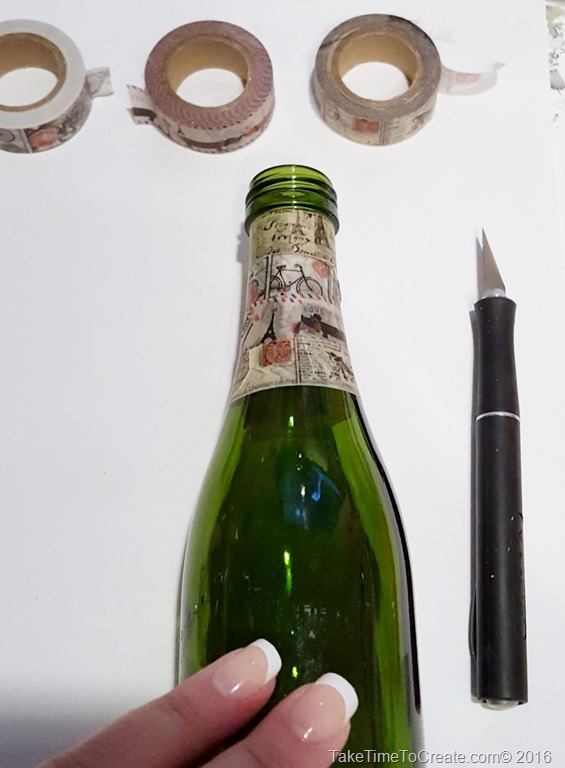
Recycled Glass Vase DIYRecycled Glass Vase DIY

~ Just keep going until you are done. Since the bottle is curved the tape didn’t lay flat in all areas, but that is ok, I think it look like it has been aged in a attic for a long time.
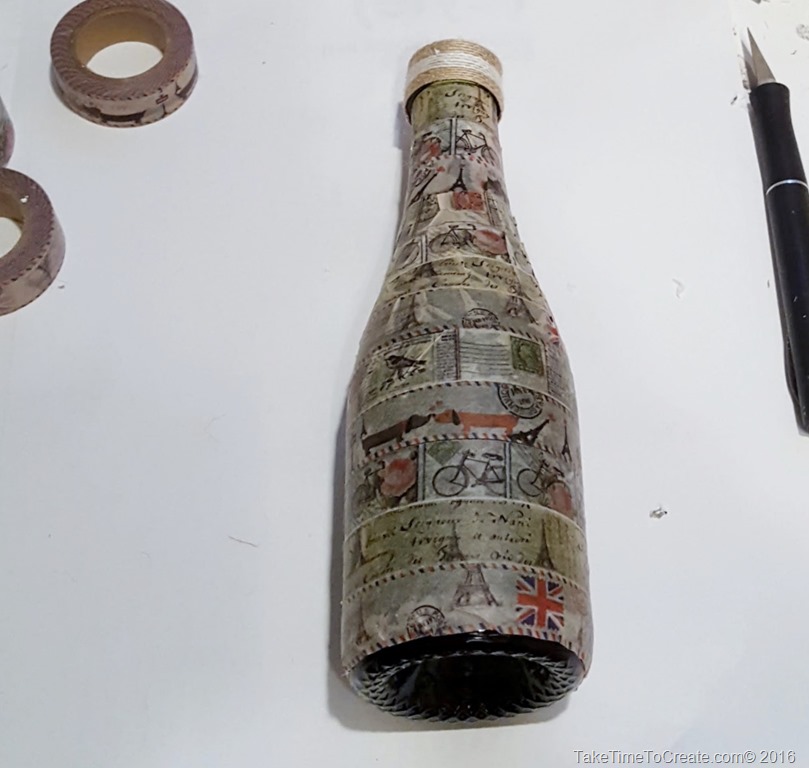
Recycled Glass Vase DIY

~ Add a ribbon to the top and a flower and you are done!

Recycled Glass Vase DIY

There you have it, some great vases made from a glass bottles that were headed to the recycling bin!

What have you used to make a vase out of?
 

Recycled Glass Vase DIYRecycled Glass Vase DIYRecycled Glass Vase DIY

There are no affiliate links in this blog post

Re-purpose an old window into a shabby chic message board

If you follow my Instagram (taketimetocreate) then I am sure you have already seen the reveal of this repurposed window. For those of you who don’t follow me there here the shabby chic message board!

repurpose window to shabby chic message board

I have to say I do love the way it turned out! This all started when my friend asked me to paint a window for a silent auction for mental health awareness. At first I wasn’t too interested, not because I didn’t believe in the cause (because this is one cause I totally support) it was because I wasn’t sure I had a design that would work. Most everyone else did a more traditional painted window with flowers on the glass and things like that. Well of course I didn’t follow the crowd. So I did my own thing and hopefully it will bring in a lot of money for the charity!

Here is how I did the repurposing.

Materials:
~ old window (for this to work you for magnets you will need one with a metal screen)
~ sandpaper, tape, cleaning supplies
~ paint and brush
~ cork
~ flowers, magnets, tacks, and clothes pins
~ ribbon and burlap

Instructions:
~ The first thing you will need to do is sand down all the rough edges and smooth it out. Once you like the feel of the window then give it a good cleaning.

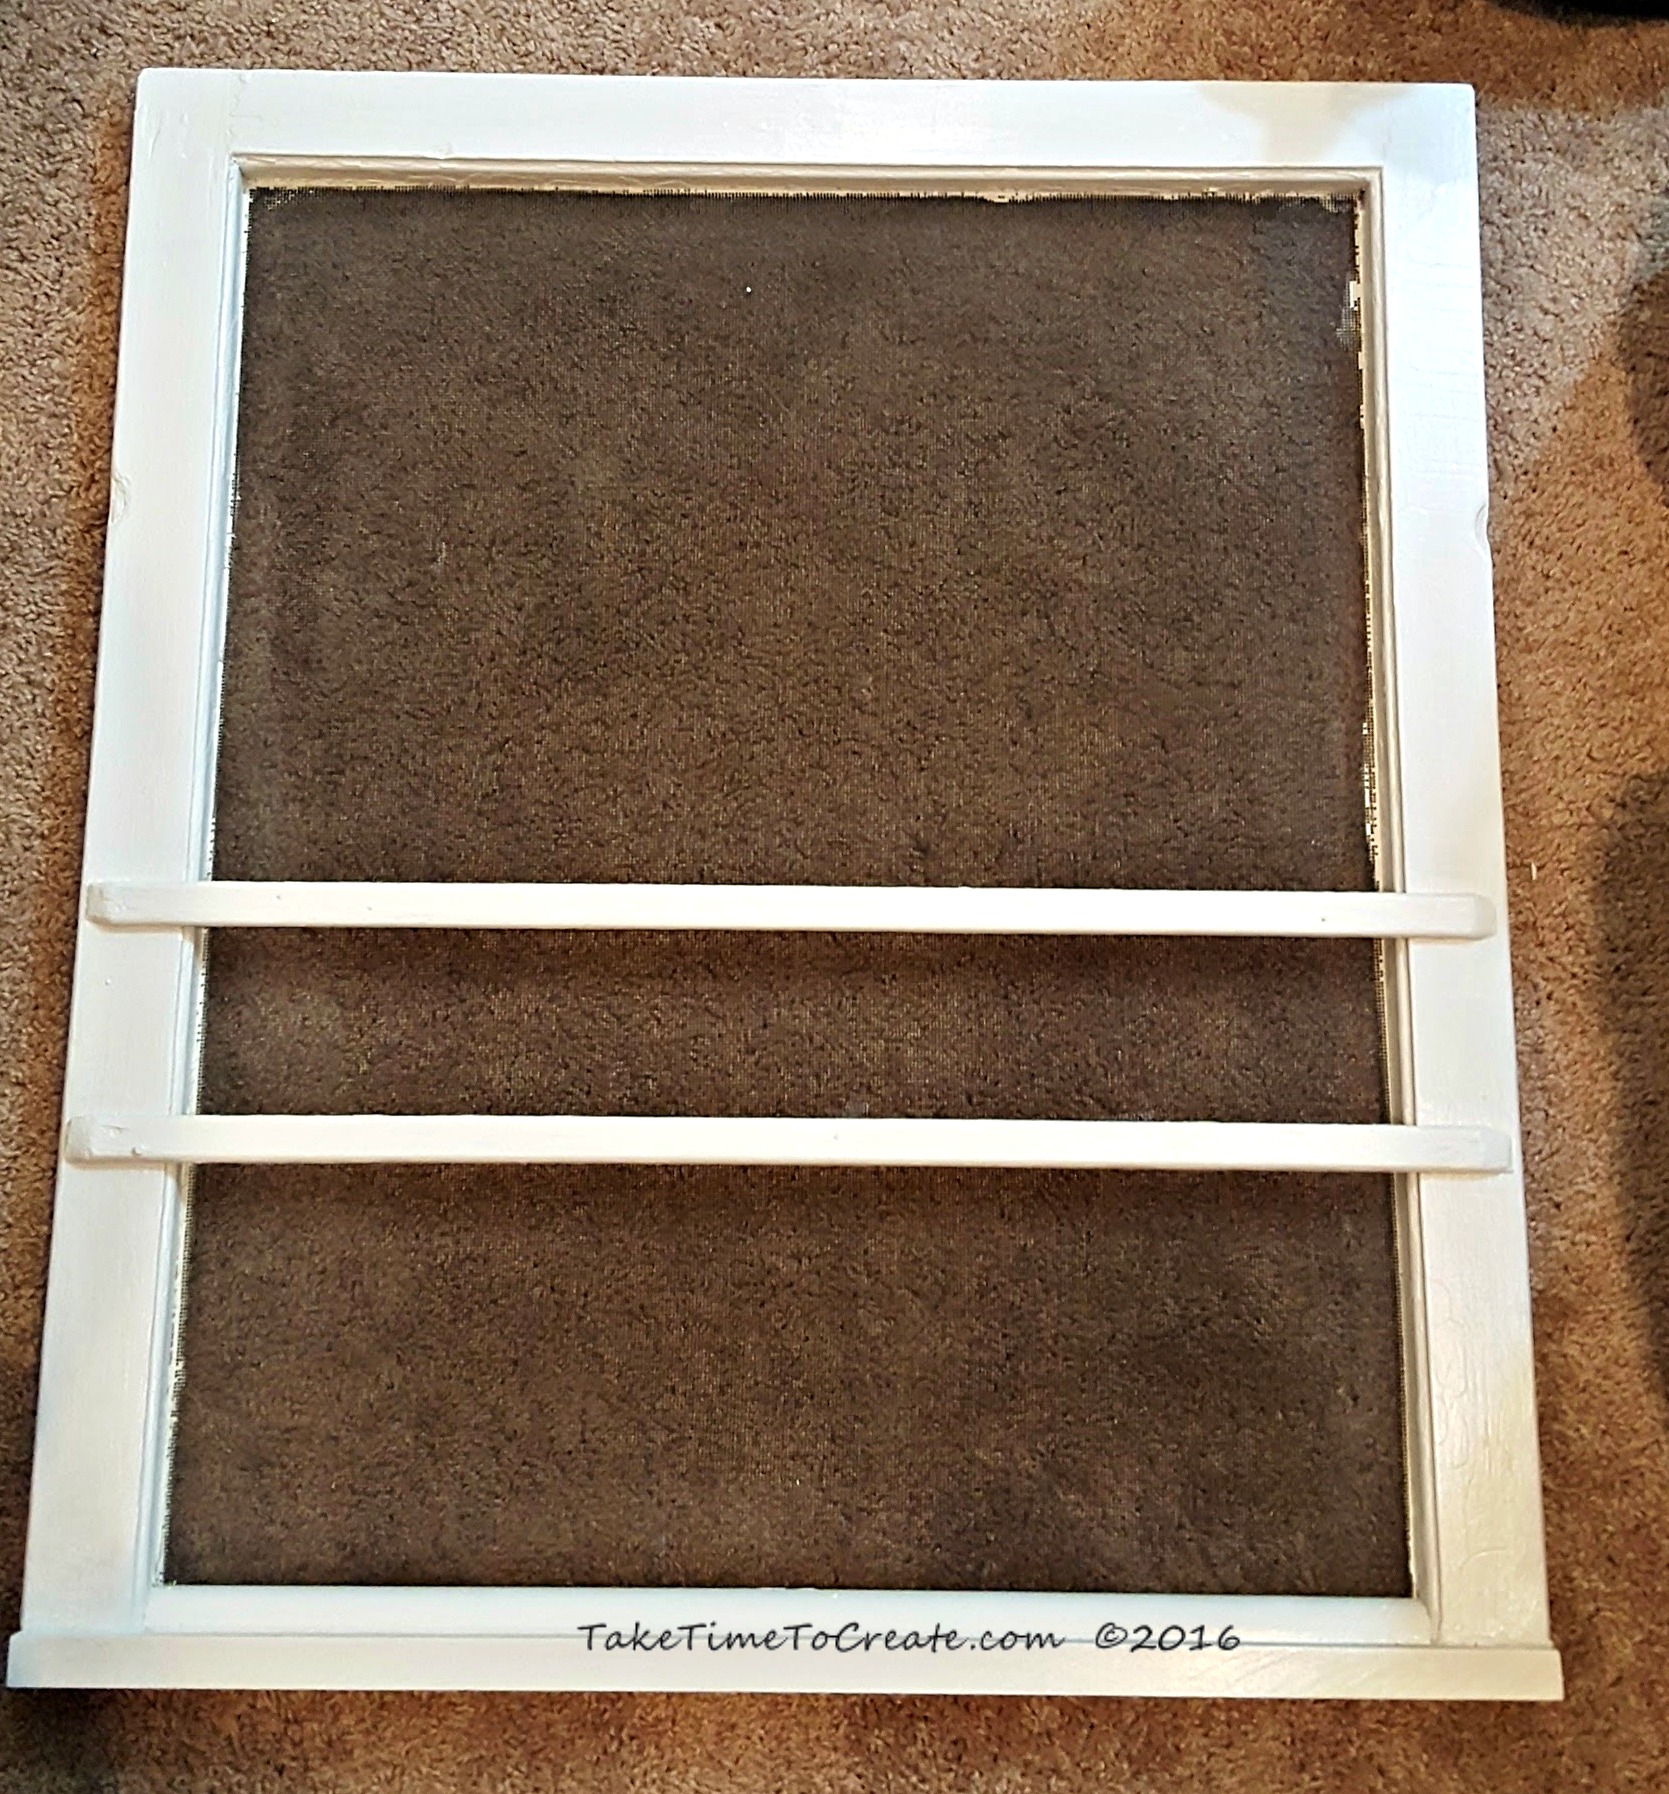
window

~ Now you are ready to paint. I taped around the edges to help cut down on how much paint went on the screen, and this seemed to help.
Paint a couple coats until you get it to how you like it. I used this white acrylic paint that I had on hand.

white acrylic paint

~ Cut your cork down to size and glue it on to the screen. I just glued the edges with a metal glue and that seems to hold it pretty well.

add cork to window

~Then I went to work decorating the edge. Shabby chic is all about layers so that is what I did. I put down a layer of burlap, the layered on a layer of crochet ribbon that I had in my stash.

add ribbon and burlap

That looked good, but I felt like it was missing something, so I added a ribbon on top and flowers in the corners.

add more ribbon

Then I added ribbon to the bottom of the screen and to the bottom of the window. Once that was done it was time to add the flower decorations.

~ For the flowers add a magnet the back of some and tack to the others. For the clothes pins I just added ribbon to a plain clothes pin I got from the dollar store.

glue magnets to flowers

And that is it. This is a very fun project that is easy to do and I loved using what I had on hand. I can’t wait for the auction and hopefully they will make a lot of money for their cause!

repurpose window to shabby chic message board