DIY Locker Magnets

Hello Everyone!

Recently I told my son some bad news, I told him that school is starting soon…haha.  He is not too excited, but when I was his age I was excited for back to school. Not necessary for school to start, but mostly for the school supplies. I do love school supplies. I still do, I am always buying pencils, pens, notebooks, and other supplies. You can never have too many pens, haha.

Anyway, with back to school nearly here there are lockers that will need to be decorated. So when my sister and her family were visiting last week  my niece and I decided to make some locker magnets because she going into middle school in the fall and she will have a locker for the first time! Her locker will be all kinds of awesomeness! .
DIY locker magnets

Together we made magnets for her locker using stickers and flowers! This is an easy craft that kids can do to personalize their space.

Materials:

~Stickers and flowers

~Powder (I used foot powder, but baby powder would work)

~magnets

~Glue


Instructions

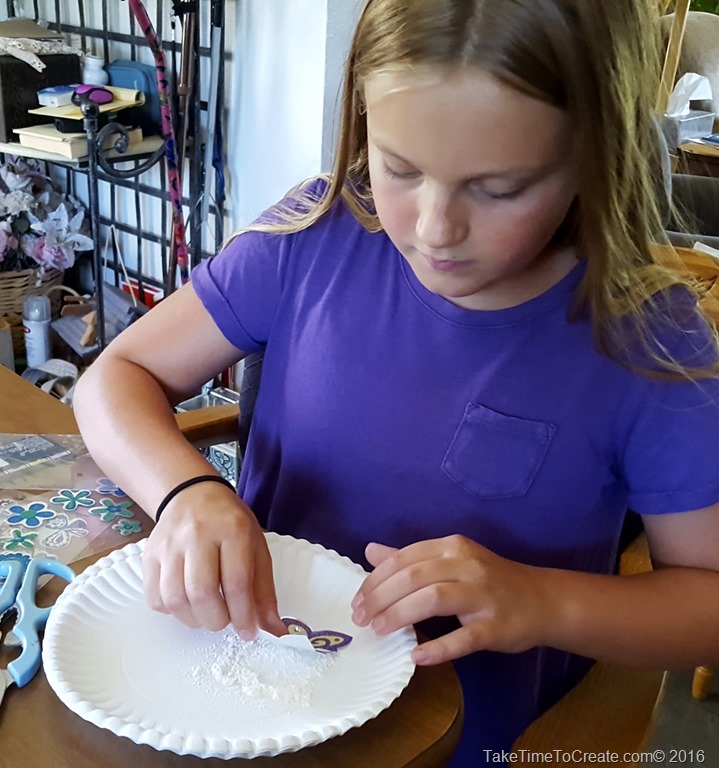
First take the sticker you want to use and put powder on the back. (I have a ton of stickers that I have collected through out the years, I seem to always pick up stickers when ever I am at the store. I just love stickers) Using powder is the trick to keeping the sticker from sticking to everything. I used foot powder because this is all I had, but baby powder works too. The powder sticks to the sticky part then you can put a magnet on.
DIY locker magnets


We glued the magnet on (the magnets are sticky on the back, but I didn’t trust it so we glued it on) We used a magnetic sheet that we cut into smaller pieces.

DIY locker magnetsDIY Locker Magnet

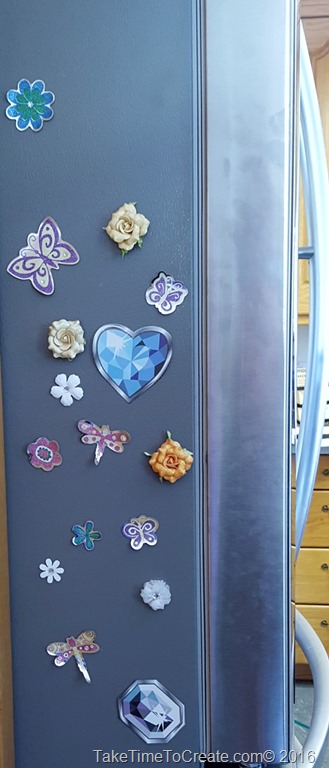
We made a ton of sticker magnets and then we put magnets on some flowers I had. These all turned out super cute!
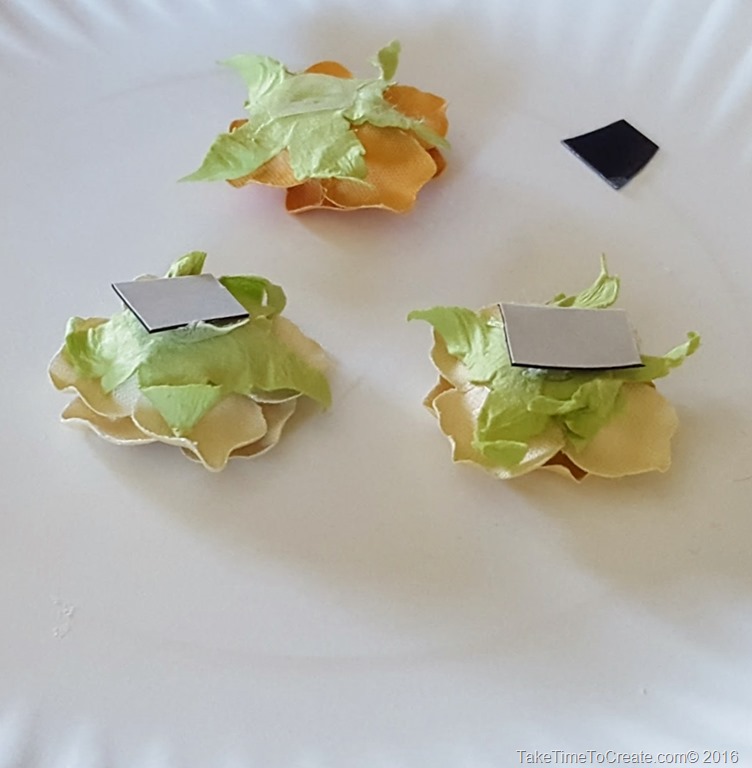
DIY Locker Magnet

Also, I had these super cute Wall stickers that I got from the dollar store that look like frames. These are so cute so we made one of the stickers into a magnet frame. This will be perfect for her to show off her friends in her locker.
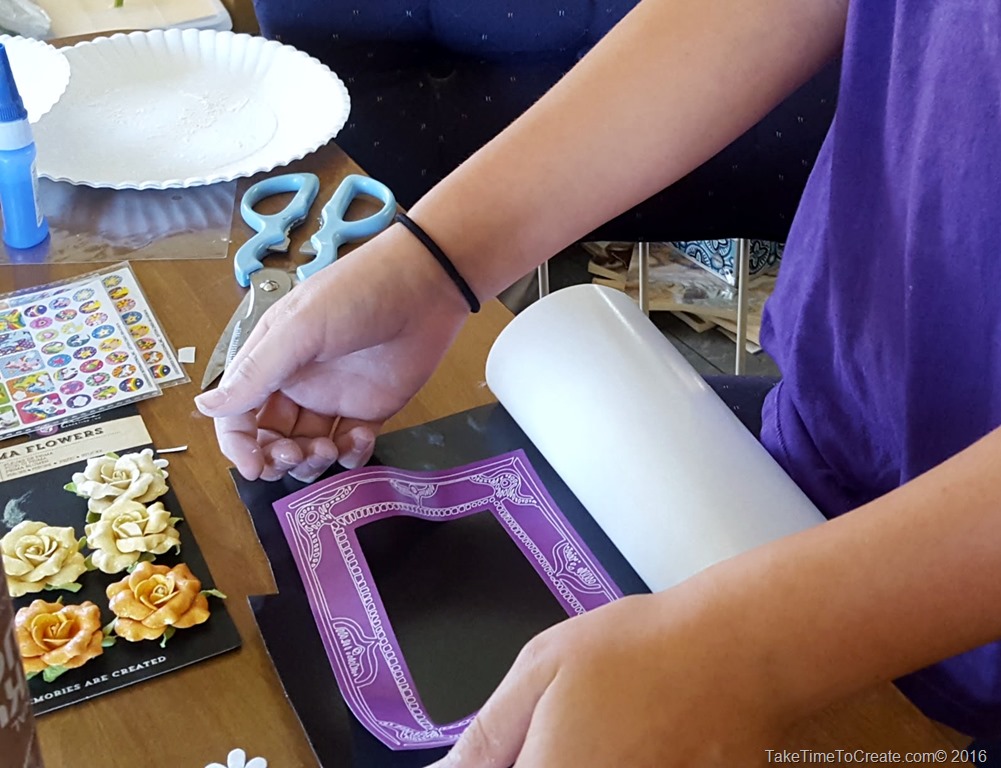
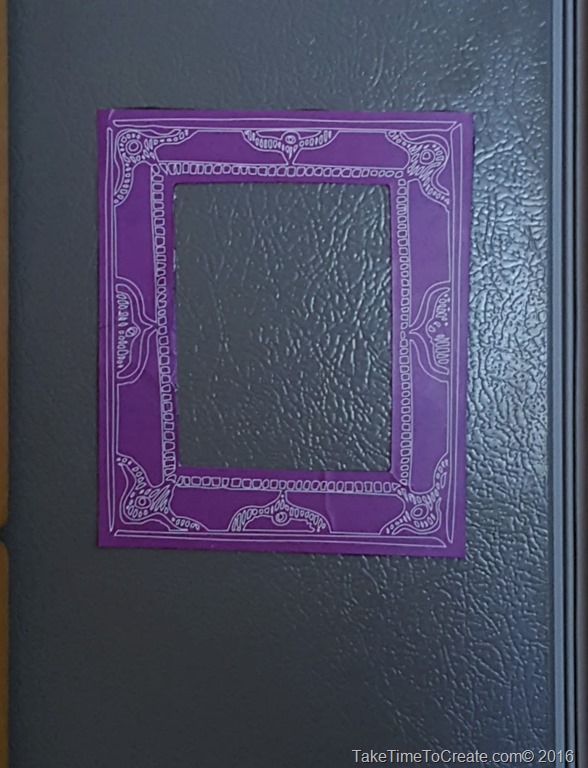
DIY Locker MagnetDIY Locker Magnet

Here are the finished magnets. Isn’t she a cutie! I can’t believe that she is old enough to go to middle school. Time flies so fast!
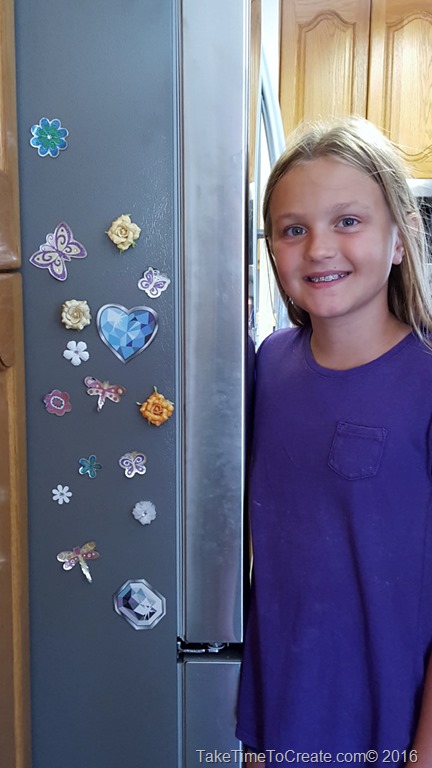
 

DIY Locker Magnet

Bonus Craft!

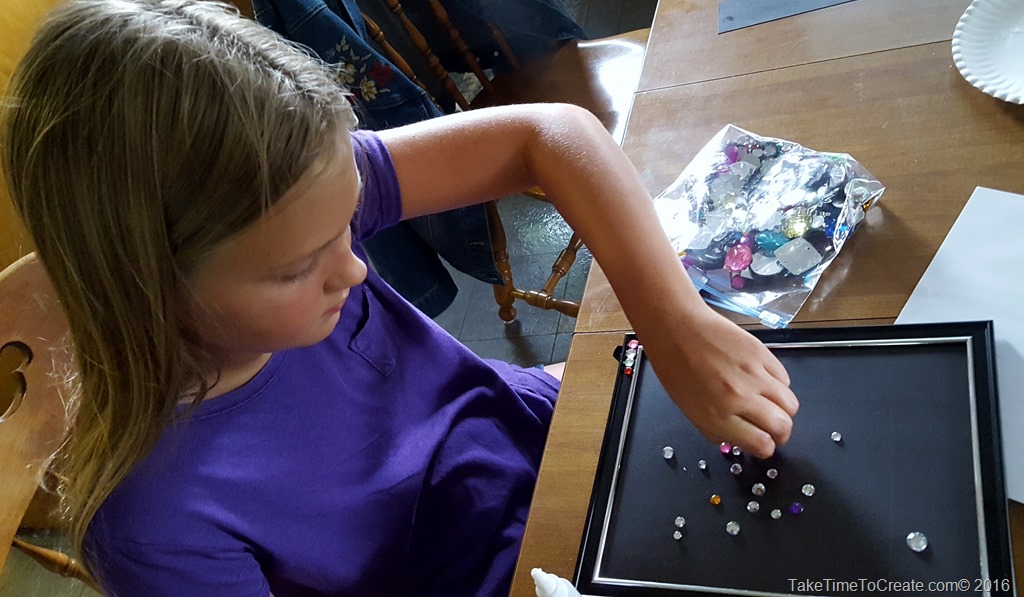
While she was in town we decided to make a magnetic board. We just took a dollar store frame and put a magnetic sheet in the frame. Then she decorated it will rhinestone (she is a girl after my own heart, you can never have too many rhinestones!)
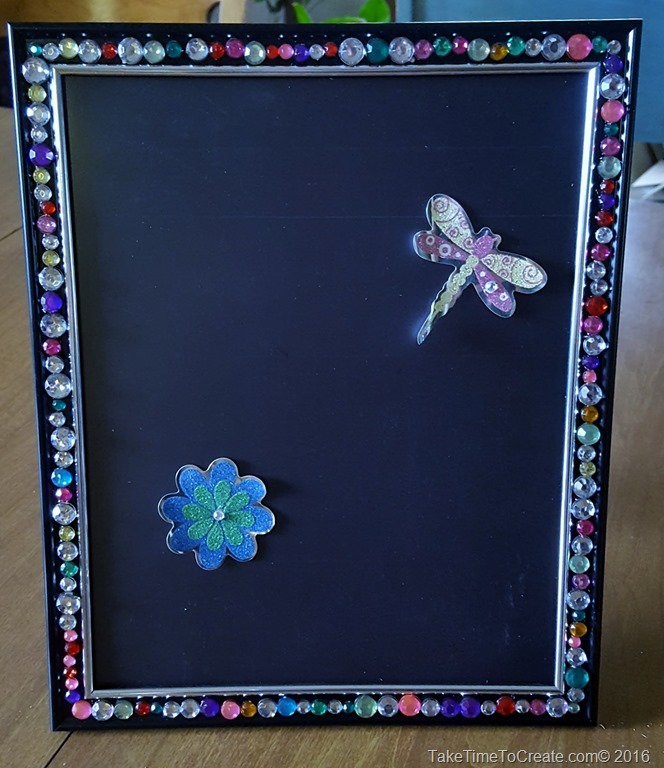
 DIY Locker MagnetDIY Locker Magnet

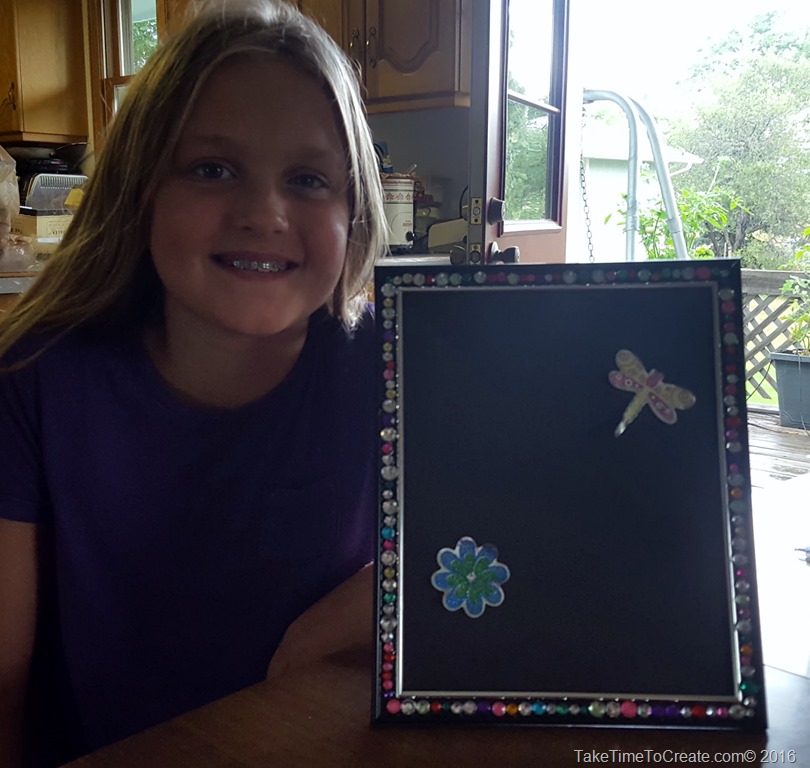
I think it turned out awesome. (sorry the photo is backlit, but you can still see how cute she is.) It was so much fun to have a crafting buddy, I can’t wait until she comes back to town so we can do more projects together!
DIY Locker Magnet

Making a Dollar Store Cell Phone Case Super Cute

Hello everyone!

Once again I found myself at the Dollar Store. I always seem to find something I just *need* when I go. Well this time I found all these super cute cell phone cases. If you follow me in Instagram you already know all about them. you can follow me at @taketimetocreate on Instagram

Dollar store cell phone case diy

I will show you what I did with each case and have fun making your own!

Materials:

You will need a variety of materials, I just depends on what you want to do. Here is a short list of some of the things I used:

~ Glue ( I used E-6000 and Loctite)

~glitter

~stickers

~rhinestones

~Soft gloss gel paint medium

~mica powder

~Chip board letters

Instructions:

1st case

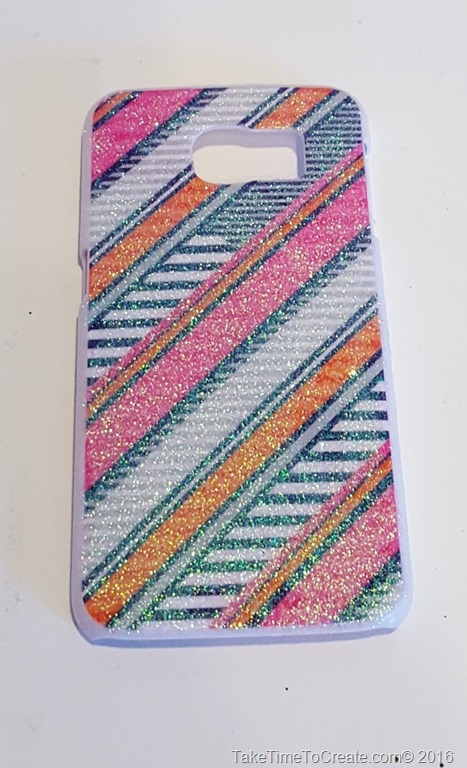
For the first case I decided that it needed glitter! So I coated the outside of the case with a layer of E6000.

Dollar store cell phone case diy

Sprinkle glitter on it, shaking off the excess.

Dollar store cell phone case diy

Once it is dry coat it with a layer of Mod Podge to keep the glitter from going everywhere.

Dollar store cell phone case diy 

I love how it turned out!

2nd Case

This one I just wanted to put a pink rhinestone where the plaid patter intersects.

Just put a dab of E6000 where you want the rhinestone and put the stone on the case. To make things easier I use a syringe when doing precision gluing and a wax tipped tool to help pick up the rhinestone.

Dollar store cell phone case diy

I forgot to take a pic when I was done, but you get the idea! Smile

3rd Case

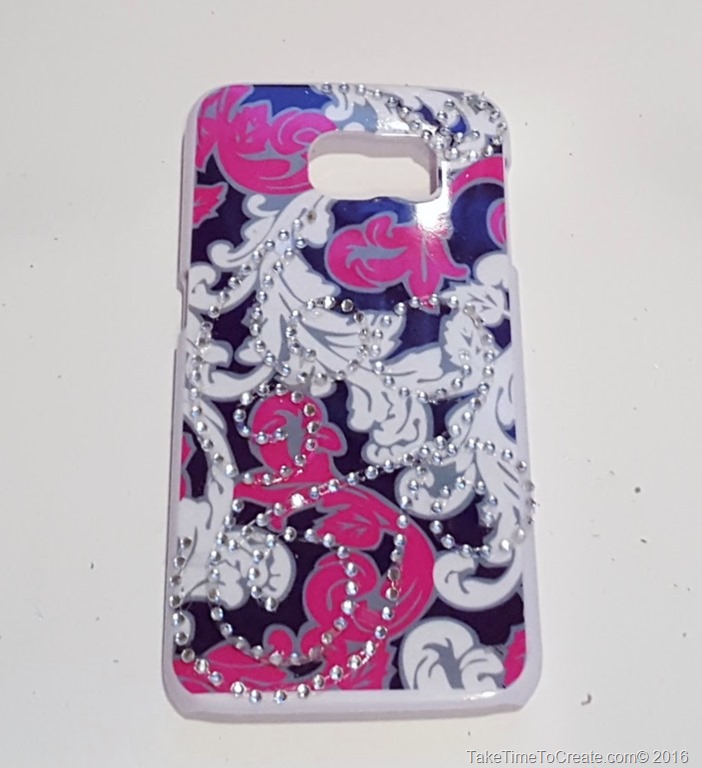
This beautiful swirly case needed some rhinestones. I just found some swirly ones and put Locktite glue on the stickers and added them to the case.

Dollar store cell phone case diy

It was quick and easy, and I love the added detail to the case.


Dollar store cell phone case diy

4th Case

This one was just as easy as the rest. I just used some chevron stickers to add detail to the white areas.

Dollar store cell phone case diy

Just be sure to glue the sticker down with Locktite

Dollar store cell phone case diy

Fun!

5th Case

This one is fun. The pattern was already bold, but I thought it needed more. So I added a chipboard letter and parentheses with Loctite and it is good to go!

I really like how this one turned out.

Dollar store cell phone case diy

6th Case

last but not least. This one was a little more involved, but not much. The case was not plastic, but more like a fabric on the area I painted.

I used come soft gloss gel and mixed in some Mica Powder on a small plate. You only need a little bit of each.

Dollar store cell phone case diy

Then I painted stripes and blended them together.

This one was fun to make and I have to say I love how it turned out.

Dollar store cell phone case diy


have you decorated a dollar store cell phone case? If you have I would love to see it!