Disney Frozen Mixed Media Canvas

Hello Everyone!

I just love Disney movies. They are so wonderful watch and when it is a musical it is even better. I own just about all of the Disney soundtracks and I will always sing along at the top of mu lungs, especially when I am driving. haha. My son just loves it when I do that…

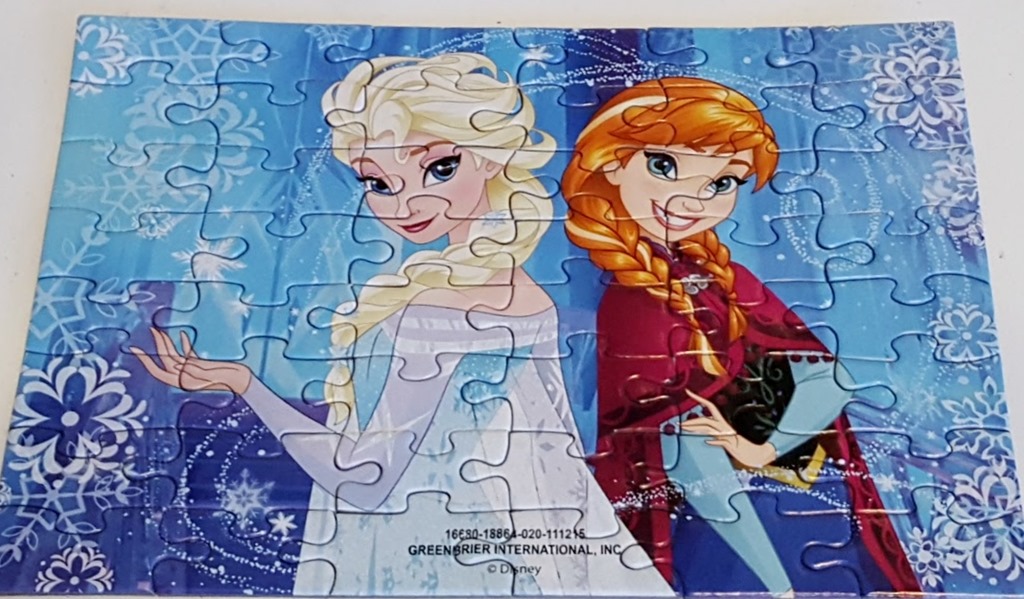
Anyway, I found this great Disney Frozen puzzle at the Dollar Store and I knew that it would be perfect for a mixed media canvas.
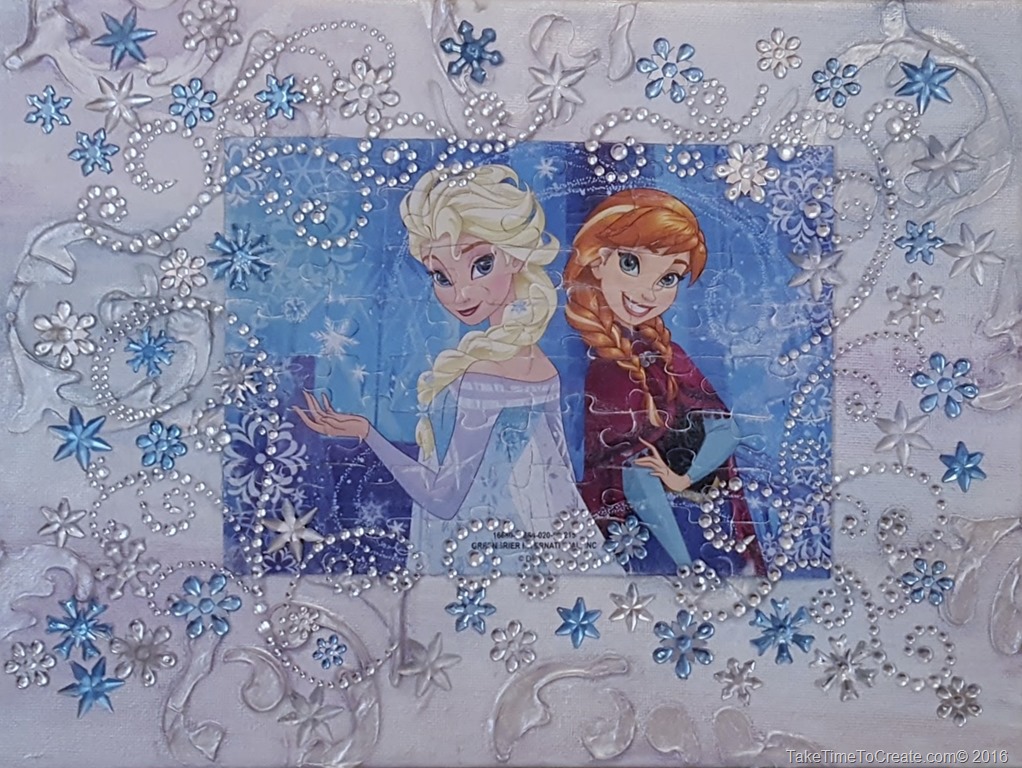
Disney Frozen Mixed media Canvas

Materials:

~Puzzle

Disney Frozen Mixed media Canvas

~Canvas

~Stencil

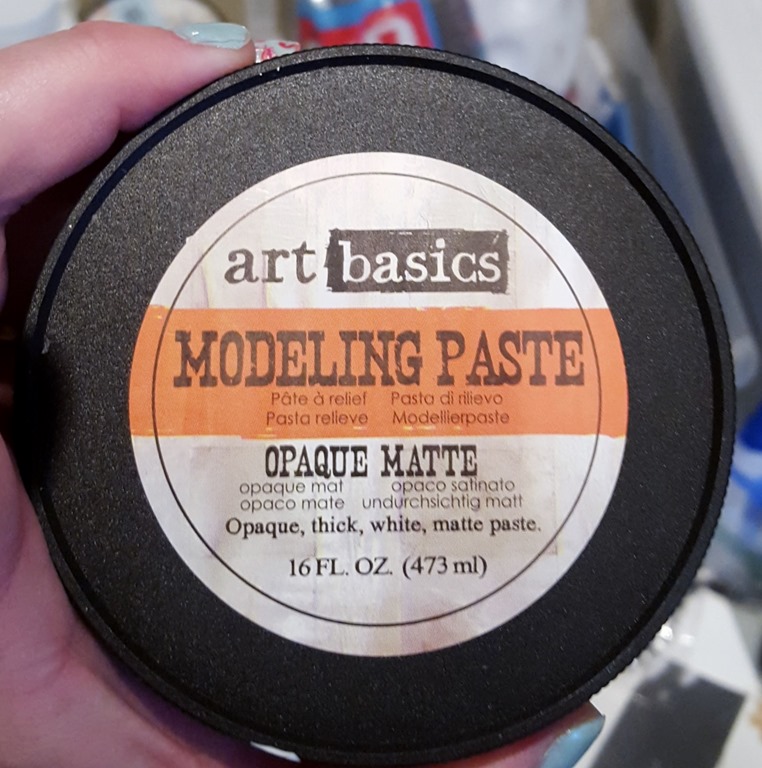
~Prima Marketing’s Art Basic Modeling Paste, mica powders, Soft Gloss Gel, and 3D Gloss Gel
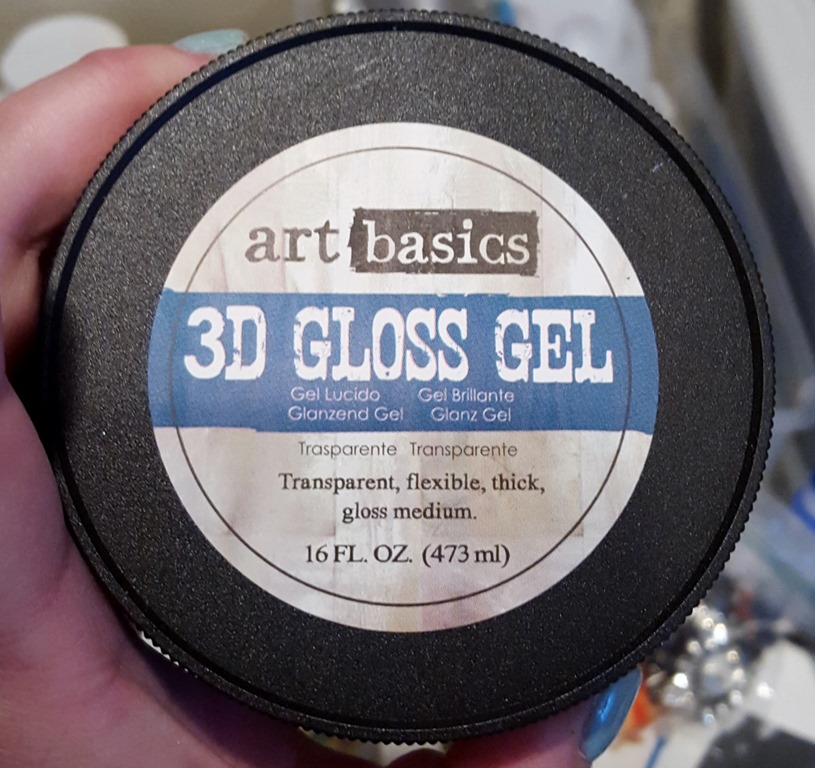
3d Gloss gelmodeling pasteSoft Gloss Gel

~Clear gesso

~Mod Podge

~Swirl and snowflake stencils

Instructions:

First put the puzzle together. This is a fun part, I love putting puzzle together. Once it is together I painted the back with Mod Podge to help keep it together while I applied Gesso to the front.

Apply a layer of clear gesso to the front of the puzzle. This will help the paint adhere to the puzzle.

While the puzzle is drying you will need to work on the canvas. For the first layer I added some swirl stencils that I thought looked like snow swirling around. Prefect for the Frozen motif. I used a stencil and modeling paste and add the stencils everywhere. This is a great base layer that adds texture and interest. 
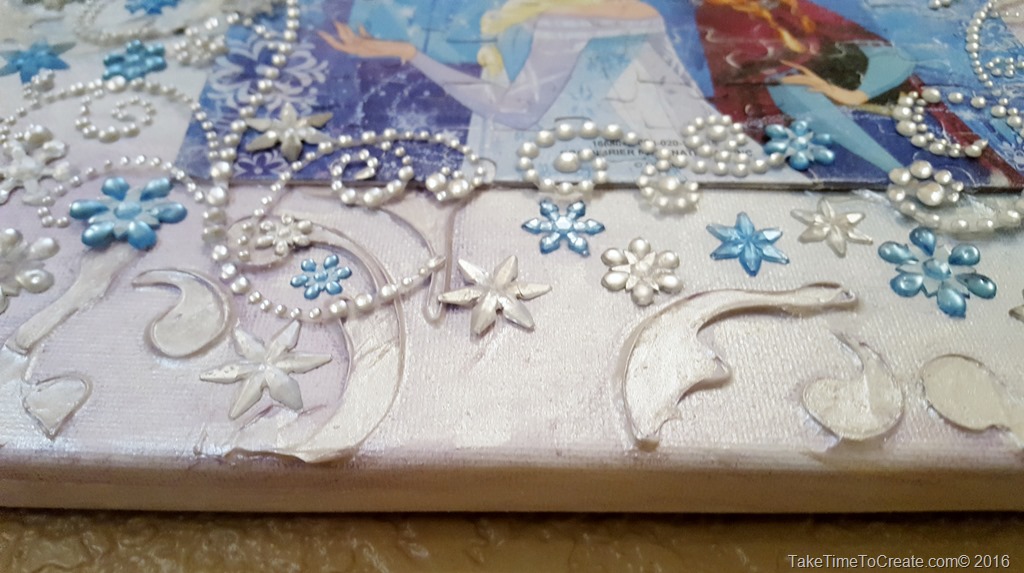
Disney Frozen Mixed media Canvas

Then I glued the puzzle to the canvas with 3d gloss gel.
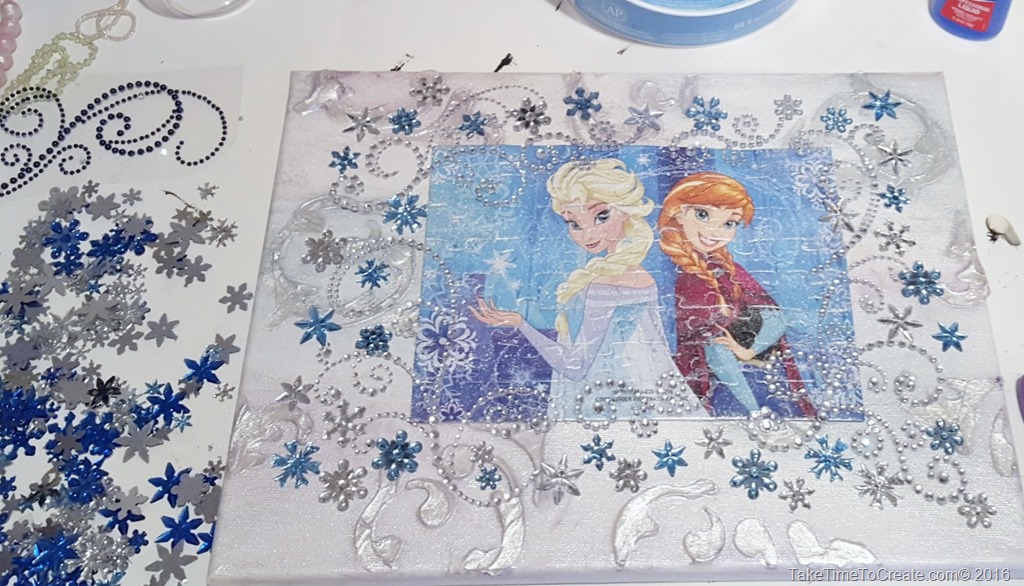
20160404_160049

Then I mixed mica powders in pink and blue and purple and silver with soft gloss gel and dry brushed painted it all over the canvas. I highlighted the stencils and created interest with the mica powders.
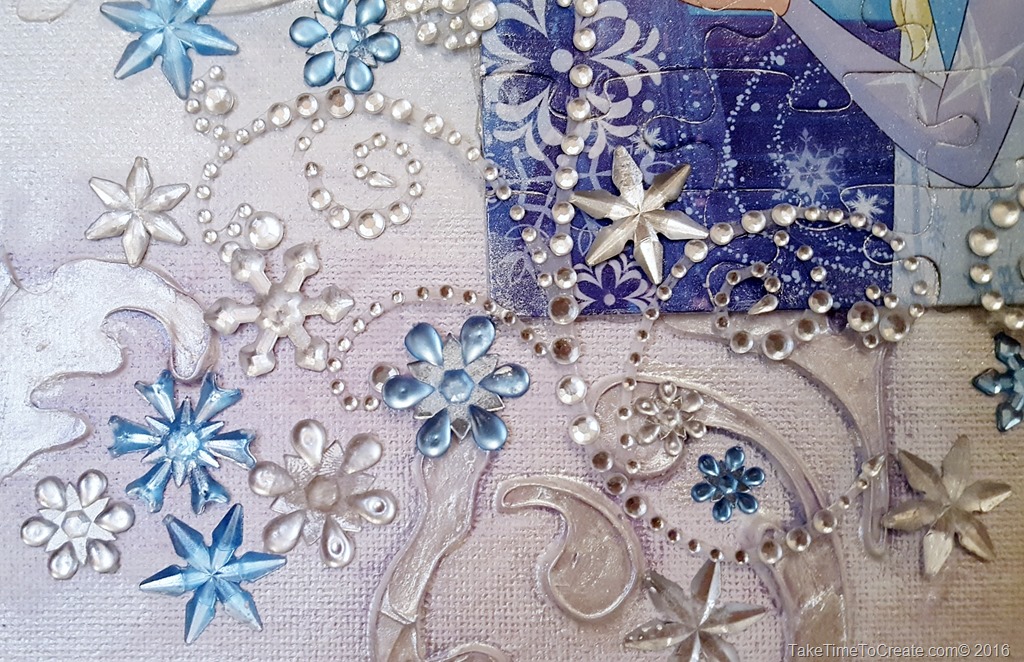
Disney Frozen Mixed media Canvas

Once the painting was dry I added the rhinestones and snowflake gems. Stick them everywhere to add sparkle and dimension to the canvas.
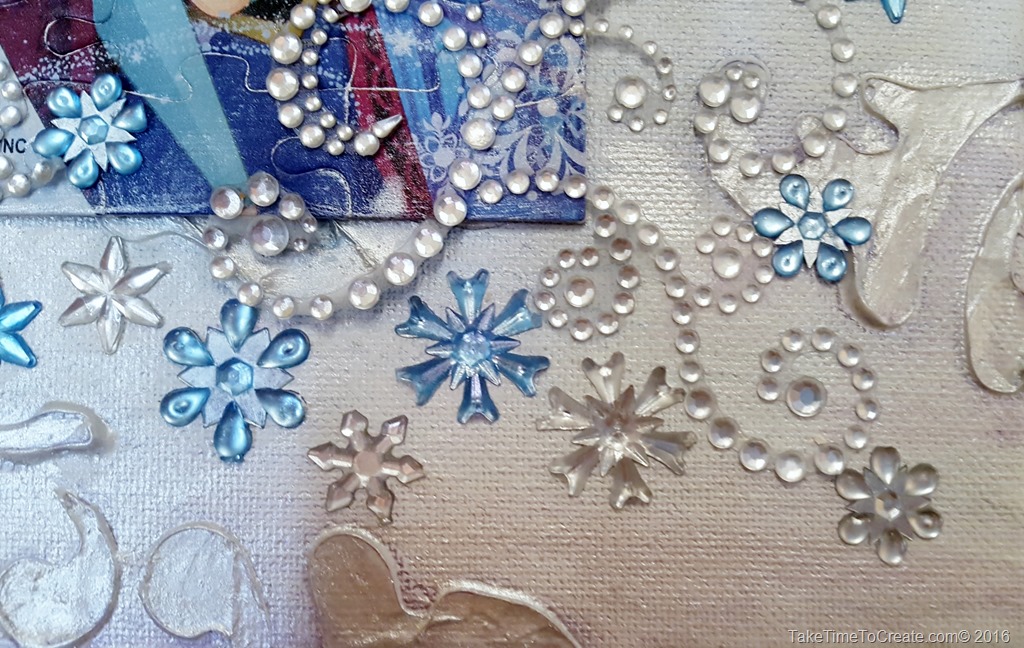
Disney Frozen Mixed media Canvas

Once it is all dry use a clear spray sealer to protect your work. This fun canvas is perfect for any Disney fanatic.
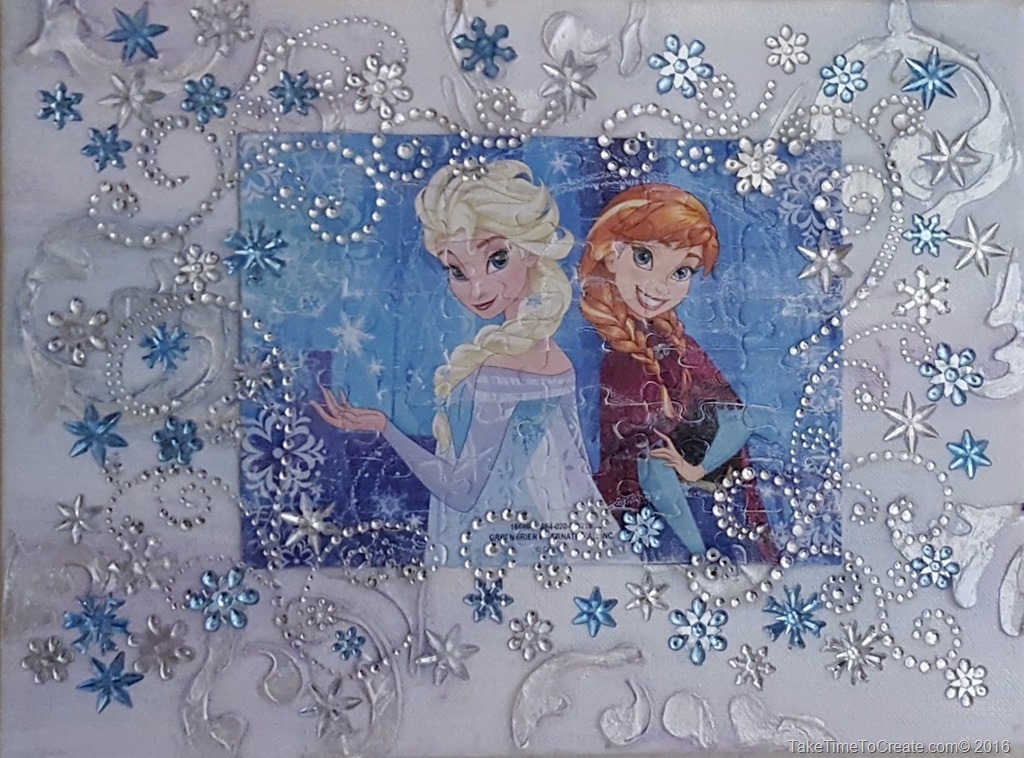
 

Disney Frozen Mixed media Canvas

Dollar Store Puzzle Coaster DIY

Hello Everyone!

have you ever been to the dollar store and you see something really cute and you just know that you can do an awesome DIY with it? Well that is what happened to me with these puzzles I found at the Dollar Store.

dollar store puzzle coaster diy

They were just so cute I knew I needed to make something with them and I thought they were the perfect size for coasters.

dollar store puzzle coaster diy

dollar store puzzle coaster diy

Easy DIY, so here I goes:

Materials:

~ Puzzles

~ glues (I used Tacky glue and Mod Podge)

~ Exacto knife or scissors

~ Backing (I used some leftover fleece, but felt or cork would work)

~ Cardboard or poster board (optional)

Instructions:

~ First you have to assemble the puzzles. This is a really fun part!

dollar store puzzle coaster diy

~ Once they are all put together I spread a layer of Mod Podge on the front. I wanted a glossy look so I used Gloss A helpful hint is when you are gluing the back layers on to put something heavy on the coaster so that it will dry flat.

dollar store puzzle coaster diy

~ After that has dried then spread a layer of tacky glue to the back and adhere it to the fleece (or what ever you choose)

dollar store puzzle coaster diy

~ before you do the above step you might want to make the coasters a little more durable. So for the 2nd set I put a layer of cardboard, but I found that almost too thick. Poster board would be a happy medium. But they still work perfectly without any additional layers (my first set didn’t have anything extra and they work great)

~Once you are done with the fleece then cut it out.

dollar store puzzle coaster diy

And you are done! Ready to enjoy your new coasters.

dollar store puzzle coaster diy


dollar store puzzle coaster diy

Have you found something at the Dollar Store that you just needed to DIY? I would love to see what you came up with!