Dollar Store Puzzle Coaster DIY

Hello Everyone!

have you ever been to the dollar store and you see something really cute and you just know that you can do an awesome DIY with it? Well that is what happened to me with these puzzles I found at the Dollar Store.

dollar store puzzle coaster diy

They were just so cute I knew I needed to make something with them and I thought they were the perfect size for coasters.

dollar store puzzle coaster diy

dollar store puzzle coaster diy

Easy DIY, so here I goes:

Materials:

~ Puzzles

~ glues (I used Tacky glue and Mod Podge)

~ Exacto knife or scissors

~ Backing (I used some leftover fleece, but felt or cork would work)

~ Cardboard or poster board (optional)

Instructions:

~ First you have to assemble the puzzles. This is a really fun part!

dollar store puzzle coaster diy

~ Once they are all put together I spread a layer of Mod Podge on the front. I wanted a glossy look so I used Gloss A helpful hint is when you are gluing the back layers on to put something heavy on the coaster so that it will dry flat.

dollar store puzzle coaster diy

~ After that has dried then spread a layer of tacky glue to the back and adhere it to the fleece (or what ever you choose)

dollar store puzzle coaster diy

~ before you do the above step you might want to make the coasters a little more durable. So for the 2nd set I put a layer of cardboard, but I found that almost too thick. Poster board would be a happy medium. But they still work perfectly without any additional layers (my first set didn’t have anything extra and they work great)

~Once you are done with the fleece then cut it out.

dollar store puzzle coaster diy

And you are done! Ready to enjoy your new coasters.

dollar store puzzle coaster diy


dollar store puzzle coaster diy

Have you found something at the Dollar Store that you just needed to DIY? I would love to see what you came up with!

Making a Dollar Store Cell Phone Case Super Cute

Hello everyone!

Once again I found myself at the Dollar Store. I always seem to find something I just *need* when I go. Well this time I found all these super cute cell phone cases. If you follow me in Instagram you already know all about them. you can follow me at @taketimetocreate on Instagram

Dollar store cell phone case diy

I will show you what I did with each case and have fun making your own!

Materials:

You will need a variety of materials, I just depends on what you want to do. Here is a short list of some of the things I used:

~ Glue ( I used E-6000 and Loctite)

~glitter

~stickers

~rhinestones

~Soft gloss gel paint medium

~mica powder

~Chip board letters

Instructions:

1st case

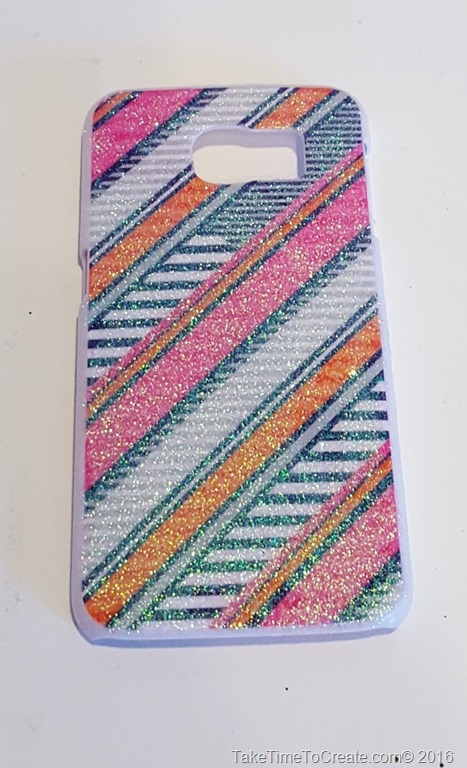
For the first case I decided that it needed glitter! So I coated the outside of the case with a layer of E6000.

Dollar store cell phone case diy

Sprinkle glitter on it, shaking off the excess.

Dollar store cell phone case diy

Once it is dry coat it with a layer of Mod Podge to keep the glitter from going everywhere.

Dollar store cell phone case diy 

I love how it turned out!

2nd Case

This one I just wanted to put a pink rhinestone where the plaid patter intersects.

Just put a dab of E6000 where you want the rhinestone and put the stone on the case. To make things easier I use a syringe when doing precision gluing and a wax tipped tool to help pick up the rhinestone.

Dollar store cell phone case diy

I forgot to take a pic when I was done, but you get the idea! Smile

3rd Case

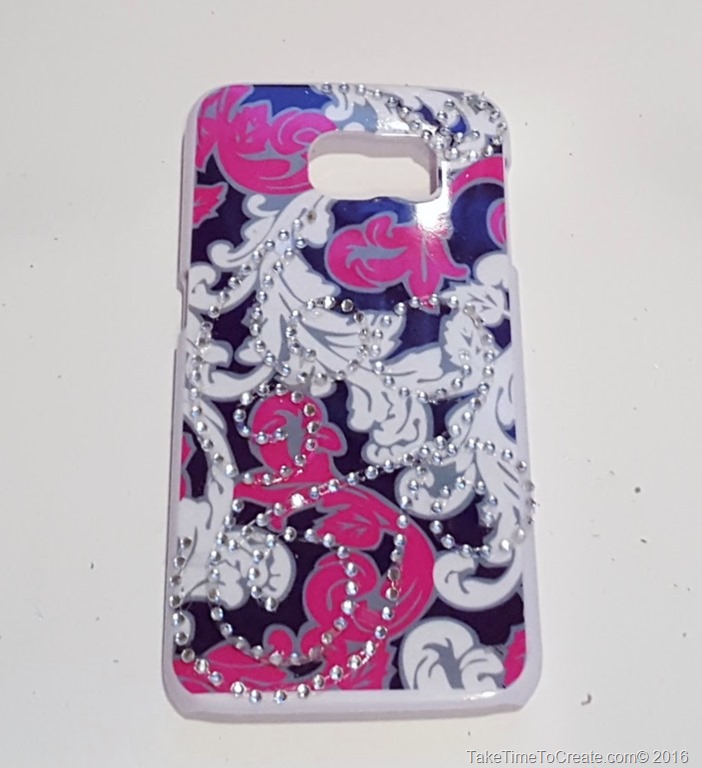
This beautiful swirly case needed some rhinestones. I just found some swirly ones and put Locktite glue on the stickers and added them to the case.

Dollar store cell phone case diy

It was quick and easy, and I love the added detail to the case.


Dollar store cell phone case diy

4th Case

This one was just as easy as the rest. I just used some chevron stickers to add detail to the white areas.

Dollar store cell phone case diy

Just be sure to glue the sticker down with Locktite

Dollar store cell phone case diy

Fun!

5th Case

This one is fun. The pattern was already bold, but I thought it needed more. So I added a chipboard letter and parentheses with Loctite and it is good to go!

I really like how this one turned out.

Dollar store cell phone case diy

6th Case

last but not least. This one was a little more involved, but not much. The case was not plastic, but more like a fabric on the area I painted.

I used come soft gloss gel and mixed in some Mica Powder on a small plate. You only need a little bit of each.

Dollar store cell phone case diy

Then I painted stripes and blended them together.

This one was fun to make and I have to say I love how it turned out.

Dollar store cell phone case diy


have you decorated a dollar store cell phone case? If you have I would love to see it!