DIY Sparkle Watches

Hello Everyone!

it has been a while since I did a sparkle project. But when I found these watches in my costume jewelry stash I just knew they needed some sparkle to make them so much better Smile

DIY Sparkle Watches

20160628_161411

I love projects like this, so easy to do, but when they are done they look like a million bucks. They are fun and you can be as creative as you want.

Materials

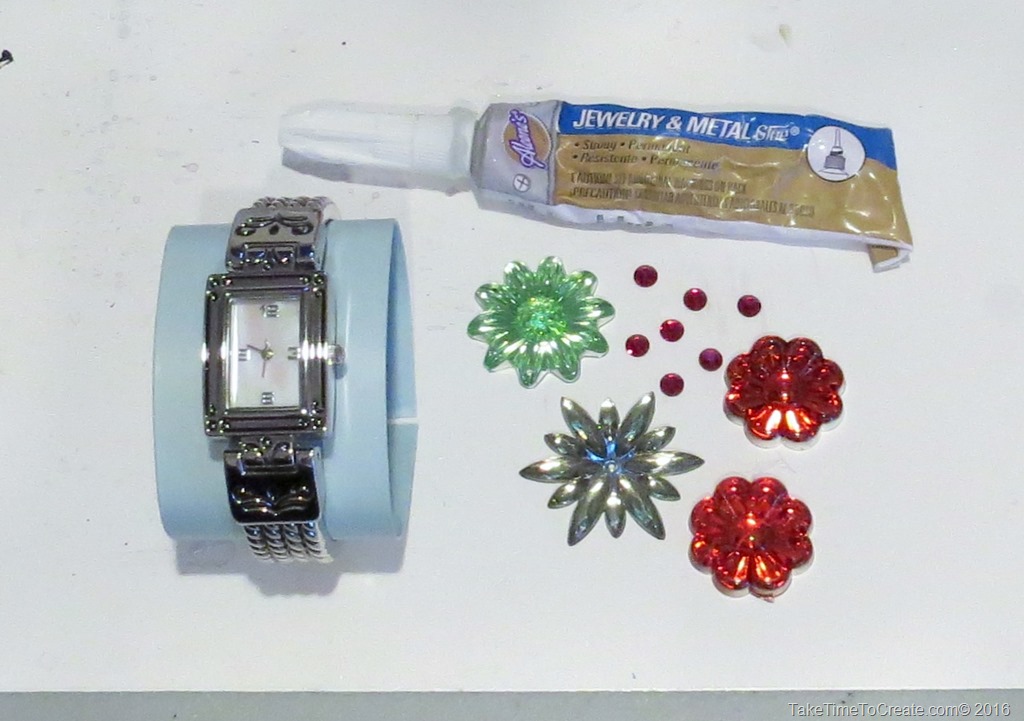
All  you need is a watch (or any piece of jewelry)

glue and Rhinestones.

DIY Sparkle Watches


Instructions

~ Find the rhinestones you want to use and glue them on using metal glue. That is it. I know, not too hard but really fun!

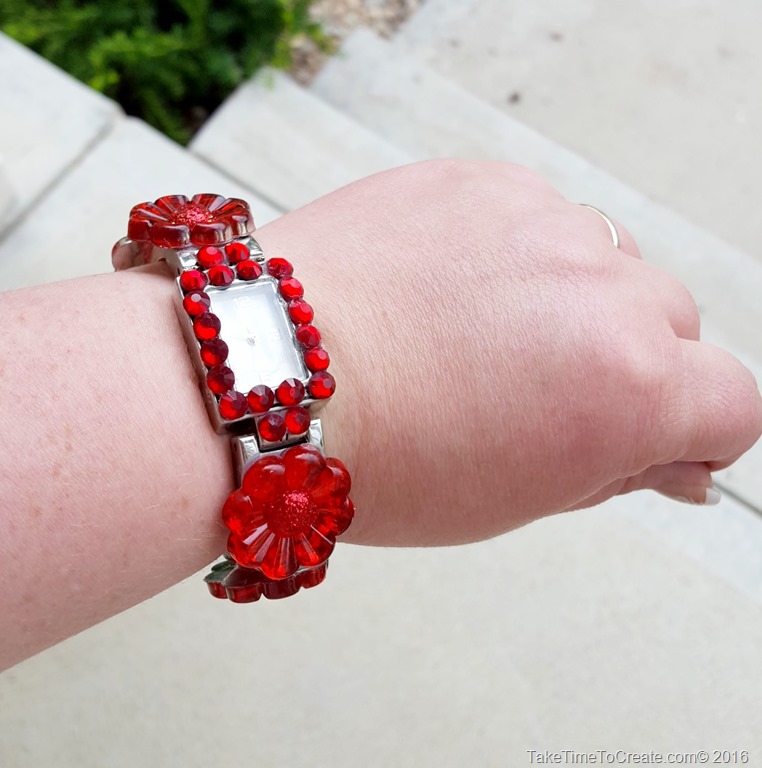
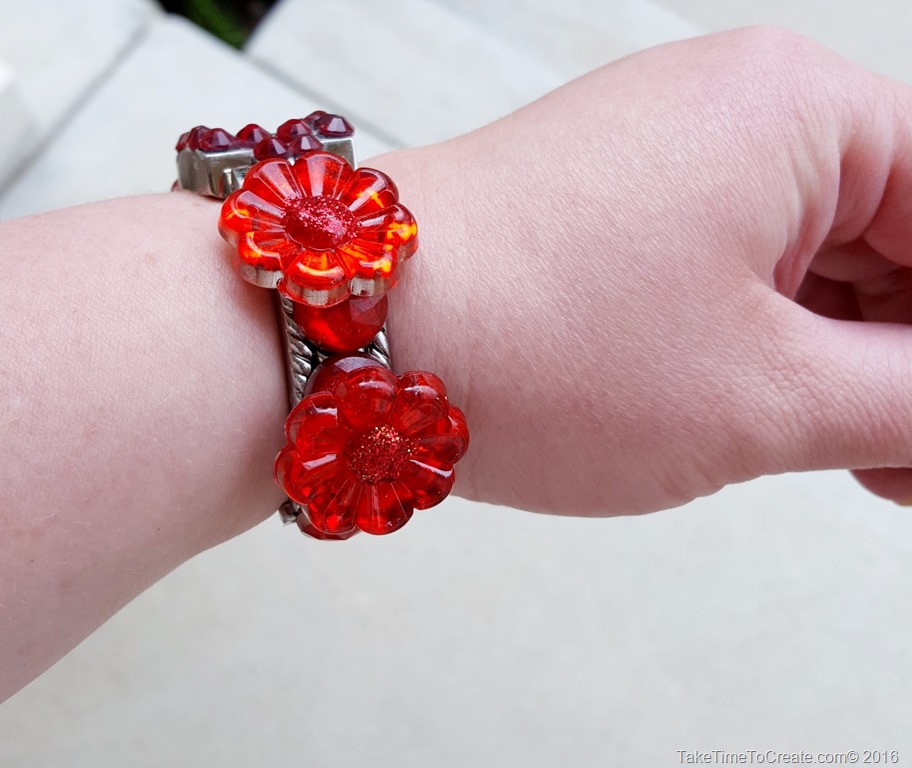
The first watch I wanted to do a red one. I wear a lot of red and I thought I needed a watch to go with my outfits.

DIY Sparkle Watches

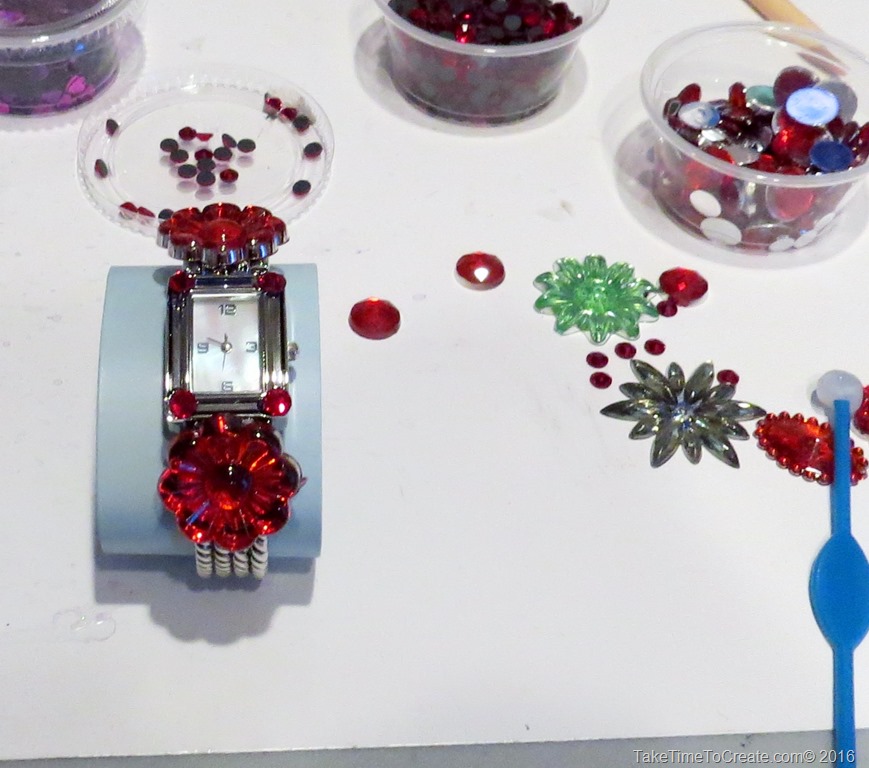
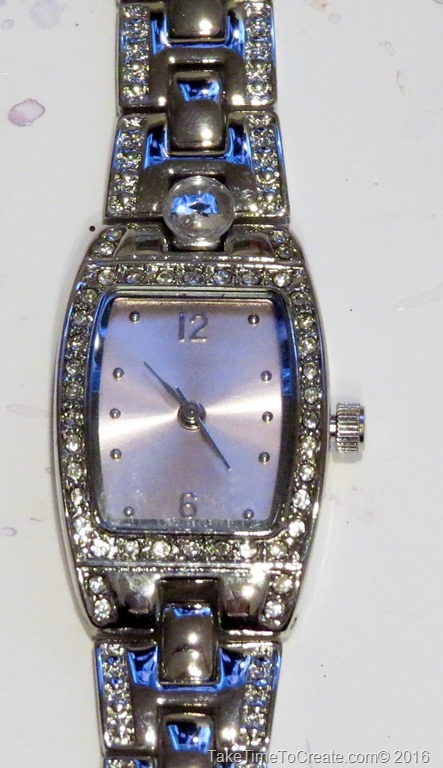
So I took this great bangle watch and added red rhinestones around the edge of the watch face. Be careful not to get glue on the watch face (like me, lol) but some acetone took care of the mess

DIY Sparkle Watches

Then I added some circle and flower rhinestones around the band. I love how this turned out!

DIY Sparkle Watches

DIY Sparkle Watches


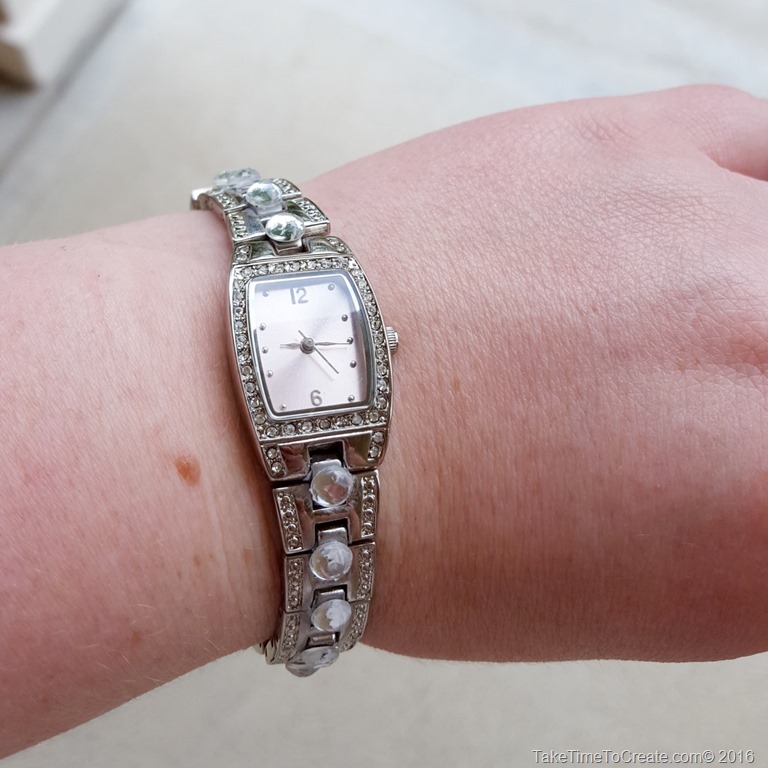
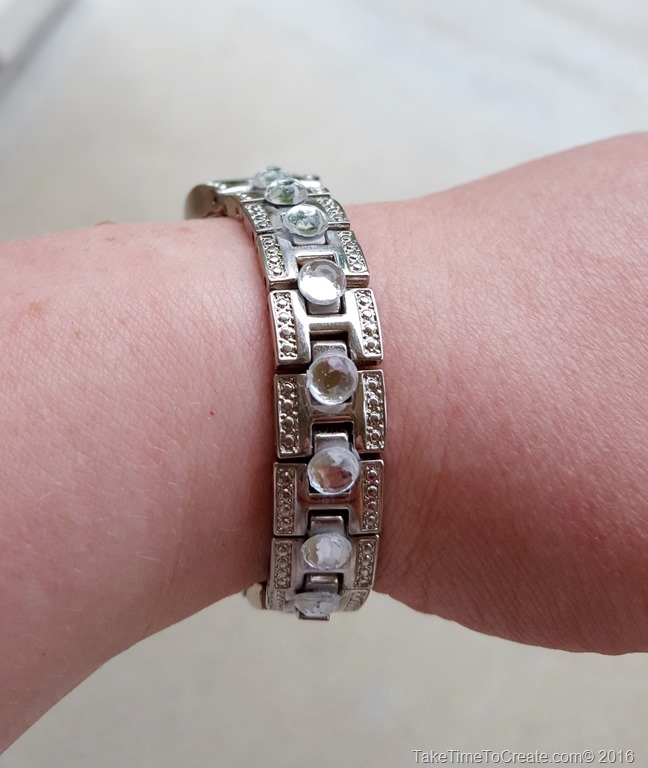
The other watch is more of a minimal look (for me at least, lol) It still does have a lot of bling going on.

DIY Sparkle Watches DIY Sparkle Watches

I just glued clear rhinestones on the band since the face had some sparkle going on anyway.

DIY Sparkle WatchesDIY Sparkle Watches

I just glued the rhinestone in between the joint on the band, just be careful not to glue the joints together.

So much fun! What do you have that you are going to bling?

DIY projects with glass animals

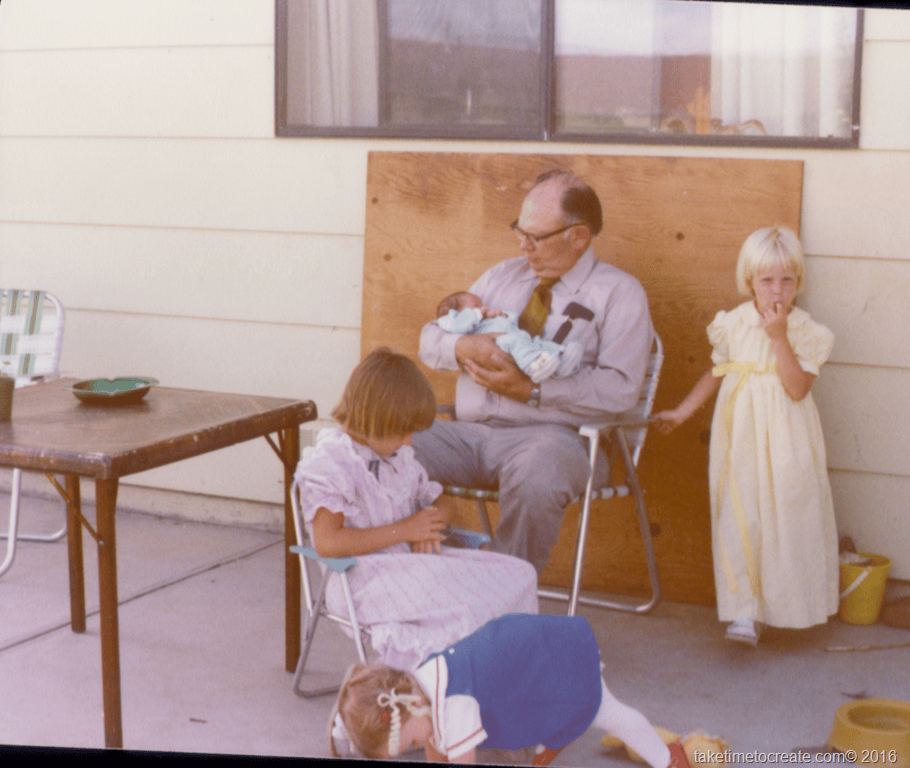
My Grandpa was a rock hound, he searched and collected rock for as long as I knew him. He loved rocks and he created some wonderful, beautiful jewelry with his rocks.

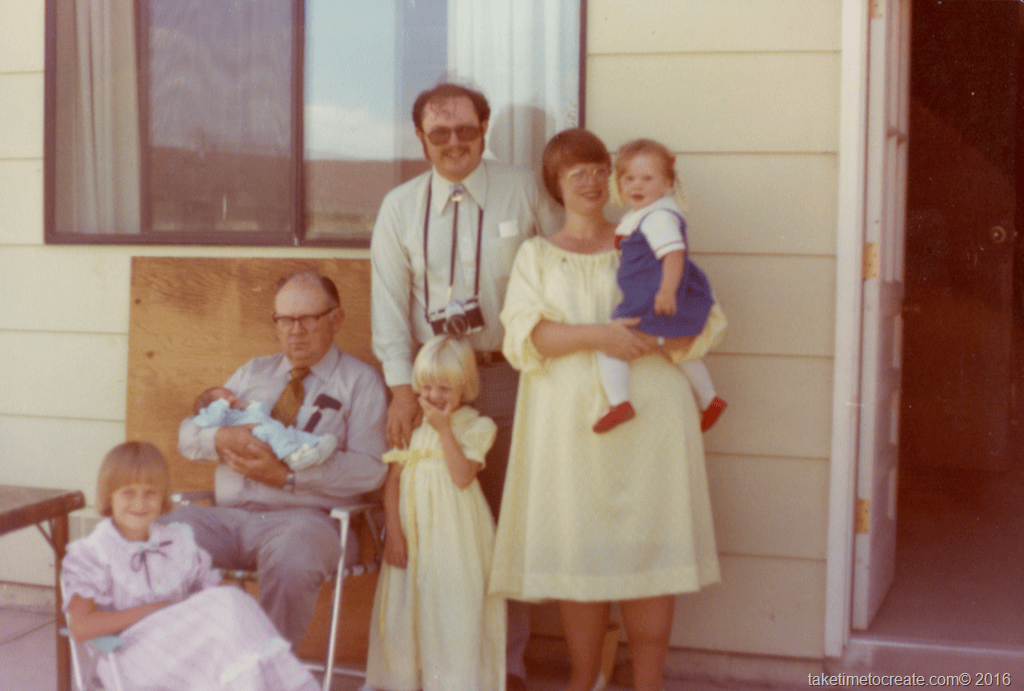
Here is a 70s fantastic picture with my Grandpa. I love this pic, it was taken not long after my brother was born (he is the baby in my Grandpa’s arms). I am the little cutie in my mom’s arms, my sister Valerie the cute little blondie, and my other sister Kim is the cutie sitting down.

diys with glass animals

And what I love best about the above picture is about 5 seconds after it was taken this next picture was taken (or maybe it was 5 seconds before the actual photo when my folks were trying to set everything up). But either way the before and after is funny. It is almost impossible to keep 4 kids in one place. It just makes me giggle every time I see it.

diys with glass animals

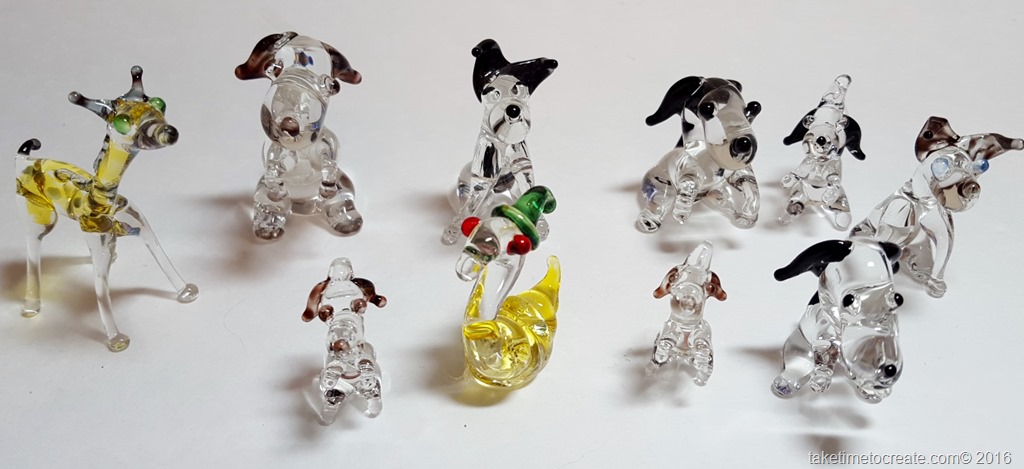
Anyway, I digress. As I said my Grandpa was a rock hound. It was fun to spend time in his rock shop and see his tools and rock and various treasures. When he passed my oldest sister, Kim, got almost all his rocks and tools. Well, I was visiting Kim a few weeks ago I spent some time digging around in the rocks she had. And I come home with a treasure trove! My Grandpa had these really cute glass animals, I knew I could do something with them. Be prepared for more future posts with rocks, I may have collected a ton from my sister….

diy with glass animals

Aren’t they cute! But you know real life happens and before I even started my craft projects Cole had to take a few (or 10) so this is all the remains. LOL. He also had first dibs on all the rocks I brought home, so I have significantly less than what I started with.  I love how interested he is  in rocks and nature.

I made some necklaces and some little decorations with the glass animals. I will divide this post into 2 parts, starting with the jewelry.

Materials:

~ Glass animals (you can get these almost anywhere. I would look on Amazon, eBay, or do a quick Google search, or sometimes rock and or bead shops might have them)

~ Wire, pliers, jump rings

diy with glass animals

Instructions:

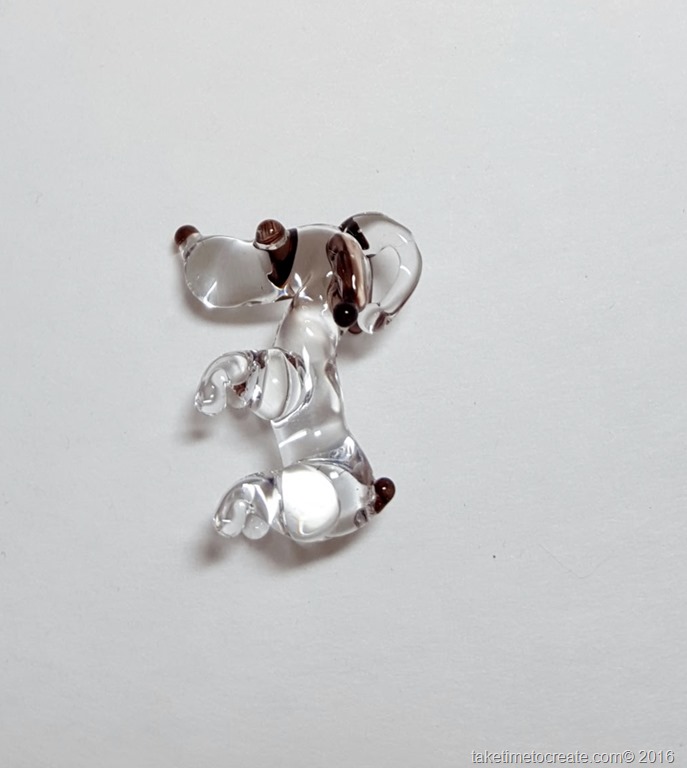
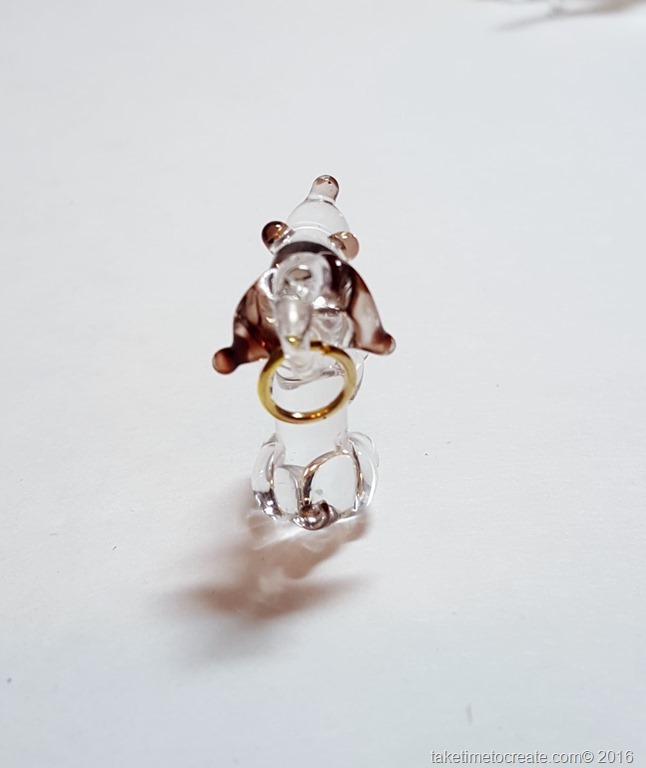
~ The little dogs had a little glass bump that was perfect for a jump ring. Add a jump ring  and a chain and you are good to go. I think this is the easiest project ever!

diy with glass animals     diy with glass animals

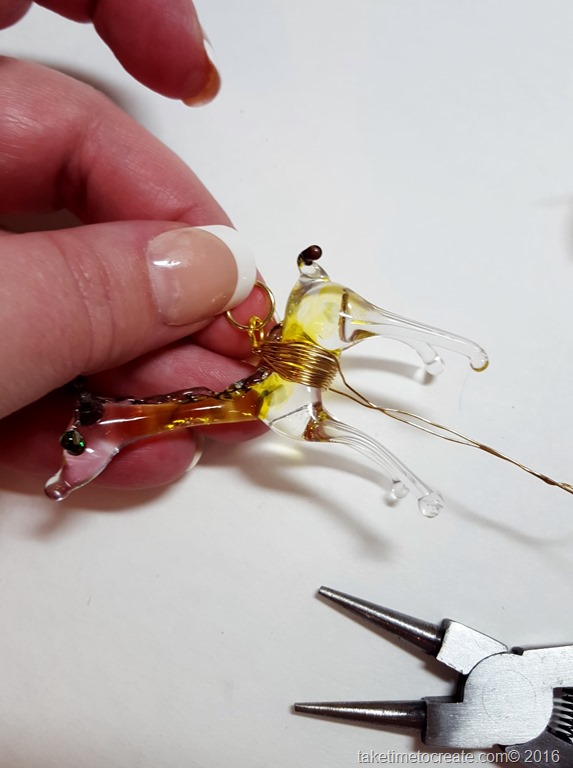
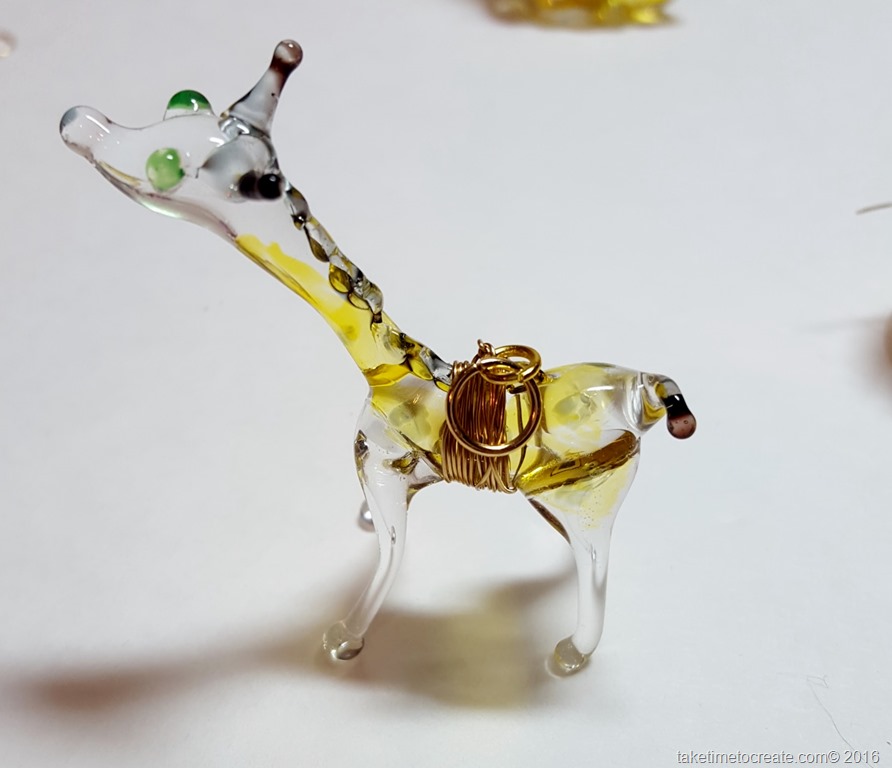
~ The giraffe was a little harder, but not much. Just take some wire and wrap it around the body of the giraffe.

Once you have wrapped it as much as you want then twist it at the top and add a jump ring, just watch for the center of gravity. You want to make sure your jump ring is in a place to make sure the giraffe will hang right. Then take the wire and twist to the bottom and secure and cut off extra. I am thinking that I will need to add a dab of glue to make sure it is secure.

diy with glass animals     diy with glass animals     diy with glass animals

~ Please note that these are glass and to be very careful when you wear them. These might not be suitable for children, they might break.

diy with glass animals     diy with glass animals

Making Glass Animal decorations

Materials:

~ Rocks

~ Glue (I used Loctite, but E6000 would probably work, or any other glue like that)

~ Glass animals

Instructions:

~ Gather your rocks and animals. As you can see I have a lot, but this isn’t even a tiny fraction of what I brought home. I am so excited for all the rock projects I have in store!


diy with glass animals

~ Then glue your animals to the rock base and that is it! Display them on your favorite shelf. Reminder that these are glass and fragile, so you should be careful handling them and these are probably not for kids to play with.


diy with glass animals


Nice and easy for this Wonderful Wednesday! Check out my Etsy shop to purchase some of these creations. TakeTimeToCreate.etsy.com


There are no affiliate links in this post

Repurpose Your Old Keys

Hello Everyone!

One of my goals this year is to use what I already have. I am trying not to purchase new things and to up cycle, repurpose,  and recycle as many items as I can.

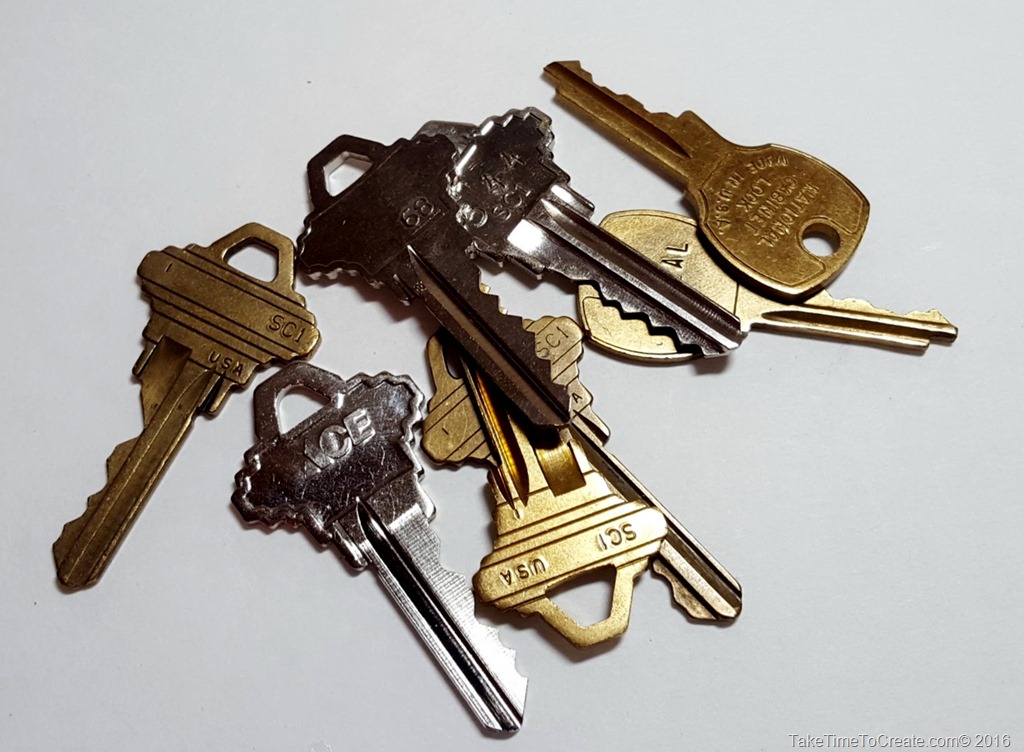
With that in mind I decided to repurpose some old keys I found in my desk drawer at work. After making sure they didn’t work or went to anything important I went to town making them awesome.

Repurpose old keys

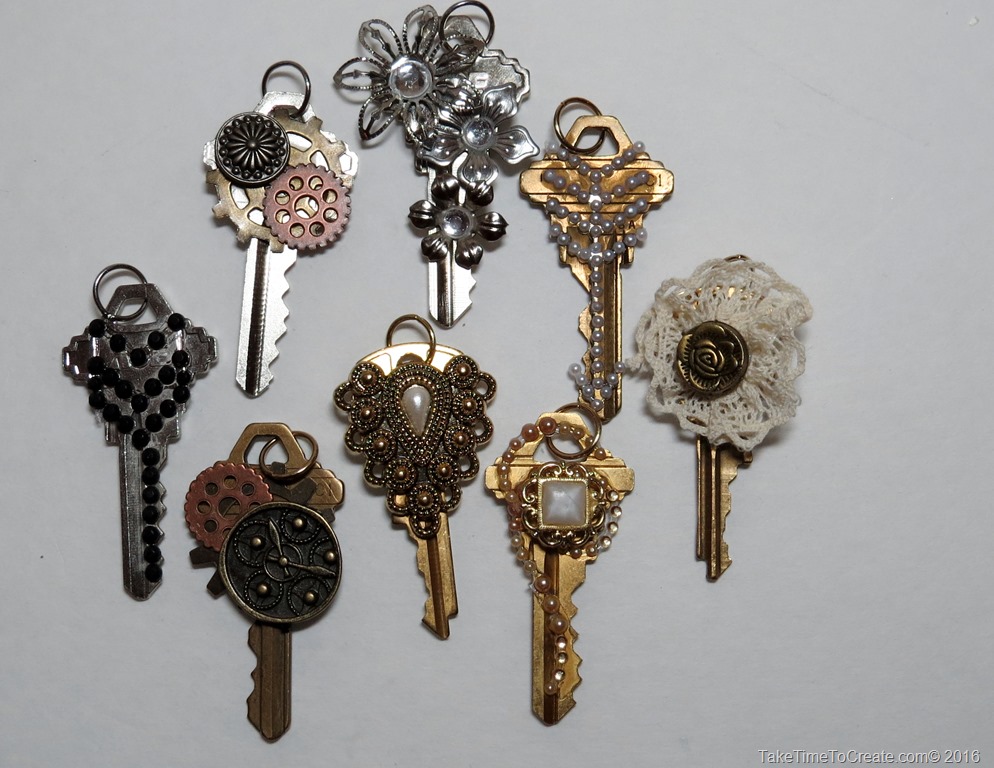
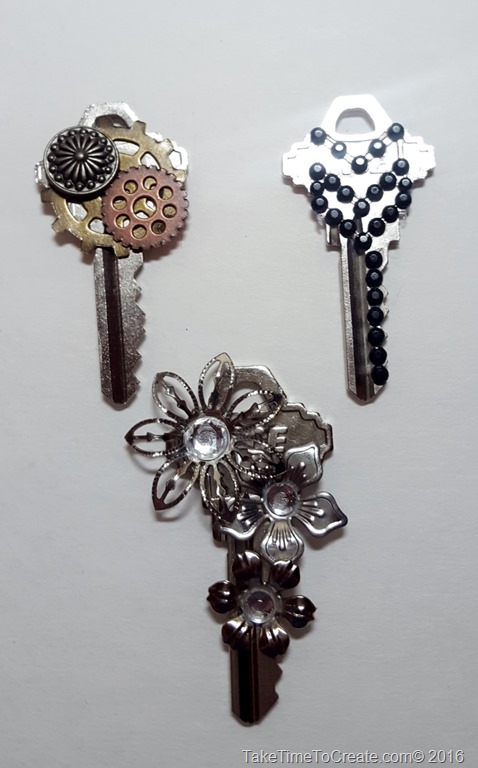
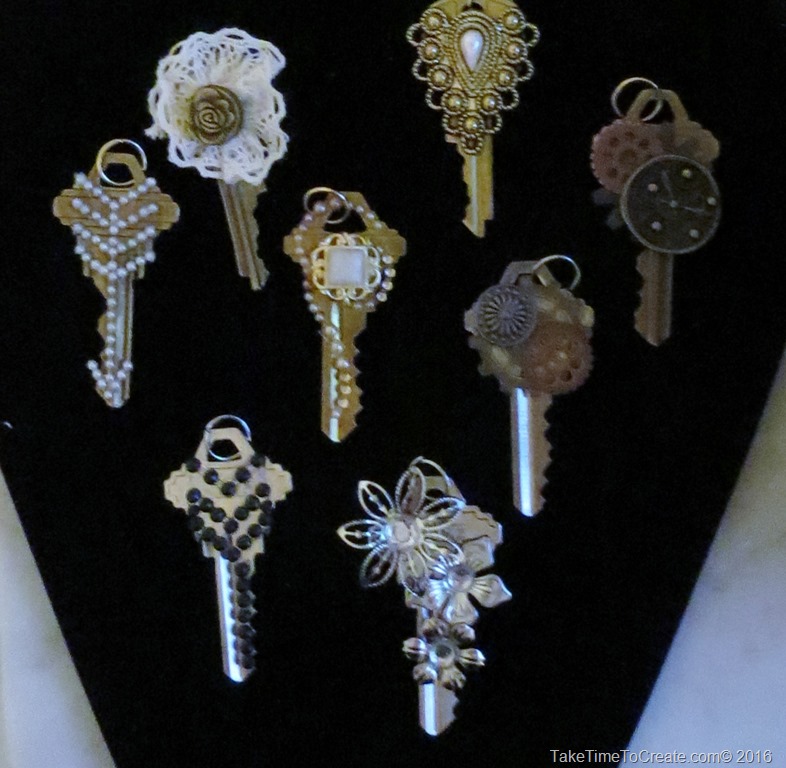
They are easy to do, just glue on some flower, rhinestones, button, or brad. Add a jump ring and you are done.

Here is my pile of plain keys.

Repurposed old keys

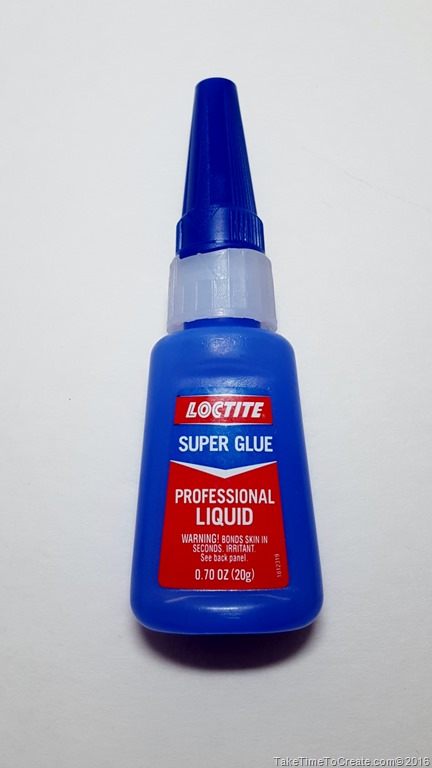
I used Loctite glue and it is holding really well.

Repurpose old keys

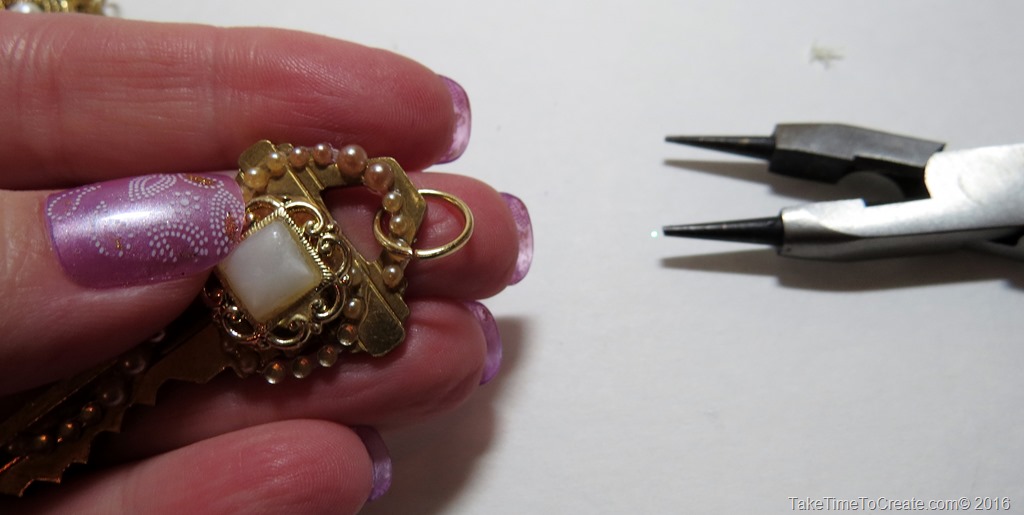
Adding the jump ring is easy to do

Repurpose old keys

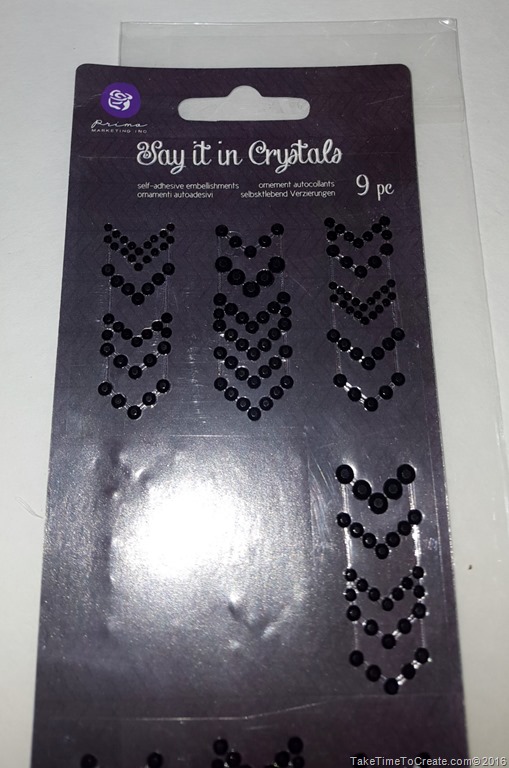
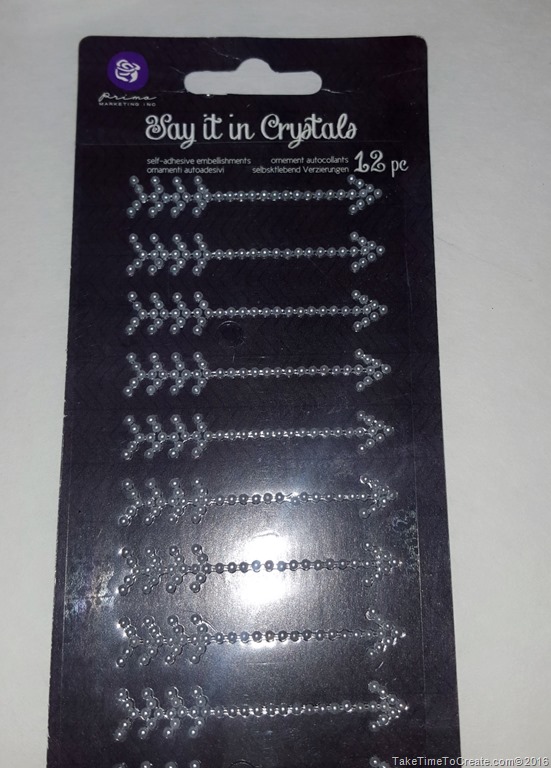
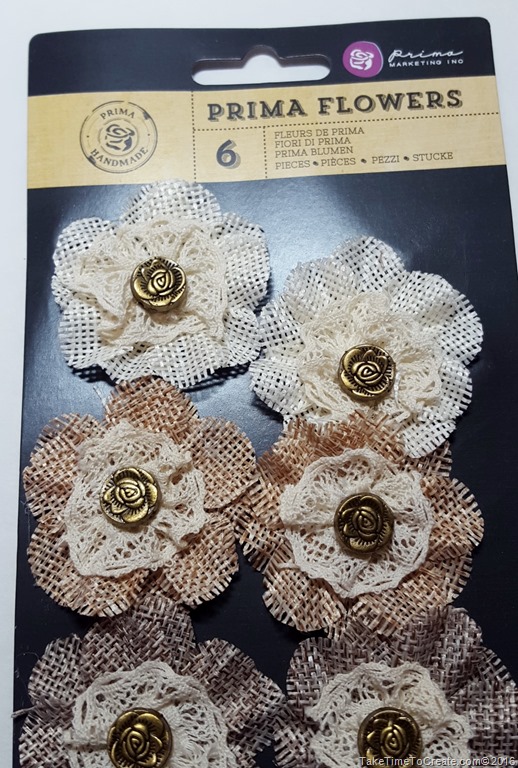
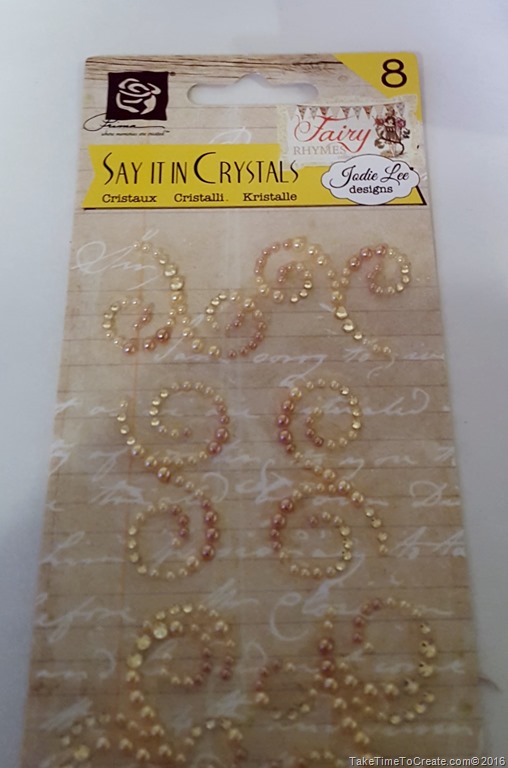
Here are some of the rhinestones and flowers I used. I am loving the rhinestone brand Say It With Crystals and the flower brand Prima Flowers.

Repurpose old keys     Repurpose old keys     Repurpose old keys     Repurpose old keys


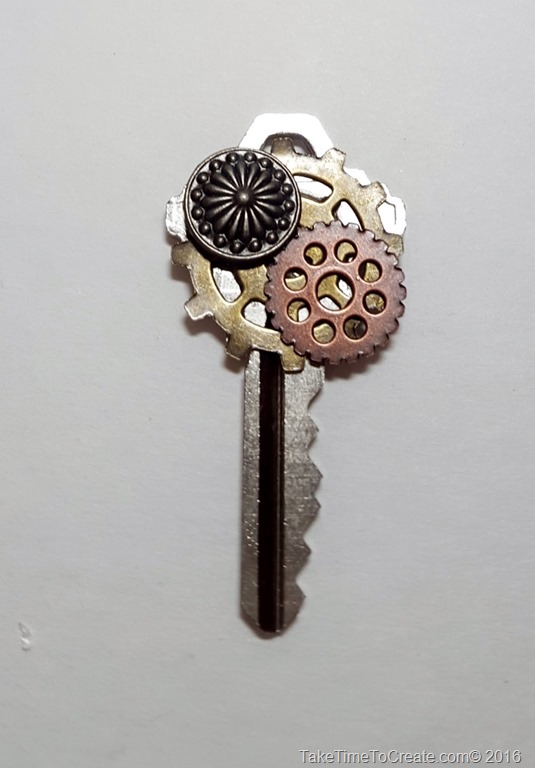
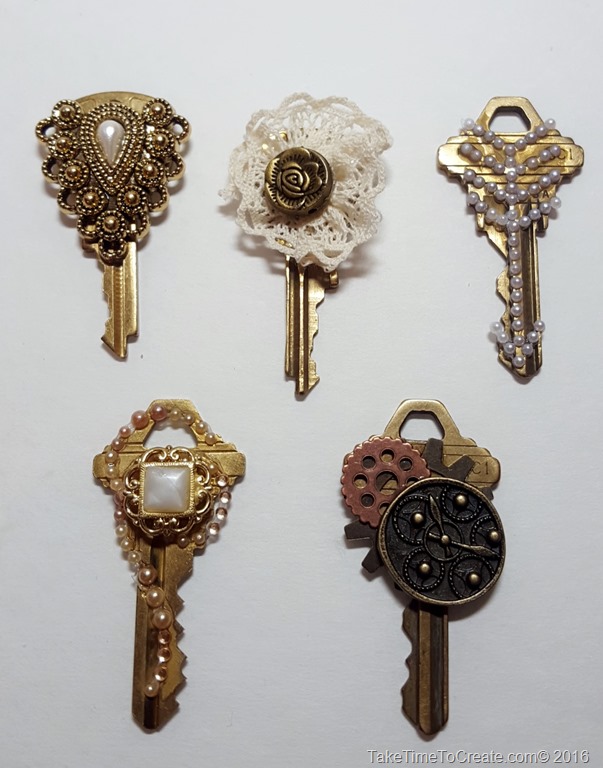
As for the steampunk keys I just found some steampunk doo dads at Michaels in the jewelry/bead  department. I had some old brads in my stash and bent the ends off and glued them on. As for the buttons I just cut the shank off and glued it on. The metal flowers are something I had laying around,I am sorry I can’t remember where I got them, but I added a rhinestone and jazzed it up and I think I turned out great.

Repurposed old keys     Repurposed old keys

Repurposed old keys     Repurposed old keys


Don’t be afraid to mix and match things, you might surprise your self with your creations.  I even removed part of the flower for one of the keys, It was too big otherwise.  I would love to see what you come up with.

Repurpose old keys

I will have some of these keys in my Etsy shop, along with other creations. TakeTimeToCreate.etsy.com

Disclaimer: There are no affiliate links in this post