Disney Frozen Mixed Media Canvas

Hello Everyone!

I just love Disney movies. They are so wonderful watch and when it is a musical it is even better. I own just about all of the Disney soundtracks and I will always sing along at the top of mu lungs, especially when I am driving. haha. My son just loves it when I do that…

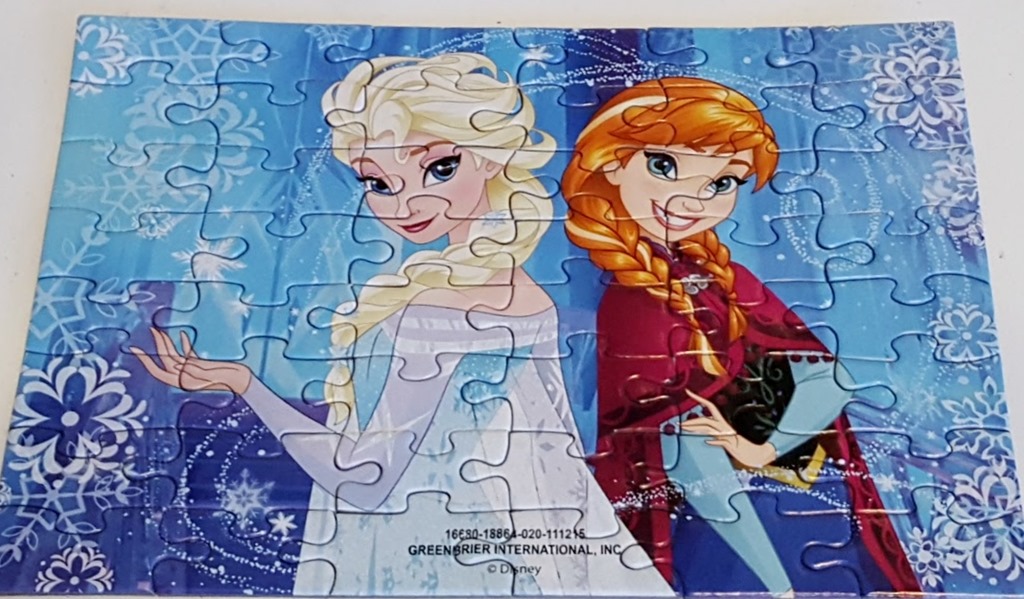
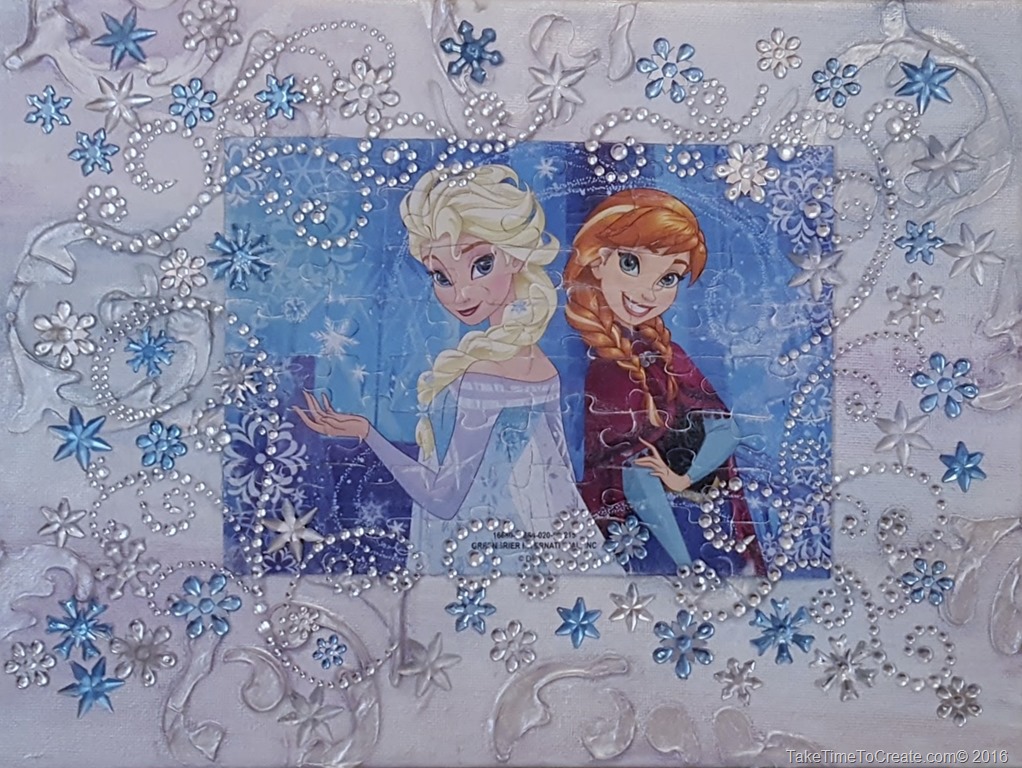
Anyway, I found this great Disney Frozen puzzle at the Dollar Store and I knew that it would be perfect for a mixed media canvas.
Disney Frozen Mixed media Canvas

Materials:

~Puzzle

Disney Frozen Mixed media Canvas

~Canvas

~Stencil

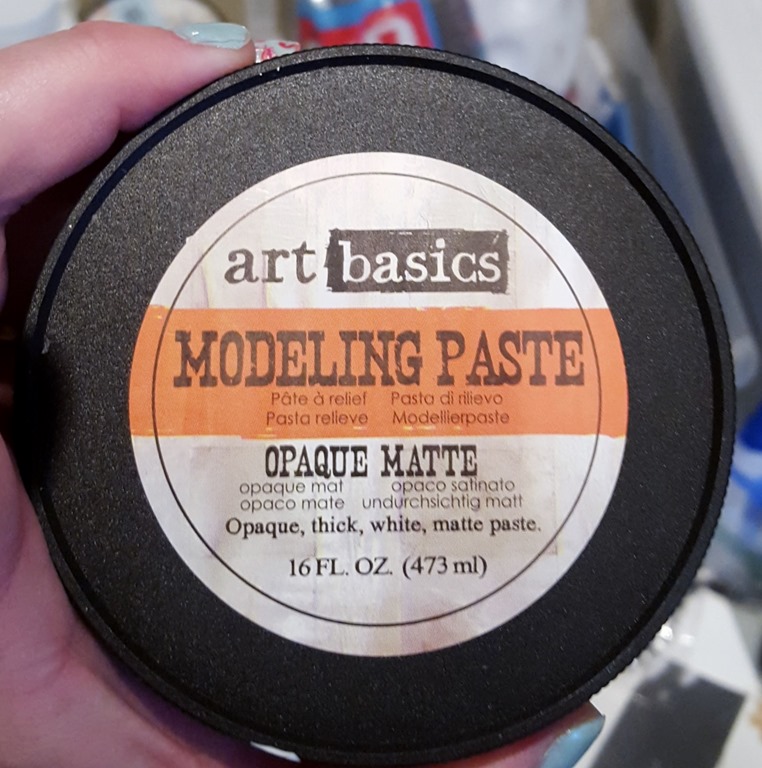
~Prima Marketing’s Art Basic Modeling Paste, mica powders, Soft Gloss Gel, and 3D Gloss Gel
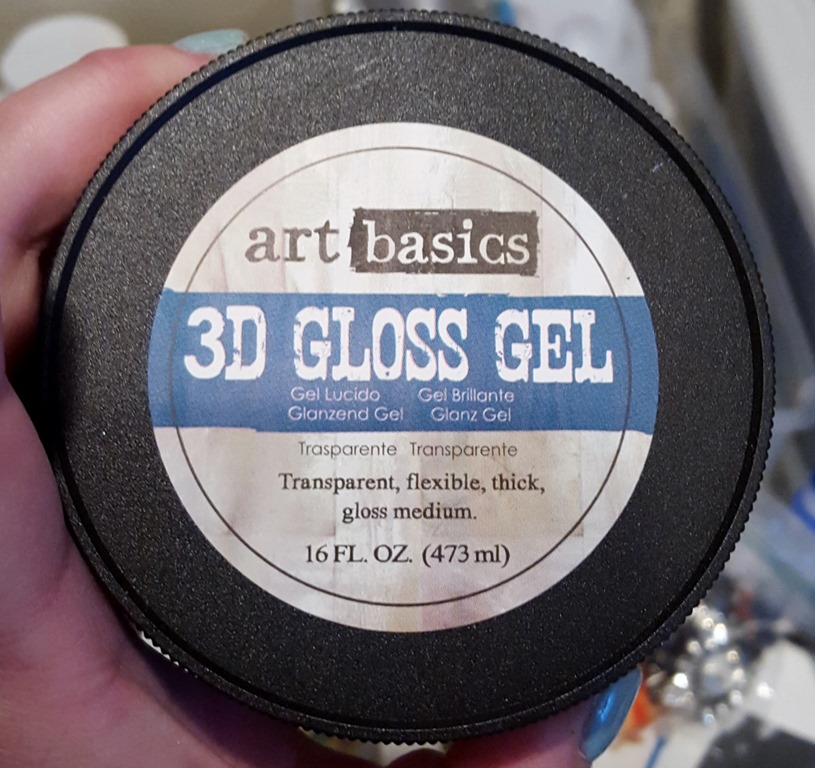
3d Gloss gelmodeling pasteSoft Gloss Gel

~Clear gesso

~Mod Podge

~Swirl and snowflake stencils

Instructions:

First put the puzzle together. This is a fun part, I love putting puzzle together. Once it is together I painted the back with Mod Podge to help keep it together while I applied Gesso to the front.

Apply a layer of clear gesso to the front of the puzzle. This will help the paint adhere to the puzzle.

While the puzzle is drying you will need to work on the canvas. For the first layer I added some swirl stencils that I thought looked like snow swirling around. Prefect for the Frozen motif. I used a stencil and modeling paste and add the stencils everywhere. This is a great base layer that adds texture and interest. 
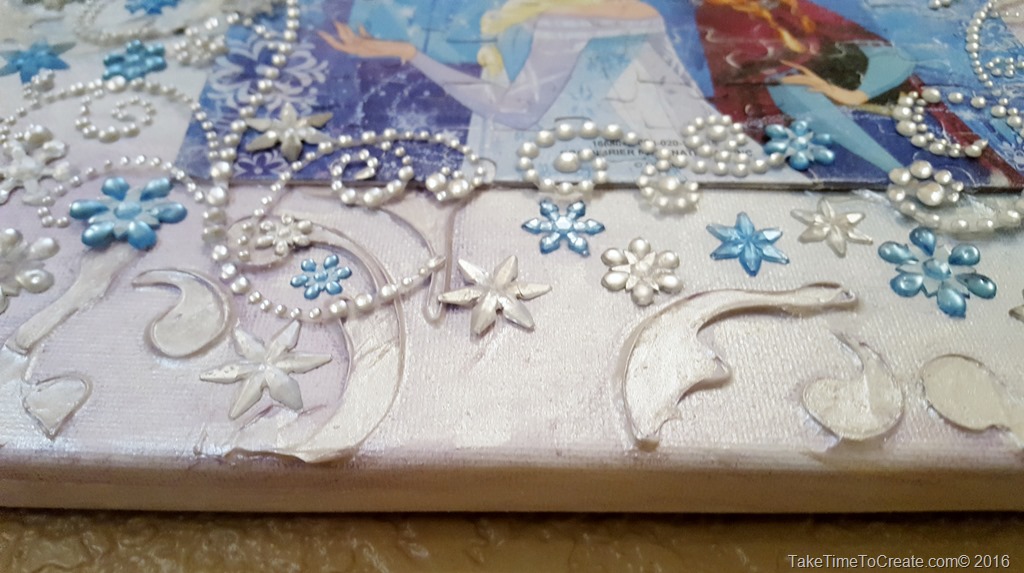
Disney Frozen Mixed media Canvas

Then I glued the puzzle to the canvas with 3d gloss gel.
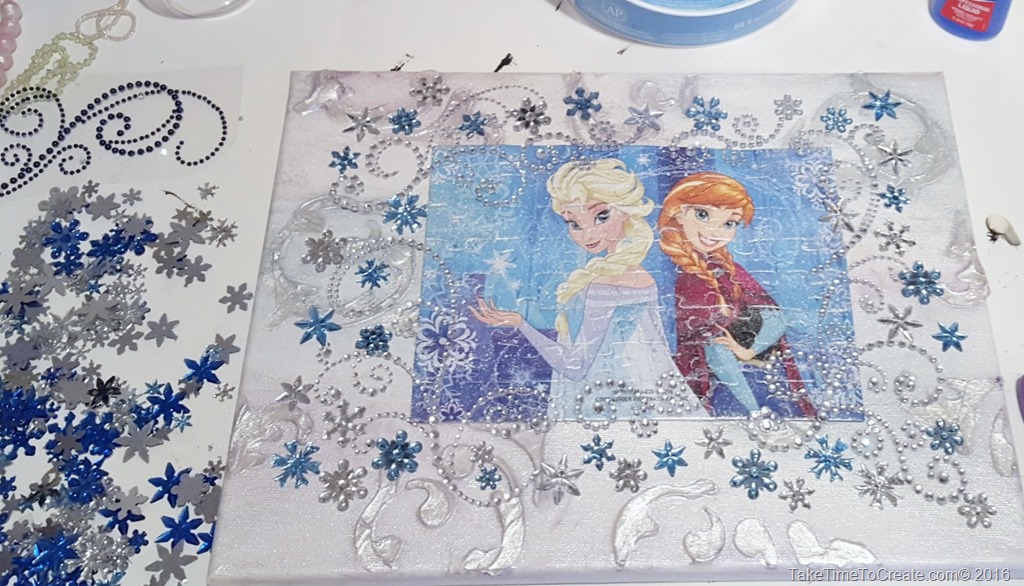
20160404_160049

Then I mixed mica powders in pink and blue and purple and silver with soft gloss gel and dry brushed painted it all over the canvas. I highlighted the stencils and created interest with the mica powders.
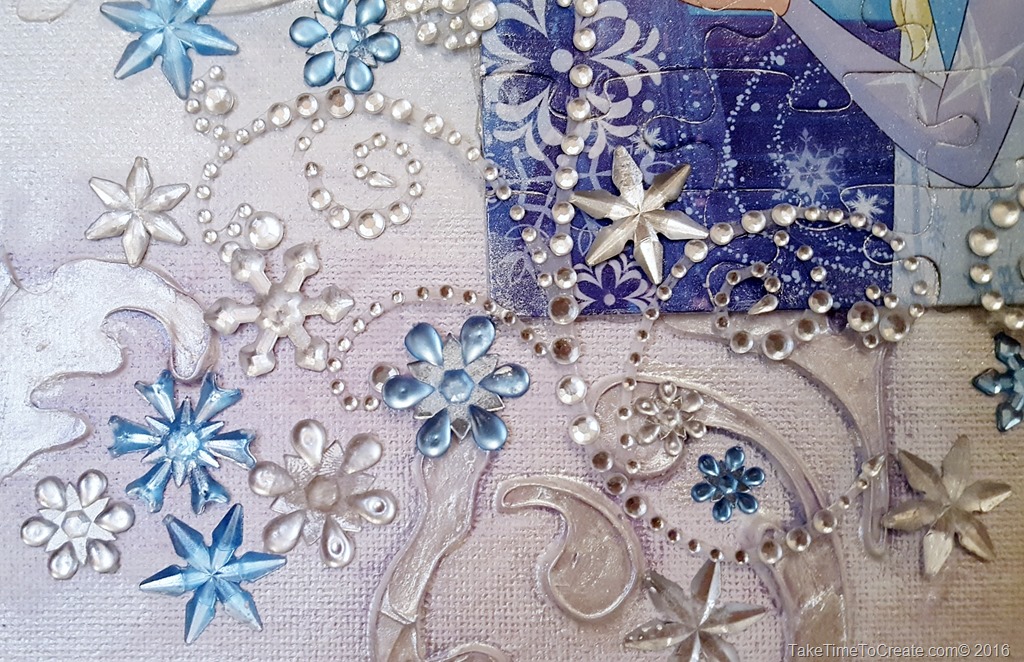
Disney Frozen Mixed media Canvas

Once the painting was dry I added the rhinestones and snowflake gems. Stick them everywhere to add sparkle and dimension to the canvas.
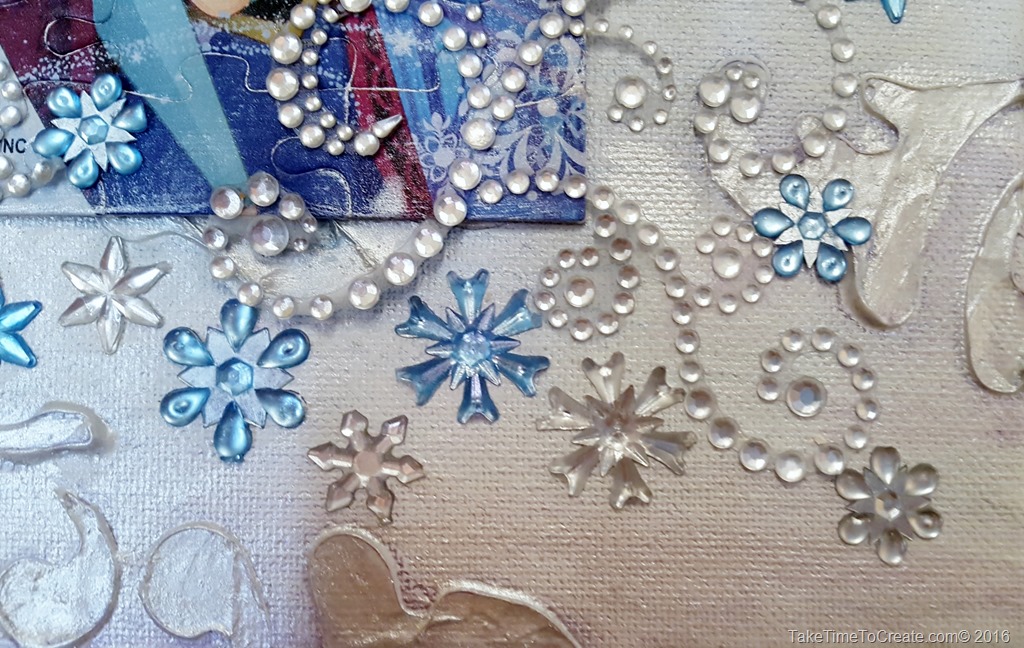
Disney Frozen Mixed media Canvas

Once it is all dry use a clear spray sealer to protect your work. This fun canvas is perfect for any Disney fanatic.
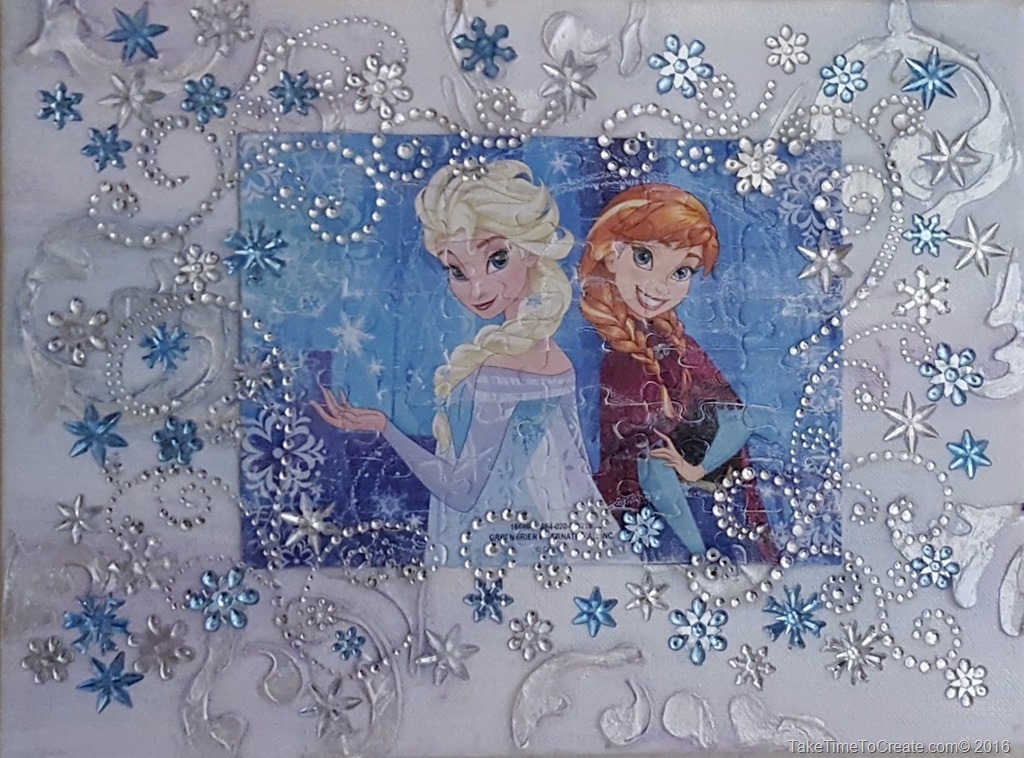
 

Disney Frozen Mixed media Canvas

Disney Action Figures from the Dollar Store

Hello Everyone!

I hope you all are having a great week so far. Our weekend snow storm ended on Sun and now the sun is out and the weather is beautiful. I love spring in Colorado!

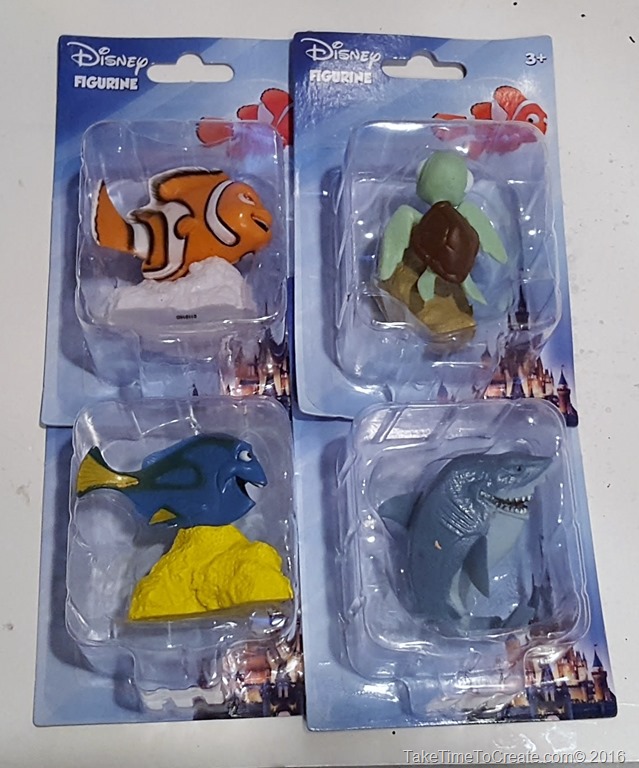
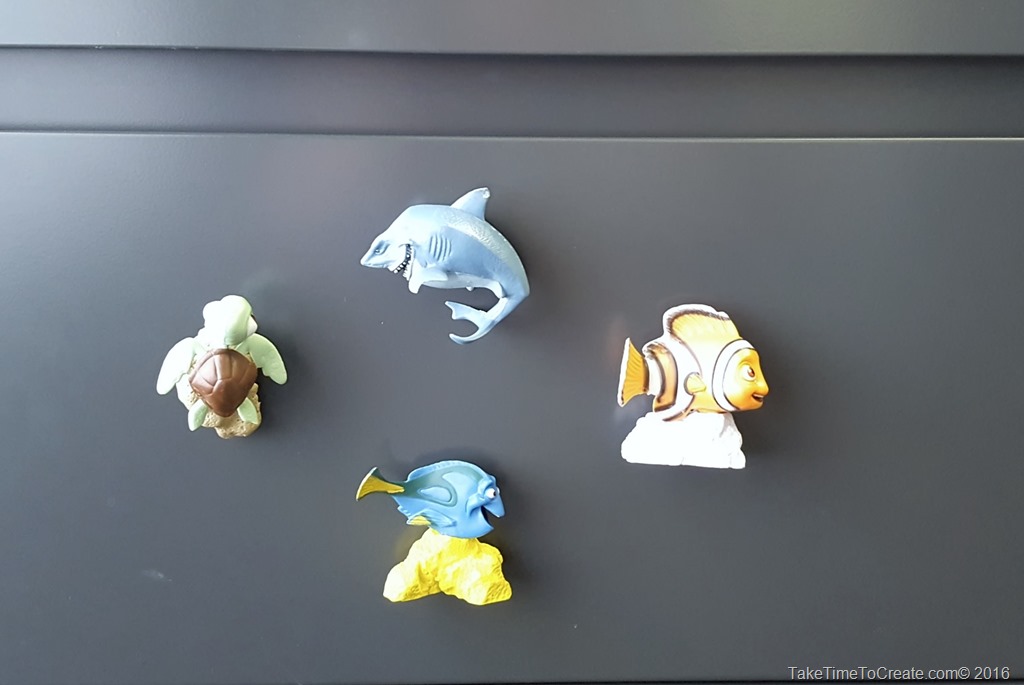
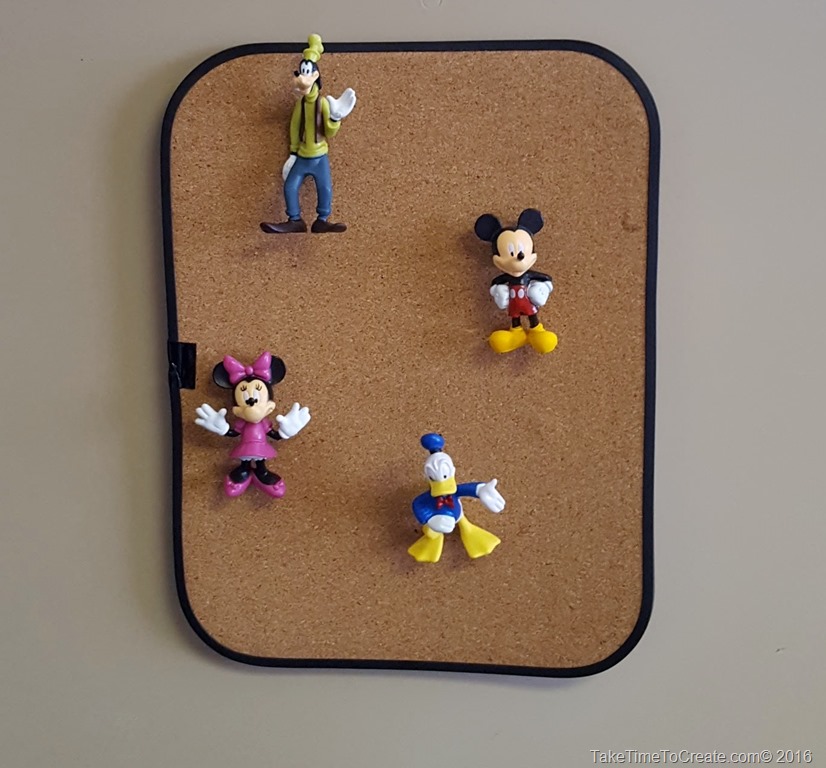
Anyway, I was at the Dollar Store the other day (of course I was at the Dollar Store… I seem to be there a lot, haha) and while I was there I saw these really cute Disney action figures. Once I saw them I knew they would be perfect as magnets and tacks for my office.

DIY Disney Action Figures from the Dollar Store

DIY Disney Action Figures from the Dollar Store

This is a pretty easy DIY so here you go.

Materials:

~Action Figures

DIY Disney Action Figures from the Dollar StoreDIY Disney Action Figures from the Dollar Store

~ magnets or tacks

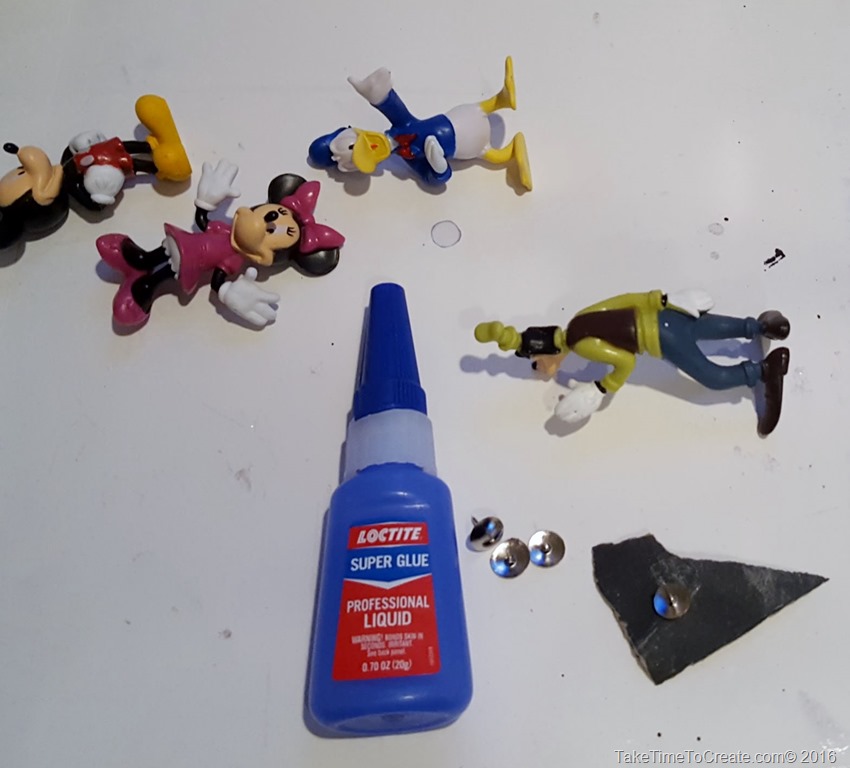
~ glue (I used Loctite)

~ Sandpaper

~ Masking tape

Instructions:

~ Find where you want to place the tack or magnet, some of the action figures are easier to figure out than others. I had a little bit of a hard time with Donald because of the way his back is arched, but eventually I did find a good spot to glue his tack on.

DIY Disney Action Figures from the Dollar Store

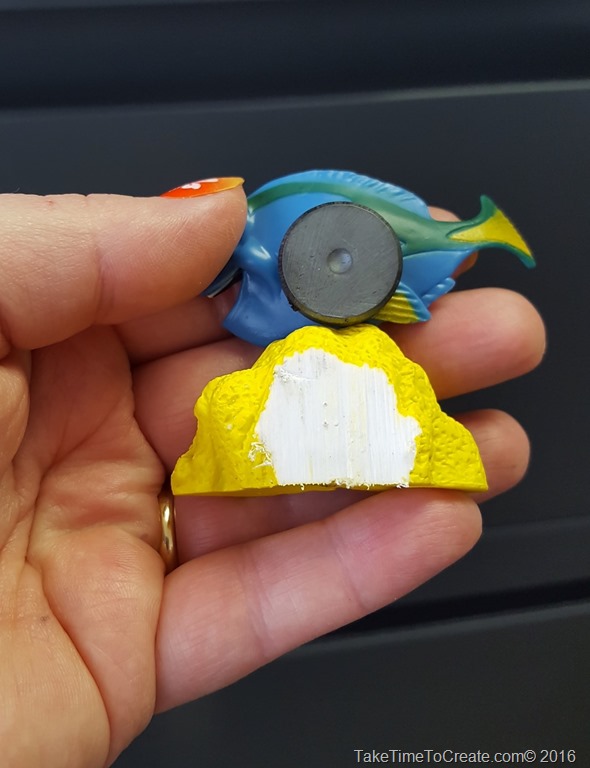
~ I rough up the spot where I wanted to glue down the magnet or tack, this will help adhere the glue. I also roughed up the tack.

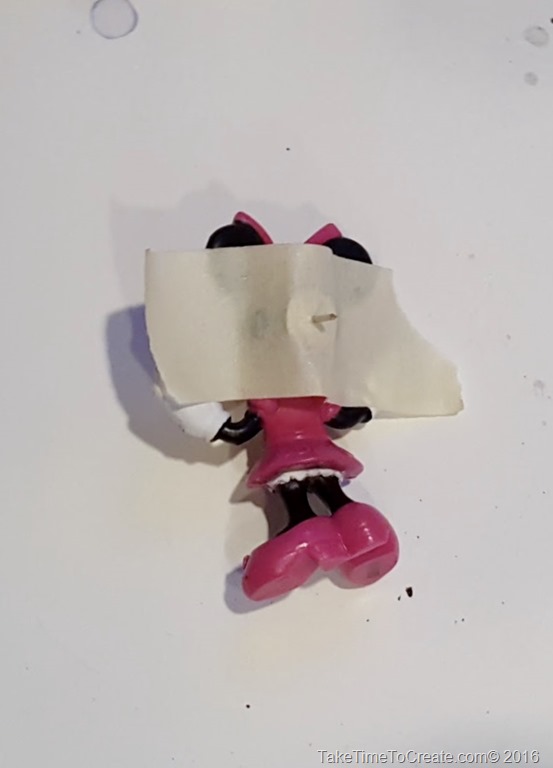
~ glue the magnet or tack in place. I put masking tape over the magnet or tack to help hold it in place while the glue was drying.

DIY Disney Action Figures from the Dollar StoreDIY Disney Action Figures from the Dollar Store

~ FYI Dory had to be trimmed in the back so she could lay flat. Some of your action figures may need to be trimmed as well.

DIY Disney Action Figures from the Dollar Store

And that is it, I can’t wait to go back to the dollar store and see what other action figures they have and see what I can do with them!

DIY Disney Action Figures from the Dollar Store