DIY Agate Coaster

Hello Everyone!

Happy August to you! Is is just me, or is this year flying by? Now that it is August I just realize that I am waaaaay behind on my crochet temperature blanket. You can read about it here. Time to start working on it again, but that is not what this post is about, lol. I am going to show you how to do something completely different Smile

These DIY agate coasters are an easy project that make a perfect gift.
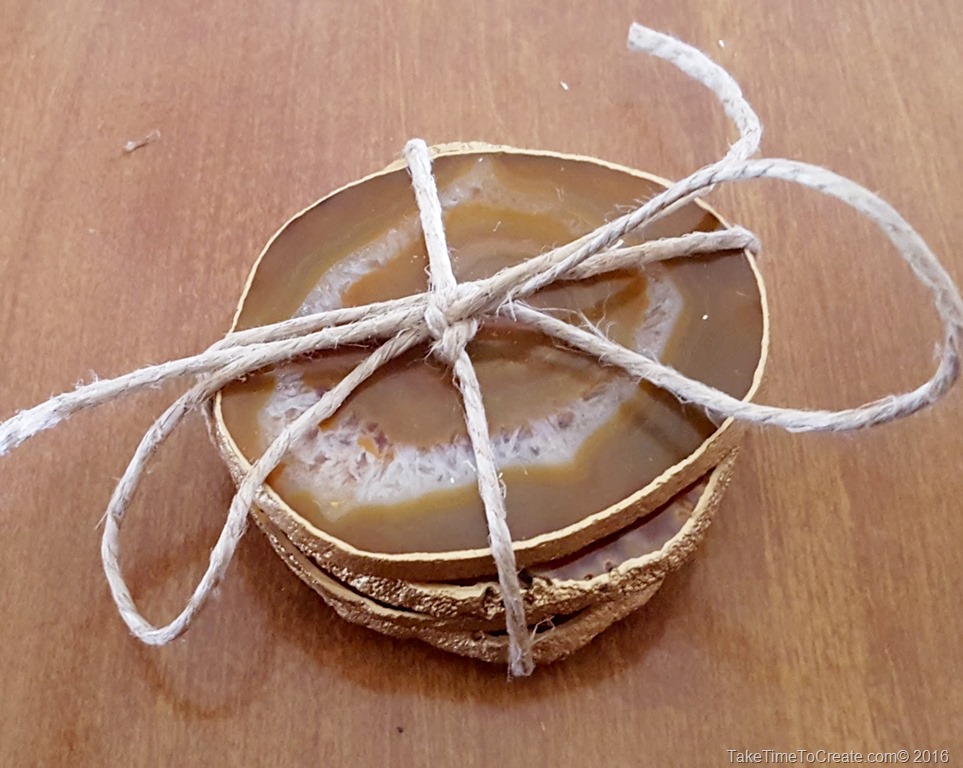
DIY Agate Coaster

Materials:

~ Sliced Agate. You can find them online in a variety of colors, shapes and sizes.

~ Paint Pen

~ Felt

Instructions:

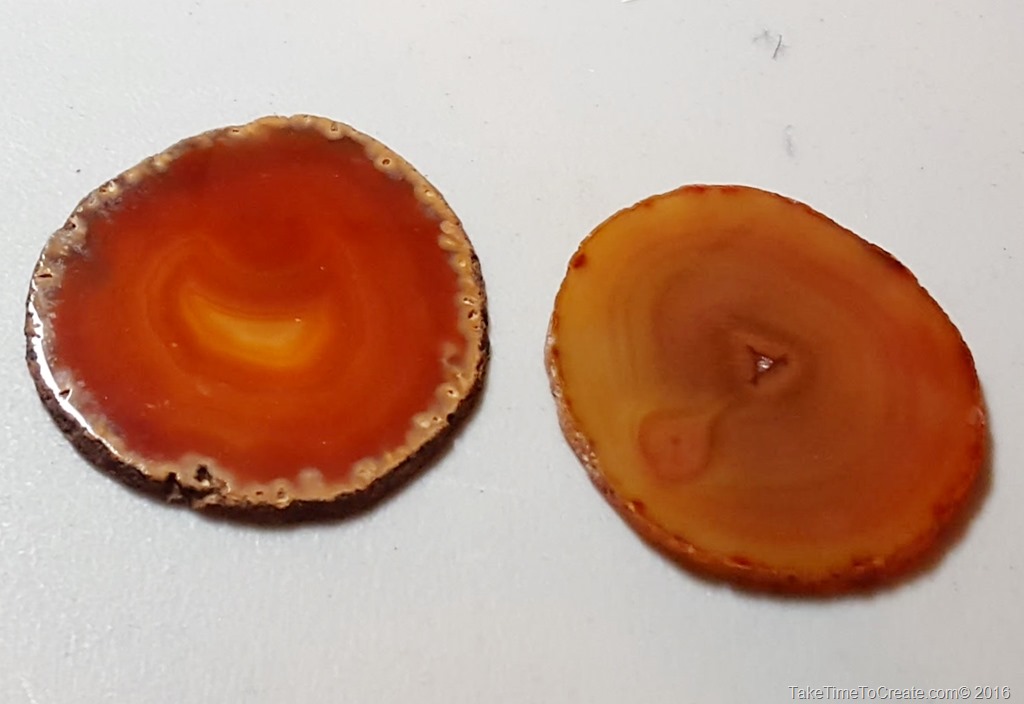
I have had these agates for a while, they were my Grandfather’s, I found them in his stash of rocks. He was a rock hound and had something of everything. They are a little smaller than I would have liked, but I like to use what I have on hand. The neutral color is perfect for me, but you can get them in almost any color of the rainbow.
DIY Agate Coaster

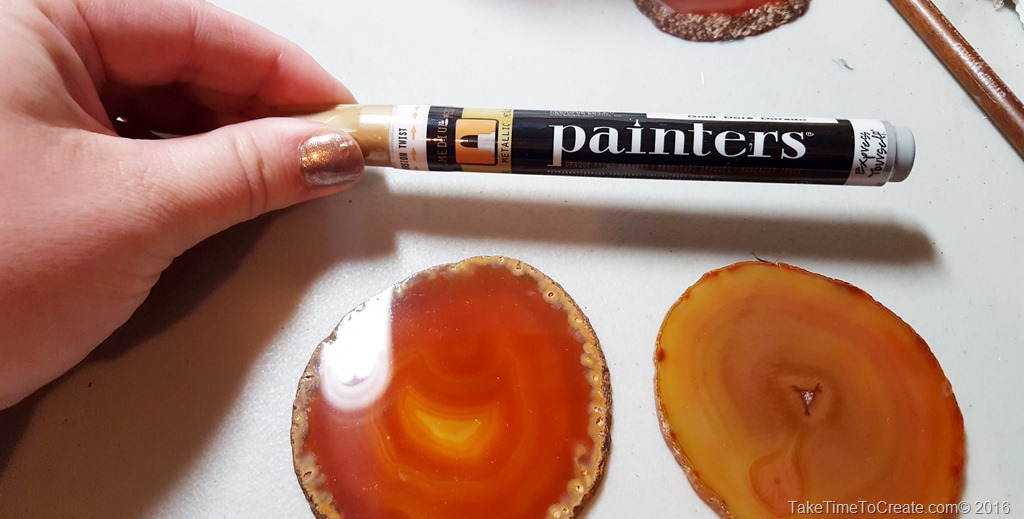
Then you paint around the edges with a paint pen. I picked mine up at Wal-Mart for a few bucks. I painted around the edge twice.
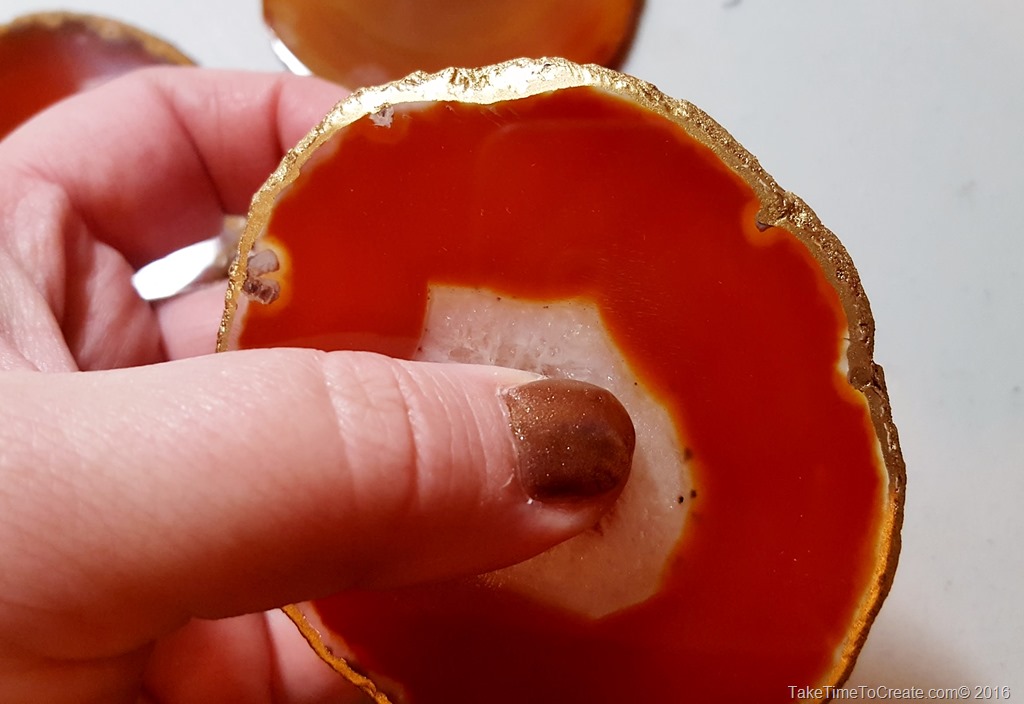
DIY Agate Coaster

DIY Agate Coaster


Put felt squares on the bottom to help protect your furniture and that is it!
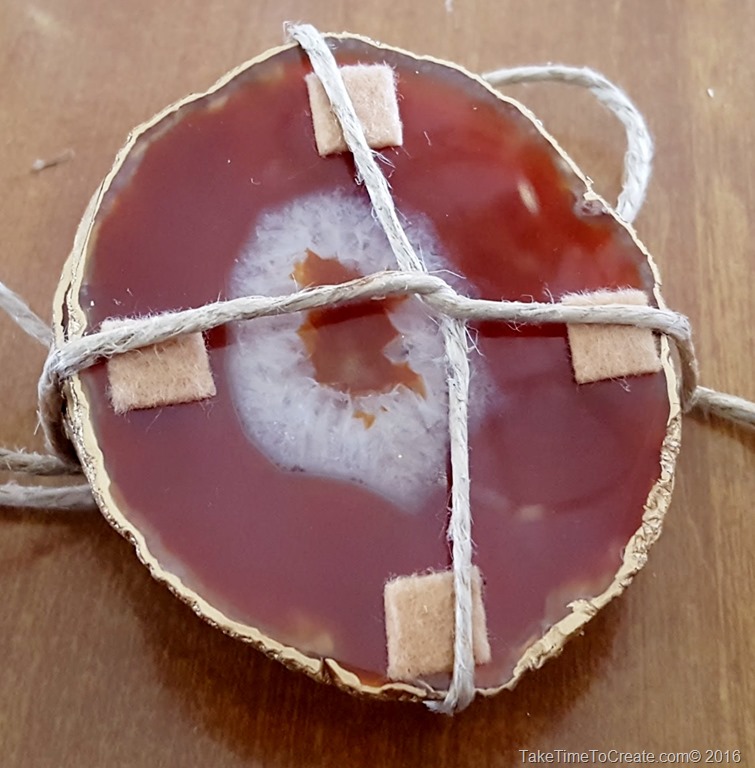
DIY Agate Coaster


Easy project to add interest and spice to your home.
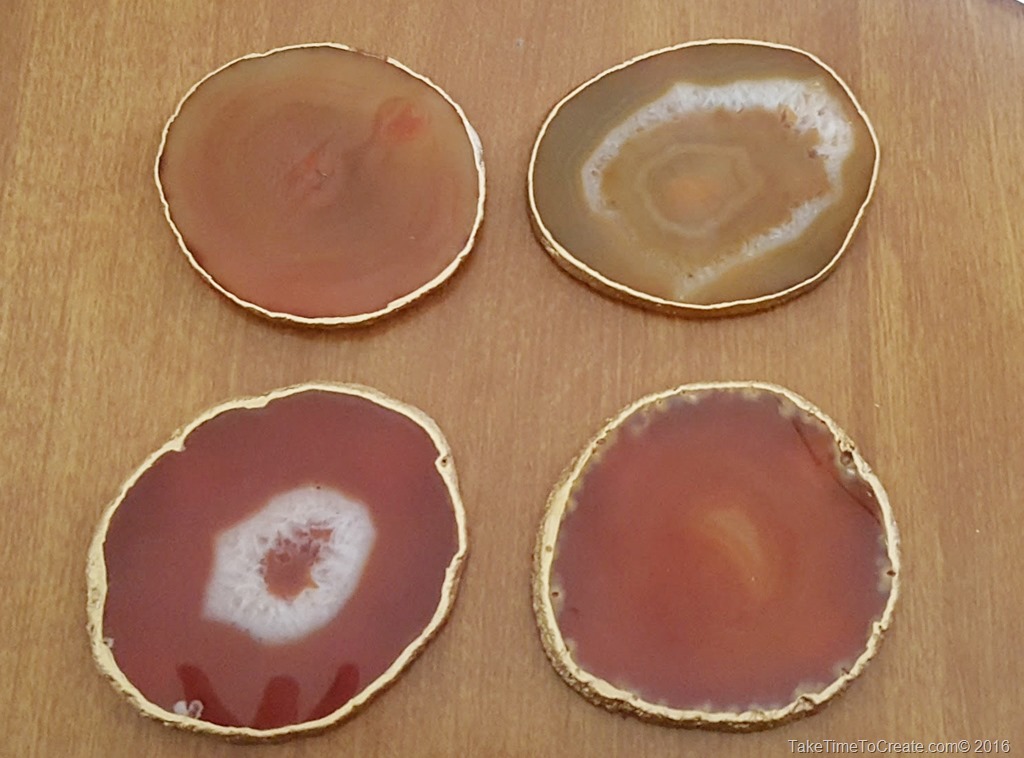
 

DIY Agate Coaster

Monogram Wood Burn Coasters

Hello Everyone!

Before I get into my DIY I just wanted to let you know that there will be some updates coming to the blog. The design will be getting an overhaul. All the same content will be here, hopefully it will be easier to find and navigate to.

I am excited for the updates, and I will keep you posted on the progress.


Last week I told you guys about my cousin getting married (I made a clutch to go with my shoes. You can see that post here) The wedding was beautiful! I am so happy for them.

I wanted to give them something special for their wedding so I decided to try out my wood burning tool. (I have had it for a while, just never used it)

I thought coasters would be good for the newly weds,  and a monogram of their last name would be perfect.

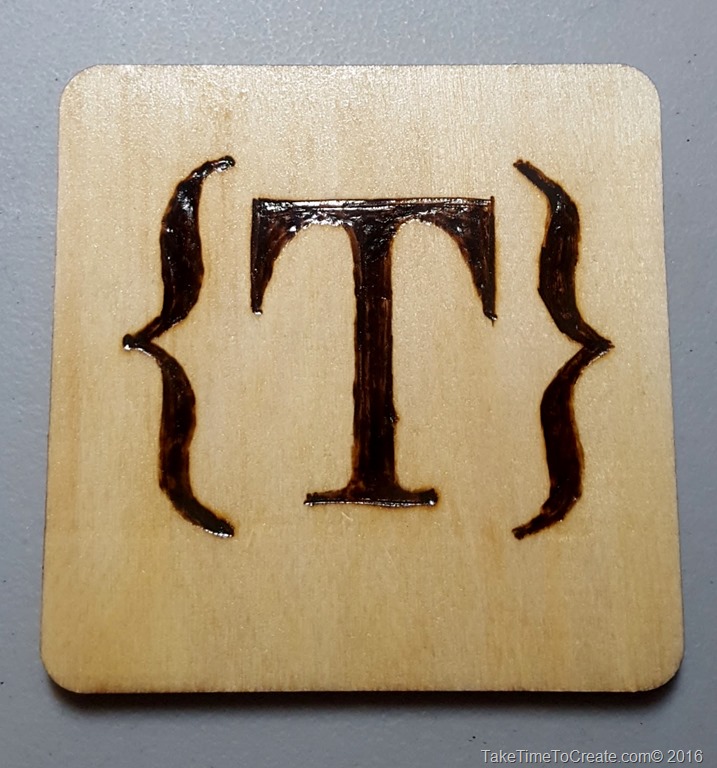
monogram wood burn coaster

Materials:

~ wood ( You can use scraps you have around, or pick some up at a store. I found mine at Michaels)

~ Wood burn tool

~ graphite paper

~ print out of what you want to wood burn (I just created my monogram in word and printed it on my computer)

~ Stain (I used a pre stain because of the nature of the soft wood I was using, then I used a natural stain, and finished with a clear coat)

~sandpaper and foam paint brushed

~ Felt or cork for the back

Instructions:

First you lightly sand the wood to make sure it is nice and smooth.

Then you transfer the design onto the wood. I traced the design with a pencil using graphite paper. This worked really well.

monogram wood burn coaster

Then I stared to outline the monogram with the wood burn tool.

 monogram wood burn coaster

This was my first attempt at making something with the wood burn tool and I learned to go at a steady pace with even pressure. 

 monogram wood burn coaster

Also be very careful, the tool is HOT. I even have the band aid to prove how hot the tool can get Smile

monogram wood burn coaster

Once it was completed and I was happy with the design I pretreated the wood with a Pre-Stain. Then I followed up with a natural stain and finished with a clear coat. Follow the directions on the stain to get the best results.

monogram wood burn coaster

Then I put self adhesive felt on the back, and then I was done!

monogram wood burn coaster

This was such a fun project!  It did take a little while to get the hand of wood burning, but now that I get it I have a ton of other projects that I have in mind! These are perfect gifts for everyone!

monogram wood burn coaster

monogram wood burn coaster

Dollar Store Puzzle Coaster DIY

Hello Everyone!

have you ever been to the dollar store and you see something really cute and you just know that you can do an awesome DIY with it? Well that is what happened to me with these puzzles I found at the Dollar Store.

dollar store puzzle coaster diy

They were just so cute I knew I needed to make something with them and I thought they were the perfect size for coasters.

dollar store puzzle coaster diy

dollar store puzzle coaster diy

Easy DIY, so here I goes:

Materials:

~ Puzzles

~ glues (I used Tacky glue and Mod Podge)

~ Exacto knife or scissors

~ Backing (I used some leftover fleece, but felt or cork would work)

~ Cardboard or poster board (optional)

Instructions:

~ First you have to assemble the puzzles. This is a really fun part!

dollar store puzzle coaster diy

~ Once they are all put together I spread a layer of Mod Podge on the front. I wanted a glossy look so I used Gloss A helpful hint is when you are gluing the back layers on to put something heavy on the coaster so that it will dry flat.

dollar store puzzle coaster diy

~ After that has dried then spread a layer of tacky glue to the back and adhere it to the fleece (or what ever you choose)

dollar store puzzle coaster diy

~ before you do the above step you might want to make the coasters a little more durable. So for the 2nd set I put a layer of cardboard, but I found that almost too thick. Poster board would be a happy medium. But they still work perfectly without any additional layers (my first set didn’t have anything extra and they work great)

~Once you are done with the fleece then cut it out.

dollar store puzzle coaster diy

And you are done! Ready to enjoy your new coasters.

dollar store puzzle coaster diy


dollar store puzzle coaster diy

Have you found something at the Dollar Store that you just needed to DIY? I would love to see what you came up with!